Learning how to cut fabric straight is an essential skill that will help you get great, professional-looking results in your sewing projects. I will show you 8 easy ways to do it. And once you know how, it will be a skill you can use over and over again whether you are making a simple pillow or a complicated garment.
Cutting fabric straight is really important and can’t be stressed enough. A bad initial cut can result in:
- Seams of different lengths on two pieces that are supposed to match
- Deformed/uneven hem after the garment is finished
- Twisted seams
The skill of knowing how to cut fabric in a straight line seems like a simple task. But in reality, there is more to it than is obvious at first glance.
How To Properly Prepare Your Fabric To Be Cut Straight
Unfortunately, fabric cut in the store is not always perfectly straight. Sometimes the bevel can be 5-10 cm or even more. So, before you can use your fabric for any project, you’ll need to find out how to get a straight edge on it.
Proper preparation of the fabric is vital in sewing.
What would happen if you make curtains from fabric without straightening its edges, for example? Well, if you hang those curtains, any unevenness will immediately be visible, believe me. Therefore, it is very important to straighten fabric edges for any sewing project BEFORE cutting pattern pieces.
Sometimes fabric can be stretched off-grain in manufacturing and you will also need to square up the fabric (aka put it back on-grain) before cutting if you see that the fabric is off-grain. If you need to know how to find out if your fabric is on-grain or off-grain, check out my tutorial on how to square up fabric. There, you’ll learn how to cut on the straight grain of the material. (I also have a YouTube video to walk you through it even more.)
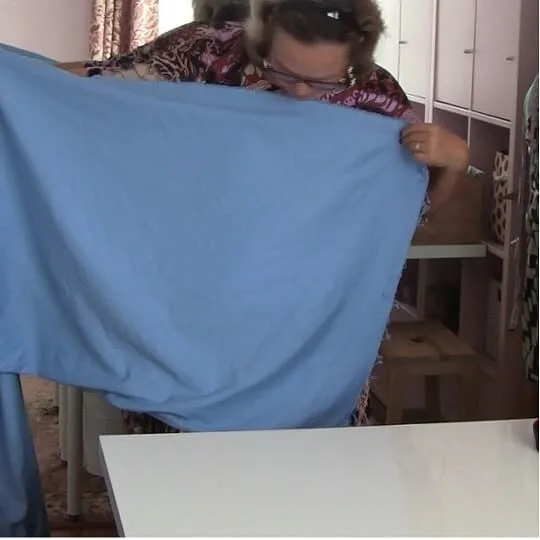
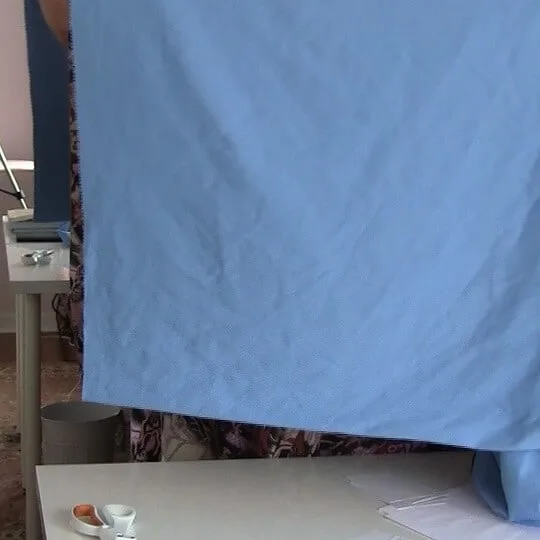
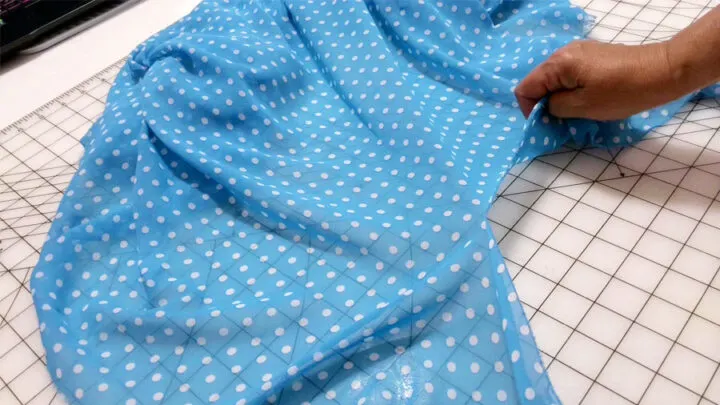
In the image below, you can see that this blue fabric from which I was going to make a skirt is not cut straight. When I tried to fold my fabric selvage to selvage (before cutting pattern pieces from it), there was a bubble in the fold at the bottom. However, after cutting the fabric straight, I was able to fold it properly.
It might also be helpful to check out my tutorial on how to cut fabric on the bias.
There are quite a few methods for cutting fabric straight. But no matter how you go about it, you will need to do some preparation before measuring and cutting for your next project.
Determine Whether Your Fabric Is Woven, Knitted, Or Non-Woven
The manufacturing process produces differences between the three types of fabric. It’s important to know because you will cut them differently.
Woven Fabrics
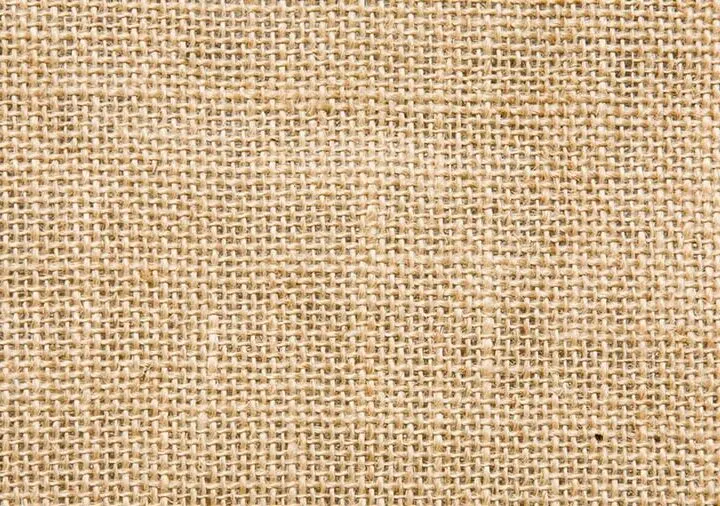
Woven fabric is made of many threads that run vertically and horizontally in a crisscross pattern. These fabrics usually keep their shape and do not stretch unless the threads themselves have some give. For example, some woven fabrics may have elastane threads which will, in turn, make the material feel a little stretchy.
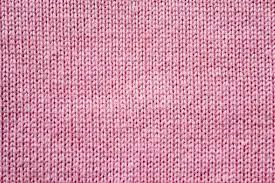
Knit Fabrics
Fabric that has one continuous thread being looped back and forth is known as knit fabric. Manufacturers make knits using a series of needles to loop and interlock fibers. Knits stretch vertically and horizontally, and the amount of stretch differs.
Non-Woven Fabrics
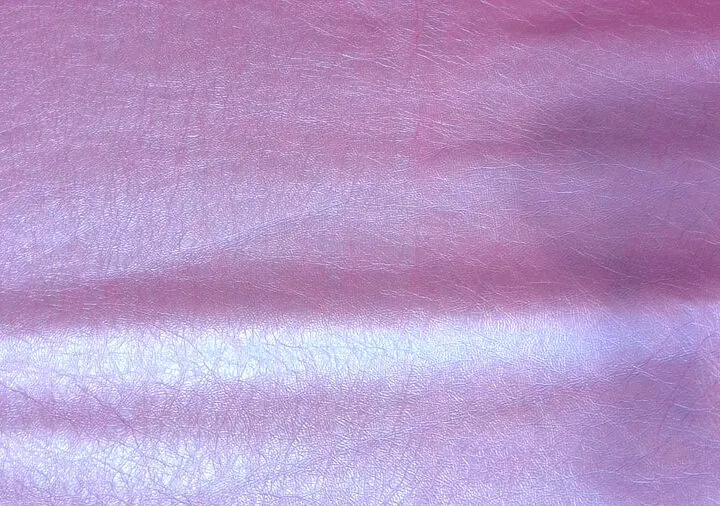
Non-woven fabrics (such as felt, vinyl, or fusible interfacing) are bonded together mechanically, thermally, or chemically. They are flat, porous sheets that are made directly from separate fibers or from molten plastic or plastic film.
NOTE: All woven and knit fabrics have selvages – self-finished edges of fabric that keep it from unraveling and fraying. When you buy a piece of fabric from a store, you will have a selvage along both sides of your fabric. The good news is that selvage edges are usually straight. Fabrics also have a grainline, which is the direction of threads running parallel to selvages. In other words, the grainline is the lengthwise direction of the piece of the fabric.
✅ Related article: Understanding Selvage Edge of Fabric
Iron Woven Fabric Flat First
Fabric coming from fabric stores is often folded in half lengthwise, matching the selvages. So you might need to get rid of the fold first.
Straightening fabric before cutting involves getting rid of the folds and wrinkles by ironing them out. However, this really only applies to woven fabrics because, generally, you don’t need to iron knit or non-woven fabric.
Prepare A Big, Flat, Hard Work Surface
A big square table is the best (I bought mine in Ikea). It’s better to avoid cutting fabric on a bed or a carpeted floor if possible. If you use a dining table, extend it to its maximum length and keep the table uncluttered. Put all the fabric edges on the table and ensure that nothing is hanging over the table and pulling the fabric down.
But if all else fails, just use the floor.
Prepare Proper Cutting Tools
Good sewing shears are a must-have tool for cutting fabric straight! They have to be comfortable for your hand and very sharp. Or you can use a rotary cutter. But I have a special very detailed article on cutting tools for sewing, so you may want to check it out.
8 Easy Methods For Cutting Fabric Straight
Okay, now you are ready to learn different methods of cutting fabric perfectly straight.
#1. Pulling A Thread To Cut Fabric Straight
This first method is my favorite. I think it’s one of the best ways to cut fabric straight because it can be used for many woven fabrics. Also, it’s very simple, precise, and requires only attention and patience. But it’s good for cutting ONLY woven fabric, can’t be used for knits or non-woven.
Here’s how to cut material straight by pulling a thread:
- Find the unfinished edge of the fabric (perpendicular to the selvages).
- Pick out a single thread on the frayed edge and carefully pull it.
- As you pull, the fabric will gather a little. Straighten the fabric and pull the thread out completely.
- You will notice that it left a visible gap line. Gently cut the fabric along this “path.”
- As you pull the thread, it can break before you reach the selvage. Not a problem. Cut along the path till you get to the place where your thread snapped. After that, choose another thread in the same line and repeat the process until you cut to the selvage.
Your cut will be perfectly straight. Cut with one hand holding the fabric and the other hand holding the scissors. Don’t lift the fabric from the table.
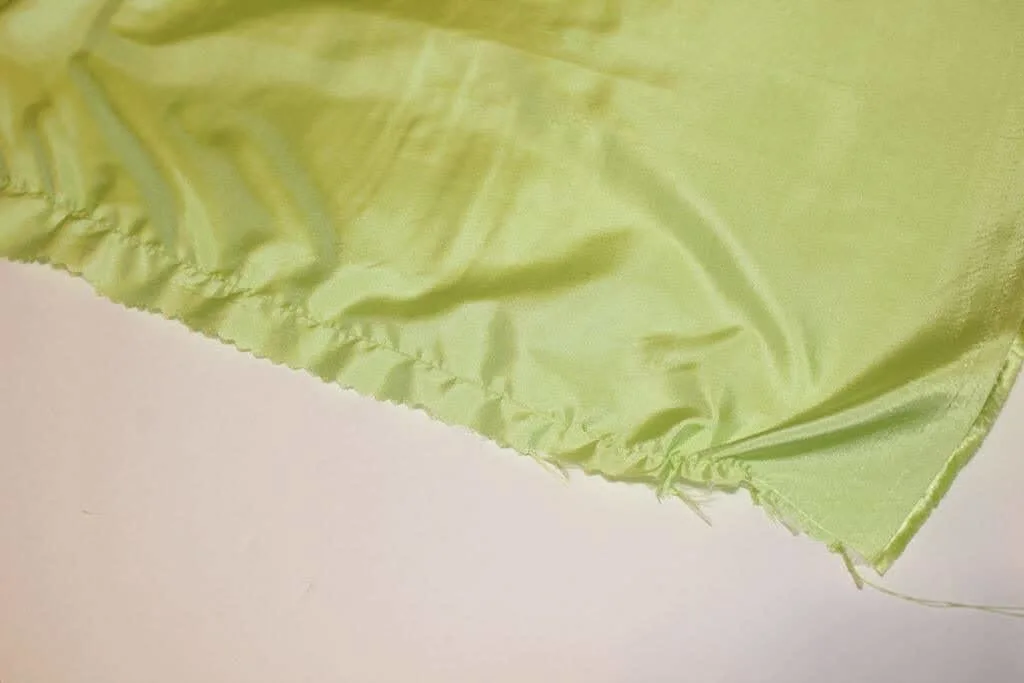
The image and short video below show the process.
#2. Cutting Fabric Straight Using 90 Degree Right Angle Tools
The first method does not work well for knit fabrics. So this second method is good for use with knits. By the way, it is also good for some woven fabric (especially if you can’t easily pull the thread) as well as non-woven materials.
Here’s how to cut fabric in a straight line:
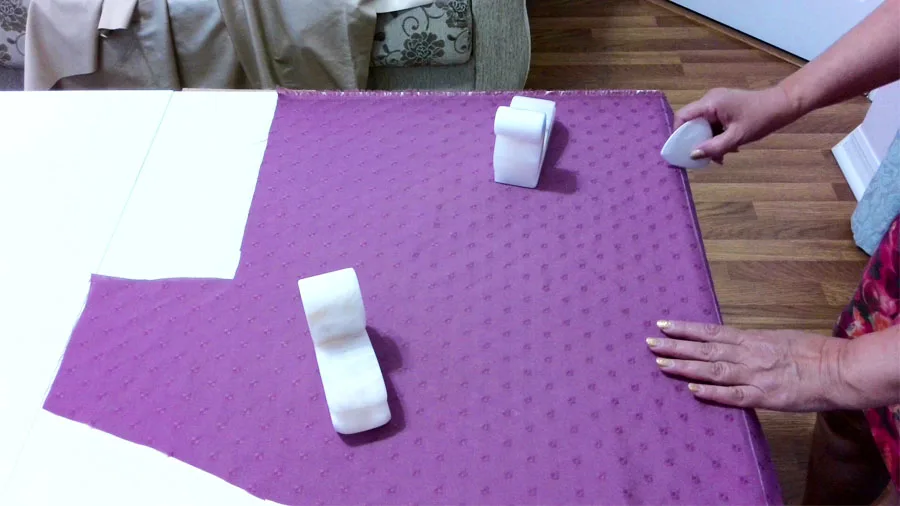
- Line up one selvage edge of the fabric with one of the edges of the table.
- Put some weights on the fabric or fix it with the painter’s tape so that the fabric doesn’t move.
- Now, look at how the cut edge of the fabric aligns with the other edge of the table perpendicular to the first one. You might see that the fabric goes slightly outward or inward from the table edge.
- Move the fabric so that nothing is going inward.
- Using a table edge, make marks on the fabric, draw a line, and cut.
Cutting Fabric Straight Using a Straight Angle Ruler
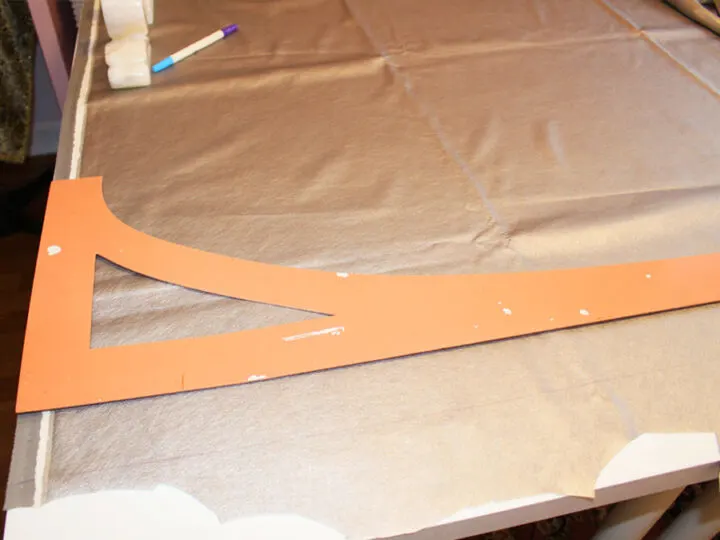
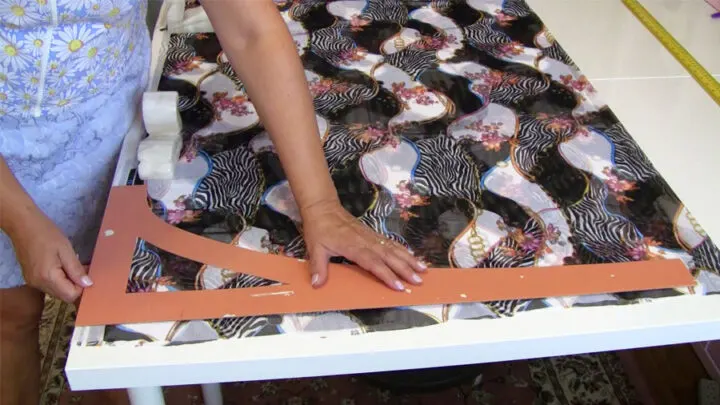
It’s very easy to cut fabric straight with a 90-degree ruler. Here’s how I do it:
- Lay the ruler on the fabric so that one side lines up along the selvage edge. The other side of the ruler will cross the fabric at a 90-degree angle.
- Hold the ruler firmly in place and use a marker to draw a line. This line will be perfectly straight and perpendicular to the selvage.
Using The Grainline For Knits
I have to mention here that knits also have a grainline, but it’s different than on woven fabric.
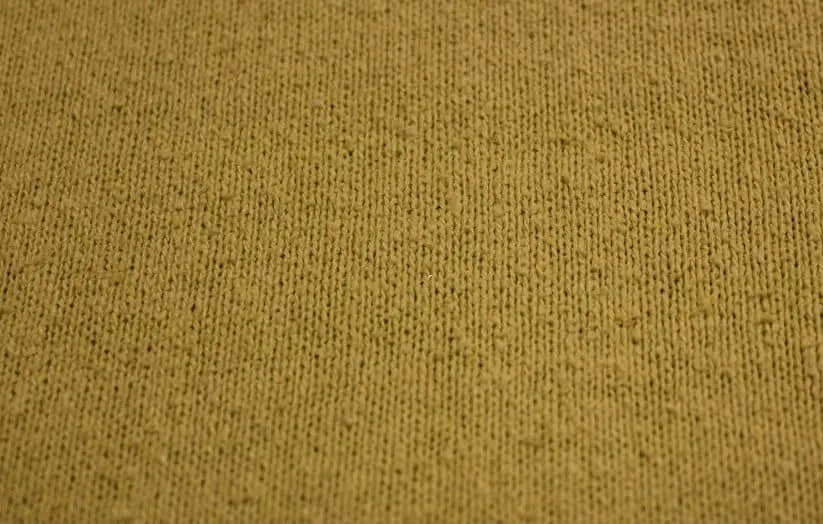
The grainline on thick knits can actually be seen. The little vertical rib lines in the shape of v-stitches on the right side make the grainline, like on a knitted garment. So if you want to cut knit fabric straight, you have to cut along the grainline.
In the image below, you can see raw silk knit fabric with grainlines easily visible. Sometimes I trace a line of basting stitches along the grainline just to be sure that I cut fabric straight.
✅ Related tutorial: How To Cut Knit Fabric: Ultimate Guide
But most of my knits are very thin because I like to sew with gorgeous silk jersey fabric, and the grainlines can’t be seen there. In this case, I just find the grainline with my ruler because the grainline is parallel to the selvage line.
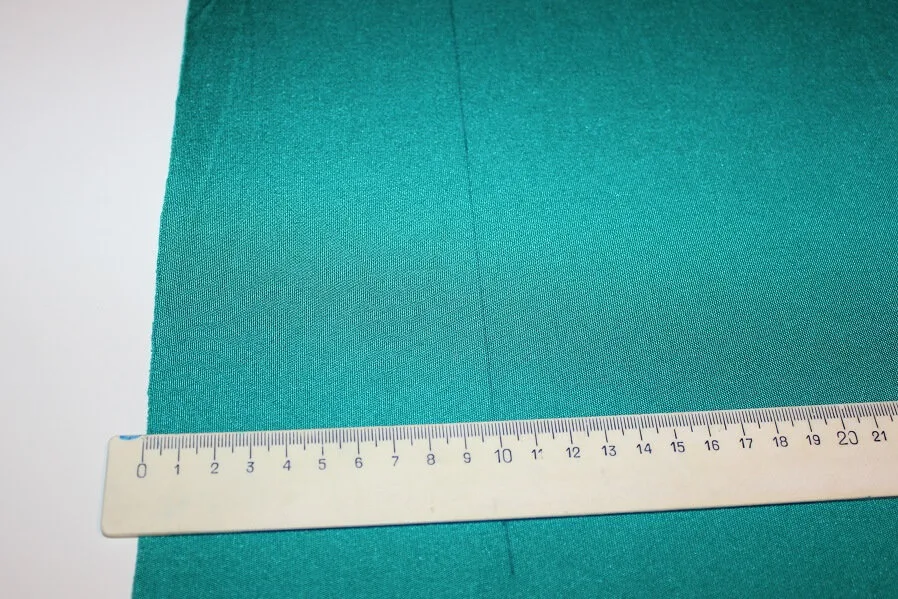
It’s really important to cut knits along the straight grain on fabric. Otherwise, you can end up with twisted side seams and completely distorted garments (usually, it happens after washing them in the laundry).
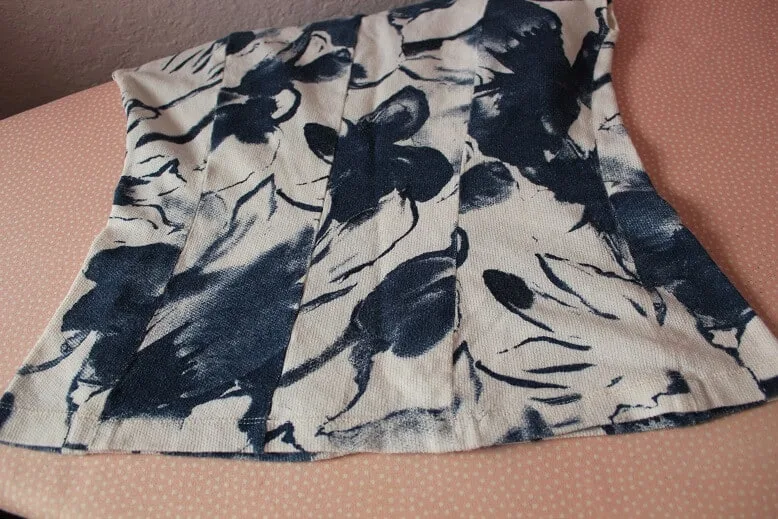
But sometimes, cutting knit fabric straight may be very difficult because the edges of the knit fabric often roll. In my YouTube video, I am showing how to how to stop knit fabric edges from curling, how to prepare knit fabrics for cutting.
————————————————
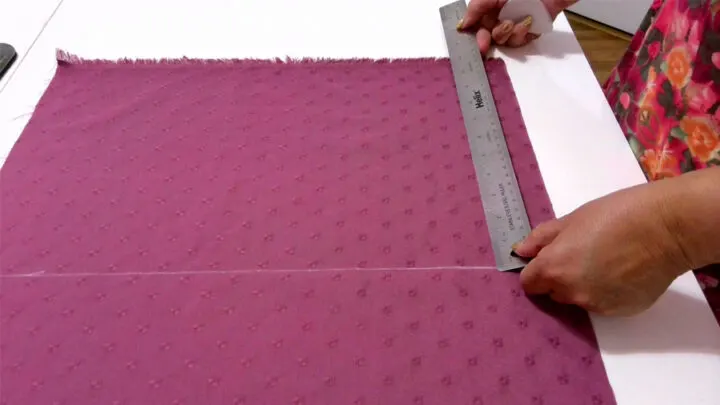
When you have at least two straight lines on the fabric (the one you just cut and the selvage edge), you can measure from these straight edges whatever size square or rectangle you need. Measure with a ruler the amount you need for your project and cut.
This assumes that you have more fabric than you need, of course.
Note: Some of the links on this page are affiliate links. This means I will receive a commission if you order a product through one of my links. I only recommend products I believe in and use myself.
#3. Using A Large Cutting Mat, A Ruler And A Rotary Cutter to Cut Fabric Straight
For a long time, I thought that a cutting mat and a rotary cutter are only used by quilters. Now I know I was completely wrong.
A cutting mat and a rotary cutter are essential tools for any serious sewist. They help to ensure precise straight cuts when cutting fabric, and can make the difference between a successful project and a disastrous one.
A cutting mat provides a stable, self-healing surface to cutting fabric on, and the grid lines make it easy to measure and cut fabric accurately. Most cutting mats are marked with one-inch grid lines and also bias lines.
You can find cutting mats in a variety of sizes, but for sewing and cutting full widths of fabric right from the bolt, it’s better to use a bigger size like 24” x 36” or even bigger.
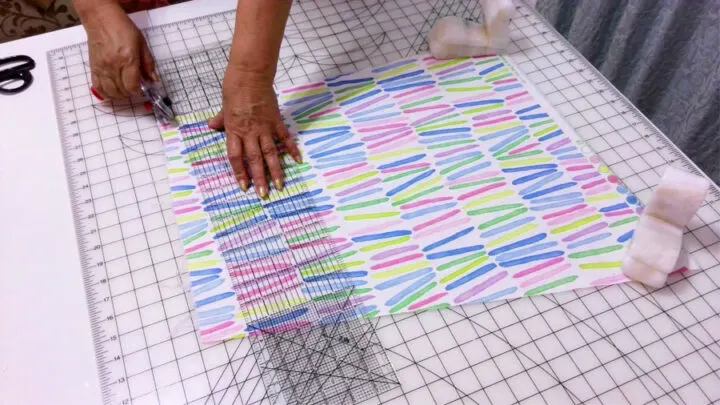
To cut fabric on a cutting mat, start by aligning the straight edge of the fabric (a selvage edge or a folded edge parallel to the selvages) with one of the cutting lines on the mat. Make sure that the fabric (and a ruler) are aligned with the lines on the cutting mat. Then, use a rotary cutter to slowly and carefully cut along the cutting line. Remember to apply some pressure as you move your rotary cutter along the fabric. If you find that the fabric is slipping, simply reposition it on the mat and continue cutting. Use fabric weights to hold big pieces of fabric (I use my stone figurines as fabric weights).
#4. Ripping The Fabric
The fourth method is very precise also: tearing the fabric instead of cutting.
You have probably seen this done in stores because it is the fastest method to cut fabric. And when applied correctly, it works like a charm! But it must be noted – this method is applicable only to woven fabrics – mostly lightweight natural fabrics. It does not work for all fabrics or in all situations.
I rip many lightweight fabrics – silk, cotton, and even thin wool. The ripped fabric edge can become noticeably more loose or wavy. But it will be perfectly straight, though. If you don’t want this ripped edge (which can look a little distressed), measure a small distance from that edge, draw a straight line parallel to the ripped edge, and cut with scissors.
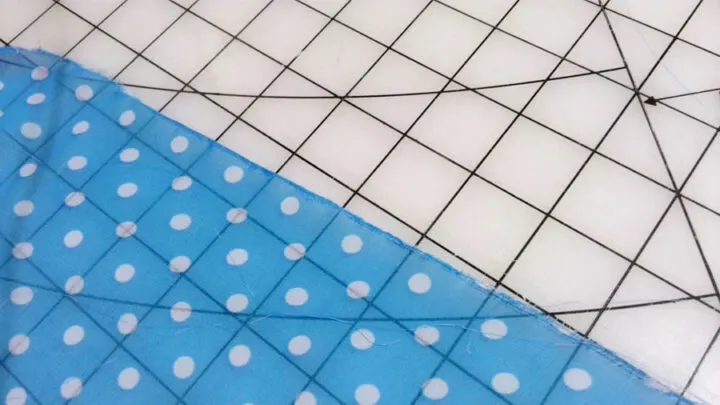
This method is especially good when you want to use fabric previously cut for some other project where you can’t even find selvage edges, but you do know where they were initially.
How do you rip the fabric?
Simply snip fabric with scissors about 1 inch from the edge, then pull the fabric apart.
Here are a few things to remember:
- Ripping very close to the edge of the fabric may not be successful.
- Don’t rip woven fabric with elastane in it.
- Don’t rip fabric along grainlines (sometimes it works though).
- It’s usually good for direction on crossgrain lines going perpendicular to selvages (selvage to selvage rip).
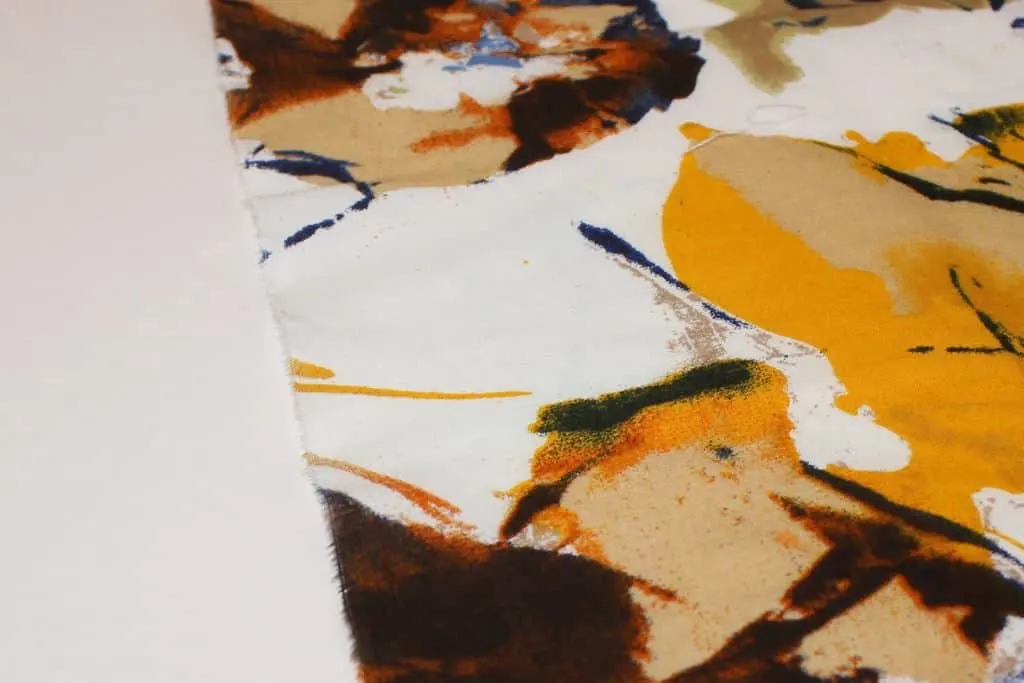
The image below shows how the cotton fabric edge looks after ripping:
#5. Folding Selvage-To-Selvage Crosswise (Not Lengthwise)
This method is not really very useful because it doesn’t allow you to cut close to the cut edges of the fabric. So, it is good only if you want to have a straight cut in the middle of the fabric piece or close to it. You can’t cut very close to the edge with this method because you need a length of selvage to make sure you align it properly.
Use this method when you need to cut the fabric perpendicular to the selvages. You will need to make sure the selvages are straight before folding. Otherwise, it will not be possible to use this method.
- Fold the fabric in half in length and carefully align the selvages.
- Smooth the fabric with your hands so there are no wrinkles anywhere.
- And the folded line will be straight.
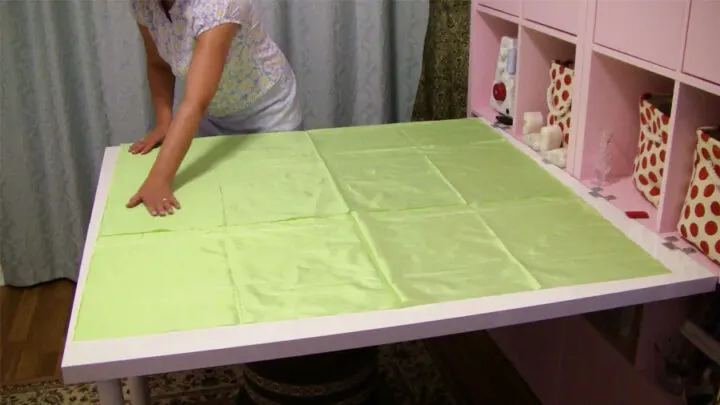
But you can also use this method if your fabric doesn’t have 2 selvage edges and instead has only one selvage and one straight edge parallel to the selvage. Then you can fold the fabric as I described above and the folded edge will be straight and exactly perpendicular to the selvage edge.
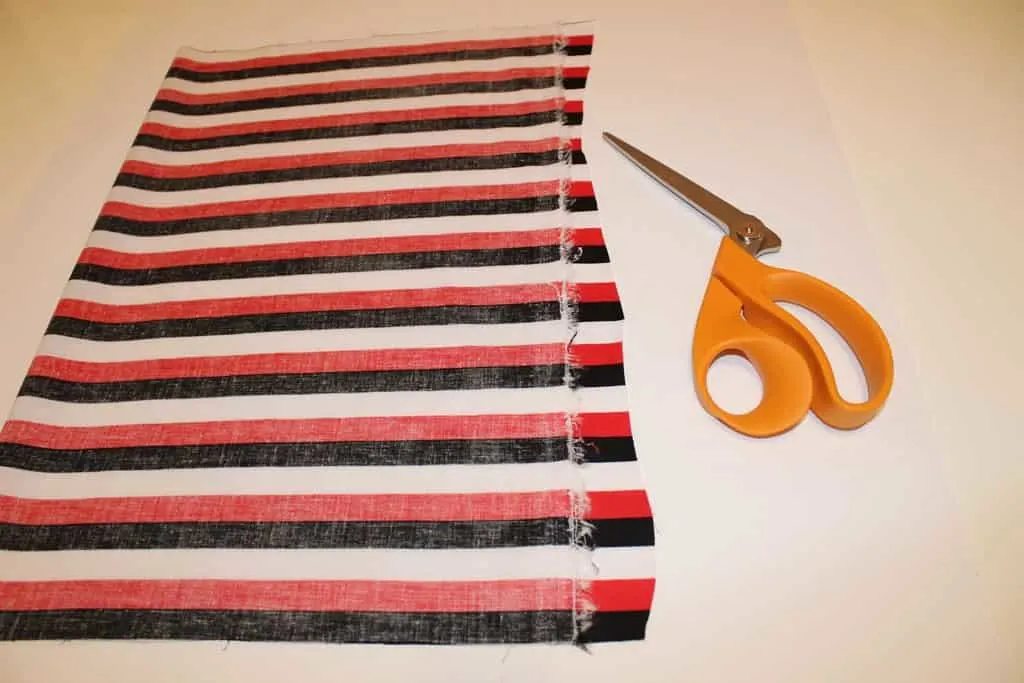
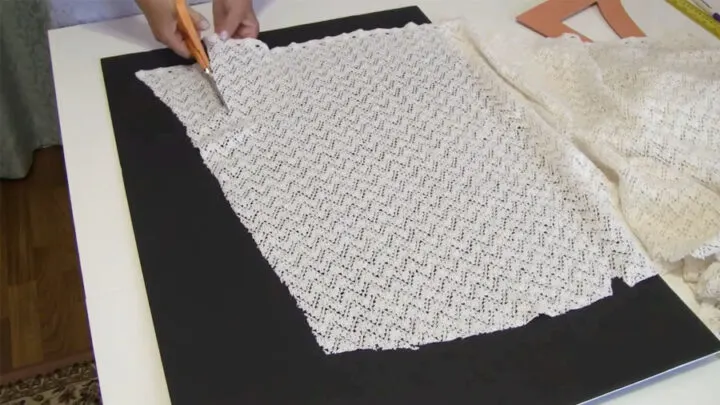
#6. Cutting Fabric Straight Using A Print On The Fabric Or Design
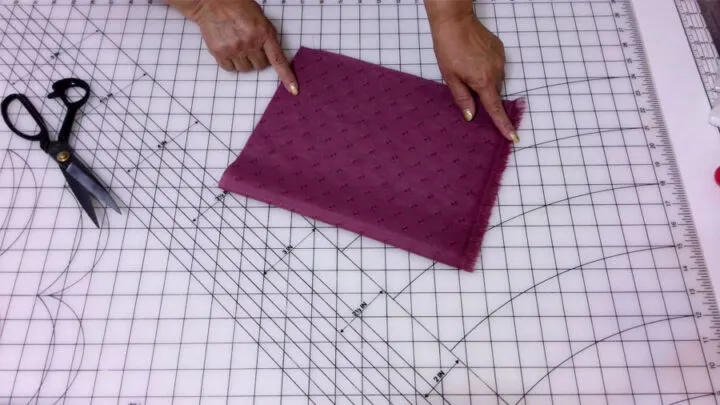
If there is a certain pattern or texture on the fabric that will help you cut straight, you’re lucky! So, if you want a straight cut on the fabric with stripes, plaids, or some prints, you can follow the designs on the fabric.
Using the pattern already on the fabric makes it easier to cut either parallel or perpendicular on the pattern lines. You may need to draw helping lines using a ruler, or you may work without, depending on the pattern.
#7. Using Laser-Guided Tools To Cut Fabric Straight
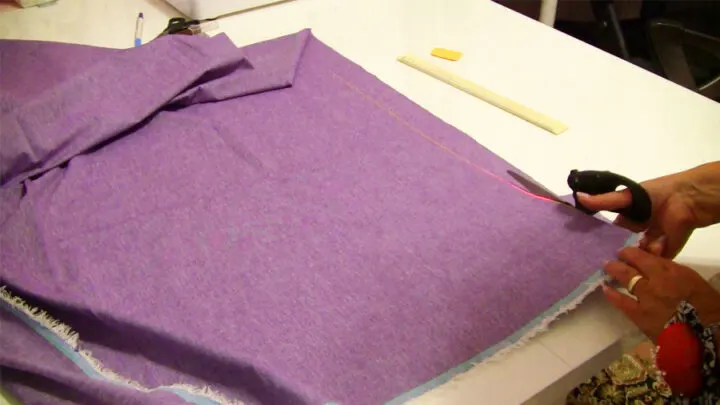
There is a special tool for cutting fabric straight. It’s called Laser-Guided Fabric Scissors. According to the instructions, you are supposed to draw a line on the back of the item to be cut and line up the laser with that line as you are cutting.
So, I don’t see a point to use this laser if I have to draw the line anyway. If I draw the line, I might as well cut along the line with regular sewing scissors. Moreover, it is hard to keep the scissors from shifting with the movement of my hand, making the laser point in a different direction.
So for me, these scissors are really not something I would consider.
#8. Lazy Method Of Cutting Fabric Straight
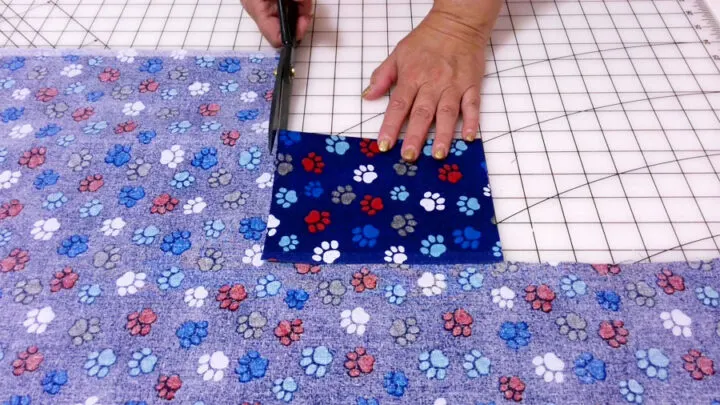
When you need to cut squares or rectangles and you are in a hurry and don’t want to mark cut lines with a ruler, you can follow this technique:
- Make a small cut perpendicular to the selvage (you can use a small triangular ruler or something with a 90-degree angle for this because it must be precise).
- Next, fold it up and keep the edges even along the side that you already cut.
- Now cut along the folded-over fabric. Repeat the process as needed until you reach the other selvage line.
This method is mostly good for sturdy cotton fabric.
Tools For Cutting Fabric Straight
One way to ensure you cut fabric straight is to use the right tools. For cutting fabric straight, you need to have a sharp pair of sewing scissors, a rotary cutter, a few different rulers, and a cutting mat. With these tools, you’ll be able to make precise, clean cuts that will help your sewing project look its best. You can read a detailed guide on cutting tools for sewing on my site:
How To Cut Fabric In A Straight Line With Scissors
I use both scissors and a rotary cutter interchangeably, depending on the fabric I’m working with and the types of cuts I’m trying to make. If I’m only making small cuts or a few of them, I tend to reach for my scissors.
It’s important to choose a pair of high-quality, heavy-duty scissors with sharp blades that will precisely cut your fabric. Going cheap will likely result in rips, frays, and ruined fabric.
To use scissors for cutting fabric straight, simply draw a line where you want to cut (or line it up another way to help you stay straight). Then glide your scissors into place, start cutting, and watch the blades snip through the fabric with ease.
Don’t have a good pair of scissors for sewing? Recently I bought these scissors and now I am sure these are the best fabric scissors I have ever had.
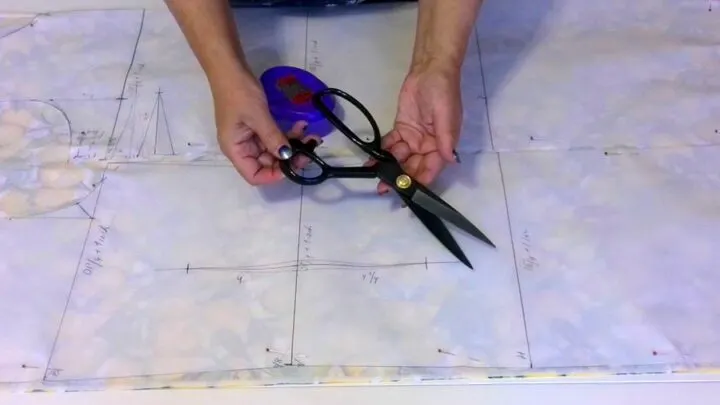
These aren’t just any fabric scissors. These are the heavy-duty fabric sheers you won’t want to be without. It’s written PROSHEAR on them. They are black because they are made of high carbon steel, a stronger metal than stainless steel. They make clean cuts through multiple layers of fabric–they’re sharper than anything else out there!
How To Cut Fabric Straight With A Rotary Cutter
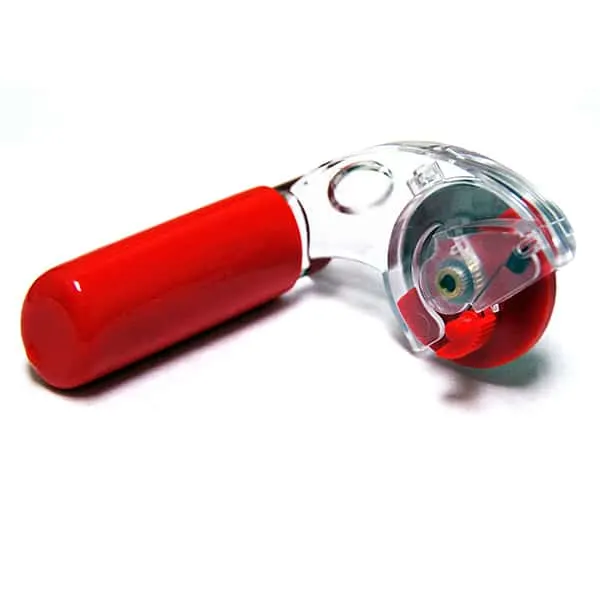
A rotary cutter is a great tool for cutting fabric straight quickly and accurately. It looks very similar to a pizza cutter, but unlike a pizza cutter, it comes in a variety of sizes (45mm and 60mm being the most common). It has a cylindrical blade that rotates. Rotary cutters are very sharp and you do need to be very careful when using them so you don’t accidentally cut yourself.
When using a rotary cutter, there are a few things to keep in mind in order to get the best results.
First, be sure to use a cutting mat. This will help protect your working surface and keep the fabric from slipping. Second, position the rotary cutter so that the blade is perpendicular to the fabric. This will give you the best control and prevent the fabric from bunching up. Finally, holding the fabric in place with a ruler, so it doesn’t slip, push the rotary cutter along the ruler’s edge where you want to cut. The blade will take care of the rest (if it’s not dull of course).
Before using a rotary cutter, always make sure the blade is properly attached and fixed so it won’t slip out as you cut. Always cut away from yourself, not towards yourself. Put the blade cover on when you’re not cutting. Store your rotary cutter in a safe place away from children and pets.
There are many types of rotary cutters out there, though, most with their own special designs/purposes so make sure to weigh out your options carefully before deciding on which one is the best for you. My favorite is Martelli rotary cutter.
Sewing rulers to cut fabric straight
Sewing rulers are specially designed to help you cut fabric straight, and they’re an essential tool for any sewing project. There are many different types of rulers, but the most useful type is the straight angle ruler. Straight angle rulers are the best choice for cutting fabric straight because they have a 90-degree angle that helps you keep your cuts straight.
To use a straight angle ruler, simply line it up with the edge of the fabric and then use a rotary cutter to cut along the edge of the ruler.
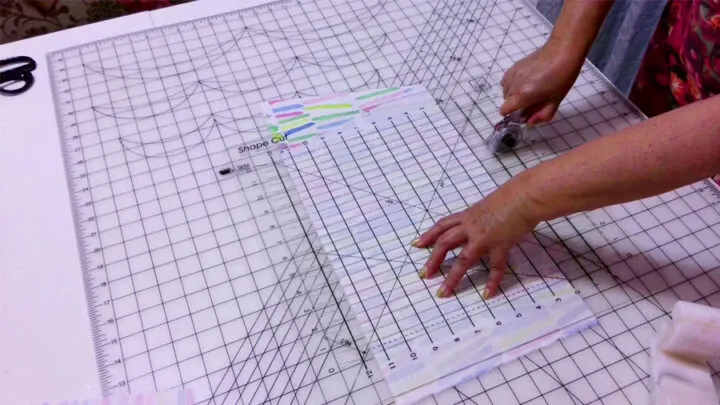
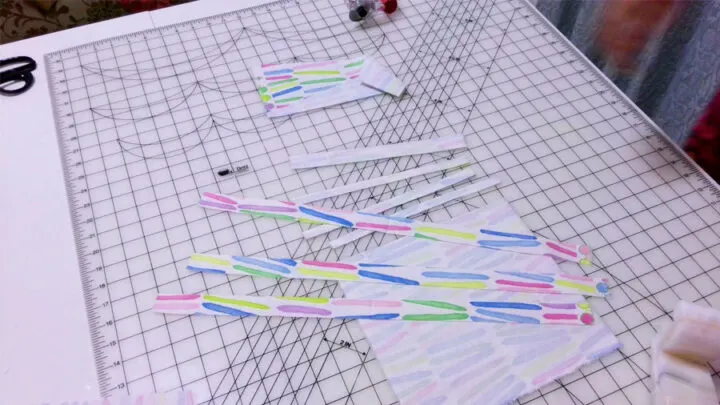
But there are some interesting rulers that I use to cut fabric straight. Let me show you one of them called Shape cut. It has multiple slots to cut perfectly straight strips in half inch increments quickly and accurately. The slots are tight as it was designed for the thin blade of a rotary cutter. You can use this ruler to fringe. It can cut several layers of fabric at once.
How To Cut Fabric Straight For Curtains
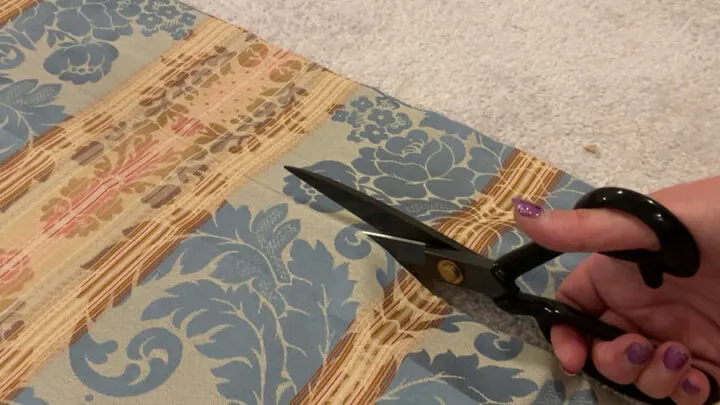
If you’re cutting fabric for curtains, the process is not much different from cutting fabric for any other sewing project. Curtains are usually made from woven fabric, so the best way to cut it straight is by pulling a thread. But you can also use straight angle rulers, or cut it using fabric prints/designs like stripes or geometric patterns that are often used for this kind of fabric.
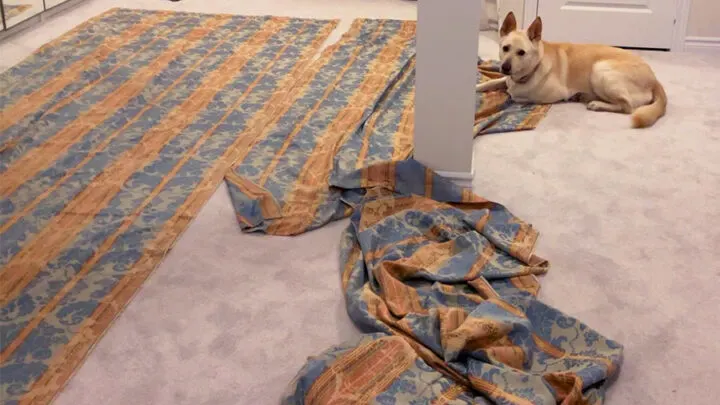
The only real difference when it comes to cutting fabric for curtains is that the pieces are usually very large, so you may not have enough space on your table. In that case, just lay the fabric out on the floor and cut away.
Easiest Way To Cut Fabric
Finding the easiest method for cutting your material really depends on what you’re doing. Sometimes scissors will be the best tool to use, while other times, a rotary cutter will be more efficient. I do recommend having both of these cutting tools at your disposal – you may not know which one is the best fit until you start your project.
How To Fold Fabric For Cutting
It’s recommended to fold fabric selvage to selvage lengthwise and after that cut pattern pieces. The fabric fold should always be parallel to selvages and it means that the grainline of the fabric should be parallel to the fold – only in this case your cuts will be correct. But it’s not always easy to do. Sometimes you fold the fabric matching selvages and the fold has lots of bubbles as you see in the image below.
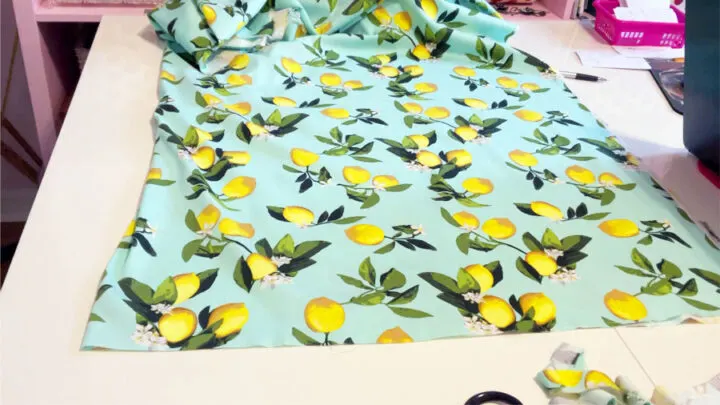
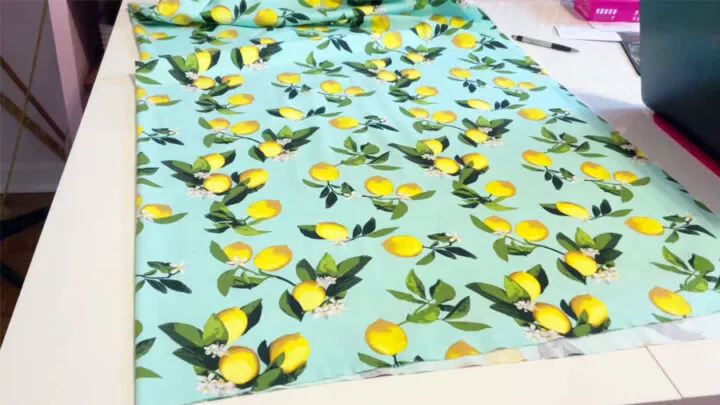
So, what to do in this case? Move the selvages a little to the left or to the right to get the fold smooth. Don’t match the cut edges of the piece of fabric, they may not be cut straight.
Cutting Fabric Straight FAQs
Here are some questions readers often ask about.
Silk and slippery fabrics are tricky to cut straight because they shift and slide as you cut. Some people will spray them with starch to temporarily make them a little “sticky” so they stay in place. I usually use painter’s tape to hold the fabric in place. The tape will not leave any marks on the fabric after you take it out and the fabric will not shift while you are marking the pattern edges. It is better to cover all sides of the fabric piece with the painter’s tape if your table is big enough.
You can read all about it in my tutorial How to cut chiffon without problems. 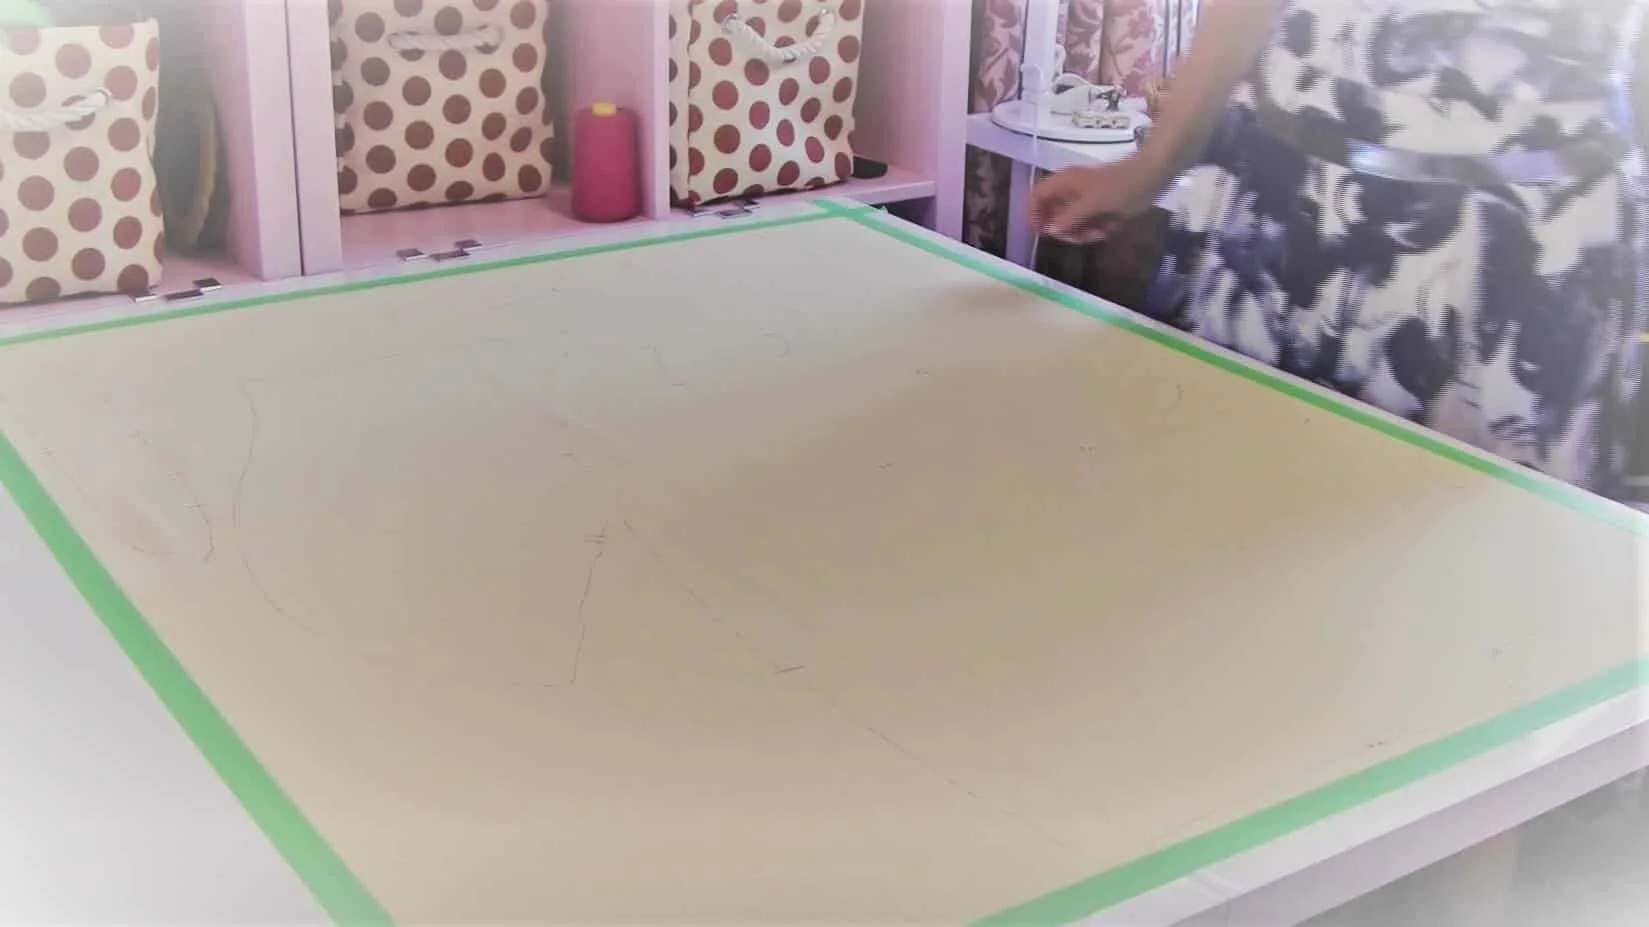
Fleece is a heavy, thick knit fabric, so if you cut it with scissors make sure they are very sharp and able to cut thicker fabric. But it’s better to cut fleece straight with a rotary cutter rather than scissors. Use a 90-degree ruler that will give you a perfectly straight line to follow for cutting. Place the piece of fleece fabric on the cutting mat and then line up the ruler along the selvage edge of the fabric.
If you need to cut a piece of fabric that’s larger than your cutting table, you’ll want to make sure you squared up the fabric so that you can fold your fabric and cut it straight that way. Make sure you have a flat, hard work area that’s large enough to work as you do this, so if your table is not big enough even for folded fabric use the floor. Cutting large pieces of fabric can be tricky, but squaring up the fabric beforehand will help ensure that your cuts are straight.
Yes, most of time you can count on the selvage edge being straight in fabric (that has not yet been washed). Unlike cut edges, selvages are created by the manufacturer, which makes them helpful for determining whether your cut edges are straight or not. But there are manufacturer’s defects sometimes and I had a few pieces of fabric with selvages that were not straight.
Also, after a fabric is prewashed, the selvage edge can curve as you can see in the image below.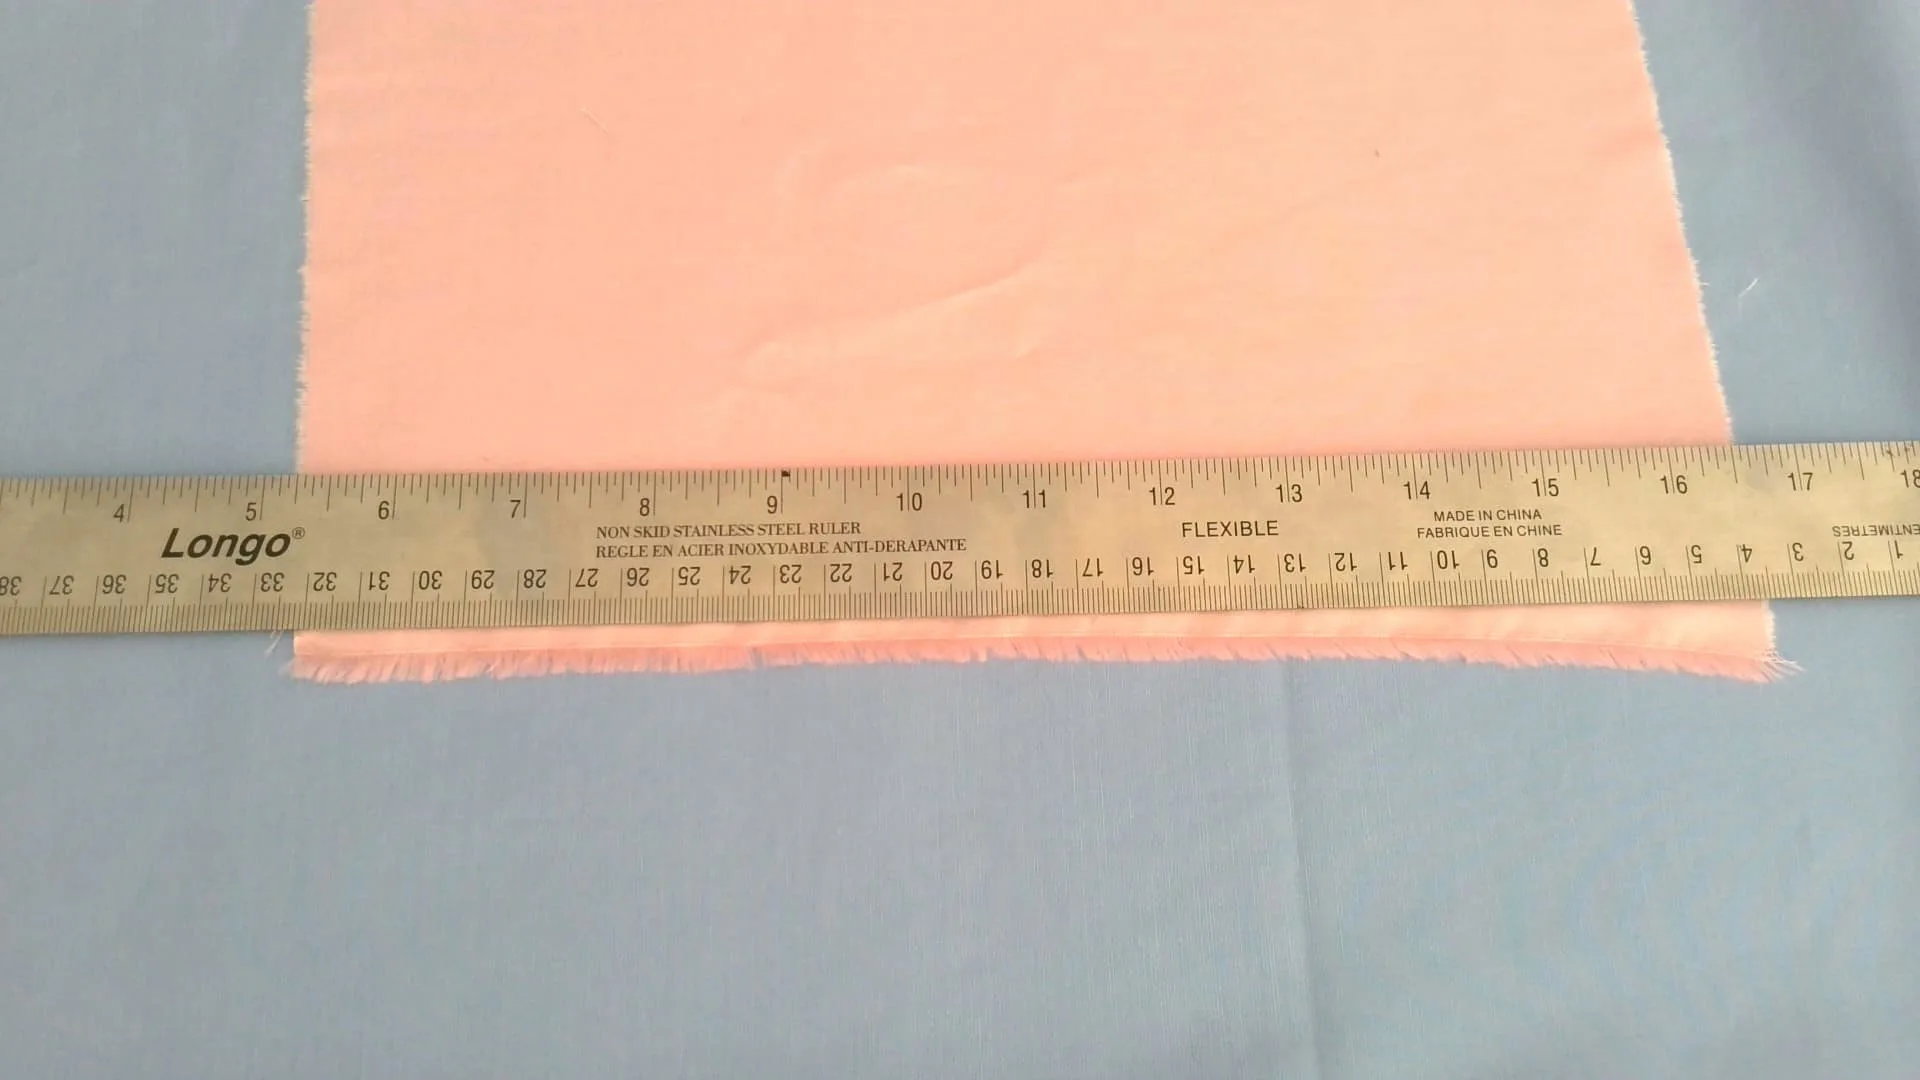
If you want actual examples of projects where I used some of the methods above, please look at
Maxi dress DIY or How to make a robe without a pattern from pure silk fabric
I use these methods to cut fabric perfectly straight and have definitely learned these tips and tricks through the school of experience. I hope this guide for cutting fabric straight was helpful for you!
Once you have your fabric cut out straight, it’s time to start sewing! Sewing straight is essential for any project, so be sure to check out my tutorial on how to sew straight before you get started.
Want to improve your sewing skills?
Get my detailed guide on SEWING MACHINE TENSION ADJUSTMENTS free!
Subscribe to my weekly newsletter with sewing tips and tutorials, free sewing patterns, printable PDFs, and other useful content and you’ll find the eBook in your inbox.
Subscriber exclusive offer.
Don’t miss the free HELPFUL eBook!
Do you have any questions? Do you know other methods to cut fabric straight? If you do, or have any other suggestions, please use the section at the end of the page to leave a comment.
Did you like this tutorial? If you want to save it for future reference and to use it later when you are ready to cut fabric, pin this image to your sewing board on Pinterest and follow me on Pinterest for more tips, tutorials and inspiration.
Ready to take the next step in your sewing journey?
Check out more step-by-step tutorials from my site
latest posts
- Adorable DIY Needle Book | Easy Tutorial for Beginners
- Master the Seam Ripper: Your Ultimate Guide to Precision Stitch Removal
- Think You Know Zippers? This Installation Guide Might Surprise You
- Why Does Your Seam Ripper Have a Red Ball? Discover Its Purpose!
- Topstitching Troubles? This Simple Trick Will Turn It Around Instantly!
- How to Sew Shirring: A Step-by-Step Guide to Elastic Thread Gathering
- Are Self-Threading Needles Really Useful?
- Amazon Spring Sale: Best Choices
- Elevate Your Prom Look: A Guide to 10 Neckline Choices (2024)

