
In this sewing tutorial, I will show you how to cut fabric on the bias. We need to do it when we decide to make bias cut tops and dresses, when we sew spaghetti straps, piping, or when we make binding for a quilt, etc.
In this particular case, I am making a bias cut slip dress.

If you want a bias cut garment to hang nicely on your body, the accuracy of cutting is very important. Don’t rush when cutting fabric on the bias. If you go even slightly off the true bias when cutting your fabric, you will have problems with how the garment will fit.
Cutting fabric on bias seems complicated but it’s pretty simple if you follow some rules. You just need to be very accurate and take your time.
When cutting fabric on the bias you should know that every piece of woven fabric has two biases, at 90 degrees to each other and at 45 degrees to the selvages. They both work pretty much the same so you can cut both ways.
Attention! If you like the video format, at the bottom of this post, look for a YouTube video version where there is a step-by-step tutorial on how to cut fabric on the bias. For a more complete picture, I recommend exploring both versions.
What is the bias cut
Let me remind you what bias cut means.
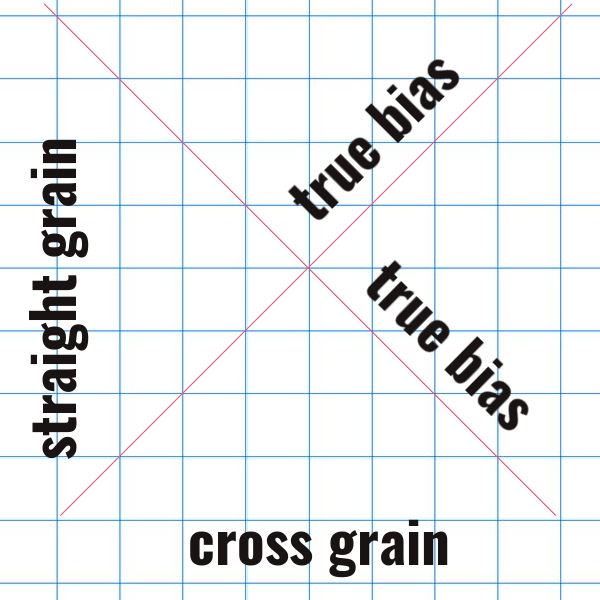
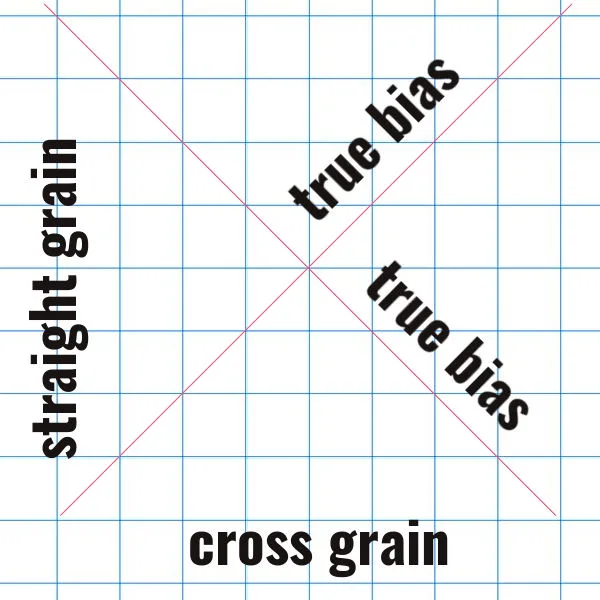
“Bias” means that the woven fabric is cut at an angle. Any woven fabric has a straight grain and a crosswise grain and fibers are running at a 90 degrees angle to each other. The straight grain is parallel to selvages and the cross grain is perpendicular to selvages. The bias is running at any angle to the straight and cross grains, but the true bias refers to the 45 degrees angle (exactly!) to these grains. Any woven fabric has two true biases perpendicular to each other.
Why to use cutting on the bias?
Here I have silk fabric. This is how it drapes if I cut it on the straight grain.
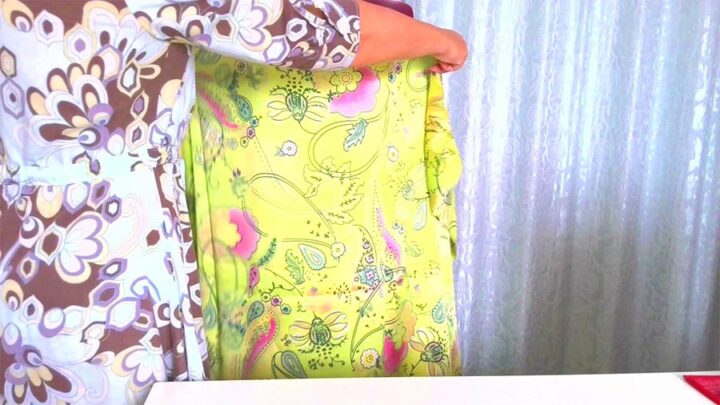

And this is how it looks if I cut on the bias.

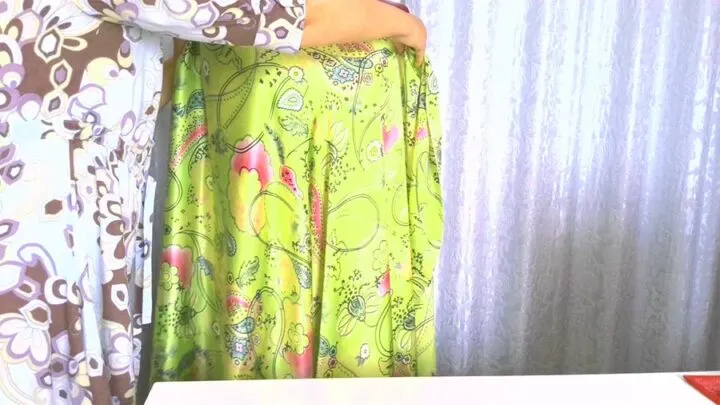
Bias cut tops and dresses accentuate body curves and drape beautifully with a few soft folds. Cutting on the bias is especially popular for garments made from natural silk fabric.
✅ Related tutorial: How to cut fabric perfectly straight
How to place the fabric for cutting on the bias
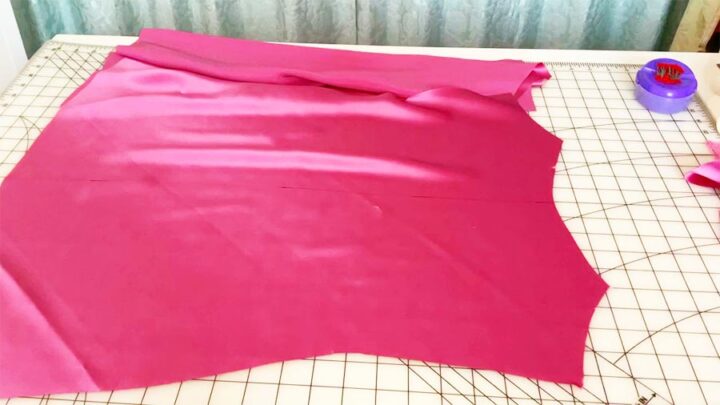
Place a single layer of your fabric on a cutting table. You can’t cut a bias slip dress on fold. So the pattern pieces have to be full, not half front and half back.
I hope you have a large enough cutting table because it’s important that there are no fabric ends hanging off the table. You should avoid that because if some fabric ends are not on the table, they will drag the fabric grain out of alignment and cause the fabric to stretch and you will have problems with how your slip dress will hang on your body.
I usually have the best cutting results for bias cut garments by using a painter’s tape to hold the fabric, using my large cutting mat with grids and diagonal lines, and cutting the fabric with a rotary cutter.

So let me show you how I cut fabric on the bias for my silk slip dress.
I place my cutting mat on the cutting table and lay the fabric in such a way that the lengthwise grain is exactly parallel to the selvages and the cross grain is perpendicular to the selvages and the lengthwise grain across the full length of the fabric. I think it doesn’t matter which side of the fabric is up and which is down. I prefer the wrong side of my silk charmeuse fabric placed up. The shiny side is more slippery and not good to mark.
✅ Related tutorial: Types of silk fabric
If you have a big piece of fabric you should cut it in two, one for each pattern piece (for me it was the front and the back of my slip dress). Obviously, it’s not so easy to place big pieces of fabric on the cutting table.
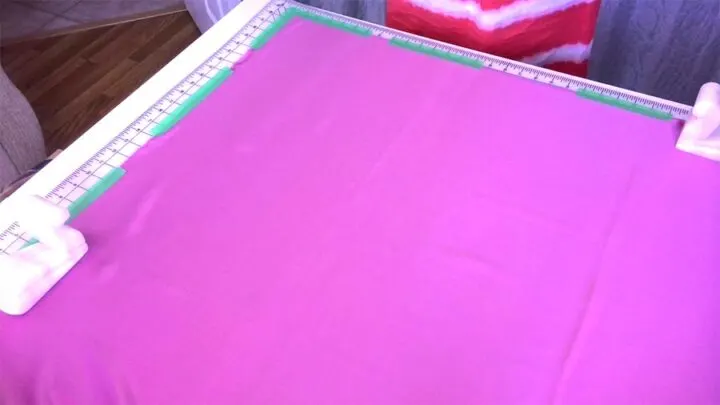
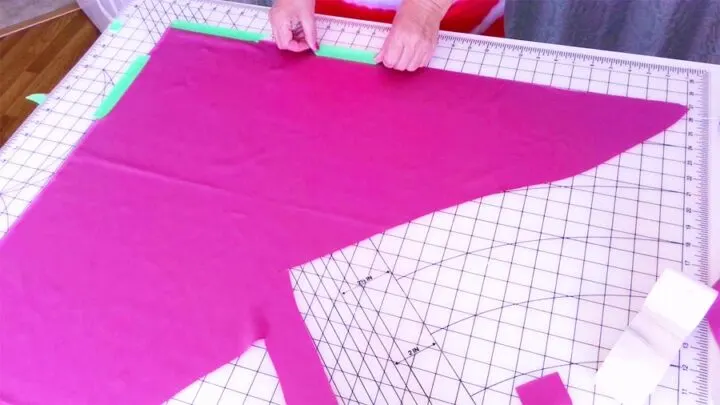
The grid on my cutting board is really helpful here and I can align the selvage with one of the lines on my cutting board.
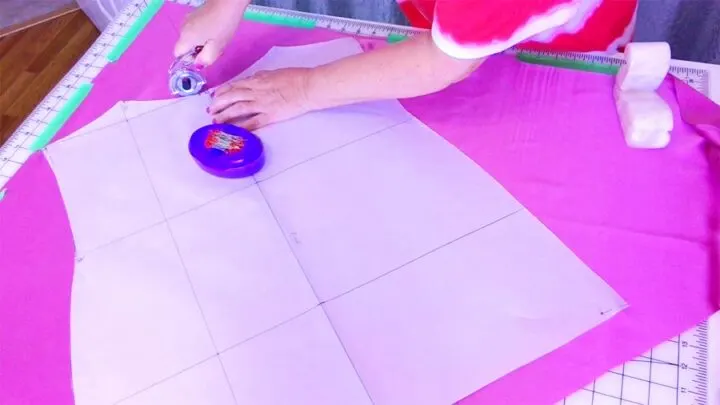
Smooth the fabric on the board so it’s completely flat and there are no “bubbles”. The slightest bump can skew it. Place some pattern weights on the fabric so it stays in place. I use my heavy stone figurines as pattern weights. And after you are done with placing the fabric, use a painter’s tape to tape the selvage and the horizontal cut so the fabric doesn’t move at all.
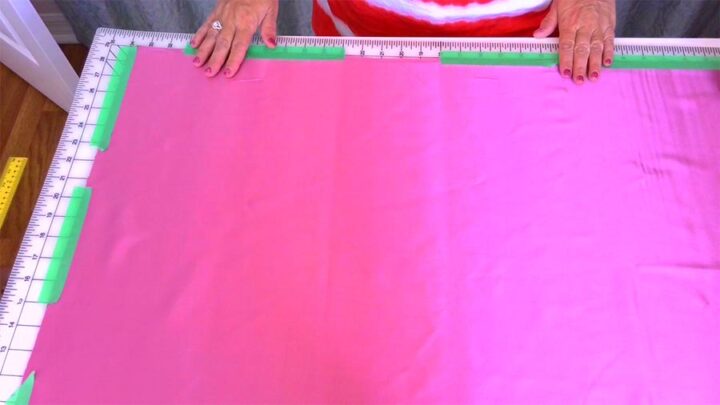

The painter’s tape will not leave any residue on the silk fabric and you can remove it easily.
Draw a line on the fabric using a fabric marker which is exactly 45 degrees to the selvage. It’s easy to draw using the cutting mat’s grid. My cutting mat has many diagonal lines at a 45 degrees angle to help me find the bias.
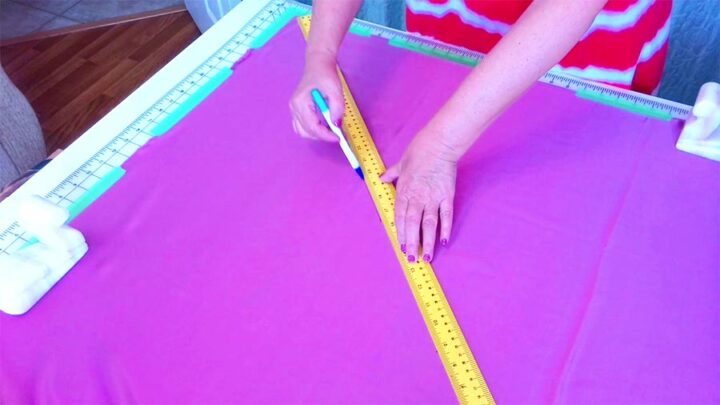

I don’t like to use chalk for bias cut garments. If I mark with the chalk I might stretch the fabric and the true bias will be off. And if it’s even slightly off it’s no good for cutting on bias.
Place your pattern on the fabric for cutting on bias
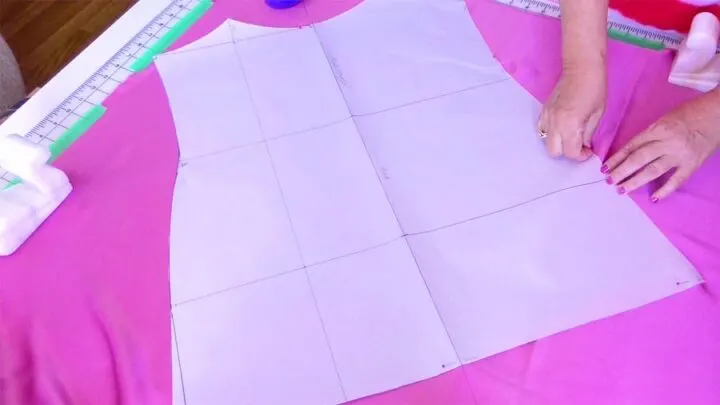
Place your pattern on the fabric. Once again I should remind you that the pattern should be full. Use your pattern weights to hold the pattern in place.
The center front line on the pattern should be aligned with the line we marked on the fabric.
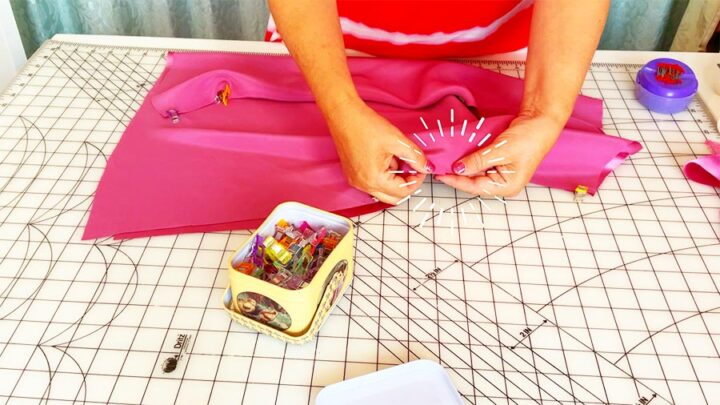
I like to pin the fabric in a few places especially in the beginning of the diagonal line and in the end.

Pins might create small bumps, but I try to pin the fabric without lifting it from the mat.
Not any sewing pins are good to use with natural silk fabric. They might leave holes in delicate silk. Use only pins that are made specifically for silk. They are very thin and sharp.
✅ Related tutorial: Types of sewing pins and their uses: all you need to know about straight pins for sewing
Avoid stretching fabric while pinning.
Note: Some of the links on this page are affiliate links. This means I will receive a commission if you order a product through one of my links. I only recommend products I believe in and use myself.
Cut the fabric for a bias cut garment
I don’t trace the pattern with a fabric marker. I just cut it with my Martelli Rotary cutter.

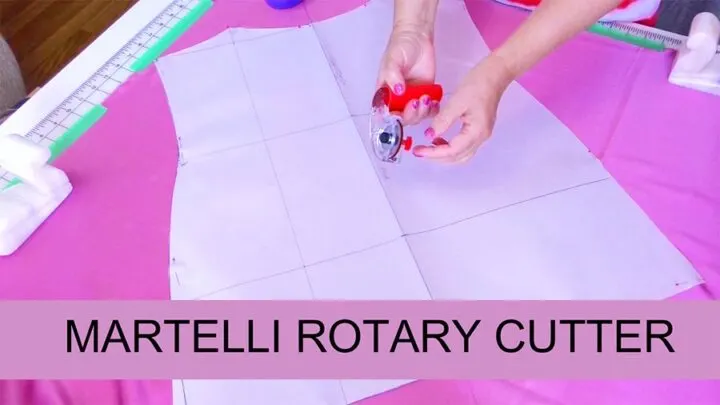
I suppose to hold this Rotary cutter like this, with one finger on the wheel.


But this position is not comfortable for me, I control the rotary cutter much better when I hold it normally.
Place some pressure on the rotary cutter so it cuts nicely.

However, if you don’t own a rotary cutter, you can cut your fabric with scissors. Simply cut around the pattern edges. Just take care not to lift your fabric too much when cutting as this can cause the fabric to stretch.
In the end don’t forget to cut the notches: in my case, as I am making a bias cut slip dress I cut the notches at the center front and back and at the waistline and the hips. These notches are really important for correctly attaching bias cut pattern pieces and making nice seams.

Cut the notches ⅛ “ into the seam allowance with the sharp tip of your scissors.
Ok, here I have the front and back of my slip dress. Be careful with the pattern pieces after cutting because they become unstable and can quickly stretch and deform. Just leave them folded until you are ready to sew.

How to cut fabric on the bias for straps, piping or binding
Fabric strips cut on the bias are a little stretchy and require careful cutting so they are not distorted.
If I need to cut fabric on the bias for straps, piping or binding I use my cutting mat and the Martelli Rotary cutter again.
The process is about the same as I described above, the only difference is that I don’t need any pattern for this. I just decide how wide and how long I want the strips to be. I just determine the desired length and width of my bias strips.
I use the painter’s tape to secure the fabric to the cutting mat so it doesn’t stretch at all.

It’s very easy to cut bias strips this way. I don’t lift the fabric from the mat and because of this I have very accurate cuts. Handle the edges carefully to avoid fabric stretching.
✅ Related tutorial: Making quilt binding
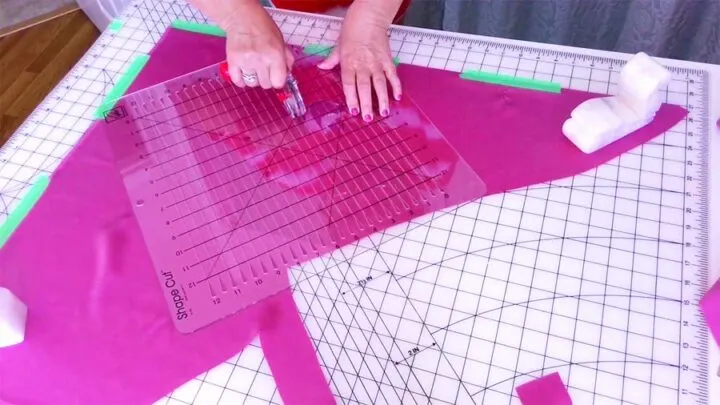
But I also have a special ruler, called Shape cut. It has many slots for cutting that make all the difference. On each end of every slot, there are cutting gaps that are highly functional. The ruler is not flimsy. You line it up once and can get several strip cuts done. The only drawback that I found to this is the size – the cutting measurements only go to a 12×12 inches size. If you cut on the straight grain you can fold the fabric and then cut but for bias cutting, you can’t fold the fabric so the cut has to be done on a single layer of fabric.

So here is my YouTube video. Check this out if you want to see how to cut fabric on the bias instead of reading…
Did you find this tutorial helpful? If so, save this pin (see below) on your sewing board so you can come to this tutorial later when you are ready to cut fabric on the bias, and follow me on Pinterest for more tips, tutorials, and inspiration!

latest posts
- Knot a Problem: Easy Ways to Secure Short Thread Ends
- Ever Tried This on Your Serger? This Differential Feed Feature Will Amaze You
- Ditch My Sewing Machine? Not in This Lifetime!
- Adorable DIY Needle Book | Easy Tutorial for Beginners
- Master the Seam Ripper: Your Ultimate Guide to Precision Stitch Removal
- Think You Know Zippers? This Installation Guide Might Surprise You
- Why Does Your Seam Ripper Have a Red Ball? Discover Its Purpose!
- Topstitching Troubles? This Simple Trick Will Turn It Around Instantly!
- How to Sew Shirring: A Step-by-Step Guide to Elastic Thread Gathering