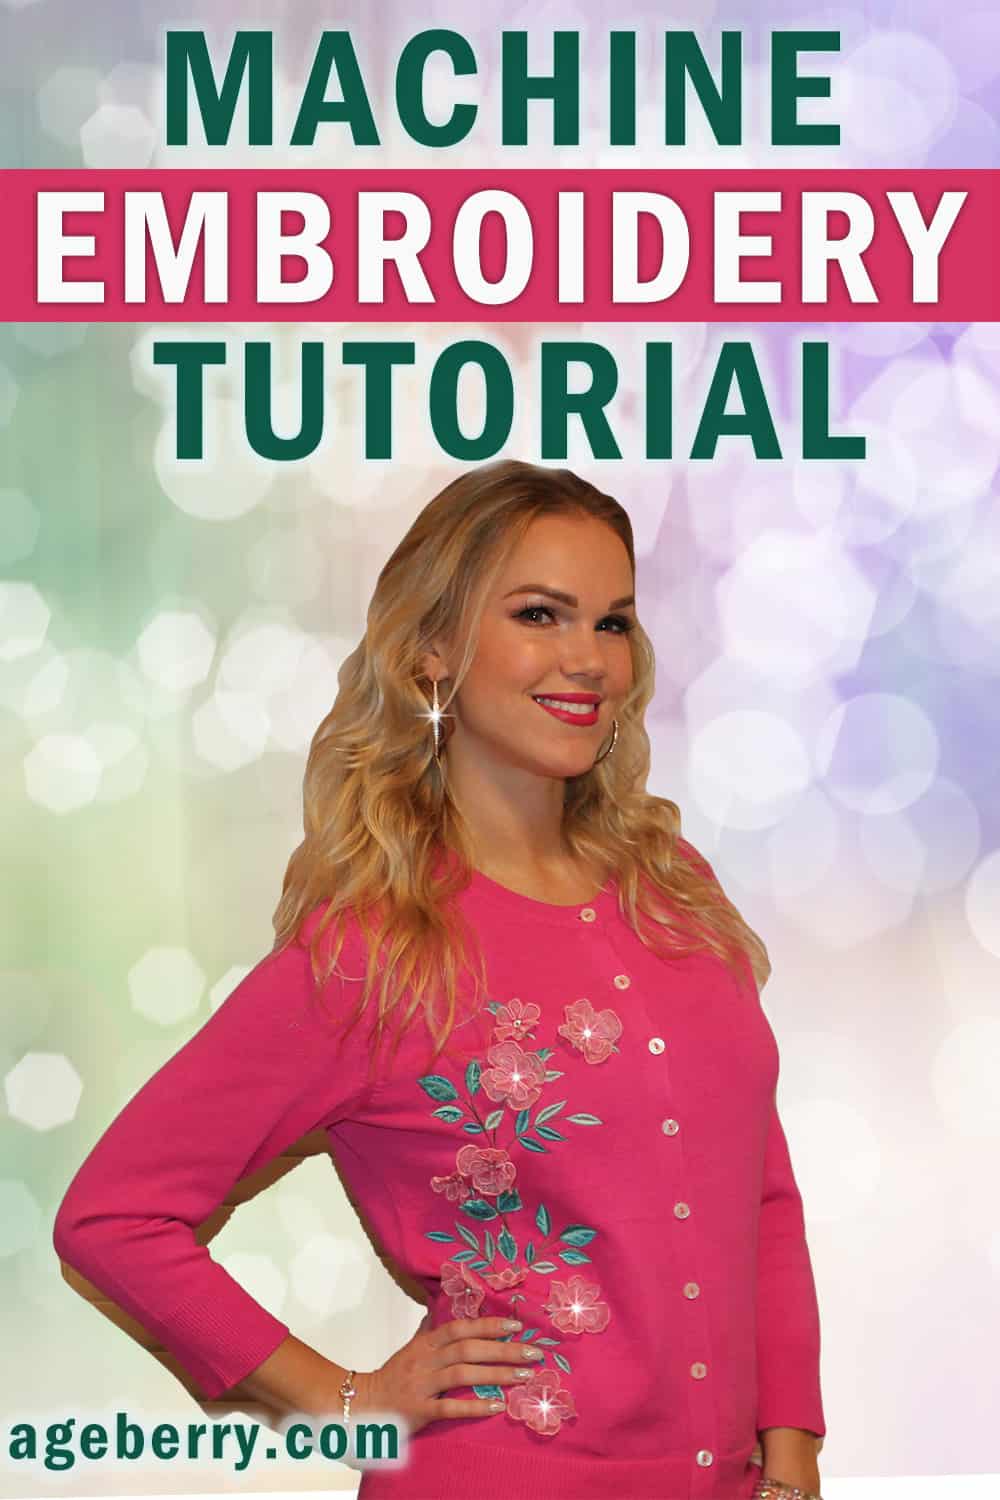
Machine embroidery tutorial: how to embroider flowers on knits
In this machine embroidery tutorial I will show you my last embroidery project – 3D flowers on a pullover. I know that embroidery is always in style and big fashion houses use machine embroidery in their creations. So, if you have a good embroidery machine you can make something beautiful every day and embellish whatever you want.
Note: Some of the links on this page are affiliate links. This means I will receive a commission if you order a product through one of my links. I only recommend products I believe in and use myself.
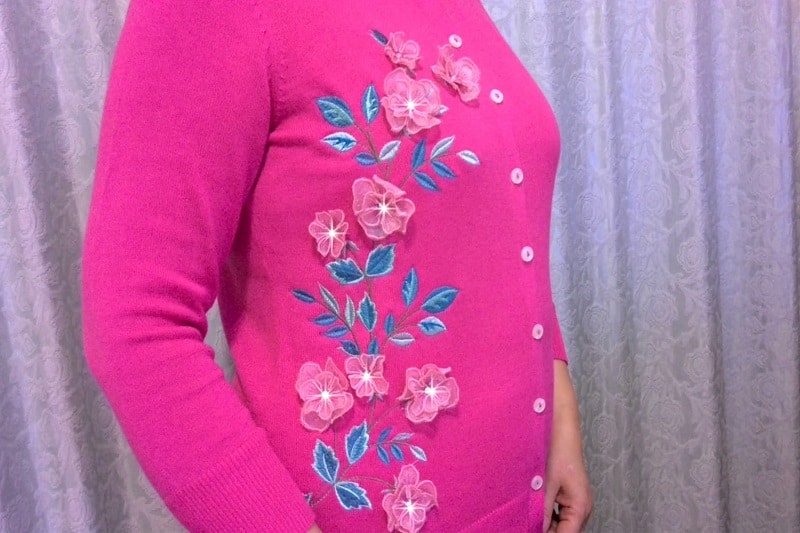
This time I decided to brighten up my plain knit pullover. I love this design – the flowers and leaves look very realistic. Don’t they look like they were just picked from a flower garden?
This look is simple to achieve, but it takes a few special techniques. Follow along to learn how!
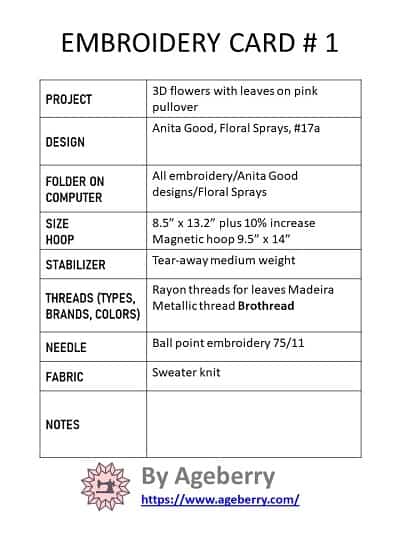
First of all, I came up with an idea to create an EMBROIDERY CARD printable PDF.
I don’t know about you, but I have a huge collection of embroidery designs from different sources. And I put embroidery on everything – I even published a post on my site with some of my machine embroidery projects (just for inspiration, you know).
I have an embroidery machine for 20 years already and it’s hard to keep track of all the designs I used. “Where would I have saved those cats I embroidered on my pillowcases 10 years ago? I would do it again for my niece’s dress.” – that’s what I think spending a frustrating hour digging through folders and folders of embroidery files on my computer.
So I decided to create (and use!) a simple embroidery card with all necessary information on it to eliminate these time-consuming exercises. With these printable PDF cards I can instantly label designs I used and then find all of them again easily no matter where or when I used them.

If you would like to have this printable PDF Embroidery Card (and you can print any number of them, of course) subscribe to my weekly newsletter and you will find the card in my site’s RESOURCE LIBRARY – I will send you the password to enter the library files in the email.
This is how I used the card (as an example).
Embroidering on knits can be tricky. Here are some tips to make it easier and have some fun.
I guess you know the difference between knits and woven fabrics. But do you know that there are many types of knits also? Some have 2-way stretch, some have 4-way stretch; some have a fuzzy, soft texture and some are pretty plain and dense.
If you want to embroider on knits pay attention to your knit fabric and choose threads, needles, stabilizers, and designs accordingly.
For example, my pullover is made from 4-way stretch fuzzy knit fabric called “sweater knit”. It’s quite thin, I would say, medium weight fabric made of cotton mostly with some rayon in it.
I used a ballpoint needle that is designed to be used with knits. They say that the rounded tip of the ballpoint needle pushes the knit fibers aside rather than piercing them and this prevents holes in knit fabric. I used size 75/11.
But I could also use a universal embroidery needle size 75/11 or 80/12. I don’t think it would make a difference for my kind of knit fabric. As for me, I can’t see the difference between ballpoint and universal needles even with a magnifier but if the manufacturers say there is a difference then I should listen to them, right?
I used rayon threads for the leaves and branches. Rayon threads are softer, and it seems to me they are better for using with soft knits. But you can use polyester threads also.
I have very good quality metallic threads and I decided to try it for this project – it worked perfectly and the metallic thread didn’t break even if metallic threads have a reputation for being difficult to work with. I think metallic threads look very impressive in embroidery and I like to add sparkling accents to embroidery designs.
And for my free-standing embroidered flowers I used polyester threads.
 Each Spool for Brother Babylock Janome Singer Pfaff Husqvarna Bernina Sewing Machines")
 Each Spool for Brother Babylock Janome Singer Pfaff Husqvarna Bernina Embroidery and Sewing Machines")
 Each Spool for Computerized Embroidery and Decorative Sewing")
Stabilizers are very important for embroidery on knits which are prone to stretching. Stabilizers help support the fabric and thread and it’s an absolute necessity for successful results.
I tried to use a mesh cut-away stabilizer (I read that’s what is good for knits) with similar knit fabric before but the fabric puckered, so I decided to use tear-away – and it was good.
I used this – medium weight soft tear-away embroidery stabilizer by StabilStitch and it was a good choice. I was afraid the stitches may misalign when I tear away the stabilizer, but fortunately it didn’t happen.
There are so many great embroidery designs now! But it’s not easy to choose one when there are so many choices. I was on my computer for hours trying to decide what to use for my pullover. I wonder how is everybody organizing and choosing their designs?
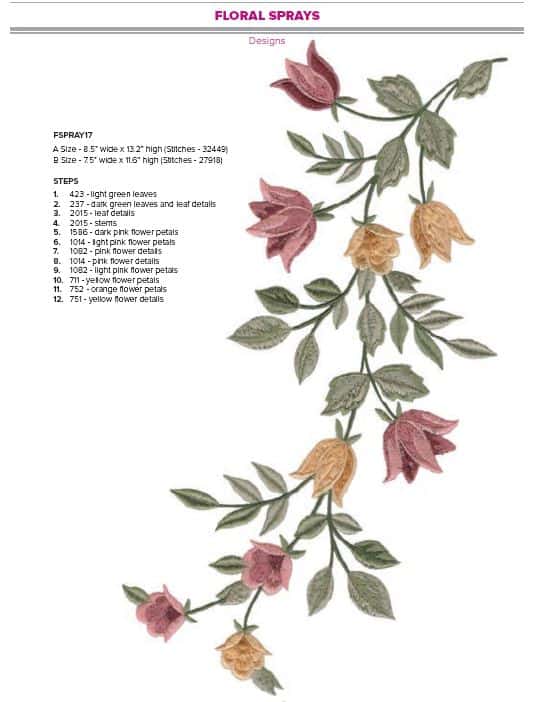
I wanted a design that is not dense – it should be “open” (as they say) to be used on knit fabric. Open designs are light, without stitch-filled areas. This flower design that I used has light open fills and lots of delicate details. But I decided to use 3D flowers instead of flowers from the design.
The design is from Anita Good designs called Floral Sprays. I like that my embroidery machine allows scaling the design — to change the size while maintaining the same stitch density as the original size. I increased the size by 10%.
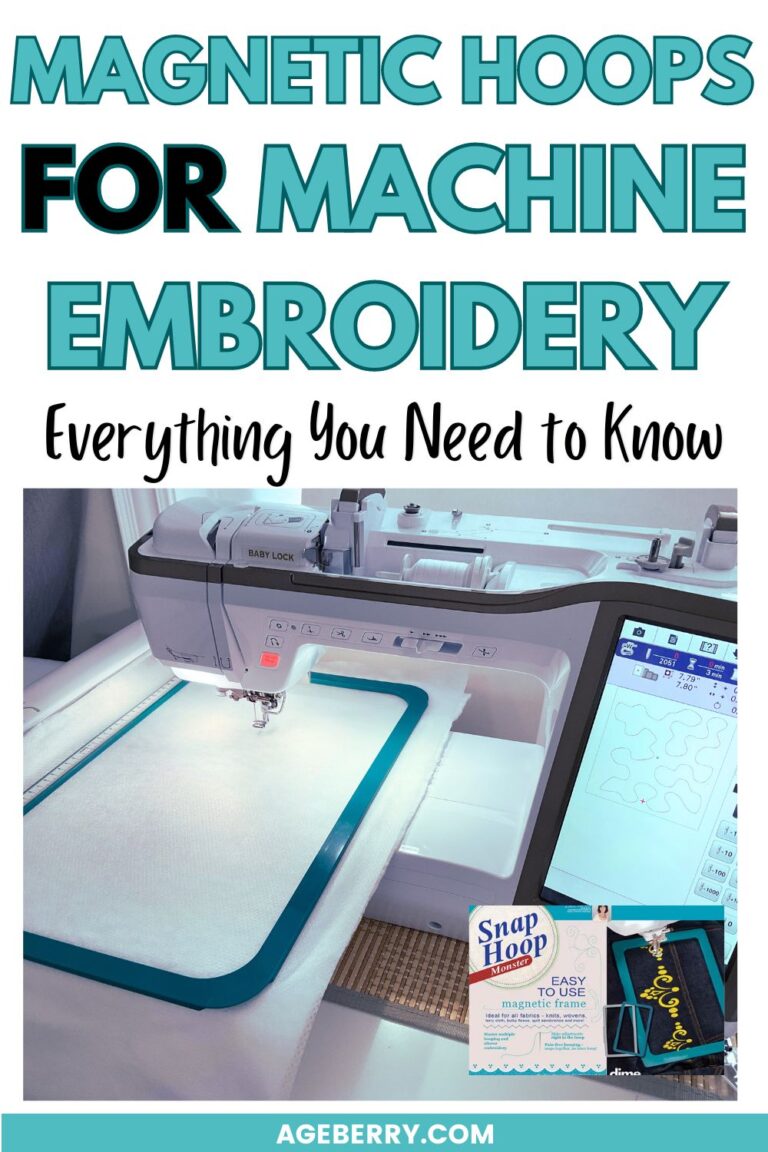
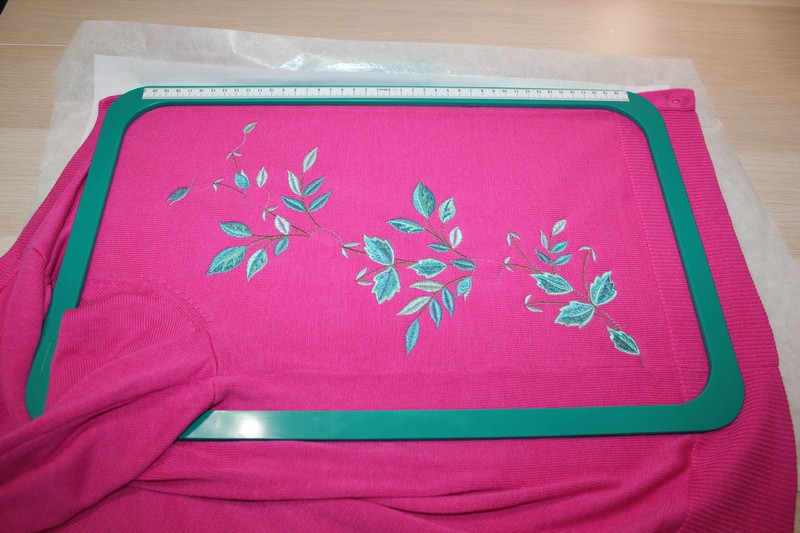
I used my DIME 9.5” x 14” magnetic hoop with my pullover. It’s great for hard to hoop items, and my pullover with long sleeves is one of them. I simply laid the stabilizer and fabric over the bottom frame and snapped the top frame in place. I didn’t want to use a regular hoop because I thought it may damage the delicate knit fibers during embroidery. The magnetic hoop held my pullover extremely well. Just make sure when hooping knitted clothes that you don‘t stretch them.
Beware that these magnetic hoops, while very convenient and easy to use, are machine specific so make sure you order one for your type of machine. Below are some examples for Brother / Babylock, which I own:
 Magnetic Embroidery Hoop for Machine Embroidery")
Also, check if you have a full bobbin. Replacing one in the middle of embroidery can be a bit tricky.
I arranged the design on the pullover and made sure the design didn’t extend into the parts I didn’t want to be embroidered. After that I secured it in place with basting stitches.
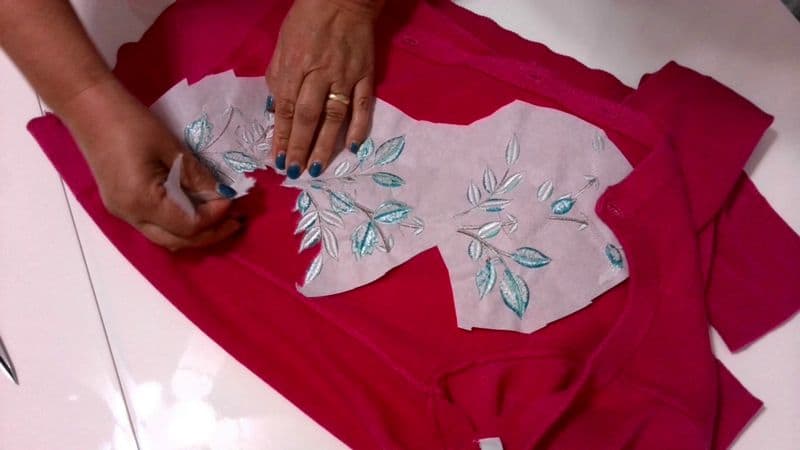
When I finished stitching I removed the pullover from the hoop, trimmed basting stitches and removed the tear-away stabilizer by tearing it close to the design edge and then pulling gently outward to tear away the excess. The stabilizer should remove easily without pulling on the threads. But some small pieces of stabilizer remained in the embroidery. Don’t worry – they will dissolve after washing.
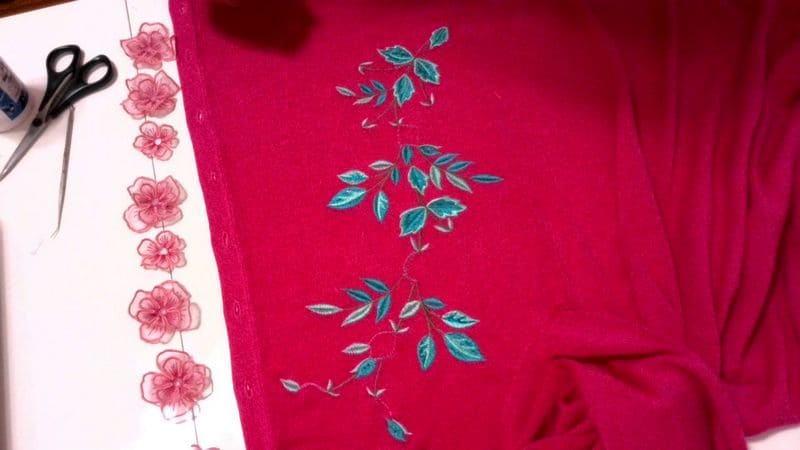
Now I have to finish my project with 3d flowers embroidered on light pink organza fabric. The flowers have to be embroidered on organza and water-soluble stabilizer.
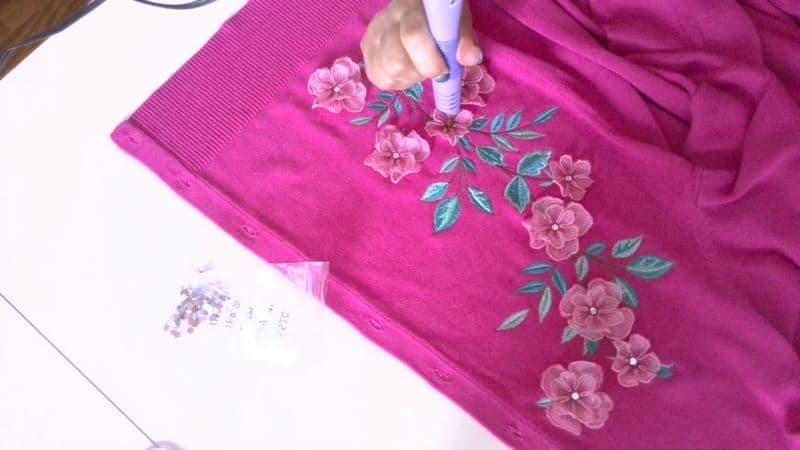
After I made all the flowers I had to attach them to my embroidery. I like to use fabric glue before securing the flowers with stitches – the glue is not toxic and dries completely clear. After that I just sewed the flowers onto the pullover.
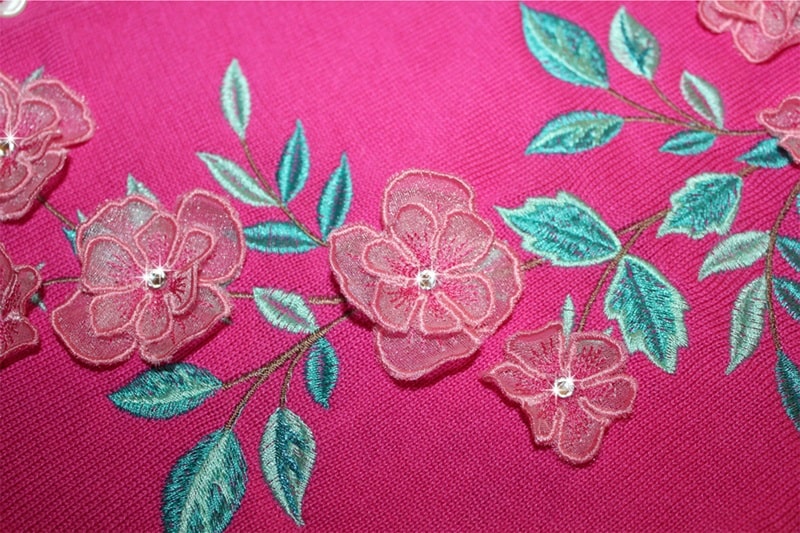
And the final touch – Swarovski crystals for the middle of every flower.
Did you find this tutorial helpful? If so, save this pin (see below) on your sewing board and follow me on Pinterest for more tips, tutorials, and inspiration!
latest posts
- What Do You Call a Person Who Sews? I Asked My Readers and Got 1,408 Opinions
- DIY Round Purse: PDF Sewing Pattern and Detailed Instructions
- Mini Wonder Clips By Clover: Useful Sewing Tool Or Just Another Notion?
- Non-Slip Grips For Quilting Rulers: A Small Notion With A Useful Job
- Fabric Eraser for Sewing: What It Removes and When to Use It
- What Is The Best Thread For Sewing Machine Projects? Let’s Find Out!
- Butterfly Quilt Block Tutorial – Foundation Paper Piecing
- How To Sew Quilt Squares So The Corners Match
- Sewing With Fork Pins: How They Help With Pattern Matching, Slippery Fabric, And Seams