Learning to sew means learning a whole new vocabulary. While the terminology may sound unfamiliar for a while, eventually, you will learn all the words that sewists use to describe fabrics, sewing machines, and projects. One word that you will hear from time to time is selvage edge of fabric (or selvege). What is this? Why is it important and what does one do with the selvage?

What is selvage?
First, you may encounter the term as either “selvage” (US English) or “selvege” (British English). I have also seen the term spelled “selvadge” or “selvedge”. This is in fact not the only quirk we have to live with in sewing English – just remember the “serger” (US, Canada) and “overlocker” (the UK, Australia, and probably elsewhere).
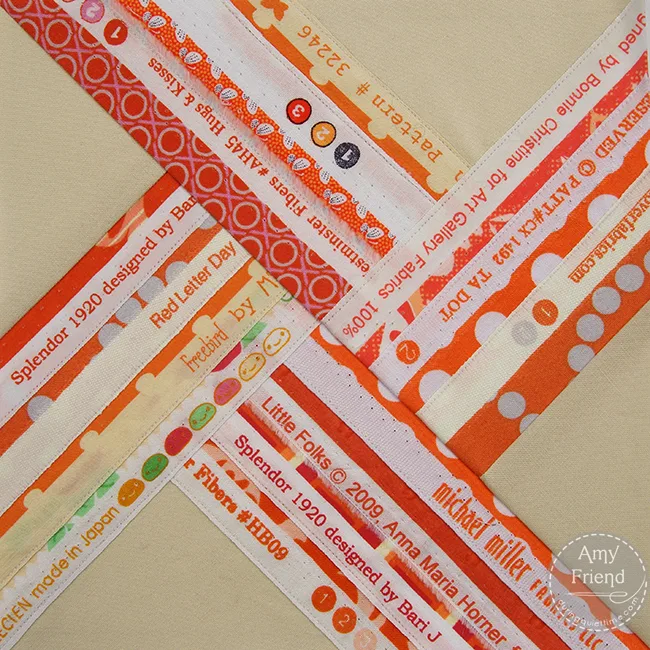
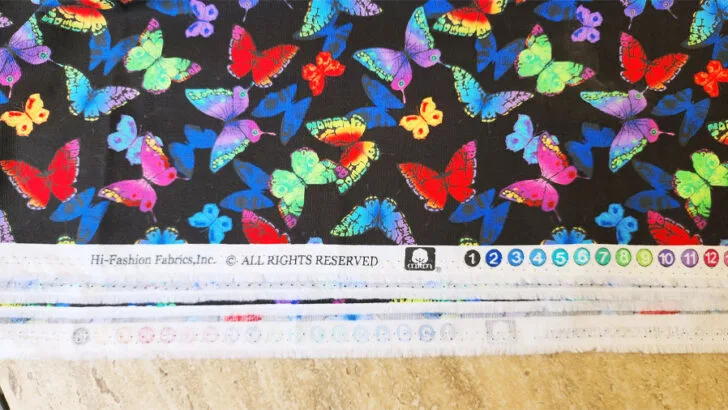
The selvage is the finished edge of the fabric. Usually this edging is tightly woven to keep the fabric from unraveling in handling. The selvage provides information about the fabric’s grain. On quilting cotton fabrics, the selvage edge is often white and does not have the printed fabric pattern on the edge. On other fabrics, the color of the fabric runs right to the very edge of the selvage.
Some selvages are thicker than the fabric itself, as often there are more threads per inch at the edges to help keep the edges straight. Some selvage edges are wide and a different color than the fabric.
You will often see little holes in the fabric along the selvage edge.
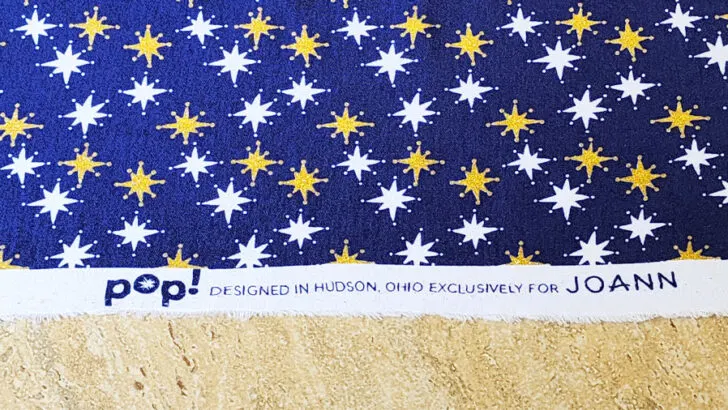
Often, the selvage edge has the manufacturer’s name printed on it, along with other information about the fabric, including the colors used, maybe fiber content, the washing instructions, or the date that it was created.
Misconceptions about Selvage
Often you will see instructions about sewing that say “always” or “never.” Well, you know what they say about rules? They’re meant to be broken, ha-ha. One rule that you will often hear is to always cut the selvage off of the fabric. This is a good rule of thumb, since the selvage can sometimes shrink oddly (differently than the rest of the fabric) and that might warp or distort the lines of your project.
But it’s not true 100 percent of the time. In some projects, you can leave the selvage on to keep the fabric from fraying and to maintain the fabric’s shape.
However, if you’re using a fabric that might shrink, cut the selvages to keep them from distorting your fabric shape.
Another misconception about selvage is that they are just there to record the fabric’s manufacturer and maybe the name of the pattern. But this is incorrect. Selvage has a functional value, in that it keeps the fabric neat and tidy, protecting it from fraying and keeping the edges straight. Also, the fabric on the roll may get dirty at the edges, exactly where the selvage is. The selvage protects the fabric this way too.
Do Knit Fabrics Have A Selvage?
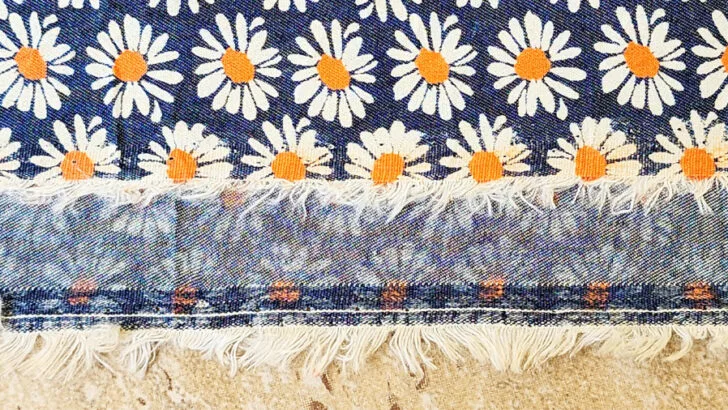
Well, yes and no. Knit fabrics do not have a selvage in the traditional sense, as they are not woven fabrics. But they still have a finished edge that looks similar to a selvage edge on woven fabrics so why not call it a selvage?
The selvage edge on knits can vary depending on the type of knit and how it was made. For example, some knit fabrics may have a slightly thicker or tighter edge than the rest of the fabric, which can help to stabilize the fabric and prevent it from curling or stretching.
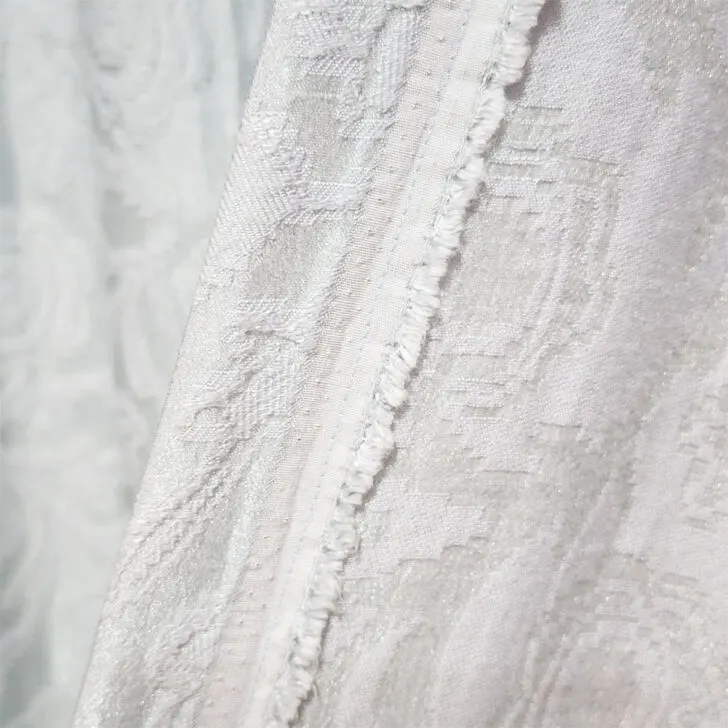
This is what a selvage edge looks like on a cotton jersey knit.
Some knits (especially knit lace) may have a decorative edge, such as a picot edge, which can add visual interest to the fabric.
✅ Related tutorial: How To Cut Knit Fabric: Ultimate Guide
Why is Selvage Important?
Selvage maintains the integrity of the fabric, keeping it in the right shape as the fabric is packaged, transported, stocked on shelves and then cut, folded, and sold to consumers. The selvage is also related to the “grainline” of the fabric. The grain of the fabric refers to the lengthwise threads that run parallel to the selvage. For many fabrics, particularly woven ones, being able to identify the grain of the fabric is important because of the way that the fabric will move when you wear the item.
The reason that many sewists are told to remove the selvage is that sometimes, in washing, the selvage edge can shrink at a different rate than the rest of the fabric. If you have cut a clothing pattern piece using the selvage as one edge of the piece, your garment might be distorted after washing. Quilters usually remove the selvage because the weaving is tighter along the selvage, making it more difficult to quilt that area of the quilt.
In most cases, the selvage edge will shrink more than the rest of the fabric, which can cause the fabric to pucker or distort if it is not accounted for during cutting.
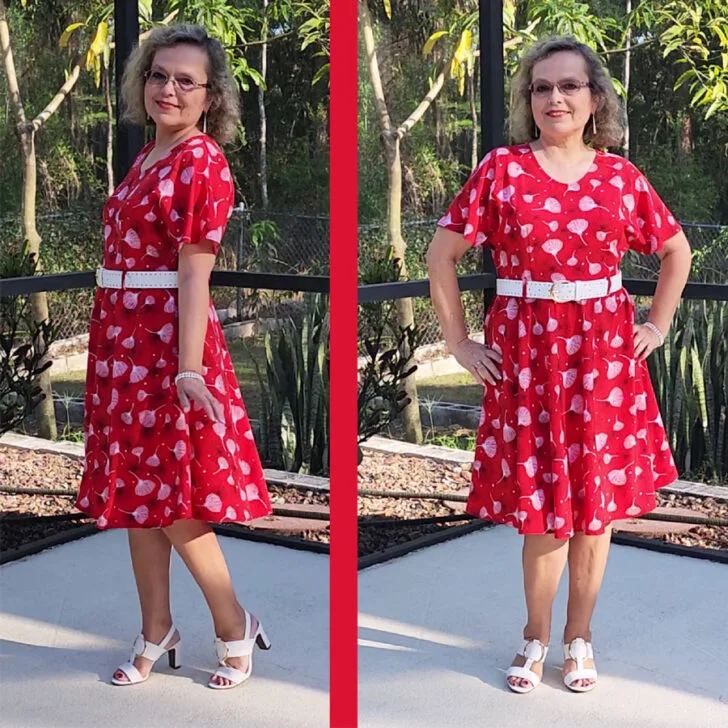
However, there are also instances where the fabric itself may shrink more than the selvage edge, which can cause its own set of problems. This happened when I was cutting polyester fabric for my summer dress. The selvage was causing waves or other distortions in the fabric.
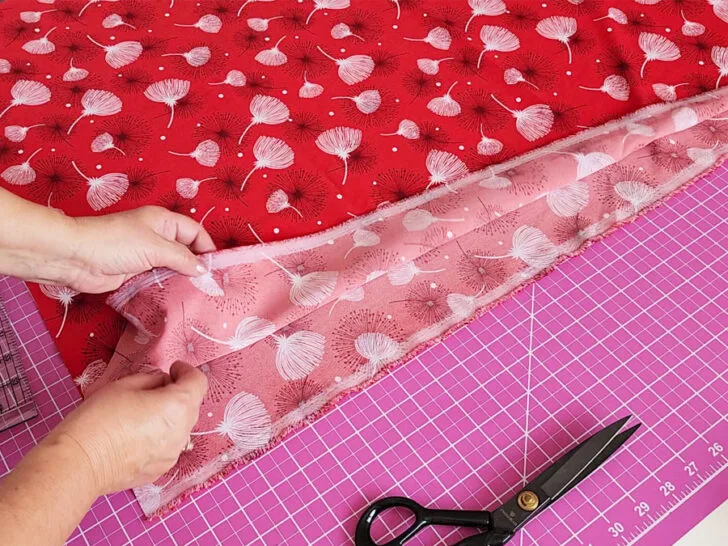
So most of the time it’s necessary to cut off the selvage edge. I like to do it with my rotary cutter.
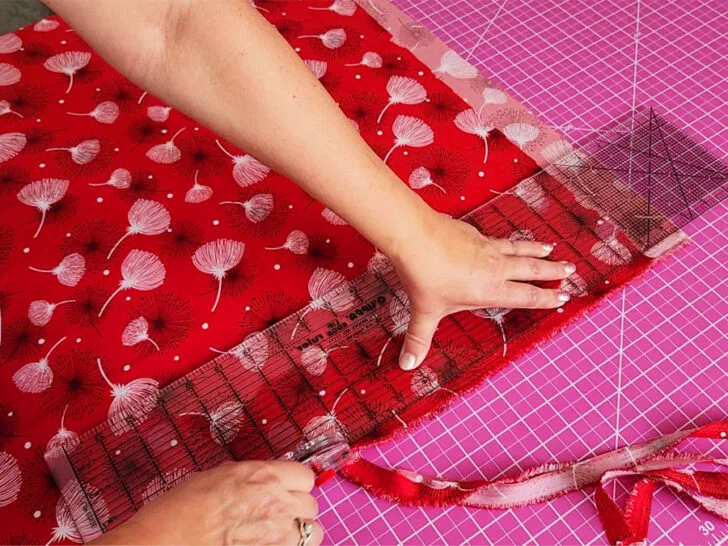
If you want to create your own summer dress, be sure to check out my step-by-step sewing tutorial – it’s easy to follow and perfect for beginners: How To Make Your Own Beautifully Tailored Dress.
When you lay out pattern pieces on a loosely woven fabric, you can keep the selvages intact to help you identify the grainline and line up pattern pieces correctly. However, just don’t pin your pattern pieces so that they will incorporate any of the selvages.
Selvage does affect the width of the fabric. When you trim the selvage, your fabric piece does become a bit narrower, so you should keep this in mind as you purchase fabric.
✅ Related tutorial: How Much Fabric Do I Need? 21 Helpful Tips For Success
Important reminder: the grainline of the fabric runs parallel to the selvage.
How to Use Selvage
Most sewists are quite frugal and the idea of just tossing all those lengths of selvage trimmed from various fabrics is painful. However, if you don’t want to throw your selvages away, you can still try to use them for other fun crafty projects.
Many people use fabric glue to attach selvages to various items, like pencil cups, shoes, or other items. Other creative people have used selvages to make miniature quilt items, pin cushions, knitted rag rugs, or even tote bags. The internet is a place where you can find dozens of selvage projects. For example, check this post – Threading My Way: 40+ Projects to Make With ~ Selvedges ~ Selvages
So if it bugs you to just throw the selvage away, you can keep them and turn your selvage collection into something useful.
Another way that you can use selvage is to use it to make a finished edge of your garment or curtain. If you have prewashed the fabric and pressed it and the selvage hasn’t really shrunk, you are probably in the clear to incorporate your fabric’s selvage into a project. To do this, align a pattern piece along the selvage edge. You can do this for waistbands, hemlines, and other straight-edged pattern pieces. Doing this will allow you to avoid finishing your seams, at least for those pattern pieces. For example, I kept the selvage edge on the curtains in my sewing room and I haven’t had any problems with it (I have had the curtains for 7 years already).
Some manufacturers make their selvages very pretty. These edges might feature the name of the company in a fancy script along with decorative touches and patterns. You can use these fancy edges as a design feature if you like. Just get creative as you lay out pattern pieces for your garment or quilt. One thing to keep in mind, however, is to pay close attention to the grainline of the fabric and match your pattern pieces to the appropriate grainline.
You can also use your selvage edges as appliques or trim pieces. These might look stunning when used to accentuate a waistline or the hemlines of a garment. Be sure that you test the selvage with a hot iron before you sew with it to make sure that it won’t melt or shrink oddly.
Selvage Quilts
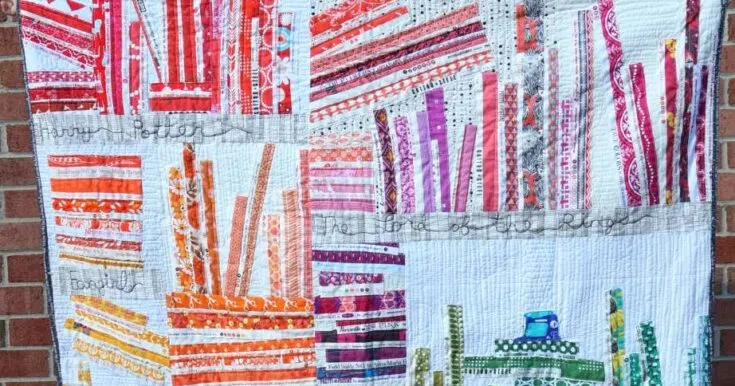
While some quilters avoid using the selvage in their projects, others embrace the oddity of the selvage, making whole projects that highlight this uncelebrated part of their fabrics.
Here are five quilting projects that feature the uniqueness of using selvage in stitching. They hearken back to the times when quilting was a way of using every tiny scrap of fabric in an effort to avoid waste. If you have this mindset, you can start saving your selvage strips to make projects like these.
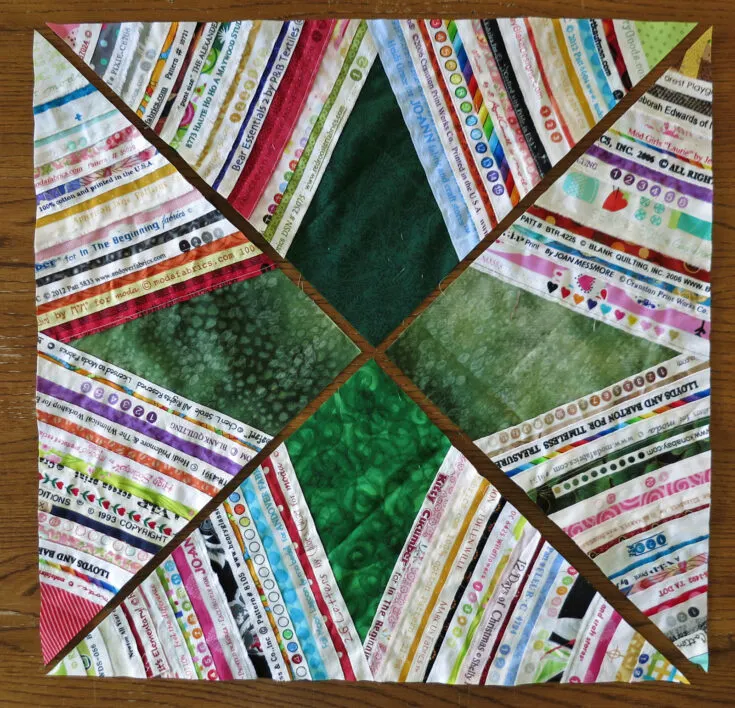
This quilt featured on Run And Sew Quilts uses triangles created from strips of selvage. The triangles are paired with other quilt pieces so you can accent with any color that you like. This pattern as stitched from these instructions is more for a wall hanging. However, I'm certain that you can adapt the pattern and stitching style to create a bed-sized quilt if you like.
If you want a mindless, uncomplicated quilt pattern to create with your selvage pieces, this tutorial from Heritage Threads can show you how to make simple quilt blocks. The selvage pieces are sewn to a foundation piece on the diagonal, and then they are cut down to a perfect square. Later on, when you have enough pieces, you can stitch them into a quilt. This project is great because you can create quilt blocks as you gather the selvage. It might be a work in progress for several years as you stitch, but eventually, you will have enough quilt blocks to make a lovely quilt.
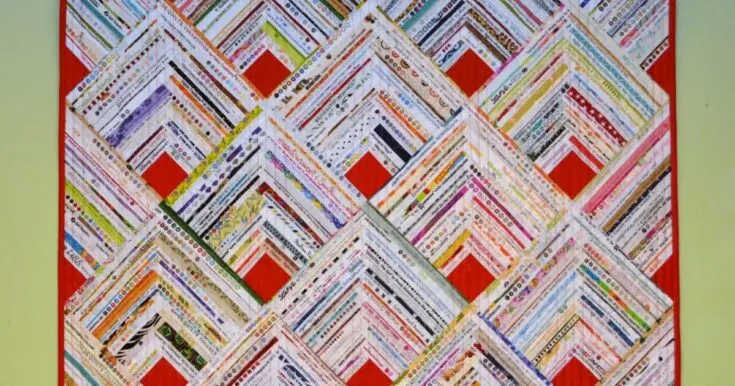
The Seaside Stitches blog has this lovely log cabin style quilt created from selvage. It makes a lovely wall quilt, but by adding more quilt blocks, you can make it whatever size you want. The sewist made this quilt using the pattern available on Etsy by Button Box, but with a bit of figuring, you probably can figure out how to make it on your own, without purchasing a pattern.
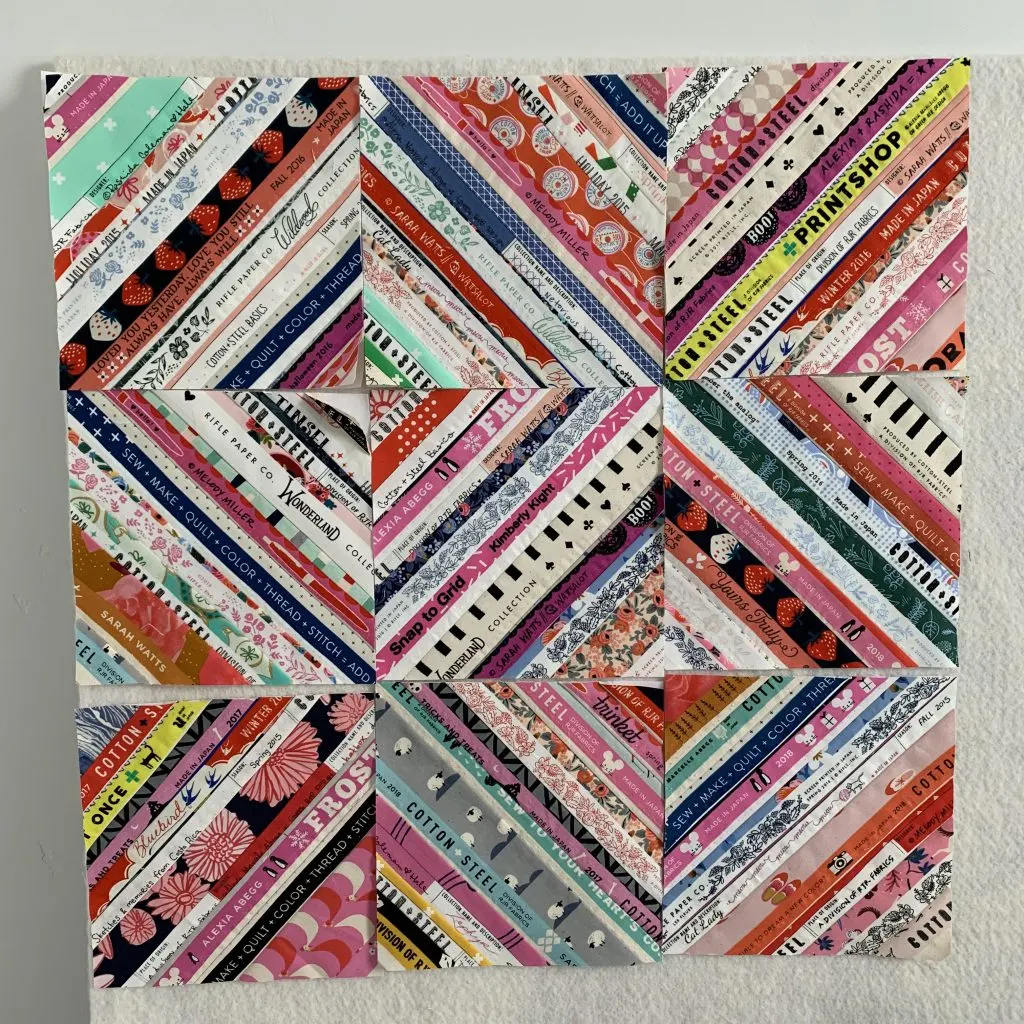
While the author of the During Quiet Time doesn't have a published photo of her completed project, by just looking at the pictures of her quilt blocks, we can see that this quilt is going to be a beautiful project. She took the selvages and sorted them by color and stitched them into quilt blocks in a pinwheel pattern.
This selvage quilt project on the Quilty Habit blog uses applique to stitch the selvage onto a background fabric. The author of the blog sorted her selvage pieces by color and stitched them in a way that looked very much like a collection of books on a bookcase. The quilt ended up absolutely beautiful.
FAQ
How to Find Grainline Without Selvage
Finding the grain when the selvage of the fabric is intact is easy. However, if you’re working with a fabric that already doesn’t have selvage, you can still find the grainline. First, look at the fabric and stretch and pull on it. The direction that the fabric doesn’t stretch in most easily is the grainline.
Another way to find the grainline is to pull some threads from the edge, fraying the fabric a bit. Eventually, if you continue to pull the thread, you will end up with a straight line and that might be your grainline (or a crosswise grain that is perpendicular to the grainline).
The other way of finding the grainline is to snip a bit from the edge and then tear the fabric. The fabric will tear right down the grainline or a crosswise grain that is perpendicular to the grainline.
How to Find Grainline with Selvage
When you have the selvage intact, finding the grainline is easy because the grainline runs parallel to the selvage.
How to Square Up Fabric Without Selvage
Squaring up fabric will ensure that you cut fabric straight and your finished project will hang correctly. It’s easier to do this when the selvage is intact, but not impossible if the selvage is not there. To square up fabric without selvage, simply pull a thread from one side of the fabric after cutting a slit near the edge of the fabric piece. Then, you can follow the line of the pulled thread with your scissors and your fabric edge should be perfectly squared.
✅ Related tutorial: How to square up fabric
How to Tell Right Side of Fabric by Selvage
With some fabrics, it is obvious which is the right or wrong side. However, the selvage can help tip you off to which is which if you are unsure.
Selvages may include some texts and little dots that show the colors used in the fabric. The side with the writing and dots is obviously the right side of the fabric.
The right side of the selvage edge may be as smooth as the wrong side, but sometimes you will see small knots or other imperfections on the wrong side of the fabric.
Near the selvage is a row of tiny pin holes. If the pinholes look neat and tidy and the fabric feels smooth, you are looking at the right side of the fabric. However, if the pinholes are ragged and untidy and the fabric isn’t smooth, you are looking at the wrong side of the fabric.
While most fabrics have a clear right and wrong side, some fabrics are reversible and have no clear distinction between the two sides even at selvages. For example, there are double-sided quilted fabrics and both sides can be used interchangeably. Some types of knit fabrics like rib knit or interlock knit have a consistent texture on both sides, making them reversible.
✅ Related tutorial: All About Modern Types Of Knit Fabric
In these cases, you can choose which side you want to use as the right side based on your personal preference or the design of the project.
For example, I have this nice 100% wool fabric with stripes and I can’t clearly see which side is right and which side is wrong. The fabric looks the same but the selvages are a bit different: one side has the blue thread. So I decided to consider this the wrong side of the fabric.
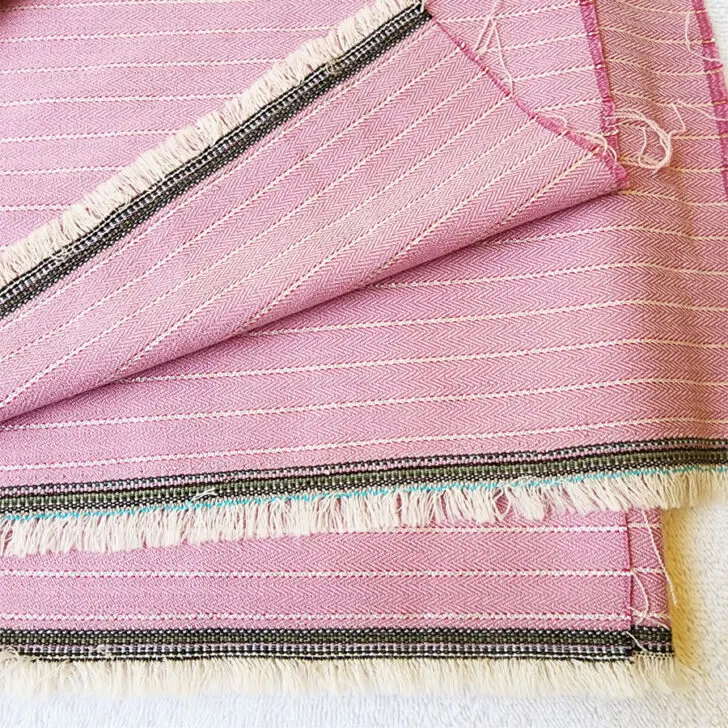
It may be helpful to mark the chosen right side of the fabric with a small piece of painter’s tape to avoid confusion during the sewing process.
Did you find this tutorial helpful? If so, save this pin (see below) on your sewing board so you can come to this tutorial later when you need this information on the selvage edge of fabric, and follow me on Pinterest for more tips, tutorials, and inspiration!
latest posts
- Ever Tried This on Your Serger? This Differential Feed Feature Will Amaze You
- Ditch My Sewing Machine? Not in This Lifetime!
- Adorable DIY Needle Book | Easy Tutorial for Beginners
- Master the Seam Ripper: Your Ultimate Guide to Precision Stitch Removal
- Think You Know Zippers? This Installation Guide Might Surprise You
- Why Does Your Seam Ripper Have a Red Ball? Discover Its Purpose!
- Topstitching Troubles? This Simple Trick Will Turn It Around Instantly!
- How to Sew Shirring: A Step-by-Step Guide to Elastic Thread Gathering
- Are Self-Threading Needles Really Useful?

