How To Sew Quilt Squares So The Corners Match
In this guide, I want to show you a very interesting trick for getting quilt squares to line up neatly, with corners that meet where they are supposed to meet. And no, it doesn’t involve pinning every tiny seam until your project looks like a porcupine.
The trick uses fusible interfacing in a slightly unusual way. Instead of sewing one square to another and hoping the rows stay straight, you arrange the squares first, fuse them in place, and then sew the seams. It sounds almost too simple, but it can make a big difference when you are working with small squares, many seams, or a design where mismatched corners would be very noticeable.
If your quilt squares like to shift, stretch, or wander just enough to annoy you, this method is worth trying.
For this method, you will need a piece of fusible interfacing. It should be very lightweight.
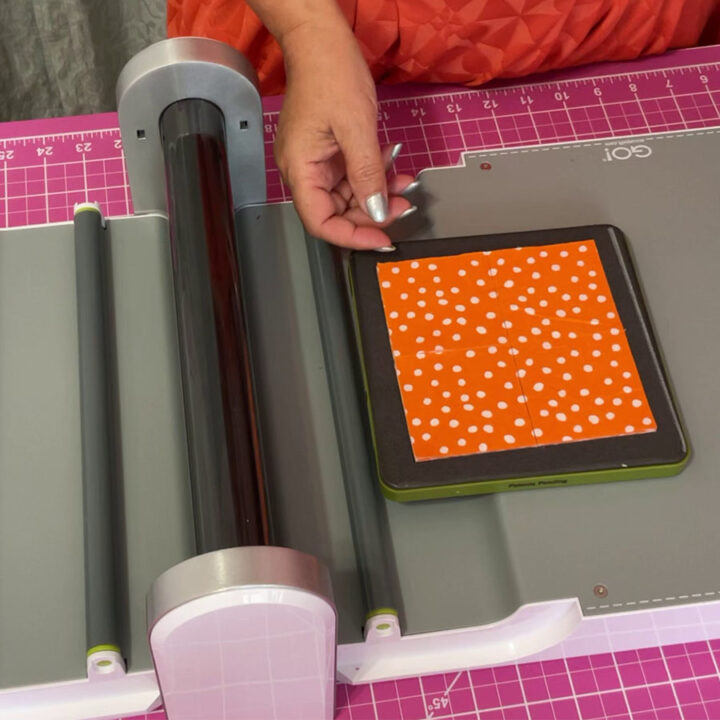
Prepare the pattern you want to use and cut your quilt squares.
I am using an Accuquilt Go fabric cutter to cut my squares. I decided to go with a 2.5” square for my quilt so the machine cut 24 fully identical squares in just one minute (or maybe even less).
Step 1. Arrange the squares on a piece of interfacing according to your pattern
Once you’ve cut a piece of interfacing, lay it out on your work surface with the adhesive side up. Do it on a flat and smooth surface for example, on a wool pressing mat because later on, you will need to press the prepared fabric squares with a hot iron. An ironing board might be too small for the squares to fit.
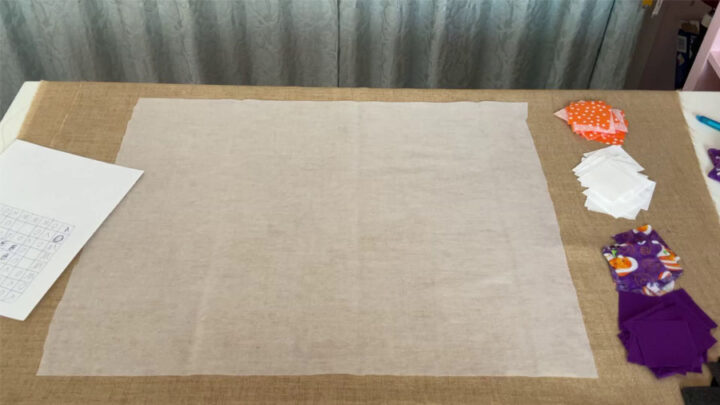
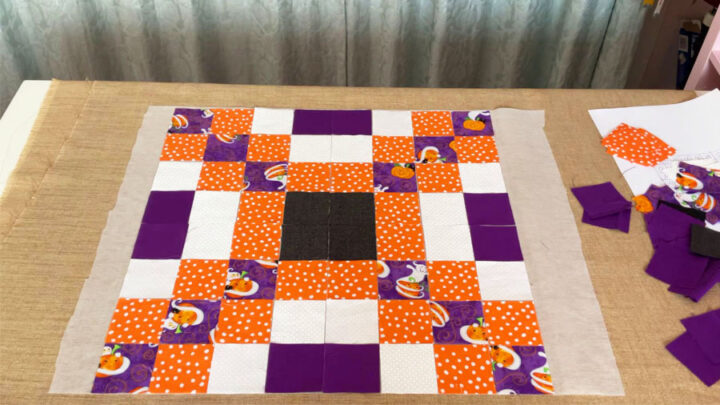
Next, arrange your fabric squares on top of the interfacing in rows and columns, making sure you are following the quilt pattern. Fabric edges should be put very close together without overlapping. Try to keep the rows and columns as straight as possible.
The top side of the interfacing piece is straight so start putting your squares right at the top.
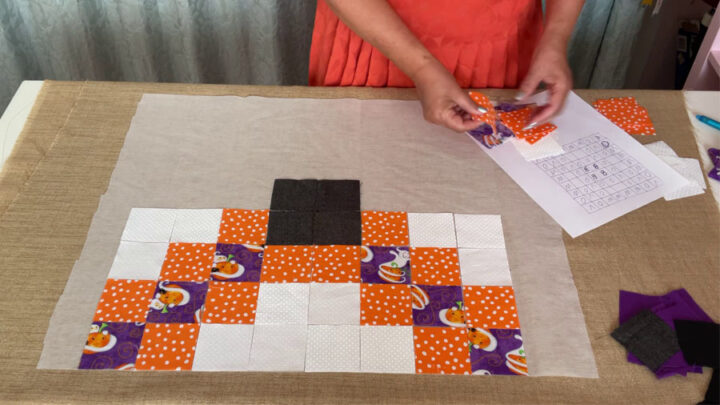
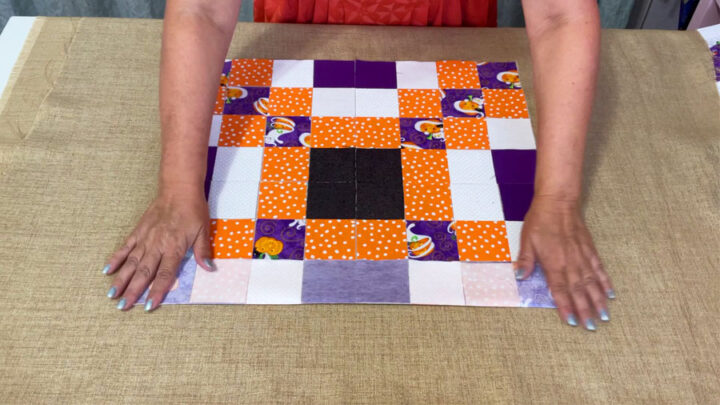
You’ll also want to make sure that all the squares are smooth before you begin pressing. If there are any creases or folds, they will become permanent when you press them with the iron.
✅ Related tutorial: Types of Interfacing Explained: Woven, Non-Woven, Knit, Fusible, and Sew-In
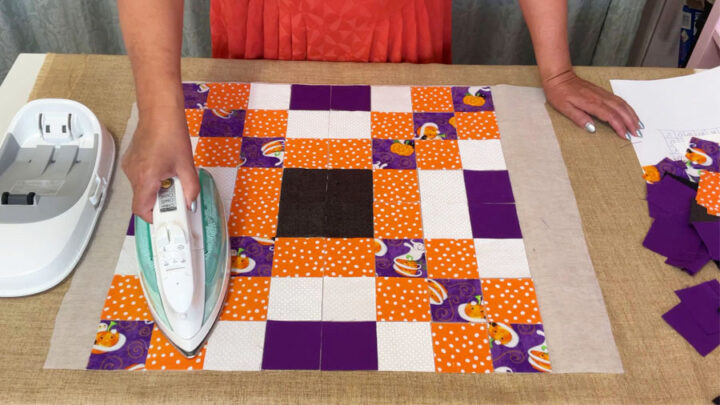
Step 2. Fuse the interfacing to the prepared squares
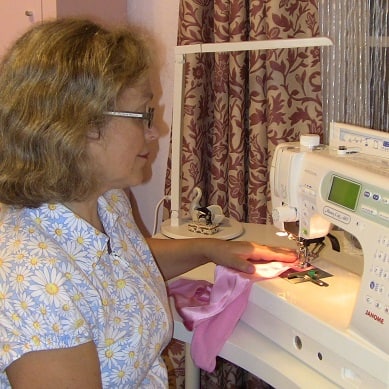
Now that you have your fabric squares arranged and ready to go, it’s time to press them with a hot iron. Simply press the iron down onto the fabric for a few seconds, moving it around until the entire surface is fused. Once you’re done, let the squares cool completely before you begin using the sheet.
You can use a pressing cloth This way, if any glue comes off of the interfacing, it will be absorbed by the pressing cloth instead of sticking to the iron. But try not to touch the interfacing with the iron.
Make sure that the iron is set to the appropriate heat level. You don’t want to damage the fabric. I kept my iron on medium heat (or wool setting).
Once you’ve finished fusing the interfacing, trim away any excess interfacing.
✅ Related tutorial: Panasonic Cordless Irons: Review and Insights from Daily Use
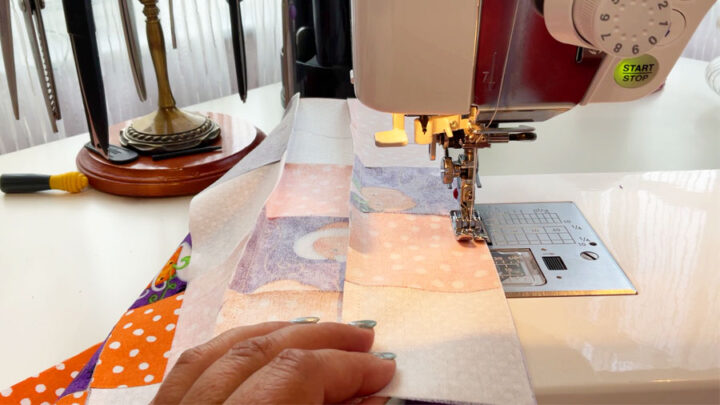
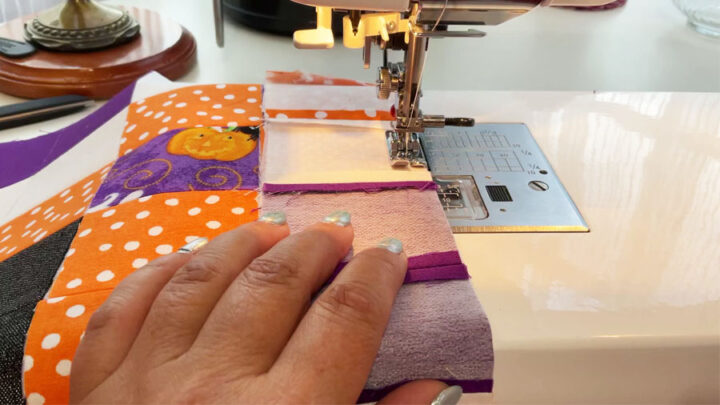
Step 3. Sew row by row in one direction
Now that you cover the entire sheet with fabric squares, it’s time to move on to the next step.
Fold the first row of squares right sides together with the whole sheet, and stitch along the fold using ¼” seam allowances.
Continue until all the rows in one direction are stitched together.
It’s very important to keep the same seam allowances (¼”) over the entire piece. But it’s very easy to do if you use the special quarter-inch presser foot.
Step 4. Open the seams and press
It’s very easy and fast to open the seam allowances on each row. Just use a seam ripper and cut the interfacing between the seam allowances.
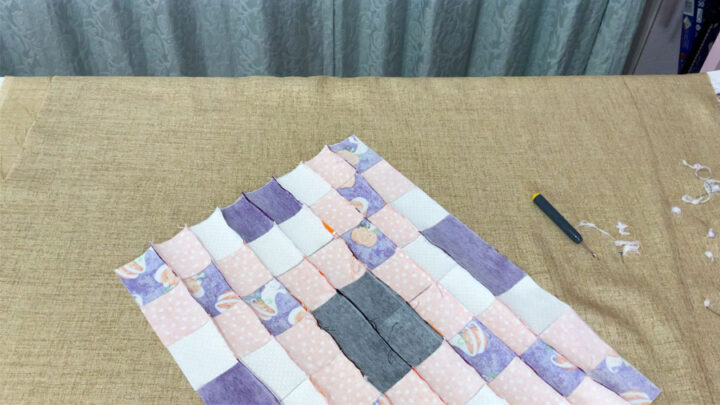
Fingerpress the seams open. I like to use a special finger presser to do that. And after that, press with a steam iron making sure the prepared sheet with squares is completely flat and there are no wrinkles or folds.
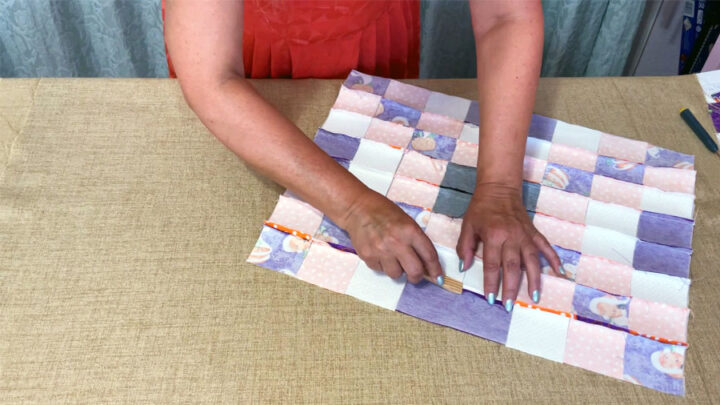
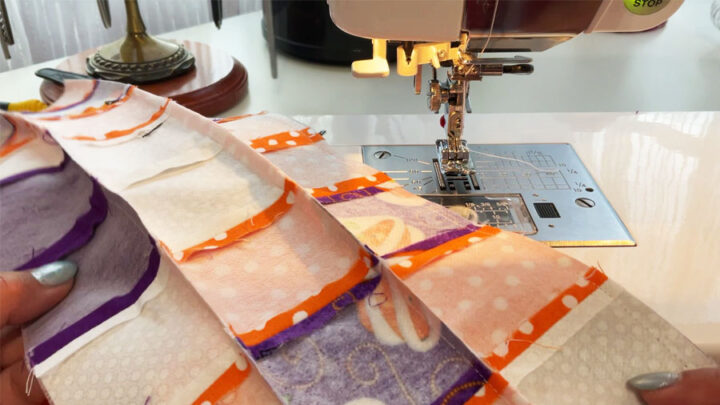
Step 5. Sew rows of squares perpendicular to the already sewn rows
Now it’s time to sew the remaining rows. To do this, simply fold down the first row so that the right sides are together with the sheet, and then sew along the fold in the same manner as you did with the previous rows. Work your way across the whole piece until all of the rows have been sewn.
It’s very important to keep the same seam allowances over the entire piece.
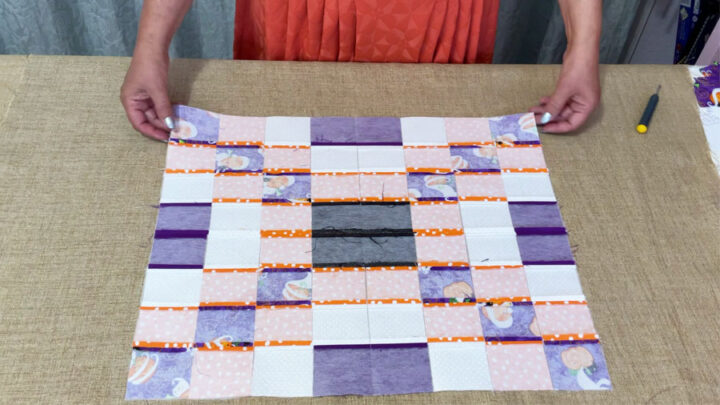
Step 6. Press the seams
These seams don’t need to be open. Press them on one side all in the same direction. Use a finger presser first and after that, press with an iron. It’s better to do it from the front side of the block.
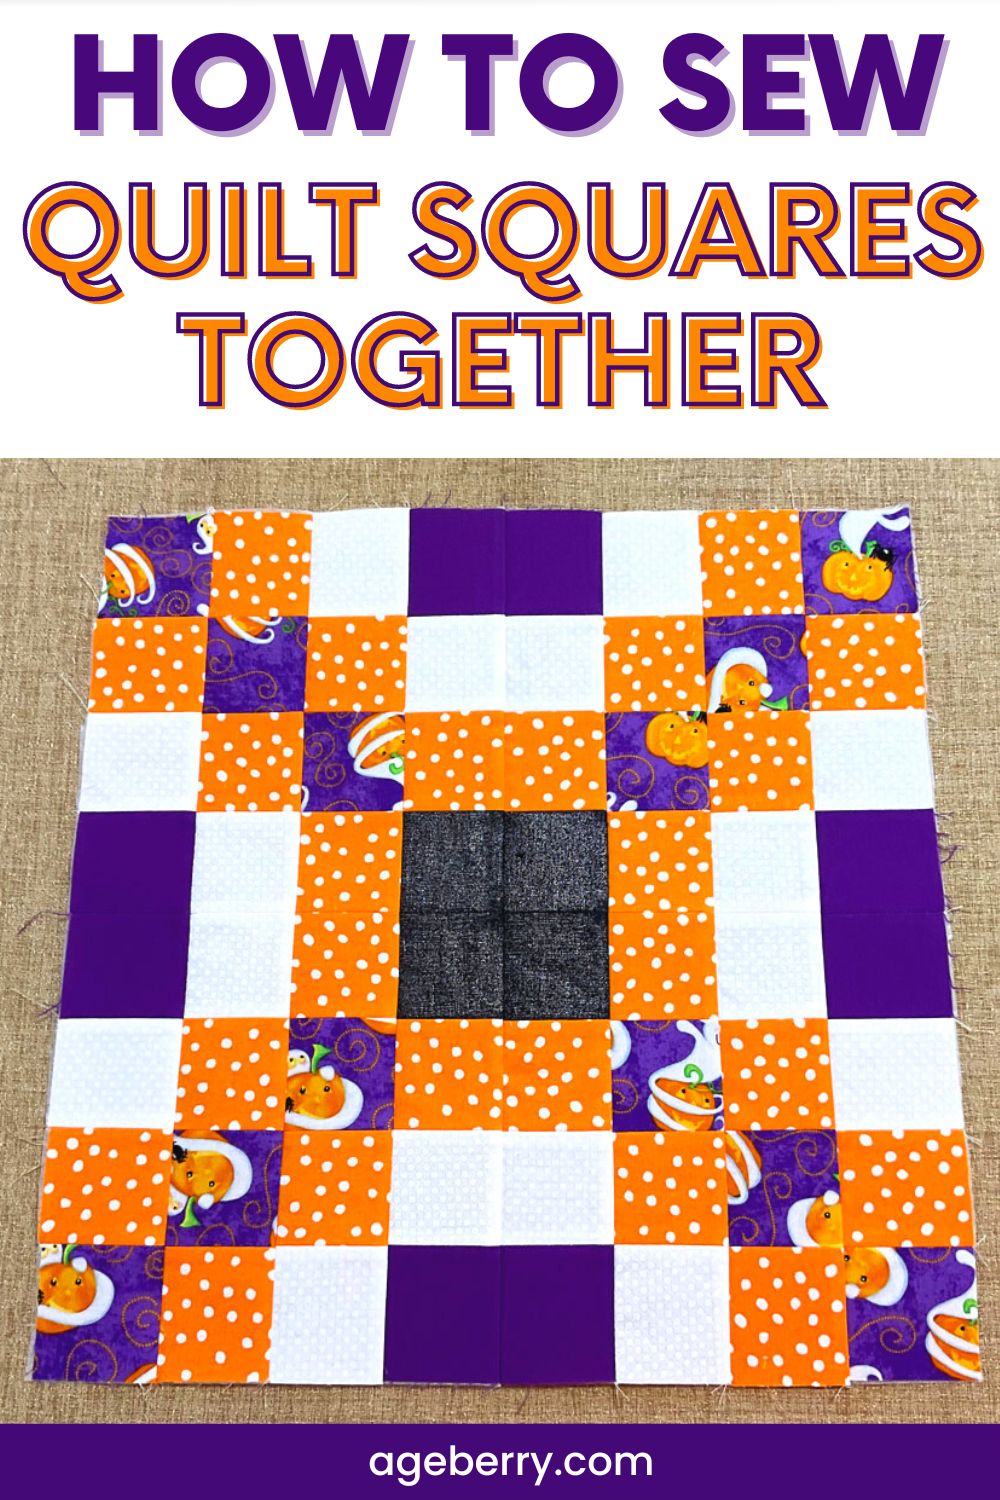
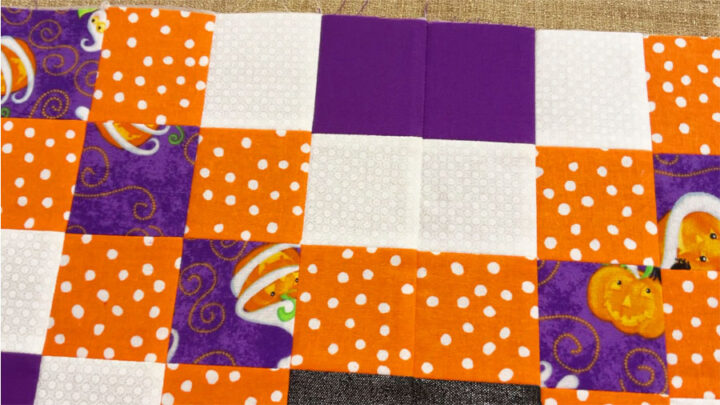
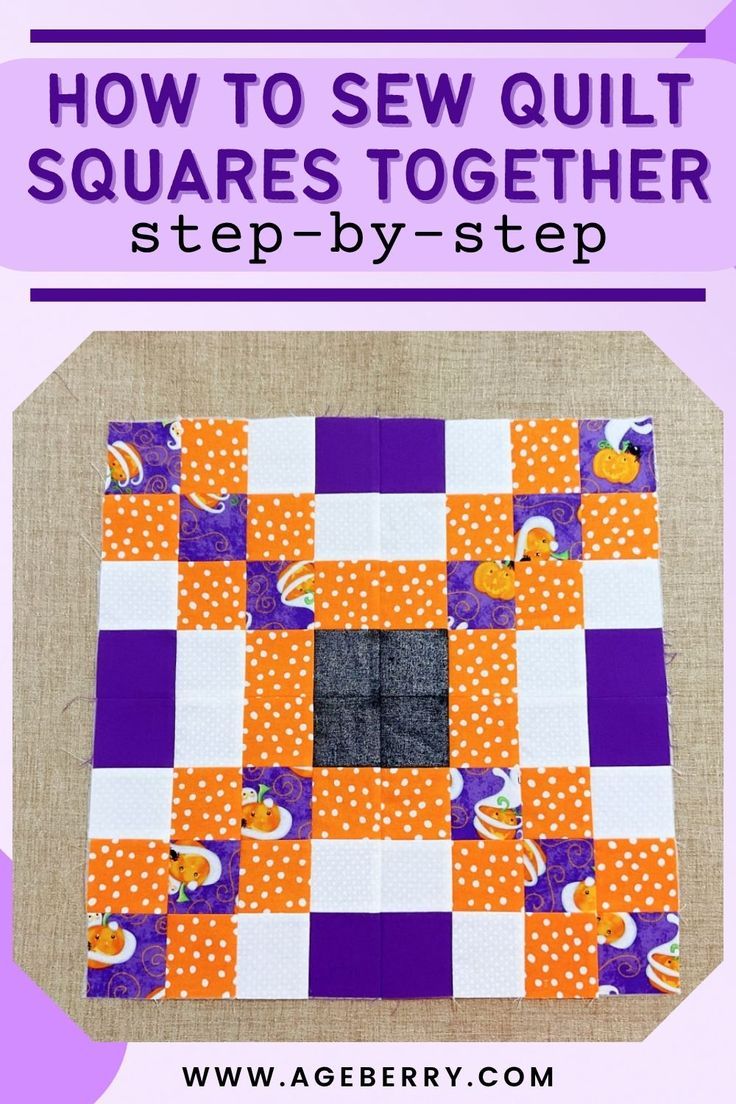
And this is the result. Now you can see that all squares in this quilt block are exactly the same size and the corners are perfectly matched.
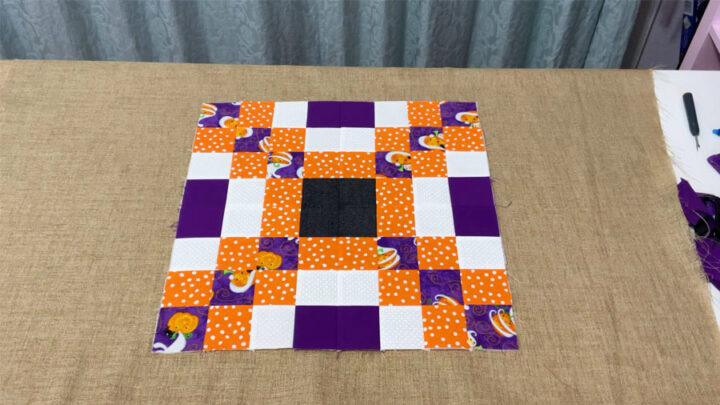
In conclusion: Now that you know how to sew the quilt squares together that have matched corners, you can use this same method to make other quilt blocks, too. With a little practice, you’ll be able to use this method to make any kind of quilt block you want, and your quilts will be better than ever before.
This tutorial shows the interfacing trick for matching quilt square corners, but if you want to see the whole process in a real project, I teach it in my Simple Patchwork Quilts course. You’ll make a patchwork pillow sham and a placemat while learning the basic steps: cutting quilt squares, sewing them together, basting, quilting, and binding. The course is $10, so it’s a small paid option if you’d like more step-by-step help beyond this free article.
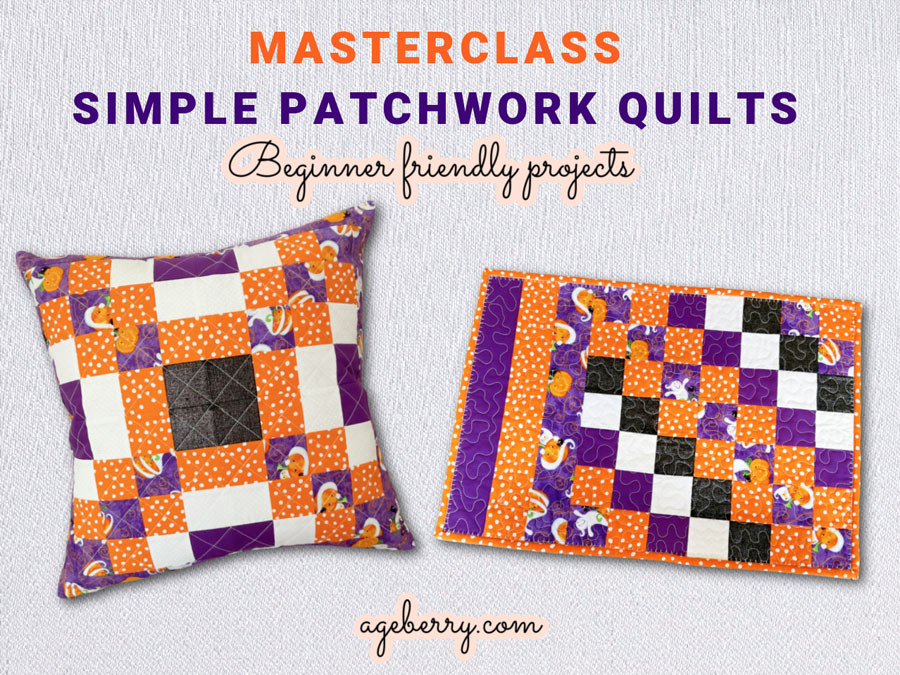
Here is the course if you want to learn the full process:
Did you find this guide helpful? If so, save this pin (see below) on your sewing board so you can come to this tutorial later when you need this information on how to sew quilt squares together and follow me on Pinterest for more tips, tutorials, and inspiration!
latest posts
- 20+ Reasons Your Sewing Machine Thread Keeps Breaking (+ Solutions)
- Dresden Plate Quilt Block: 4th of July Fireworks
- How To Sew Curves the Easy Way Using a Curve Master Presser Foot
- 30 Sewing Hacks That Turn Ordinary Items into Useful Sewing Tools
- Seam Allowances in Sewing Patterns: What They Are and How to Use Them
- What Do You Call a Person Who Sews? I Asked My Readers and Got 1,408 Opinions
- DIY Round Purse: PDF Sewing Pattern and Detailed Instructions
- Mini Wonder Clips By Clover: Useful Sewing Tool Or Just Another Notion?
- Non-Slip Grips For Quilting Rulers: A Small Notion With A Useful Job