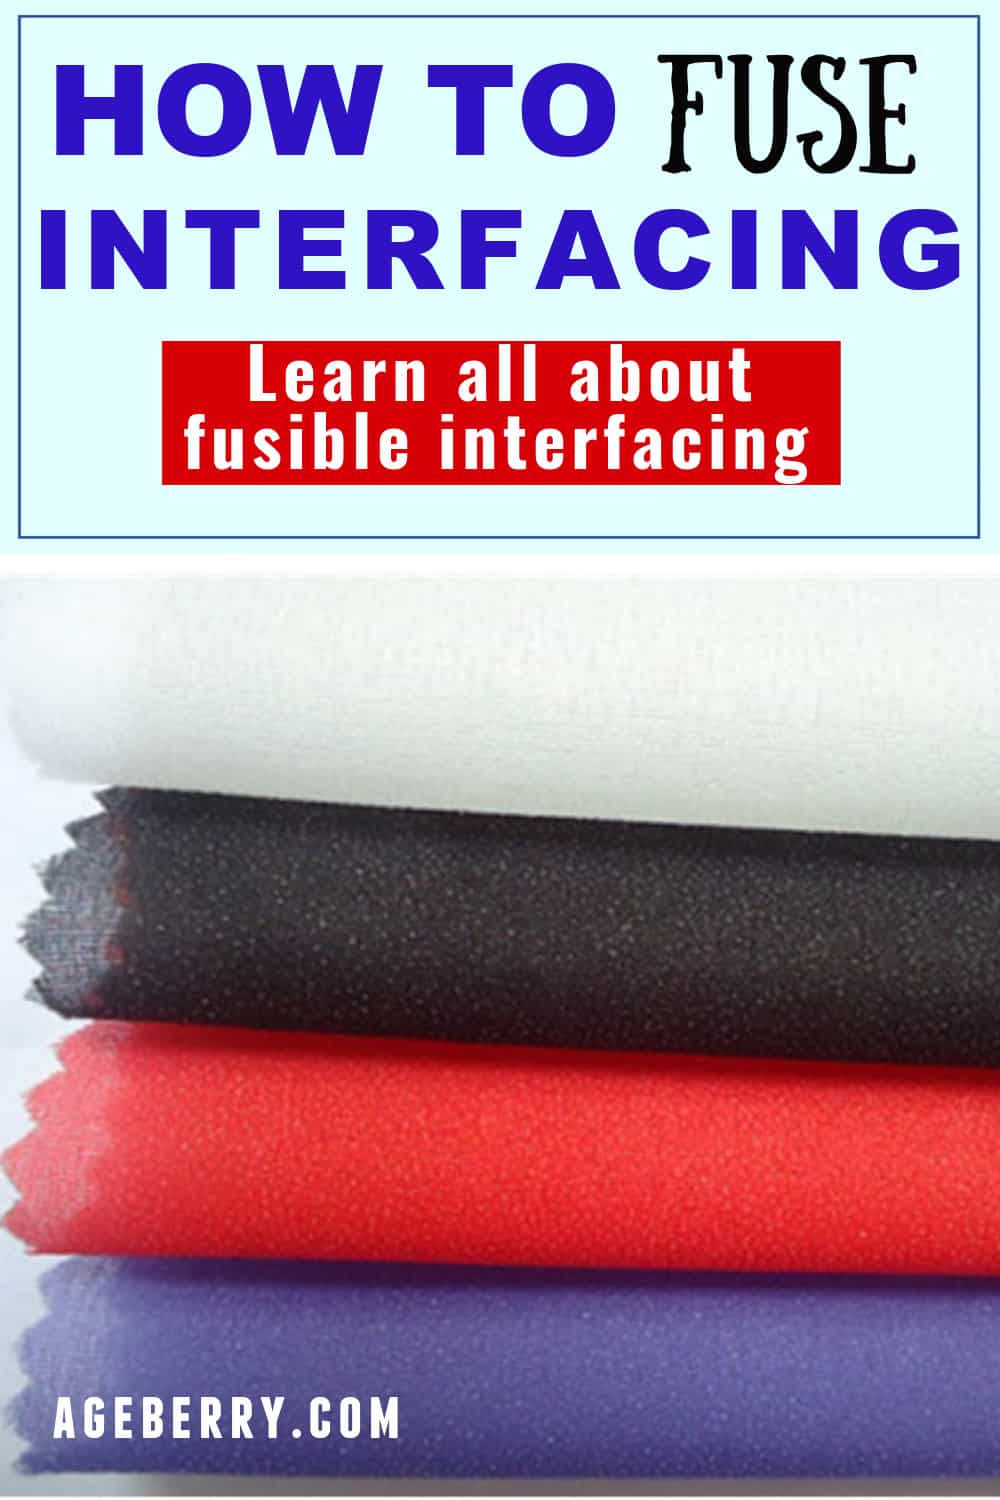
How To Use Fusible Interfacing (Video + Tips And Tricks)
In this sewing tutorial, I’m covering everything you need to know about fusible interfacing: what it is, how to use fusible interfacing, which side is fusible, and much more. Whether you’re a sewing novice or a seasoned pro, fusible interfacing is an important tool to have in your crafting arsenal.
What is fusible interfacing?
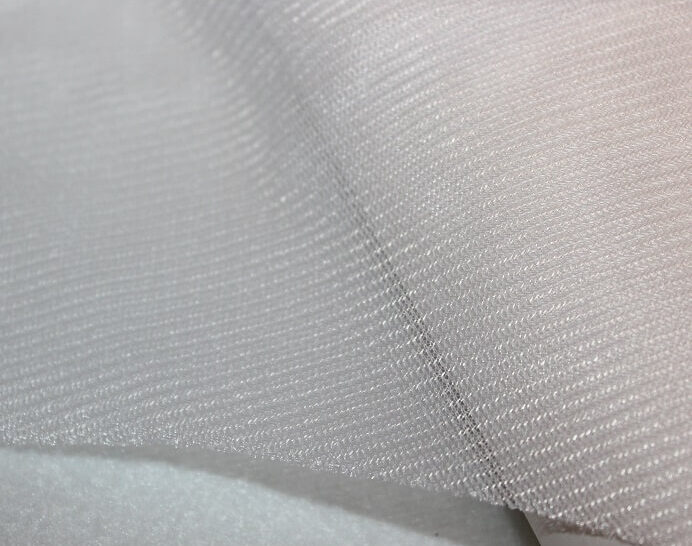
Fusible interfacing is a material used in sewing, quilting, and craft projects. It has a heat-activated adhesive on one side that bonds to the fabric when ironed. Fusible interfacing can have different structures and thicknesses to work well with different fabrics.
For example, you can use fusible interfacing to add structure to a lightweight fabric or to reinforce a fabric that will be subject to a lot of wear and tear.
To use it, you fuse it to the wrong (unseen) side of the fabric to give the material additional strength and support or maintain a particular shape. When using fusible interfacing, it’s important to follow the manufacturer’s instructions for best results.
Why do you use fusible interfacing?
Interfacing helps to support areas of your garment that need a little extra stability. For example, if you are sewing a tailored shirt, you would use interfacing on the collar and cuff areas to help them keep their shape.
This tool is like your secret weapon in sewing. It stays hidden as sewists commonly use it to:
- Fortify collars
- Stabilize facings, hems, and buttonholes
- Bolster waistbands in garment construction
- Prevent fabric from fraying
- Support sewing bags and purses
- Apply appliqué
- And more
Attention! If you like the video format, at the bottom of this post, look for a YouTube video version where there is a step-by-step tutorial on how to use fusible interfacing. For a more complete picture, I recommend exploring both versions.
Types Of Fusible Interfacing: When To Use Which Type
Before you go and begin applying fusible interfacing to your projects, it’s essential to know what type of interfacing is suitable for the particular project and the fabric you’re working with.
When I started to sew 30 years ago, only ONE type of fusible interfacing was available to me. Well, maybe there were different types then, but they weren’t available for home sewing.
Now I have maybe 20 different types! Oh, wait… it’s more, maybe even 40. And, believe it or not, most of the time, when I need interfacing, it turns out I don’t have the exact type that I need, so I have to buy it.
So, what types of fusible interfacing can be used for your projects?
Note: Some of the links on this page are affiliate links. This means I will receive a commission if you order a product through one of my links. I only recommend products I believe in and use myself.
Non-Woven Fusible Interfacing
This is the most common type of interfacing that sewists use. Since it is a product straight from the chemical industry, it is not technically a fabric.
Non-woven fusible interfacing will not unravel and usually doesn’t have a grain. It can often be cut in any direction, which allows you to use every bit of it in a very economical way. However, sometimes it does have a grain, and in those cases, manufacturers advise cutting according to the grainline.
Generally, non-woven fusible interfacing doesn’t have any stretch and can be used with any woven fabric. I don’t recommend using it for knits unless you want to reduce fabric stretch.
Woven Fusible Interfacing
This type of interfacing is a kind of fabric that’s made from warp and weft fibers interwoven together. As such, you will find that it has a lengthwise and crosswise grain.
Most of the time, it is a non-stretch material, but sometimes it can have some stretchy properties. Woven fusible interfacing works well with woven fabric.

Knit Fusible Interfacing
If you’re looking for interfacing that will stretch similarly to knit fabric, this is it. Knit fusible interfacing is made by knitting fibers together and is used mostly when working with stretch knit fabrics.
Ways To Classify Fusible Interfacing
All the above types of fusible interfacing can be further classified as lightweight, medium-weight, and heavyweight. Here’s a quick rundown of when to use each classification.
- Lightweight – works to add strength and stability to lightweight or delicate materials.
- Medium-weight – suitable for a wide range of materials.
- Heavyweight – ideal for adding structure to thick or heavyweight materials (ex: purses).
There is a direct correlation between the weight of your fabric and the weight of the interfacing you need (ex: heavier fabric needs heavier interfacing). However, you aren’t necessarily looking to match weight with weight because you want to use interfacing that’s a slightly lighter weight than the material in your project.
✅ Related tutorial: How to use fusible interfacing for face masks
How To Fuse Interfacing Step-by-Step
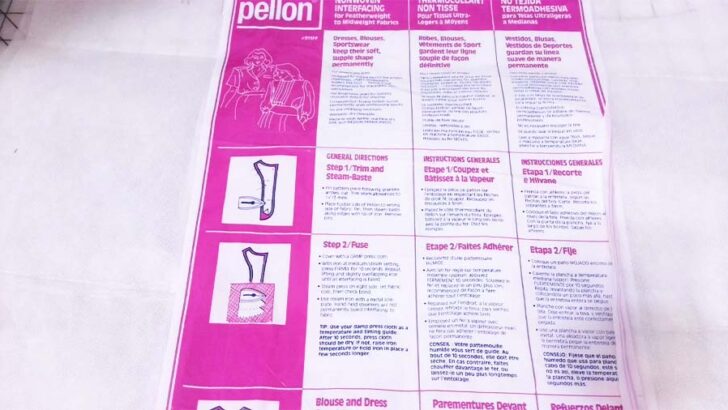
It seems so easy to use interfacing when you watch other people do it. Here is the most typical (but not necessarily the best) way interfacing is fused to fabric:
- Pre-wash the fabric (if necessary) and press it so the fabric is smooth and flat.
- Place your fabric on the ironing board with the wrong side up.
- Find the adhesive side of the interfacing (I’ll show how later) and place the fusible side of the interfacing on the wrong side of the fabric.
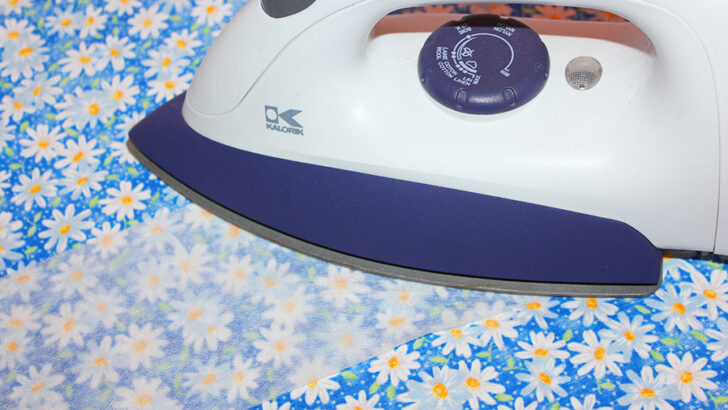
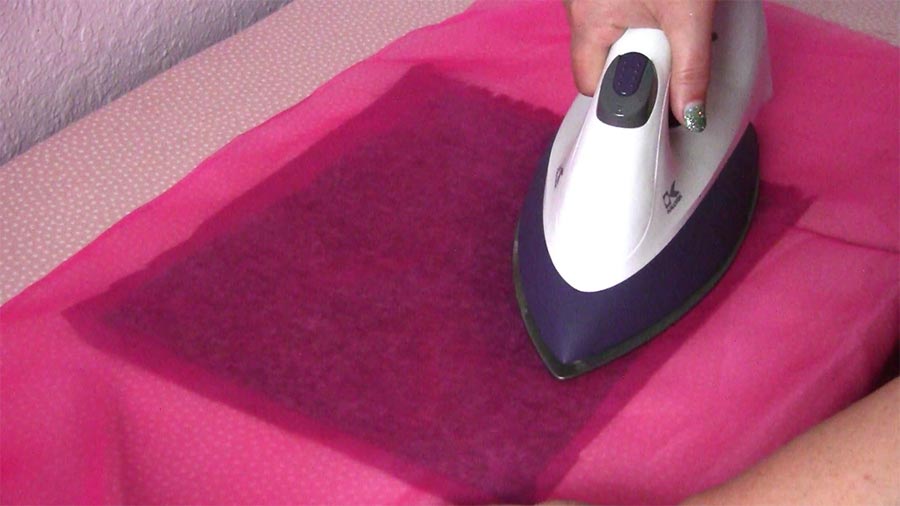
- Press with a hot iron. Apply firm, steady, even pressure as you keep the iron in place for 10-15 seconds. You can use steam or only dry heat (follow the manufacturer’s instructions).
- Move the iron to a new position by lifting and lowering it, making sure to overlap just a little bit. Repeat until all areas of the interfacing have been fused to the fabric. (Avoid sliding the iron over the material, as you may shift the layers of fabric and interfacing, causing distortion.)
- After you press the side of the material with the interfacing, I recommend flipping the material over to press the other side as well. This helps to ensure a solid and secure bond between the fabric and the interfacing.
- Check if the interfacing has adhered to the fabric correctly (but only after the fabric cooled down). If you see that the bond isn’t secure, simply press it again.
- Avoid using interfaced pieces while they are still warm because interfacing can become distorted. Let it cool down.
It seems fairly simple, right?
✅ Related tutorial: Iron buying guide
More Options For Using Fusible Interfacing
The other common way to use it is to attach the adhesive side of the interfacing to the wrong side of the fabric and cover the interfacing with a pressing cloth. Press with a hot iron. You can do this if you are afraid the interfacing will stick to the iron. (I will talk about this in detail later.)
Sometimes you can fuse the interfacing with a steam iron, and other times you will need to turn the steam off and use the dry iron. Always follow the manufacturer’s instructions.
Where do you find those instructions? Unfortunately, it’s not always possible. I have gotten into the habit of keeping the paper from a manufacturer with a piece of interfacing to prevent that scenario.
If you don’t have any instructions for your particular interfacing, just use a pressing cloth and press through it with steam. But it always pays to test the fabric first.
Note: In most cases, I recommend using a pressing cloth. Sometimes it’s even necessary if you are using some special fabrics like silk or leather.
Pro Tip: Do you know what I use as a pressing cloth? 100% silk organza! It’s a perfect material because it withstands the hottest iron temperature and steam. Plus, I can see through it very clearly when I am ironing.
Fusible Interfacing Problems And Troubleshooting
Now let’s see what can go wrong. Here, we will explore problems you may encounter in the process and troubleshoot how to solve those problems.
1. Fusible Interfacing Not Sticking
Sometimes certain finishes that manufacturers apply to the fabric can prevent fusible interfacing from adhering to the material. If you make sure to pre-wash the fabric before starting your project, that can help prevent this problem.
Another reason this may happen is that your iron is not hot enough. In that case, you just need to keep the iron on the fabric longer. I recommend using the “wool” setting to get the temperature correct. But, if you are using a pressing cloth, then you can increase the heat setting slightly.
Don’t fall for the faulty thinking that a hotter temperature is always better for fusing interfacing. Sometimes an iron that’s too hot will burn the glue off. Or the glue could melt completely, and your interfacing won’t stick. Again, it always pays to test first!
Another possible cause is that the type of interfacing you want to fuse is not suitable for your fabric. If your fabric is very textured, the adhesive won’t stick well. Use sew-in interfacing instead of fusible. Is your fabric slippery? The adhesive will not stick well to leather and vinyl, so you can try to keep the hot iron longer on the material.
2. You Ironed The Wrong Side Of The Interfacing
Which side of the interfacing is fusible? Usually, if you look at fusible interfacing really closely, you will notice specks of glue on the fusible side of the interfacing. Sometimes, you can even tell the fusible side by the slightly bumpy texture of the adhesive or a slight shininess from the glue.
But still, everybody guesses wrong from time to time and makes a mess on the iron. How do we solve this problem? Well, it’s easier than you may think.
Determine the fusible side of the interfacing before you begin your project. I recommend doing so when you have enough light to clearly see the shiny glue. Once identified, place a piece of painter’s tape on the adhesive side of the interfacing. Then, just take it off right before pressing.
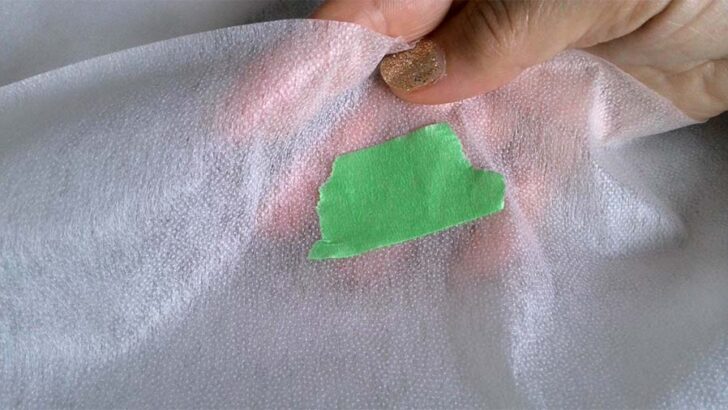
Pro Tip: You can also use painter’s tape to mark the wrong side of the fabric (when the difference between the right and wrong sides is not apparent).
3. Small Pieces Of The Fusible Interfacing Adhered To The Wrong Item
From time to time, I have readers mention their interfacing glued to the iron or the ironing board.
Take care to protect your fabric and ironing board from any excess adhesive. I recommend using a pressing cloth to prevent getting glue on your iron (which can be a real pain to clean off). In addition, place a scrap piece on the ironing board underneath your fabric.
You can also use parchment paper as an alternative because it won’t stick to the interfacing. Place it under your fabric on the ironing board or above the interfacing to prevent it from sticking to the board or the iron.
4. Fusible Interfacing Doesn’t Work With Some Fabrics
Fusible interfacing won’t work with fabrics that can’t be safely ironed, such as:
- Fabrics with a nap (velvet, fur)
- Sequins and metallic fabric
- Many types of vinyl
- Lace
- Mesh
- Some sheers
I use sew-in interfacing for these types of fabrics because they can be ruined by the hot temperature required to fuse the interfacing. However, sometimes, I may use fusible interfacing with vinyl or leather.
5. Fabric May Be Distorted Or Wrinkled
Be sure to use an iron temperature that is suitable for both the fabric and the interfacing.
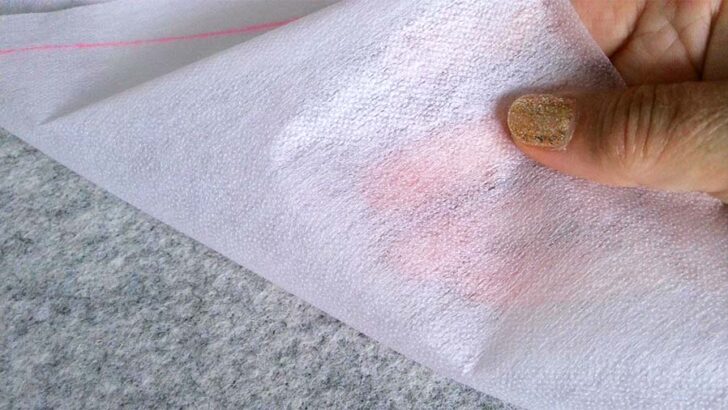
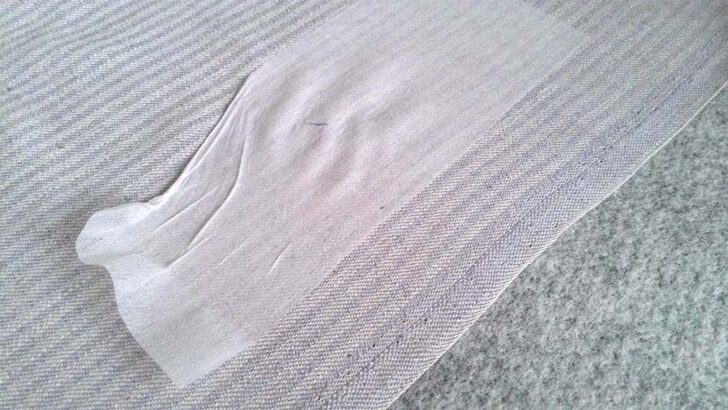
I recently used fusible fleece for the first time to make a lined zippered pouch. When I tested it on scrap 100% cotton fabric, it was all wrinkly on the fabric side. So I placed it glue side up and then fabric on top and ironed with a dry iron on the cotton setting. The piece got wrinkled all over, even if I used a pressing cloth.
The reason for this is the iron temperature – fusible fleece needs to be pressed on lower settings than the cotton. Just keep pressing longer with the lower iron temperature.
6. Fusible Interfacing Puckers
Don’t glide the iron – just press. Apply firm, even pressure, and keep the iron in place for a few seconds. By pressing instead of ironing, you avoid shifting the interfacing and causing it to pucker.
7. Interfacing Melts Or You Damage Your Fabric
If this happens, it means that the iron temperature is too hot. Put the iron temperature on the “wool” setting, use a pressing cloth, and hold the iron in place not that long.
✅ Related tutorial: Wool Pressing Mat: How to Use, Pros and Cons, Best Brands, Sizes
Helpful Tips And Tricks For Working With Interfacing
Although working with fusible interfacing isn’t hard, here are a few tips that can help ensure success for beginners.
Always Test First
Do a test on a piece of scrap fabric so that you can see how your fabric fuses to the type of interfacing you have chosen. If you see that the material becomes too stiff or the interfacing melts, you can change the interfacing. You might also find that you need to change the temperature settings of your iron.
Save Time By Fusing Large Pieces Of Interfacing
When sewing garments, people usually cut out pattern pieces first and then cut coordinating pieces from fusible interfacing. However, I do it a little bit differently.
I fuse a big piece of interfacing to the fabric and cut out pattern pieces after that. It’s not the most economical method because you will have to place pattern pieces in accordance with the grainline of the fabric, but it saves so much time (which is economical in its own way).

Pre-Wash Fusible Interfacing
Can you wash fusible interfacing? Yes, you can. It is not necessary to pre-wash every type of interfacing. However, some manufacturers advise washing to pre-shrink fusible interfacing.
Don’t be afraid to wash it – the water won’t dissolve the glue!
To wash:
- Place interfacing in hot water
- Allow it to sit for 5 minutes
- Remove it and gently squeeze out excess water or place the interfacing in a terry cloth towel.
- Air dry thoroughly.
The interfacing will stay fused after you wash your garment or quilt, within reason. If you wash it 1000 times, then it may come apart, of course.
Sewing Through Fusible Interfacing
Can you sew through fusible interfacing? Yes! It will not be a problem for lightweight and medium-weight interfacing. However, if you use a heavyweight variety (for example, thick fusible fleece), you may need to change your needle for a bigger size.
Sometimes if you are using a fusible web (learn more in the FAQs section below), melted glue can gum up your needle.
There are special needles (ex: non-stick Teflon-covered needles) that go through glue without any problems. They have an anti-adhesive coating, move through the sticky stuff more easily than regular needles, and don’t usually get fuzz balls.
But if you are using a regular needle, you may need to clean it as soon as you finish stitching.
How To Remove Fusible Interfacing From Fabric
It may happen that you fuse the wrong pieces – that occurred to me a few times. For example, I needed to fuse interfacing to my skirt’s yokes. I fused one piece to the wrong side and another to the right side of coordinating pattern pieces (yokes) because the right and wrong sides weren’t very apparent. Whoops!
If you find yourself doing this, most of the time, you have no choice but to cut the pieces again because interfacing is supposed to adhere to the fabric permanently. There are, however, rare occasions when you can remove fused interfacing if you didn’t adhere to it properly in the first place.
Color Match As Closely As Possible
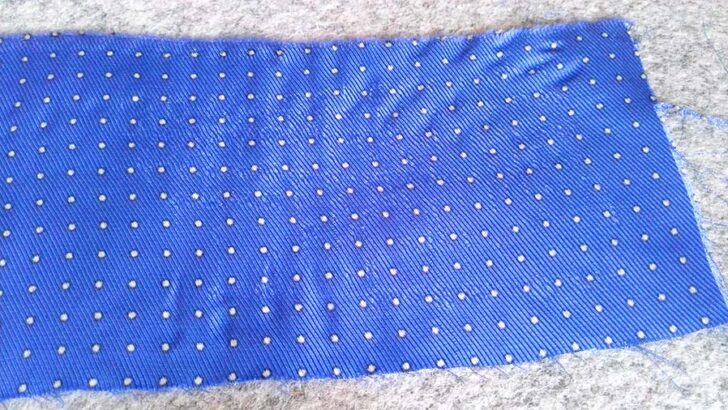
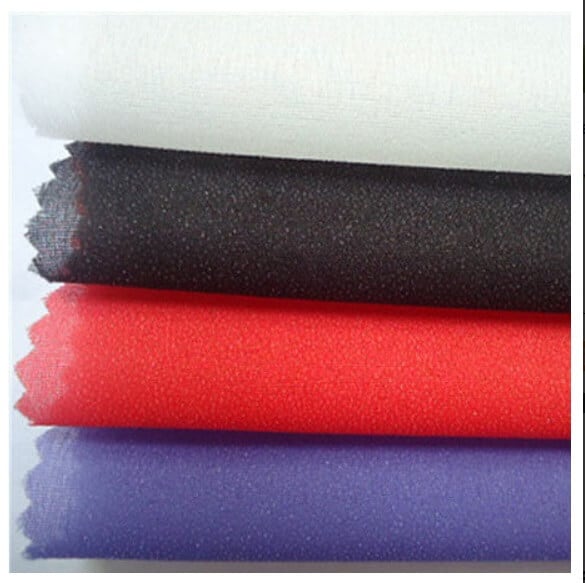
Fusible interfacing typically comes in white or black so that it won’t show through the dark or light fabric for your sewing project. I have never seen colored fusible in person. However, I found red, blue, green, and pink interfacing options on a manufacturer’s website. Therefore, we may see it for sale for home sewists at some point.
How To Choose Proper Fusible Interfacing For Your Project
One thing to consider is the properties of your fabric. It may seem obvious that we choose lightweight interfacing when working with lightweight fabric and heavier interfacing for heavyweight fabrics.
They say that interfacing needs to be lighter weight than your fabric (not heavier). Unfortunately, it’s not always clear how to match it correctly.
Is fusible fleece heavyweight interfacing? It certainly is thicker than the cotton we want to use it with. And any heavyweight fabric is undoubtedly heavier than some types of heavyweight interfacing.
It seems to me interfacing doesn’t have any real weight. I can see the different amounts of stiffness when I touch interfacing. Does it mean that the stiffer the interfacing, the heavier it is?
For example, I have stretch interfacing and a piece of knitted jersey silk, but I can’t tell which one is heavier.
So how do you choose proper interfacing in this situation?
I always refer to the manufacturer’s instructions. For example, the instructions for this stretch interfacing say that it can be used “for light to medium weight knits, wovens, and sweater knits.”
Also, if you are using a commercial pattern, you can read pattern instructions about the interfacing you need to use for the project.
Another thing to consider is the amount of stiffness you want. If you have a few different types of interfacing, you can test your fabric and see what works best for your project.
How To Use Fusible Interfacing For Quilting
This method might be helpful when sewing stretchy knit fabric into quilts (like t-shirt quilts). Using interfacing helps the shirt squares keep their shape.
Choose a lightweight variety and cut out pieces that are slightly smaller than your quilt squares so that you don’t accidentally melt glue onto your iron when you press them. Then, place the right side of your fabric down and place the interfacing on the wrong side with the adhesive side down (against the fabric). With your iron on the correct setting, press the interfacing to adhere it in place.
With interfacing on the back of your fabric, it will hold its shape and resist stretching or getting distorted.
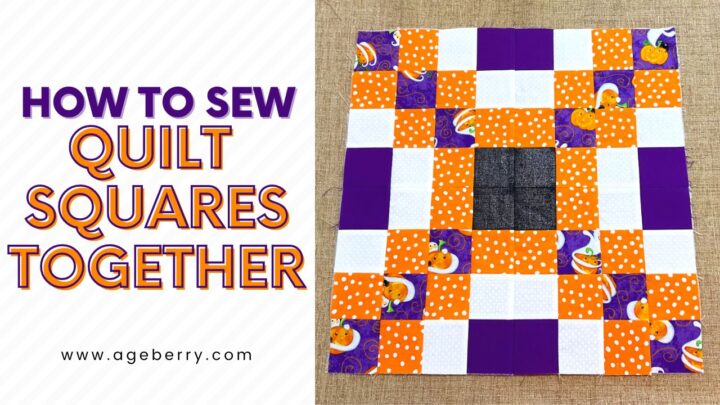
But I use fusible interfacing for quilting in a completely unique way. Let me explain. Have you ever sewed a quilt, only to find that your squares don’t match up? Even experienced quilters can have trouble getting their seams to line up perfectly. However, there’s an easy solution: fusible interfacing. You’ll never have to worry about mismatched seams again. If you’re interested in learning more, head over to this tutorial on my site – How to sew quilt squares together (step-by-step tutorial). You’ll be surprised at how easy it is to sew perfectly matched squares together, and your quilts will look better than ever before.
✅ Related tutorial: Top 10+ best irons for quilting
Popular Brands Of Fusible Interfacing
If you’re looking for high-quality fusible interfacing, the most well-known brands are:
You can find fusible interfacing in sheets, rolls, or tiny tapes. They sell interfacing by the yard in fabric stores or by packaged sheets, rolls, and tapes. No matter which one of these brands you choose, you can be confident that you’re getting a high-quality product that will help you create beautiful garments and quilts.
Fusible Interfacing Specialties
There are some companies that sell quilting patterns together with printed fusible interfacing. Think full-size panels of cut lines and sewing lines printed on fusible interfacing so you can complete a project more easily.
One of the brands is called Quiltsmart. People say “Printed interfacing eliminates curved piecing, and is faster, easier, and more accurate than templates, tracing, or freezer paper. These patterns are designed for all quilters, from novice to expert.”
Another specialty interfacing is fusible with a grid or dots so you can trace a design onto it. Or it may be perforated.
There are also precut fusible interfacing pieces that are pre-cut for use in quilts or waistbands or purse straps.
Best Fusible Interfacing For Silk
When sewing with delicate silk fabric, it’s important to use the right type of fusible interfacing. Using the wrong interfacing can make your garment heavy and stiff, which ruins the delicate drape of silk fabric.
Typically, I recommend using very thin, lightweight fusible knit interfacing when sewing silk fabric. This type of interfacing has a little bit of stretch in it, but it won’t add any bulk or unwanted weight to fine silk fabric.
FAQs
Here are a few questions I see readers frequently ask about fusible interfacing.
Is fusible fleece the same as interfacing?
Yes, fusible fleece is another type of interfacing. It’s 100% polyester fleece with adhesive on one side and thicker than regular fusible interfacing. It easily adheres to material and is used to help the fabric hold a specific shape.

How do you remove interfacing glue from the ironing board?
There is no guarantee you will be able to remove it from the ironing board, especially if you used fusible web. But you can try to do this:
Dampen a piece of scrap fabric and place it on top of the adhesive left behind on the ironing board. Press with an iron on the highest temperature and steam settings. If something else remains left behind, try to use rubbing alcohol to remove the remaining glue.
If all else fails, make a new cover for your ironing board.
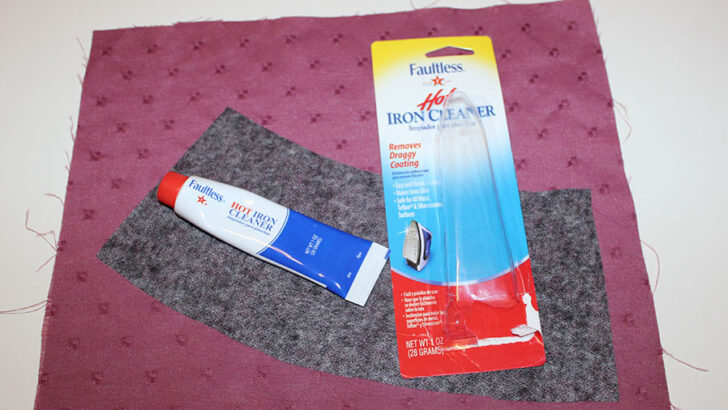
How do you clean fusible interfacing from the iron?
There are many products for cleaning irons. I like this one the best: Faultless Hot Iron Cleaner. Check the video below if you want to see how it works.

What is fusible web vs. fusible interfacing?
I often hear these questions: What is a fusible web? What is fusible web used for? Is fusible web the same as interfacing?
Fusible web is another type of non-woven fusible interfacing which has adhesive material on both sides and glues two layers of fabric together when melted by a hot iron. Fusible web is intended to be permanent, so it can’t be removed from the fabric.
While fusible interfacing looks like paper with glue dots, the fusible web is a little bit different because it looks like … a web of glue. Sometimes it has a paper backing that you need to peel off before using.
You can find it available in various weights, and it’s used mostly for applique and hemming.

✅ Related tutorial: Hem Tape: How To Use, FAQs And Tips
Does fusible interfacing prevent fraying?
Yes, fusible interfacing can help prevent fabric fraying. The adhesive on the interfacing helps to keep the threads of the fabric together, preventing them from coming loose and fraying. However, it’s not 100% effective, and there is always a chance that some fabric may still fray, even if it has been interfaced. The main benefit of using interfacing is that it adds some extra stability to the fabric. So, while interfacing can be helpful, it’s not a guaranteed way to prevent fraying.
Can you use fusible interfacing on polyester?
Yes, use woven or non-woven fusible interfacing when working with polyester, depending on the type your material and project needs. Remember to match the weight of your interfacing to the weight of your fabric. Avoid using high heat, which can ruin both the interfacing and your polyester fabric.
Do you use steam with fusible interfacing?
Yes, sometimes you can use steam to help adhere fusible interfacing to your fabric. However, be sure to read the manufacturer’s instructions (if you can find them) for your interfacing product because often they recommend using only dry heat.
How do you remove interfacing from fabric?
Fusible interfacing is designed to permanently adhere to your material. However, if you discover that you made a huge mistake and need to do your best to rectify it, you can try this method (there’s no guarantee it will work).
With the interfacing right side up, steam the interfacing for a few seconds to loosen the adhesive. Then, quickly but gently, try to peel off the interfacing while it’s still warm and damp. If some stay behind, repeat the process as many times as necessary until your interfacing comes off.
My Tutorials Where I Use Fusible Interfacing
Sometimes the best way to get familiar with a new tool or product is to see it in action. Here are some of my projects where I use interfacing so that you can learn the techniques and see the benefits of using it.
- DIY Fabric Storage Pods – These pods make adorable organizers that hold small loose pieces of sewing accessories – or anything! Check out how fusible interfacing gives these holders structure and helps them maintain their shape.
- DIY Easter Fabric Bowls – This project is unique and so much fun! Fusible interfacing was key to providing the stability the material needs to stay in place.
- Darning By Sewing machine – Darning is a process used to repair holes in fabric by adding new threads to the existing fabric. Interfacing aids this process by lending reinforcement to the repair.
- Create Shaped Facing – Interfacing is the key to creating (and holding) the facing.
- Fabric Face Mask – Many people prefer face masks that have some structure to help hold the mask away from their nose and mouth. Fusible interfacing lends that needed structure to maintain the shape.
So here is my YouTube video. Check this out if you like to see how to use fusible interfacing instead of reading about it:

Did you find this tutorial helpful? If so, save this pin below on your sewing board so you can come to this tutorial later when you are ready to use fusible interfacing, and follow me on Pinterest for more tips, tutorials, and inspiration!
Ready to take the next step in your sewing journey? Check out more step-by-step tutorials from my blog, and don’t forget to share!
latest posts
- Butterfly Quilt Block Tutorial – Foundation Paper Piecing
- How To Sew Quilt Squares So The Corners Match
- Sewing With Fork Pins: How They Help With Pattern Matching, Slippery Fabric, And Seams
- How Much Fabric Do I Need? 21 Helpful Tips For Calculating Fabric Yardage
- Easy Simple Sewing Project: Fabric Jar Opener
- DIY Oven Mitts: Step-by-Step Sewing Tutorial
- Easy DIY Potholder: New Design
- Tailor’s Clapper: What It Does, Why It Works, And How To Use It Right
- Heat Resistant Batting for Sewing: What It Is, How It Works, and What Makes a Difference