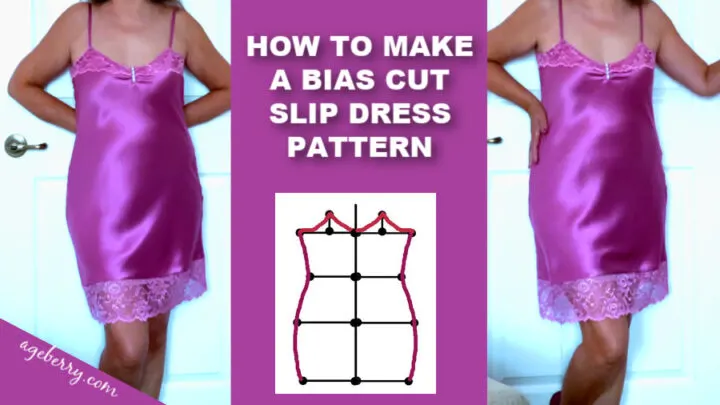
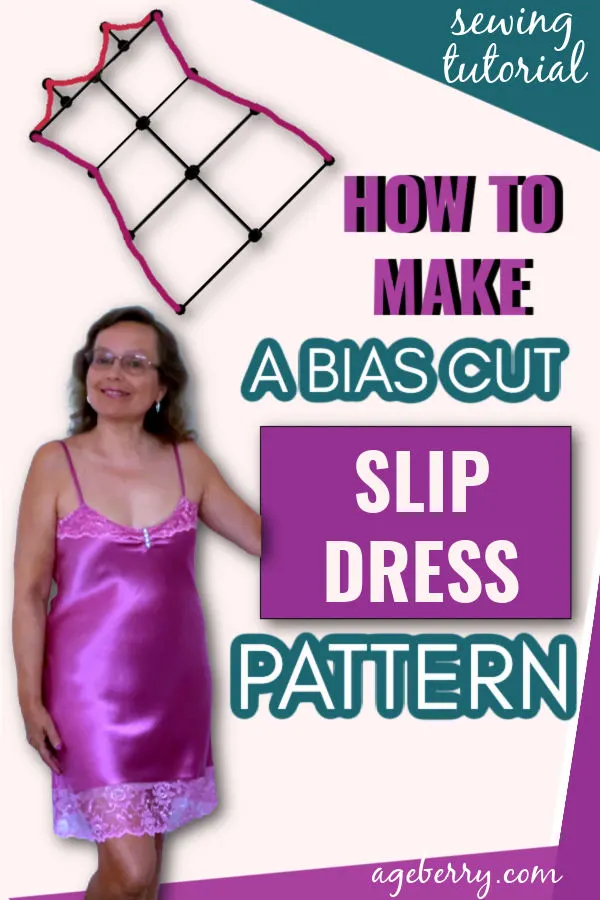
In this sewing tutorial, I will show you how to make a bias-cut slip dress pattern.
What does it mean – the bias cut technique?
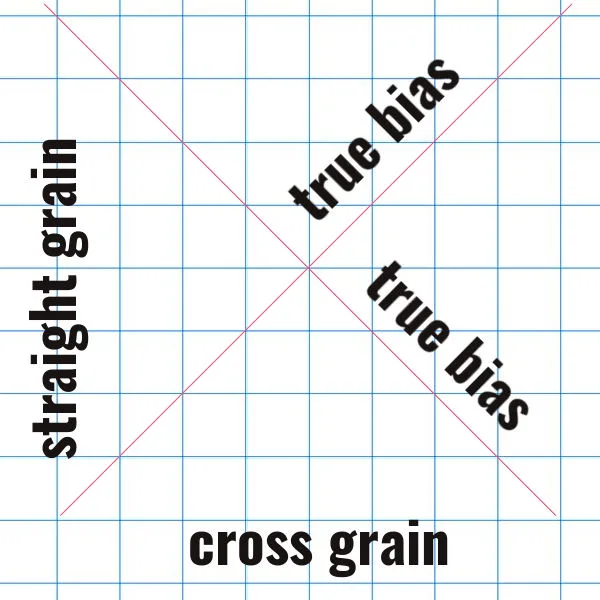
“Bias” means that the woven fabric is cut at an angle. Any woven fabric has a straight grain and a crosswise grain and fibers are running at a 90 degrees angle to each other. The straight grain is parallel to selvages and the cross grain is perpendicular to selvages. The bias is running at any angle to the straight and cross grains, but the true bias refers to the 45 degrees angle to these grains. Any woven fabric has two true biases perpendicular to each other.
Bias cut tops and dresses accentuate body curves and drape beautifully with a few soft folds. Cutting on the bias is especially popular for garments made from natural silk fabric.
Attention! If you like the video format, at the bottom of this post, look for a YouTube video version where there is a step-by-step tutorial on how to make a bias-cut slip dress pattern. For a more complete picture, I recommend exploring both versions.
✅ Related tutorial: How to cut fabric on the bias
How to make a bias cut slip dress pattern with your own measurements
I think it’s faster to make a pattern for a bias-cut slip dress than to use a PDF pattern (you have to print it, cut it, arrange it, etc.). I spent just around 30 minutes making it.
The pattern of this bias-cut slip dress is quite simple, the slip has only 2 side seams. The fewer seams you have for bias-cut fabric the easier it is to sew.
This pattern is good up to US pattern size 14. But I am not sure if this pattern will work for a full bust and sizes 16 and up.
Complex patterns with darts and multiple curved lines are not good for bias-cut dresses. We will need a pattern that has as few seams and details as possible.
Take your measurements
To make the pattern for the slip dress you will need to take some body measurements.
- Bust
- Waist
- Hips
- Desired length of the slip
Write the numbers on a piece of paper. If you are not sure how to take your body measurements check out my tutorial on How to take body measurements for sewing.
Prepare materials for making the bias cut slip dress pattern
Note: Some of the links on this page are affiliate links. This means I will receive a commission if you order a product through one of my links. I only recommend products I believe in and use myself.
Take a piece of paper to make the pattern.
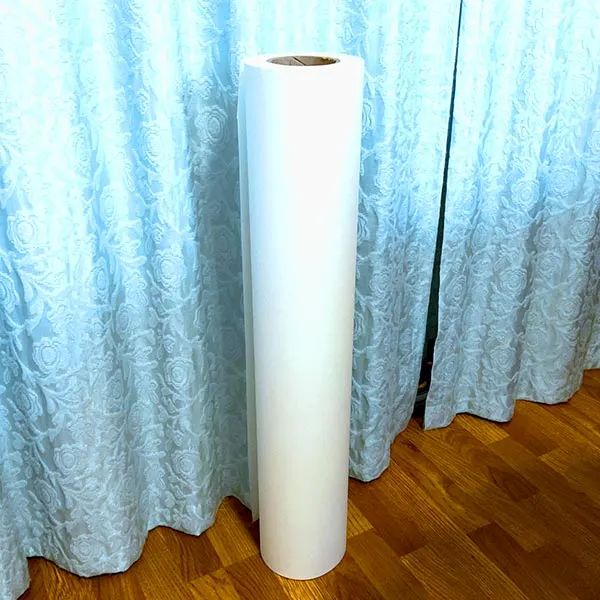
What paper do people use for drafting patterns? Well, I like to buy vellum paper from Amazon, but I know some people use medical paper which to me is not wide enough.
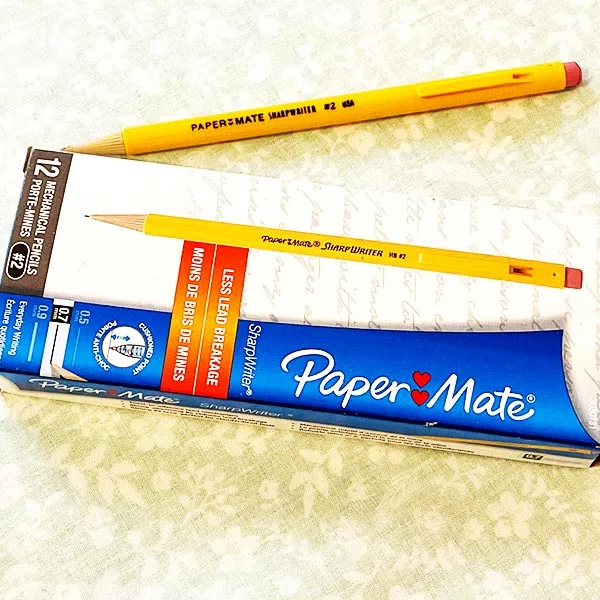
I like to draw patterns using these pencils: PaperMate SharpWriter. They never break and the eraser is very good too – doesn’t leave gray marks on my paper.
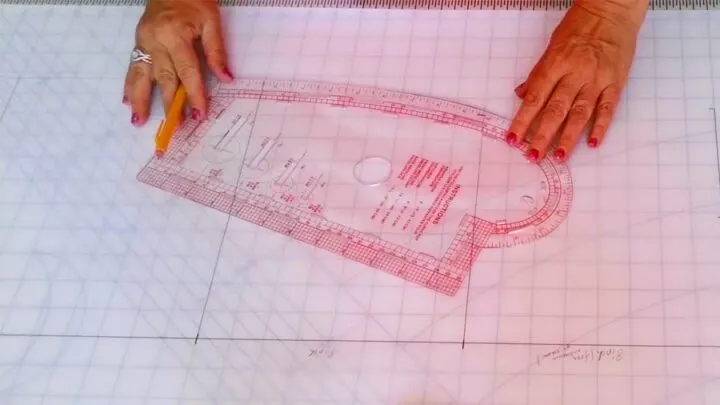
I also like to use a French Curve Ruler for drafting patterns. With this ruler, I can make smooth curved lines easily.
Draft the bias cut slip pattern
Draw a vertical line somewhere in the middle of your paper. It will be the center front line and mark point 1 on this line. Make a line perpendicular to that vertical line in point 1 and mark point 2. The distance between points one and two is equal to your bust measurement divided by four.
BUST/4
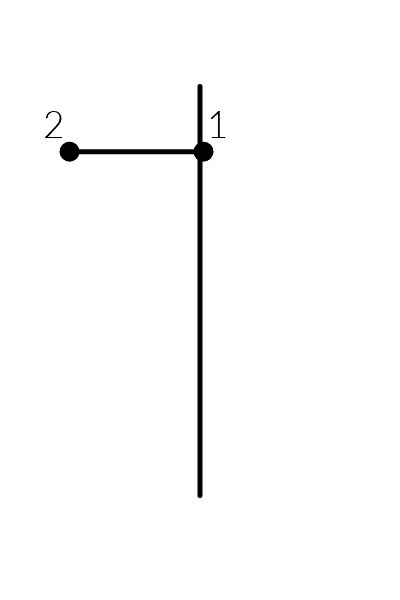
From point, one go down on this vertical line and mark point 3. The distance between point 1 and point 3 is equal to the distance between your underarm and your waistline. Draw a perpendicular line. This is a waistline. The distance between points 1 and 3 is about 6-8 inches for all sizes. I put 8 inches for my pattern. On this line perpendicular to the vertical line mark point 4. The distance between three and four is equal to your waist measurement divided by 4 plus 1”.
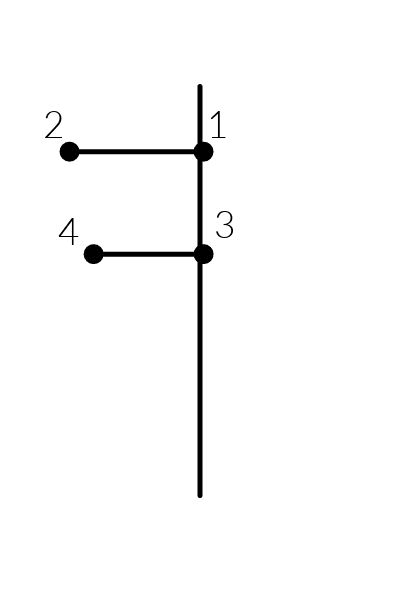
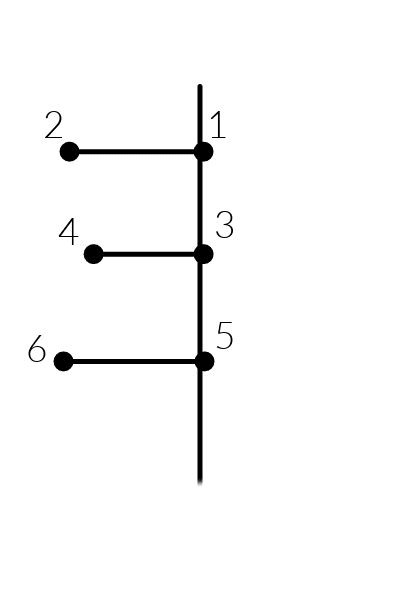
From point 3 go down and mark point 5 and make a line perpendicular to the vertical line. The distance between these points is about 7-9 inches. For tall people it’s 9 inches, for shorter people it’s about 7 inches, for the pattern I put 8 inches. This is about the same for all sizes – 7-9 inches. So mark point 6 on this line, the distance between point 5 and point 6 is equal to your hips measurement divided by 4 plus 3/8 inch.
From point 5 go down and put point 7, the distance between five and seven is about 9-16 inches. It depends on how long you want your slip dress to be. I put 9 inches and this is the hemline. On this line mark point 8, the distance between points seven and eight is your hips measurement divided by 4 plus 1”.
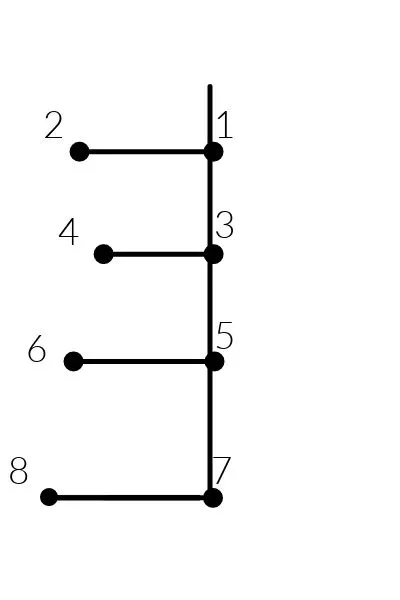
Now connect points 8-6-4 and 2 and our pattern is almost ready.
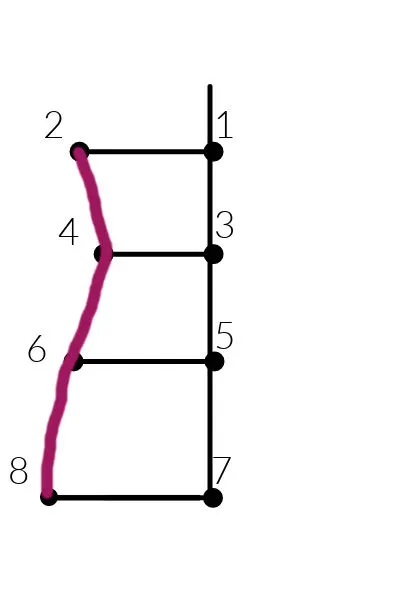
Now divide the distance between points 1 and 2 in half and mark point 9. From this point make a perpendicular line and mark point 10. The distance between 9 and 10 is 1 1/2 inches for all sizes. Draw two curved lines.
For bias cut garments, we need to make a full pattern, not half front and half back. So I made the full pattern to be able to cut in a single layer of fabric.
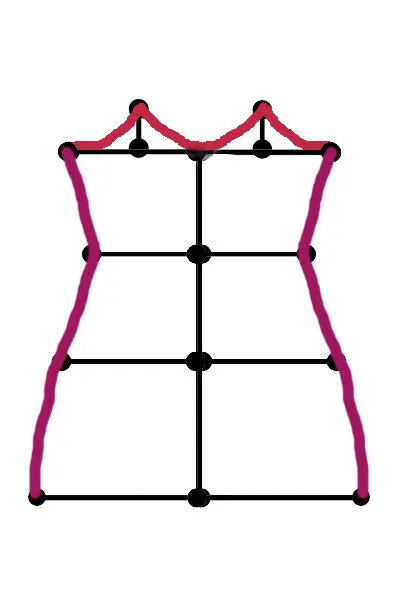
That’s all for the pattern now.
Let me show you now the real pattern and how I draw curved lines.
I like to use a special ruler. It’s called a French Curve ruler. Very easy to use and the lines are really smooth and nice.
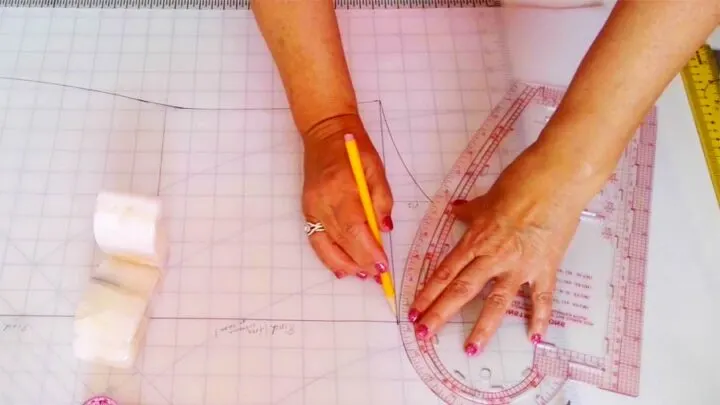
After I am done drafting the bias cut slip dress pattern, I fold the paper with my pattern along the center front line and cut the paper pattern.
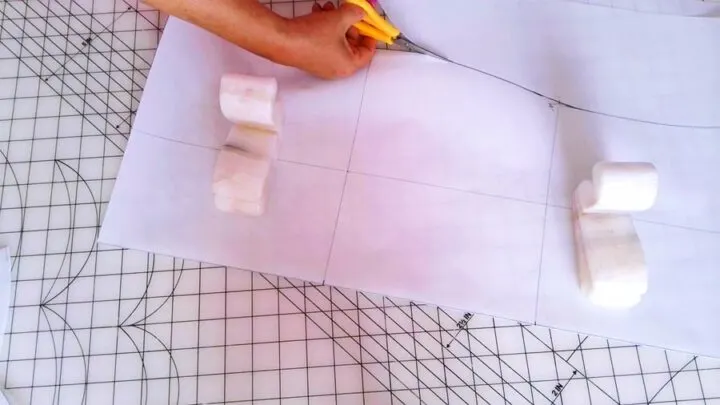
Here I have the front and back pattern for my bias cut slip dress.
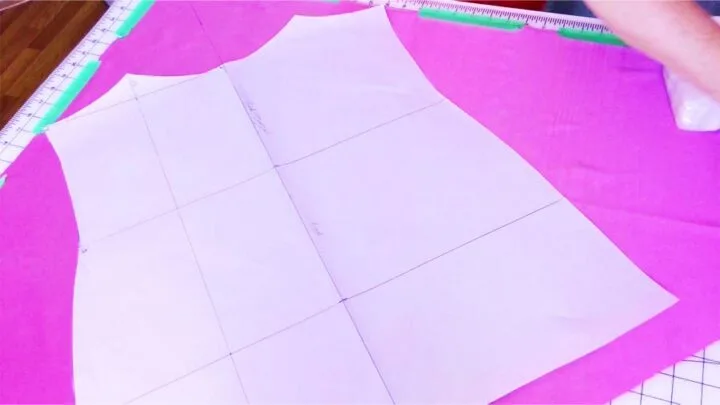
Seam allowances are included and they are ¼ inch. I am going to sew this slip dress by serger and quarter inch seam allowances are the best.
✅ Related tutorial: Best serger for beginners in 2021
What is the best fabric to use for bias-cut garments?
The fabric for the bias cut slip dress needs to be soft and drape well. The fabric should be woven, not knit, and it’s better to use fabric that’s not stretchy (without elastane) but if your silk fabric has some elastane it’s not too bad. You can use these fabrics
Silk – charmeuse, crepe de chine, georgette, crepe-backed satin
Viscose
Polyester
I am going to use silk charmeuse.
✅ Related tutorial: Types of silk fabric
If you’re unsure about your choice, hold the piece of fabric up against your body so that the true bias of the fabric hangs down your center front – this will give you a suggestion of how the fabric will drape in the finished slip dress. If you see soft folds and like how it looks your choice is probably right.
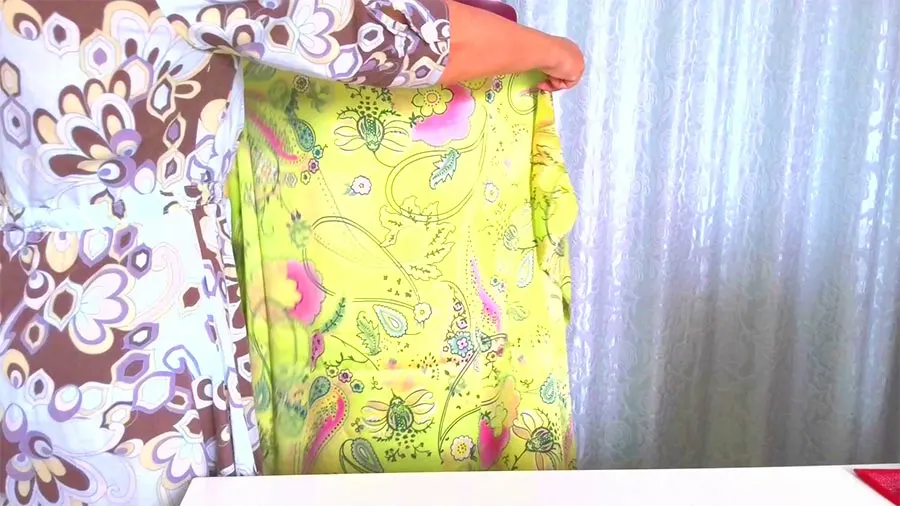
Here I have silk fabric. This is how it drapes if I cut it on the straight grain.
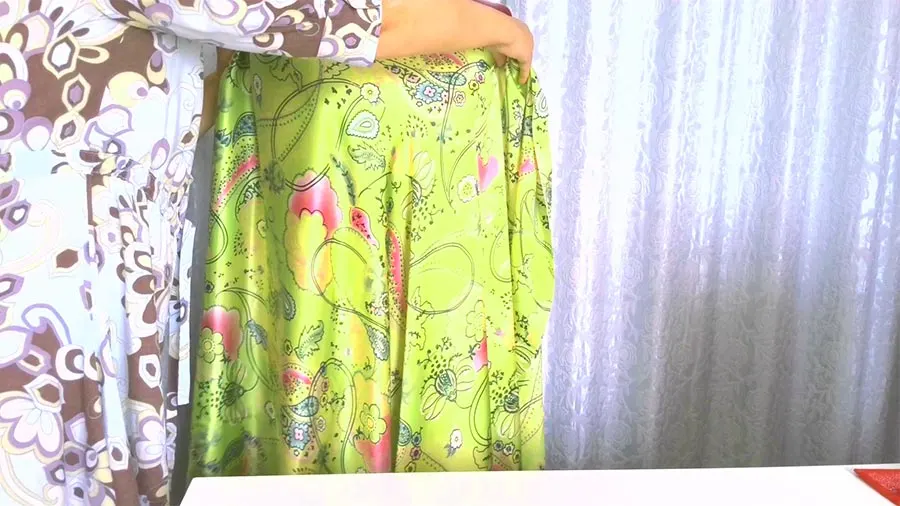
And this is how it looks if I cut on the bias.
For the bias cut dress, look for the fabric with a relatively even weave in both warp and weft directions. Don’t choose fabric with a loose weave if you don’t want to end up with an uneven hem or distorted side seams. But don’t use fabric with a very tight weave either, the fabric needs to be relatively stretchy on bias.
Don’t use fabric with stripes and lines or diagonal prints, avoid fabric with a nap.
So here is my YouTube video. Check this out if you want to see how to make a bias-cut slip dress pattern instead of reading…
Did you find this tutorial helpful? If so, save this pin (see below) on your sewing board so you can come to this tutorial later when you are ready to make a bias cut slip dress pattern, and follow me on Pinterest for more tips, tutorials, and inspiration!
latest posts
- Knot a Problem: Easy Ways to Secure Short Thread Ends
- Ever Tried This on Your Serger? This Differential Feed Feature Will Amaze You
- Ditch My Sewing Machine? Not in This Lifetime!
- Adorable DIY Needle Book | Easy Tutorial for Beginners
- Master the Seam Ripper: Your Ultimate Guide to Precision Stitch Removal
- Think You Know Zippers? This Installation Guide Might Surprise You
- Why Does Your Seam Ripper Have a Red Ball? Discover Its Purpose!
- Topstitching Troubles? This Simple Trick Will Turn It Around Instantly!
- How to Sew Shirring: A Step-by-Step Guide to Elastic Thread Gathering

