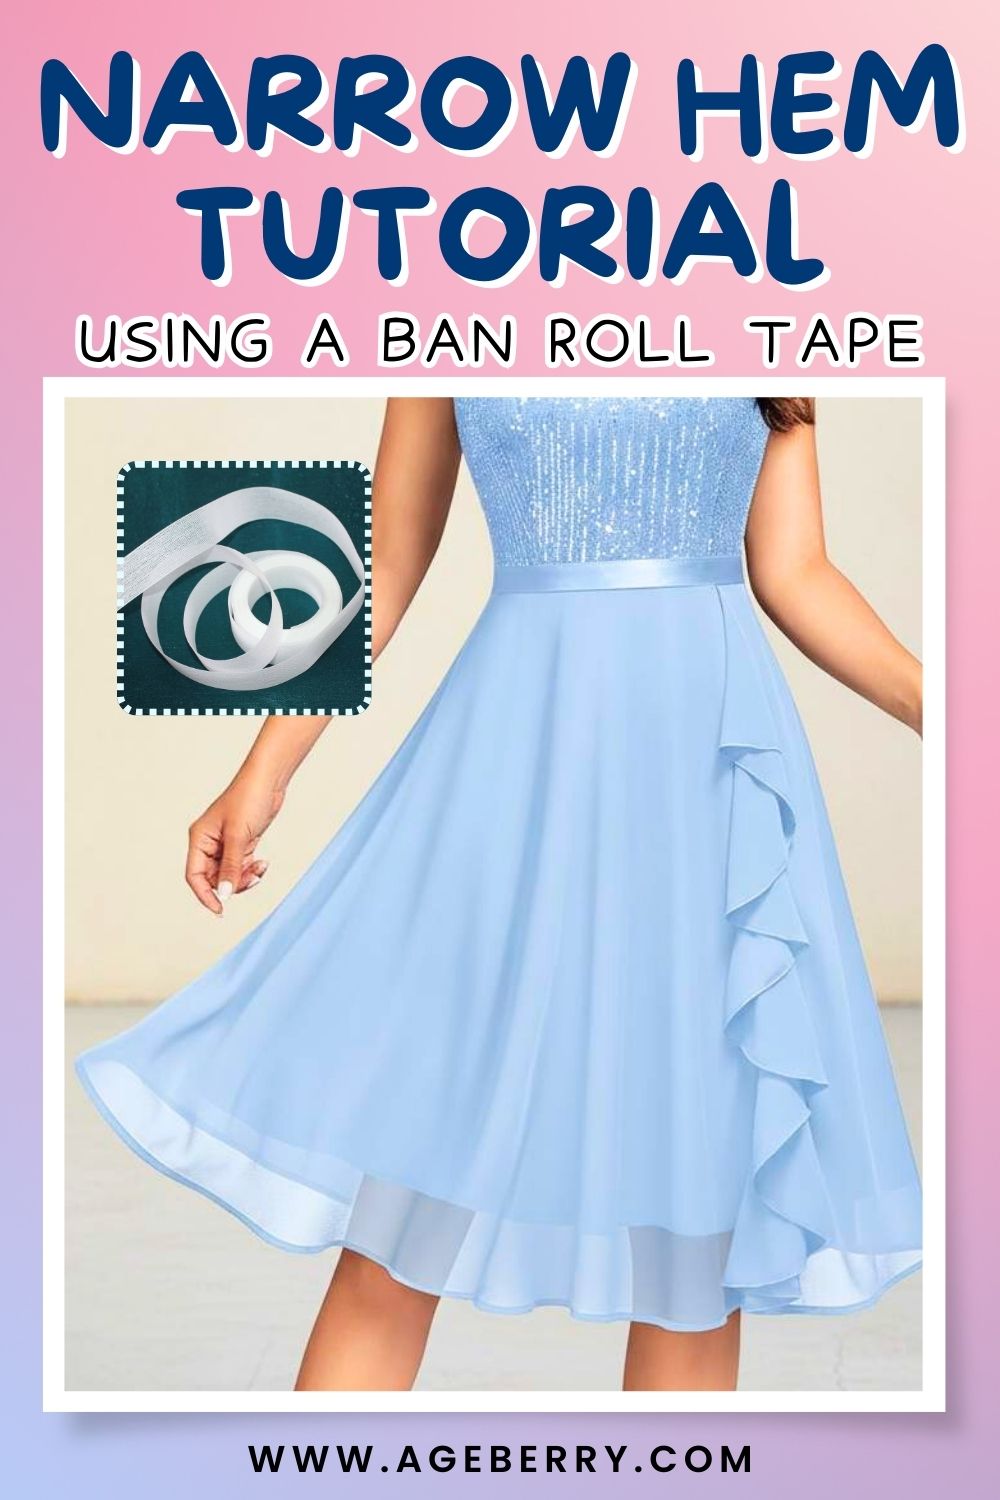
Narrow hem tutorial: how to make a narrow hem using a Ban Roll tape
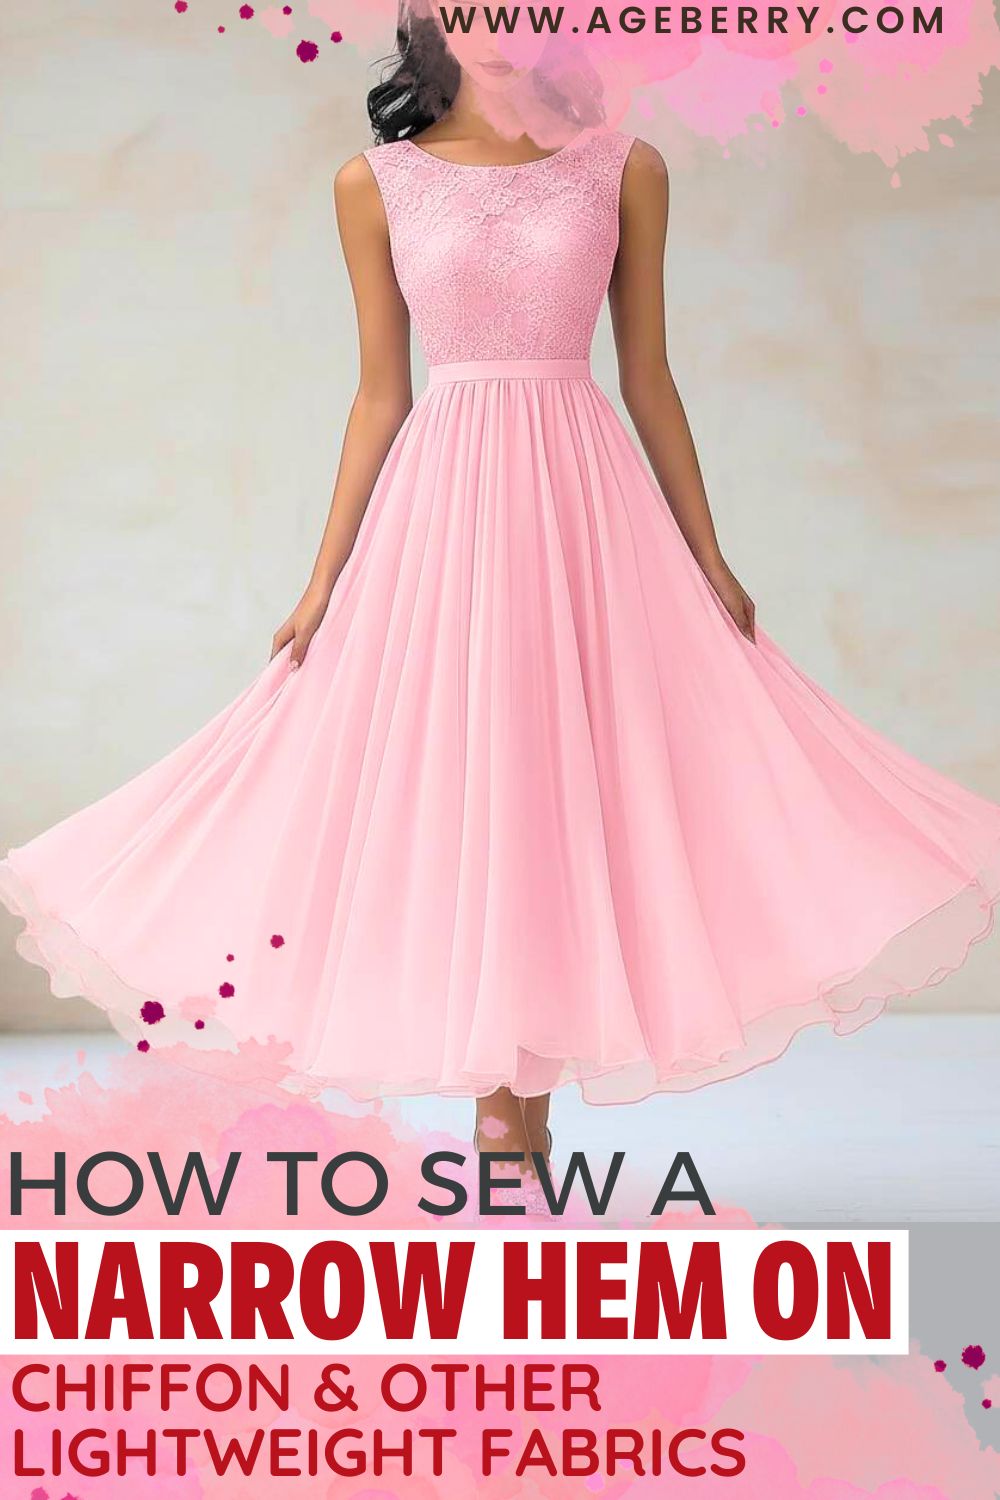
In this tutorial, I am going to show you how to hem chiffon and other slippery lightweight fabric. Is hemming chiffon one of those things you would avoid doing? Well, there is one interesting method of making ultra-neat narrow hems on chiffon dresses and skirts that is not very popular yet but the result looks really professional and can be achieved quite fast.
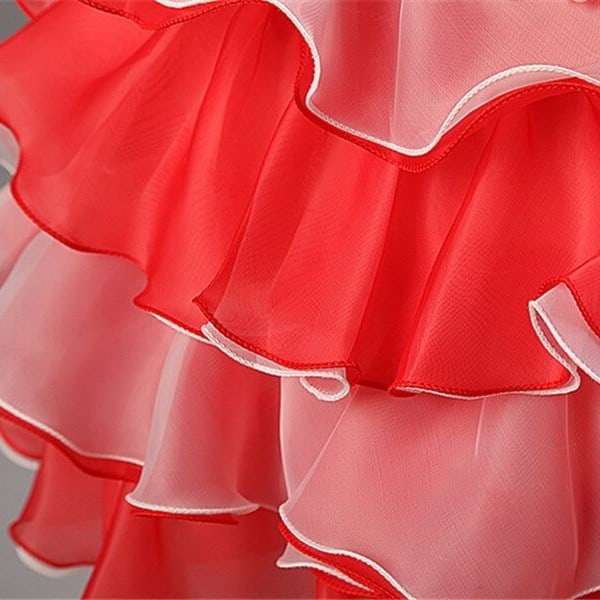
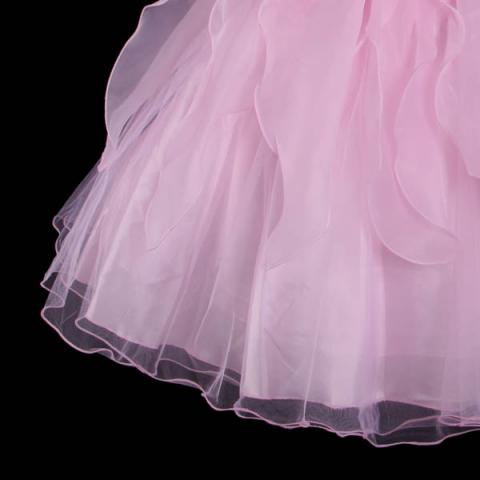
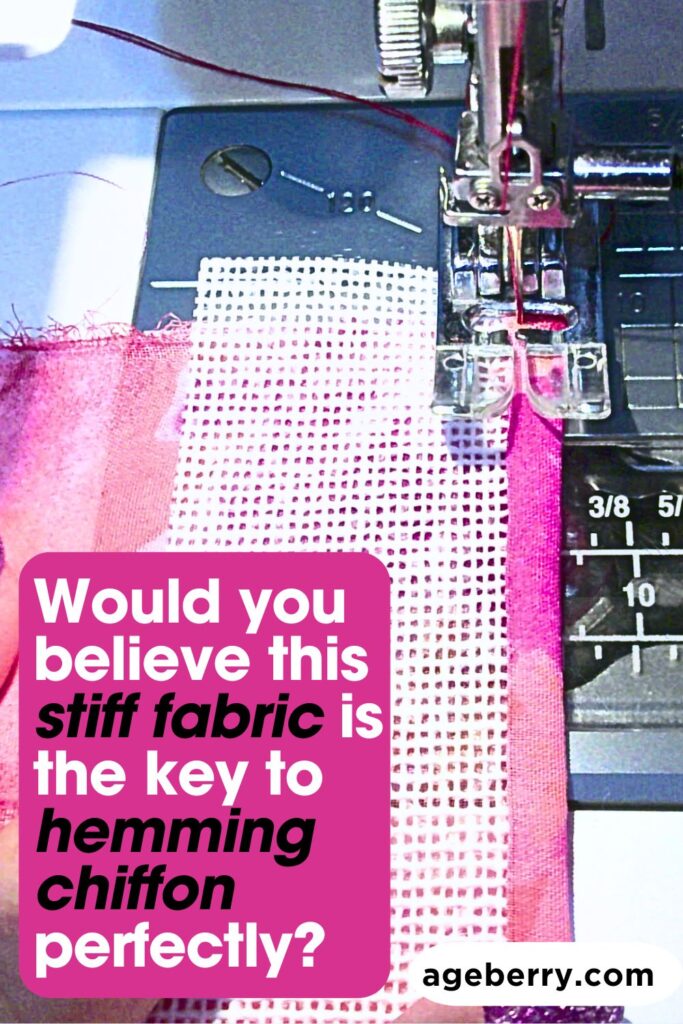
Here is the narrow hem – do you see any curling, stretching, fraying, warping? Of course not! And look – the width of the hem is the same all over.
A similar result can be achieved with a rolled hem foot but I never had luck with this foot. It especially gets tricky at corners and at the beginning and end of hemming. A lot of times the fabric will slip out and I have to re-sew a section.
So I am using a Ban Roll (ban-rol) tape. Did you hear about it? I can tell you that everybody is writing the word differently.
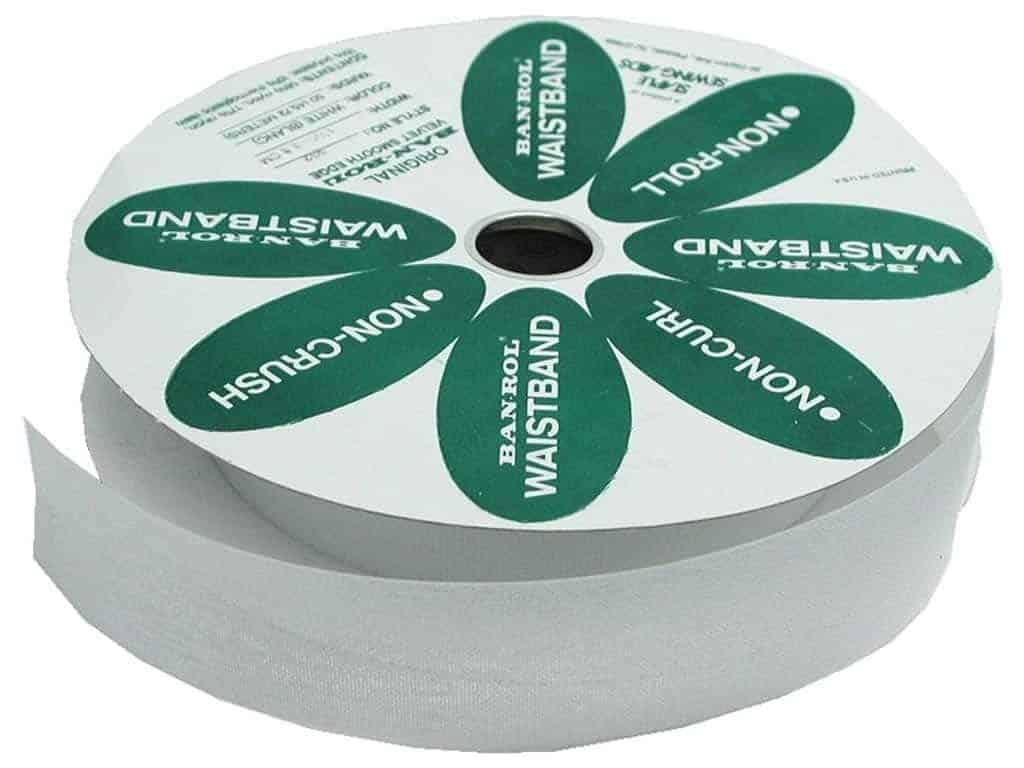
What exactly is this Ban Roll?
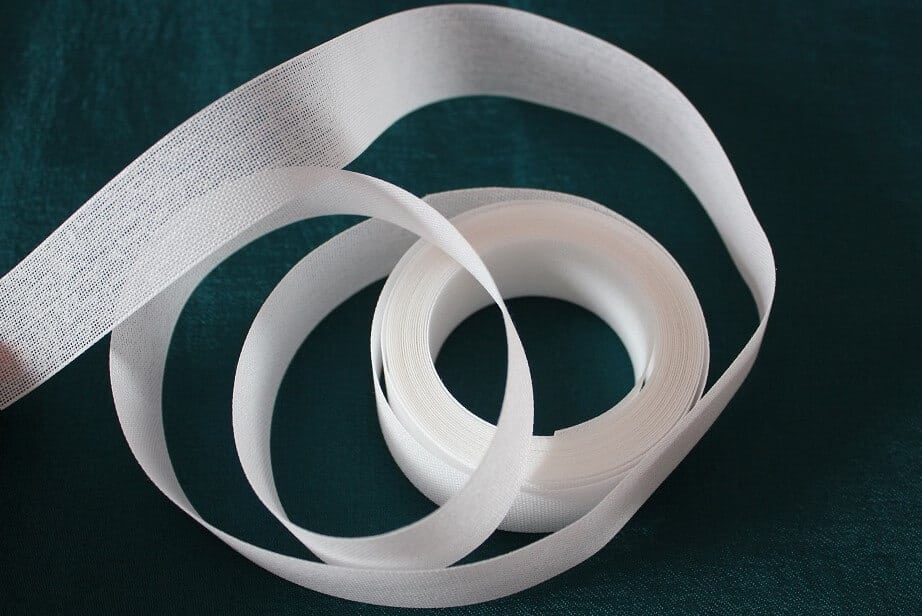
It is a kind of waistband interfacing tape that is very stiff (looks highly starched) won’t curl or roll and is crush-proof. They say that it’s made of 58% nylon/ 17% rayon/ 15% polyester/ 10% thermoplastic resin but it’s woven quite loosely. It’s mostly used in sewing waistbands to make them rigid and keep their shape.
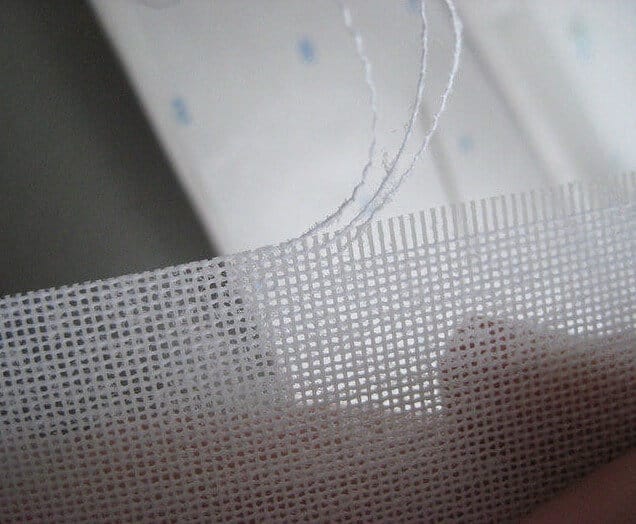
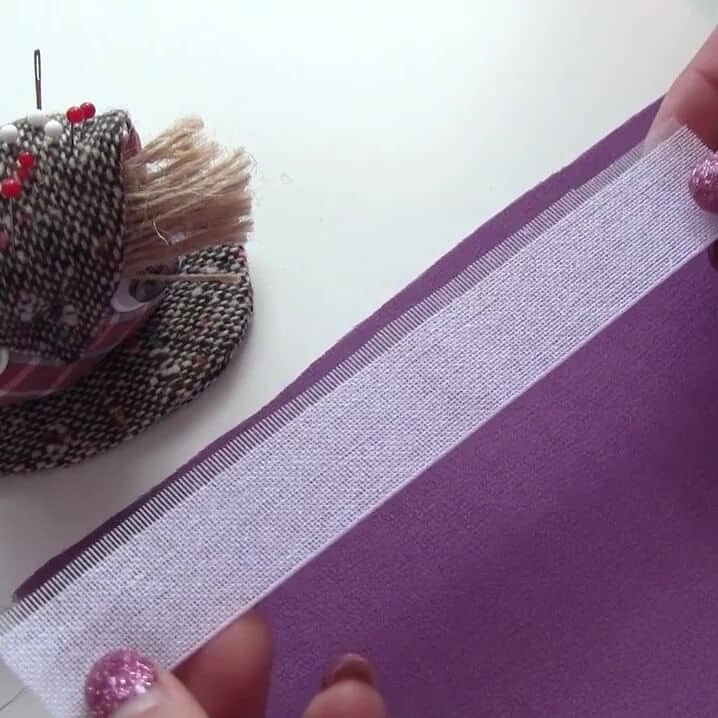
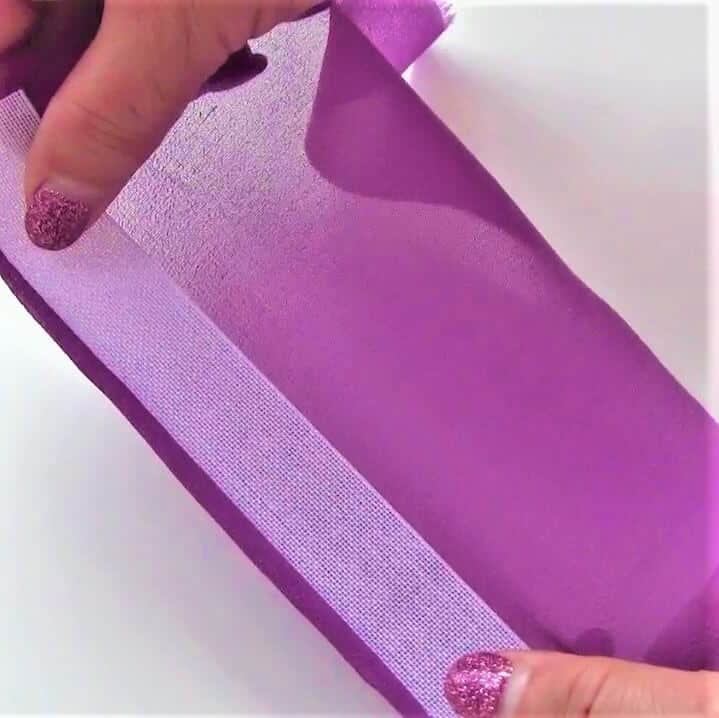
The width of the tape can vary. You can see very clearly threads that form the tape interlacing to one another at right angles. The threads can be easily peeled away to make a frayed edge that will be pulled out after stitching.
Note: Some of the links on this page are affiliate links. This means I will receive a commission if you order a product through one of my links. I only recommend products I believe in and use myself.
Where to buy the Ban Roll tape?
I never saw it in small local sewing shops, I bought mine in a Canadian store – Fabricland – but after that, I found it on Amazon. So here is an affiliate link if you decide to buy it for hemming chiffon. I am pretty sure you will need it if you sew garments from silk. It will revolutionize your sewing skills.
I have also found the Ban Roll tape in an online store Londa’s Creative Sewing.
Here are the steps on how to use the Ban Roll tape for making narrow hems
Attention! If you like the video format, at the bottom of this post, look for a YouTube video version where there is a step-by-step tutorial on how to make a narrow hem fast and easy even on chiffon. For a more complete picture, I recommend exploring both versions.
Step 1. Prepare a piece of Ban Roll tape for making the narrow hem
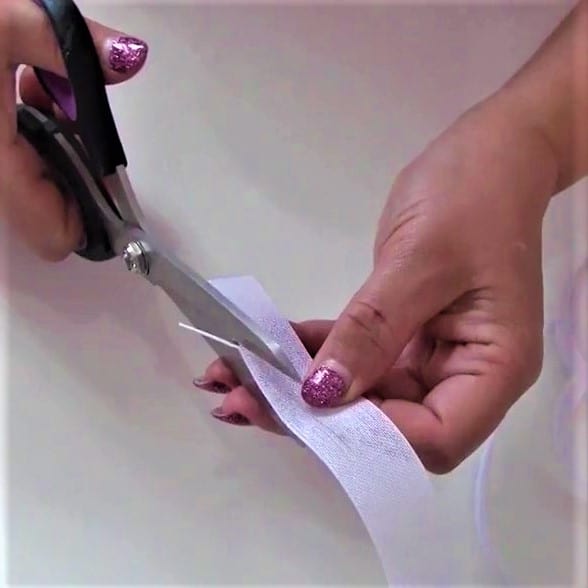
Measure your hem length and cut a piece of Ban Roll tape a little bit longer than your hem. Cut the very edge thread of the tape lengthwise – just one thread at the edge where it’s woven a little tighter than other threads.
Using a pin or a seam ripper pull out a few threads lengthwise – it can be 3-5 threads (it depends on how wide you want to make your hem). The threads going across the tape have to be pulled out while the threads on the downside of the tape are left to form the frayed effect. The width of the frayed edge will be equal to the width of your hem.
Step 2. Place the Ban Roll on the fabric
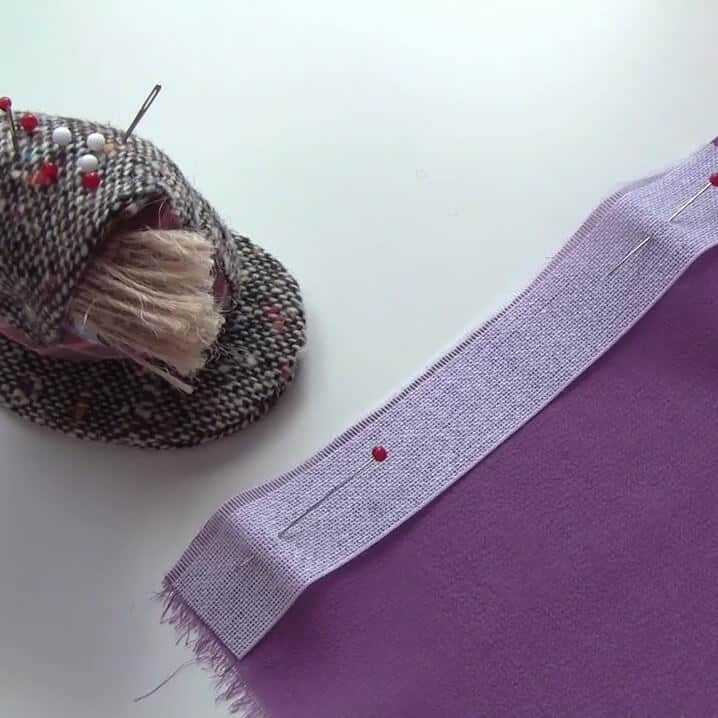
Place the prepared Ban Roll on the right side of the fabric aligning the frayed edge with the edge of the fabric. Use special pins for silk fabric – they are very thin and sharp and will not make any holes in the delicate silk chiffon.
You don’t need to place the tape at the very edge of the fabric though. You can keep some distance from the fabric edge (like ¼ or even ⅜ inch) if you want to make sure that stitches will catch the chiffon fabric, but later you will need to trim off the excess fabric.
Place the Ban Roll all around the hem and when you come to the starting point overlap it a little bit ( that’s why we cut it a little longer ).
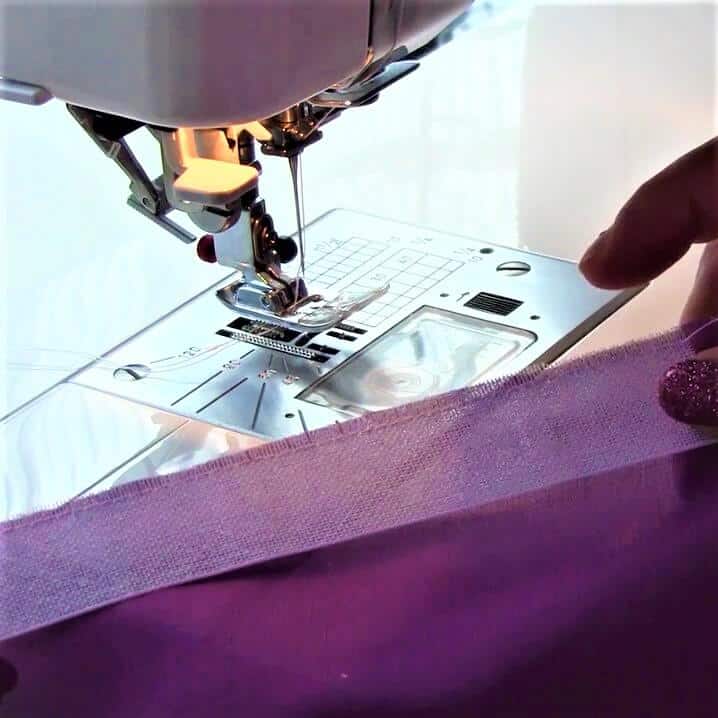
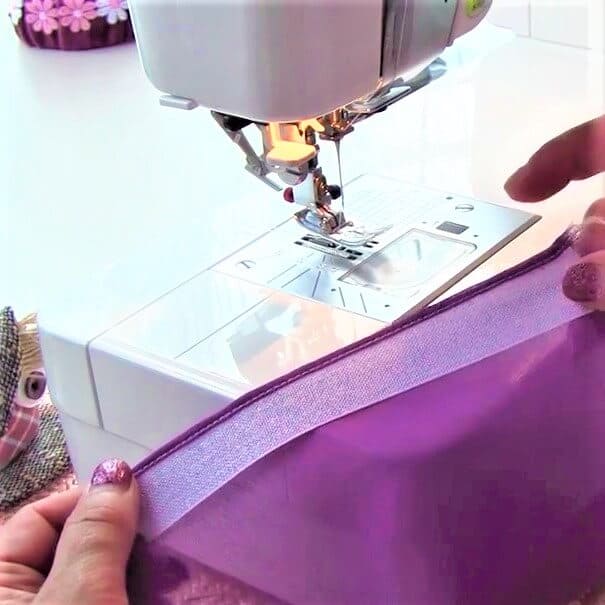
Step 3. Stitch over the frayed edge of the Ban Roll
Stitch over the frayed edge along the length of the hem making sure you don’t catch any lengthwise threads that are not frayed.
Stitch length should be 3.5 – 4 mm, and I usually put tension to 0 on my sewing machine because I will take out these stitches later.
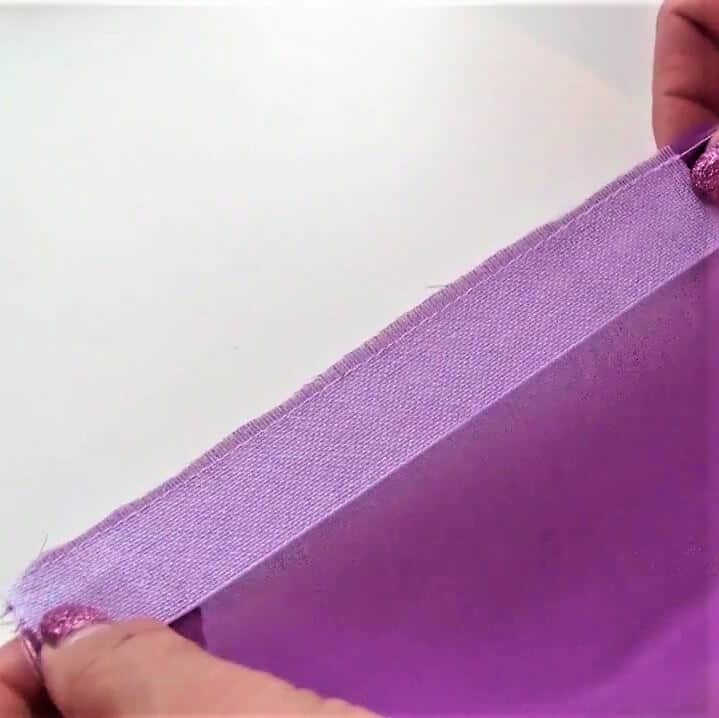
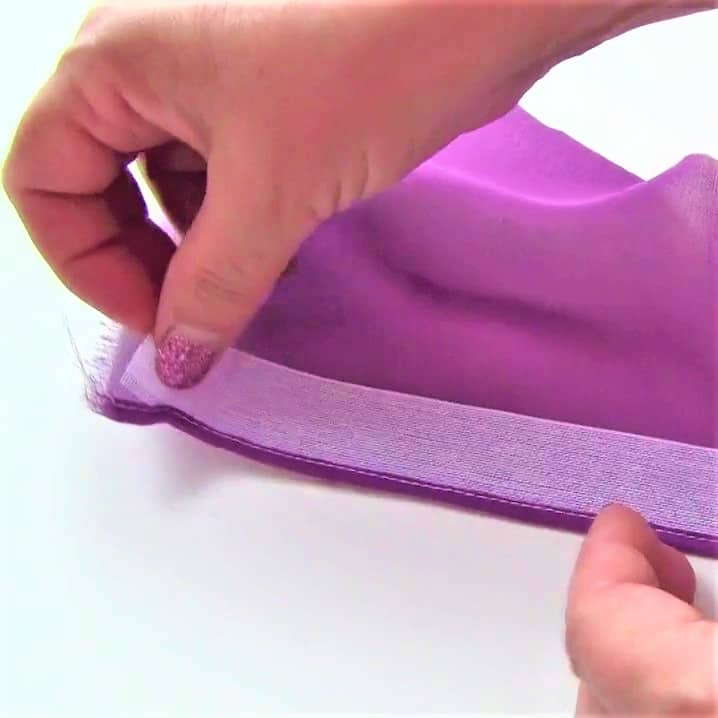
Step 4. Sew the hem
Flip the fabric over the Ban Roll and sew the hem. The narrow hem is wrapped around the frayed part of the Ban Roll.
You can press the hem before the stitching but I prefer to skip this pressing because it works well without. But once the stitching is finished, press the hem with the Ban Roll still inside the hem.
Step 5. Remove the Ban Roll
Remove the Ban Roll by carefully pulling it out. Remove also the first stitches (that helped to keep the Ban Roll in place) and press the hem again.
Enjoy your newly created perfectly narrow hem!
Don’t throw away the tape – the good thing is that you can use the prepared tape over and over again for hemming other garments. Put it aside for the next time you need it. Or make a few reusable “templates” for different hem widths and lengths.
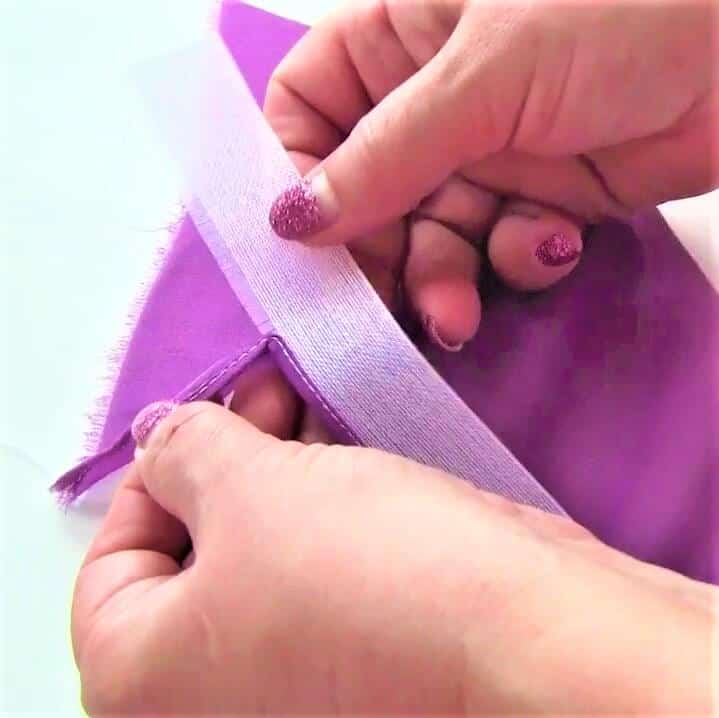
This method also does corners really beautifully! It can be used not only for straight hems but for slightly curved ones.
So, what do you think about this amazing technique? Now all you need is a source for the Ban Roll tape.
Here is another affiliate link where you can buy it: Ban-Rol tape
If you’ve found my Ban Roll narrow hem tutorial helpful but struggled to source the material, I have great news. I’ve recently tested an alternative using buckram fabric – a widely available and budget-friendly option that works beautifully for creating narrow hems on chiffon and other lightweight fabrics.
Check out my latest tutorial, From Frustration to Finesse: A Foolproof Method for Hemming Chiffon and Sheer Fabrics, to see how buckram can simplify this technique and make it accessible no matter where you are.
And here is the YouTube tutorial, after reading the article the short video (5 minutes) will make the whole process clear.

Did you like this guide? If you want to save it for future reference and to use it later when you are ready to make a narrow hem, pin the image below or the first image of this article to your sewing board on Pinterest and follow me on Pinterest for more tips, tutorials, and inspiration.
latest posts
- Butterfly Quilt Block Tutorial – Foundation Paper Piecing
- How To Sew Quilt Squares So The Corners Match
- Sewing With Fork Pins: How They Help With Pattern Matching, Slippery Fabric, And Seams
- How Much Fabric Do I Need? 21 Helpful Tips For Calculating Fabric Yardage
- Easy Simple Sewing Project: Fabric Jar Opener
- DIY Oven Mitts: Step-by-Step Sewing Tutorial
- Easy DIY Potholder: New Design
- Tailor’s Clapper: What It Does, Why It Works, And How To Use It Right
- Heat Resistant Batting for Sewing: What It Is, How It Works, and What Makes a Difference