DIY fabric headbands: a step-by-step tutorial
Headbands are cute hair accessories and often are not only practical but also fashionable. I like DIY fabric headbands and here is a step-by-step tutorial on making a headband.
I found a few reasons for wearing (and sewing) headbands.
- They can absorb sweat and keep it from reaching the eyes when you are running or exercising.
- They also can keep unruly hair out of your face.
- A headband can be a stylish item for your head especially if it has an interesting shape or is decorated with ribbons or fabric flowers.
- Headbands can transform an ordinary outfit into something special and exceptional.
- A headband is a very easy item to sew for a beginner sewist and can be a step in your sewing journey, it’s a really good item for practicing.
- You can use your scrap fabric to make as many different headbands as you wish.
With that being said, let me show you how to make a turban headband. I made it from 100% silk fabric left after I made a silk robe. So my headband matches my outfit quite nicely. And the material is really soft and absorbent – good for my hair. I love wearing this turban headband while I run errands, wash my face, or put on makeup.
✅ Related tutorial: Easy sewing projects: DIY silk robe without a pattern

I would like to mention also that the headband supposes to be a comfortable hair accessory and shouldn’t dig into the head. For this, it’s better to design the headband with an elastic insert.
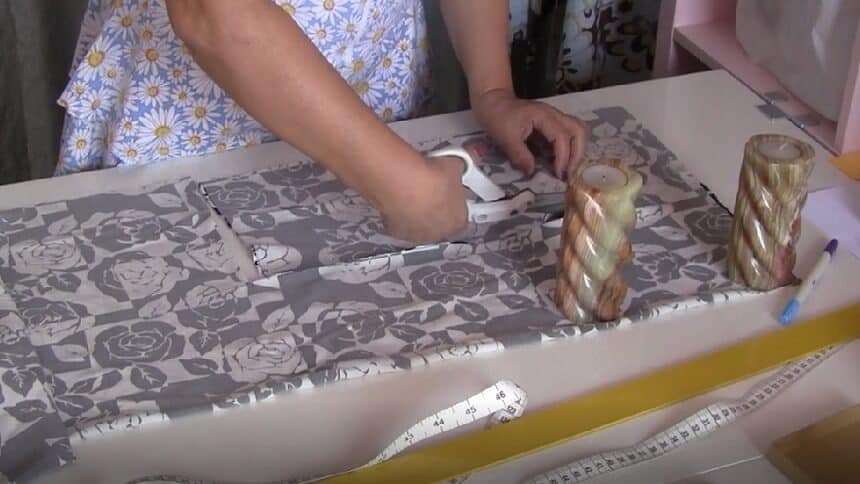
1. Cut 3 headband pieces from your fabric:
- 2 pieces 18 x 44 in cm or 7 x 17 ¼ in inches each
- 1 piece 8 x 42 in cm or 3 x 16 ½ in inches
2. Cut a piece of wide elastic ( the length is 20 cm or 7 7/8 in), mine was 2.3 cm wide (7/8 in)
3. Fold pieces of fabric in half lengthwise right sides together, pin (or baste), and stitch (seam allowances are 1 cm or 3/8 in). Don’t forget that for silk fabric you will need to use a thin sharp needle size 80/12 or 70/10 and a thin thread (better 100% silk thread). Check your sewing machine settings before stitching on a scrap piece of the same fabric.
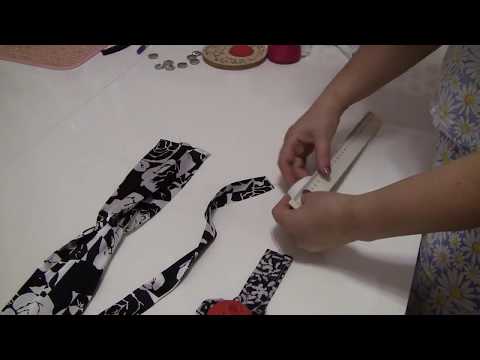
4. Press seams on one side. For the narrow piece, I used a regular ruler as you can see in the video below. And for wider pieces, I use a special pressboard. If you don’t have this kind of pressboard I strongly advise you to buy one (here is an affiliate link) if, of course, you are serious about your sewing hobby. This is a very useful thing in my sewing arsenal.


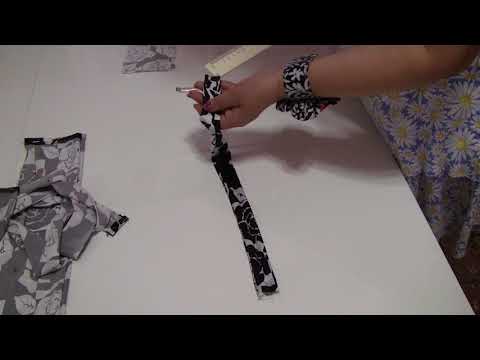
5. Turn these pieces right side out. You will have no problem with wider pieces. But the narrow piece may be tricky. I do it usually just with a regular safety pin. Check the video below.
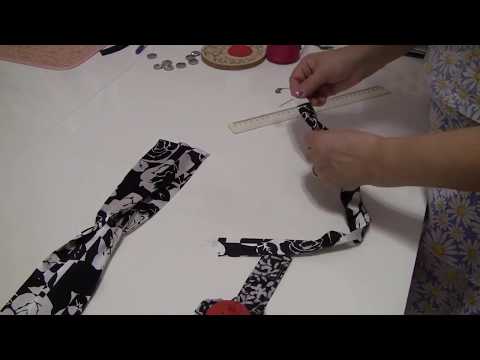
6. Press all pieces flat again.
7. Insert a piece of elastic into the narrow band. Secure the elastic ends with pins and stitch.
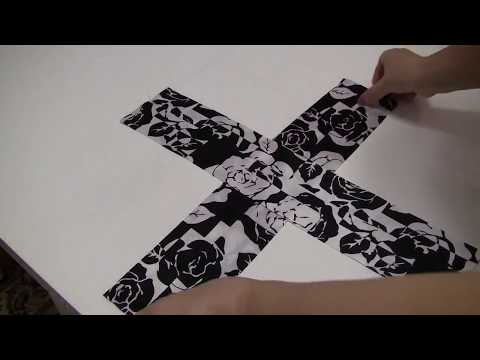
8. Now you need to connect the two pieces to each other. Lay one wide piece on top of the other like a cross and fold them as I am showing in the video below. Pin the ends together.
9. The last step is quite tricky to describe so watch the video below and you will see how to put the headband together connecting all the parts. The size of the elastic after stitching and cutting is 17 cm or 6 5/8 in. If you are worried about whether the finished headband will fit properly try it on your head and adjust one of the edges according to the size of your head.
Turn it around hiding the seams inside.

That’s all! It’s quite simple to make, isn’t it? You can make a few more… I think it looks pretty.
I have another tutorial and a YouTube video on sewing headbands, in a different style, check it out: How to sew a simple headband DIY free sewing pattern and tutorial
Did you find this tutorial helpful? If so, save this pin (see below) on your sewing board so you can come to the article later when you need this information on stay stitching , and follow me on Pinterest for more tips, tutorials, and inspiration!

Like sewing tips? I have other popular tutorials on my site that might be interesting for you. Check them out below.
latest posts
- What Do You Call a Person Who Sews? I Asked My Readers and Got 1,408 Opinions
- DIY Round Purse: PDF Sewing Pattern and Detailed Instructions
- Mini Wonder Clips By Clover: Useful Sewing Tool Or Just Another Notion?
- Non-Slip Grips For Quilting Rulers: A Small Notion With A Useful Job
- Fabric Eraser for Sewing: What It Removes and When to Use It
- What Is The Best Thread For Sewing Machine Projects? Let’s Find Out!
- Butterfly Quilt Block Tutorial – Foundation Paper Piecing
- How To Sew Quilt Squares So The Corners Match
- Sewing With Fork Pins: How They Help With Pattern Matching, Slippery Fabric, And Seams