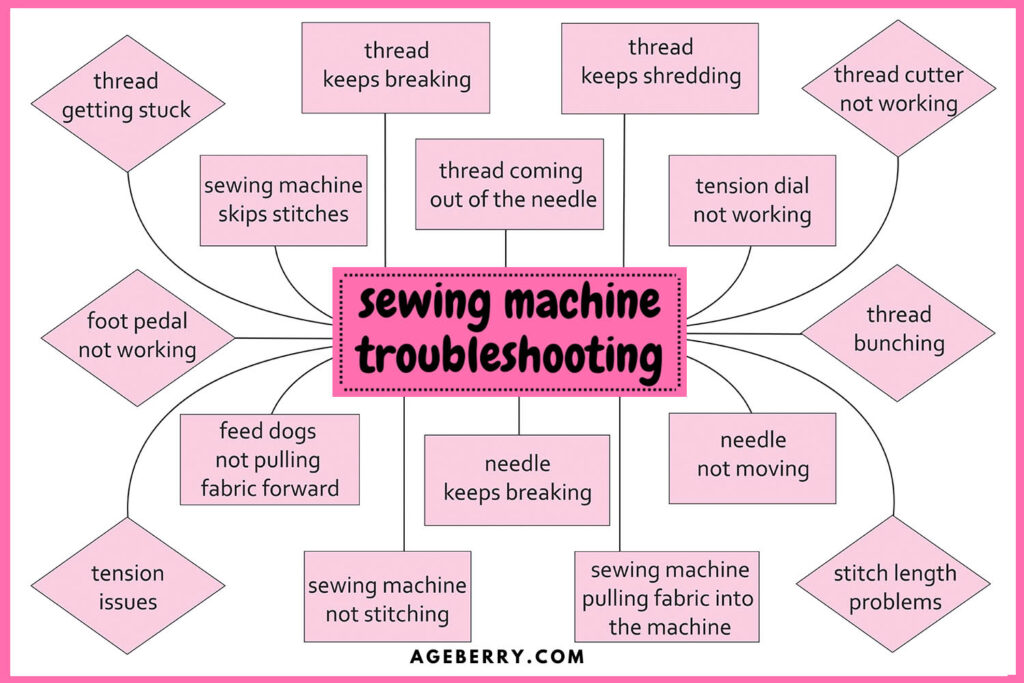
Troubleshooting Common Sewing Machine Problems (+ Solutions)
When you use a sewing machine, you’re bound to run into problems occasionally, and you won’t want to become a frequent visitor at your local sewing machine repair shop. Here are some common sewing machine problems you can encounter and tips on how to fix a sewing machine yourself at home.
One day, you noticed that your stitches were loose as you sewed. Another day, your sewing machine kept skipping stitches, and just earlier, your needle kept breaking.
Anytime you encounter one of these dilemmas and have to troubleshoot (and fix) the problem, it’s enough to make you want to throw your hands up in the air and yell, “what’s wrong with my sewing machine?”
Thankfully, you can quickly diagnose and solve many common sewing machine problems right at home. Consider this post, Sewing Machine Troubleshooting 101, and use the information here to learn how to fix your sewing machine and avoid unnecessary trips to the service center.
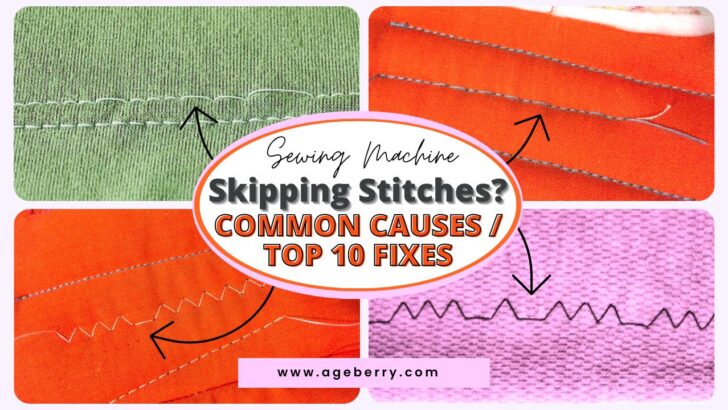
Sewing Machine Skipping Stitches
Like many of the issues on this list, there can be several reasons why your sewing machine skips stitches. New, modern machines are resilient and can overcome many things that used to cause skipped stitches and major headaches.
However, about a dozen issues may still create skipped stitches as your sewing machine hums along, including damaged needles, incorrect threading, machine tension problems, and pulling on the fabric as you sew, etc.
If you notice this happening with your stitches, it’s necessary to figure out the problem to correct it. Start by changing your needle, rethreading your machine, and checking the bobbin. Sew a few stitches on a test swatch of fabric.
If you still notice the problem, dig deeper. Clean your machine, check the presser foot and adjust the tension. Most of the time, one of these issues is the culprit. However, if you still experience the problem, check out Sewing Machine Skipping Stitches? Common Causes / Top 10 Fixes to get to the root of the issue.
Sewing Machine Thread Keeps Bunching

How annoying! Bunching thread is a huge headache because it can take a while to troubleshoot the problem since there are many potential causes. And even after you’ve figured out the reason, it takes even longer to carefully cut through and remove the birdnest of thread without causing damage to your project.
Thread bunching can happen either above the fabric (but it’s very rare though) or below it, and the causes, while similar, are slightly different. Bunching under the fabric might indicate the top thread is too loose (or the bobbin tension is too tight).
Common reasons for thread bunching can include the following:
- Sewing with the presser foot raised
- Fabric not feeding through the machine while sewing
- Improper threading
- The bobbin is incorrectly inserted
- Not holding the thread tails behind the presser foot when starting to sew
- Feed dog is down
- There’s dirt, dust, or lint between the tension disks
To resolve a thread bunching issue, start by rethreading both the top and bottom threads in your machine correctly (refer to your instruction manual if you have any questions). Lower the presser foot and hold the thread tails back as you sew a test strip.
If you continue to have challenges with thread that keeps bunching, try cleaning and oiling your machine to remove any dust, dirt, or lint that may create the problem.
Don’t let tangled threads ruin your projects. Check this tutorial to learn how to fix it like a pro and get back to sewing – Sewing machine thread bunching: Top 10 reasons (+ how to fix it)
Sewing Machine Thread Keeps Breaking

This is one of those annoying problems that can make new and experienced sewists want to scream and throw their hands up in frustration. With at least 20 possible reasons for your thread to break, it can sometimes take a while to troubleshoot (and fix) the problem.
Frequently, incorrect upper threading causes the thread to break while sewing. So the best course of action is to start diagnosing the problem by retreading your machine, making sure that you do it according to your machine’s instruction manual (refer to the manual if you have any questions). Then sew a few stitches on a piece of scrap fabric to test whether you corrected the problem.
If you discover your thread is still breaking, the problem could be related to your bobbin, your needle, your machine tension, or even the last time you cleaned your machine. Although investigating many potential possibilities can eat up your time as you work to diagnose the issue, the good news is the fix is often pretty simple and something you can do right at home!
Check out my tutorial 20+ Reasons Your Sewing Machine Thread Keeps Breaking (+ Solutions) to help you thoroughly investigate and solve the problem!
Why Does My Thread Keep Shredding?
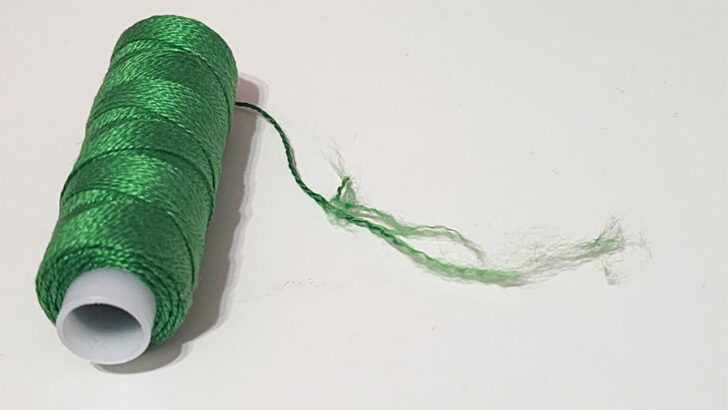
If you sew a few stitches and your thread looks mangled, stop what you’re doing and take a moment or two to diagnose what’s happening.
First, check your needle to see if it’s the right size and type for your project or worn. Does it have damage – is it bent, or do you see burrs? If any of these things occur, your needle can repeatedly shred (and break in the end) your thread until you replace it.
Don’t try to repair a damaged needle – just replace it with a new one that’s appropriate for your project immediately.
Another problem could be a tension issue. If the upper tension is too tight, it can cause the thread to shred or break. Use a piece of scrap fabric to test your tension to ensure it’s balanced, and your stitches look even.
Finally, check your thread because it does have a limited lifespan! Low-quality thread can shred at any time due to the friction of passing through the eye of the needle. Old thread will become weak and brittle over time, and even good-quality thread can become brittle when not stored properly (ex: exposure to moisture, heat, or sunlight).
✅ Related tutorial: Sewing thread types and uses
Sewing Machine Tension Issues
Sewing machine tension is the balance between the top and bottom threads so that they interlock as the machine stitches rather than pulling through to one side of the fabric or the other. Your device has an entire system devoted to creating tension, including tension disks, thread guides, tension regulators, and more.
Issues such as skipped stitches and puckering fabric can indicate too tight tension, while loose stitches or birdnesting (a tangled mess of looped thread on one side of the fabric) can alert you that your tension is loose. Either way, you’re facing a tension problem that you’ll need to address.
Start your troubleshooting by rethreading your machine to ensure it’s correct and your thread is between the tension disks. If you sew a test stitch and discover that your tension is still off, other factors to check include fabric thickness, a mismatch between your upper and lower thread, or even a dirty machine.
I have three detailed tutorials that will guide you through fixing sewing machine tension problems. Be sure to check them out and get your sewing machine back to working like new!
Sewing machine tension guide: everything you need to know about the bobbin tension – this tutorial is focusing on bobbin tension.
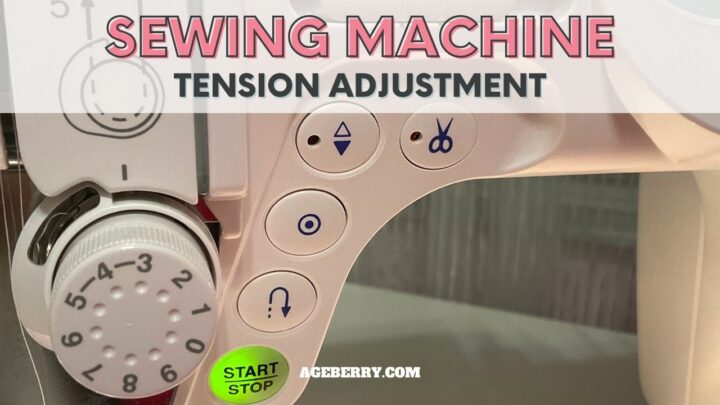
Sewing Machine Tension Adjustment – this tutorial is walking you through the basics of tension adjustments. You’ll learn about the different types of thread tension and how to properly adjust them to achieve the perfect stitch.
Most Common Sewing Machine Tension Problems (+ Solutions) – this tutorial is covering more advanced tension troubleshooting techniques. With my step-by-step instructions and detailed photos, you’ll be able to troubleshoot and fix any tension problem in no time.
Sewing Machine Not Stitching

As maddening as it may be, there can be a few reasons for your sewing machine not stitching.
It may seem obvious, but it is important to make sure that the sewing machine is turned on and plugged in properly. If the machine is not turned on, it will not stitch. Double-checking the power source is a quick and easy step to take before diving into more complex troubleshooting. It’s important to check that your machine is receiving power and that there are no loose connections or frayed wires.
Another potential issue could be related to worn out or broken parts. With regular use, certain parts of a sewing machine may become worn or broken and need to be replaced. If you suspect that some parts may be the problem, it’s a good idea to take your machine in for servicing.
It seems to me that mechanical machines are easier to repair than the newer (and more complex) computerized ones.
The computer controlled machines are versatile, they have 1001 functions (and then some) but if they break and don’t sew there is little a regular person can do and a minor defect can pretty much make the machine unusable. Let me give you an example.
For my article Types of Sewing Machine Stitches: Unraveling the Mysteries of the Straight Stitch I had to replace the regular throat plate on my Babylock Destiny II machine with a straight stitch plate. It worked perfectly. Unfortunately, when I was done and switched back to the regular throat plate, my machine was stuck in the straight stitch mode and refused to do anything else – no zigzag, no decorative stitches, no embroidery.
I found the defect quickly (well, my husband did). It turned out that a microswitch malfunctioned. A part that probably cost less than $1 broke my very expensive machine! Of course there was nowhere I could get the part from, and the repair was not cheap. And that machine (Destiny II) has probably many dozens of microswitches inside!
So a computerized sewing machine is a complex piece of technology, and like any other piece of machinery, it can sometimes malfunction. There can be many reasons why your computerized machine is not sewing, ranging from minor issues to more serious problems.
There are certain repairs that should only be done by a professional. An experienced sewing machine repair technician will be able to diagnose the issue and provide the necessary repairs. This may include replacing damaged parts, recalibrating the machine’s software, or performing routine maintenance to keep the machine in good working order.
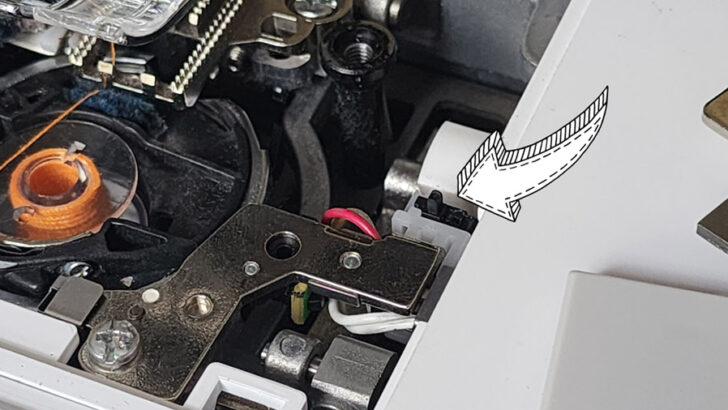
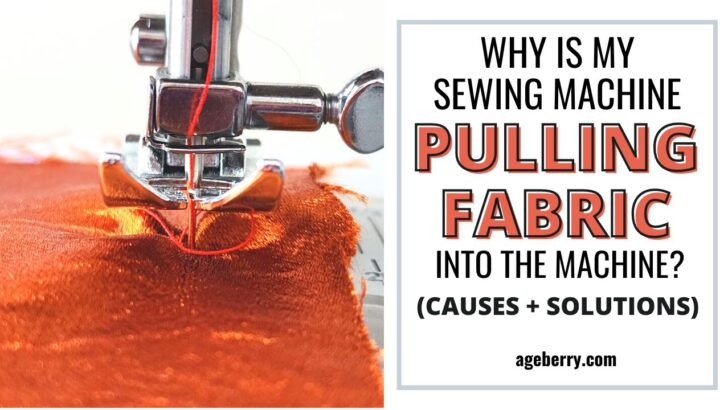
Sewing Machine Pulling Fabric Into Machine
Watching your fabric disappear into your machine as you sew can be both baffling and infuriating. And it will certainly take some time to diagnose the problem, which, of course, puts a wrench in your happy sewing rhythm.
If you’re encountering the issue, it could have something to do with:
- Weight of your fabric
- Your needle (is it damaged?)
- The stitch plate you’re using
- Stitch length
- And more
I’ve written a detailed troubleshooting guide to help you troubleshoot the problem and fix it. To learn more about why your machine is eating your fabric, check out my tutorial Why Is My Sewing Machine Pulling Fabric Into The Machine? (Causes + Solutions).
Thread Stuck In The Sewing Machine
A common reason for thread getting stuck in a sewing machine is that the machine is not threaded properly. If the thread is not correctly fed through the various guides and tension mechanisms in the machine, it can become tangled or caught on the wrong part of the machine. To prevent this, it’s important to carefully follow the machine’s threading instructions and to make sure that the thread is always pulled tightly through each of the guides.
Using a spool cap that doesn’t fit your spool of thread can cause the spool to bounce around and feed thread unevenly, affecting the tension and causing the upper thread to get stuck in the sewing machine.
Another common culprit is that the bobbin is wound or inserted incorrectly, or there’s excess dust and debris in the bobbin case. This can cause the machine to jam, preventing the thread from flowing freely. To prevent this, it’s important to clean the machine regularly, removing any debris or lint from the bobbin area and other parts of the machine.
Using low-quality or old thread can also cause thread to get stuck in the machine. Cheap or old thread can break easily, causing it to become tangled or knotted in the machine. Always use high-quality thread that is appropriate for the type of fabric that you are sewing.
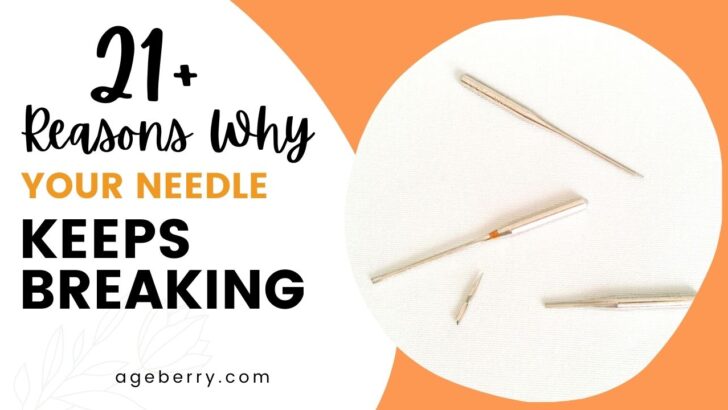
Sewing Machine Needle Keeps Breaking
Most people wouldn’t call sewing a dangerous activity, but when you repeatedly have a sewing needle that breaks and flies across the room (without knowing where it lands), it can be dangerous. I’ve had a few close calls – like when I got lucky and found the needle piece on my pillow before I went to bed!
There are many reasons why your sewing machine needle keeps breaking, so it’s not always an easy problem to diagnose.
But the good news is that it’s almost always a problem that has a simple fix. Start with the most common likelihood scenarios. Rethread your machine (I bet you saw that coming!) and check your needle to ensure that it’s inserted and threaded correctly and isn’t dull or damaged.
Next, check your tension because if it’s too tight, the thread can pull on your needle and break it. Always sew a test to make sure the problem is resolved before going back to working on your project.
If these simple fixes don’t eliminate the problem, learn more and fully troubleshoot the problem by reading my tutorial Why A Sewing Machine Needle Keeps Breaking (21+ Reasons & Solutions).
Feed Dogs Not Pulling Fabric Forward
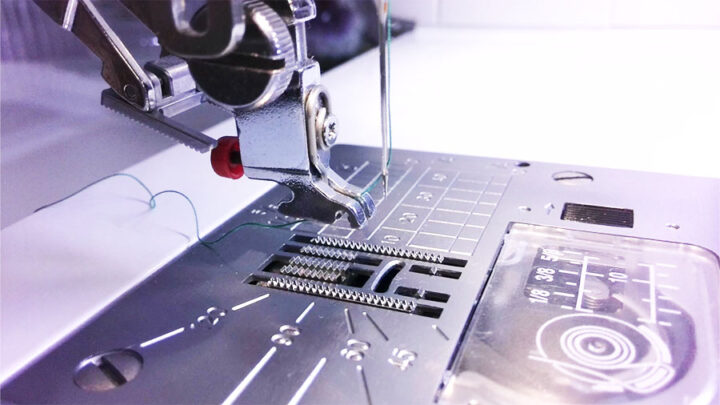
Let me guess: your material isn’t going anywhere as you sew, and you have a mess of thread to contend with.
Several things can cause your sewing machine to not pull your fabric through properly as it sews.
First, the presser foot may not be down or be using the right pressure. If the foot is raised (ex: to thread the machine), then it won’t put any pressure on the fabric so that the feed dogs can feed it through as you sew. Conversely, if the pressure is set too high, the presser foot will work against the feed dogs and essentially hold the fabric in place or feed it through too slowly.
Another possibility is that you may be using the wrong presser foot. For example, if you’re working with light, flimsy, or stretchy fabric, your sewing machine feed dog won’t be enough to pull the material through the machine. You may need to use a walking foot attachment to help your machine feed certain types of fabric through the machine.
Your stitch length may be set too low (near zero), or you may have an embroidery or darning plate covering the feed dogs.
The feed dog in your sewing machine may not be pulling fabric forward because it’s in a lowered position. Or it may be worn down and allow the material to slip around rather than feed it through.
Finally, you could have a lint or dust problem. Without regular maintenance, your machine collects dust and small bits of debris from thread and fabric that can jam up your machine and cause many problems, including clogging your feed dogs with lint so they can’t pull your fabric through the machine.
Sewing Machine Feed Dog Solutions To Try
Try doing these things to resolve the issue:
- Start by checking your presser foot. Is it lowered? Are you using the correct foot for your project? Do you need to adjust the pressure?
- Next, check your stitch length. Do you need to increase it for the material?
- Which needle plate are you using? If you have a zig-zag stitch plate installed, the stitching hole may be too big for the fabric you’re sewing. Is the throat plate installed correctly?
- Check your feed dogs. Are they lowered? Are the teeth sharp or worn smooth?
- Clean your machine, including (and especially) the feed dogs and bobbin case, to remove any lint that may be clogging things up.
If none of these work, you may have a broken gear (ex: timing belt) that you need a service technician to repair for you.
Sewing Machine Needle Not Moving

This particular problem tends to make sewists who have never dealt with it scratch their heads in bafflement at first. Luckily, there are a few potential problems with simple solutions that could be causing your sewing needle to not be moving as you try to sew.
First, the device isn’t threaded properly. It’s possible that the thread became tangled and caused the needle to not be able to move.
Another potential reason is that your tension is set way too high. When this happens, the top thread can’t move through the tension disks properly (if at all), so the needle can’t move and form stitches.
Third, you may have a thread tangle, fabric jam, or foreign object in the machine jamming it up so that it can’t operate properly.
Finally, the machine may be in bobbin-winding mode. When a sewing machine is in bobbin-winding mode, the needle will not move because the machine is designed to focus on winding thread onto the bobbin rather than sewing. If you’re experiencing this issue, switch the machine out of bobbin-winding mode. Usually, this is done by disengaging the bobbin-winding mechanism.
To correct all these issues, rethread your machine and check your tension settings, adjusting them if needed. If that doesn’t work (which it will most of the time), check your machine to see if it’s still in bobbin-winding mode or if it’s jammed up.
To clear a jam, turn off the machine and unplug it. Carefully remove any fabric or thread tangles, and inspect the machine for any foreign objects, such as broken needles or pins. Once the jam is cleared, re-thread the machine and try sewing again.
Common Sewing Machine Bobbin Problems
Having trouble with your sewing machine bobbin? Bobbin issues can be a common headache for many sewists, but the good news is that they’re often easy to fix with a little troubleshooting.
One common problem is a bobbin winder that has stopped working, resulting in the inability to put the thread onto the bobbin. Another problem is when the bobbin is filled with thread unevenly, which can cause tangling and other problems. The sewing machine may not pick up the bobbin thread properly, causing stitching issues. This can be caused by incorrect insertion of the bobbin or incorrect threading of the machine. You can also encounter a problem when the bobbin keeps popping out during sewing.
By identifying the root cause of your bobbin-related problem and following the appropriate solution, you can overcome bobbin-related challenges and ensure that your sewing machine operates properly.
To learn more about bobbin problems check out my tutorial Common Sewing Machine Bobbin Problems And Solutions (+Videos)
Thread Coming Out Of Needle On Sewing Machine
So frustrating! You spent all that time threading your machine only to start sewing and realize a few stitches later that you aren’t actually sewing anything because your thread came out of the needle!
And if you don’t have a self-threading machine, it can take a while to get the thread through the eye of the needle.
✅ Related tutorial: How to thread a needle on a sewing machine
Thankfully, this problem has a pretty simple solution. Rethread the machine, but before you start, make sure that your needle is in the highest position it can go. You may need to use the handwheel or some machines have an up/down function that makes it possible to automatically raise the needle to its highest point (or lower it to its lowest point).
If you use the handwheel, remember to always wind the handwheel toward yourself because winding it backward can cause a major thread tangle inside the machine.
One of the most important steps is to make sure that you’re holding the thread tails before beginning to sew. Always make sure you have at least 4 inches of thread as a tail toward the back of the machine (so that thread doesn’t get sucked down into the bobbin case and tangle things up).
Thread Cutter Troubleshooting
Most basic and some mid-level sewing machines have a manual thread cutter on the left side of the sewing machine head. To cut your threads after you finish sewing, simply pull them up into the thread cutter. If it stops cutting thread, it’s because the blade is dull and needs to be replaced (so just use a pair of scissors until you can get it replaced).
Some mid-level and most upper-level computerized sewing machines have an automatic thread cutter. You can find this wonderful tool on machines such as the:
- Juki HZL-DX7
- Singer Quantum Stylist 9960
- Janome Skyline series (S3, S5, S6, S7, and S9 models)
- Modern embroidery machines
Automatic thread cutters are a popular feature on modern sewing machines that help save time and effort by automatically cutting the thread after each seam.
However, there are a few issues that can arise with automatic thread cutters.
The first is that it may start cutting one thread but not both. Another problem is that once in a while, the automatic cutter can get stuck on the right side of the machine. In some cases, the thread cutter may not work at all, which could be due to a loose or disconnected wire or a software malfunction. Another issue can be the cutter blade becoming dull over time, which can cause the blade to not cut the thread cleanly.
Remove the needle plate and clean out any dust or debris, such as stray threads, that can get in the way and prevent your needle cutter from working properly. If your cutting mechanism is stuck to the right, gently push it back into place after ensuring that there isn’t anything (lint, etc) in the way. If the blade is blunt or damaged, it may need to be replaced by a professional.
Note: If you try using the automatic cutter once and it doesn’t work properly, don’t try repeating the process and using it again. Instead of working the second time, you can cause additional problems (ex: causing the cutter to get stuck to the right). Instead, remove the needle plate and find out why it didn’t work – there’s a reason!
Sewing Machine Stitch Length Problems
Are your stitches too long or too short? Several factors can cause this, such as using incorrect machine settings or a malfunctioning stitch regulator.
To solve this issue, start by checking the stitch length settings on your machine. Make sure that they are set to the desired length. If the settings are correct, you may need to adjust the stitch regulator or replace it if it is not working properly.
Also, check your presser foot and the foot’s pressure to make sure they’re correct for the fabric you’re sewing.
Another common stitch length problem is sewing uneven or inconsistent stitches. Incorrect tension settings, a dull or damaged needle, or a dirty or clogged-up feed dog can all contribute to this. To solve this issue, check the tension settings on your machine and adjust them as needed to achieve even stitches.
If the tension settings are correct, check the needle. Replace it if it is dull or damaged. Finally, clean and adjust the feed dog according to your machine’s manual to ensure that it is properly feeding the fabric through the machine.
Sewing Machine Tension Dial Not Working
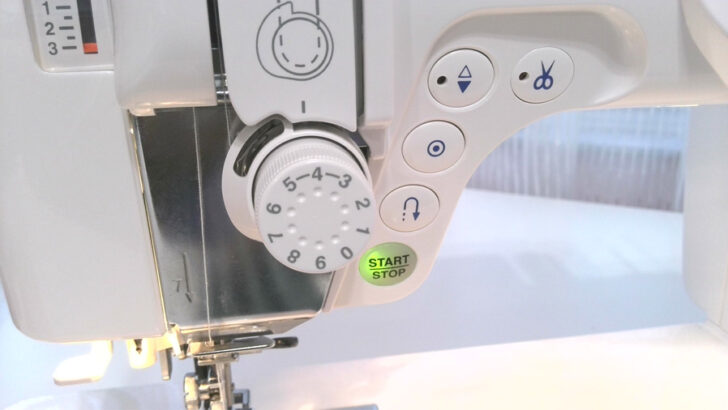
The tension dial on a sewing machine is responsible for controlling the amount of tension in the upper thread. When the tension dial isn’t working properly, you’ll likely see loose or tight stitches, broken threads, and possibly even thread bunching.
The most common reason the tension dial isn’t working is that the upper thread isn’t threaded correctly. The tension dial won’t work no matter what you do if the thread isn’t between the tension disks!
Next most common is that dust or debris has collected between the disks and prevents the dial from adjusting to the correct tension level.
Faulty tension dial itself can also be at fault – either the spring that tensions the needle thread is weak or worn out, or the dial has mechanical issues.
Start by rethreading the upper thread correctly, following your machine’s instruction manual if needed. If the tension dial is still not working properly, try cleaning it with a soft, dry brush to remove any dust or debris that may be preventing it from moving smoothly.
Finally, if that doesn’t work, you may be dealing with a faulty tension assembly that’s worn down over time or become damaged. If that’s the case, you’ll likely need to take your machine to a service center to replace the tension assembly.
Foot Pedal Not Working
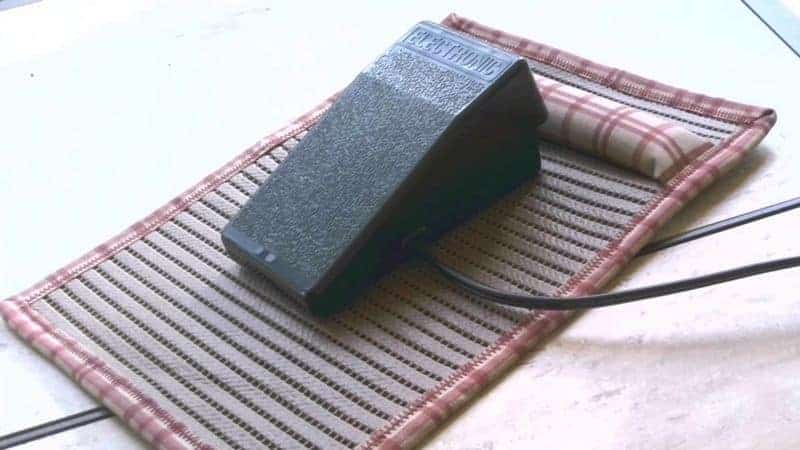
The foot pedal controls the speed and operation of your sewing machine, and it’s incredibly frustrating when you press the foot pedal and nothing happens! To help minimize delays in your project, check out these common causes that can make a sewing machine foot pedal not work.
✅ Related tutorial: How to sew a non-slip foot pedal pad for a sewing machine
First, you may be sewing too slowly. The longer you run your machine, the hotter your foot pedal gets, and it can reach a temperature where it shuts down to prevent heat from damaging it. Try increasing your sewing speed a little or take a break and let the pedal cool down before you return to sewing.
Second, the foot pedal may not work because it’s not plugged into the machine or becomes loose. Or the cord could be damaged. To solve this problem, ensure that the foot pedal is securely plugged into the machine, and that the cord is not damaged. If you find damage (ex: a frayed cord), replace it with one that’s compatible with your machine.
I hope that this list of common sewing machine problems helps you troubleshoot and fix the issue that’s jamming up your sewing progress. Often, the problems that sewists encounter are simple issues that you simply overlooked as you were absorbed in what you were doing and can be easily corrected with just a little knowledge!
Useful Info – Sewing Machine Troubleshooting
If you own a sewing machine long enough, you’re going to have to figure out how to troubleshoot your sewing machine at some point or another. While some sewing machine problems are preventable, others are inevitable. Learn how to troubleshoot your sewing machine with my printable PDF eBook. Whether you use a traditional sewing machine or a modern computerized one, work through this ebook before thinking about a replacement or going to a service center.
Did you find this tutorial helpful? If so, save this pin (see below) on your sewing board so you can come to the article later when you need this information on sewing machine troubleshooting, and follow me on Pinterest for more tips, tutorials, and inspiration!
latest posts
- Butterfly Quilt Block Tutorial – Foundation Paper Piecing
- How To Sew Quilt Squares So The Corners Match
- Sewing With Fork Pins: How They Help With Pattern Matching, Slippery Fabric, And Seams
- How Much Fabric Do I Need? 21 Helpful Tips For Calculating Fabric Yardage
- Easy Simple Sewing Project: Fabric Jar Opener
- DIY Oven Mitts: Step-by-Step Sewing Tutorial
- Easy DIY Potholder: New Design
- Tailor’s Clapper: What It Does, Why It Works, And How To Use It Right
- Heat Resistant Batting for Sewing: What It Is, How It Works, and What Makes a Difference