Leather is very likely the first material used by humans for sewing. How difficult can it be to sew leather? At a first glance – very difficult, or at least that’s what I thought before actually doing it. But after I finished my first serious project I realized that sewing leather is not more complicated than sewing denim for example. On the contrary, because leather doesn’t fray, doesn’t need washing, pressing, doesn’t shrink, etc.
The only problem was that my regular sewing tools were not exactly leather friendly and I lost a lot of time trying to use regular needles, threads, and techniques. I thought I knew it all; how wrong I was. But once I started using the tools specific for leather everything fell into place beautifully and the result of my efforts was worth the learning process.
I like sewing with leather. Leather garments are always in style but they are really expensive to buy. Leather is, in fact, one of the few materials that are cost-effective to sew, while the material is not cheap ( and no quality material is cheap ), if you make a skirt or a bag yourself it will be much cheaper than in the store, especially that only upscale stores would have leather.
I made quite a few projects with leather (see images below), made some mistakes during the process, and discovered so much by trial and error that now I can share with you some tips on how to sew leather. I have of course much to learn and every project is a new opportunity to learn from failure.
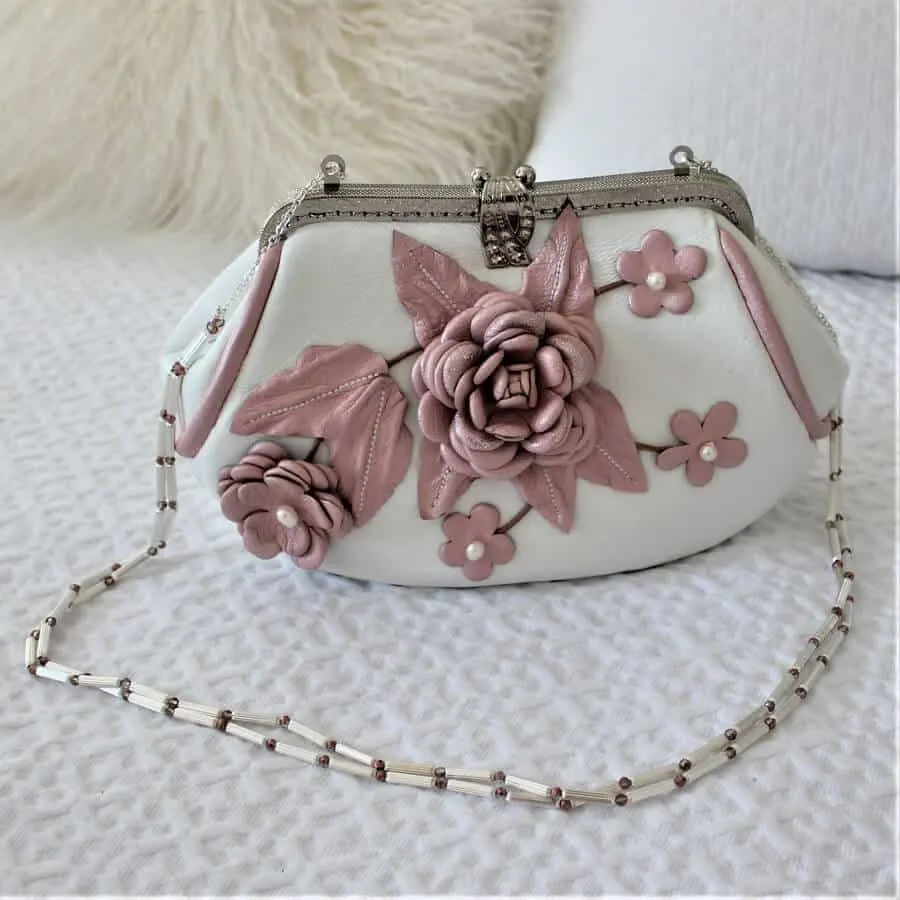
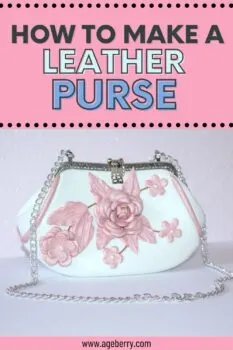
Before making my leather purse (in the image above) I took this Craftsy class “Making leather bags” with Don Morin. I knew the basics of sewing with leather because I made some easy sewing projects with leather before but I never made leather bags. So I watched the class and learned professional leatherwork techniques and discovered how to select quality leather and add some extra polish with contrasting leather, mitered gusset corners, rouleaux handles, and an expertly installed zipper. The class is an excellent foundation to move on to your own leather projects.
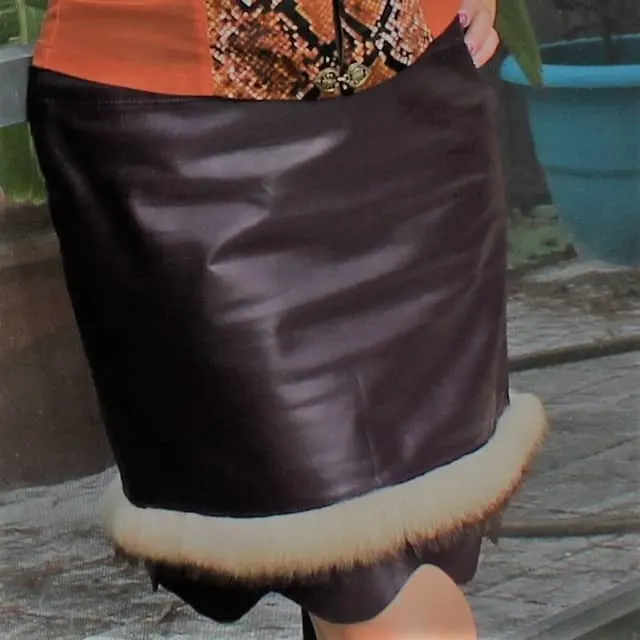
Below are some of my leather projects, either things made out of leather or leather accents for embellishment on garments:
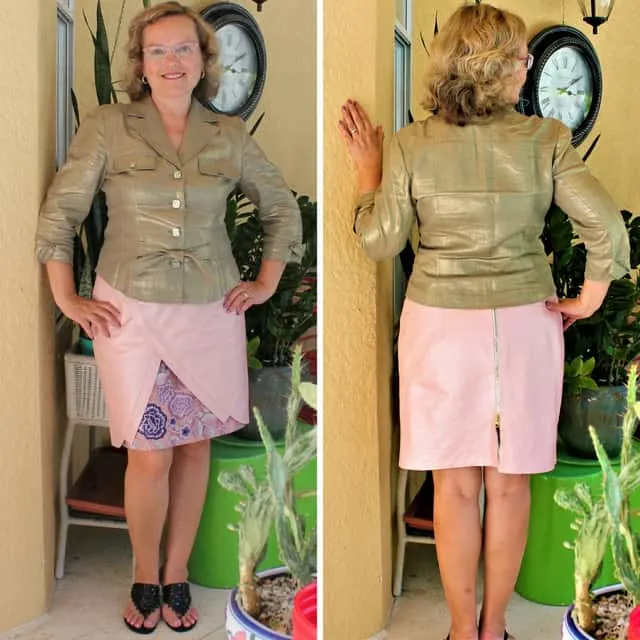
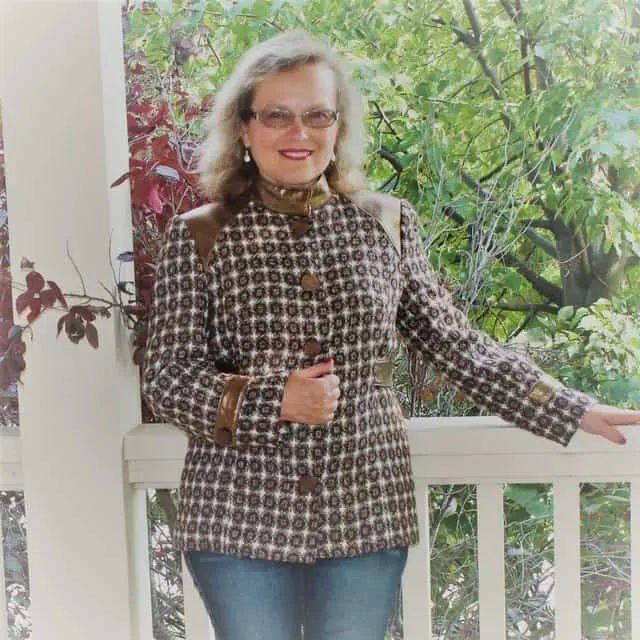
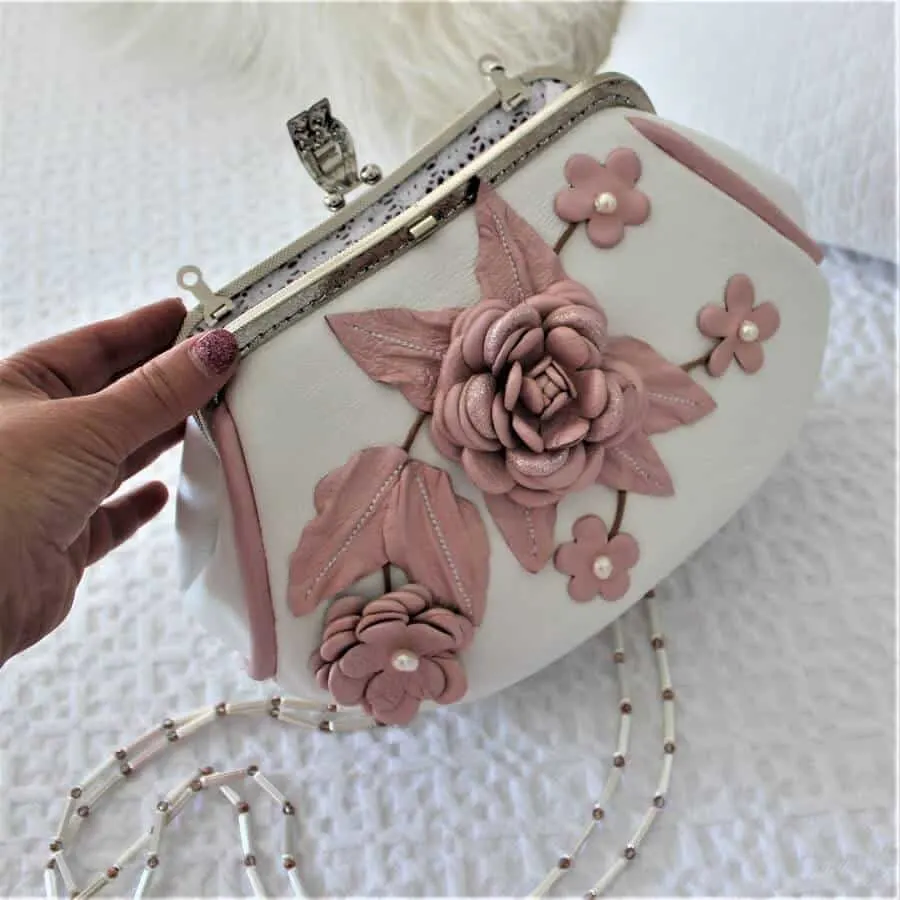
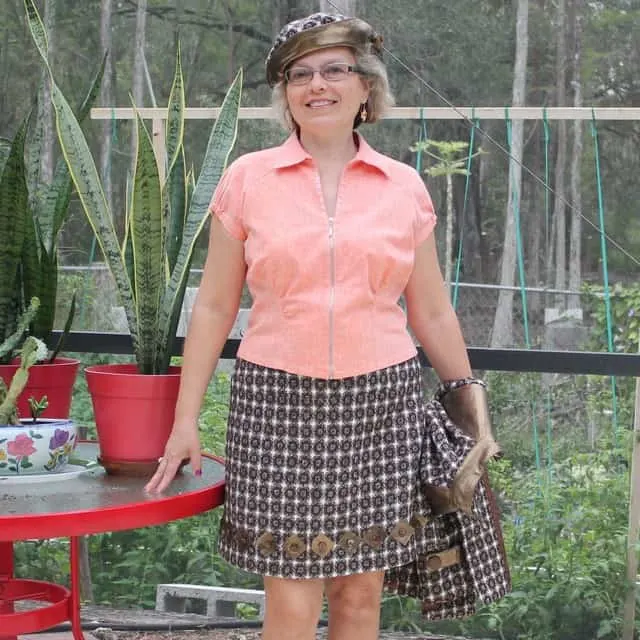

First of all, I can tell you that you don’t need an industrial sewing machine for your leather sewing projects as long as you select thin soft skins like lambskin leather, for example (called also Nappa).
It’s necessary to have special notions and tools for sewing leather on a domestic sewing machine, they are inexpensive and easy to find. In the list below I want to show you what I used successfully for my projects.
The other suggestion is that you need to be mindful of your seams when sewing with leather – if your pattern requires sewing 8 layers at once it’s probably too much for anyone without an industrial leather machine so plan accordingly how many layers you will have to be sewing through. Yes, sometimes you will need to sew by hand, but this is by no means extraordinary for anyone who sews, no matter the material.
Remember: leather seldom allows you to make mistakes, a seam on leather is probably final and can not be redone. First, the needle will leave marks in leather that will not recover, and second, the leather may become weakened along the seam and a second seam along the same line is not really advisable.
Leather sewing tools
What kind of needle is used to sew leather?
Leather sewing needles are designed to stitch leather: they have a special cutting wedge-point that goes easily in the leather and somehow makes holes smaller than regular needles (as it seems to me). They come in different sizes for different thicknesses of leather.
Note: Some of the links on this page are affiliate links. This means I will receive a commission if you order a product through one of my links. I only recommend products I believe in and use myself.
I used Schmetz leather needles size 90/14 for stitching two layers of lambskin leather and size 100/16 when I needed to stitch 3 or 4 layers. I think they are the best and I haven’t found any that compare to them. If you stitch a lot of lather you might consider buying needles in bulk, they are quite expensive otherwise.
I read that Universal and Microtex needles can be used also but they didn’t work for me. Look what happened when I tried to use a Universal needle. I had skipped stitches all the time.
Special sewing machine presser feet
For some small stitching (like when I was sewing leather to fabric) I could use just a regular straight-stitch foot but for bigger projects, I needed specialized sewing machine feet.
One of them is a Teflon straight-stitch foot – it is non-stick and, in most cases, goes smoothly and effortlessly over sticky surfaces.
For sewing piping on my leather purse, I couldn’t use the straight-stitch foot and had to change it for a zipper foot but it had to be Teflon also so it can go smoothly on leather.
Also, a walking foot can be a real lifesaver when sewing leather. I use a Janome 6600 sewing machine and it comes with an AcuFeed system which is practically a built-in walking foot. This is a really wonderful feature and it makes a huge difference. It helps the leather glide through the machine so that the underneath layer (against the feed dogs) doesn’t bunch up under the foot and stitches stay even and not too close together.
Sometimes, if I don’t use the walking foot, my machine doesn’t even move and just keeps stitching in one place making a huge hole in the leather and knotting up the bobbin thread. So if you want to avoid frustration while sewing leather – buy a walking foot. They are different for different brands of sewing machines.
Most modern sewing machines are low shank, so the feet above will likely fit. Make sure you check if your machine is low shank or not, or buy from an outlet that allows returns if you are not sure. If your machine accepts only proprietary feet, you are probably limited to what the manufacturer sells or one marked specifically as “compatible” for your brand and model.
Below is a walking foot in action. My main machine (Janome MC6600) has a built-in walking foot which the manufacturer calls “AccuFeed”. But walking feet are available for most brands separately, if they were not included with the machine, to begin with. Or you could buy a feet set, most will also include a walking foot.
Related post: Brands of walking foot attachments: buying guide
What thread do you use for leather?
I use strong polyester threads TEX 40. Regular cotton threads (usually 40 weight, TEX 25) are not good enough for me, I guess they are not very strong and break too easily. I also tried pure silk threads (thick ones) and can tell you that they are very good for sewing thin leather but they are expensive. Below is a short video of the TEX 40 threads I used for leather:
If you want to know more about threads, weight, tex, and conversions between them, please read my article “Sewing thread sizes and how to tell the thread size“.
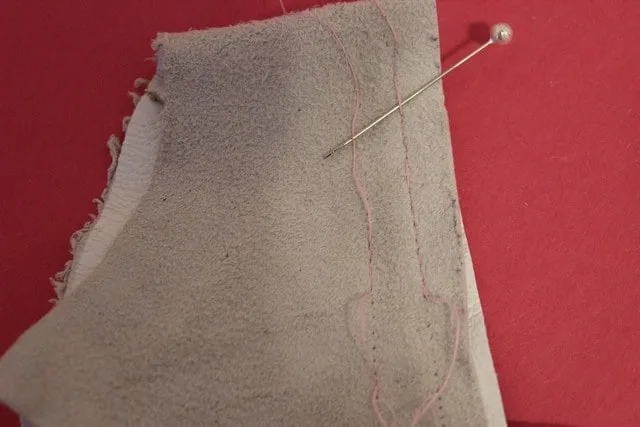
I came to the conclusion that it’s important for the thread to match the thickness of the needle eye – if they don’t match (if the thread is too thin for the needle) the hole made by the needle will be too big for the thread and then you will see this.
Notions for basting leather pieces
You can’t use regular pins, nor can you baste pieces by hand – any needle will leave a permanent hole in the leather. No problem! There are special notions that can be used instead of pins.
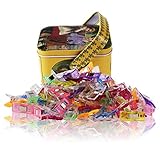
I use Wonder clips ( they are really wonderful!). It’s so easy to attach and remove them and they are sturdy, hold multiple layers of leather together tightly without shifting, and don’t distort the pieces in any way. One side of the clip is flat so as you sew the leather it glides smoothly towards the needle.
A note about Wonder clips: I used both Clover and no-name; not all no-name clips were good, some of them I used well on cotton but when it came to silk or leather, they scratched the material because they were not smooth enough. In the end, I decided I will go with the brand name and throw away the ones that were not finished properly. I bought the pack once and it will be good for many years. One more argument towards buying good tools, you save money long term.
If you decide to go no-name (they are much cheaper), make sure you check them so you can still return them.
Another fantastic notion for sewing leather is a double-stick basting tape. I use it a lot for straight seams but not so much for curved seams. The tape keeps leather from shifting and stretching very well and you don’t even need to take it out after you finish the seams, you can leave it in without any problem (the tape is very thin) and the seams will still remain flexible. Another good thing about the tape is that you can reposition it if you put it in the wrong place.
Just don’t sew through the tape because it will gum up your needle.
This tape is really good also for sewing zippers on leather, making hems on leather garments, and opening seam allowances. The tape has a backing paper which you have to peel off after you have positioned the tape.
Tools for cutting leather
I use very sharp shears because I don’t sew leather very often. But if you plan to work with leather a lot then better use a rotary cutter. The cut is usually very clear and I like to use it but sometimes my rotary cutter is not cooperative and destroys my leather. Eeek! Watch the video below if you want to know how NOT to use the rotary cutter.
The rotary cutter is best for straight lines. If you need to cut curves, tight corners, and complex shapes then you have to use shears. It’s better to use shears with a blunt tip so you don’t scratch the leather.
For a better look at the rotary cutter please refer to my article “Rotary cutter tips and tricks“. There are some tips about buying a rotary cutter there, not all cutters are equal!
Another very good tool for cutting small leather pieces is Brother cutting machine Scan&Cut 2. A later addition to the family was the Cricut Maker machine, I have the impression that Cricut cuts even better, but I did not use them enough to really compare. They are suitable mostly for small and intricate parts used for embellishments.
These machines are updated frequently by the manufacturer so to check out the current availability on Amazon use the below links:
You can’t use pins when cutting pattern pieces from leather. Use pattern weights or scotch tape instead to hold the pattern in place. I have a big collection of stone figurines so I use mostly them. To transfer pattern markings I use just a regular pen and use all my patterns already with seam allowances.
Also, it’s impossible to sew leather without using glue. You will need it for keeping seam allowances open, for finishing darts and hems, and many other things. What is the best adhesive for leather? I use this one: “The ultimate! The only non-toxic, water-based super glue”.
Want to see these tools in action? Check out my tutorial “How to make a leather purse”!
Sewing machine settings for sewing leather
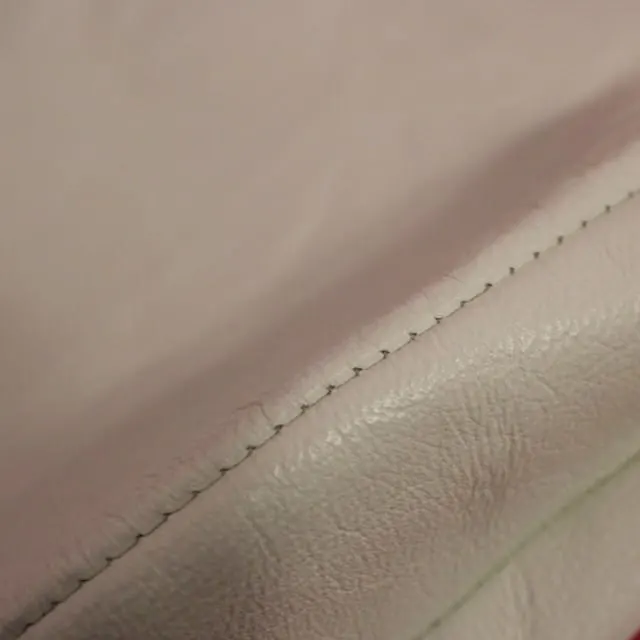
Select a slightly longer straight stitch length (around 3 -3.5 mm, 1/8″ if your machine has imperial units). Too short a stitch length is no good because you will make more holes in the leather weakening the piece and a stitch length too long is no good either because it will leave big distances between holes; it is not beautiful and the longer the stitch, the weaker the seam. 3 – 3.5 is just right.
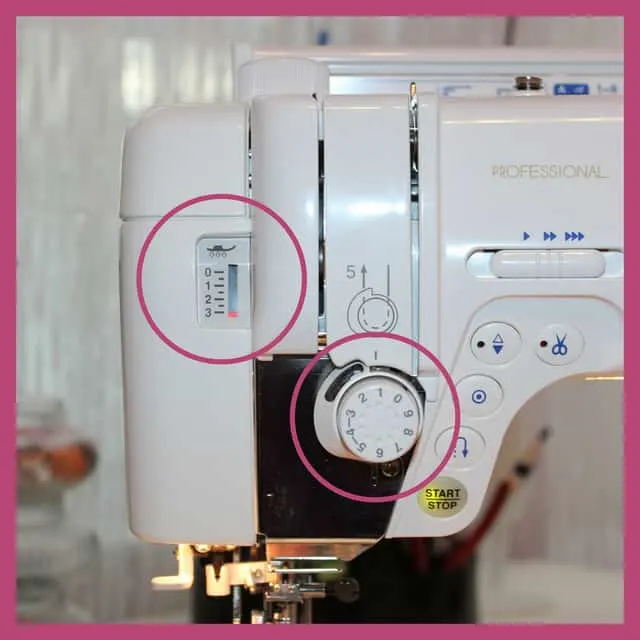
I also decreased my thread tension to 1 (instead of the normal 3-4) and adjusted the foot pressure for sewing leather. Usually, I sew a lot with delicate silk fabric and because of this, I keep my foot pressure dial at 1 for sewing extra-fine fabric. So I needed to put it to 3 which is good for thicker fabrics.
Practice stitching on scrap pieces. After preparing my sewing machine for stitching leather I used scrap leather pieces to test my settings and tools. Don’t be tempted to skip this step – it’s really important to know how your sewing machine is going to handle stitching leather. Make a seam sampler using different needles, threads, and sewing machine feet.
Buying and preparing leather for a project
How to calculate how much leather you will need for the project?
Unlike fabric, which is sold by the yard or meter (length), skins are sold by the square foot. So it’s always kind of a problem for me to decide how many skins I will need for a project because I need to convert yardage requirements to a number of skins. You have to buy whole skins, they can’t be cut, obviously. Lambskins usually can have 3 to 6 sq. ft.
Moreover, skins are not uniformly good, they might have imperfections, thinner parts, cuts, and holes, and arranging a pattern on the skin is really an art compared to arranging a pattern on fabric. More about this later.
Want more complications? Ok, here it comes. The color of skins is not uniform, even two skins in the same batch may be slightly different. Two different batches, bought a couple of months apart? I will guarantee they are completely different, even if the manufacturer lists the same color. So you need to buy always enough to make sure your needs are covered 100%.
If you buy leather in a brick-and-mortar store then you can just take your pattern with you and lay out pattern pieces on skins of your choice. But I only know some stores in New York where I can do it.
So most of the time I buy leather online and because of this, I have to convert square yards or meters to square feet.
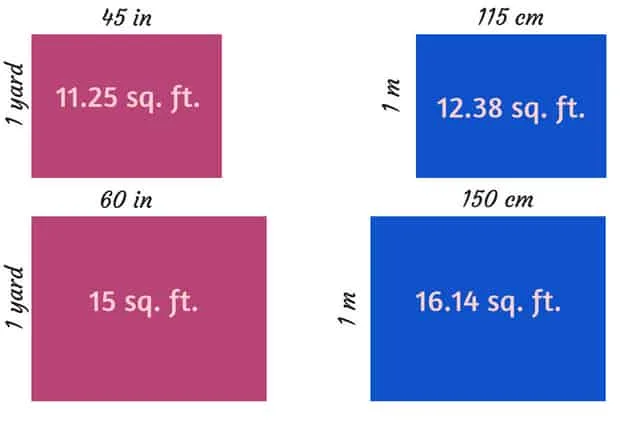
Let’s do some math now. Fabrics come usually 45 in (115 cm) or 60 in (150cm) wide. So 1 yard of 45 inches of fabric is equal to 11.25 square feet. And 1 yard of 60 inches fabric is equal to 15 square feet. Keep these values in mind.
If your pattern requires 2 yards of 45 in fabric then you will need approximately 22.5 sq. ft. of leather. Also, let’s come back to skin imperfections, they have irregular edges and occasional flaws (it can be a hole in the skin, or just a thinner spot), so you will need to buy more square feet just in case. I think 25% more than the pattern requirements will be enough, but remember, this is just an estimate. So multiply that amount we got in step one by 1.25 (approximately) – we will need around 28 sq. ft. of leather.
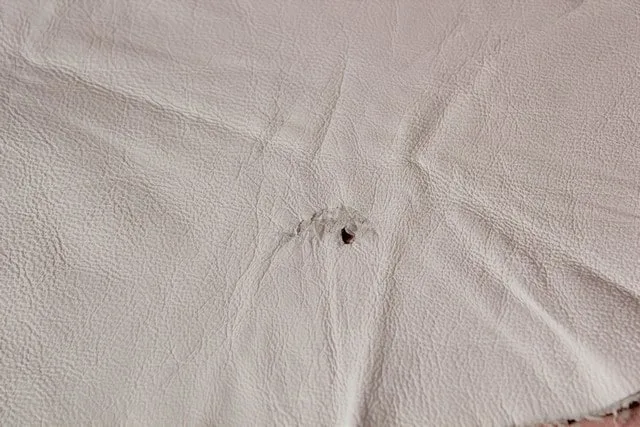
Look at the image below and the short video to see what typical defects on leather look like. Some are large, some though are small and they need to be identified before you cut the pattern.
That amount is good for big projects (like coats and jackets). But for small projects (like bags or vests) you will need much less. For example, if your pattern suggests ¾ yard of 60 in fabric then you have to multiply ¾ by 15 (equal 11.25 sq.ft.) and add 25% for irregularities – your total will be around 14 sq. ft.
Use this image below to calculate the number of skins for your project.
I did use that calculating method above to estimate the number of skins. Usually, there are remnants after I finish my project but I can always make matching accessories or combine leather with fabric. I do not think I have ever thrown away leather pieces large enough to sew.
Where to buy leather?
This online store from Amazon has a great variety of skins of different colors and weights, check it out.
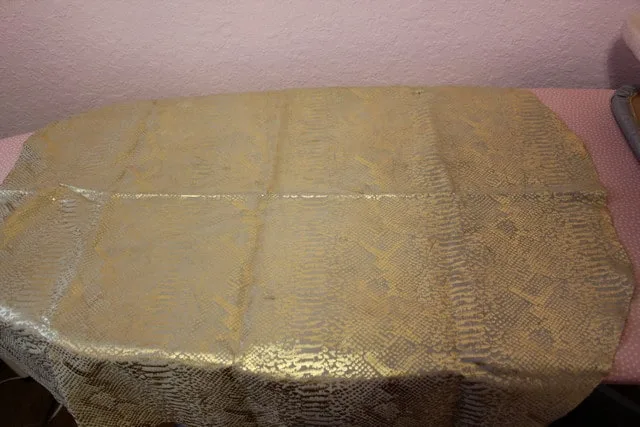
And once you receive your skins don’t keep them folded – unfold them immediately and roll them up. I didn’t know that and kept some nice leather folded for a year and now it looks like this.
How to press leather seams
It’s not recommended to iron leather. I was wondering why we can’t press leather with an iron, and I tried to iron some scrap leather pieces – the result was not good: my pink leather got permanent yellow spots from the high temperature and curled and shrunk a little also.
But if you absolutely need to iron it – pad your ironing board with a towel, use just a warm iron (for silk settings), a press cloth, and no steam.
Before cutting examine each skin carefully, look for defects, and decide how you will work around them. Some defects are very visible (like small holes or stretched edges) but some are not so obvious (like thinner spots or missed sections on embossed leather). You can hold each skin up to the light to look for thinner spots for example.
I will continue this tutorial on how to sew leather in my next article (part 2) because this one is becoming too long already. In the next part, I will touch on other important issues, like choosing the pattern for leather and preparing the pattern for sewing and stitching techniques.
Did you find this tutorial helpful? If so, save this pin (see below) on your sewing board so you can come to this tutorial later when you are ready to sew something from leather and follow me on Pinterest for more tips, tutorials, and inspiration!
Like sewing tips? I have other popular tutorials on my site that might be interesting for you. Check them out below.
latest posts
- Ditch My Sewing Machine? Not in This Lifetime!
- Adorable DIY Needle Book | Easy Tutorial for Beginners
- Master the Seam Ripper: Your Ultimate Guide to Precision Stitch Removal
- Think You Know Zippers? This Installation Guide Might Surprise You
- Why Does Your Seam Ripper Have a Red Ball? Discover Its Purpose!
- Topstitching Troubles? This Simple Trick Will Turn It Around Instantly!
- How to Sew Shirring: A Step-by-Step Guide to Elastic Thread Gathering
- Are Self-Threading Needles Really Useful?
- Amazon Spring Sale: Best Choices

