
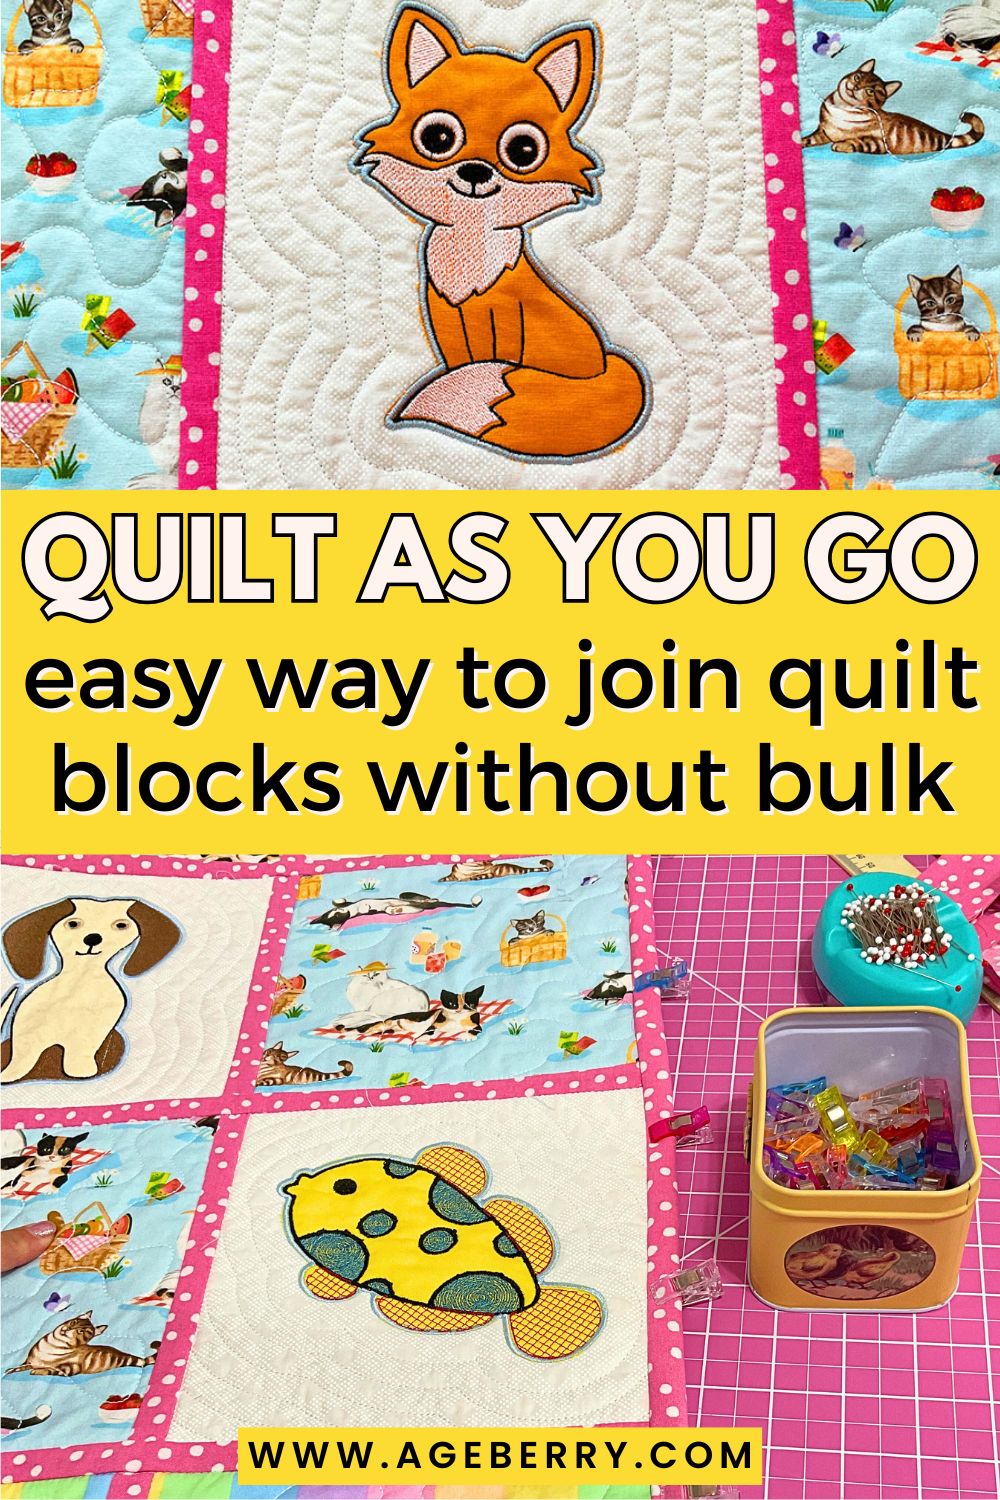
Quilt As You Go: How To Join Individual Quilt Blocks Without Bulky Seams
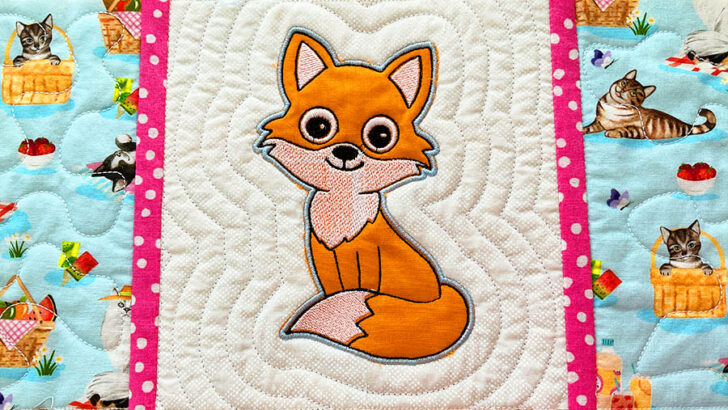
In this quilt tutorial, I want to share my experience of making a baby quilt for my new granddaughter using the Quilt-As-You-Go technique. It’s a quilting method where each block of the quilt is pieced and quilted individually before being joined together to form the final quilt. This approach allows quilters to handle smaller, more manageable sections rather than working with the entire quilt top at once.
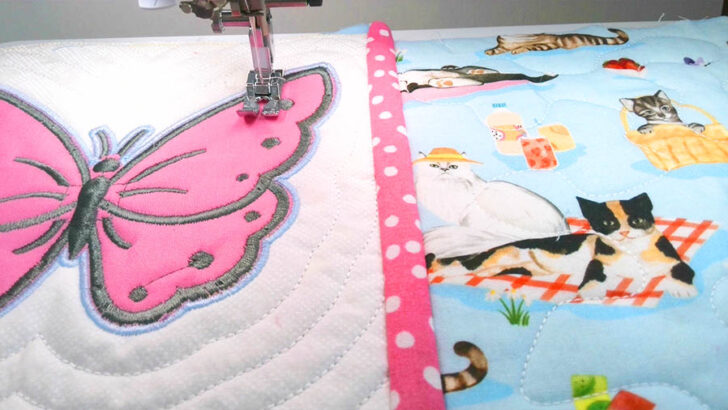
What’s great about this technique is that it eliminates the need for a long arm machine. You quilt each block separately and then connect them to form a large quilt. Each block is made with its own batting and backing, and you can quilt it using various methods: free-motion quilting, straight-line quilting, or even with an embroidery machine, as I did. This method has not only been really fun but also very practical.
Another great aspect of quilt as you go technique is that it produces a double-sided quilt. Because of this, careful selection of backing fabrics is important to ensure both sides look attractive, as both sides of the quilt will be visible and contribute to the overall design.
Although this technique isn’t very common, it deserves more recognition. That’s why I’m very enthusiastic about sharing it. It makes creating large quilts much simpler, no matter the equipment or space you have. So, give it a try and discover the same advantages I’ve found.
Attention! If you’re someone who likes to see things in action, you might enjoy the video version of this tutorial on my YouTube channel. You’ll find the link at the bottom of this post. Watching the video along with reading this article can help you get a fuller picture, so I definitely recommend checking out both!
Step-by-Step Instructions for Quilt-As-You-Go
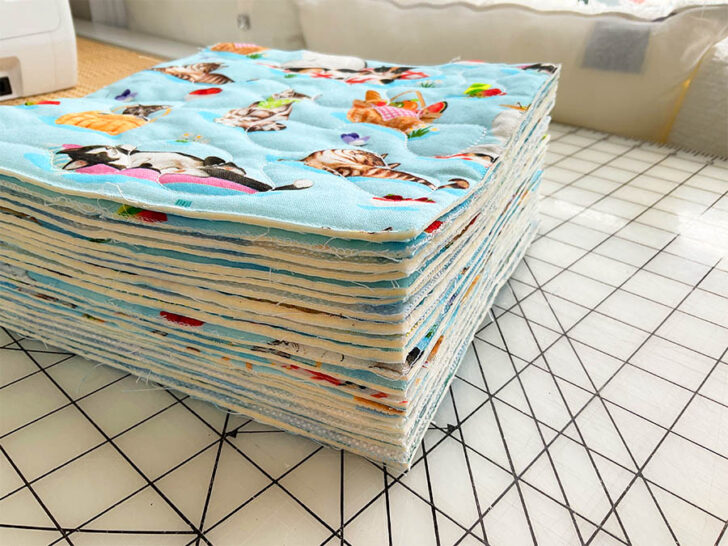
Step 1: Trim All Quilted Blocks to the Same Size
The first step in assembling your Quilt-As-You-Go project is to trim all the quilted blocks to the same size. This is the key for a smooth assembly and a polished final product.
Here’s how I ensure all my blocks are uniform.
- After quilting each block, you may notice slight variations in size, especially if you’ve used an embroidery machine and appliques. Some blocks could shrink a bit if you used lots of quilting stitches. This is completely normal. But these variations, even if just a millimeter or two, can affect the overall quilt.
2. To mitigate shrinkage and ensure consistency, I stitch a guideline square around each block in the final step of my embroidery process. This helps keep the blocks roughly the same size but still doesn’t eliminate all discrepancies.
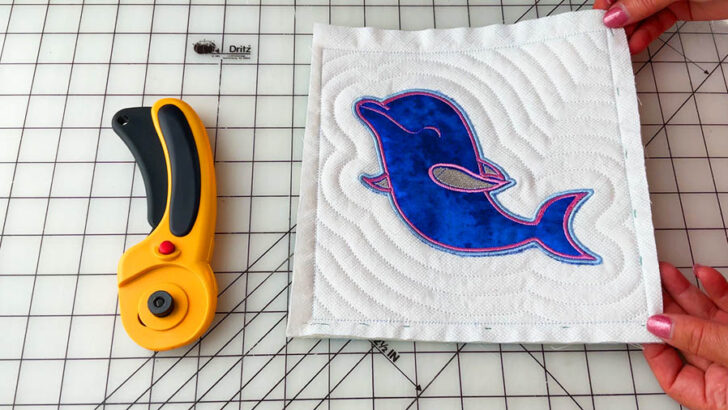
3. Then I select one block without any applique to serve as my model. This block will be my standard for trimming the others.
4. Next I place this model quilt block on top of another quilt block, aligning two sides perfectly. I use a fabric marker to mark the other two sides of the underlying block based on the dimensions of my model block.

✅ Related tutorial: Your Guide For Choosing The Best Quilt Marking Pens For Every Project
5. Using a rotary cutter and a ruler, I carefully trim the excess fabric along the marked lines on all sides. This will ensure that all my blocks are exactly the same size.
✅ Related tutorial: Rotary cutter tips and tricks – what mistakes to avoid
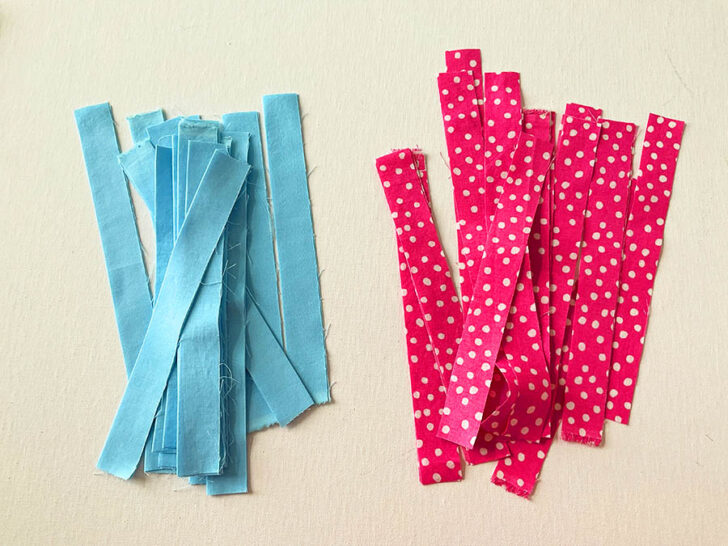
Step 2: Cut the Strips
Select colors for your strips that complement or enhance the colors in your quilt blocks. The choice of color is entirely up to you, but it should work well with the overall color scheme of your quilt.
The strips will be used to join quilt blocks together.
- Cut strips for the front side of the quilt that are 1 inch wide and as long as your blocks.
- Cut strips for the back side of the quilt that are 2 inches wide and as long as your blocks.

✅ Related tutorial: How To Accurately Cut Fabric For Quilting With A Rotary Cutter
3. Fold each 2-inch strip in half lengthwise and press it to create a crisp fold.
I prefer to cut these strips on the cross grain, which is perpendicular to the selvage. You can cut the strips on the straight grain, parallel to the selvage, which offers more stability. Avoid cutting the strips on the bias, as this can cause them to stretch out of shape.
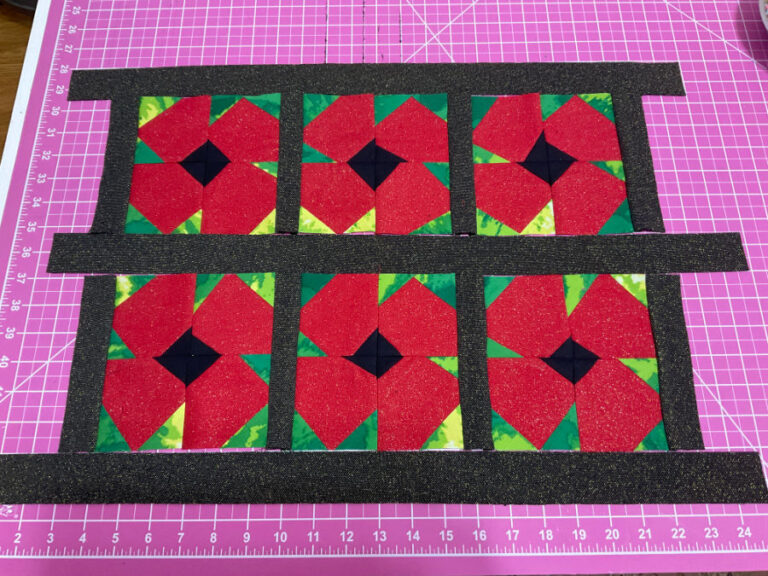
Step 3: Arrange Your Quilt Blocks
Now that your quilted blocks are trimmed to the same size and your strips are cut and prepared, it’s time to arrange your blocks in the desired layout for your final quilt.
1. Find a large, flat surface where you can lay out all your quilt blocks. This could be a table, a bed, or even the floor.
2. Arrange the blocks in rows, positioning them exactly as you want them to appear in the finished quilt. Take your time with this step to ensure you’re happy with the overall design and color distribution. Aim for a visually pleasing and harmonious layout.
3. Don’t hesitate to move blocks around if something doesn’t look right. This is your chance to perfect the layout before you start sewing the blocks together.
4. Once you’re satisfied with the arrangement, take a photo of the layout. This will serve as a reference as you join the blocks, ensuring you maintain the desired order.
Step 4: Attach the Strips to Your First Block
With your quilt blocks arranged and ready, it’s time to start joining them. Follow these steps to attach the strips to your first block:
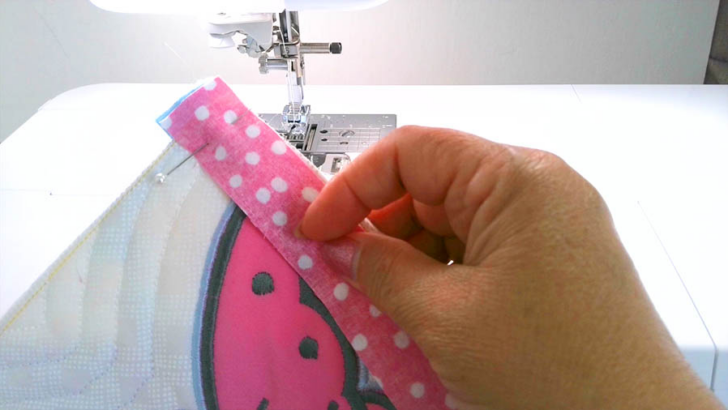
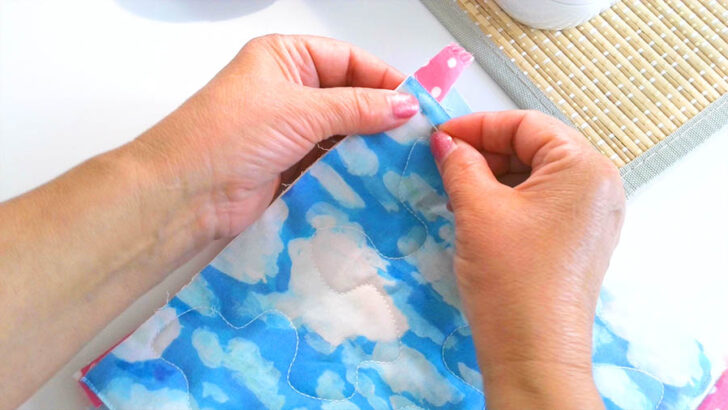
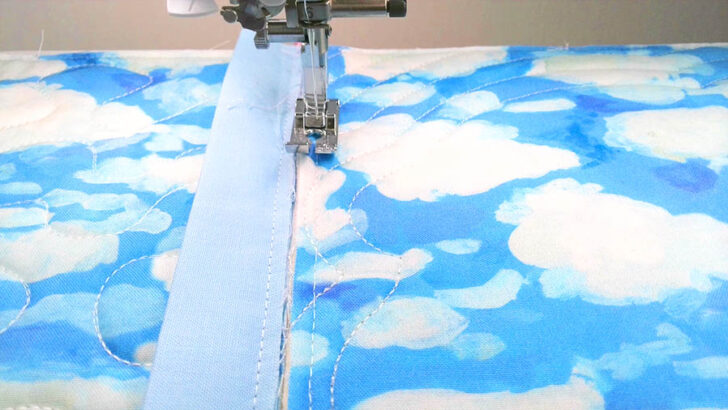
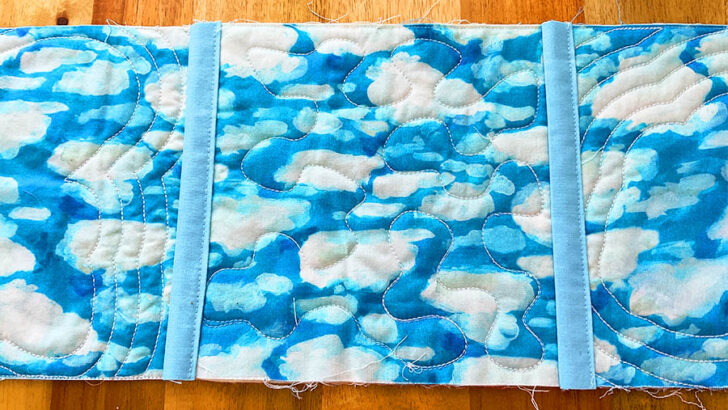
1. Take the 2-inch folded strip that you prepared earlier. Lay it down on the back of your first block, aligning the raw edges of the strip with the edge of the block. Secure the strip in place with a pin at the beginning of the seam. This will help keep it aligned as you work.
2. Take the 1-inch strip and place it on the front of the block, aligning the raw edges with the edge of the block. Ensure the right sides are together.
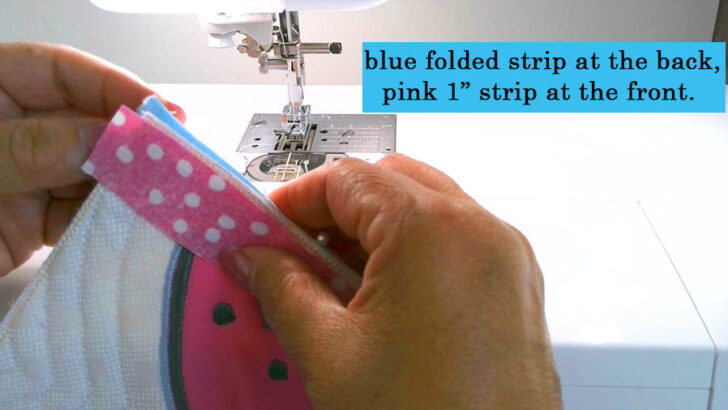
3. Using the same pin that holds the back strip, pin through all the layers: the 1-inch front strip, the quilt block, and the 2-inch back strip. This will help keep everything secured.
You can use additional pins to secure the strips to the block, but I’ve found it unnecessary. The single pin at the beginning of the seam is usually sufficient to start stitching.
✅ Related tutorial: Types of sewing pins and their uses: all you need to know about straight pins for sewing
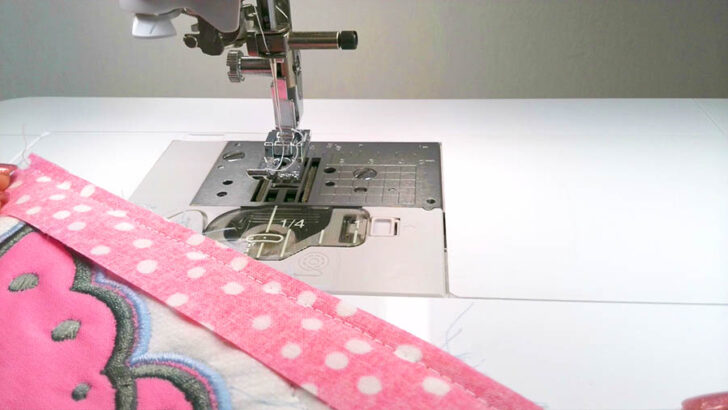
Step 5: Prepare Your Sewing Machine
Prepare your sewing machine properly.
- Choose the Right Foot
- Walking Foot: Insert a walking foot if you have one. This foot helps feed multiple layers of fabric evenly through the machine, preventing shifting and puckering.
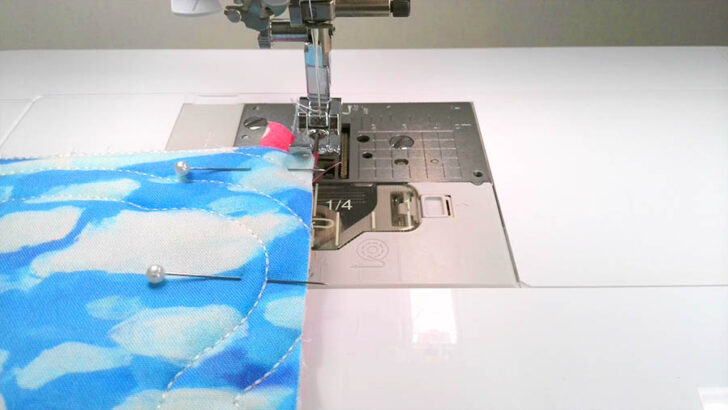
- Quarter Inch Presser Foot: You can use a quarter inch presser foot, which is what I decided to use. This foot helps maintain a consistent seam allowance, which is crucial for accurate piecing.
- Thread Your Machine
- Select a thread that matches or complements your quilt. Ensure that both the top thread and the bobbin thread are properly threaded through the machine.
- Use a high-quality thread that is strong and suitable for quilting, as this will ensure your seams are durable and long-lasting.
- Adjust Machine Settings
- Set your stitch length to a medium setting, typically around 2.5 mm. This provides a strong seam without being too tight.
- Adjust presser foot pressure if necessary. I decided to put mine at 1 (instead of regular 3).
✅ Related tutorial: Walking Foot Attachment For A Sewing Machine: What It Is And Why To Use It
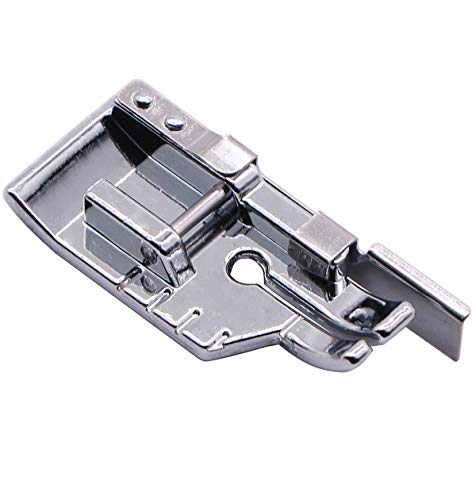
Don’t have 1/4″ presser foot? You can buy it on Amazon. This one is very popular.
1/4” (Quarter Inch) Sewing Machine Presser Foot with Edge Guide for All Low Shank Snap-on machines
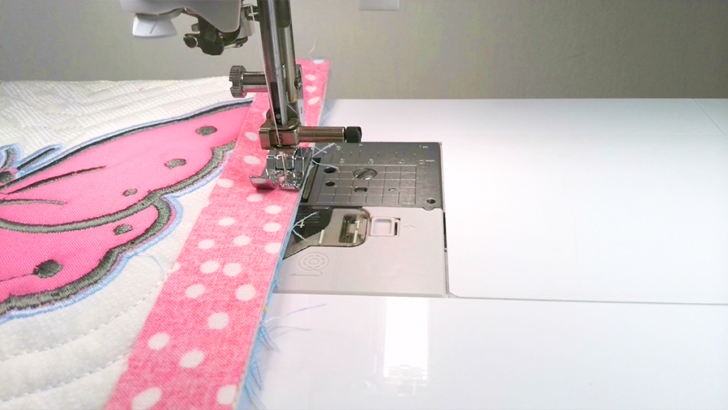
Step 6: Stitch the Strips to the Block
- Adjust the Needle Position
- Instead of using the standard 1/4″ seam allowance, I recommend moving the needle slightly to the right. Aim for a seam allowance of about 5 mm, which is a bit less than the regular 1/4″. This adjustment helps ensure greater accuracy and a better fit when joining the blocks.
- Begin Stitching
- Place your pinned block and strips under the presser foot. Make sure everything is aligned correctly.
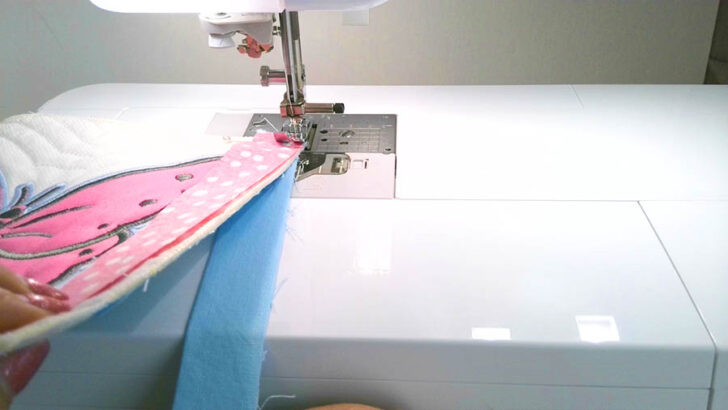
- Remove the pin and start stitching at the beginning of the seam. Remember to backstitch a few stitches to secure the seam.
3. Maintain Accuracy
- As you sew, maintain a consistent seam allowance. Accuracy is crucial at this stage to ensure that all blocks will join together neatly.
- Keep an eye on the alignment of the strips and the block to avoid any shifting.
4. Finish the Seam
- Continue stitching until you reach the end of the block.
- Backstitch again at the end of the seam to secure it.
Step 7: Add the Second Block
With your first block and strips securely stitched together, it’s time to add the second block.
- Position the Second Block
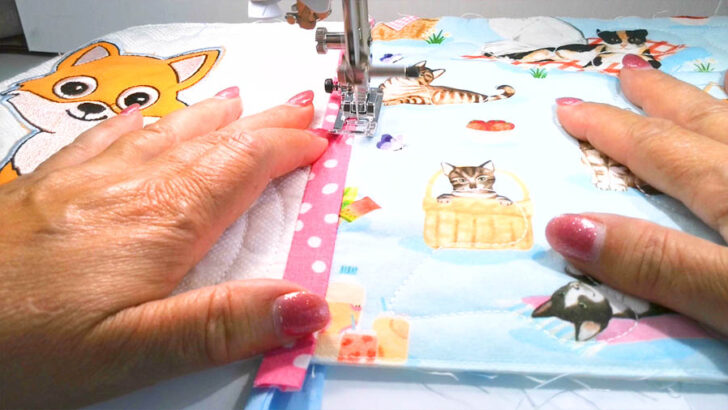
- Take your second quilt block and place it on the other edge of the top strip (the 1-inch strip), right sides together.
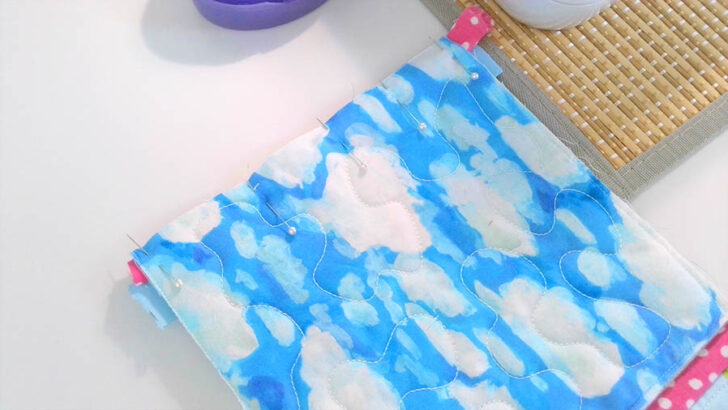
2. Pin the Second Block
- Use multiple pins to secure the second block to the strip. Start by pinning the edges to ensure they are perfectly aligned.
- Add additional pins in the middle to keep the block and strip securely in place. This extra pinning helps maintain alignment and prevents shifting during sewing.
3. Positioning the Block
- It’s easier to pin and sew with the strip at the bottom. This positioning helps with better alignment and makes the sewing process smoother.
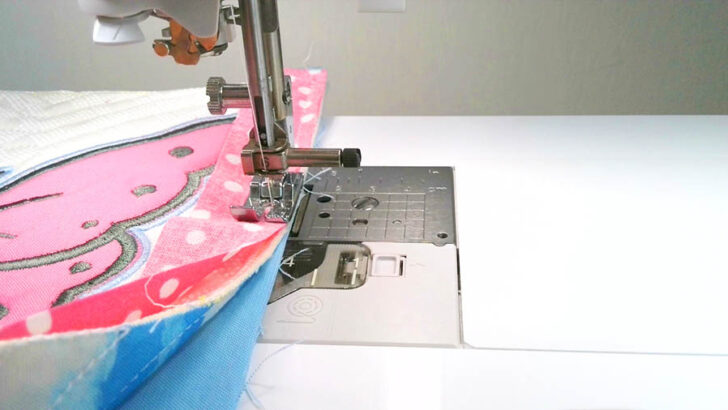
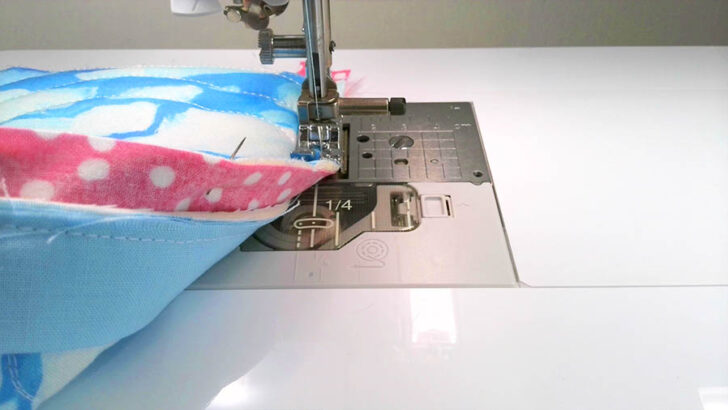
4. Stitch the Second Block
- Place the pinned block and strip under the presser foot, with the strip facing down.
- Start stitching at the beginning of the seam, backstitching to secure it.
- Sew along the edge, maintaining a consistent seam allowance as you did with the first block.
- Backstitch at the end of the seam to secure it.
Step 8: Join the Two Blocks Completely
Now that you have stitched the two blocks together on the front side, it’s time to secure the back and complete the joining process.
- Press the Seams on the Front
- With the two blocks now attached, press the seams on the front side using an iron. This helps to set the seams and ensures a neat finish.
✅ Related tutorial: Top 10+ Best Irons for Quilting
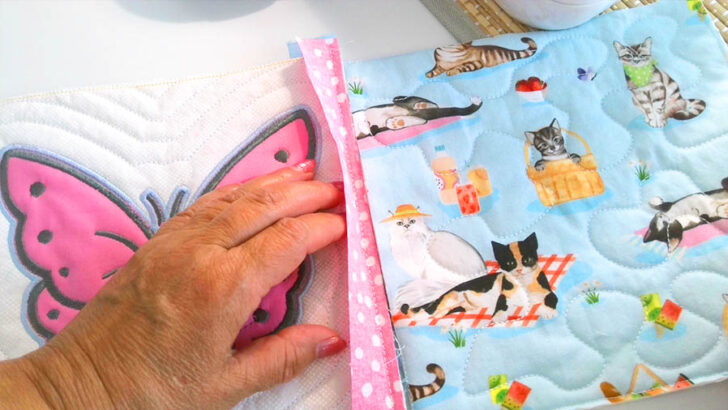
2. Turn to the Back Side
• Flip the blocks over to the back side. The raw edges of the two blocks should lay next to each other if you followed the recommended seam allowance.
3. Flip Over the Folded Strip
- Take the folded strip from the back and flip it over to cover the raw edges of the two blocks.
- Press the strip to ensure it lays flat and covers the seam neatly.
4. Secure the Strip
- You have two options for securing the strip:
- Stitch in the Ditch: On the right side of the quilt, stitch in the ditch (the seam line) to secure the folded strip on the back. This method is quick and ensures the stitching is nearly invisible.

- Hand Stitch: You can hand stitch the strip down using a slip-stitch. This method provides a clean, invisible finish.
✅ Related tutorial: Invisible Stitch Tutorial: How To Fix A Tear (+ Sewing “Blind” Hems)
Step 9: Join All Blocks and Rows
- Join All Blocks in a Row
- Continue adding blocks to your first row using the same method outlined in Steps 4 through 8.
- For each new block, lay down the folded strip on the back, align the raw edges, pin the front strip, and sew with the adjusted seam allowance.
- After stitching, press the seams on the front, flip the folded strip on the back, and secure it either by sewing in the ditch or by hand stitching.
- Repeat for Each Row
- Repeat the process for each row of your quilt. Arrange the blocks, join them using the strips, and ensure each row is neatly assembled.
- Join the Rows Together
- Once all individual rows are completed, it’s time to join the rows together.
- Use the same method to join all rows.
- Final Pressing
- After all rows are joined, give the entire quilt a final pressing to ensure all seams are flat and the quilt looks neat.
So here is my YouTube video. Check this out if you like to see a helpful video on how to join individual quilt blocks without bulky seams (instead of reading).

Did you enjoy this quilt tutorial? If you did, don’t forget to bookmark this pin (see below) on your quilting Pinterest board! That way, you can easily return to this guide on how to join individual quilt blocks whenever you’re ready to start using it. Plus, make sure to follow me on Pinterest to stay updated with more sewing advice, step-by-step guides, and creative inspiration!
latest posts
- What Do You Call a Person Who Sews? I Asked My Readers and Got 1,408 Opinions
- DIY Round Purse: PDF Sewing Pattern and Detailed Instructions
- Mini Wonder Clips By Clover: Useful Sewing Tool Or Just Another Notion?
- Non-Slip Grips For Quilting Rulers: A Small Notion With A Useful Job
- Fabric Eraser for Sewing: What It Removes and When to Use It
- What Is The Best Thread For Sewing Machine Projects? Let’s Find Out!
- Butterfly Quilt Block Tutorial – Foundation Paper Piecing
- How To Sew Quilt Squares So The Corners Match
- Sewing With Fork Pins: How They Help With Pattern Matching, Slippery Fabric, And Seams


Love the Embroidery. Does your Embroidery machine also do the quilting on the block? What Embroidery machine do you use?
Yes it does. I have an example in this article https://www.ageberry.com/quilting-with-embroidery-machine/ where I use a Babylock Destiny 2. I am also using a Brother Luminaire in other tutorials, for example here https://www.ageberry.com/in-the-hoop-embroidery-project-unique-zipper-pouch-free-design/ where I am quilting over vinyl.
That was AWESOME! I can hardly wait to try it out. Also will save it in my sewing file on my computer. Was unable to get to print, though. I am 86 yrs old and not too computer literate; so will see if I ccan get some younger person to help me! Thank you for your sharing this technique
I’m so glad you enjoyed the article and found it helpful! It’s great to hear that you’re excited to try it out. Saving it in your sewing file is a great idea. I guess blog posts are not made for printing, as they aren’t PDFs, and converting them to PDFs would take much more time on my end.
Does the strip on, quilt as you go,when attaching the rows have to be as long as the row? It may sound a bit of a silly question. I will have to join the strips together to make them long enough.
Thank you
Yes, it needs to be as long as the row. There are no such thing as a silly question, all questions are welcome. Join the strips together at 45 degrees angle to reduce bulk. Or cut them parallel to the grainline, so they are as long as your yardage – usually it’s longer than the width of quilting cotton.
where can i purchase this design
I am working on it! I will make the designs available soon, but for the moment I am still working on the project.
Thank for solving this mystery so clearly. Really needed this badly and do so appreciate your putting it together. One of my next to-do post projects. Thanks for sharing with us.
My pleasure! Thank you for your nice comment!