No Pattern, No Problem: Turn Scraps into a Quilting Masterpiece
I’ve always had a passion for creating beautiful things, and I love the thrill of seeing my ideas come to life quickly. My sewing adventures often involve sewing clothes without the confines of a pattern. I rely instead on my intuition and experience to guide me. This free-form approach gives me a sense of freedom and satisfaction that I find incredibly rewarding.
Recently, a thought struck me – could I apply this same spontaneous spirit to quilting? Can I make a quilt without a pattern? It turns out, the answer is a yes!
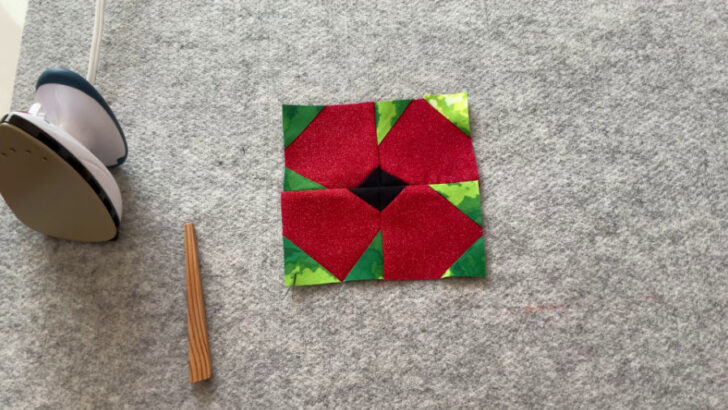
The result? A charming poppy flower block that’s as unique as it is beautiful. Each block is a small work of art that comes together with ease and speed. This method of patchwork without a pattern is very fast and also allows for unpredictability in the final product. Beauty doesn’t have to be complex or time-consuming – it can bloom from simplicity and maybe some courage to trust your own creative instincts.
In this tutorial, I also want to show you a sustainable way to breathe new life into those fabric scraps that are too precious to discard.
So, take a look at this poppy flower block and let it inspire you to pick up your fabric scraps and start sewing outside the lines!
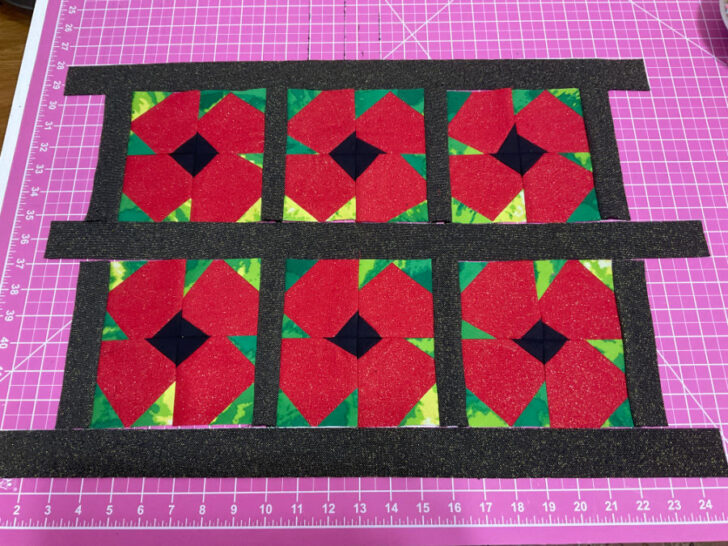
I intentionally made the black centers of each flower irregular and distinct. This approach celebrates the uniqueness of each piece, much like how no two flowers in a field are exactly alike. Each block becomes a one-of-a-kind creation. I think this is the essence of true art – to mirror the imperfect yet stunning variations we can find in nature.
What You’ll Need
Let’s make sure you have everything you need to bring this project to life. Here’s a checklist of the essentials.
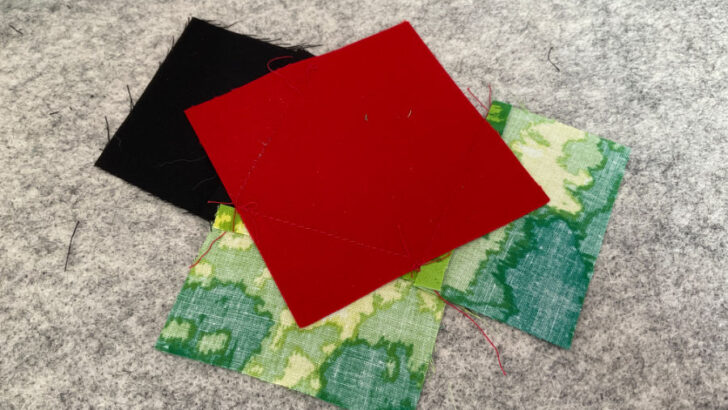
- Scrap Fabric: Dig into your stash and pull out those leftover pieces of fabric. You’ll need red for the petals, green for the leaves, and black for the center of your poppy flowers. Don’t worry about the sizes or shapes; the more varied, the better!
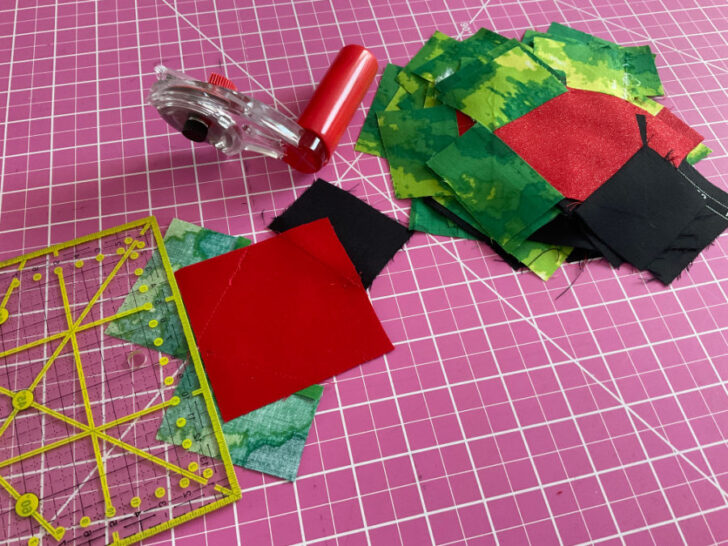
- Quilting Tools: Grab your trusty rotary cutter. A quilting ruler will help ensure your blocks are consistent in size, and fabric shears are perfect for additional trimming.
- Iron: A good iron is key to pressing your blocks and giving them that crisp, flat look. If you have a wool pressing mat, that’s a bonus for an even more professional finish.
- Regular Sewing Tools: Of course, you’ll need your standard sewing kit, complete with needles, threads, and a seam ripper (just in case). A sewing machine is also essential for piecing everything together quickly and efficiently.
Step-By-Step Instructions For Making A Poppy Flower Block
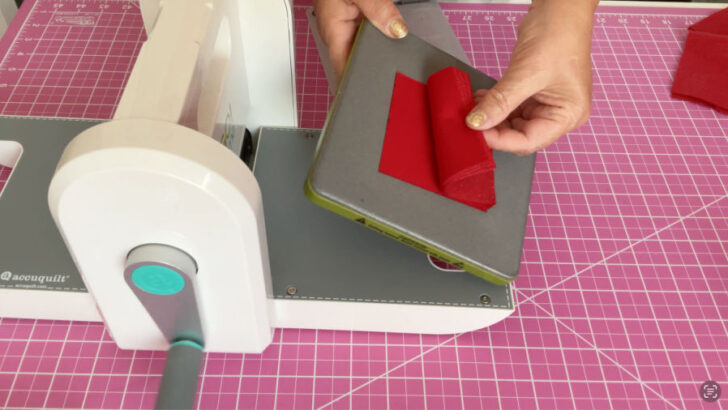
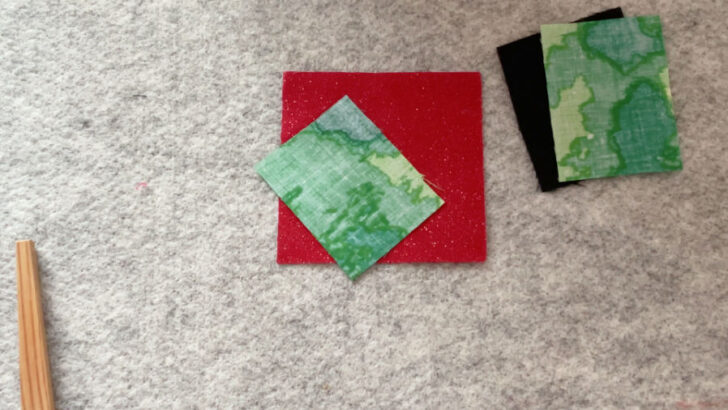
Step 1. Cut the Red Squares
Begin by cutting four squares from red fabric. These will serve as the petals of the poppy. A rotary cutter can provide precision, but if you have an Accuquilt GoMe machine, you can cut multiple identical squares quickly and efficiently. The squares in this tutorial are 3 1/4 inches, but feel free to choose any size that suits your design.
✅ Related tutorial: How to cut fabric for quilting with modern fabric cutting machines: AccuQuilt and Cricut
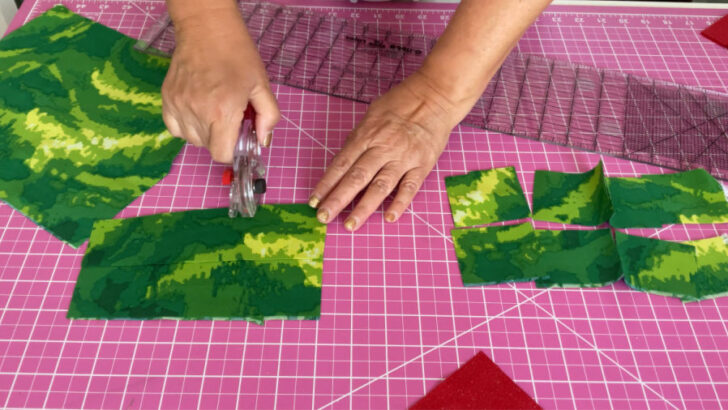
Step 2. Cut the Green Pieces
Cut eight pieces (they look like rectangles) from green fabric to represent the leaves. Precision isn’t crucial here; use any scrap pieces you have. In this example, they are approximately 2 x 2 3/4 inches. The beauty of this patchwork is its flexibility and the unique charm that comes from these variations.
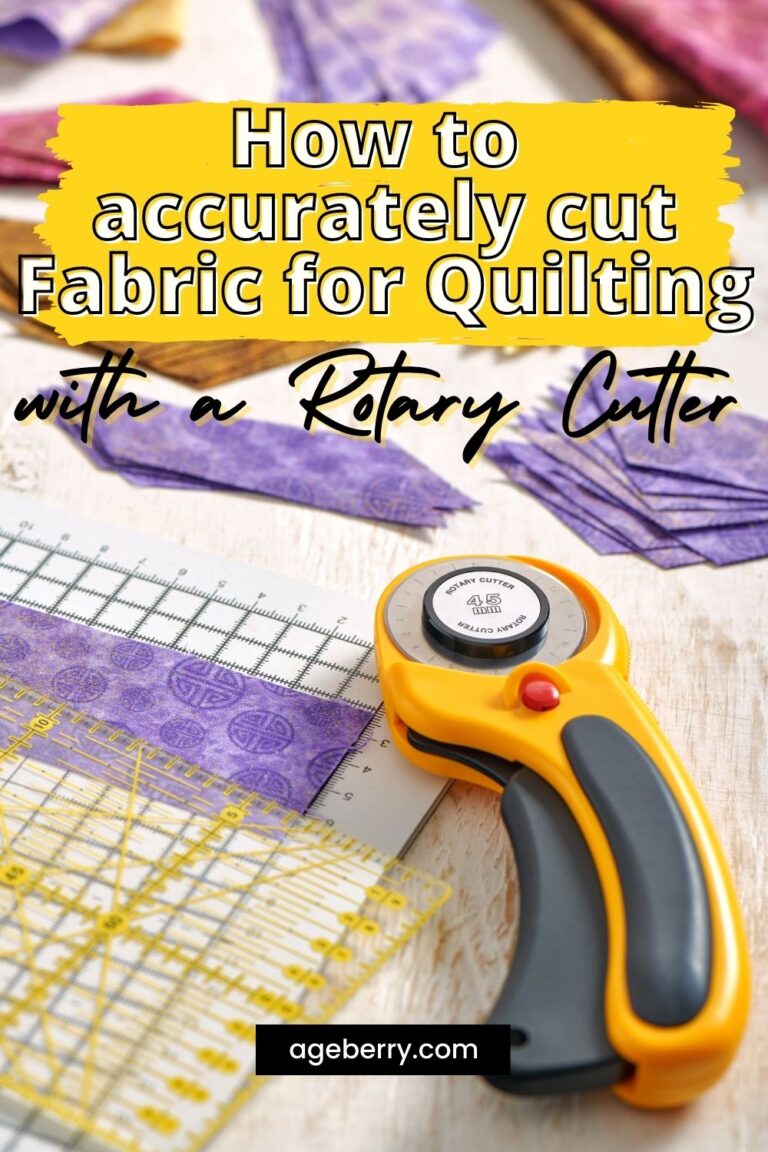
✅ Related tutorial: How To Accurately Cut Fabric For Quilting With A Rotary Cutter
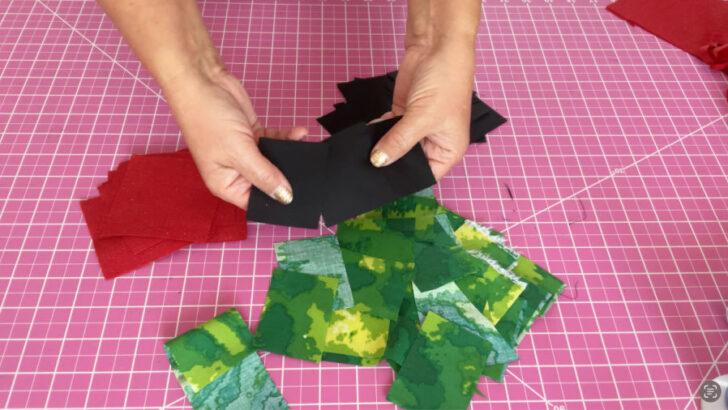
Step 3. Cut the Black Center Pieces
For the center of the poppy, cut four pieces from black fabric. It’s better to use quilting cotton fabric but I didn’t have it on hand so I used 100% wool fabric scraps.
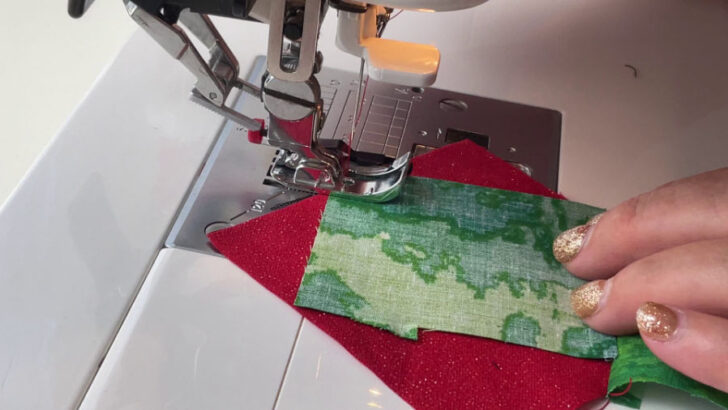
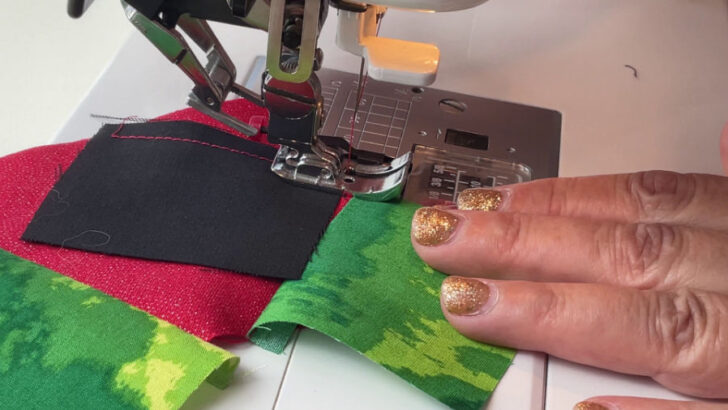
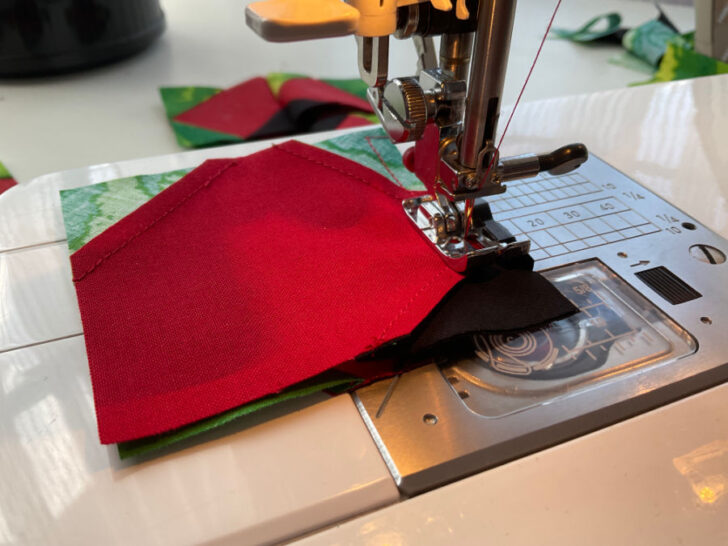
Step 4. Assemble the Petals and Leaves
Place two green rectangles on each red square and stitch them to create the leaf effect, covering the corners of the square. There’s no specific pattern, remember? Stitch a black piece to the third corner for the flower’s center. The placement doesn’t need to be exact, so feel free to arrange them as you like. Check the images below to see how I did it.
Step 5. Press the Assembled Pieces
After stitching, the shapes will look awkward, but that’s fine. Press the pieces. I used my wool pressing mat and a mini iron to flatten the seams and give them a neat finish.
✅ Related tutorial: Wool Pressing Mat: How to Use, Pros and Cons, Best Brands, Sizes
✅ Related tutorial: Mini Irons For Sewing And Quilting
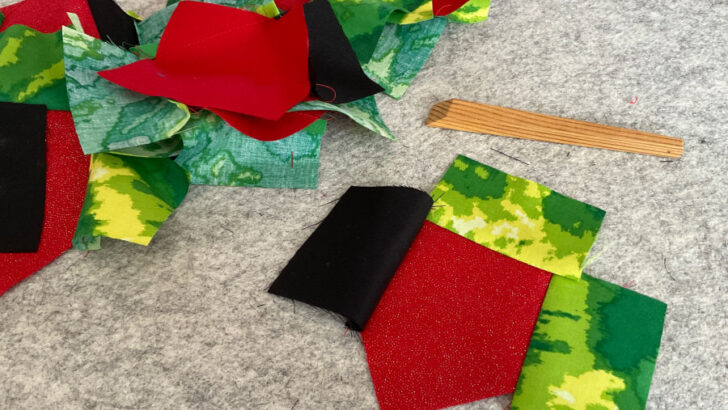
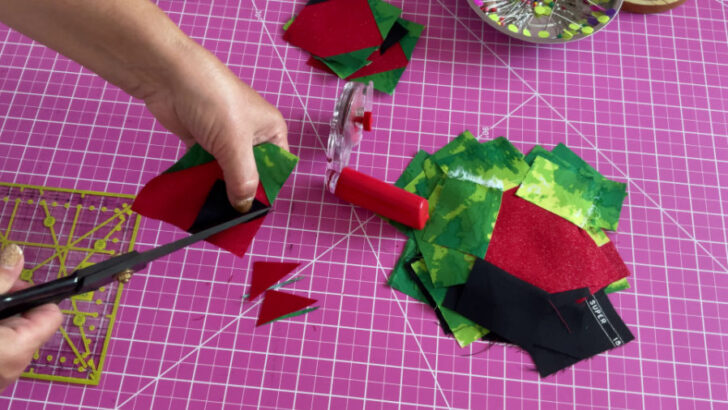
Step 6. Trim to Square
Trim the irregularly shaped pieces back into squares, aligning the edges with the original red squares. Use a rotary cutter for accuracy. Trim 3 corners of the red square so that the green and black fabrics now form the new corners.
Step 7. Sew the Blocks Together
Arrange the four squares so the black fabric is in the center, resembling a poppy’s dark core. Sew the squares together in pairs, then join the pairs to form a complete block.
Step 8. Final Press
Give your new block a final press to sharpen the edges and smooth any remaining wrinkles, ensuring your poppy flower block looks as beautiful as possible.
So, I made six poppy flower blocks, and now I’m faced with a problem: should these blocks become a hem of a straight skirt, as I planned it from the beginning, or should they come together to form a vibrant and practical tote bag?
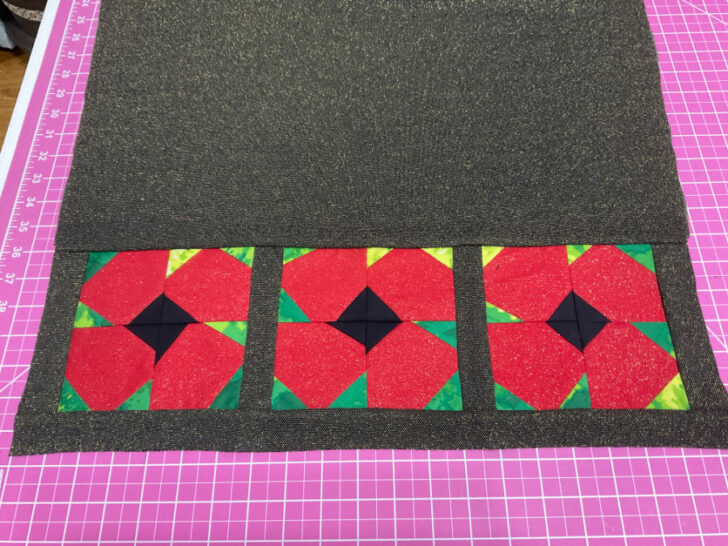
This is where I turn to you, dear readers, for your insights. Both options have their own unique appeal.
So, what do you think? Should I incorporate the blocks into a one-of-a-kind skirt? Or should I go for the tote bag, which would be a useful item to carry things in and also a way to show off my quilted flower designs wherever I go? Share your thoughts, and help guide the next chapter of this quilting adventure!