Fabric Eraser for Sewing: What It Removes and When to Use It
A fabric eraser is one of those tiny sewing tools that looks almost too ordinary to matter. Then one day it saves your fabric from chalk marks, batting lines, velvet fuzz, and those annoying thread bits after a seam-ripper episode.
It is meant for chalk and pencil markings on fabric – quilt lines, applique placement lines, and similar temporary sewing marks. But it became one of those tools I reach for in several sewing-room situations.


Get the printable PDF bundle in my shop: Useful Sewing Notions: Mini Clips, Fabric Eraser, Non-Slip Grips. It includes this article plus two more sewing tool reviews, all ad-free and ready for offline reading.
Here is where it helps most.
Removing Chalk Marks From Fabric
Chalk marks can’t be brushed away with a hand. A fabric eraser gives you more control than a damp cloth, especially on fabric that might water spot.
Removing Batting Lines From a Cutting Mat
Batting leaves pale fuzzy lines on a cutting mat. These marks can make the mat look dusty and worn, even after one quilting session.
A fabric eraser can help lift those batting traces from the surface. It works especially well when the lines sit on top of the mat rather than inside the cuts.
Removing Velvet Cutting Lines From a Cutting Mat
Velvet also likes to leave evidence. After cutting velvet, the mat may show dark lines, fuzz, or nap residue.
A fabric eraser can help remove those lines from the mat surface.
The eraser does not repair cuts in the mat. It helps remove surface residue.
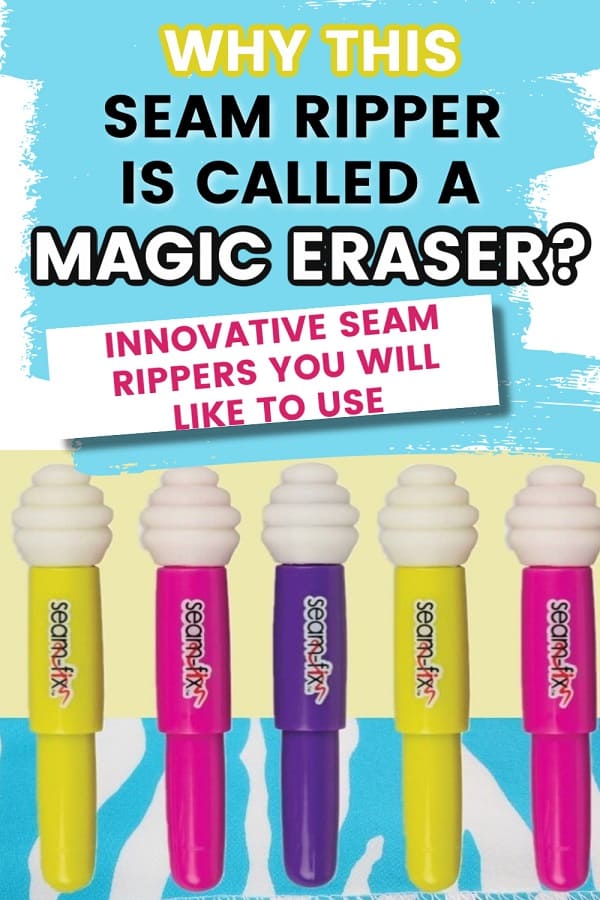
Removing Thread Bits After Seam Ripping
A seam ripper removes the seam, but it often leaves tiny thread pieces behind. They cling to fabric, hide near the stitch holes, and make the project look messy.
Rub the fabric eraser lightly across the ripped seam area. It helps lift small thread bits so you can brush them away. This saves time, especially on dark thread over light fabric or light thread over dark fabric.
It also keeps you from picking at the fabric with fingernails.
Note: Some of the links on this page are affiliate links. This means I will receive a commission if you order a product through one of my links. I only recommend products I believe in and use myself.
Fabric Eraser vs. Regular Eraser
A regular pencil eraser can sometimes remove marks, but it may smear, leave color behind, or grip the fabric too aggressively.
A fabric eraser is made for sewing marks. The Dritz listing describes it as a non-smudge eraser for fabric and quilts.


The Hemline listing says it is for light pencil markings on most fabrics.
That said, any eraser can behave differently on different fabrics. Cotton quilting fabric, linen, velvet, wool, silk, and knit fabric do not react the same way.
Always test first on a scrap or hidden seam allowance. This is not overcautious. It is sewing wisdom with fewer regrets.
How to Use a Fabric Eraser on Fabric
Step 1: Let the Mark Dry
Use the eraser on dry fabric.
Do not wet the chalk or pencil mark first. Water can spread some marks or push them deeper into the fibers. Dry removal gives you better control.
Step 2: Place the Fabric on a Firm Surface

Lay the marked area on a cutting mat, pressing mat, or table.
A firm surface helps the eraser glide across the fabric. If the fabric shifts under your hand, the mark may spread or the fabric may stretch.
For knits, support the fabric well. Knits can stretch during rubbing.
Step 3: Rub Lightly in Short Strokes

Start with gentle pressure.
Use short strokes over the mark. Do not grind the eraser into the fibers. If the mark begins to fade, continue with the same light pressure.
Heavy rubbing can roughen fabric, especially linen, rayon, silk, wool, or anything with a delicate surface.

Step 4: Brush Away Eraser Crumbs
Use a soft brush, lint roller, or your hand to remove crumbs.
Do not leave eraser bits on dark fabric. They can look like lint.
Step 5: Check the Fabric in Good Light
Look at the area near a window or under a bright lamp.
Some marks disappear in dim light and reappear under better light.
How to Use a Fabric Eraser on a Cutting Mat
A fabric eraser can help remove surface lines left by batting, velvet, and some marking tools.
Step 1: Clear the Mat
Remove fabric, rulers, pins, and loose fibers.
A clear mat gives you room to work without dragging lint across the surface.
Step 2: Rub Along the Line

Use the eraser along the batting or velvet line.
Keep your pressure light. Cutting mats have grooves from rotary blades. Hard rubbing can push eraser crumbs into those grooves.
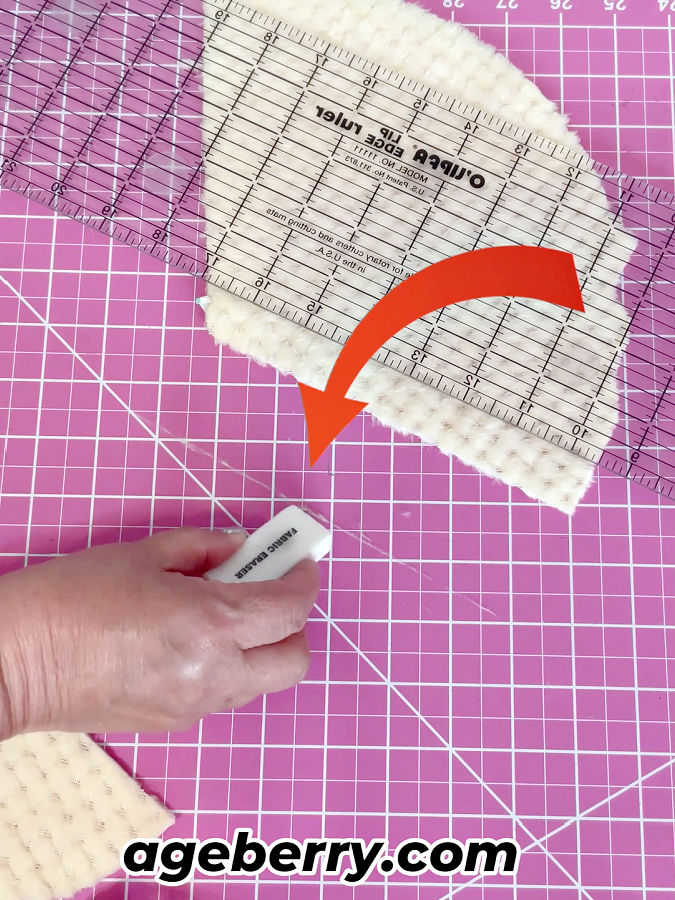
Step 3: Brush or Vacuum the Surface
Brush away the crumbs.
A small handheld vacuum also works well if your mat has many little bits from batting or velvet.
Step 4: Wipe Only If Needed
If residue remains, wipe the mat with a slightly damp cloth.
Do not soak the mat. Cutting mats do not need a bath.

How to Use It After Seam Ripping
Wrong seams happen. Sometimes the seam ripper gets more sewing time than the sewing machine.
After you remove the stitches, thread pieces often remain in the stitch line. A fabric eraser can help remove them neatly.
- Remove the long thread pieces first.
- Lay the fabric flat.
- Rub the eraser lightly across the old seam line.
- Brush away the loosened thread bits.
- Press the seam area if the fabric allows heat.
This method works well on many woven fabrics. Be more careful on loosely woven fabric, lace, sweater knits, and delicate fabrics. The eraser can catch on texture.
What a Fabric Eraser Will Not Do
A fabric eraser is useful, but it has limits.
It may not remove:
- Permanent marker
- Heat-set markings
- Wax marks
- Old marks that have settled into the fibers
- Grease, oil, or food stains
- Dye transfer
- Deep marks inside a cutting mat groove
For best results, remove marks soon after you make them. A mark that has lived on fabric for weeks may not leave.
Best Fabrics for a Fabric Eraser
A fabric eraser works best on stable woven fabrics.
Good candidates include:
- Quilting cotton
- Cotton poplin
- Canvas
- Some linens
- Denim
- Firm cotton blends
Use extra care with:
- Silk
- Rayon
- Velvet
- Wool
- Sweater knits
- Lace
- Loosely woven fabric
- Embellished fabric
- Fabric with metallic print
Tips for Better Results
Use the lightest pressure that works. Fabric fibers can roughen if you rub too hard.
Erase before pressing. Heat can make some marks harder to remove.
Keep the eraser dry. A damp eraser may smear marks.
Trim dirty edges of the eraser. If the eraser picks up dark lint or chalk, rub it on scrap paper before you use it on pale fabric.
Store it in a small bag or drawer compartment. It will pick up lint if it rolls around with thread, pins, and chalk.

A fabric eraser is a small sewing tool, but it earns its place by solving several ordinary sewing-room problems.
Did you find this review helpful? Save the pin below to your sewing board so you can find these fabric eraser tips later. Follow me on Pinterest for more practical sewing tips, tutorials, and ideas for your next project.


latest posts
- Knit Presser Foot: How It Works, How to Use It, and My Sewing Tests
- How to Sew Neat Mitered Corners at Acute Angles
- Sewing Machine Needle Organization: A Clever System I Tried
- DIY Car Armrest Organizer: Sewing Tutorial
- Easy DIY Potholder Sewing Tutorial: Better Shape, Better Grip, Smart New Design
- How to Buy a Sewing Machine (Even If You Already Have 10)
- 23 Kitchen Items That Belong in Your Sewing Room
- What Is a Sewing Machine Piping Foot And How to Use It
- Fixing Sewing Mistakes: Repair an Accidental Cut in Fabric