
DIY Round Purse: PDF Sewing Pattern and Detailed Instructions
So, I made a round purse. It looks fancy, but the construction is mostly simple layers, a zipper strip, and two quilted circles.
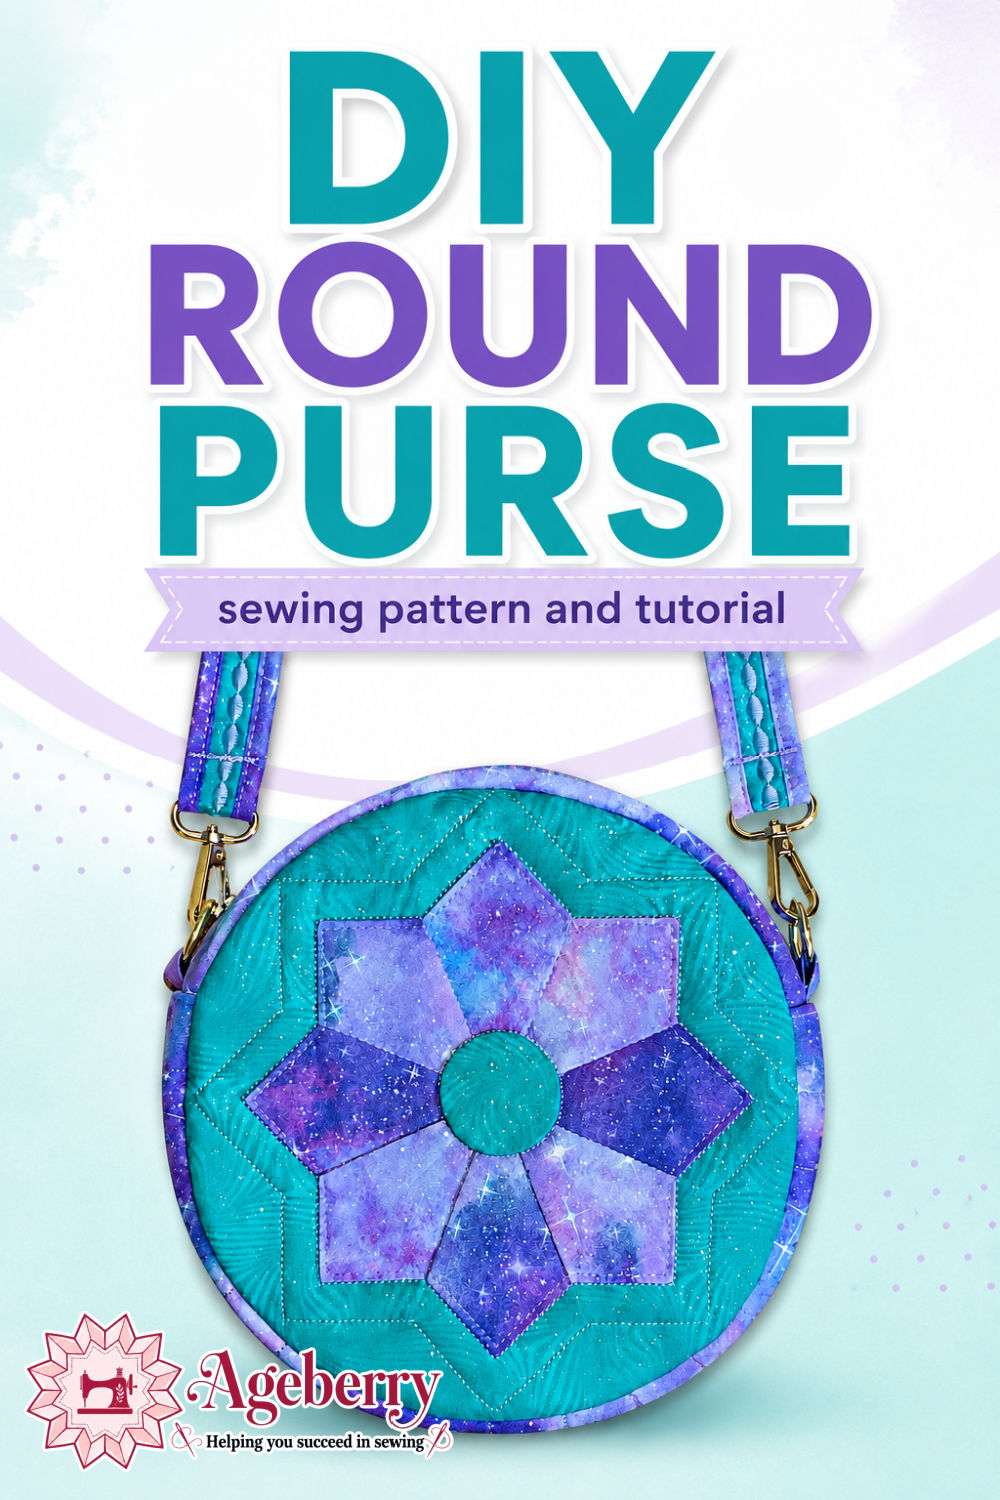
This purse started because my daughter wanted a new handbag. Not just any bag, of course. She wanted a purse that nobody else had. Something unusual. A different shape. Colors that matched her new clothes. She had recently bought a few pieces in a pretty teal green and soft lavender-purple, so those colors became the starting point.
That is one of my favorite things about sewing. A shopping trip can end with “nothing works,” but a sewing room can answer with fabric, thread, and a zipper.
For this round purse, I used a teal green fabric for the background and a galaxy-style fabric in lavender, purple, and blue for the Dresden plate. The result is bright, a little playful, and very personal. It does not look like a bag from a store shelf, which was exactly the point.
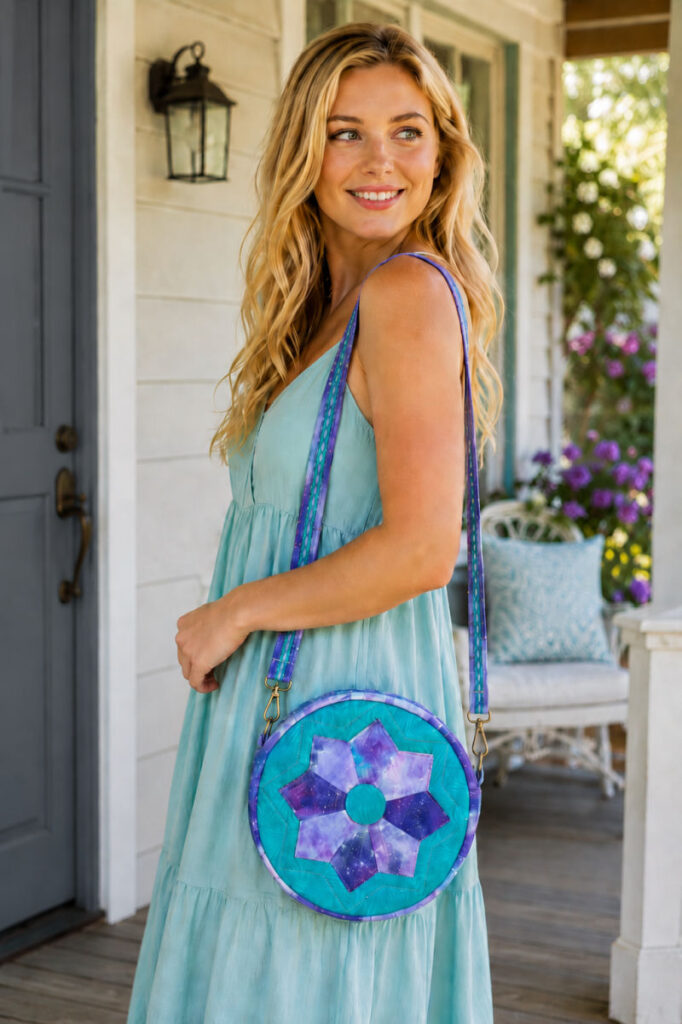
Why a Round Purse?
I think round bags have a charming shape. They feel a little retro, a little modern, and much more interesting than a basic rectangle. But they can seem tricky at first because a circle does not behave like a straight seam. Fabric needs help to go around curves.
That is where the construction matters.
This purse uses:
- Two quilted round panels
- A zippered side panel (a gusset)
- A quilted bottom panel (a gusset)
- Strap tabs with metal rings
- A firm shoulder strap
- Bound inside seams
The zipper section and bottom section form the side of the purse. The front and back circles attach to that side piece.
Why Use a Dresden Plate on the Front?
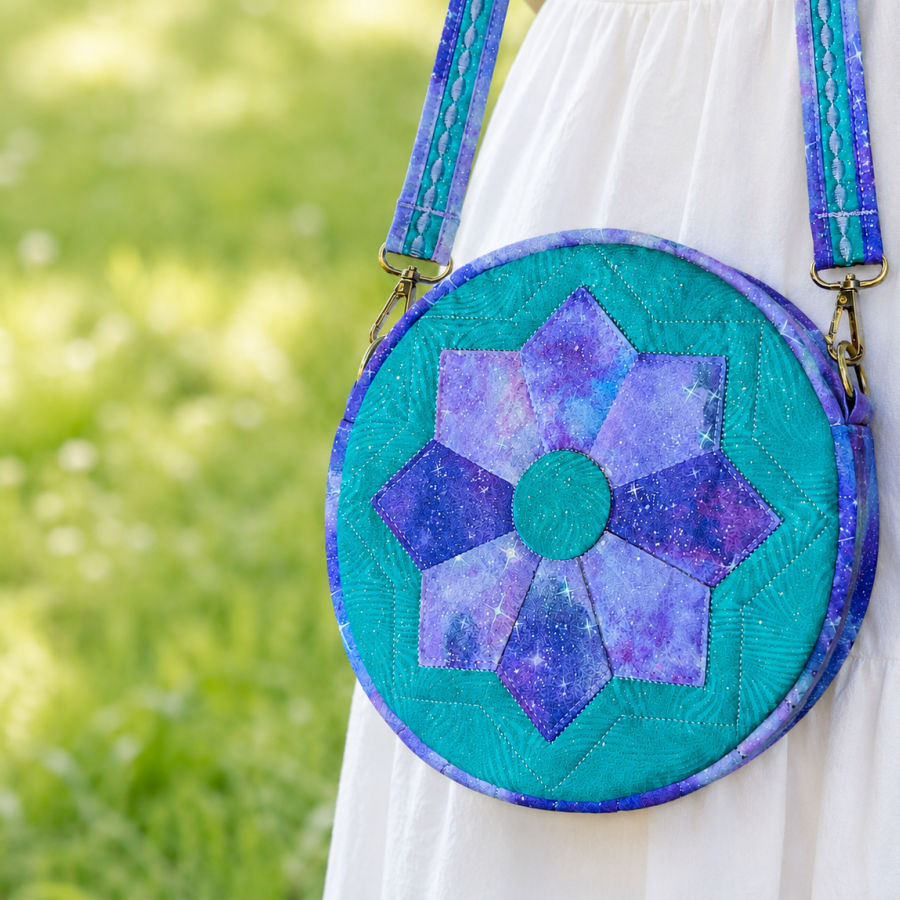
A Dresden plate is a beautiful choice for a round purse because it already has a circular feel. The blades radiate from the center, so the design naturally fits the shape of the bag.
For this purse, I used 8 Dresden blades. The points create a flower-like shape, but it does not feel too sweet or old-fashioned because of the galaxy fabric. The teal green background helps the lavender-purple blades stand out.
The Dresden plate also gives you many creative options. You can make it soft and floral, bold and modern, scrappy, monochrome, or dramatic. The same purse pattern can look completely different with a new fabric combination.
A few fabric ideas:
- Floral Dresden blades on a linen-look background
- Black and white prints with one bright center circle
- Scraps from favorite quilting cottons
- Metallic fabrics for an evening version
- Soft pastels for a sweet spring purse
- Denim background with colorful blades
The Dresden plate is the “personality” of the purse. The round shape is the frame.
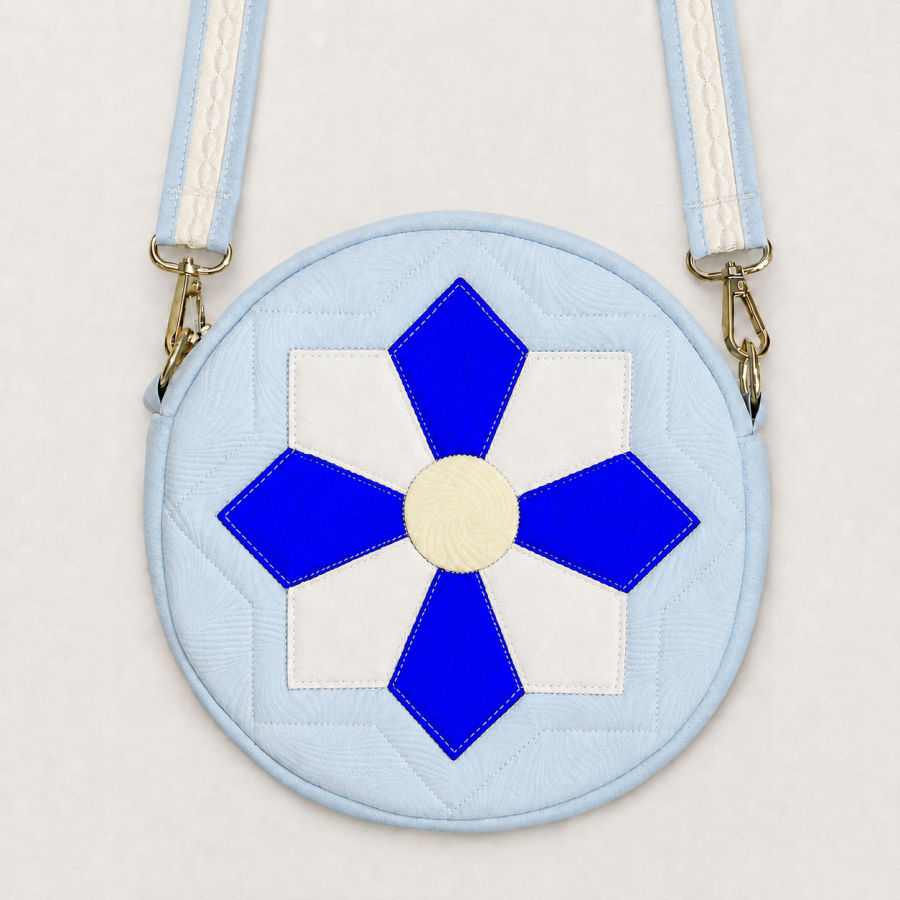
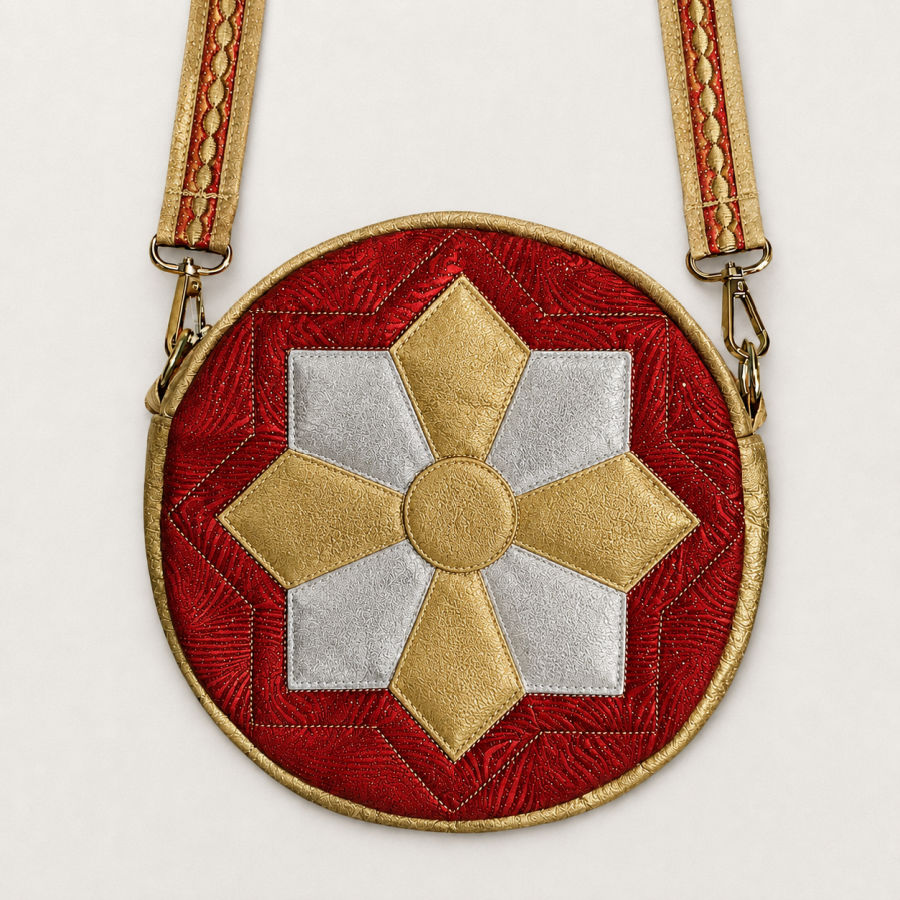
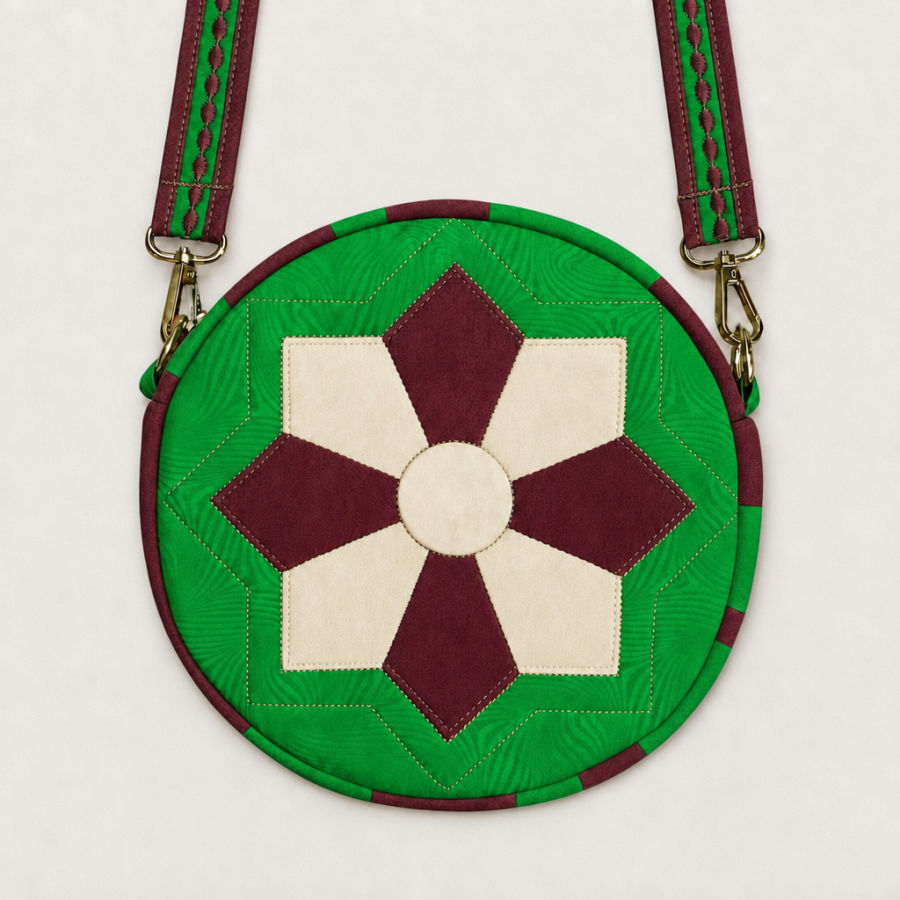
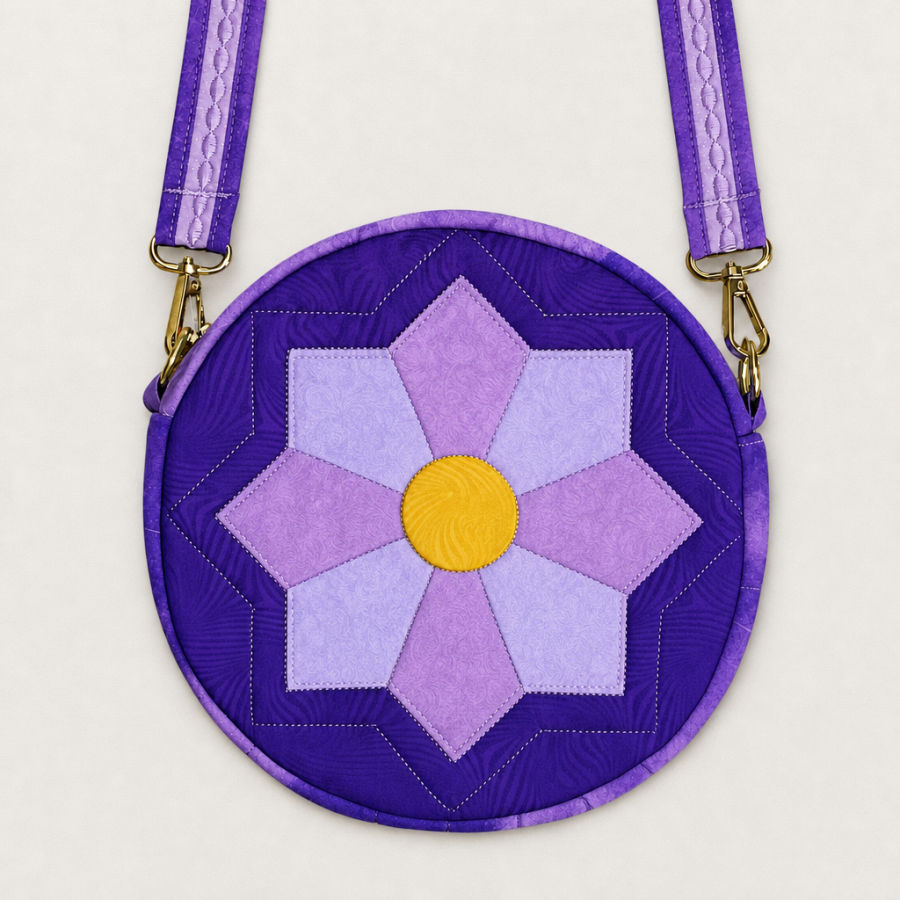
To show how much the fabric choices can change this purse, I used my original purse image as a starting point and asked ChatGPT to create a few color variations. It was such a fun way to test ideas without cutting into real fabric first.
The results make it easy to picture the same round purse in a completely different mood. One version feels bright and playful. Another looks more dramatic. Another has a softer, sweeter look. The pattern stays the same, but the fabric choices do all the talking.
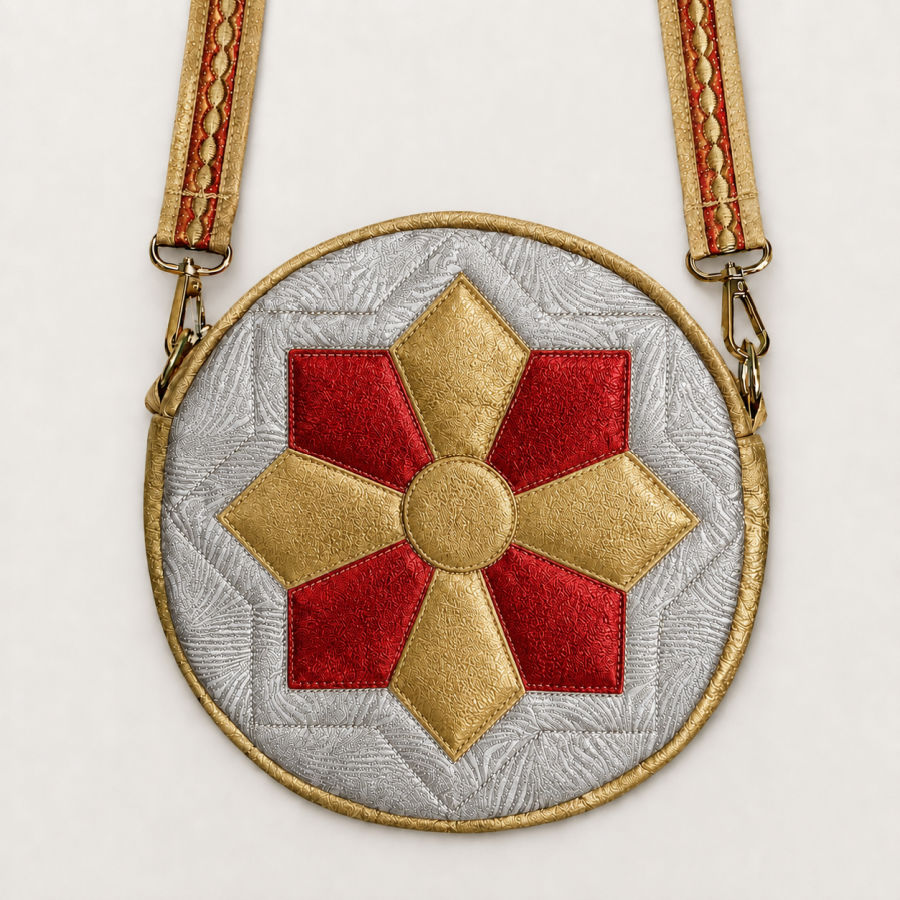
So, before you cut your pieces, it may help to think about the style you want.
Everything You Need to Sew a Round Purse In One Complete PDF
This isn’t a pattern that leaves you guessing. Every step is covered, every technique is explained — so you can focus on the fun part: picking beautiful fabric and watching your bag come to life.
Made in your fabrics. In your colors. For someone you love — or for yourself.
One pattern. Infinite color combinations. A bag nobody else is carrying.
What Makes This Purse Structured?
A purse needs more structure than a quilt block or a pouch. It gets picked up, opened, filled, carried, and sometimes asked to hold keys, lip balm, a phone, receipts, and three mystery items that nobody remembers putting inside.
This purse gets its structure from several layers.
The front and back circles are quilted with foam stabilizer. The front has the Dresden plate stitched and quilted in place. The back has straight-line quilting in a simple grid. The zipper gusset and bottom gusset also have support, so the sides do not collapse.
The shoulder strap has fusible fleece inside. I made the finished strap 1 inch wide so it fits the hardware. The strap also has bound edges, which add strength and a nice finished look.
The inside seams are bound too. Binding the seams makes the inside look neat and helps protect the raw edges.
Skills Used in This Project
This purse is not a five-minute project, but it uses skills that many sewists already know. The project combines quilting, bag construction, and applique-style sewing.
You will use:
- Dresden plate construction
- Stitching around curves
- Basic quilting
- Zipper installation
- Fusible fleece and interfacing
- Strap tab construction
- Binding raw seams
- Hand stitching inside the purse
- Shoulder strap construction
The most important skill is patience around curves. A round bag needs clips, careful matching, and steady sewing. The fabric will cooperate if you do not rush it.
Note: Some of the links on this page are affiliate links. This means I will receive a commission if you order a product through one of my links. I only recommend products I believe in and use myself.
What You’ll Need
Fabric for the purse:
½ yard of the main color and ⅓ yard of the accent color. The main color is used for the round purse panels and a shoulder strap. The accent fabric is used for the Dresden plate, gussets, and strap accents.
Lining fabric:
½ yard. This fabric will be used inside the purse, including the lining circles and pocket.
Foam stabilizer for the front and back circles:
This gives the round purse panels softness and body. It helps the purse keep its shape instead of looking flat. I used Pellon Flex 1-Sided Fusible Foam Stabilizer


Fusible fleece/batting for the gusset:
Use this for the zipper gusset and bottom gusset. It adds structure without making the seams too stiff.


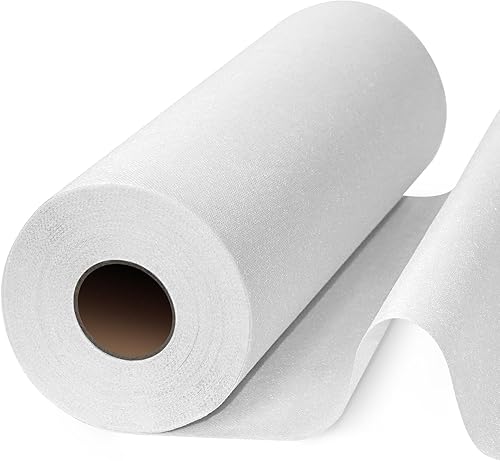
Medium-weight fusible interfacing:
This adds support to pieces that need extra stability, such as the zipper gusset lining and small tabs.

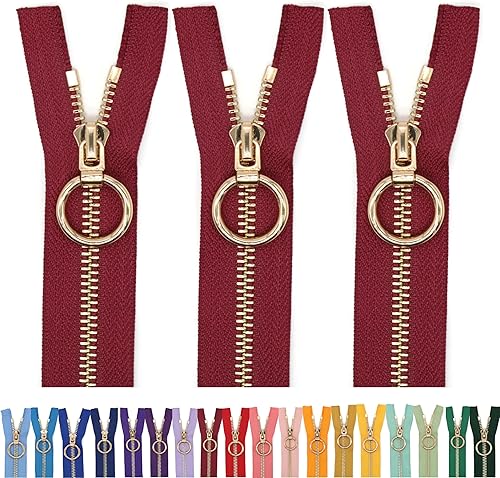
One zipper:
14 inches long.

Two metal rings, D-rings, or half rings:
These are attached to the purse with small fabric tabs. The shoulder strap clips onto them.


Shoulder strap hardware:
For this purse, shoulder strap hardware means the pieces used to connect the strap to the bag. I used two swivel hooks that fit a 1 inch wide strap. Choose hardware that matches the width of your finished strap.


Fabric glue stick:
Helpful for holding the Dresden plate, center circle, and small folded pieces in place before stitching.

Regular sewing tools and notions:
Sewing machine, thread, pins or clips, scissors, iron, marking pen or chalk, ruler, hand sewing needle, and other basic sewing supplies.
Optional but Useful
Zipper foot:
Helpful for sewing close to the zipper tape.
Open toe presser foot:
Useful when you want a clear view of marked lines, quilting lines, or decorative stitching.
Rotary cutter and cutting mat:
Helpful for cutting strips and larger pattern pieces accurately.
Pinking shears:
Useful for trimming curved seam allowances, especially on the center circle.
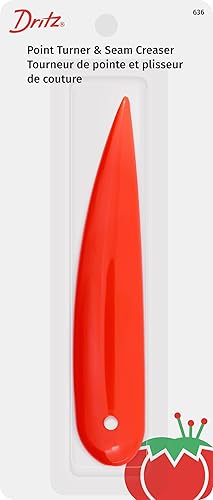
Point turner:
Helpful for shaping Dresden blade points and smoothing small turned pieces.

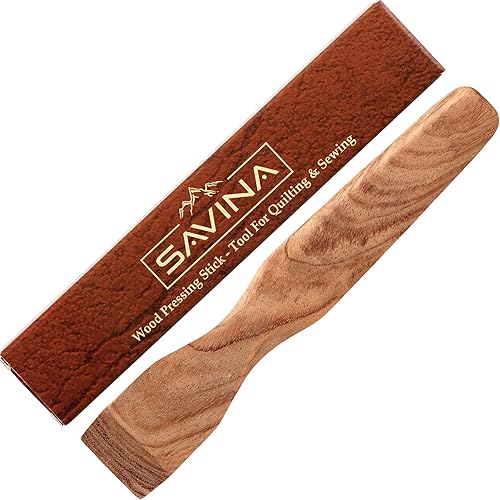
Finger presser:
Useful for pressing small seams before using the iron.

Medium cardstock for pattern pieces:
Helpful if you plan to trace or cut the same pieces several times. The Dresden blades and circles are easier to handle when the pattern pieces have a little more body.

How the Round Purse Comes Together
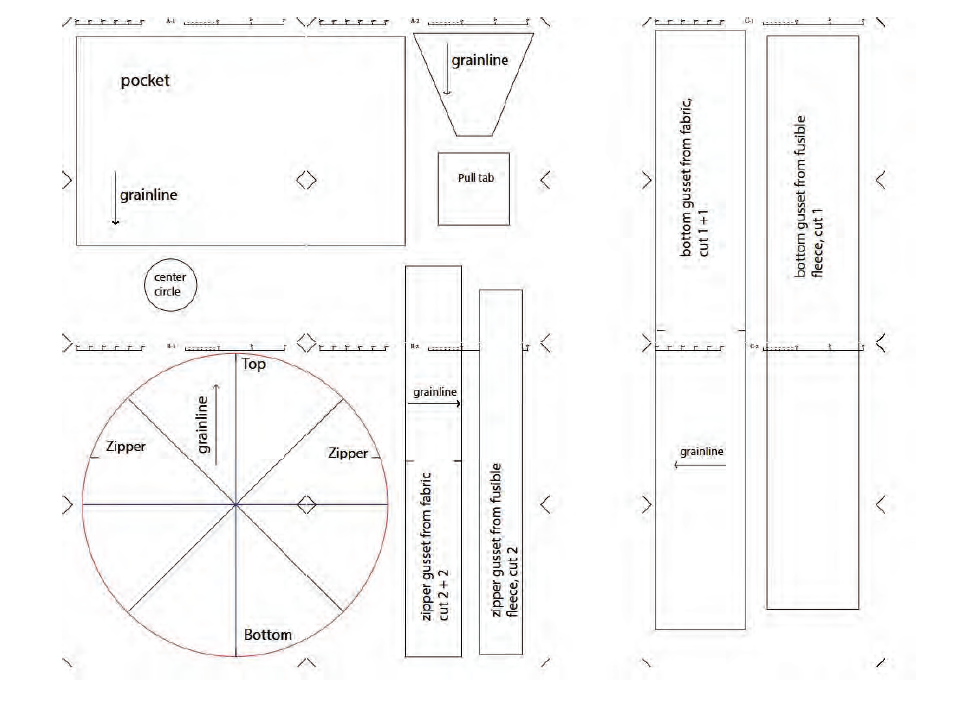
This is a project preview, not the full tutorial. The complete instructions and printable pattern pieces are included in the PDF pattern.
Here is the basic construction path.
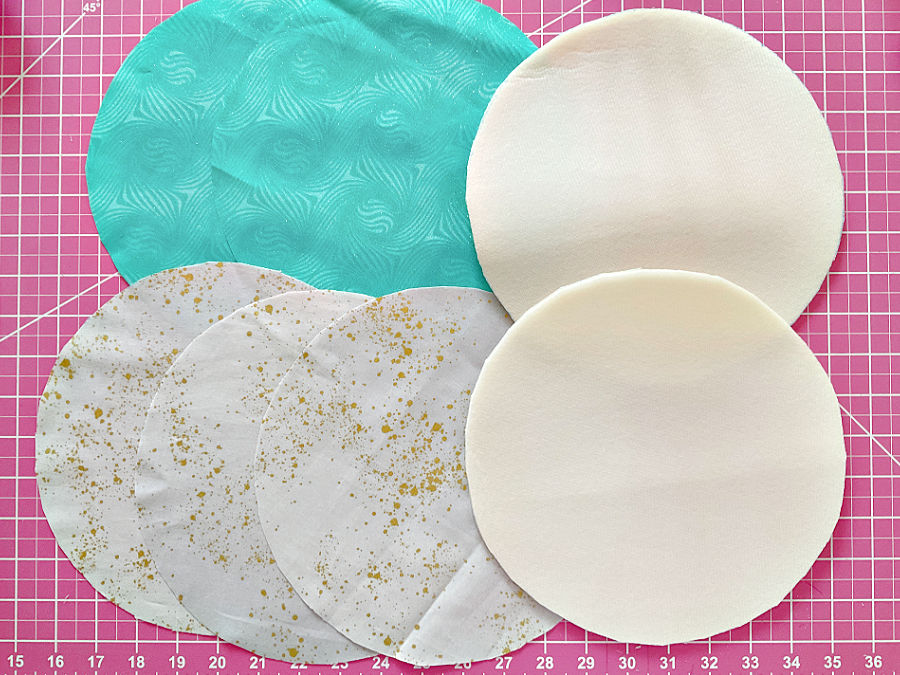
1. Cut the Main Circle Pieces
The purse starts with fabric circles, lining circles, and foam stabilizer circles. The placement marks matter because they help line up the zipper, bottom, and Dresden plate.
The front circle has placement lines for the Dresden plate. The back circle has quilting lines for the grid.
2. Make the Dresden Plate
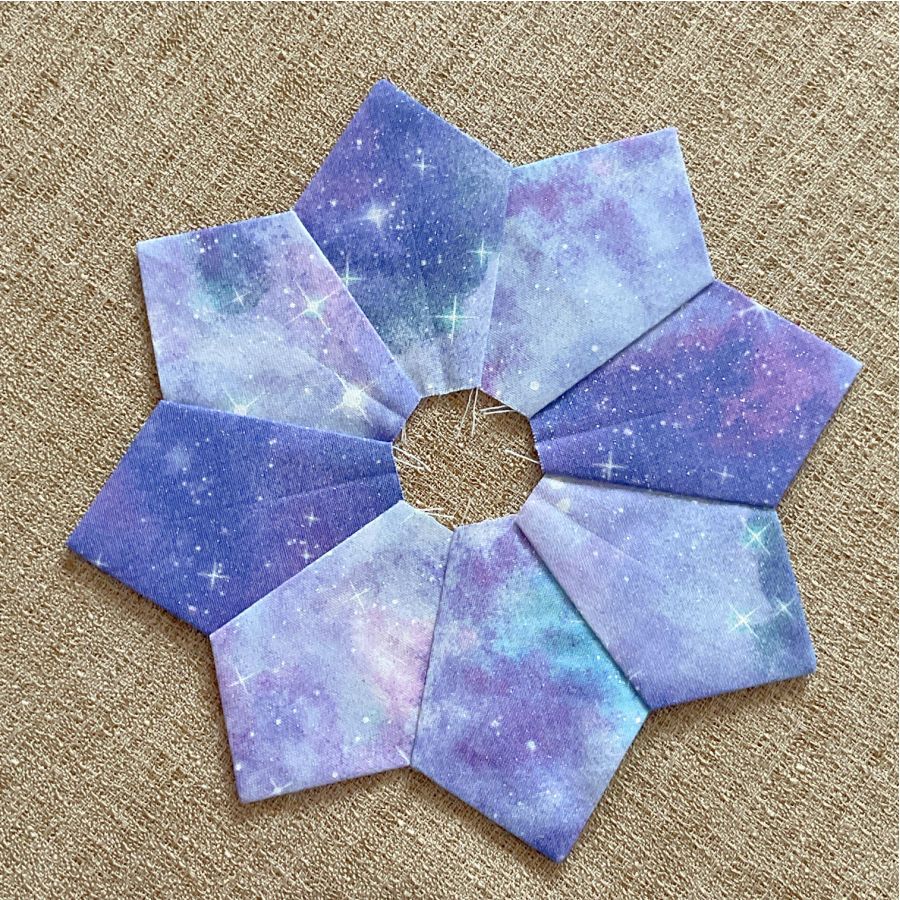
The Dresden plate is made from 8 blades. Each blade is folded, stitched across the top, turned right side out, shaped, and pressed. Then the blades join together into a ring.
The points are the pretty part, so this step deserves a little care. A point turner helps shape them neatly. A wooden finger presser also helps open small seams before the final press.
3. Make the Center Circle
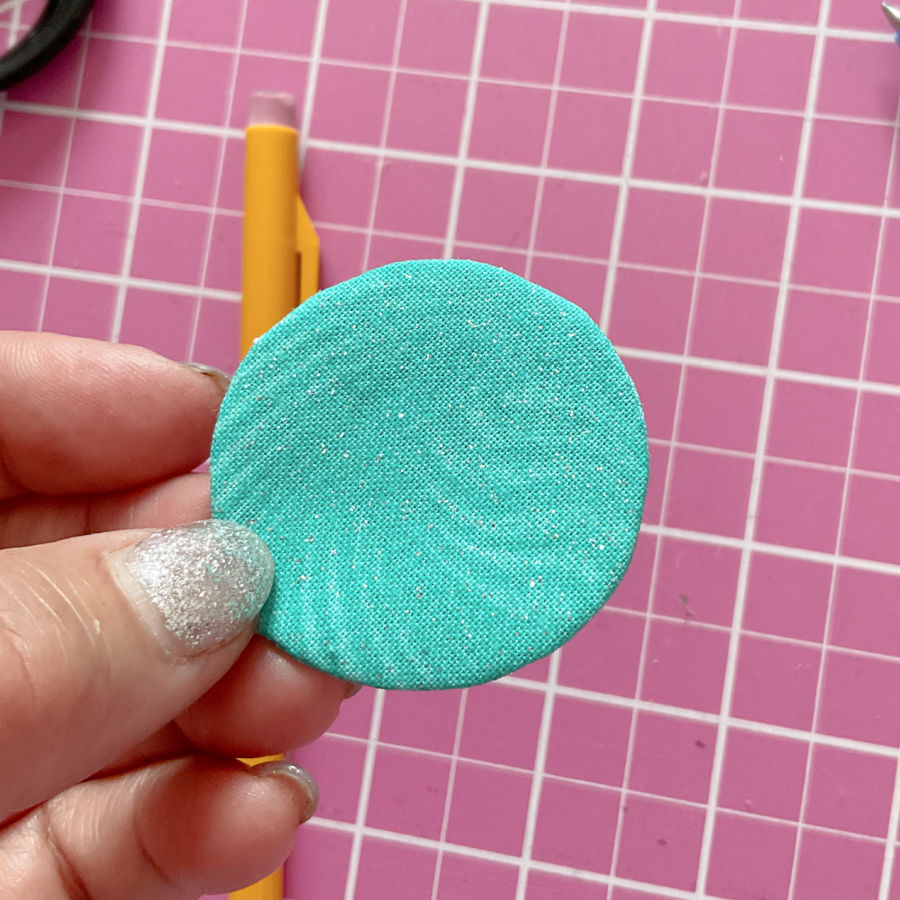
The center circle covers the open middle of the Dresden plate. I made it from two fabric pieces stitched right sides together around a drawn circle. Then I trimmed close to the seam with pinking shears, cut a slit in the back layer, turned the circle right side out, and shaped the edge.
The cardstock insert goes inside after the circle is turned. This helps keep the center smooth over the Dresden blade edges.
4. Place the Dresden Plate on the Front Circle
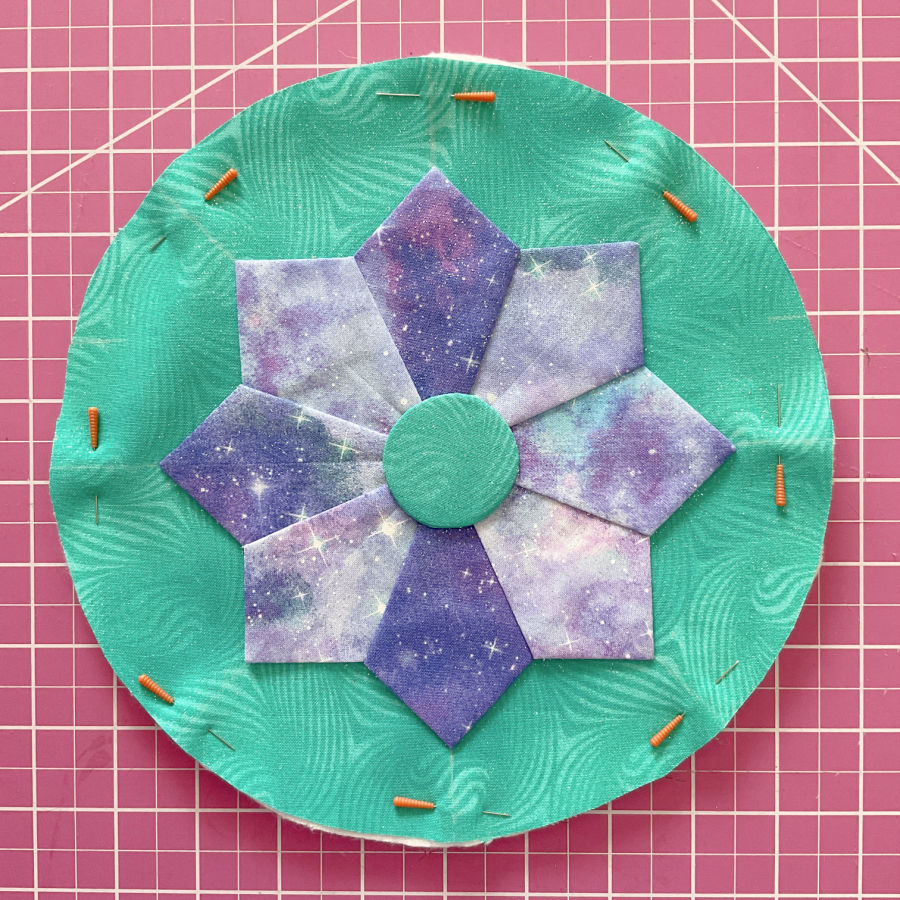
A fabric glue stick is very useful here. It holds the Dresden plate in place without a forest of pins. The seams of the Dresden plate line up with the placement marks on the front circle.
The center circle is attached the same way before stitching.
5. Quilt the Front Panel
The front panel is layered with lining, batting, and the decorated outer circle.
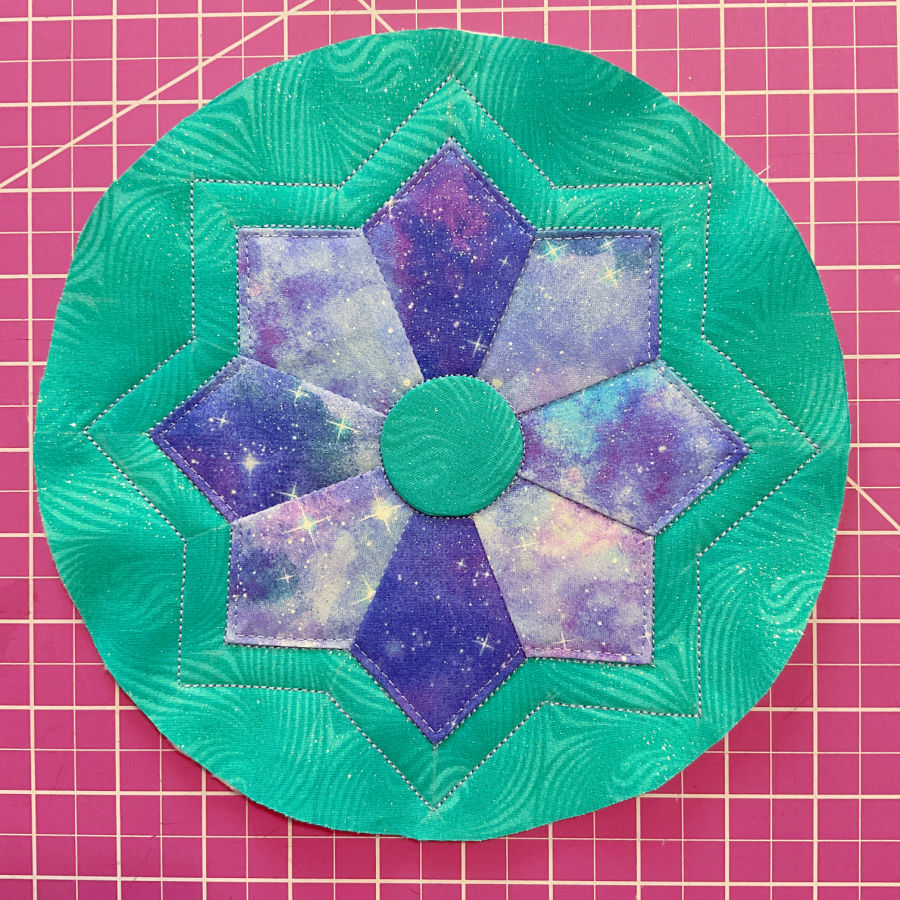
I stitched in the ditch between the Dresden blades. Then I added quilting around the outside of the Dresden shape. The quilting follows the angles of the plate and creates an echo effect around the design.
I used a triple straight stitch instead of a regular straight stitch because a purse gets handled often. The stronger stitch line makes sense for a bag that will be used, not just admired.
6. Quilt the Back Panel
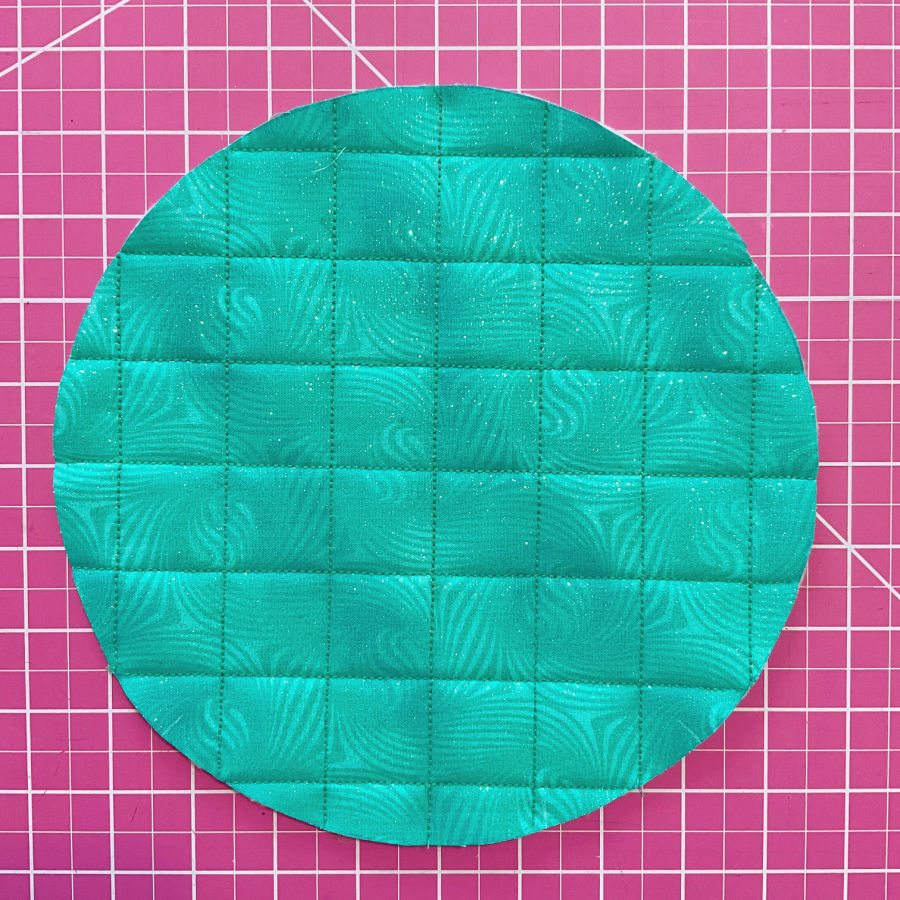
The back panel has a simple grid. The quilting lines are spaced 1 inch apart.
This gives the back circle structure without taking attention away from the front. It also gives the fabric a soft padded texture.
7. Make the Zipper Gusset
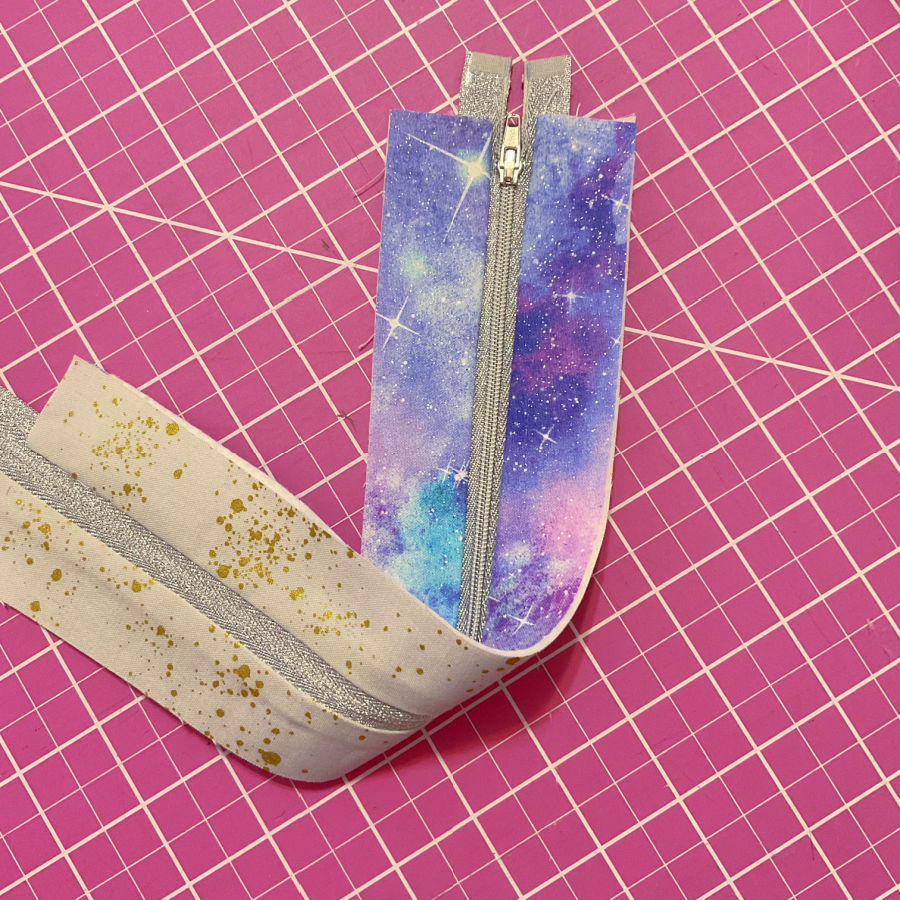
The zipper gusset is the zippered side panel of the purse. It holds the zipper and later connects the front and back circles.
The outer gusset pieces have fusible fleece or batting. The lining gusset pieces have medium-weight interfacing. This combination gives the zipper area enough body without too much bulk.
The zipper is sewn between the outer fabric and lining. Then both sides are topstitched so the fabric stays away from the zipper teeth.
8. Make the Bottom Gusset
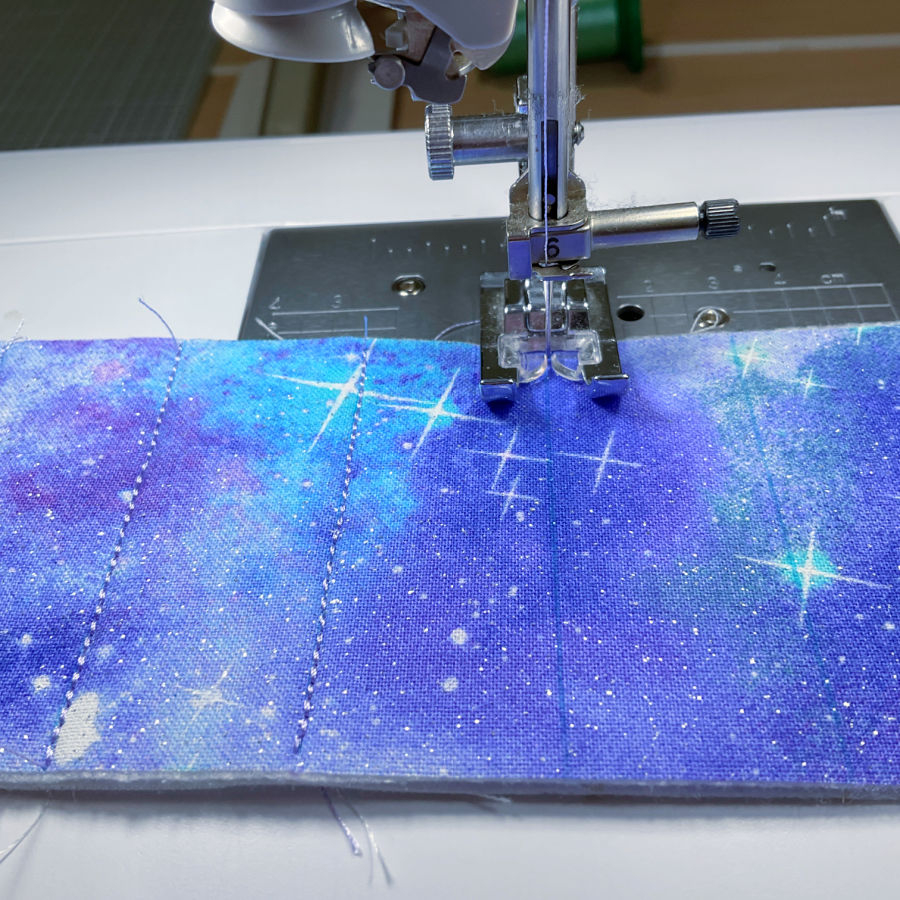
The bottom gusset completes the side wall of the purse. It is quilted with straight lines and then joined to the zipper gusset to form a closed loop.
This loop becomes the full side of the purse.
9. Attach the Front and Back Circles
The gusset edge is clipped so it can curve around the round panels. Then the front circle is sewn to one side of the gusset.
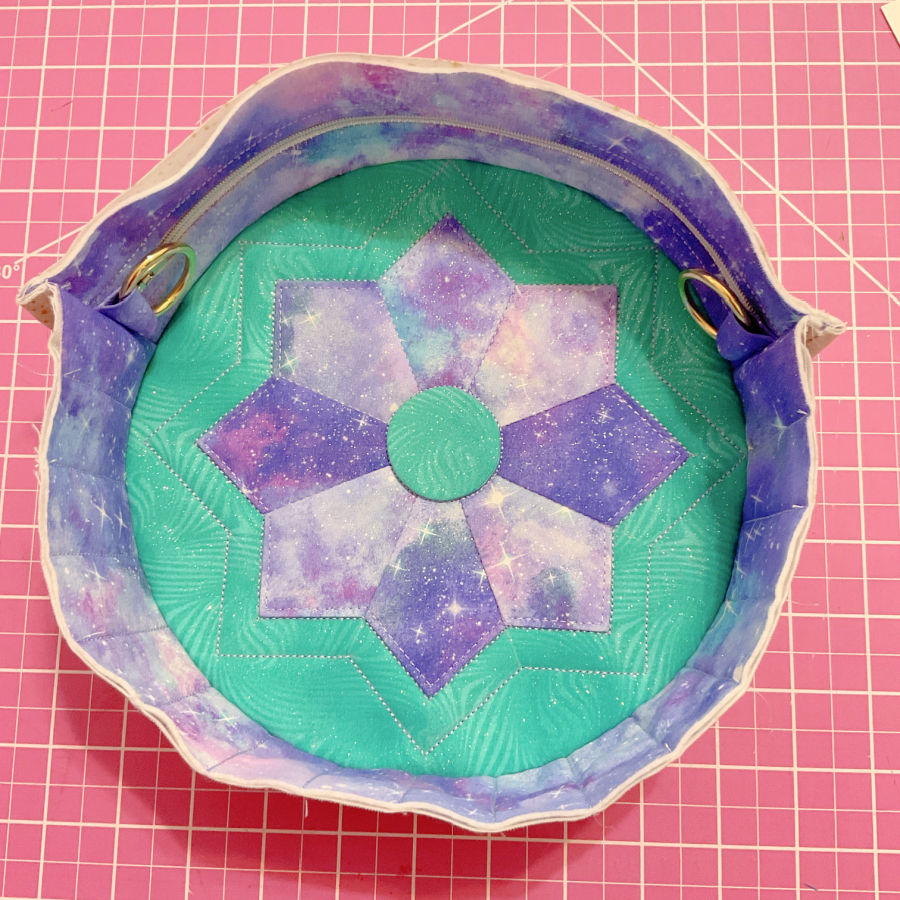
The back circle attaches to the other side. The zipper needs to stay partly open before the second circle goes on, or turning the purse becomes a very special kind of problem.
Mini clips are helpful for this step because the layers are bulky and curved.
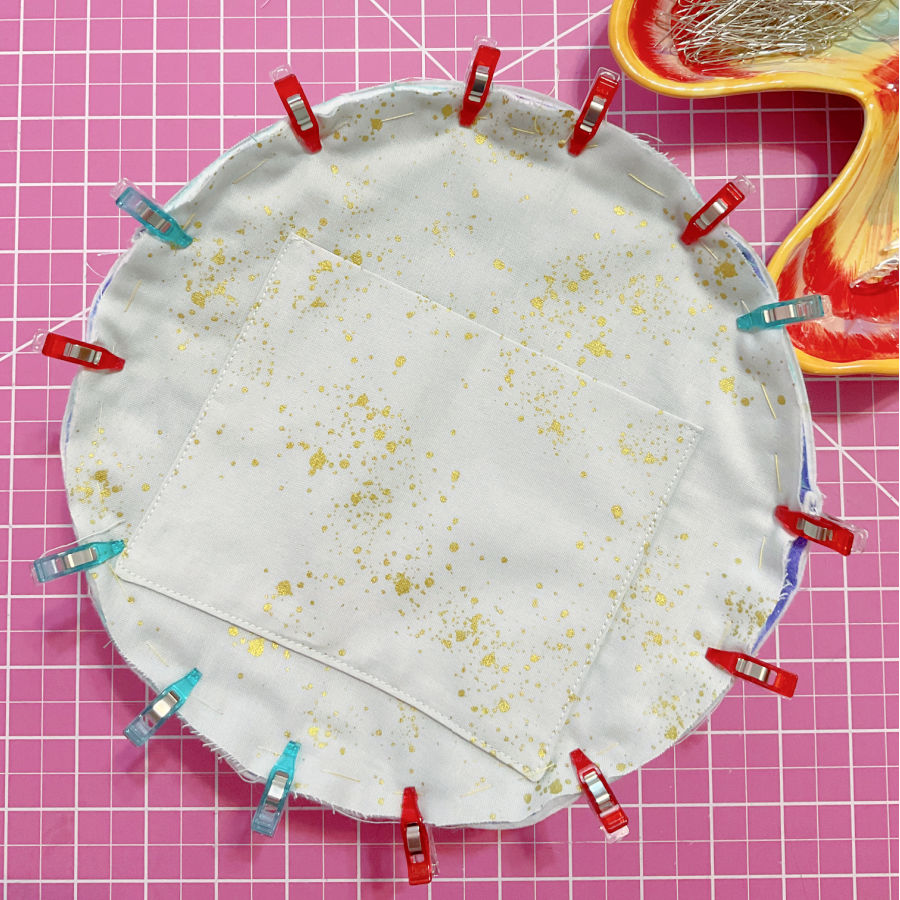
10. Bind the Inside Seams
The inside seams are bound with fabric strips. This covers the raw edges and gives the inside a finished look.
This step takes time, but it makes the purse feel much more polished. A bag should look good inside too.
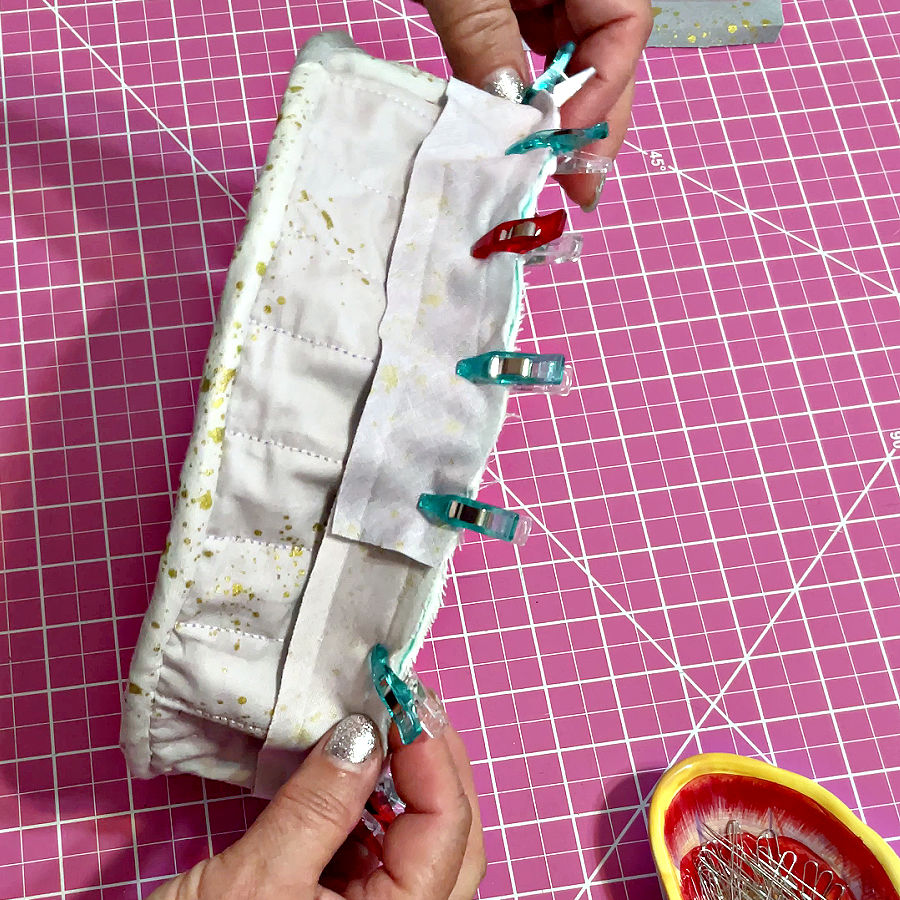
11. Make the Shoulder Strap
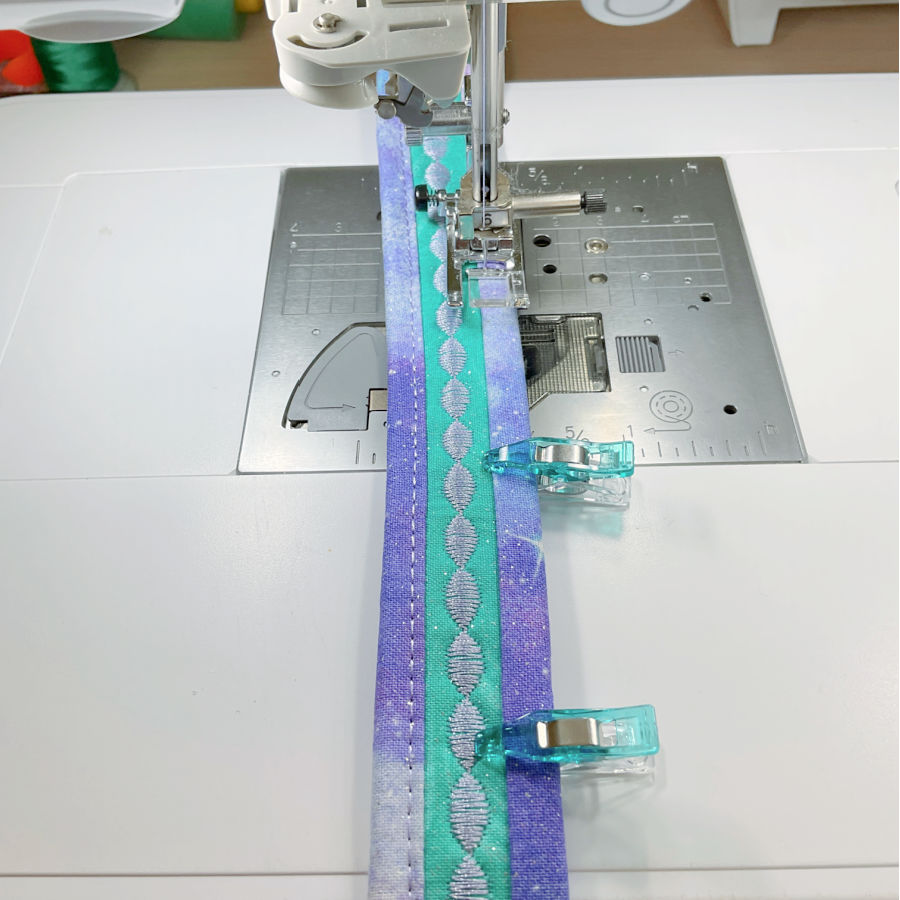
The shoulder strap is firm and 1 inch wide to fit the hardware. I used fusible fleece for body and bound the long edges with contrast fabric. A decorative stitch down the center makes the strap look more like a custom trim.
The ends fold over swivel hooks and are stitched securely.
About the PDF Pattern
The full PDF pattern includes the printable pattern pieces and detailed step-by-step instructions for the round purse. It covers the Dresden plate, center circle, quilted panels, zipper gusset, bottom gusset, inside pocket, strap tabs, inside seam binding, and shoulder strap.
The website article gives you the project overview, but the PDF gives you the full sewing path from fabric cutting to finished purse.
Final Thoughts
This round purse is one of those projects that feels special because it combines several sewing techniques in one useful piece. It has quilting, a Dresden plate, a zipper, hardware, and a shoulder strap. But each part is manageable when you take it step by step.
The teal green and lavender-purple fabrics made this purse match my daughter’s clothes, but the pattern leaves plenty of room for a different mood. Make it bright, soft, dramatic, scrappy, or elegant in your own way.
A handmade purse does not need to look like anything from the store. That is the whole charm of it.
Everything You Need to Sew a Round Purse In One Complete PDF
This isn’t a pattern that leaves you guessing. Every step is covered, every technique is explained — so you can focus on the fun part: picking beautiful fabric and watching your bag come to life.
Made in your fabrics. In your colors. For someone you love — or for yourself.
One pattern. Infinite color combinations. A bag nobody else is carrying.
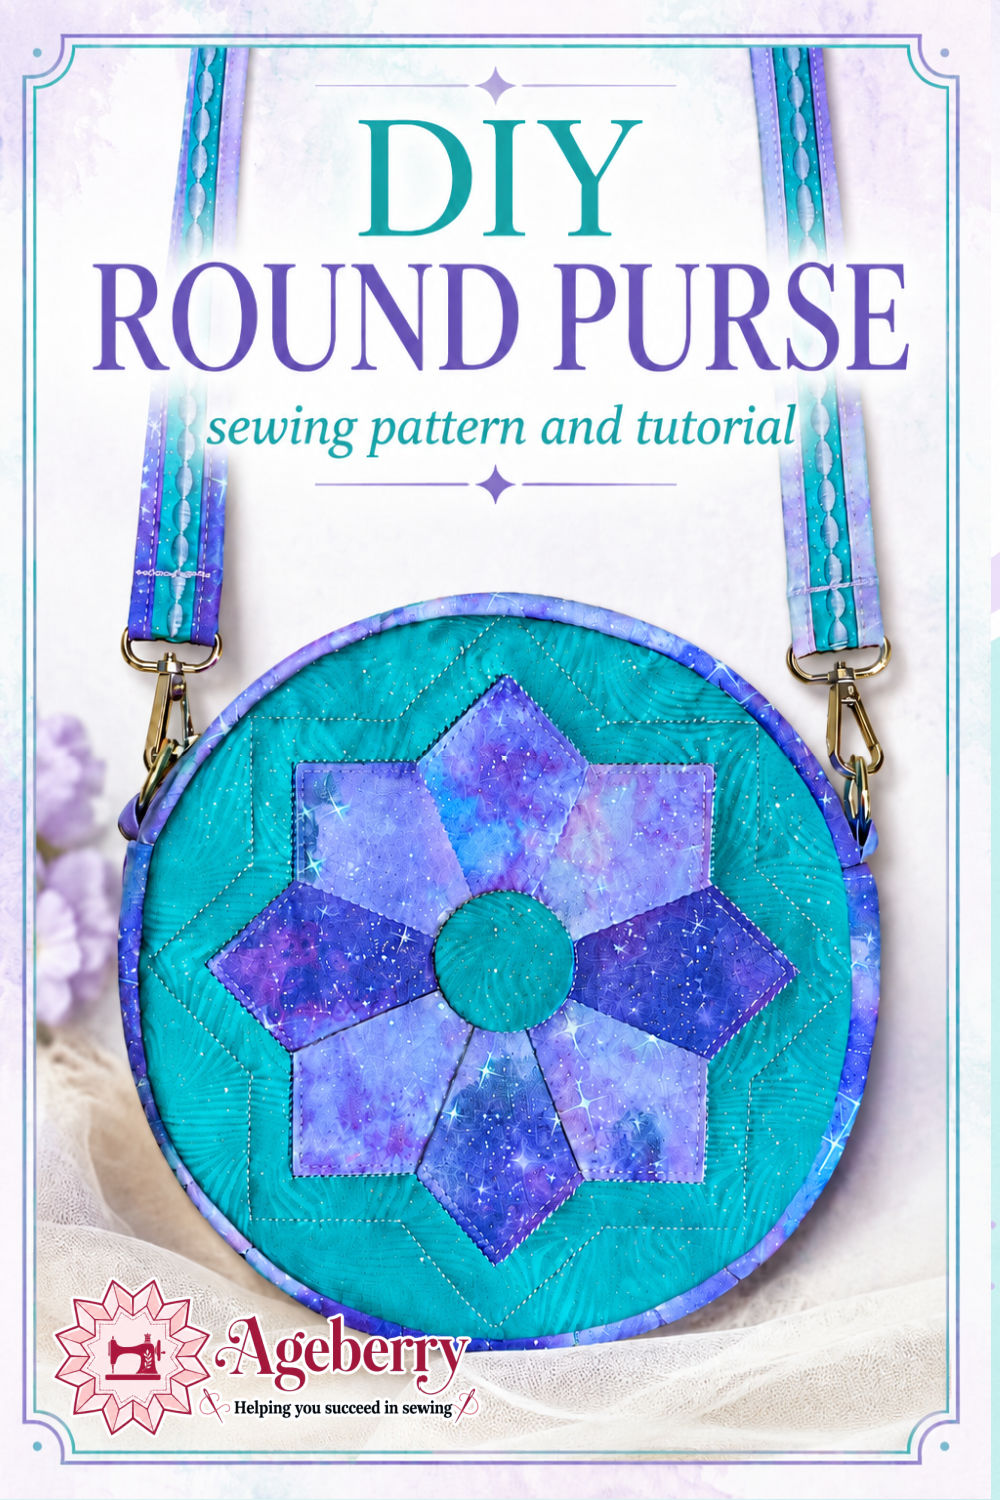
A DIY round purse is one of those projects worth saving before the idea slips under a pile of fabric scraps. Pin this image to your bag sewing board so the pattern and tutorial are easy to find later and follow me on Pinterest for more tips, tutorials, and inspiration!

WOW! What a GORGEOUS bag! I bet your daughter loves it, as I certainly do.
Thank you. I agree, it turned out better than I expected!
The purse is very unique – right not found in a store. Daughter is beautiful if that is your daughter modeling the purse. If it isn’t your daughter the person is still beautiful!
Thank you! It is beautiful, right? Better than I expected actually. I wonder if I shouldn’t try other colors too, warmer colors.