Did you ever want to make a leather purse yourself? I always wanted but I thought it will be too complicated. But it turned out nothing could be further from the truth.
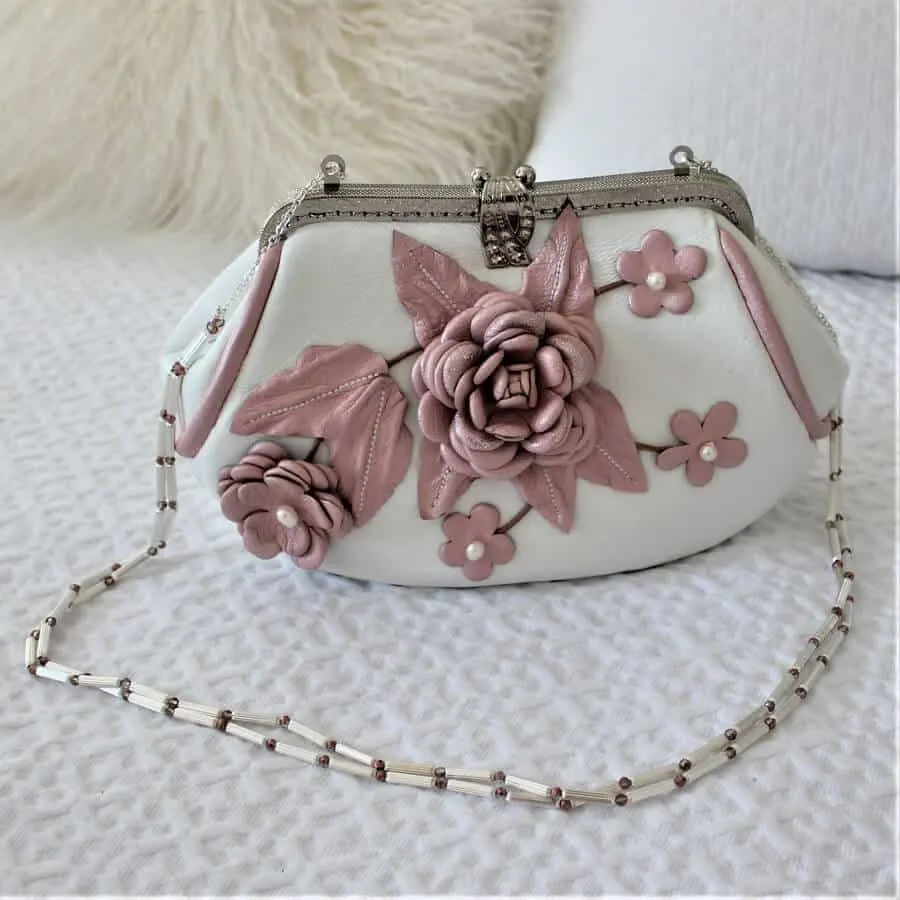
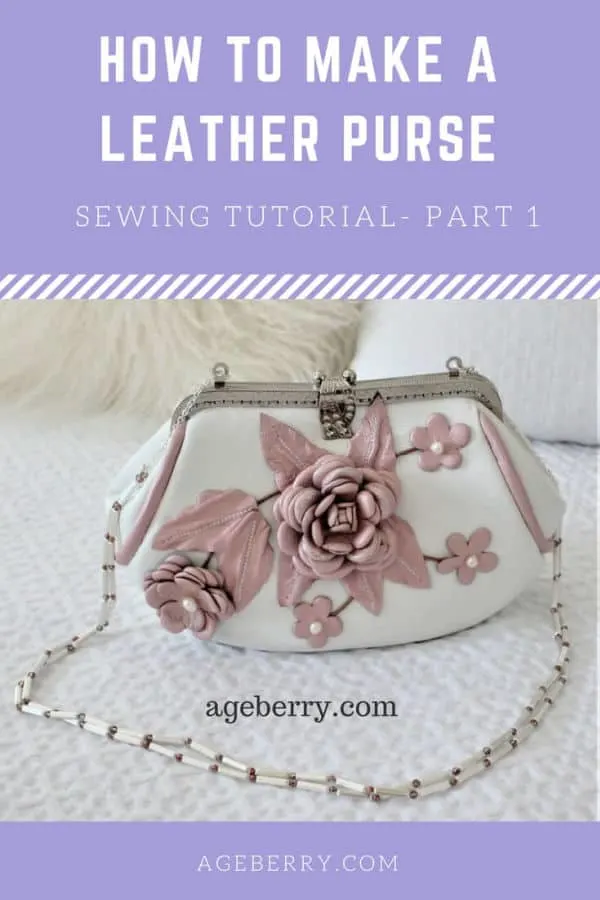
I made this lovely little leather purse and got lots of compliments. One of my friends even said that it’s absolutely the most beautiful purse she has ever seen. Well, it’s unique and I have never come across anything like it in stores. So I am excited to show it off!
I decided to publish this tutorial on how you can make the purse too because many of my friends showed interest.
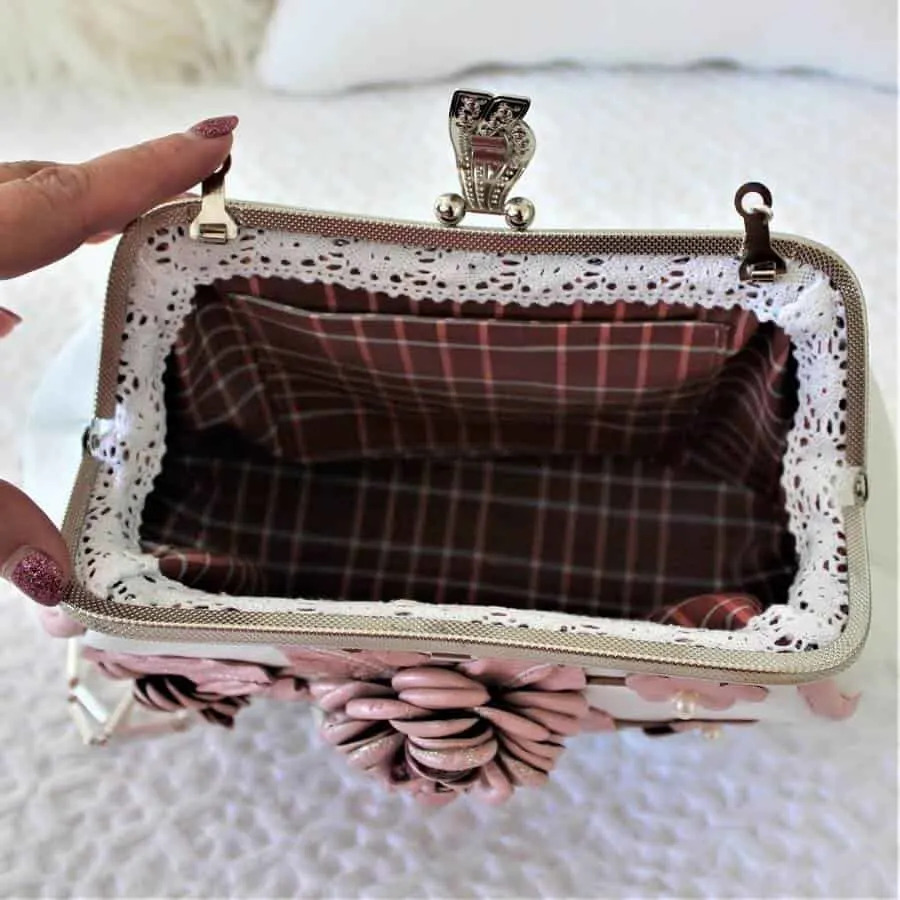
This charming purse is made from soft lambskin leather and is embellished with leather flowers, and real pearls, it has nice shoulder straps and a classic metal frame closure. Inside it can easily fit a cell phone, a wallet, car keys, a compact mirror, and lipstick. It’s perfect for a party, a wedding, or any formal occasion. Also, it can be a pretty gift.
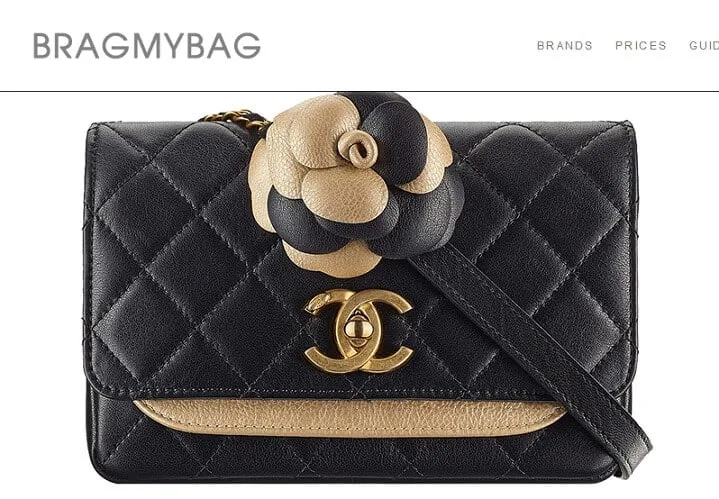
I was inspired to create the embellishments by these Chanel and Fendi purses.
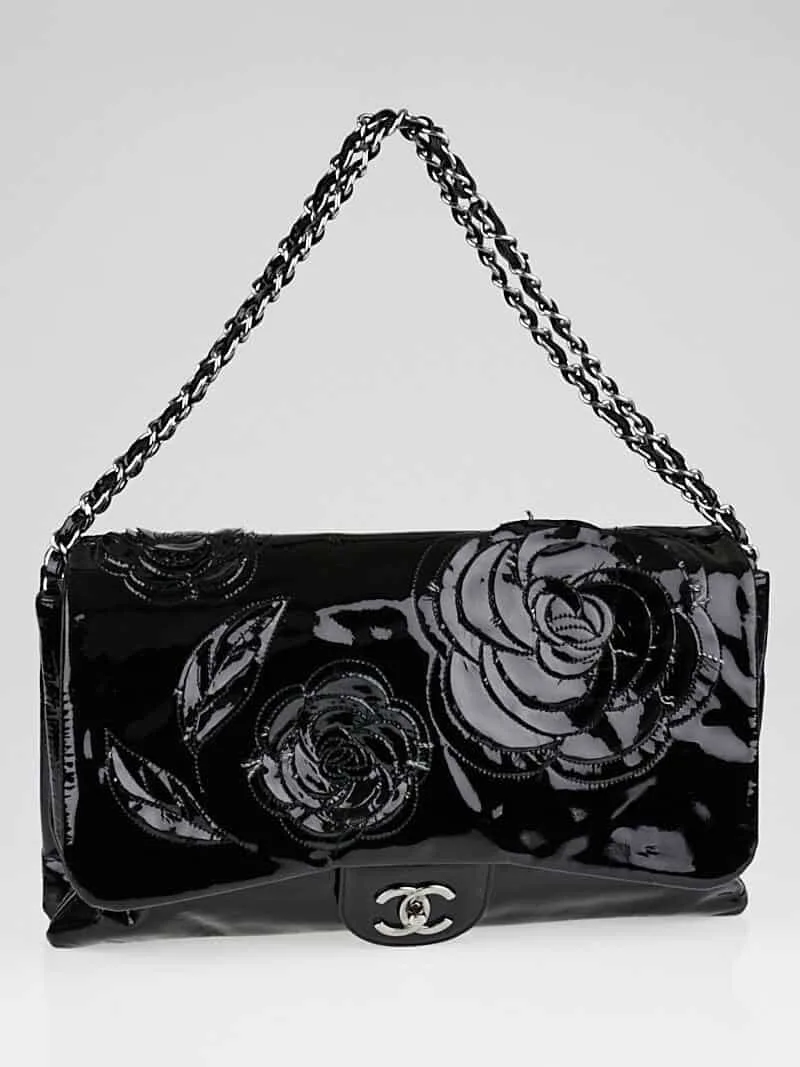
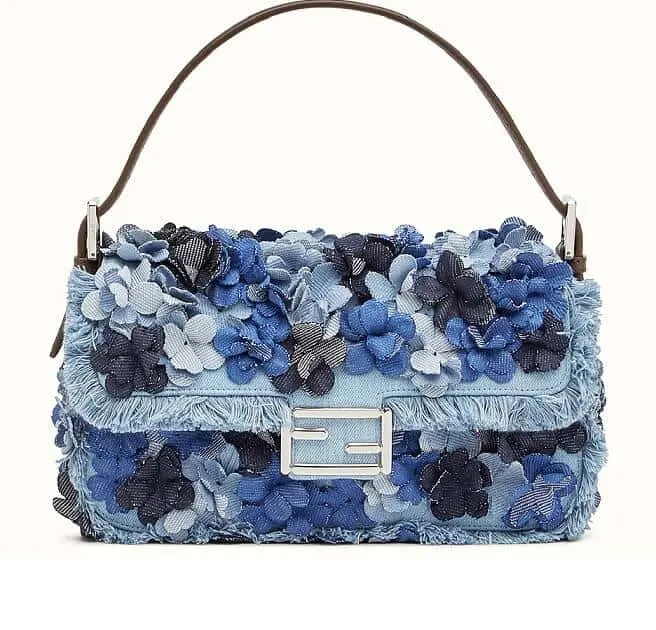
If you make the purse yourself it will not cost you an arm and a leg, right?
Also, I found the design and inspiration on one Russian YouTube channel, here is the link. You do not need to speak Russian, the images speak for themselves.
Because Russians have to make do with very little they are often very good at making incredibly beautiful things from whatever is available and this is a very good example.
To start, I would like to share with you some thoughts about sewing with leather – a few important things for you to keep in mind while you work with it.
Leather is a wonderful material to work with and it’s easier to handle (with proper tools) than you may think. For example, lambskin leather is quite soft and lightweight and it’s no thicker than denim, corduroy, or upholstery fabric so your home sewing machine can sew it without any problem.
Leather doesn’t fray and because of this you don’t need to finish edges – a serger is not required to sew leather! Leather is easy to cut and embellish! If cared for properly, leather will provide years of wear and your leather garments and accessories will look stylish for many years.
All you need are a few special notions and tools and the courage to find a way around some challenges. I think the only way to build your confidence in working with leather is by practicing.
I like to sew with leather. Leather garments and accessories are always in fashion but they are really expensive. If you make a skirt or a bag yourself it will be much cheaper. The only thing you need to invest in is those luxurious skins.
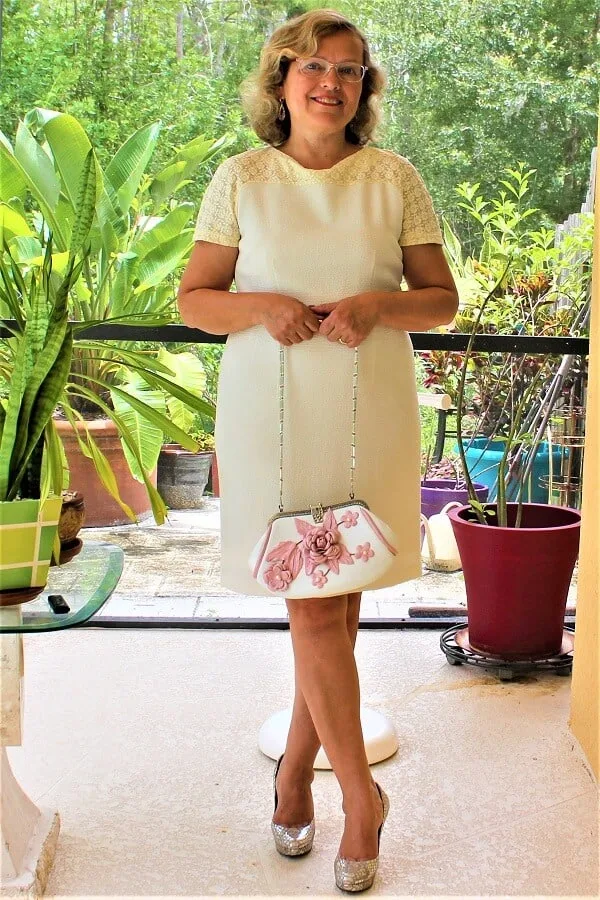
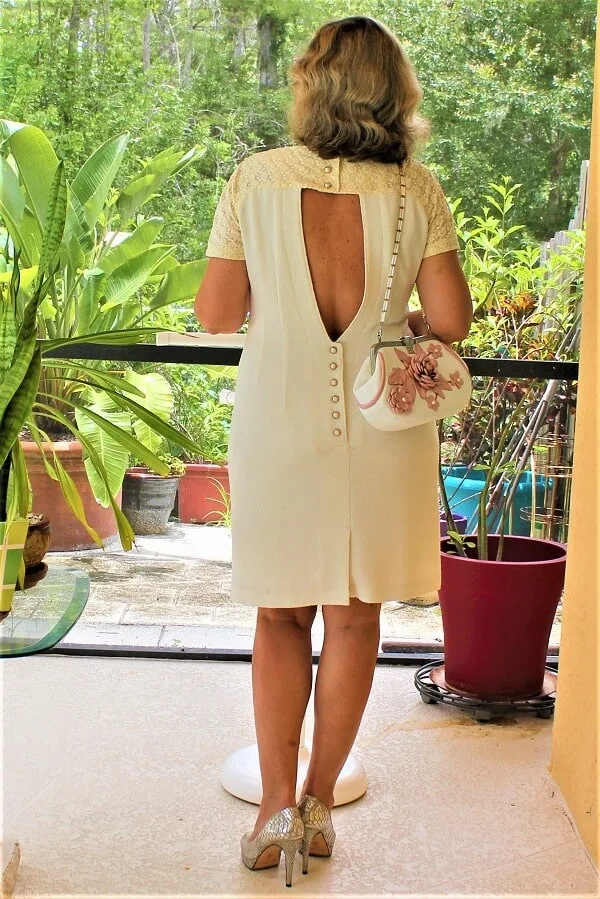
Materials for making the leather purse
Note: Some of the links on this page are affiliate links. This means I will receive a commission if you order a product through one of my links. I only recommend products I believe in and use myself.
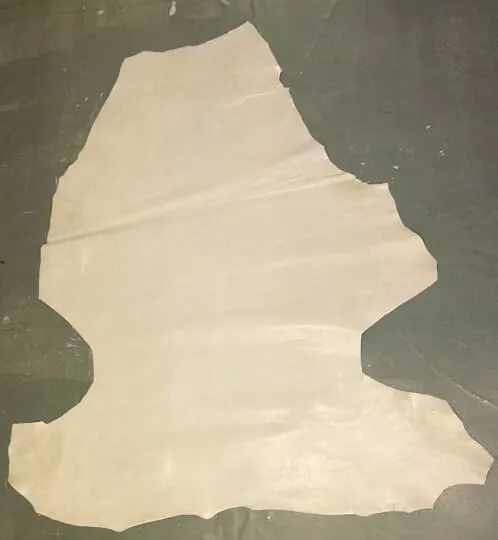
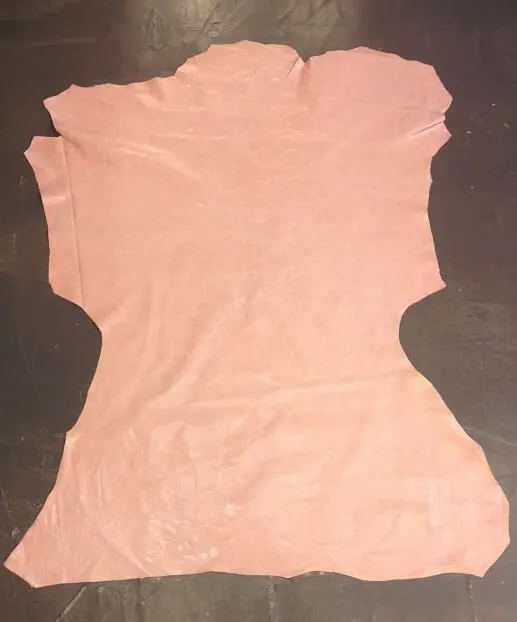
1. Lambskin leather – also called Nappa; it’s a soft and thin leather and easy to work with. I used 2 different colors. There is an online shop on Amazon called Leather Treasure, you can buy nice skins from them here.
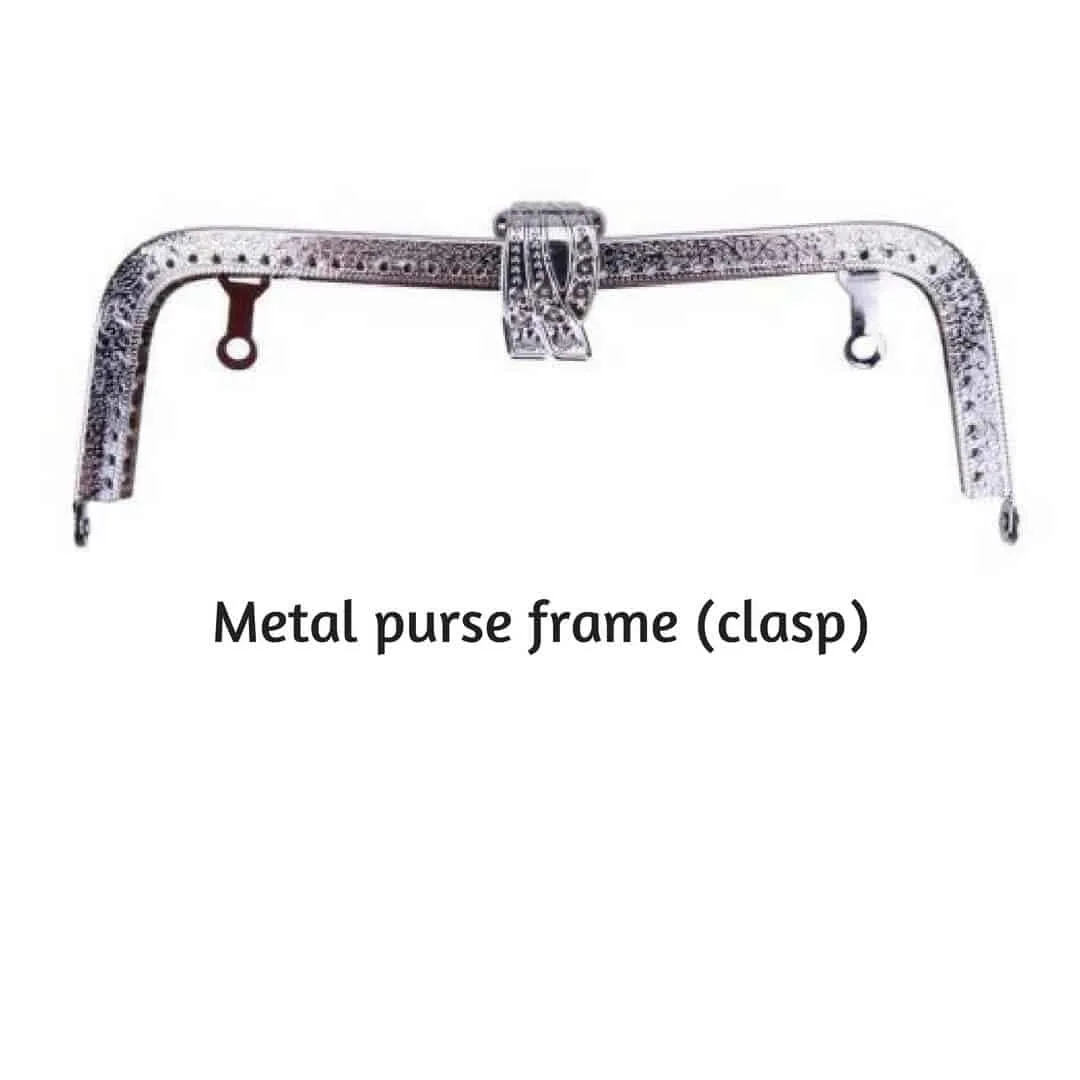
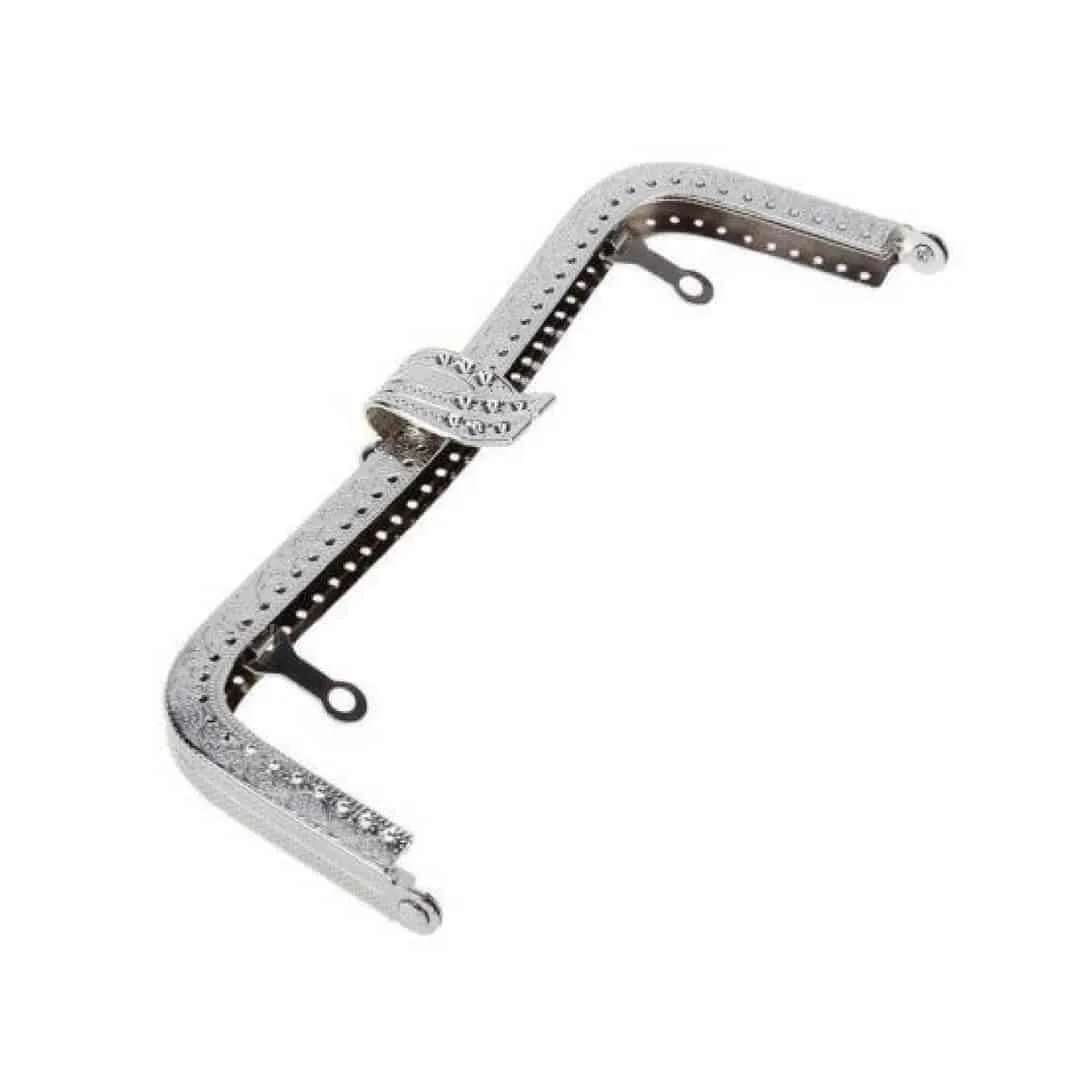
2. Metal clasp purse frame (size 20 cm or 8 in). I also found mine on Amazon – you can buy one here.
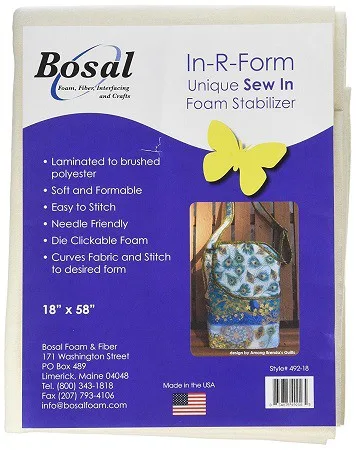
3. Bosal In-R-Form Unique Sew In Foam Stabilizer (not fusible) – Amazon has it also.
4. Small piece of fabric for a purse lining.
5. Sewing machine needles for leather sizes 90 and 100. You can buy them here.
6. Hand sewing needles for leather (they are different from regular hand sewing needles)
7. Small piece of cotton rope for piping ( the length is 26 cm or 10 1/4 in)
8. Glue (I use this one: The ultimate! The only non-toxic, water-based super glue), you can find it here.
9. Threads (strong polyester threads matching color)
10. Silver thread (cord) for attaching the frame
11. Sewing machine feet suitable for leather (Teflon foot, or walking foot, Teflon zipper foot)
So, here are the steps to make this purse.
1. Designing the purse
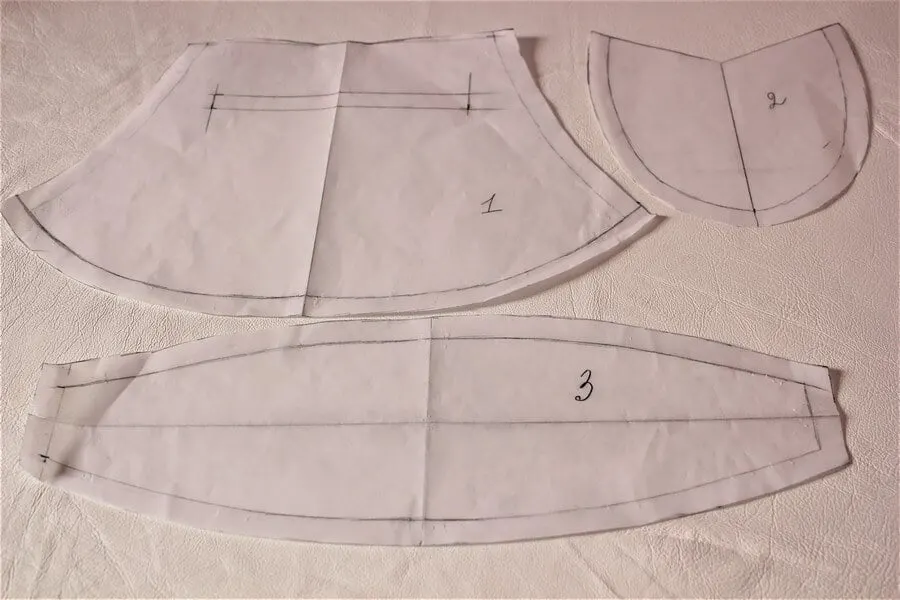
I started to make the bag by creating a pattern that’s suitable for the 20cm ( 8 in) metal frame I bought on Amazon.
As you see in the images below this frame has many small holes and has to be stitched onto the purse. Have in mind that there are other types of metal frames and they can be attached to a bag differently (with glue or with special pressure), I didn’t work with those frames so I can’t tell if they are better or worse than the one I used.
These metal frames come in many sizes, shapes, and finishes.
I had to make my own pattern so my purse will be the right size to fit the frame.
If you buy the 20 cm (8 in) frame then you can skip this step and just download and print the leather purse patterns I made ( the PDF pattern has 1 cm (3/8 in) seam allowances). The pattern is in my RESOURCE LIBRARY. If you are a subscriber, you will find the password for the library in my email newsletters. if you are not a subscriber, YOU CAN SIGN UP IN THE FORM BELOW.
As the leather can’t be folded for cutting the pattern pieces and you will have to cut the pattern on a single layer – print 2 main panels and 2 side panels but only 1 bottom.
But if your frame is a different size than 20 cm then you can make your own pattern or adjust the one I made.
2. Sew a mock-up version of the purse
Make it from denim or upholstery fabric so you know what it looks like before you cut your leather. The purse actually has only 4 seams to stitch, so it will not take a lot of time to make the mock-up.
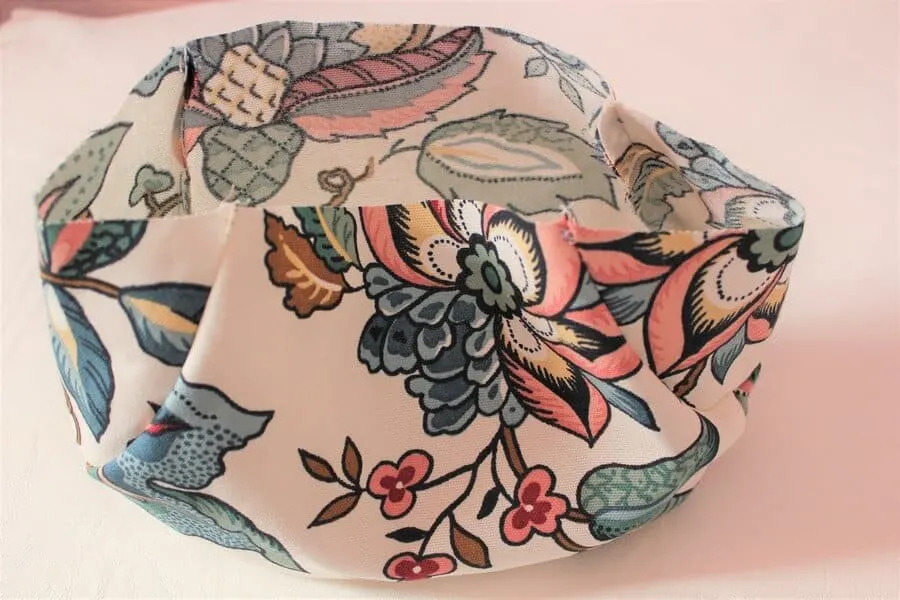
3. Cut the leather.
To prepare the leather for cutting place it flat on a table and work on a single thickness. Check the skin for imperfections before cutting. I use sharp shears to cut leather pieces but you can cut with a rotary cutter (as they usually recommend for leather).
You can’t use pins to attach pattern pieces to the leather because they will leave holes in the skin. Use pattern weights or clear tape, in this case, to hold the pattern in place. I collected for many years real stone creations, so I use them as pattern weights. Use a pen to transfer pattern markings on the back of the leather.
Cut also two rectangular pieces of different color leather for piping – 30 cm x 4 cm (11 ¾ x 1 9/16 in).
If you have a modern computerized cutting machine like Brother Scan&Cut you can scan pattern pieces of the purse and cut leather with the machine – this cutting will be just perfect. I am truly amazed by what this cutting machine can do.
4. Cut also the lining and the foam stabilizer
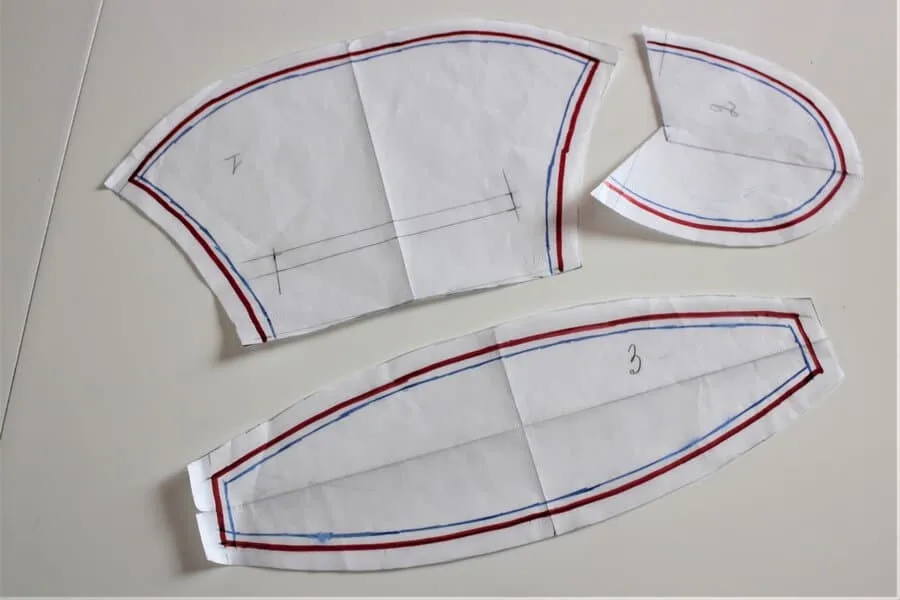
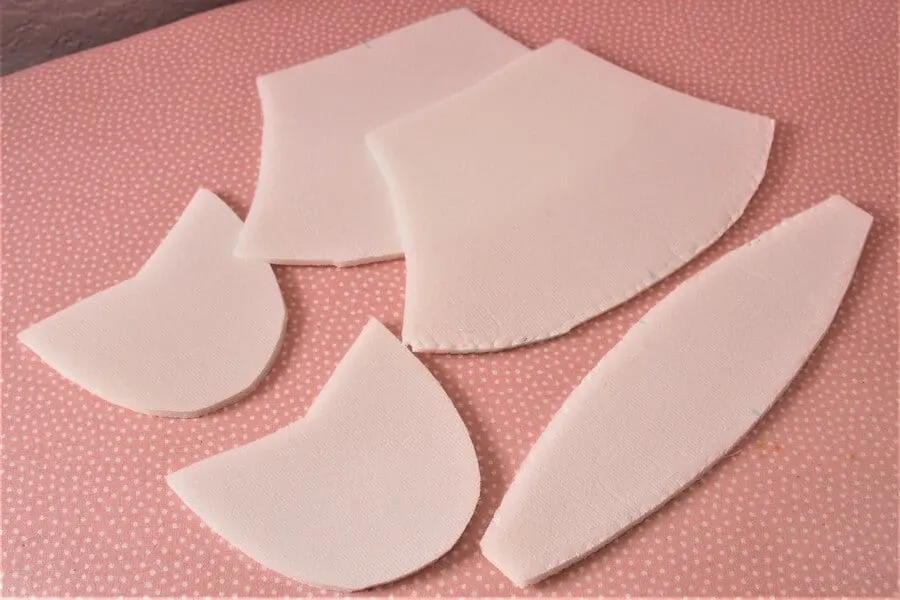
But here you have to be very careful – the foam stabilizer pieces have to be 1.5 cm (⅝ in) smaller than the main purse pattern pieces; I cut stabilizer pieces WITHOUT any seam allowances, and the lining has to be 1 cm (⅜ in) smaller than the main pattern (WITH seam allowances). Also, cut 2 pieces of lining fabric for a pocket – 15 x 12 cm (6 x 4 ¾ in) including seam allowances.
In the images below blue line is for the stabilizer – 1.5 cm ( 5/8 in) smaller than the main purse pattern, and the red line is for the lining – 1 cm (3/8 in) smaller than the main pattern.
This is the foam stabilizer I used for the purse – Bosal In-R-Form Unique Sew In Foam Stabilizer.
This foam stabilizer is necessary for the purse to keep the proper shape, the leather is soft.
5. Stitch the leather panels of the purse to the purse bottom.
Set up your sewing machine for stitching leather.
Teflon foot is really good for sewing leather on a regular sewing machine. It has a special coating that enables leather to pass smoothly under the foot.
I use Janome Memory Craft 6600P and it comes with an AcuFeed system which is practically a built-in walking foot. You can use other types of walking feet working with different sewing machines.
A regular sewing machine foot for straight stitching may work also if you have only 2 layers of lambskin leather.
Needles are also important.
Use a new needle for the project.
There are special leather needles in different sizes for different thicknesses of leather. For my lambskin leather I used a special leather needle Schmetz sizes 90/14 and 100/16. These needles leave only a tiny hole in the leather.
But for lambskin, you can probably use Universal or Microtex needles as well (but it didn’t work for me though).
Let me give you some small tips about sewing machine needles.
We usually use many types and sizes of needles for our sewing projects. For example, for this purse, I used leather needles of two sizes. So, what do you do with those needles after the project is done?
I don’t want to throw them away, because I did only a few stitches with them – 2 seams with size 90 and 2 seams with size 100. The needles are still good and I will want to use them for other projects as well.
But how do keep them and know exactly what is the needle and is its size? If there are marks on the needles then it’s easy, like with these leather needles size 90. But Schmetz leather needles size 100 don’t have any marks. So I mark them myself with a permanent marker and after that, I know exactly what needle I use (see the video below).
Threads – use strong polyester threads of 40 weight. Cotton threads are no good, they break.
It’s very important for the thread to match the thickness of the needle eye – if they don’t match the hole made by the needle will be too big for the thread. In other words, use the thinnest needle that can accommodate the thread to avoid leaving large holes in the leather.
Put stitch length to 2.8-3 mm, for stitching leather it has to be slightly longer. Loosen the thread tension – I usually put it to 1 (instead of 3-4 for regular fabric).
Practice stitching on scrap pieces before working on your purse and adjust the machine tension and the foot pressure. It’s good to test how your sewing machine handles the leather. If you see that the sewing machine skips stitches try to change the needle for a bigger size.
You can’t use pins because they will leave holes in the leather. To connect pieces together before stitching with office supply clips, paper clips, clothespins, or these special clips (they are called Wonder clips) instead of pins (to hold pieces together).
Don’t backstitch – just tie the thread tails because backstitching puts more holes in the leather.
We don’t usually use iron for leather. But you need to open seams somehow without an iron. For this we use glue. The best adhesive that everybody recommends is leathercraft cement. But there are plenty of other kinds we can use. I use this one: The ultimate! The only non-toxic, water-based super glue. It has no odor, dries clear, and adheres to everything.
But I dilute the glue with water in a small container – half and a half approximately because it gives me time to work with it before it sets.
6. Make piping, attach it to the side pieces and stitch the sides of the purse.
Piping is a nice detail for the sides of the purse. I used pink leather for piping.
Brush the glue mixture on the leather strips. Place the cording on the leather strip (in the center) and fold the leather over the cording. Make sure that you put together lengthwise edges of the leather strip. Seal edges as close to the cording as possible. Now you have 1 cm (⅜ in) seams in your piping from where you joined your strips. Cut these seams 0.7 cm (¼ in) from the edge so you can curve your piping.
Place piping around the side pieces of the purse, glue it ( only at the edges, try not to glue the piping itself), and stitch with a machine over seam allowances. Here I had to change the needle from size 90 to size 100 because I got already had many layers to stitch.
Change the sewing machine foot to zipper foot, attach the sides with piping to the purse (using clips) and stitch close to the piping.
I guess half of the sewing of the purse is done now. Here I stop with this post and will continue the tutorial in part 2. By now I guess you see that you don’t need any special training and equipment to sew leather.
Do you have any questions? If you prefer the video tutorial (with sound) check out my YouTube channel here.
If you found this tutorial helpful or know someone that WILL find it helpful, I’d greatly appreciate you sharing it on Pinterest or Facebook. Or simply share it with your friends. And of course, leave a comment below letting me know about your struggles or your successes with making the leather purse. I’d love to hear from you!
latest posts
- Ever Tried This on Your Serger? This Differential Feed Feature Will Amaze You
- Ditch My Sewing Machine? Not in This Lifetime!
- Adorable DIY Needle Book | Easy Tutorial for Beginners
- Master the Seam Ripper: Your Ultimate Guide to Precision Stitch Removal
- Think You Know Zippers? This Installation Guide Might Surprise You
- Why Does Your Seam Ripper Have a Red Ball? Discover Its Purpose!
- Topstitching Troubles? This Simple Trick Will Turn It Around Instantly!
- How to Sew Shirring: A Step-by-Step Guide to Elastic Thread Gathering
- Are Self-Threading Needles Really Useful?

