Adorable DIY Needle Book | Easy Tutorial for Beginners
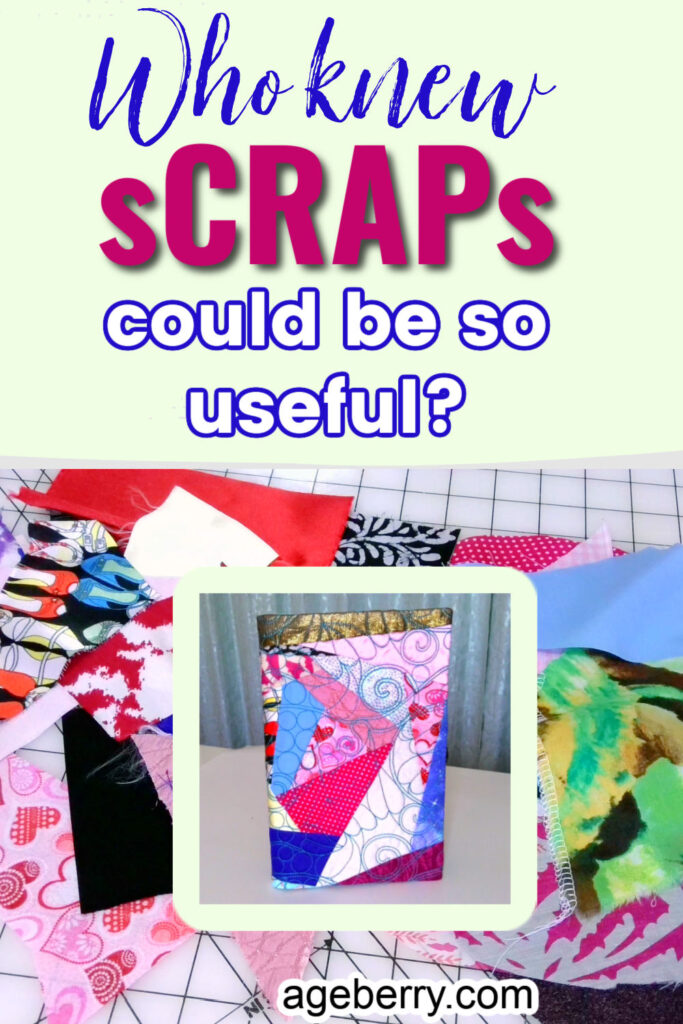
If you’re like most people, you have a lot of scrap fabric lying around after completing a quilting or sewing project. We all know that it is hard to throw away these scraps, but they are too small for another project.
So why not use them for something cute and useful? It’s very easy! You can make many different things from these little pieces of fabric.
If you are a beginner or want to learn how to sew with scrap fabric pieces, then this tutorial will help you out. It is easy to make, does not require special skills and it is very forgiving, in case you make mistakes. Here I will show you some ideas on what kind of things can be made from leftover fabrics and give some tips on sewing with small pieces.
If you sew regularly, it’s important to have a needle book on hand at all times so you never lose track of the needles you need for each project. You know how frustrating it can be when your needles get lost in the bottom of your sewing box.
You’ll never lose another needle again with this adorable little needle book. It has special tags for each type of needle to keep them all organized and easy to find. It’s also a great way to make sure that you always have the right needle for the job.
Needle books make great gifts for friends who love sewing too. Plus, they are super cute! And this one comes with a free step-by-step tutorial. This is an absolute must-have item if you love to sew.
A sewing machine needle organizer will help make sure that every time you sit down at your machine or work on a project, everything will be right where it needs to be. No more fumbling around looking for what you need – just grab your trusty needle book instead.
Attention! If you like the video format, at the bottom of this post, look for a YouTube video version where there is a step-by-step tutorial on how to make a needle book. For a more complete picture, I recommend exploring both versions.
Note: Some of the links on this page are affiliate links. This means I will receive a commission if you order a product through one of my links. I only recommend products I believe in and use myself.
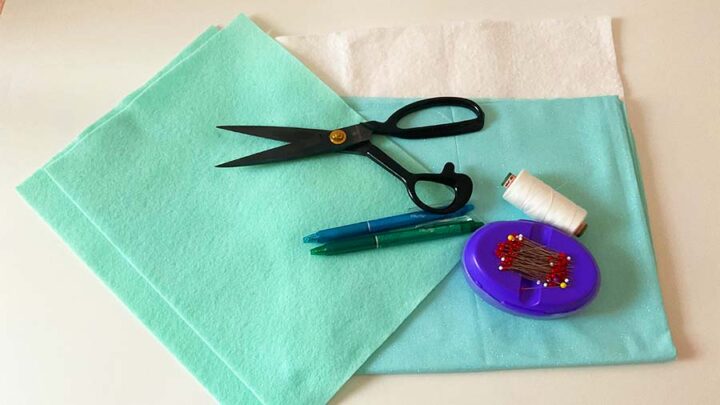
What you’ll need to make the needlebook
- Scrap pieces of fabric left from previous projects
- Felt sheets (I used 2 of them)
- A piece of batting (I used fusible batting)
- A piece of fabric for the interior of the cover. Hint: choose a piece of fabric to complement the color of felt pieces.
- Frixion pen (to write the types of needles)
- Sewing machine
- Regular sewing notions
———————————————-
You don’t need any pattern to make this needle book and the scrap fabric pieces can be any size and shape.
#1. Sew scrap pieces together for a needle book cover
So, how do we start?
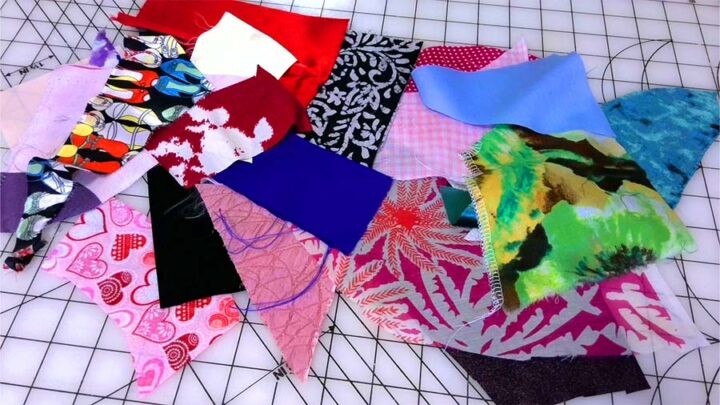
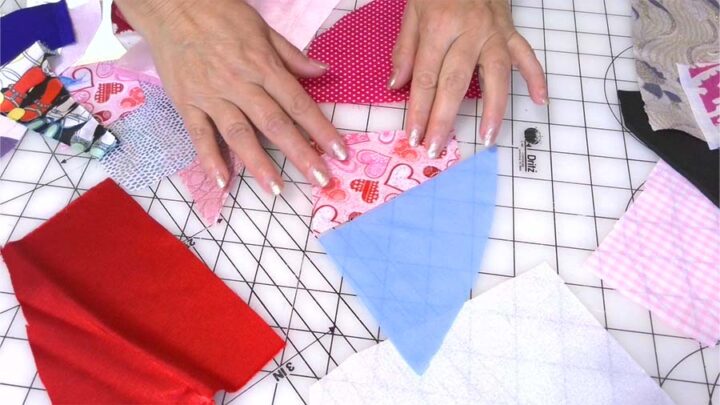
Gather some small scrap pieces enough to cover an area large enough for your book covers. We will sew them together in a rectangle, this rectangle will be folded in the middle and will create the outside covers for our book.
These scrap fabric pieces will give you so many options that it’s hard not to make something very beautiful with them. They are also so much fun to play around with and the possibilities are practically endless. What do you think?
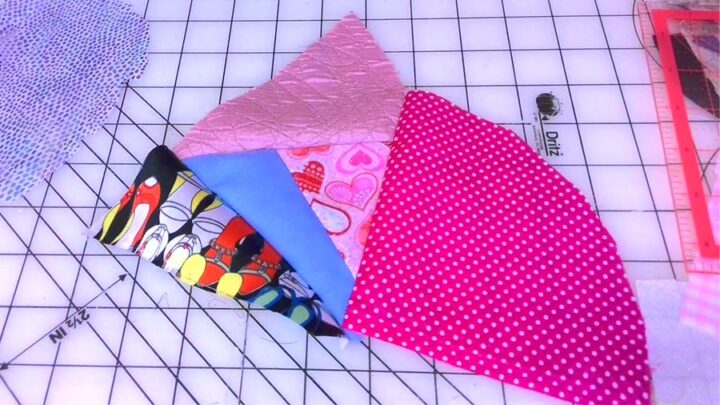
Decide what 2 pieces will be first to sew. Difficult task! But you really have to start somewhere!
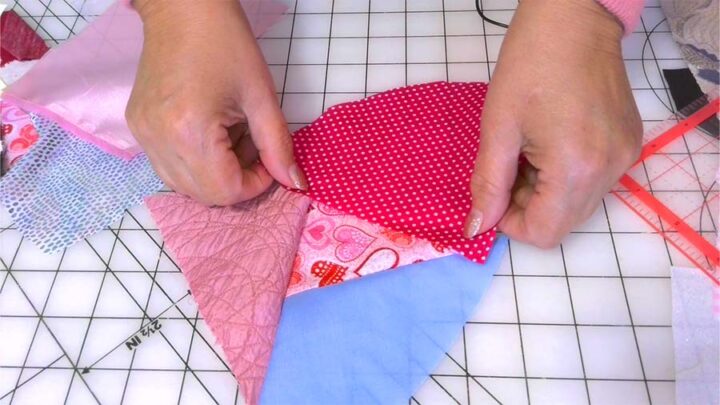
The pieces are various shapes, so after sewing cut seam allowances so they look nice, ¼ inch seam allowances.
Add the third piece and stitch.

Cut seam allowances again.
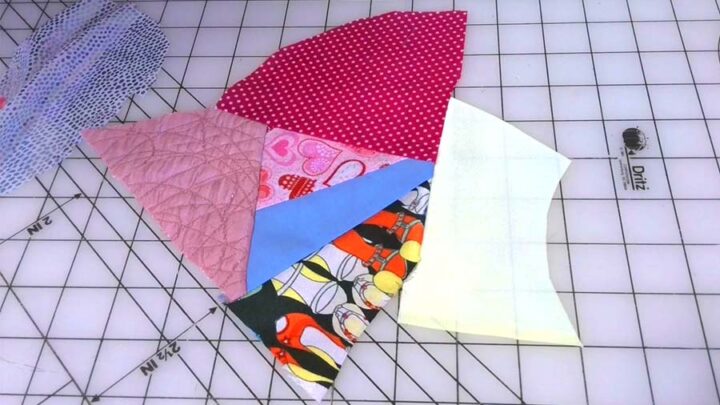
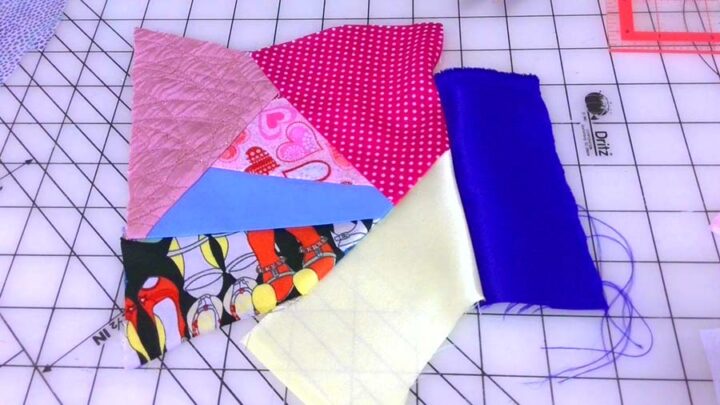
Add another piece as you think it fits, stitch and cut seam allowances.
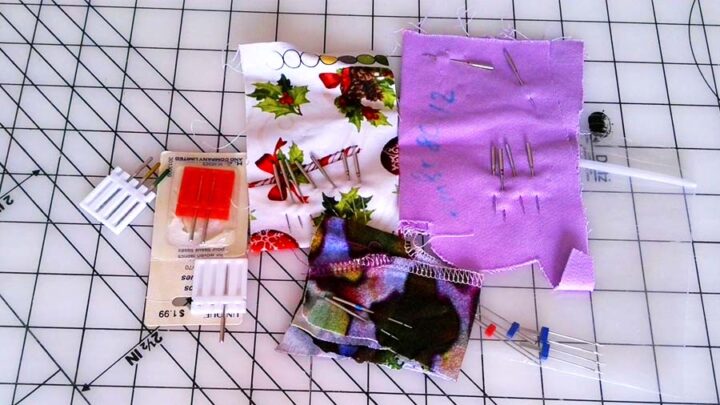
The scrap pieces I had were not all quilting cotton, I had silk, polyester, some knits, some home decor fabric too.
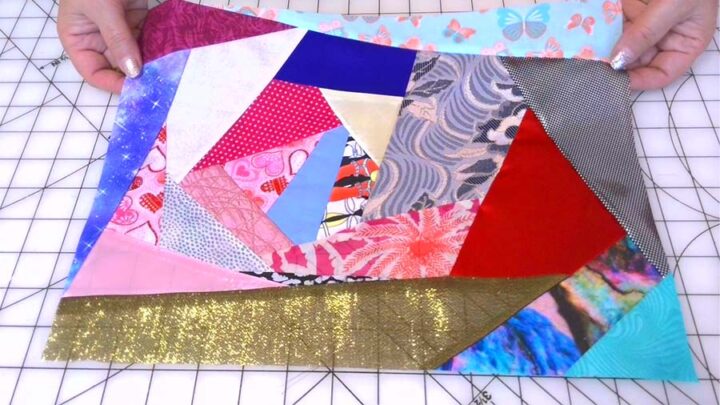
In the images below you can see my progress when I was adding scrap pieces one by one. Some of them might not go well with others, so you can discard those. For example, I didn’t like how the green piece looked together with the others, so I didn’t use it.
Press the seams a few times between adding pieces.
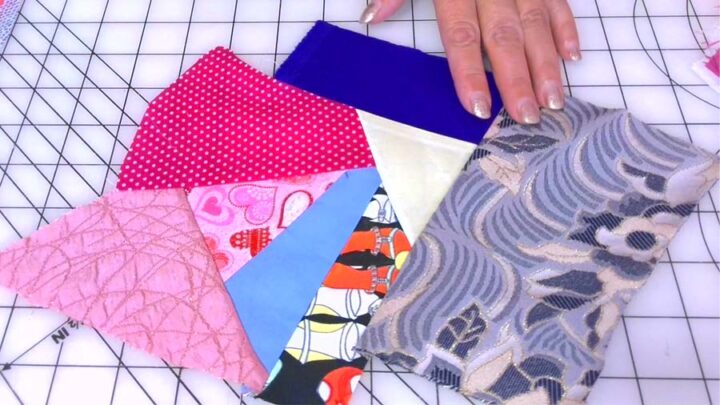
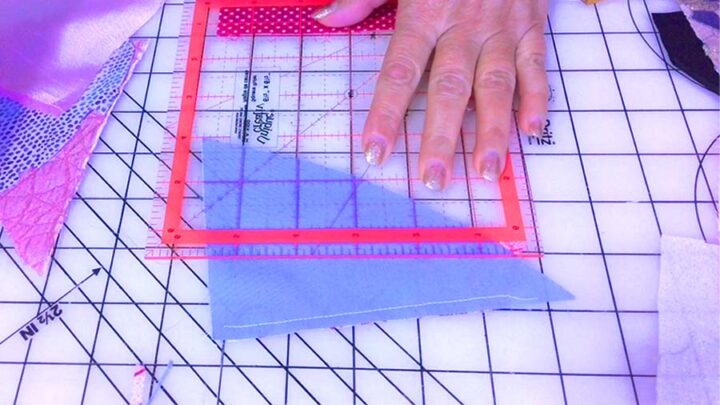
At some point, measure if the piece of fabric you created is big enough for the needle book. Place the felt piece on top of it and make sure it’s slightly bigger and you have at least ⅜ inch seam allowances.
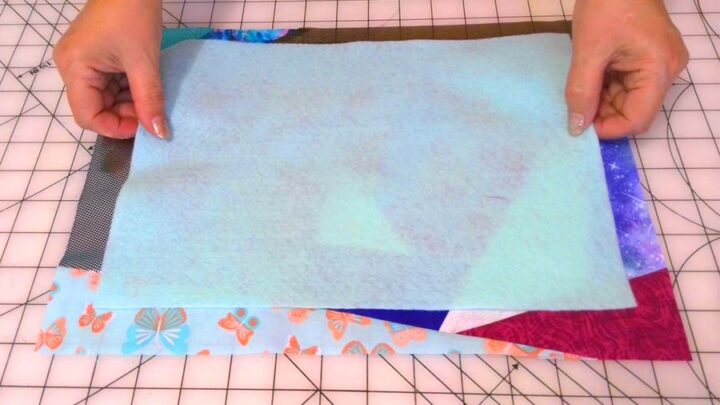
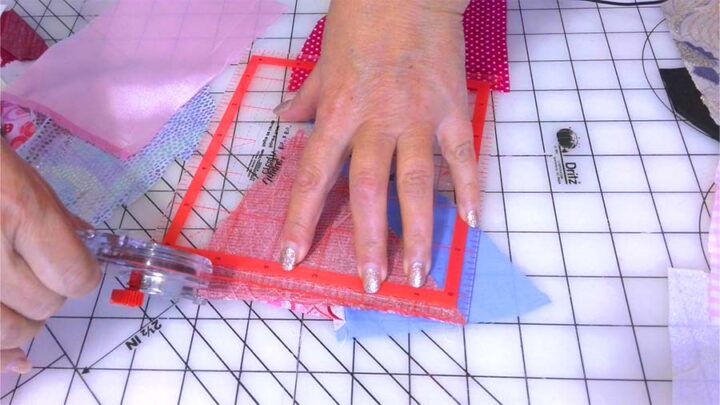
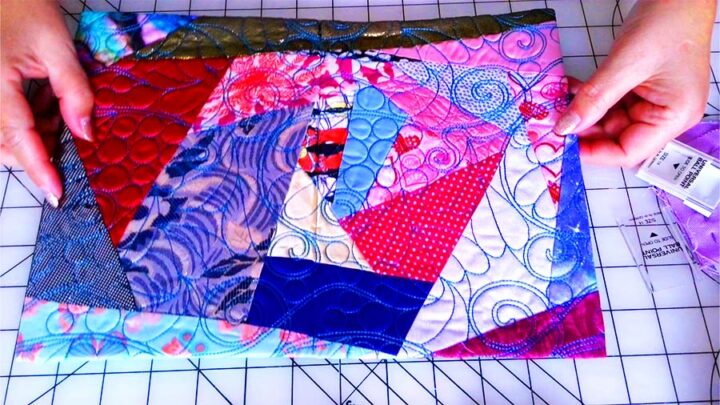
After you are done adding pieces, square off all edges with a rotary cutter to make a rectangle. This will be the cover of the needle book.
I am sure you agree with me that those scrap fabric pieces are the perfect way to get creative and use your imagination. You can make anything you want with these, not only a needle book. You can use it for a book/journal cover, or to make a makeup bag.
For the needle cover, I needed a rectangle 13 ⅜ x 10 inches because I was using felt sheets for the inside “pages” and their size is 12 x 9 inches, it’s a standard size. You can adjust this size so it matches your felt pieces. Make sure that you have a proper rectangle where all corners are 90 degrees.
Have in mind that you have to make the cover a little bigger than the felt pieces.
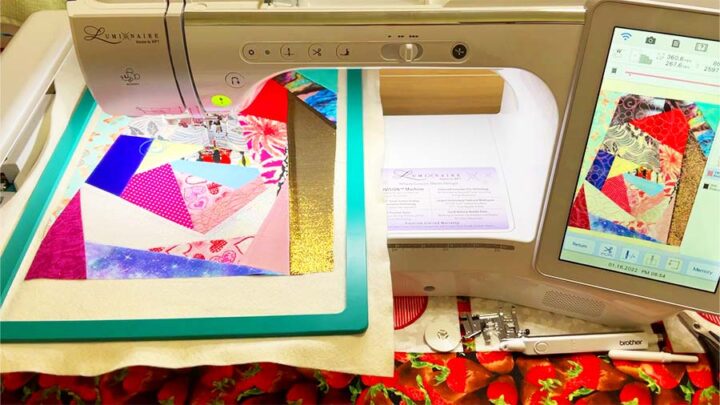
Next, I quilted this piece using my embroidery machine. But you can quilt it as you like, for example, use free motion quilting, straight line quilting, or hand quilting.
Use thin batting for quilting. Trim off the excess batting before proceeding.
#2. Sew a cover for this sewing machine needle organizer
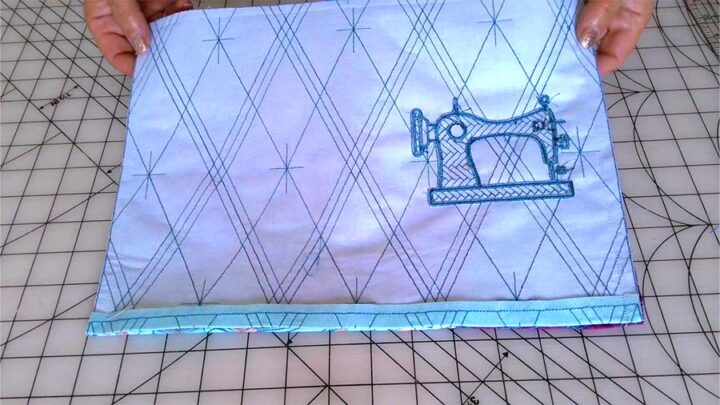
The next step is to sew together the quilted cover and the interior fabric. I use quilting cotton for this and put some embroidery on it too to make it beautiful. Stabilize the interior fabric with fusible interfacing or embroidery stabilizer if you want to add some machine embroidery to it.
Before stitching them together, fold the seam allowances on one long side of each piece ⅜ inch and press. Pin these two pieces right sides together and stitch along 3 sides leaving one side (with folded seam allowances) not stitched for turning the cover right side out. Don’t forget to backstitch at the beginning and at the end to secure the seam so it doesn’t unravel when you turn the cover right side out.
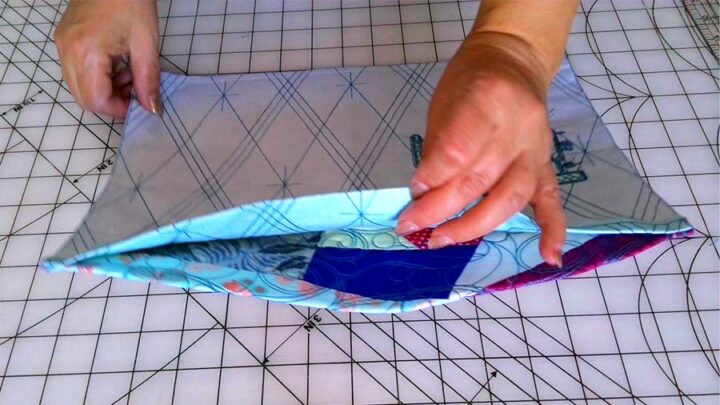
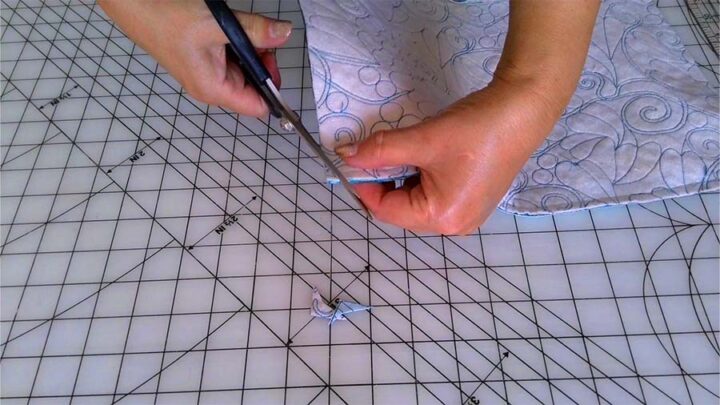
Trim 2 corners close to stitching to reduce bulk when you turn the cover right side out. Be careful so you don’t cut the stitching.
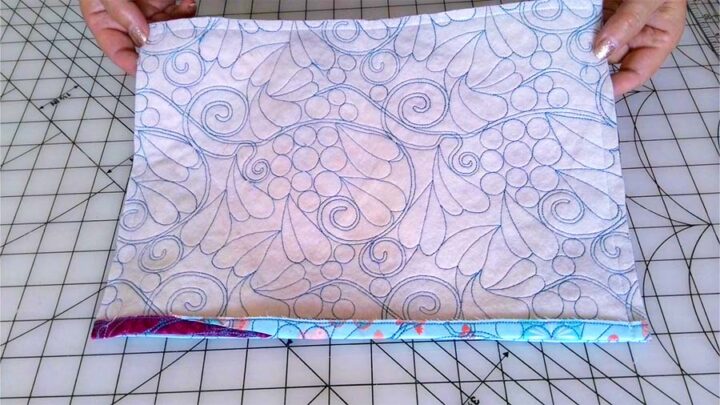
Turn the needle book cover right side out, taking care of corners. Use something like a chopstick to poke the corners.
Press flat, and sew the opening on one side by hand. I have a tutorial on how to sew an invisible stitch so check it out if you are not sure how to do it.
Be very careful when pressing because if you used different types of fabric that might require different iron temperatures. Use a pressing cloth!
✅ Related tutorial: Pressing tools for sewing
You can also topstitch around the edges of the needle book cover. I didn’t do it because I thought that pressing was enough for the book to look good. But if you decide to topstitch make sure you are sewing straight. I have a detailed tutorial on how to sew straight, so check it out.
#3. Make “pages” in the handmade needlebook
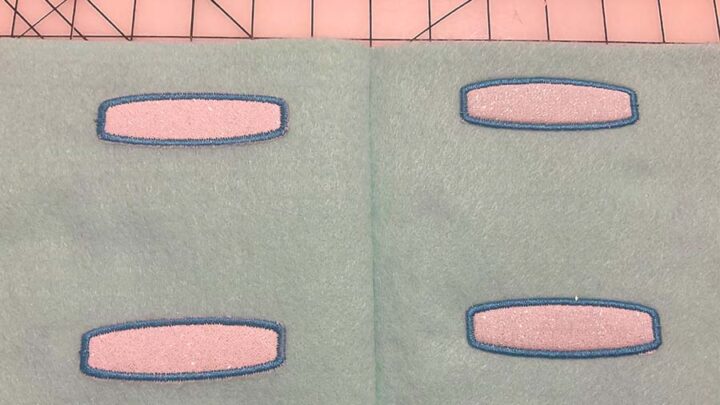
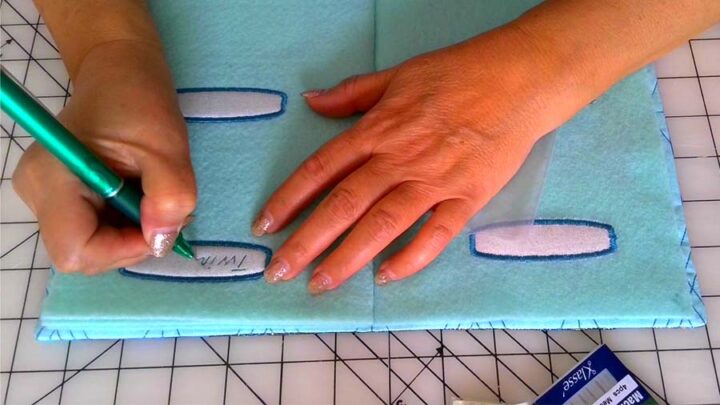
Prepare tags/labels on felt pieces. I just used small pieces of white cotton for the tags. I attached them like regular appliques using zigzag stitches on my sewing machine. I know that the needles have the type embossed on them, they are often color-coded, etc. But my sight is not what it was when I was 20 and besides, it’s not always easy to read the markings anyway. So I made tags.
I used 2 rectangular felt pieces for the needle book but 3 can be used too, and you will get 4 or 6 pages for the book. From my experience using more than 3 felt pieces will result in a book that is too bulky and difficult to carry and close, so I recommend a limit of 3 sheets.
Fold them in half and mark the center line. Mark also the center line on the quilted cover. Pin the felt pages in place and make a stitch in the middle to form needle book pages. Use triple straight stitch or sew the regular straight stitch twice to make sure the pages are really secure and will not get undone while you are using the needle book.
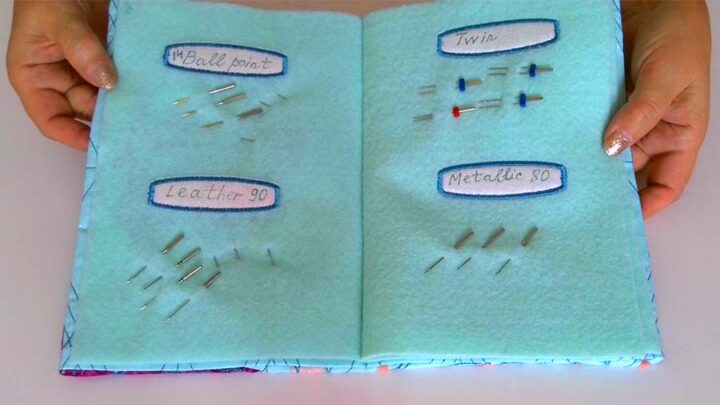
Next, I used a Frixion pen to write the types of sewing machine needles. It’s perfect for this task because if I make a mistake or want to rearrange the needles I can press the tags with a hot iron and the writing will disappear.
Now I can finally organize my needles! There are so many types of needles I use with my sewing machine.
✅ Related tutorial: How To Choose The Right Sewing Machine Needle For Your Project
Why don’t I throw away the needles I use? Well, if I use a universal needle for the whole project I do throw it away. But if I use for example a topstitching needle for only one seam of the project I am not going to throw away the needle I used only once, I want to keep it for other projects as well.
Or I used a twin needle to sew a hem – the needle can be used many more times for hemming other items and I need to keep the needle, right?
✅ Related tutorial: Twin needle sewing machine – everything you need to know about sewing with a twin neelde
That’s how I kept my needles before and without a sewing machine needle organizer, it was a real mess.
And now the needles are perfectly organized!
What do you think about this project? You can use all those scrap pieces that you have around in your sewing room to create this beautiful handmade needle book. It’s a great way for improving your sewing skills and experimenting with quilting!
So, I would love to see your finished projects. I’m so excited when my readers create something truly one-of-a-kind using my tutorials. And it would be great if you share this project on Facebook or Pinterest.
Did you find this tutorial helpful? If so, save this pin (see below) on your sewing board so you can come to this tutorial later when you need to make a needle book, and follow me on Pinterest for more tips, tutorials, and inspiration!
——————————
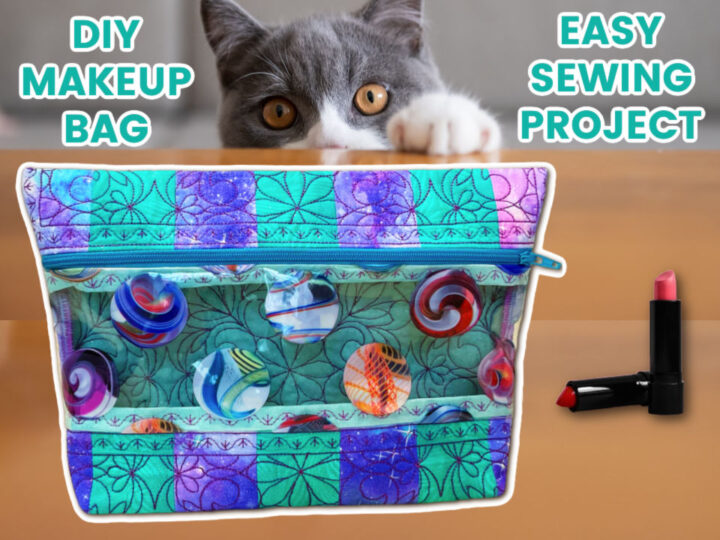
If you liked this tutorial on sewing a needle book you will certainly like the other scrap project I recently made – DIY Makeup Bag | Easy Project with Step-by-step Instructions.
So here is my YouTube video. Check this out if you like to see a helpful video on a needle book DIY (instead of reading).

Frequently Asked Questions (FAQ)
A needle book is a sewing needle organizer. They come in all shapes and sizes but are typically small and compact enough to fit in your sewing kit. The basic idea is that they hold your needles in one place so you can find them when you need them. 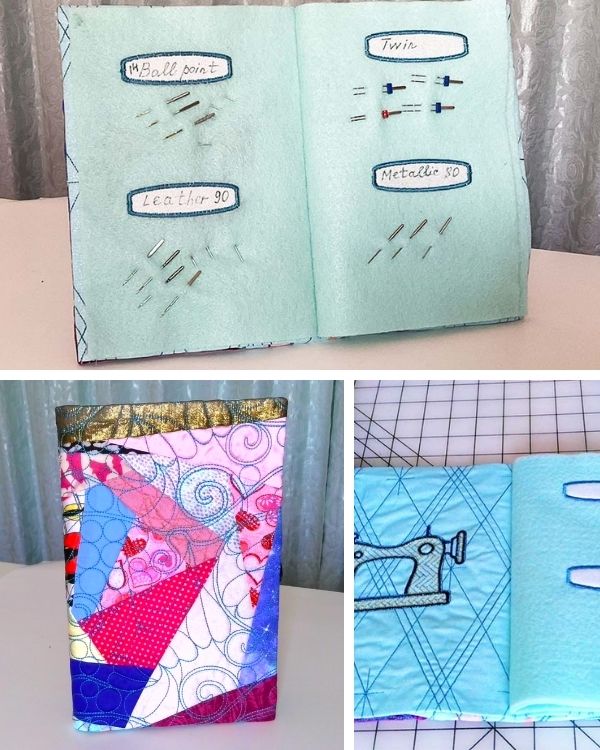
For the cover of your needle book, any fabric you like will work just fine. I usually use quilting cotton stabilized with thin batting. For the pages, I recommend using felt fabric. Felt is sturdy, doesn’t fray, and will be able to withstand lots of use. You can find felt fabric at most craft stores.
Use your needle book to organize your needles. You can put each type of needle in its own place, and then when you need a particular type of needle, you can easily find it. The great thing about using a needle book is that you can take it with you wherever you go.
There are different ways to organize a needle book. One way is to have a few pages for different types of needles – one page for tapestry needles, one page for darning needles, etc. Another way is to organize the needles by size. A third way is to organize the needles by the type of fabric they are used for.
A needle book is a great way to organize and store your sewing needles. You can put different types of hand sewing needles and sewing machine needles in it, as well as other small tools like pins and threaders.
latest posts
- Corset Pressing Board for Sewing: What It Does and How I Use It
- 7 Essential Tools and Settings for Sewing Denim on a Regular Sewing Machine
- That Purple Thang: 10 Smart Ways to Use This Weird Little Tool
- 20+ Reasons Your Sewing Machine Thread Keeps Breaking (+ Solutions)
- Dresden Plate Quilt Block: 4th of July Fireworks
- How To Sew Curves the Easy Way Using a Curve Master Presser Foot
- 30 Sewing Hacks That Turn Ordinary Items into Useful Sewing Tools
- Seam Allowances in Sewing Patterns: What They Are and How to Use Them
- What Do You Call a Person Who Sews? I Asked My Readers and Got 1,408 Opinions