
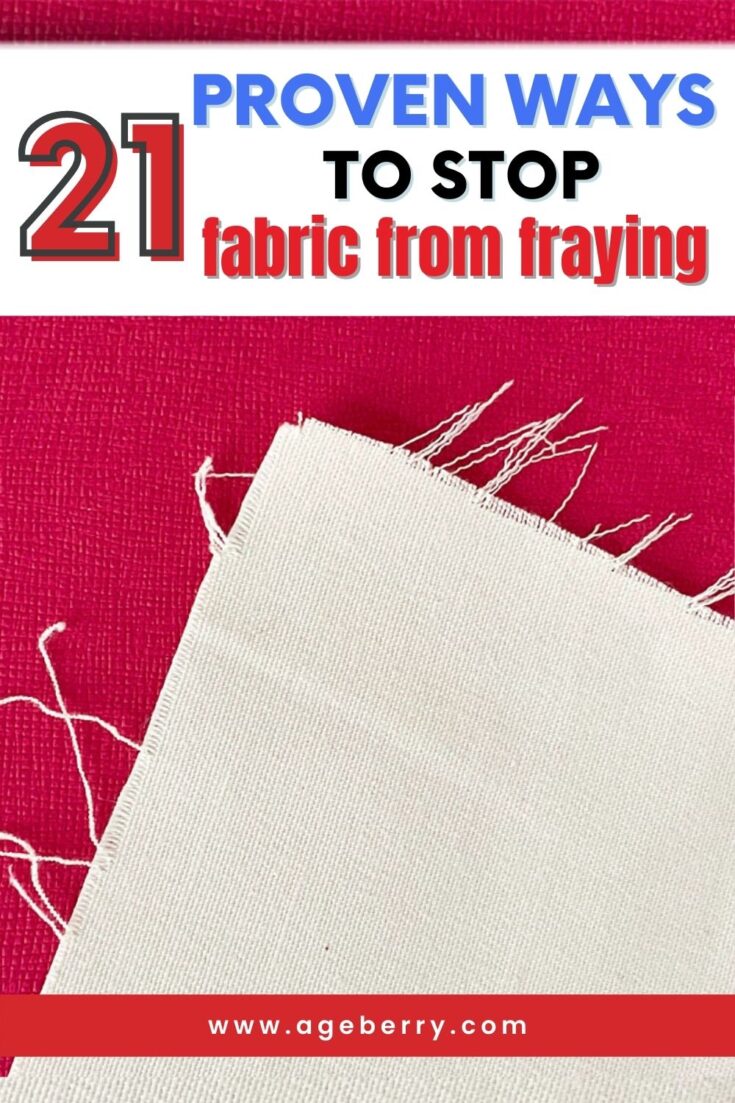
How to Stop Fabric from Fraying: 21 Reliable Techniques to Try Today
Did you have a sewing project that was driving you crazy because the fabric keeps fraying? Well, it’s really frustrating to work on your project only to have the fabric fray and create a mess.
But there is a solution! In this tutorial, I’m going to share some methods for how to stop the fabric from unsightly fraying.
What Is Fraying…and Why It’s A Problem
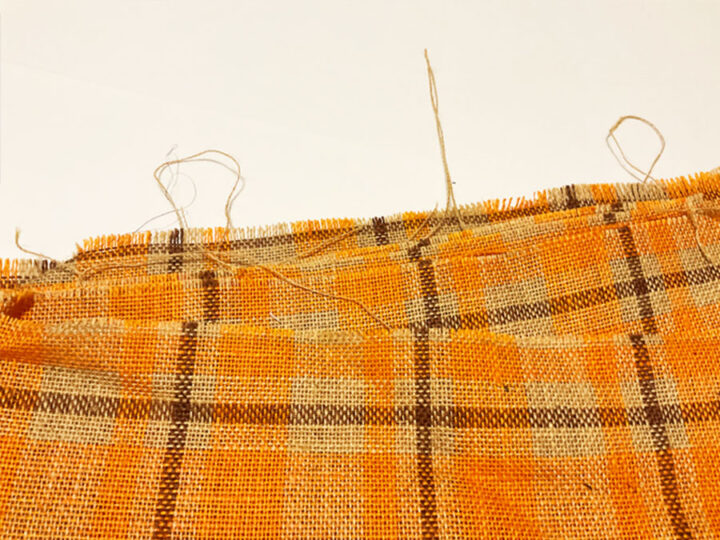
Fraying is when the material’s threads loosen and unravel from the rest of the fabric. This happens with all woven materials, and you’ll notice it along cut edges.
Fabric fraying can be a big challenge for sewists.
Fraying is a problem because it can:
- Ruin your fabric
- Make sewing your project more difficult as you contend with loose threads
- Give your finished product an amateur-looking finish.
Since no sewist wants any of those outcomes, keeping fraying to a bare minimum while working with fabric is essential. That extra step will help ensure your product washes better, has a better finish, and lasts longer. By taking the time to prevent fabric fraying, you can ensure that your sewing projects turn out looking neat and professional.
Which Fabrics Fray More
Different fabrics will fray at various rates depending on factors such as the tightness of the material’s weave, age of the material, and how much use (or manipulation) the fabric receives.
Generally, fabrics that fray are those with a loose weave. The tighter the fabric is weaved, the less likely it is to fray. Fabrics that fray also tend to be older; as fabric ages, its fibers become weaker and more susceptible to damage. Finally, fabrics that receive a lot of wear and tear are more likely to fray than those that are used less frequently. This is because the fabric is constantly being manipulated, which can cause the fibers to loosen and come apart. Ultimately, any fabric can fray if it’s not cared for properly or if it’s subject to a lot of wear and tear. However, some fabrics are more prone to fraying than others.
With that in mind, certain fabrics are more prone to fraying than others.
This is especially a problem when working with sheer and lightweight materials, but it can also be problematic with loose-weave fabrics such as burlap, and particular canvas and linens. More tightly woven materials won’t fray as quickly, but you’ll still have to contend with at least a few threads that pull loose.
However, this isn’t a problem when working with knits and other non-woven fabrics because they don’t fray!
In general, if you are a beginner sewists you want to avoid fabric that is susceptible to fraying because it will make your sewing project more difficult. Choose a fabric that is less likely to fray so you can focus on the other aspects of your project.
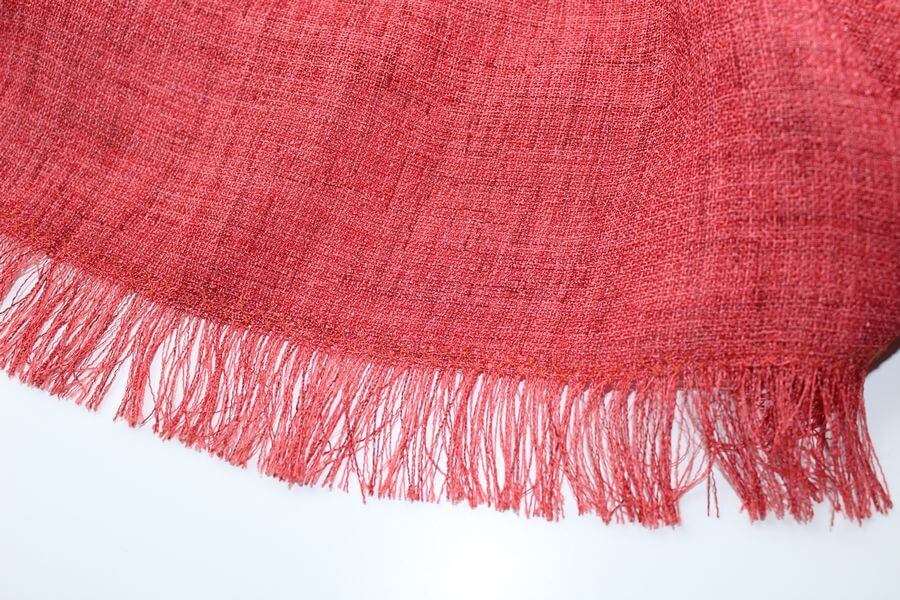
Fraying Fabric Intentionally
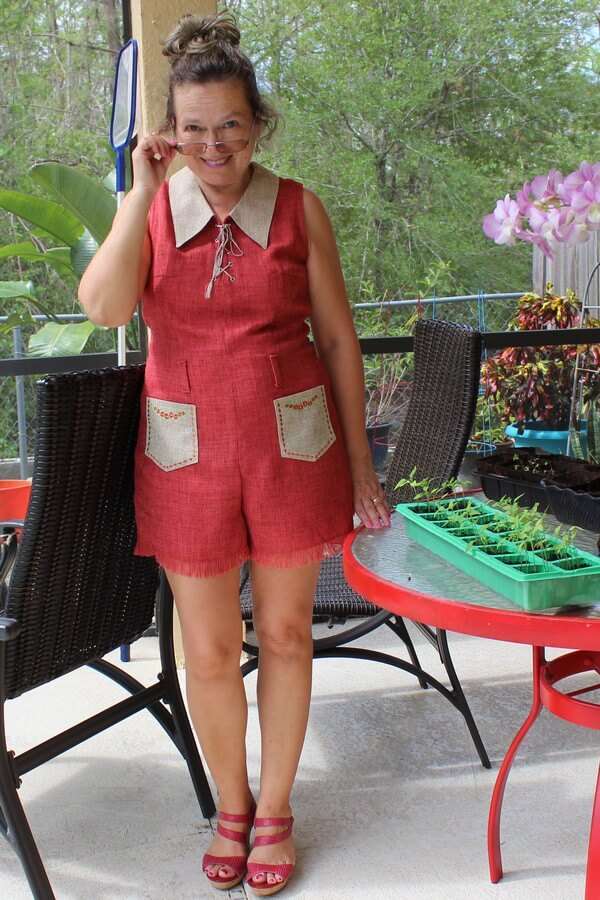
Most of the time, you’ll be putting your energy into preventing as much fraying as possible. There are a few occasions, however, when you want your fabric to fray. A classic example is cut-off jeans, where the frayed raw edges give a decorative look.
If you’re looking to fray your fabric on purpose, there are a few things you can do to encourage fraying. For example, select a fabric that is lightweight and delicate. Something with a tight weave will be more difficult to fray.
You can wash the fabric to soften it and remove any finishes that might prevent fraying. Or use sandpaper or a wire brush to rough up the edges of the fabric. This will help to loosen the fibers and create a more ragged edge.
You will need to pull on the threads along the cut edges to loosen the fibers and create the desired amount of fraying. With a little bit of effort, you can easily achieve the perfect frayed edge. But be patient! It can take some time for the fraying to really get started, but if you’re patient and let the fabric do its thing, you’ll be rewarded with beautiful, delicate frayed edges.
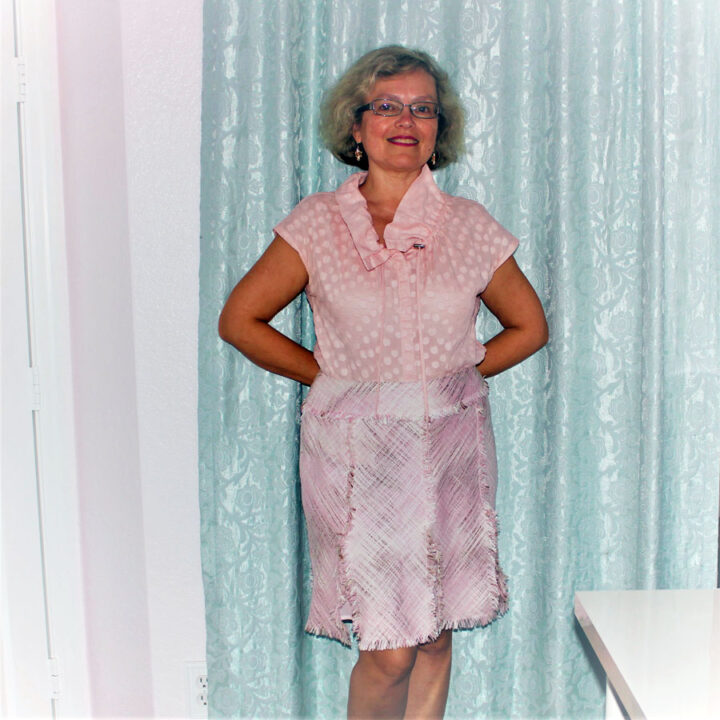
Fraying fabric intentionally can add a beautiful decorative effect to any number of projects. For example, fraying the edges of a skirt can give it a lovely, feminine look.
Or, leaving the hem edges frayed can create a beautiful, shabby chic look.
But even when you want certain edges to fray, you probably don’t want them all to do so. It’s all about strategic placement to achieve the look you want.
Thankfully, there are plenty of easy methods to contain those cut edges and prevent fraying. Let’s explore them.
How To Keep Fabric From Fraying
You can “prevent the fray” with several different techniques. The one you use will depend on the fabric you’re working with and the function of the sewing project.
I’m sharing the various options here and dividing them into three basic categories:
- Using a serger/overlock
- Making overcasting without a serger
- Creating no-sew finishes
A sewn finish (either with a serger or sewing machine) uses thread to finish the edge of the fabric and prevent unraveling threads. This method is best for fabrics that will be washed or used frequently, but it’s not ideal for sheer materials because it might add bulk or could look unsightly.
1. Overcasting With A Serger To Stop Fraying
Finishing fabric edges is precisely the purpose of a serger, and it’s so effective that all commercially-made clothing items have overcast edges produced by commercial sergers.
Available for home sewists, too, this machine uses 3-5 threads to sew a cast over the edges and has a built-in cutter to trim them as you sew, leaving you with clean, contained, and professional-looking edges.
To learn more about sergers and how to use them, please check out What Is A Serger & What Can I Do With It?
There are different types of overcasting stitches on sergers. Here are the most popular options.
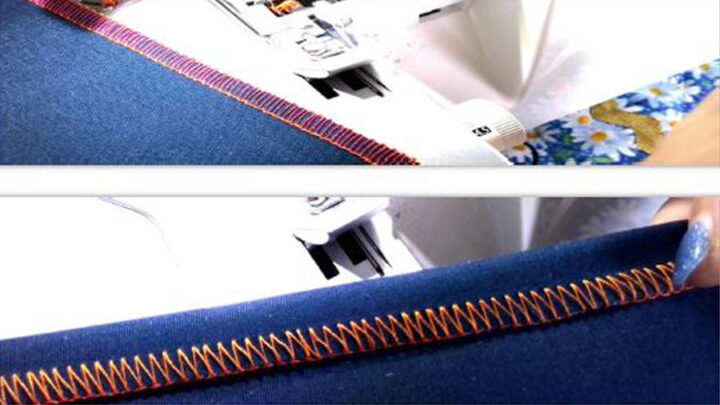
1-needle 3-thread overlock stitch
3-thread overlock has one needle thread combined with 2 lopper threads. This type is used mostly for edge finishing. Can be used with the left needle – then the stitch is wider, or with the right needle – then the stitch is narrower. You can see there is only one line of straight stitches.
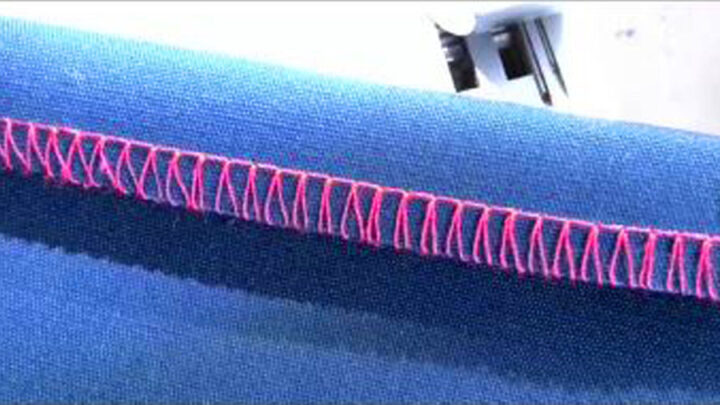
3-thread super-stretch overlock
This stitch is not available on all models. This stitch is using 2 needles and only 1 looper – the lower looper. The upper looper has to be disengaged. The upper looper thread is not fed – this way we even reduce thread consumption because there is only 1 looper thread – the lower looper thread – but the stitch is looking quite nice.
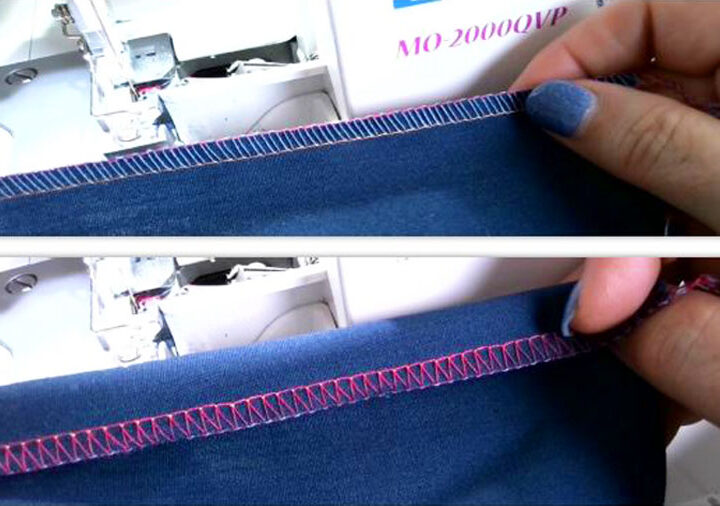
2-thread wrapped overlock
The 2-thread wrapped overlock stitch has one needle thread (left or right) and one looper thread – a lower looper thread. The upper looper has to be disengaged. The stitch is similar to the 3-thread overlock stitch. You can see why it’s called wrapped stitch – the looper thread wraps the fabric edge on both sides.
Looks nice and you only need 2 threads to make it. You can finish raw fabric edges easily if your serger has this type of stitch.
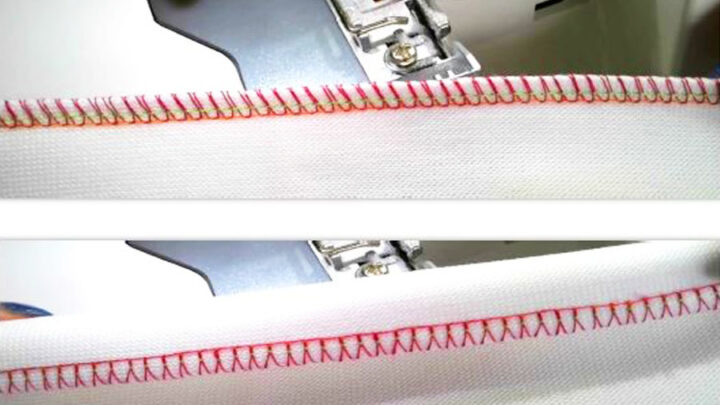
2-thread overlock
The 2-thread overlock stitch has one needle thread (left or right) and one looper thread – lower looper thread also. The upper looper has to be disengaged. This stitch is also great for finishing raw fabric edges but it looks completely different from 2 thread wrapped overlock.
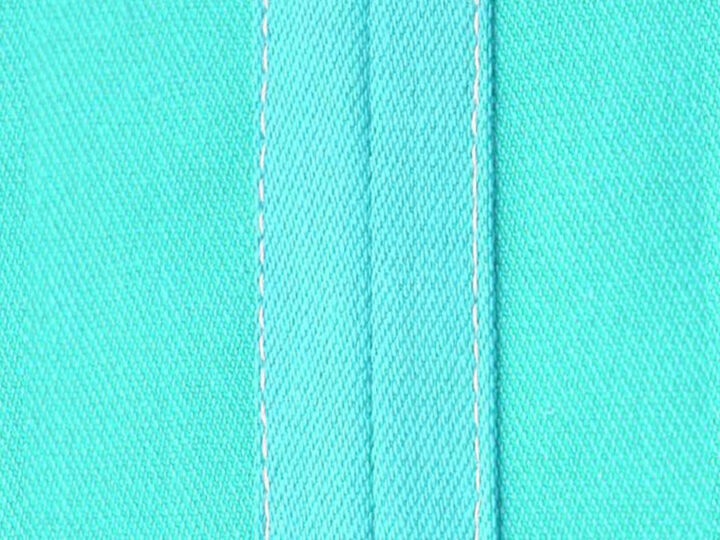
The needle thread forms a line of stitching on the top side of the fabric. On the underside, the needle thread extends to the fabric edge.
Do you want to buy a serger but don’t know what serger is best for your sewing needs? My article Best serger for beginners: Serger buying guide will help guide you through all of the things that make a good machine. I cover everything from top brands, features, price points, and more!
How To Stop Fabric From Fraying Without A Serger
If you don’t have a serger, you can use your home sewing machine to contain those edges! Here are a few different options for doing that.
2. Overcasting By Sewing Machine Using Special Overcasting Feet And Overcasting Stitches
You can use a sewing machine to create stitching that functions similarly to those produced by sergers. Note: you’ll likely need to use special feet, like overcast presser feet, to achieve the desired goal.
In the image below you can see one example of overcast presser feet.
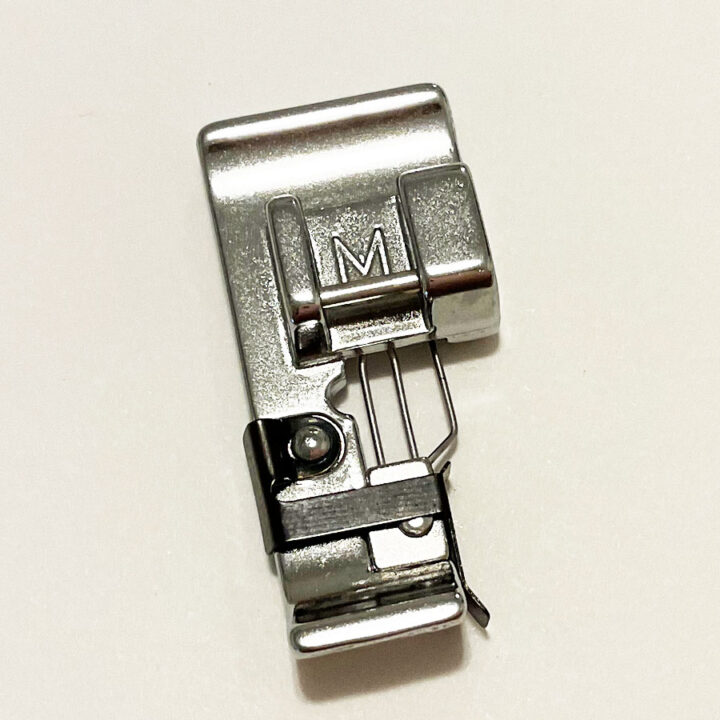
This snap-on overcast presser foot works with most low-shank sewing machines, making it a versatile and handy tool for any sewer. To use, simply snap on the overcast presser foot and set your machine to the overcast stitch.
Then, sew along the raw edge of your fabric. The overcast stitch will neatly finish the edge of your fabric, preventing fraying and giving your projects a finished look.
This presser foot is very easy to use, even for beginners. So if you’re looking for a quick and easy way to finish your fabric edges, an overcast presser foot is the perfect solution.
You can read my detailed tutorial on how to use overcast presser feet and I also have a helpful YouTube video.
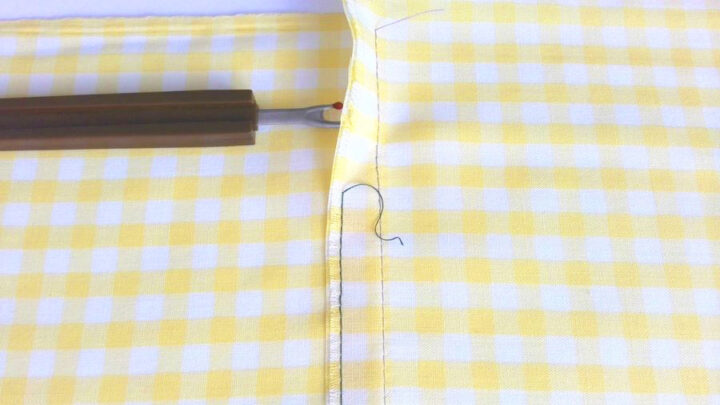
This method is a bit less effective than using a serger. The main difference between the two techniques is that your regular sewing machine won’t trim the raw edge as you sew. Just trim the edge with a pair of sharp scissors or a rotary cutter, and you’ll be good.
To learn more about the differences between the machines, please check out Serger vs. Sewing Machine.
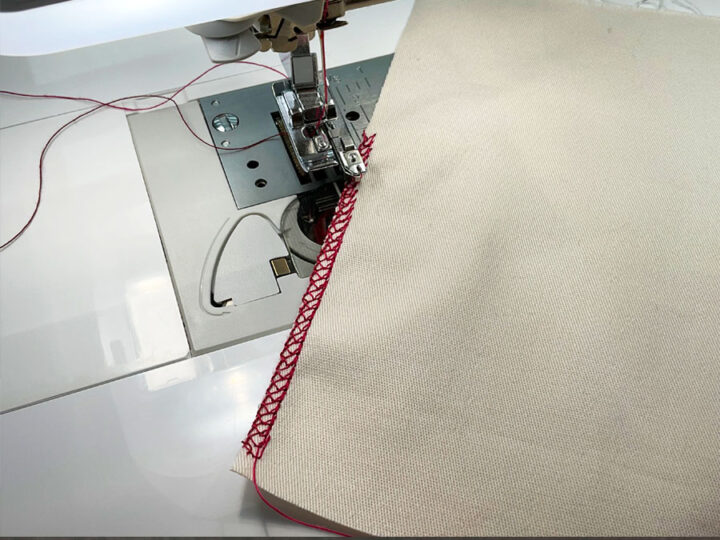
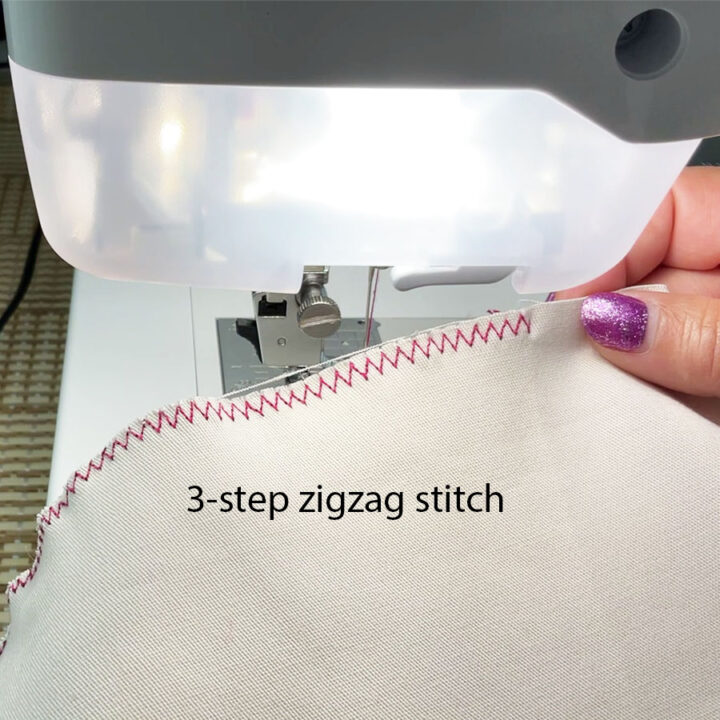
3. Overcasting By Sewing Machine Using A Zigzag Stitch
The zigzag stitch is another way to finish raw edges and prevent the fabric from fraying. To use this method, simply set your sewing machine to a zigzag stitch and sew along the edge of the fabric. Then, trim away any excess fabric. The zigzags will help to secure the fabric and prevent it from fraying. But trimming the fabric can be problematic sometimes and you might need a lot of patience to do it.
However, it’s important to note that overcasting with a zigzag stitch is not as strong as using a serger or an overlock stitch. As a result, it’s best to use this method on fabrics that are not likely to fray too badly.
The zigzag stitch works best with medium-weight fabrics (like quilting cotton for example) and will help stop fraying.
By the way, there are a few types of zigzag stitches. The most used is a regular zigzag but you can also use the so-called 3-step zigzag stitch.
4. Overcasting By Hand (Overcasting Stitches By Hand)
You can stop the fabric from fraying by sewing overcasting stitches by hand. This technique involves sewing around the edge of the fabric to create a finished look and prevent fraying.
There are a few different stitches that can be used for overcasting, so you can experiment to see which one gives you the best results. One popular stitch is the whipstitch, which is relatively easy to do and gives a nice, even finish.
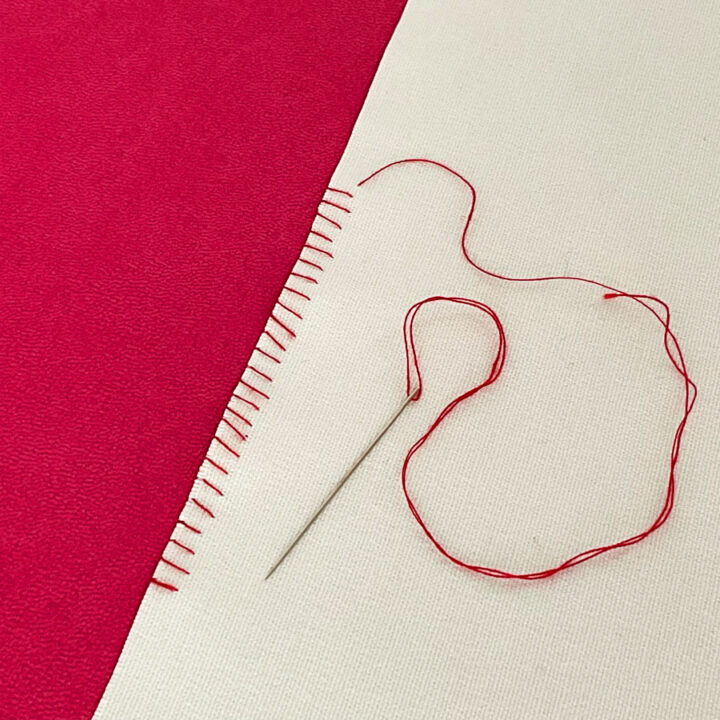
Another option is a blanket stitch, which creates an edging that can also help to prevent fraying. I like this stitch more than whipstitch if I am doing overcasting by hand.
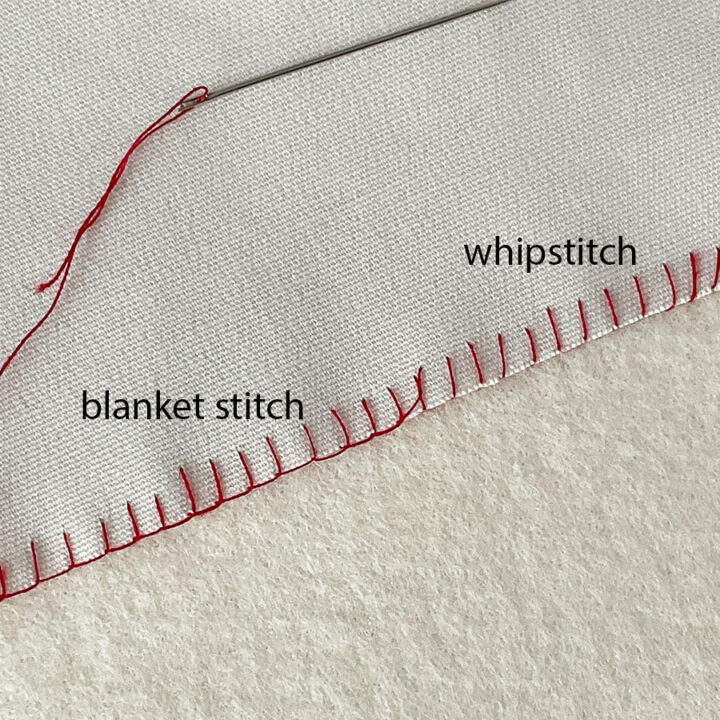
Whichever stitch you choose, overcasting by hand is a good way to finish off your fabric and keep it looking its best.
But this method can be time-consuming, so I prefer to reserve it for small jobs, or when I’m working with thick fabrics that won’t feed well through my machine. In addition, it can be used on delicate fabrics that could be damaged by a sewing machine.
If you are interested in overcasting by hand, there are a few things to keep in mind. First, use a high-quality, smooth mercerized thread that doesn’t tangle. Second, work with a single strand of thread. And finally, take your time and be careful to make even parallel stitches.
For this method, you can use your sewing machine to sew a straight stitch down the seam allowance. Then, take your needle and hand-sew even-spaced stitches along the edge of the fabric.
5. Bound Edges With Bias Tape To Prevent Fraying
Bias tape is a great option for finishing raw edges and preventing fraying on a variety of projects, from quilts to costumes. Bias tape can be wrapped around the edges of the fabric to create a finished edge that won’t fray.
Bias tape is a strip of fabric that’s cut on the bias, meaning it’s cut at a 45-degree angle to the grain of the fabric. This makes it more pliable and gives it a bit more stretch. It also means that it can be tricky to work with if you’re not familiar with how to handle fabric on the bias.
The biggest advantage of bias tape is that it creates clean, finished edges with very little effort. Simply attach the bias tape to the raw edge and topstitch in place. It’s also great for accenting other fabrics or adding a pop of color to a project.
Bias tapes are available in a wide range of colors and patterns, so it’s easy to find an option that coordinates with your project.
The downside is that because it’s cut on the bias, it can be a bit trickier to work with. It can also be a little bulky, so it’s not ideal for every material or project.
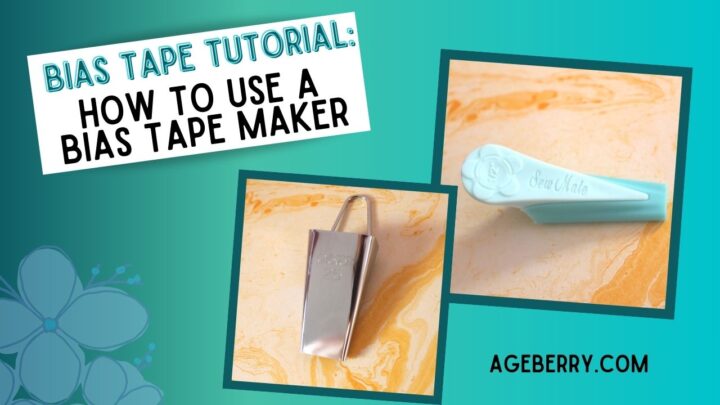
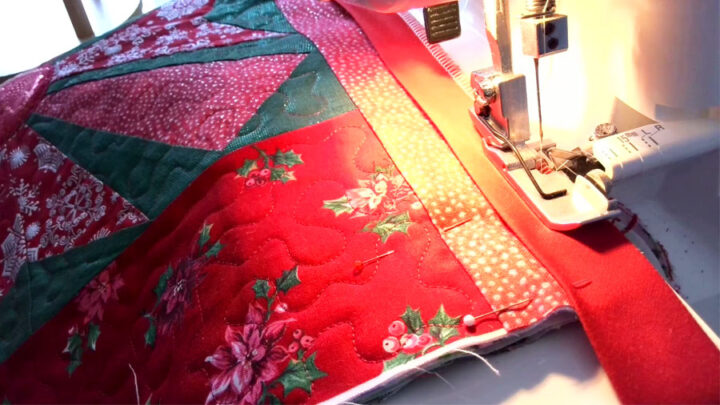
Bias tape is commonly used to finish raw edges on quilts, as it has a nice, clean appearance and can be easily sewn in place. You can buy ready-made bias tapes for your quilts and there are several ways to make your own bias tape.
The most common method is to use a bias tape maker. This tool essentially folds the fabric for you, so all you have to do is sew it in place. You can read more about it in my tutorial on How to use a bias tape maker.
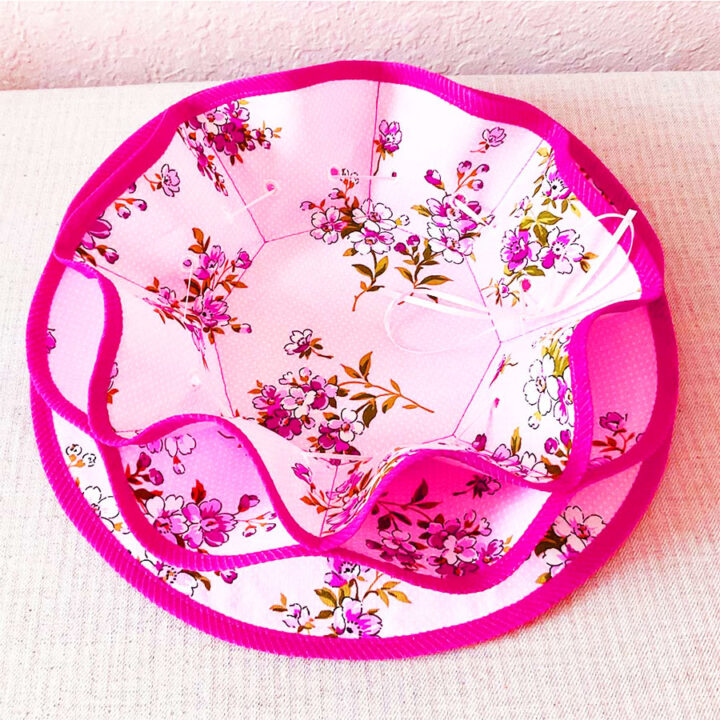
If you’re interested in learning more about bias tape and how to use it, I have several tutorials on my website where I show how to finish a quilt with bias tape. For example, this DIY fabric bowl for Easter was finished with bias tape.
If you’re binding a quilt with bias tape, one big issue you might run into is properly finishing the corners of the quilt. It can be tricky to get them to lay flat and look neat, but in my video tutorial, I show how to do it correctly.
I like to bind quilts by serger, and I think it gives the best results. However, you can also bind them by hand or sewing machine. If you’re binding by machine, you’ll want to use a walking foot to make sure the fabric feeds through evenly. And if you’re binding by hand, take your time and make sure the stitches are small and even.
And if you are interested in how to cut fabric on the bias I have a detailed tutorial on this too.
6. Using French Seams To Prevent Fraying
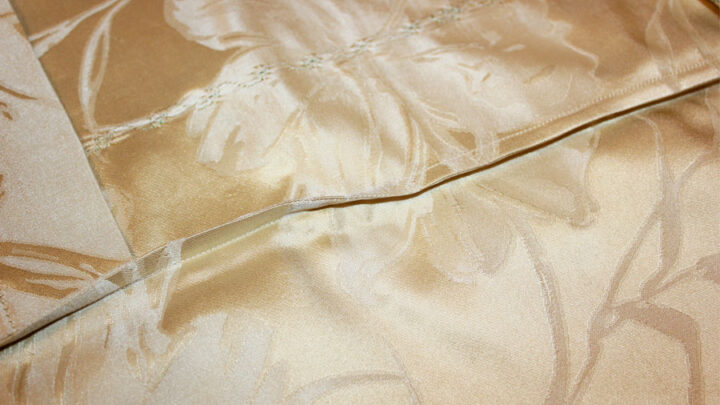
French seams provide a beautiful, clean finish on any fabric – but they’re particularly well-suited for delicate fabrics such as organza and chiffon. However, they can also be used on many different types of lightweight and medium-weight fabrics.
French seams are easy to sew, and they’re a great way to enclose raw edges and prevent fraying. French seams are strong and durable, and they’ll give your project a professional finish.
Get more information and learn how to make French seams by reading How To Sew A French Seam.
7. Using Flat-Felled Seams To Stap Fraying
The name for this technique makes it sound way more formal and complex than it is. These seams are strong, making them perfect for denim, bedding, shirts, skirts, and clothes that will be used and washed often. Plus, they’re decorative enough to work well with lightweight silk fabrics.
To learn more about this way to stop the fabric from fraying, please check out my tutorial How To Sew A Flat Felled Seam On Silk Fabric.
8. Using Welt Seams To Finish Raw Fabric Edges
I’ll admit that I don’t use this type of seam often, but it’s beneficial to prevent fraying edges on the material – especially heavier fabric! Also called a “mock flat felled seam,” this is a type of open seam (not enclosed) that’s easy to sew and produces a strong, less bulky seam.
You’ll start with a basic seam. Then, take both seam allowances and press them to the same side before stitching all three layers together.
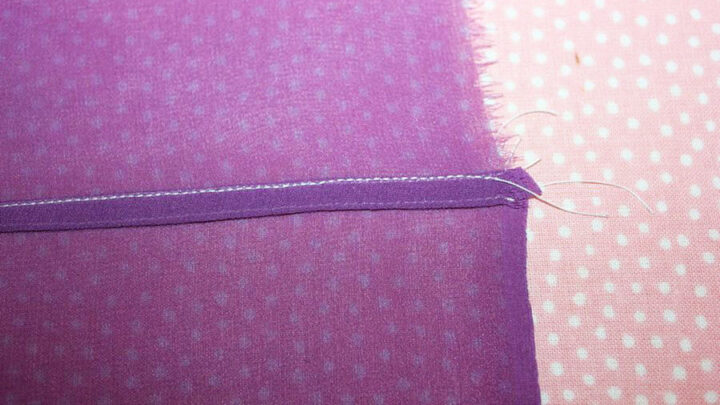
9. Using Clean Finish Seams
Clean finish seams are a good way to prevent fabric fraying. Clean Finish Seams is a special type of seam that is sewn so that the raw edges of the fabric are not visible. This type of seam is very strong and can withstand a lot of wear and tear.
When sewing Clean Finish seams, be sure to use a strong thread that is the same color as the fabric. This will help to camouflage the seam and make it less noticeable.
This classic method of finishing a seam is easy with a regular sewing machine. It will probably take slightly longer than some other methods but leaves a clean, professional-looking finish. And it’s a great alternative to using a serger, an overcasting stitch, or a zig-zag stitch.
Sew a basic seam and press it open. Then, fold the edge of each seam allowance under and press again. Finish by sewing a straight stitch down each side of the seam.
10. Making Seams Allowances Wider
When you are cutting fabric for a sewing project, you’ll want to make sure to leave a little extra room for seam allowance in case your fabric frays. It can be a real problem if you don’t have enough seam allowance to work with.
The last thing you want is to end up with a bunch of loose threads or holes in your fabric! So when in doubt, make wider seam allowances, for example, not ¼ “ but ⅝ “. That way, even if your fabric does start to fray, you’ll still have plenty of material to work with.
How To Stop Fabric From Fraying Without Sewing
Here are a few no-sew ways to stop the fabric from fraying. These techniques are great for delicate fabric that’s hard to sew a neat seam on, and they can also be beneficial for beginners.
The one caveat is that I wouldn’t necessarily recommend using these options for items that will get heavy use or experience a lot of friction and movement because the fabric will probably still fray under those stresses.
Note: Some of the links on this page are affiliate links. This means I will receive a commission if you order a product through one of my links. I only recommend products I believe in and use myself.
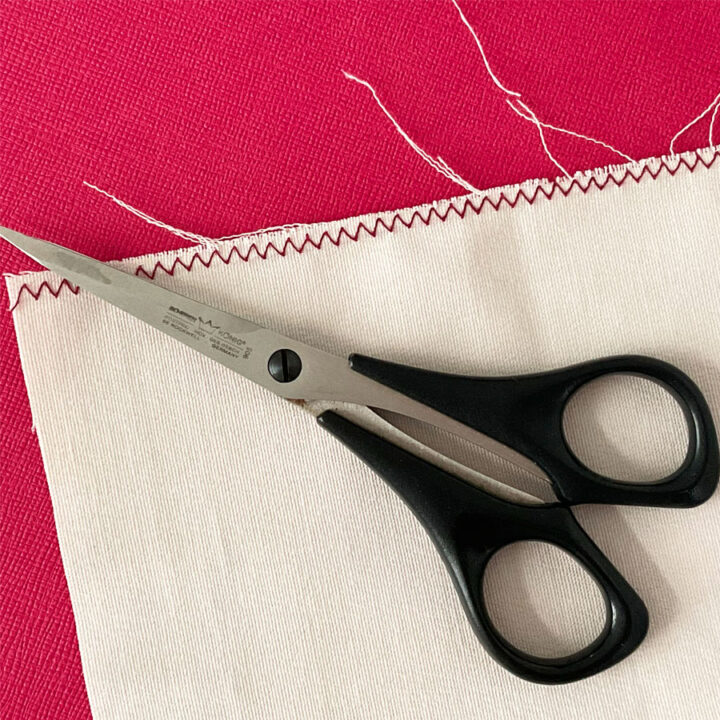
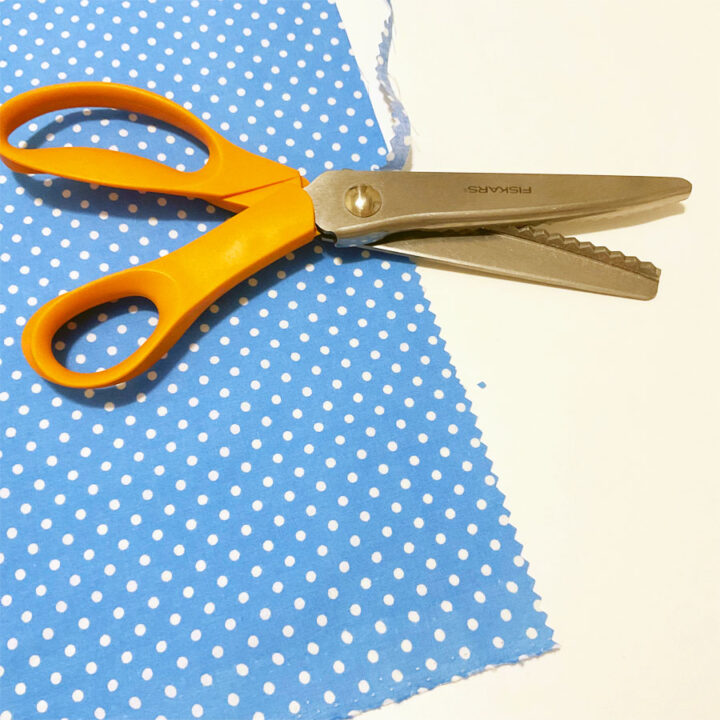
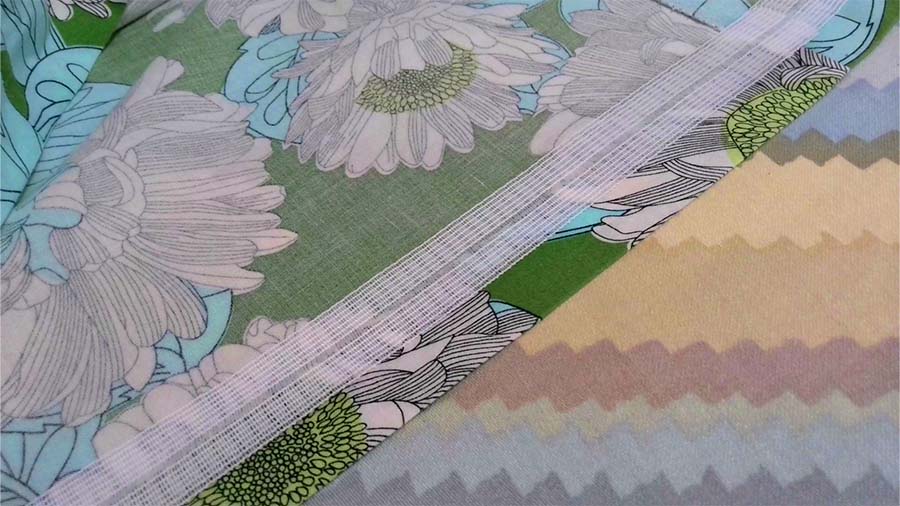
11. Pinking Shears
Pinking shears are a must-have tool for every sewist because their applications are broad. These scissors have oddly shaped blades that might remind you of zig-zag patterned scissors that kids use for arts and crafts.
These special shears create a serrated edge to help reduce or stop fraying. This works best for cotton and other tightly-woven fabrics but is not fit for high-sheen satins, some chiffon fabrics, or materials with lots of texture.
And since it only reduces the likelihood of (but doesn’t entirely prevent) fraying, I recommend using pinking shears for one-time or extremely light-use items that probably won’t get washed in a washing machine. Though this technique leaves a clean and crisp zig-zag edge, it won’t withstand much wear and tear.
Why do pinking shears work? The gradual size differences of threads in the V-shape essentially block one another and keep them all from unraveling.
To use them this way, cut along the fabric edge with your shears, staying close to the actual edge (but avoiding the already unraveling threads). The new edge should be crisp and smooth.
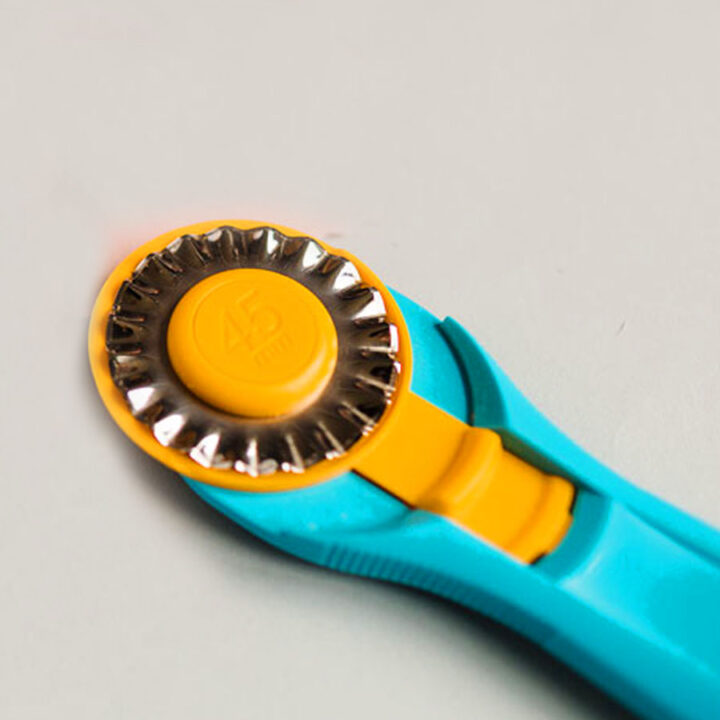
You can also use a pinking rotary cutter with a wavy blade attachment to cut your fabric. These wavy blades will also prevent the fraying of the fabric.
12. Using Fusible Interfacing
Fusible interfacing is another way to stop fraying. All you need is some interfacing and iron, and you’re good to go! Just fuse the interfacing to the fabric using your iron, and it will create a barrier against fraying.
Interfacing is available in different weights and thicknesses, so you can choose the right interfacing for your project. Fusible interfacing has an adhesive on one side that allows you to attach it to your fabric.
But this method can be time-consuming and requires some experience to use correctly. If you don’t know how to use interfacing correctly, you could ruin your project or your iron.
For more detailed information and instructions, check out How To Use Fusible Interfacing.
Fabric sealants
Fabric sealants are available in both spray and liquid forms. They work by creating a barrier that prevents the fabric from fraying. Sealants can be applied before or after sewing, and they’re typically transparent, so they won’t affect the appearance of your project.
However, always test your sealant on scrap fabric.
13. Fray Check
Dritz Fray Check is the most popular liquid sealant for seam allowances. It’s a good product to use to protect those fabric edges as you sew, but there are a few things to know about it:
- It may not be available everywhere. If you can’t find it in your local store, you can buy it on Amazon.
- Fray Check can take a while to dry, which can slow down your sewing progress.
- If you don’t completely seal up the bottle, you may find that the liquid dries inside the bottle and becomes unusable.
It can be used on all types of fabrics including cotton, polyester, linen, and silk. Fray Check works by sealing the fabric’s fibers together so they can’t fray or come apart. You only need a small amount. Fray check will wash out most fabrics with water and detergent but may be permanent on some synthetic fabrics.
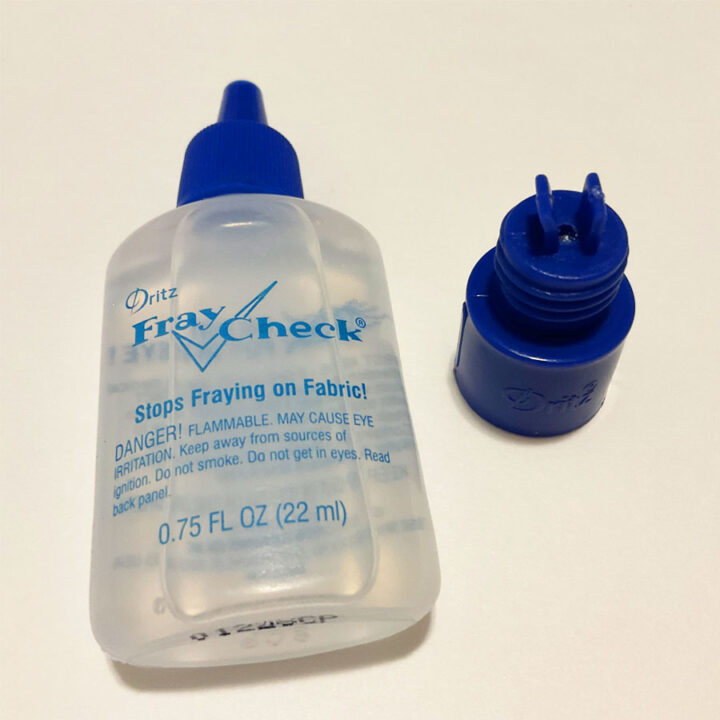
Fray Check is flexible, so it won’t interfere with the movement of your fabric. Best of all, it’s invisible, so it won’t show through on light-colored fabrics.
Fray Check is helpful when sewing bulkier fabrics, though. To use it, just apply a small amount to your freshly-cut fabric edges to seal the threads. Allow ample time for drying before handling the material.
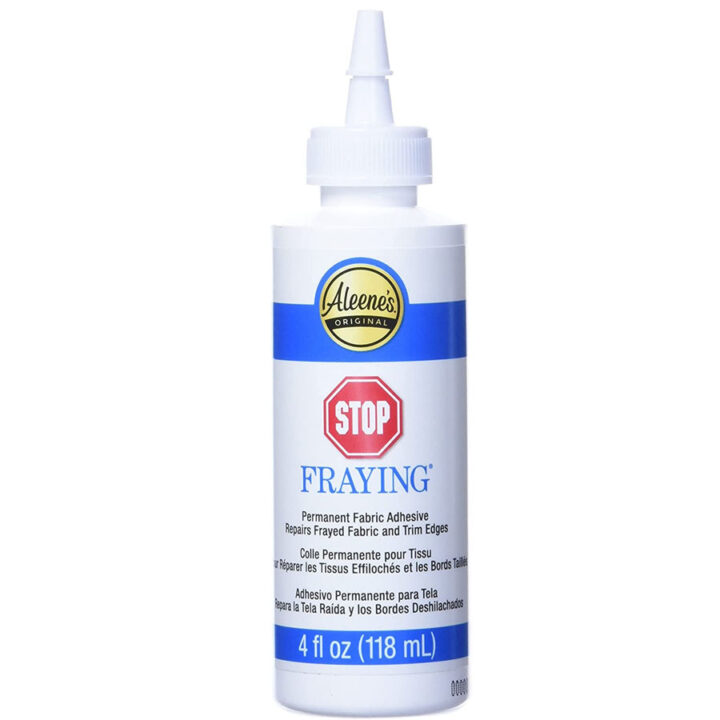
14. Stop Fraying Fabric Sealer
Aleene’s Stop Fraying is another liquid fabric adhesive that seals material edges and stops fraying. It’s the glue that dries flexible and soft and can last for several fabric washings. If you need a quick fix for fraying edges, this non-toxic product is easy to use but can take a while to dry completely.
15. Fray Block By June Tailor
There are several different brands of fabric sealants and this Fray Block is a very popular choice that you can use to seal the raw edges of your cut fabric. You would use it similarly to Fray Check or Stop Fraying by covering the raw edges with this sealant and letting them dry before continuing the project.
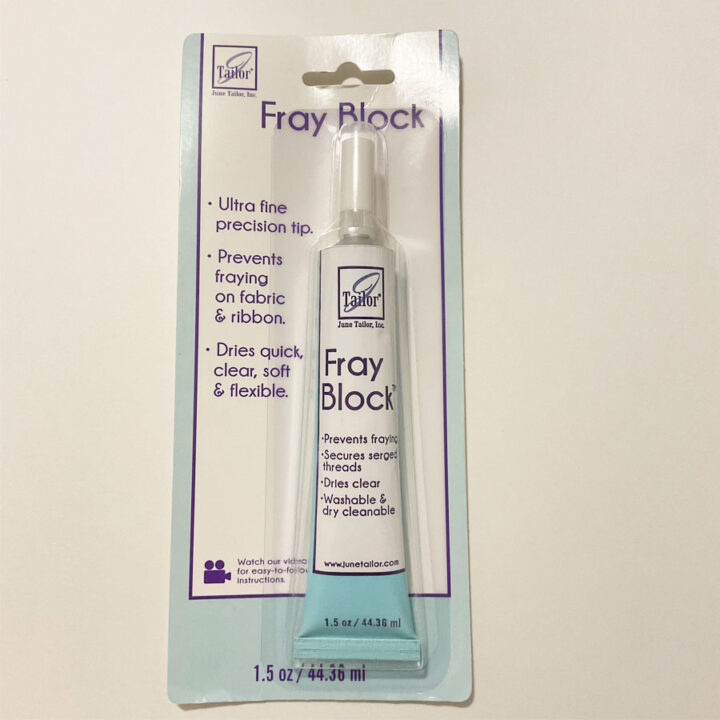
Fray Block has an ultra-fine precision tip, dries quick and clear, and the edges remain soft and flexible.
Just apply small dabs along the fabric edge and spread around with a cotton swab.
16. Nail Polish
Another option some people try is using a thin layer of nail polish to seal fabric ends to stop fraying.
Begin with a freshly cut edge free of loose threads. Use multiple strokes, but avoid loading the brush with too much polish, as it can become more visible than desired. Let it dry for 10-15 minutes before testing the fabric’s edge and beginning to sew. If you notice fraying in any spots, apply a little more nail polish.
One of the biggest benefits of this method is that you can use any brand and color polish that you want, so it will blend in and be less visible. Or, if you can’t find a specific color, stick with clear!
This inexpensive option lasts a long time and is somewhat effective on lightweight fabrics. However, it won’t work with heavy, thick, or heavily textured fabrics.
But did you know that nail polish can actually damage your fabric? When you apply nail polish to fabric, it hardens the fibers and makes them more brittle. This can cause the fabric to break or tear more easily, and can also lead to uncomfortable scratches if you wear the item close to your skin.
So next time you’re looking for a way to stop your fabric from fraying, skip the nail polish and try one of these other methods instead.
17. Iron-On Hem Tape
Iron-on hem tape is a useful tool to prevent fraying in hems. All it takes is enclosing the tape between layers of fabric and pressing with a hot iron to melt the glue and bond the fabric together.
It’s a great solution but not ideal for all fabric types. With shiny, semi-sheer, sheer, and gauzy materials, the glue can bleed through the surface and be visible through the fabric once it melts.
Instead, try iron-on hem tape for heavier or textured fabrics. To learn more, see Hem Tape: How To Use, FAQs And Tips.
18. Leonis Hem Tape
Leonis Instant Hem Tape is one of my favorites because it’s incredibly easy to use and works well.
It hems and seals the raw fabric edge in one quick action.
The Leonis instant hem tape blends smoothly into the fabric to create natural-looking hemlines with 6 different color choices available to match different items of clothing. This instant hemming fabric tape creates a much more flexible hem than common non-woven fusible web tapes that usually harden the fabric.
But the main point is that you don’t need to finish the raw edge of the hem – just cover it with the tape and you will have no fraying!
For more details, check out my tutorial How to Use Leonis Iron-On No-Sew Hem Tape.
19. How To Stop Fabric From Fraying With Lighter
If you’re working with 100% synthetic material (like polyester organza) and are dealing with fraying edges, you might have an option that seems surprising. If you need to quickly seal the edge of a piece of fabric but don’t have any glue, sealant, or hemming tape, try burning the edge.
This works exclusively for synthetic fabrics (like polyester or nylon) because heat causes them to melt. Only burn the edges to the point of melting and stop before the material catches on fire. This happens quickly – you’ll only need to apply heat for a few seconds in each spot.
Please do not try this with cotton and other natural materials – they would just catch fire and be ruined.
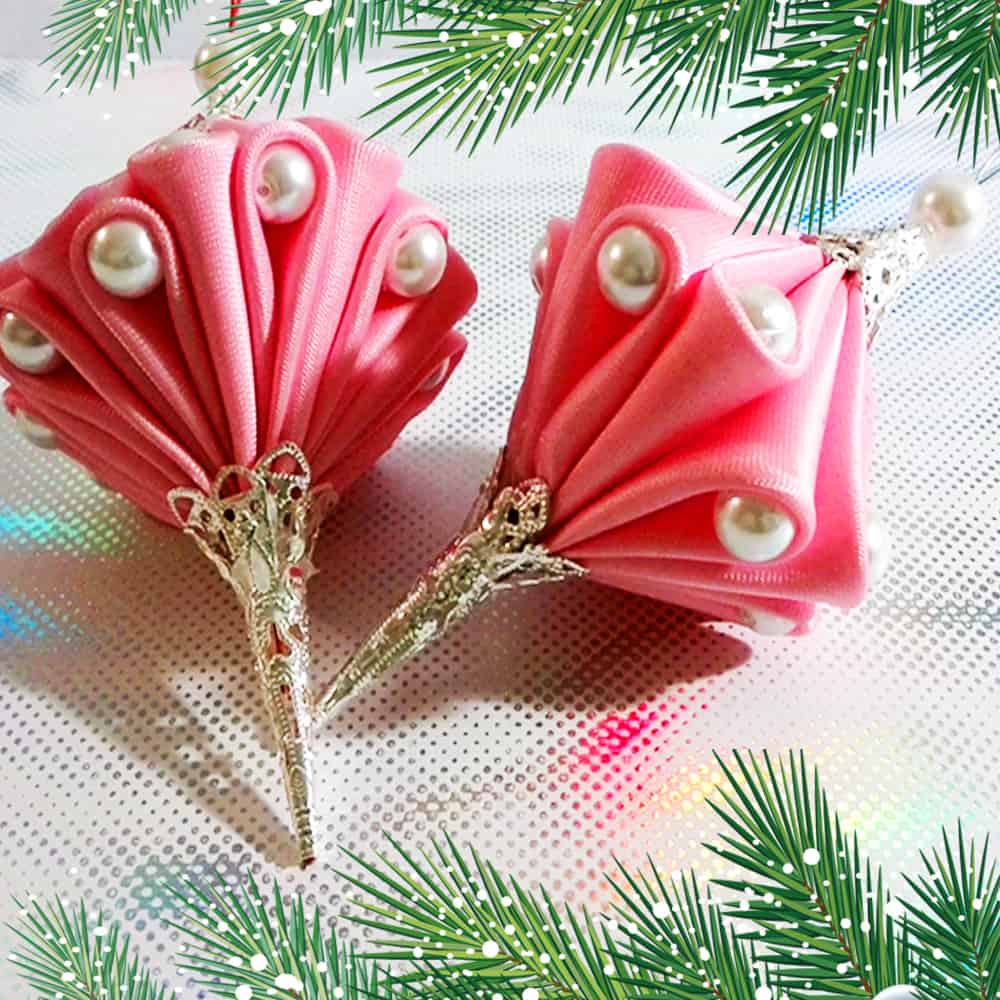
This method works best with sealing short ribbon edges that usually fray a lot. Check my video tutorial on how to do it correctly. I used this method while making my Christmas Angel and Christmas Ornaments.
Safety Tips: I recommend doing this method over a sink and using a lighter or a candle instead of matches.
20. How To Pre-Wash Fabric Without Fraying
It’s always a good idea to pre-wash fabric before you start working with it, especially if you plan on washing the finished product. That way, you can preshrink the fabric and avoid color running and other unpleasant surprises. However, pre-washing material often leads to any cut edges fraying a lot.
The best way to pre-wash fabric without fraying is to overcast all cut edges by serger or by sewing machine before pre-washing. There are usually only 2 cut edges anyway, as all new fabrics have 2 selvage edges that don’t fray so it will not take long.
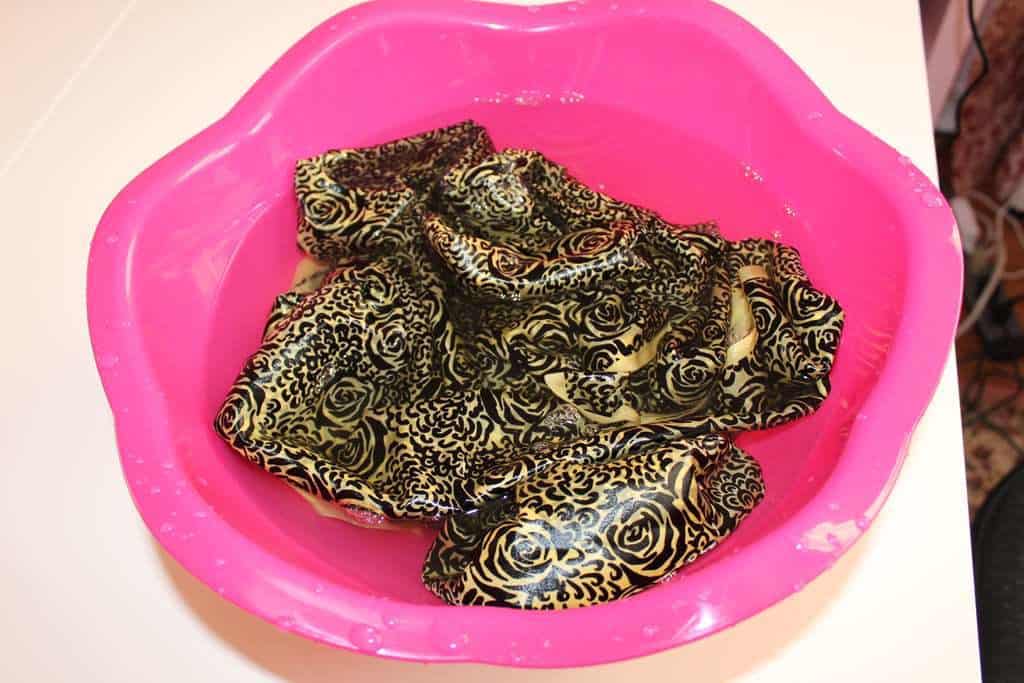
Also, you don’t need to use a washing machine to pre-wash fabric. It can be done in a bucket or a basin so the fabric frays less.
21. How To Stop Fabric From Fraying While Quilting
If you’re looking to stop the fabric from fraying while quilting, there are a few things you can do.
First of all, make sure you’re using good quality quilting cotton that is quite dense. Loosely woven fabric is more likely to fray, so avoid using it if possible.
You can also use pinking shears or a pinking rotary cutter when cutting fabric for your quilt. This will help to prevent fraying as well.
Don’t overcast the edges of every small piece you cut for the quilt. This will only add bulk and make it more time-consuming to put the quilt together.
Conclusion: I hope you have found these tips helpful. What is your favorite way to stop the fabric from fraying? Do you have any other tips to share? Please leave a comment below and let me know.
Did you like this tutorial? If you want to save it for future reference and use it later when you are ready to use one of these methods on how to stop the fabric from fraying, pin this image to your sewing board on Pinterest and follow me on Pinterest for more tips, tutorials, and inspiration.
latest posts
- Butterfly Quilt Block Tutorial – Foundation Paper Piecing
- How To Sew Quilt Squares So The Corners Match
- Sewing With Fork Pins: How They Help With Pattern Matching, Slippery Fabric, And Seams
- How Much Fabric Do I Need? 21 Helpful Tips For Calculating Fabric Yardage
- Easy Simple Sewing Project: Fabric Jar Opener
- DIY Oven Mitts: Step-by-Step Sewing Tutorial
- Easy DIY Potholder: New Design
- Tailor’s Clapper: What It Does, Why It Works, And How To Use It Right
- Heat Resistant Batting for Sewing: What It Is, How It Works, and What Makes a Difference

Thanks for this invaluable and, probably, unknown information by some. Please keep those tips and suggestions coming.
Thank you!
Just what I needed! Thank you!
Glad it helped!
Will be cutting a whole bolt of chiffon at half width at use as draping for an arbor. What is the best method to use to keep it from fraying?
Cutting chiffon in big quantities is definitely a tricky task. One option is to use a rotary cutter to cut the fabric, as this can help to prevent fraying. You could use a serger to finish the edges.
But I would use a wood burning tool in this case. This can create a clean, sealed edge that won’t fray. You aren’t really cutting with it, you are melting the fabric instead. You can use it on nylon and polyester to cut and finish the edge, all in one step.
However, it’s important to use caution when working with this tool, as it can be dangerous if not used properly.