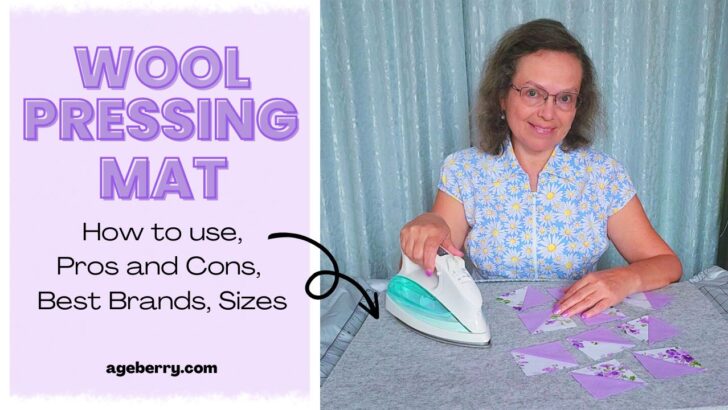
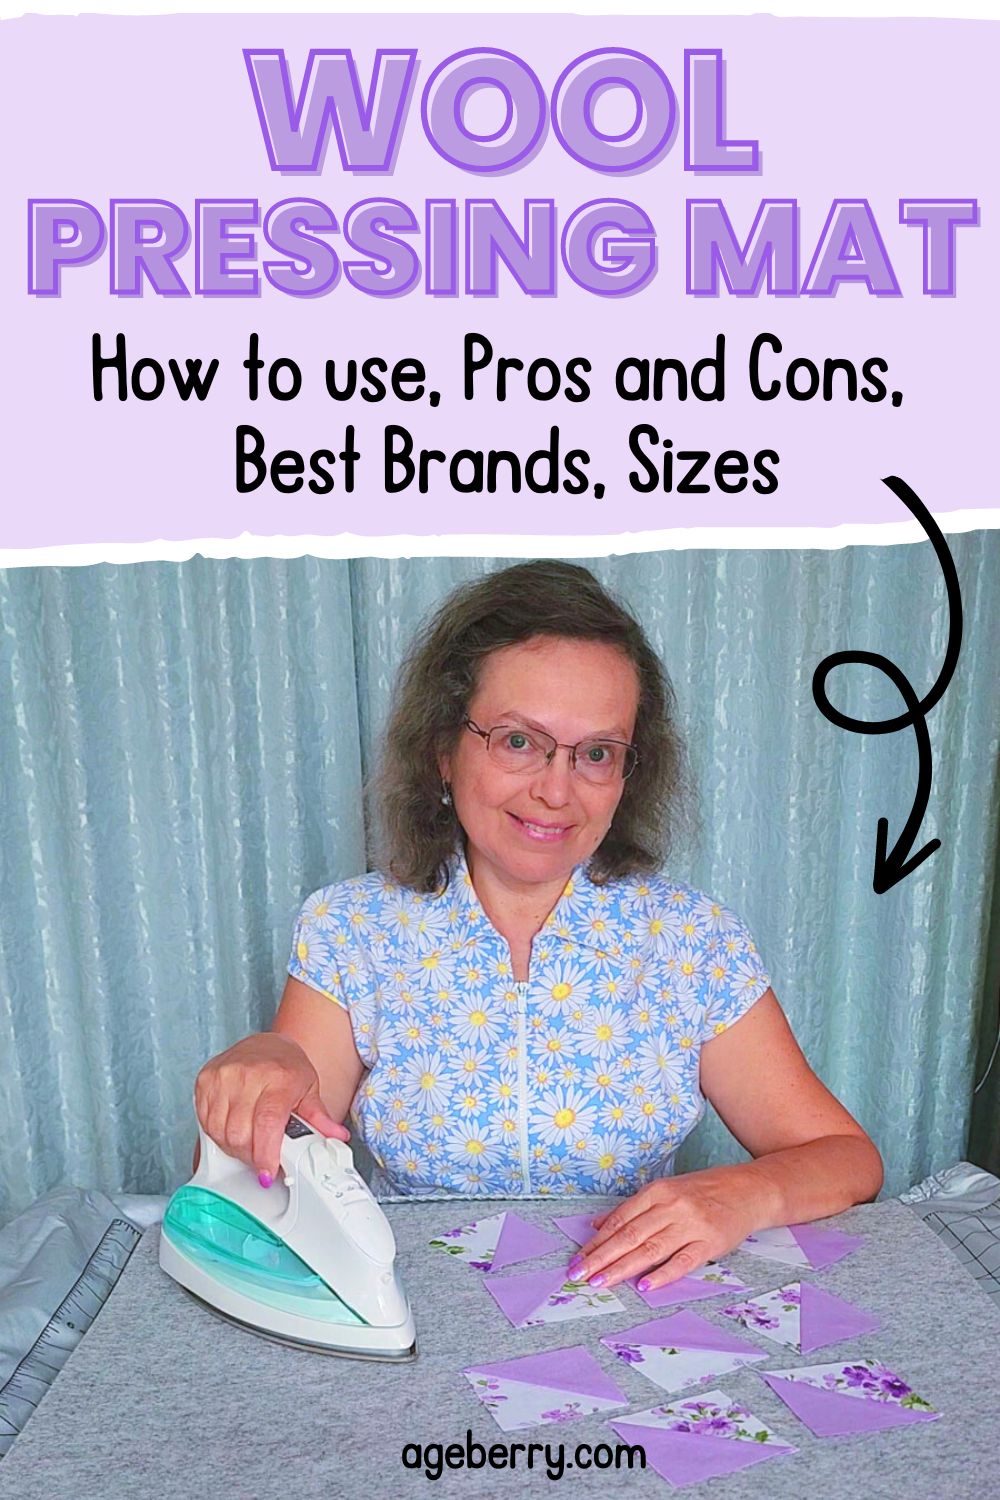
Wool Pressing Mat: How to Use, Pros and Cons, Best Brands, Sizes
When it comes to sewing, there are all sorts of special tools and gadgets that can make the process easier. But with so many options on the market, it can be hard to know which ones are worth the investment. Recently, I’ve been hearing a lot of buzz about wool pressing mats, so I decided to try one out for myself. Overall, I am happy with my purchase and would recommend a wool pressing mat to any sewist.
What is a Wool Pressing Mat?
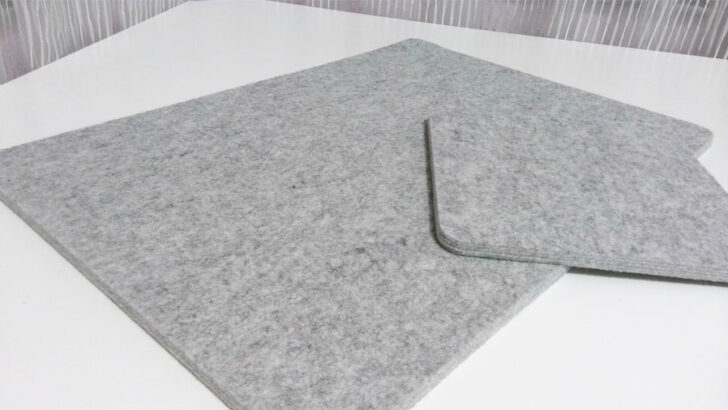
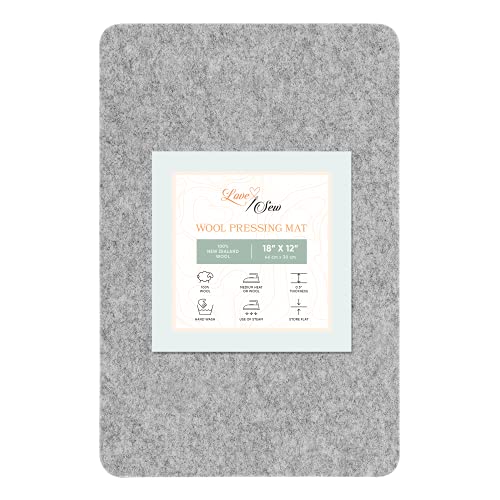
A wool pressing mat is a thick square or rectangular piece of felted wool that can be used as an ironing surface. It is mostly used as a tabletop ironing pad because it provides a smooth, flat surface to press fabrics on.
Wool pressing mats are usually at least half an inch thick and are made from 100% natural felted wool, which is dense and absorbent. Most mats are between 17 and 24 inches long, though some companies make much larger ones.
These ironing mats are also reversible, so you can use both sides of the mat without worrying about damaging the fibers.
Wool Pressing Mats Pros and Cons
Different crafters have different opinions about the best way to press fabric. To make an informed choice, consider the pros and cons of wool pressing mats.
Top 10 Reasons to Use a Wool Pressing Mat
If you’re a sewist you know how important it is to have a good pressing setup. And while an ironing board is a must, a wool pressing mat should also be in your arsenal. So, why use a wool pressing mat? Here are top 10 reasons:
#1. You Can Iron Both Sides of Fabric at the Same Time
Our wool pressing mat can retain heat from your iron and radiate it back into your fabric. So you don’t need to flip and iron two sides!
When using a wool pressing mat you can iron both sides of the fabric at the same time because the mat retains heat from your iron and radiate it back into your fabric. So you don’t need to flip and iron two sides. Wool is an excellent insulator and absorbs heat quickly. It then releases the heat, which is how a mat is able to iron both sides of the fabric simultaneously.
This can be extremely helpful as it cuts ironing time in half. When using a wool pressing mat, less heat escapes and is directed back at the fabric. This results in a neater press with fewer wrinkles.
The dense fibers of the wool mat help to evenly distribute the heat from your iron, ensuring that your fabric is pressed evenly across the entire surface.
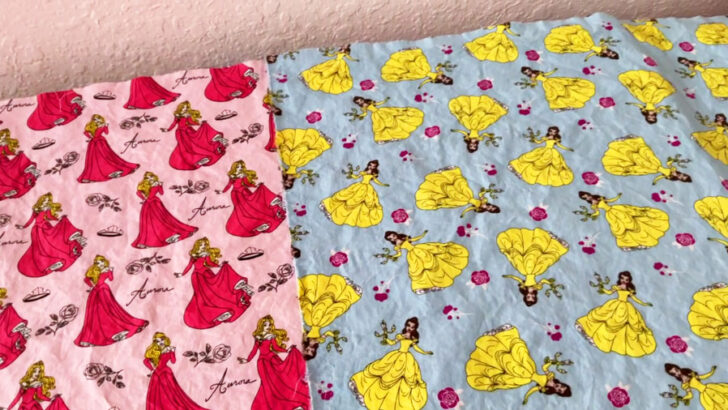
Here I have 2 prewashed fat quarters. They are very wrinkled because I put them in the dryer (together with some towels) on high heat.
I just put the fabric on my wool pressing mat and pressed it with a steam iron – the wrinkles disappeared almost instantly.
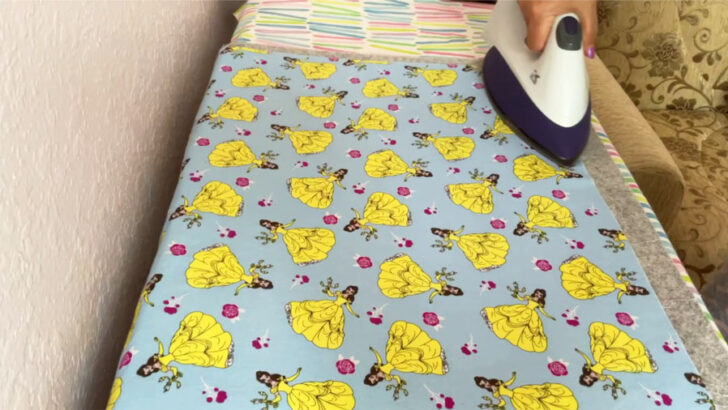
Well, now I realized I didn’t try my regular ironing board for these particular fat quarters, maybe I would get rid of wrinkles fast too because I have a really good iron that gets properly hot on the cotton setting. But anyway, I like to use my wool ironing mat for quilting projects.
You May Also Like…
#2. Sharper Creases
When you press fabric with a wool pressing mat, you create sharper creases than if you were to press the fabric on an ironing board. This is because the wool fibers in the mat grip the fabric more tightly, resulting in a cleaner and sharper crease. This can be especially helpful when pressing hems, pleats, or darts.
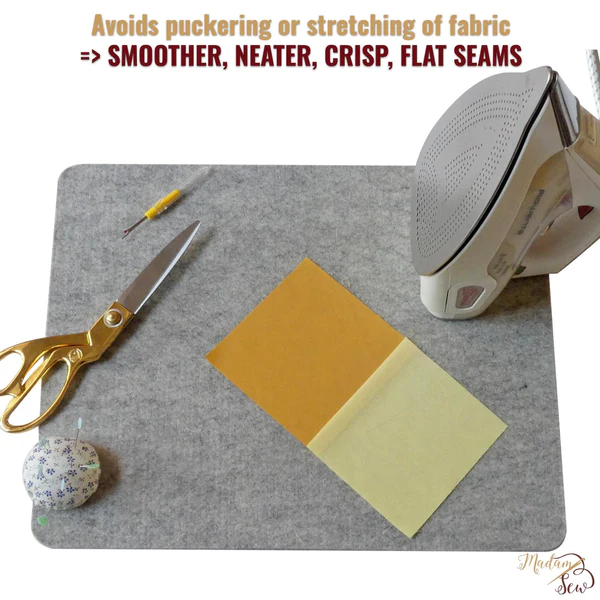
#3. Flatter Seams
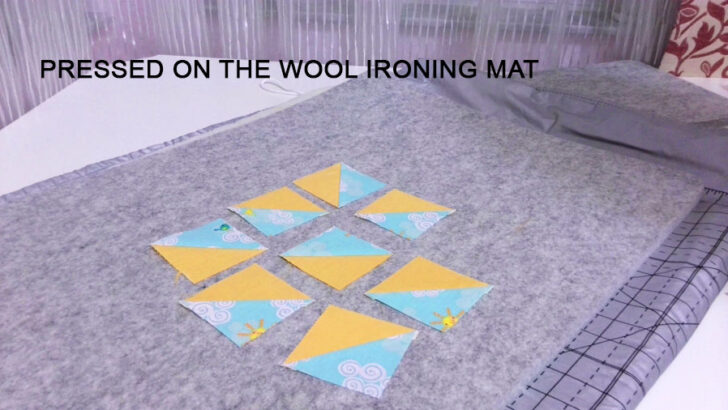
I recently decided to make some tests using a wool pressing mat. I had read that wool pressing mats produce much flatter seams than ironing boards, and I was curious to see if this was true. So, I pressed some half-square triangle units on both a wool pressing mat and a regular ironing board. The results were definitely noticeable.
The units on the wool mat were much flatter and crisper than the ones on the ironing board. This made piecing more accurate, as I didn’t have to worry about wonky seams.
If you’re looking for a way to improve your piecing, I would highly recommend trying a wool pressing mat. You might just be surprised at how much of a difference it can make.

#4. Grips Fabric in Place
The wool surface on a wool pressing mat helps to grip the fabric and hold it in place, making it easier to get crisp, clean lines without having to worry about the fabric slipping out of place.
#5. Ultra Convenient
Wool pressing mats are also ultra convenient because you can easily move them around the room – they’re really lightweight compared to an ironing board. The mat can be used on any surface.
#6. Perfect for Sewing and Quilting Projects
Wool pressing mats are also perfect for all kind of sewing and quilting projects as they provide a flat, sturdy surface to press your seams on. Plus, they’re small enough to fit on the table right near your sewing machine so you can press your seams as you sew them especially if you have a mini iron. This makes sewing projects go much faster as you don’t have to keep getting up to press your seams on an ironing board.
You May Also Like…
#7. Reversible
They’re reversible, so you can use both sides of the mat, making them twice as durable. This is especially handy if one side becomes somehow damaged or stained.
#8. Easy to Travel With
If you are planning on doing any kind of traveling with your sewing projects, a wool pressing mat is a great tool to have with you. They are easy to transport because they are lightweight and don’t take up much space. So whether you’re headed to a sewing retreat or taking a sew along class, be sure to bring along your wool pressing mat for convenient pressing on the go.
#9. Easy to Pin Projects to the Mat
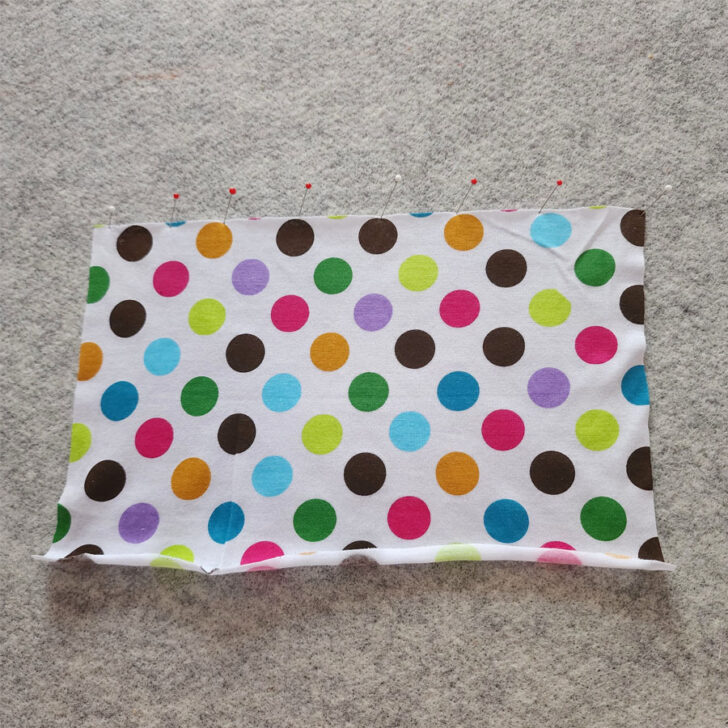
Anyone who has worked with jersey knit fabric knows that the edges of the fabric have a tendency to curl. This can make it difficult to get clean press. However, by pinning the fabric to a wool pressing mat, you can achieve a crisp finish. Simply pin your fabric to the mat, and then press as usual. The mat will help to keep the fabric flat, making it easier to achieve a good finish. The mat is thick enough to accommodate pins, and the wool fibers help to grip the fabric and prevent it from slipping.
#10. Easy to Store
These mats are thin and easily stored away when not in use. You can just put it away in a closet or under a bed. It’s perfect for small sewing rooms because it doesn’t take up much space. You can even hang it on the wall if you want to.
As you can see, there are many benefits to using a wool pressing mat. So if you’re looking for a better way to press your fabrics, a wool pressing mat is definitely worth considering.
What are the Cons of Using a Wool Pressing Mat
While a wool pressing mat can be a useful tool for sewists and quilters, there are a few potential drawbacks to keep in mind.
#1. Can’t Be Used Without Something Under it.
Wool pressing mats can be damaging to surfaces if used without something underneath. The heat generated by the wool pressing mat can easily travel through the mat and cause bumps or indentations on cutting mats, tabletops, and other flat surfaces. To avoid this damage, always use a wool pressing mat with a piece of heat resistant fabric underneath or even a bath towel. This will help to protect your surfaces.
If you put the mat on a bare table, there’s a good chance you’ll end up damaging the surface. The same is true for cutting mats; the heat from the wool pressing mat can create bumps on the surface of the cutting mat. So, if you want to protect your furniture and keep your cutting mats in good condition, be sure to use a wool pressing mat with something underneath.
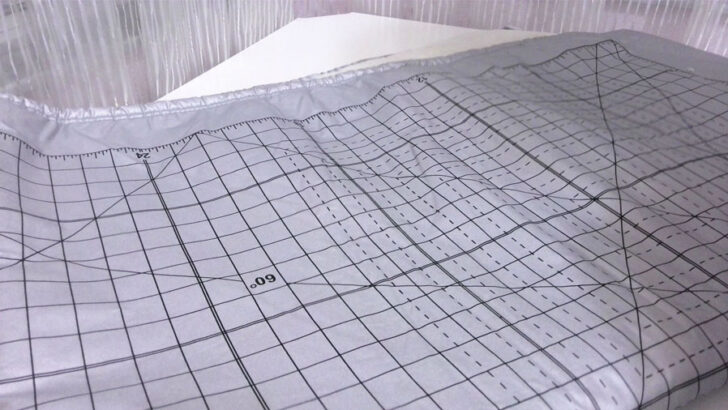
When I first started using a wool pressing mat, I used a few layers of heavyweight decorator fabric underneath the mat. This worked for a while.
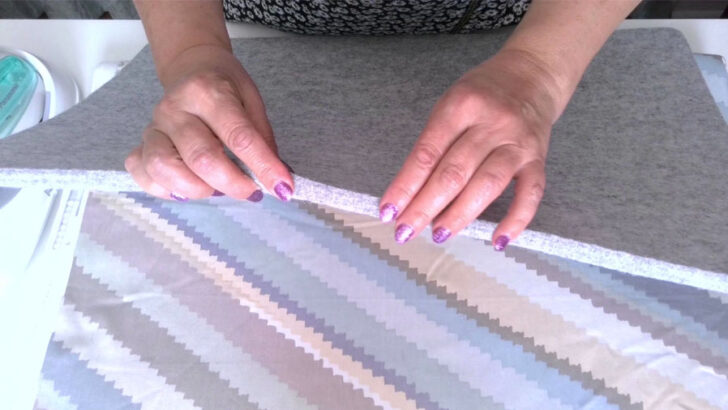
Eventually, I found a heat resistant ironing pad that works even better. Now I use that all the time and it has helped to keep my surfaces in good condition.
#2. Animal Smell
These mats can get a little stinky, especially when they get hot and wet from a steam iron. If you are sensitive to smells, or if you just don’t want your sewing room to smell like a barn, then this might not be the mat for you.
However, the smell won’t transfer to your fabrics, so if you can overlook it, it won’t be an issue. The smell doesn’t bother me.
#3. Can Be Costly
Another con is the cost. If you are working on a large project, you might need a mat that is quite large, and those can be expensive. There are also smaller mats available that are more affordable, but they might not be big enough for your needs.
#4. The Wool Fibers on the Mat can make an Iron Dirty
Another potential issue is that the wool might melt if you use a super hot iron by accident. If this happens, your iron will likely become dirty and you will need to clean it before using it again.
I learned this the hard way when I accidentally used a very hot iron (set on linen) on a wool pressing mat. Thankfully, the fabric I was working with (linen) was able to withstand the heat, but the wool left my iron dirty.
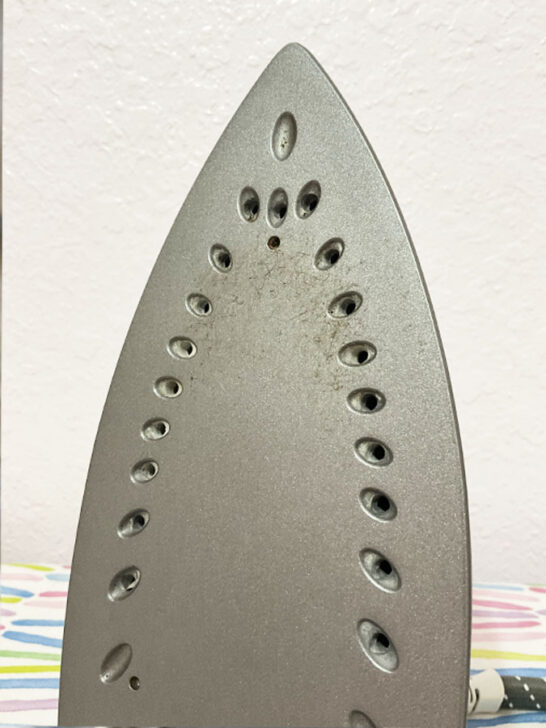
While this isn’t a common problem, it can be frustrating when it does happen. Fortunately, there’s an easy way to remove burned wool fibers from your iron. All you need is a simple iron cleaner. I always use Faultless hot iron cleaner.
In the short video clip below, I demonstrate how to quickly clean a dirty iron. One minute – and you are done. Clean your iron regularly to keep it in top condition.
Is Wool Pressing Mat Worth It?
For sewists and quilters who value their time and want professional-looking results, the answer is a resounding yes! Wool pressing mats won’t require a significant investment, and they can save time and generate better seams and sharper creases. If you value saving time and want better results, pressing mats will pay for themselves in no time.
Whether you are a sewist, quilter, or crafter, you know how important it is to get crisp, clean lines when pressing your fabric. But sometimes, even the best iron can’t seem to get into all the nooks and crannies of your fabric. That’s where wool pressing mats come in.
They are designed to hold heat, which means your fabric will get hotter when pressed on a wool mat. This extra heat will help to remove wrinkles and give you flatter seams and sharper creases.
Not only that, but wool pressing mats are also durable and long-lasting. So if you’re looking for a quality pressing surface that will save you time and help you achieve better results, a wool pressing mat is a wise investment.
Are Wool Pressing Mats Better Than Ironing Boards?
Wool pressing mats have many benefits but they don’t cancel ironing boards. I still use an ironing board when pressing larger pieces. Sometimes, I can even put the mat on the ironing board to use it.
Wool pressing mats are better than ironing boards for some projects and cramped workspaces. Most of all, a pressing mat lets you iron both sides of the fabric simultaneously.
I think wool pressing mats are a great addition to any sewing room. It really depends on your personal preferences and needs as to whether or not you want to invest in one.
How to Use Wool Pressing Mats
Just follow the same guidelines as you would without the mat. The mat has the same dense wool fibers on both sides, so there is no right or wrong side to face up.
Using a wool pressing mat is relatively simple, but there are a few things to keep in mind in order to get the best results. A wool pressing mat is used in the same way as an ironing board or other ironing surface. Though it may seem like a fairly straightforward task, there is a right way and a wrong way to do it. Here are the tips you need to follow for best results.
- Make sure that your pressing mat is set up in a well-lit area on a flat surface. If possible, place it near an outlet so that you can plugged in your iron.
- It is important to put a heatproof surface below the mat. At the least, fold up a bath towel to protect tables or the other surfaces if you’re not sure how well they resist heat.
- Lay out your fabric on the mat and smooth it out. If you’re working with a particularly large piece of fabric, you may need to fold it in half before you can iron it.
- Once your fabric is smooth, move the iron back and forth in a steady motion.
- Choose the correct setting of your iron for your fabric. If you’re ironing something delicate, you’ll want to use a lower heat setting and perhaps even place a pressing cloth over the material.
- Additionally, do not spray starch directly on the mat, as this can stain the mat – you might see brownish spots on the mat if you iron over starch drops. Over time, pressing mats can become coated with a layer of starch that reduces their effectiveness. If you want to use starch, spray it on your fabric before you press it.
- Store the mat flat: If you roll up or fold the mat for storage, you may find it difficult to flatten it out for use later.
You May Also Like…
How to Clean Wool Pressing Mat
Over time, even the best mat can become stained and matted with lint and thread. You can remove small debris like threads and lint by running a lint roller over the surface of the mat.
If you want to remove some stains lightly rub a moistened cloth over the spots. Be sure to avoid scrubbing, as this can damage the fibers of the mat.
You can also wash the wool pressing mat by hand in cold water (no soap!) in a sink or tub and allow it to air dry completely before using it again. Do not put them in the washing machine.
Note: Some of the links on this page are affiliate links. This means I will receive a commission if you order a product through one of my links. I only recommend products I believe in and use myself.
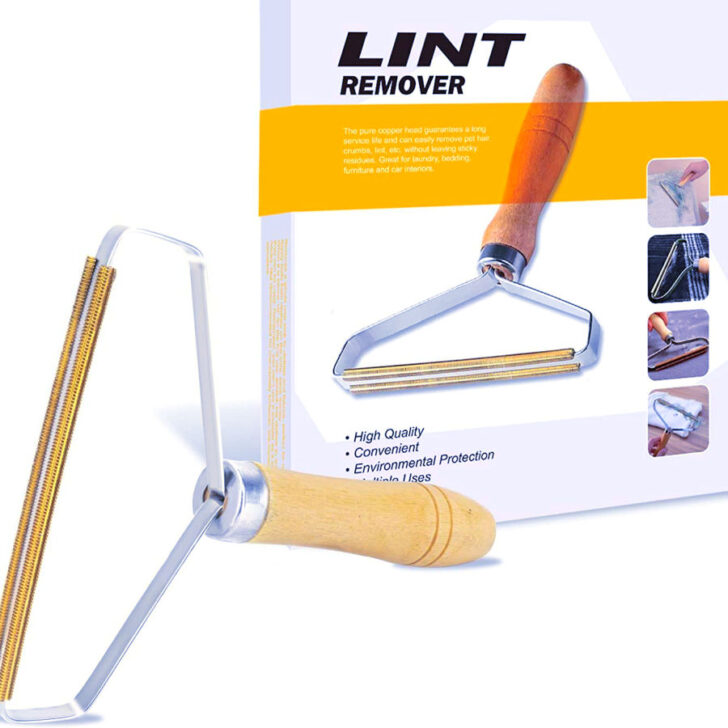
There is a new amazing tool for cleaning wool pressing mats.
It’s called a portable lint remover. This handy tool has a double-sided blade that quickly removes all kinds of debris from your mat. Simply drag the blade across the surface of your mat, and it will look like new in no time. The lint remover is also great for floors, bedding, carpets, sofas, car seats, clothes, and more.
What Should You Look for When Comparing Wool Pressing Mats to Buy?
By now, I might have persuaded you that you need a wool pressing mat in your life. Several companies offer these products, but they vary a lot. Keep a few things in mind while you’re shopping for the best wool pressing mat for your needs:
- Look for 100-percent unbleached wool with no dyes.
- Pressing mats should measure at least 1/2 inch thick (the thicker the better)
- Check to ensure the manufacturer or retailer offers a warranty, just in case you’re dissatisfied with the quality.
Otherwise, you might select a mat based on your work area and the size of the fabric you plan to press. Consider packing space if you plan to travel with your pressing mat.
What Are the Best Wool Pressing Mats?
Dozens of manufacturers and retailers offer pressing mats. The descriptions on sales pages may make them all appear similar.
To help you compare ironing mats, I’ve compiled a list of popular, high-quality options.
They vary by size, price, the manufacturer’s location, and the wool source. Each of my choices measures at least 1/2 inch thick and consists of pure and undyed wool.

I purchased this mat for myself and I love it. It’s easy to store and carry around. It fits in a crowded workspace. At the same time, it's large enough for quilt blocks, touchups, and plenty of other uses.
Rdutuok makes their mats out of pure wool from New Zealand, so you don't need to worry about dyes or inferior products. The Rdutuok mat also comes with a smaller mat - 10’ X 10” , a carrying case, an iron-shaped rest pad, and some accessories.
Customers have praised this pad for its convenience, durability, and portability. Even better, 2,000 people gave this mat a 5-star rating on Amazon.

Like Rdutuok, MOHOM offers a high-quality mat from 100 percent New Zealand wool. Users say it's excellent for quilt blocks, sewing projects, embroidery, and even pressing out wrinkles on clothes. The MOHOM also comes with handy accessories, like a carrying bag and an iron rest. So far, this mat has earned over 1,500 5-star reviews on Amazon.
Quilters design these pure wool mats, and the company produces them from pure New Zealand wool fleeced and tightly felted. It 's practical, durable, portable, and according to many customers, precisely the right size to fit in their workspace.
This 100-percent wool pressing mat comes with a handy vinyl storage bag. The dense felted wool comes from New Zealand and is naturally fire-resistant. Customers left more than 600 reviews, mostly praising the mat's convenience and ability to produce crisp seams.

The company prides itself on producing mats in the USA out of Canadian-supplied material, and Mountain Mist has served quilters and other crafters since 1946. The size of this mat may also please people who want to iron larger blocks or other bigger pieces of fabric.

This is an extra large wool pressing mat - 60” x 22”. It’s ½ “ thick.
This Extra Large Wool Pressing Mat is made from 100% New Zealand wool, which is dense and interlocking, so it won't stretch. Plus, it's large enough to handle even your biggest quilting projects. It comes with its own carrying case, so you can take it with you wherever you go.

Looking for an ironing mat that can be used for a variety of purposes? Look no further than the Extra Large Size pressing mat. This mat measures 22 x 60 inches, making it perfect for use on an ironing board, tabletop or countertop.
It's great for quilting, embroidery, sewing and applique work. The mat is 3/8 inch thick, so you don't have to worry about the heat getting through and damaging surfaces.
Plus, pieces can be pinned to the mat for extra security and stability.
With more than 1500 5-star reviews, you can be sure that you're making a wise investment with this purchase.
Frequently Asked Questions
A wool ironing mat for quilting and sewing should measure at least 1/2 inch. Most brands stick to this guideline.
At 1/2 inch, the mat offers some protection for the surface below. At the same time, it’s still relatively thin and portable.
But there are mats that are ⅜” thick.
The wool fibers can trap moisture from a steam iron, which may cause an odor.
Iron without steam to avoid the most common cause of smells from pressing mats. Also, never spray starch directly onto the mat’s surface.
Some folks have said that hanging the mat outdoors helps dry it and remove odors.
The best defense against developing odors includes avoiding steam or other moisture when ironing. If necessary, mist the clothes lightly with a spray bottle, but don’t use the iron’s steam setting.
You don’t need an ironing board to use your mat and can place it on a table with a heat-resistant surface.
For added protection, you might want to fold a towel under the mat to make sure you protect the surface underneath.
Use a little hydrogen peroxide and a clean cloth to remove scorch marks. Dampen the cloth with hydrogen peroxide and then spread it over the scorch mark. Press the fabric with your iron on a low setting.
This cleaning solution works best with fresh marks before they have had a chance to set deep within the fibers. Wool doesn’t scorch easily and is fire resistant, which explains why it makes an excellent material for pressing.
When it comes to storing a wool pressing mat, your best bet is to either store it flat or leaning against something. This will help to prevent the mat from becoming distorted over time. If you fold or roll the mat to store it, you may have trouble flattening it out perfectly for use. A pants hanger with clamps is also a simple way to store a wool pressing mat. Just be sure that the clamps are not too tight, as this could also cause the mat to become distorted.
I don’t cover my wool ironing mat but I’ve noticed people cover their wool pressing mats with cotton fabric of pretty colors and prints. Why do that?
Some folks cover their wool ironing mats with fabric for several reasons. A layer of lightweight cotton fabric should not reduce the mat’s effectiveness at all.
Touching skin against wool makes some people feel itchy, and a layer or even two of lightweight fabric offers protection. The fabric can also help prevent scorching or soaking the mat with steam reducing the chance of foul odors or stains.
When choosing a wool pressing mat, the two important factors to consider are size and thickness. Think about the types of projects you typically work on. If you do a lot of quilting or sewing, you’ll need a mat that’s large enough to accommodate fabric of all sizes. On the other hand, if you primarily work with smaller pieces, you can opt for a mat that’s more compact.
As for thickness, most mats range from 1/2 to 1 inch.
Ultimately, the best wool pressing mat for you is one that suits your specific needs and preferences. Of course, price is also an important consideration, but be sure to balance it against the other factors to find the best value for your needs.
Steam iron is a great tool for getting wrinkles out of fabric, but you do need to take some precautions when using it on a wool pressing mat.
Some manufacturers don’t recommend using steam with the mat, but I’ve found that steam isn’t a problem as long as you take care of the mat afterwards.
The mat will become damp when pressing with steam, so be sure to hang it up or store it flat so that it can dry completely. Otherwise, you run the risk of leaving it susceptible to mold and mildew growth.
You’ll also need to use a heat-resistant material under the mat if you’re using it on a table or other piece of furniture that you don’t want to damage.
Steam may cause the mat to smell like wet sheep. This is because the heat from the steam will cause the wool fibers to expand, releasing their natural oils and smells. If you don’t mind the smell, then using steam is a great way to get wrinkles out of fabric.
With these precautions in mind, you can use steam on a wool pressing mat.
Did you find this tutorial helpful? If so, save this pin (see below) on your sewing board so you can come to this tutorial later when you need this information on wool pressing mats for sewing and quilting, and follow me on Pinterest for more tips, tutorials, and inspiration!
latest posts
- What Do You Call a Person Who Sews? I Asked My Readers and Got 1,408 Opinions
- DIY Round Purse: PDF Sewing Pattern and Detailed Instructions
- Mini Wonder Clips By Clover: Useful Sewing Tool Or Just Another Notion?
- Non-Slip Grips For Quilting Rulers: A Small Notion With A Useful Job
- Fabric Eraser for Sewing: What It Removes and When to Use It
- What Is The Best Thread For Sewing Machine Projects? Let’s Find Out!
- Butterfly Quilt Block Tutorial – Foundation Paper Piecing
- How To Sew Quilt Squares So The Corners Match
- Sewing With Fork Pins: How They Help With Pattern Matching, Slippery Fabric, And Seams