Topstitching Troubles? This Simple Trick Will Turn It Around Instantly!
If you’ve ever found yourself wrestling with your sewing machine during a topstitching session, you’re not alone. It’s a common snag in the sewing process: you pivot at a corner, ready to continue your beautiful (hopefully) line of stitches, but instead, the machine stalls, leaving you with a jumbled mess of thread. It’s a frustrating barrier that stands between you and a professional-looking project.
Have you ever faced this problem while topstitching?
In this tutorial, I will show you how to fix this issue.
But first, before I show you the solution for those tricky corners, I want to talk about topstitching in general. It’s an essential skill, and there’s a bit more to it than just sewing around corners.
And getting it right makes all the difference.
So let’s go back to basics and ensure we have a solid foundation in topstitching techniques.
Attention! For those of you who prefer visual learning, there’s a video version of this tutorial available on my YouTube channel. You can find the link at the end of this post. I suggest watching the video in conjunction with reading this article for a more comprehensive understanding. It’s worth taking a look at both to really grasp the technique!
Step 1. Choosing the Right Thread
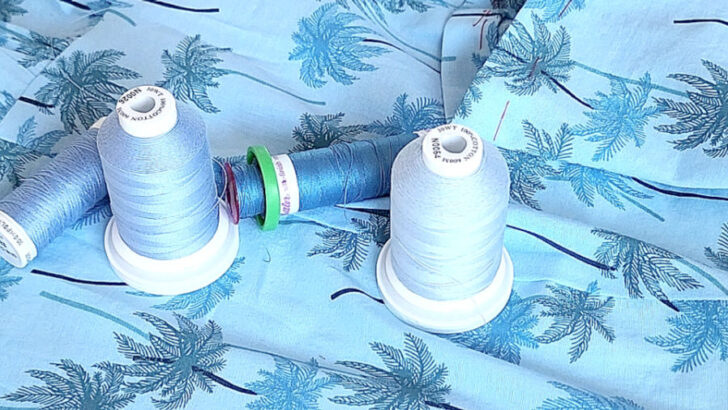
The thread you select for topstitching will greatly impact the look of your finished garment.
Begin by laying out a few different threads on the fabric you’ll be working with. Look at how each one interacts with the fabric in terms of color and texture.
A thicker thread will create bold, decorative stitches that stand out, ideal for projects where you want the topstitching to be a focal point. A finer thread will blend more seamlessly with the fabric for a subtle effect. You may consider using a topstitching or upholstery thread for durability and a pronounced look.
The color choice is also important: a contrasting thread will draw attention to the stitching, while a thread that matches the fabric will provide a more understated finish.
✅Related tutorial: Sewing thread types and uses
Take your time with this step, as the thread you choose will set the tone for your entire project.
Once you’ve chosen the ideal thread proceed to wind a bobbin with the same thread. You need consistency in your topstitching, as the bobbin thread should match the top thread in both color and weight. Make sure the bobbin is wound evenly for the best results.
✅Related tutorial: Common Sewing Machine Bobbin Problems And Solutions (+Videos)
Step 2. Marking for Precision
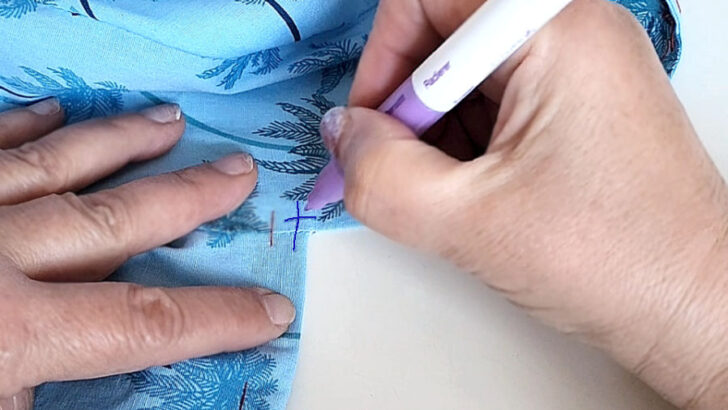
I like to make some marks for accurate topstitching, particularly at corners where I’ll need to pivot the fabric. I’m aiming for a topstitch about 1/8 inch from the fabric edge.
There’s no need to mark the entire line of stitching; instead, focus on gently marking the pivot points on your garment using a thin fabric marker. These marks will serve as guides to ensure that your topstitching remains an even distance from the edge throughout your sewing.
Use a marker that will not stain or leave permanent marks on your fabric. Tailor’s chalk or disappearing ink pens are effective tools for this purpose. The clearer and more precise your markings at these pivotal points, the easier it will be to execute flawless pivots and achieve a clean finish with your topstitching.
✅Related tutorial: Your Guide For Choosing The Best Quilt Marking Pens For Every Project
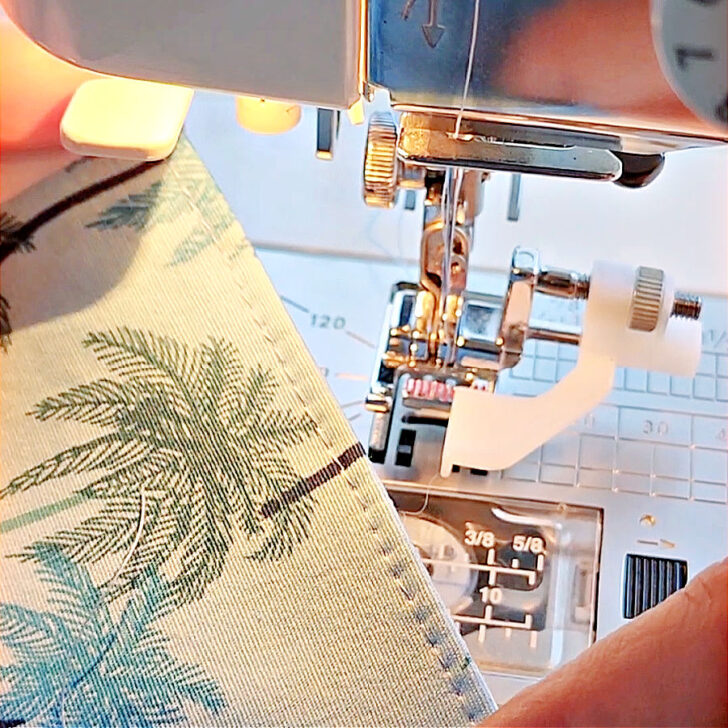
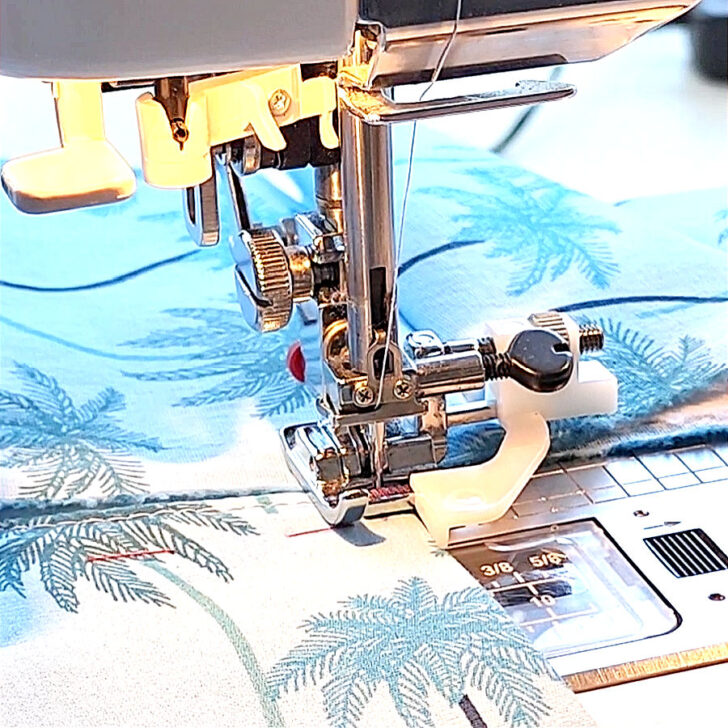
Step 3. Selecting the Presser Foot
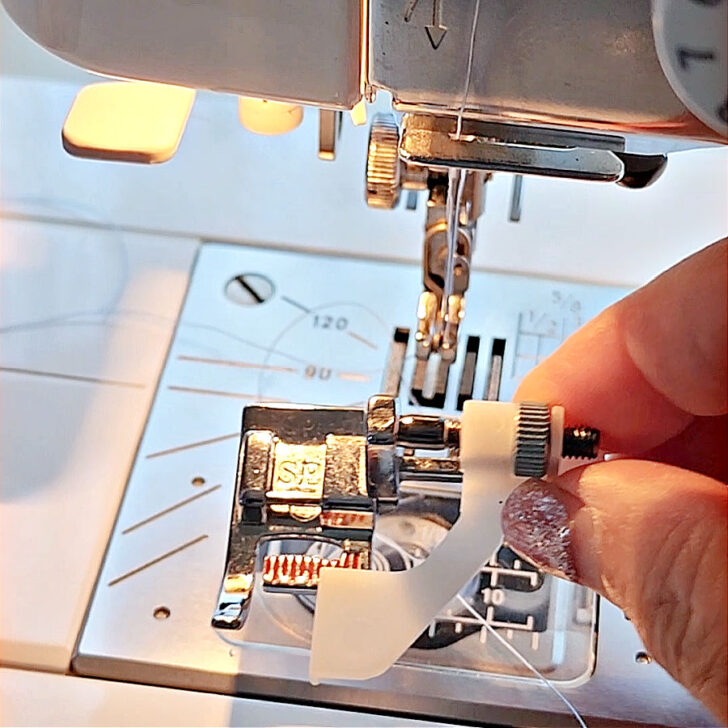
The right presser foot can make a significant difference in the ease and quality of your topstitching. I recommend an edge guide presser foot for this task. This specialized foot has a built-in guide that helps you maintain a straight line as you stitch along the fabric’s edge. It has an adjustable screw, so you can set it to the exact distance you want your topstitching to be from the fabric edge.
✅Related tutorial: How to sew straight
Using the edge guide presser foot is straightforward, but it does take a bit of practice to get used to. I’ve put together a detailed tutorial that covers everything you need to know about using this foot and others like it so check it out.
Sometimes I use a different presser foot for topstitching. This is another one of my favorites that I like to use.
You can find edge guide presser feet on Amazon, for example, this one, similar to what I have (my affiliate link).

Adjustable Guide Sewing Machine Presser Foot
Step 4.Testing Settings on Scrap Fabric
Before you begin to topstitch your actual garment, do a test run on a piece of scrap fabric. This will allow you to fine-tune your machine settings, including the tension and stitch length, and to see how the thread behaves with the fabric.
So take this opportunity to make any necessary adjustments to ensure the tension is balanced and the stitches are even. This step can help you avoid the frustration of unpicking stitches later and will give you a chance to practice your technique.
Topstitching typically requires a longer stitch length than regular sewing. Set your sewing machine to a stitch length of around 3 – 3.5 mm for optimal results. This length will produce stitches that are prominent without being too large.
✅Related tutorial: What is the stitch length and how to adjust it for different fabrics – a sewing tutorial
If you’re working with very thick fabric or layers, you may need to experiment with even longer stitch lengths. The right stitch length will vary depending on the fabric and thread you’re using, so adjust it as needed.
Step 5. Sewing and Pivoting
This step is actually the reason I created this tutorial. I know that a lot of us have encountered an issue when we pivot at a corner and then start sewing again – the machine just doesn’t want to cooperate. It sews a bunch of stitches in one place, creating a knot of thread that’s not only unsightly but also a headache to remove.
It turns out, when there’s only a small amount of fabric under the presser foot, the feed dogs can’t quite get the grip they need to feed the fabric through, and as a result, the machine stalls.
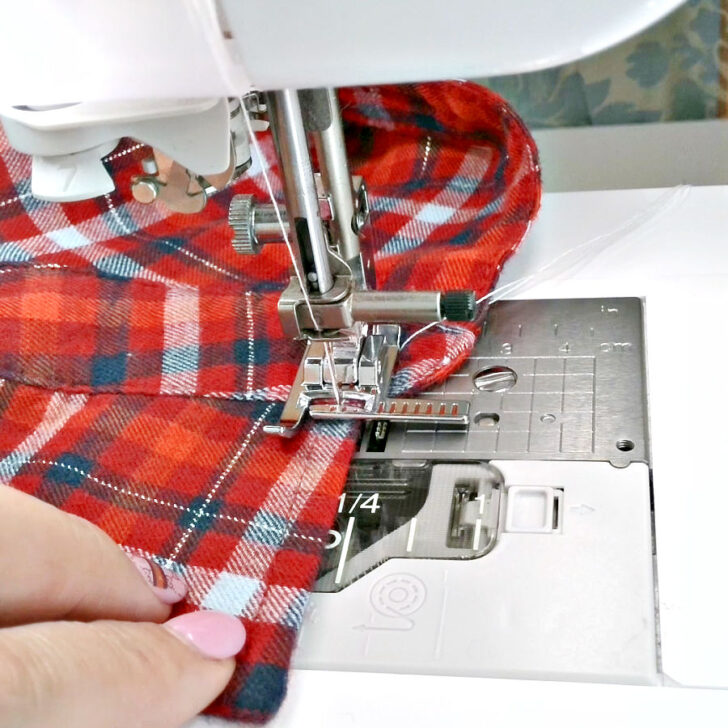
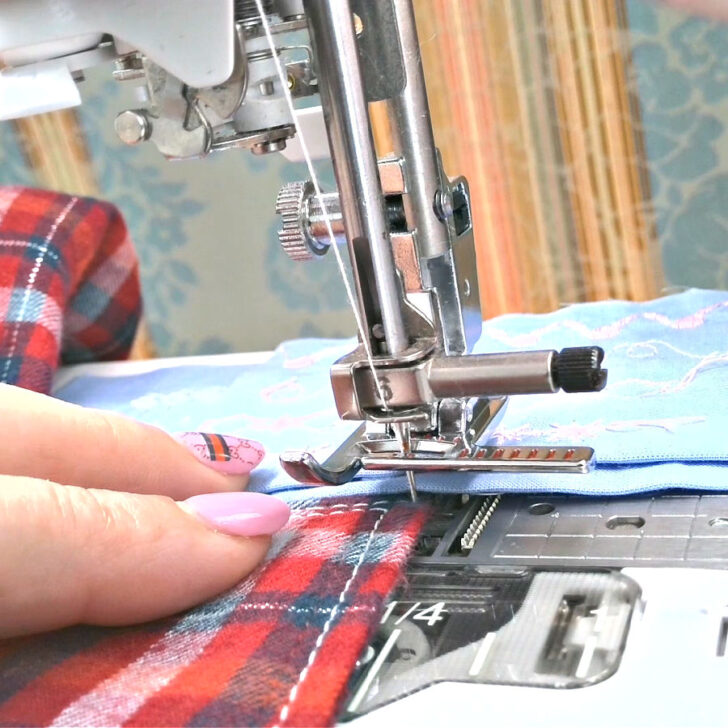
The solution is simple. Just use a folded piece of fabric, placing it behind the piece you’re topstitching. The fabric should be of similar thickness to the project you’re working on. This gives the feed dogs something more substantial to grab onto, allowing them to move everything along smoothly.
So here’s what I do: when I pivot at the corner and am ready to start sewing again, I make sure to position this extra piece of fabric behind my project.
Be patient and take your time with this step; rushing can lead to uneven or misaligned topstitching.
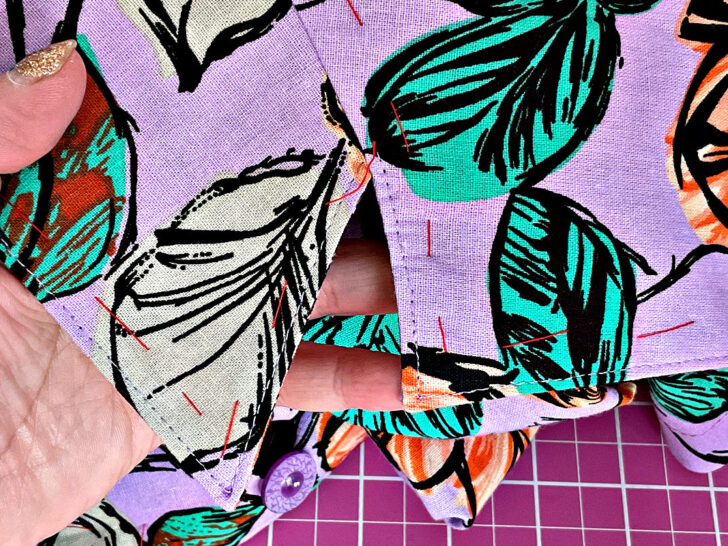
So, here is the result. I had a few corners to pivot and each corner is crisp, clean, and consistent.

I applied the same technique to all projects that require topstitching. Here is my dress. It also has four corners that required the same level of topstitching finesse. And, just like with the blouse, the corners on the dress turned out beautifully.
If you prefer a visual guide, take a look at my YouTube video. It’s perfect for those who’d rather watch a handy tutorial on topstitching than read about it.
Did you find this tutorial helpful? If so, save this pin (see below) on your sewing board so you can come to this tutorial later when you are ready to do some topstitching, and follow me on Pinterest for more tips, tutorials, and inspiration!