
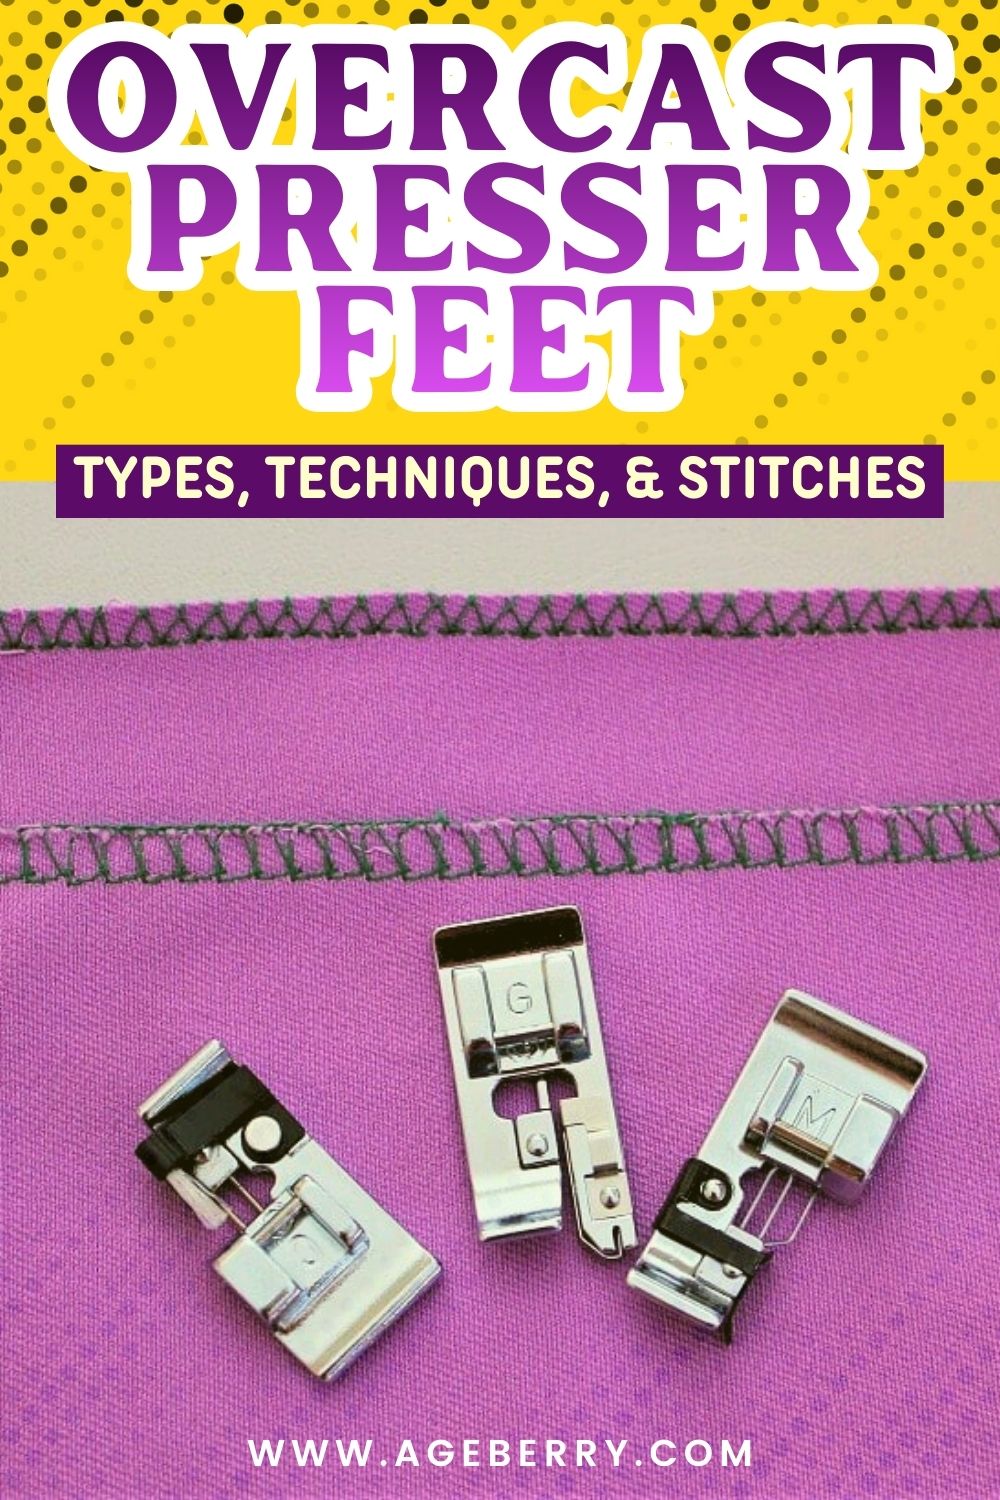
How to use overcast presser feet for sewing overcasting stitches
An overcast stitch is used to finish raw fabric edges. The purpose is to prevent the cut fabric edges from unraveling. In this sewing tutorial, I am going to show you how to use an overcast stitch on a regular sewing machine and how to finish seams without a serger using a variety of overcasting presser feet.
Overcast stitches can be done
- By hand
- By a serger
- By a regular sewing machine
If you prefer a video tutorial on How to use overcast/overlock presser feet for sewing overcasting stitches by sewing machine this is my video tutorial on YouTube.

If you have a zigzag stitch on your sewing machine you can sew zigzag stitches on the required seam allowances (not on the very edge though) and then cut off the excess fabric with scissors or a rotary cutter. But this method is really time-consuming and you can cut the threads if you are not super careful because you have to cut very close to the stitching.
But modern sewing machines have so many useful features we don’t use but we should because they can solve our problems and make our sewing life easier.
What are you doing with the 200 stitches your sewing machine has? Look at them closely and you may find some great stitches to use regularly. You may need some extra feet for some of these stitches.
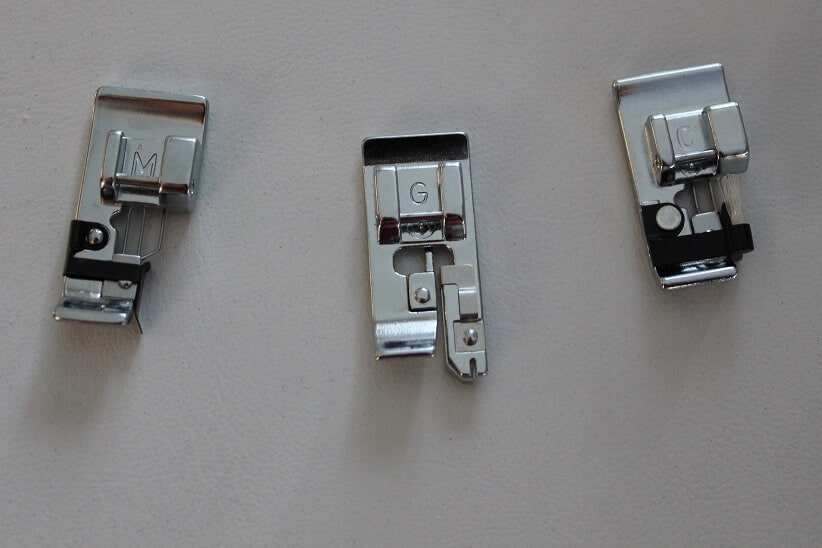
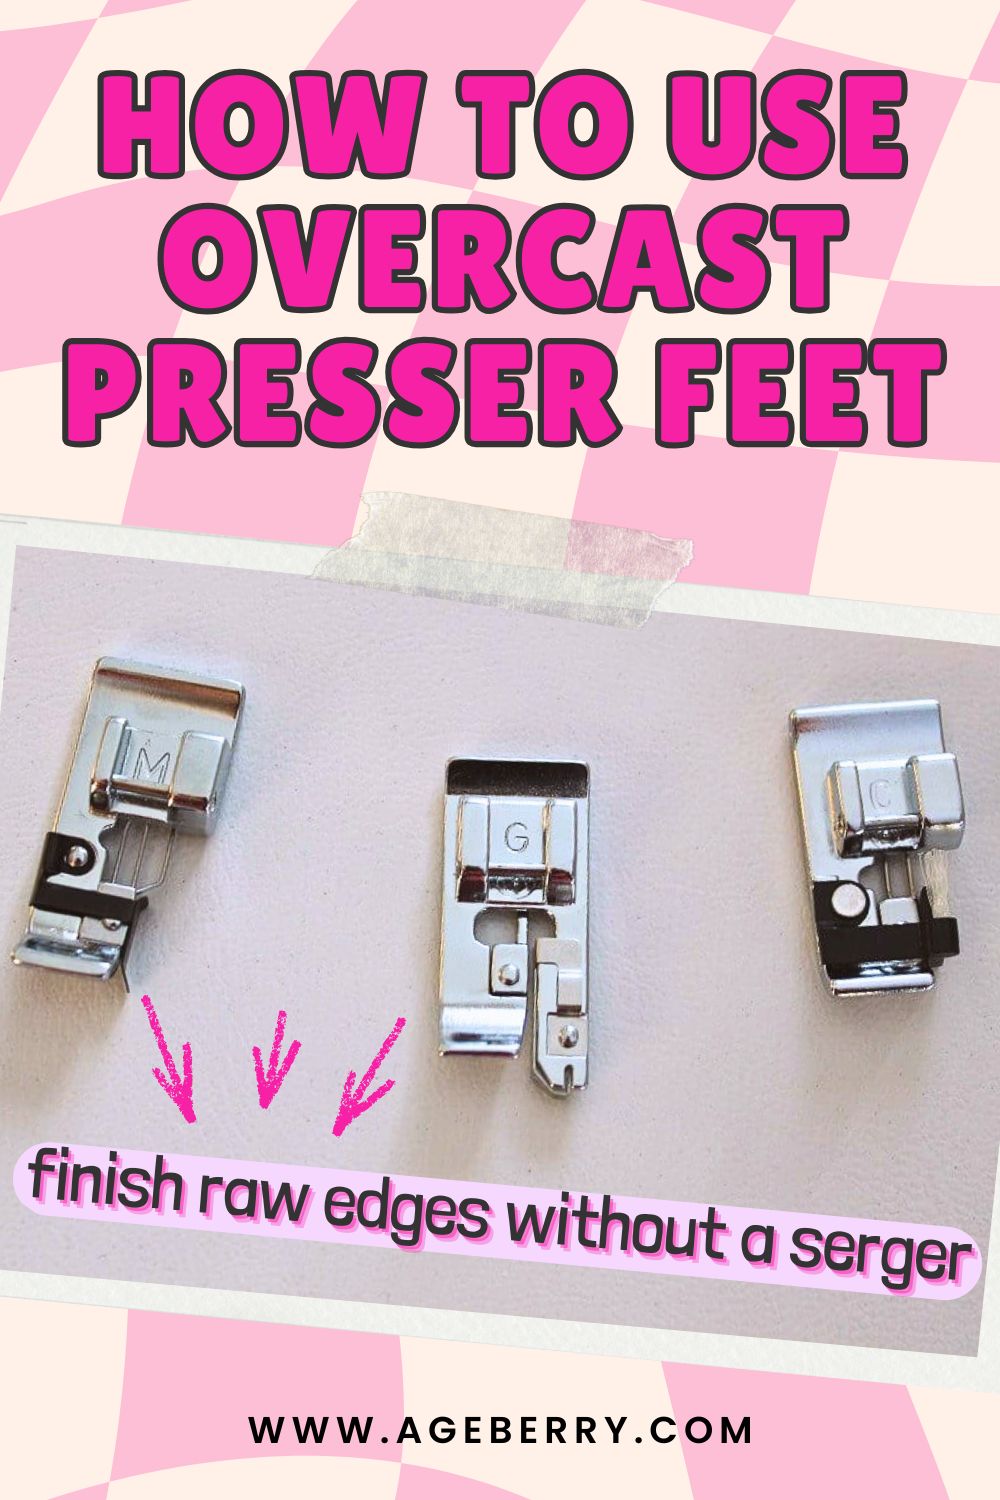
Enter overcast/overedge presser feet; in this image you see three of them labeled M, G, and C.
Let me show you how easy it is to use these overcast presser feet for finishing seams without a serger. Some of them come with your sewing machine, and sometimes if your sewing machine is pretty old, you can buy them separately ( they are really cheap!).
I have a serger which I use a lot. But still, sometimes I use just overcast feet of my regular sewing machine – it’s easier if I need to finish raw edges on some small projects. Sometimes I just don’t want to take my serger from its storage place and look for threads of suitable color and re-thread my serger. There are many reasons you may want to use overcast feet even if you have a serger.
There are some different types of overcast feet. I will present 3 of them, the ones in the image above. All of them are good for low shank sewing machines (most modern sewing machines are low shank). Beware that some machines do not accept low shank accessories directly, you may need to get either an adapter or buy the foot from the manufacturer. I had a Pfaff computerized sewing machine which fell in this category (I don’t have it anymore).
Note: Some of the links on this page are affiliate links. This means I will receive a commission if you order a product through one of my links. I only recommend products I believe in and use myself.


Types of overcast presser feet
Let’s take a look at the three overcast presser feet. All of them came bundled with one of my sewing machines, I did not have to buy them separately. All of them fit all my low shank machines. But they can be bought separately and they are not really expensive.
Overcast foot G – this foot came with my Babylock sewing machine but I can use it on all low-shank modern machines.
It has a small metal bar over which the needle is going on the right side of the fabric. It keeps the fabric edge from curling or bunching up onto itself.
It has a special guide closer to the right side of the foot. This guide is very important for straight sewing on the edge of the fabric. Your fabric will have to line up with the guide.
Overcast foot C came with my Janome sewing machine.
It has 2 small pins instead of one, or maybe it’s better to say wires. I can see they are thinner than the one on the G foot. They can easily hold the fabric edges flat. This foot is exclusively for overcasting. It has this small brush that effectively prevents skipped stitches on the raw fabric edges.
Overcast foot M is also from my Janome. This foot is specially designed to simulate professional style overlocking. It has 3 thin wires, they help to prevent the fabric edge from puckering or rolling.
Check the video clip below to see all these presser feet.

As you can see all these overcast presser feet are a little bit different from each other but they all have something in common. They are a very good alternative to a serger – you can finish raw edges using them, the only difference is that they don’t cut fabric edges as sergers do.
Now let’s see how we can use these feet for making overcasting stitches. There are some special stitches on your sewing machine that you can use for overcasting.
Check your sewing machine manual to see what overcasting stitches your machine has. All brands and models are slightly different and have their own settings.
Zig Zag seam finish
The first and the easiest overcasting stitch is a Zig Zag stitch which I will demonstrate in a video below.
For this video clip, I have a piece of 100% silk fabric. I used this fabric to sew silk pillowcases and a robe. . You can check my tutorial on making pillowcases from natural silk fabric here.
The fabric is fraying a lot. Let’s see how we can stop fraying with overcasting stitches.
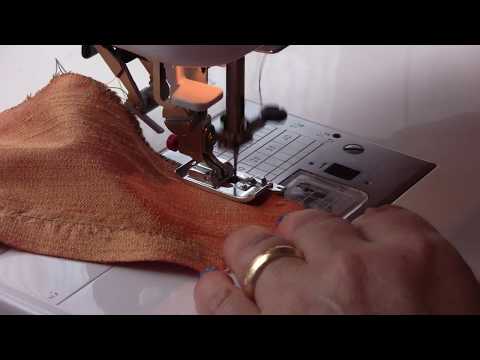
Before sewing, trim the edges with scissors because a regular sewing machine doesn’t cut fabric.
I am going to use an overcast presser foot C now.
Position the fabric with the edge of the fabric running against the guide of the foot.
Lower the needle and the foot. Adjust the stitch length and the stitch width. Make sure that the width of the overcasting stitch is big enough so the needle doesn’t hit the metal bars when you stitch.
Start sewing slowly to make sure the needle doesn’t hit the metal bars on the presser foot, or you can use a hand wheel for a couple of stitches in the beginning. Test your settings on scrap fabric.
You will notice that the needle is going slightly over the fabric edge.
As you can see in the video clip below, I made overcasting zig-zag stitches right at the fabric edge.

Now let’s do the same zig-zag overcasting stitch with another similar presser foot G which came with my Babylock. But I will use my Janome 6600 sewing machine. I am using the same 100% silk fabric. I sew a lot with natural silk fabric and the raw edges of this silk unravel quickly so these overcasting stitches are a must for this fabric.

If you wonder where to buy silk, consider the choices below; don’t they look wonderful?


So, we saw how overcasting stitches work for silk fabric. Now let me show you how they work for quilting cotton. Quilting cotton is not so lightweight and raw edges almost don’t fray.
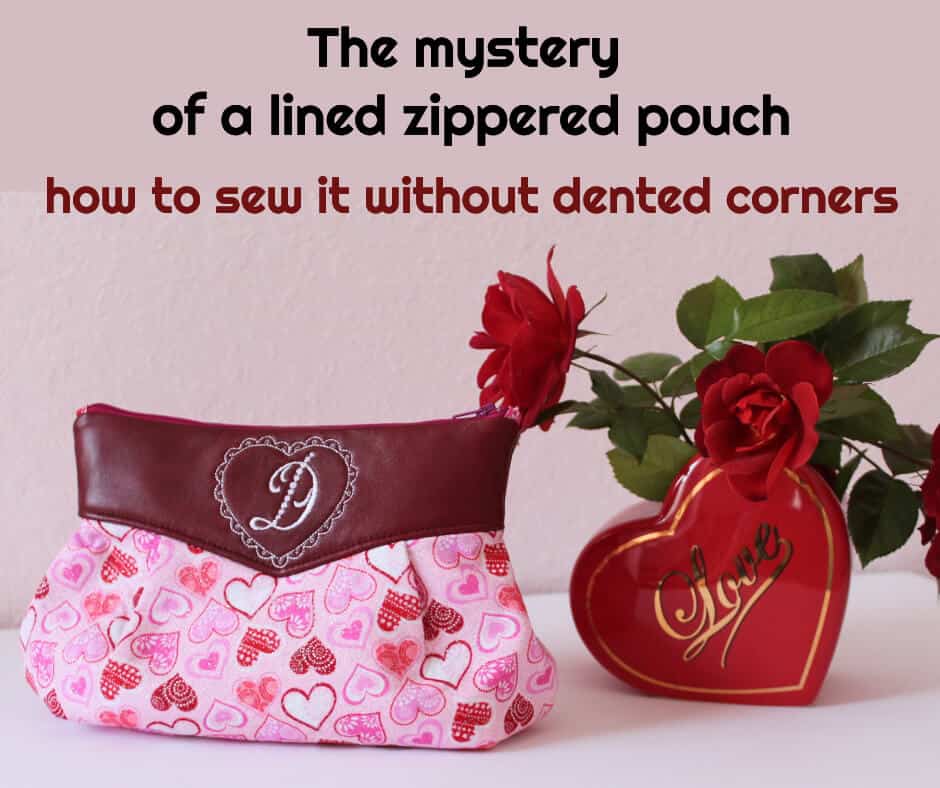
The piece of fabric I am going to use is what’s left after I made a cosmetics bag (or a pouch) for my daughter. You can find my YouTube tutorial on how to make this pouch without dented corners, also the Zipper pouch tutorial on ageberry.com.
I am going to use the overcast presser foot G and a regular zig-zag stitch for overcasting.
As you can see in the video clip below, overcasting stitches sewn over quilting cotton look more uniform than on silk fabric.

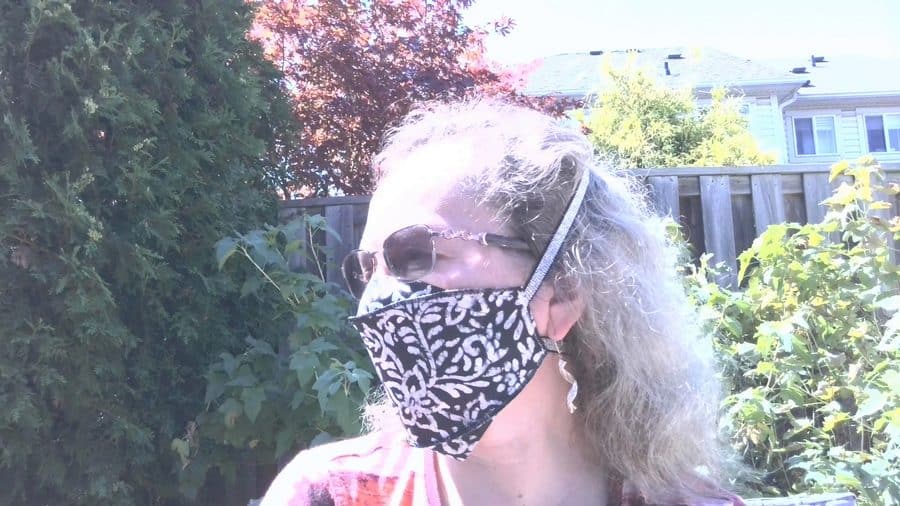
Recently I used this overcasting foot to make an easy (but well-fitted) face mask. Yes, the Covid-19 scare is no longer that big, but I am still using the mask whenever I spray my plants with fertilizer other things. All organic, mind you, but even lemongrass oil is an irritant!
And now I want to show you another fabric – also 100% cotton but not for quilting. This fabric is fraying a lot. But with overcasting stitches, we can finish the raw edges very easily. I am going to use the overcast presser foot G also.

I hope you can see that different fabric behave differently with overcasting stitches. But also, settings for different fabrics need to be adjusted.
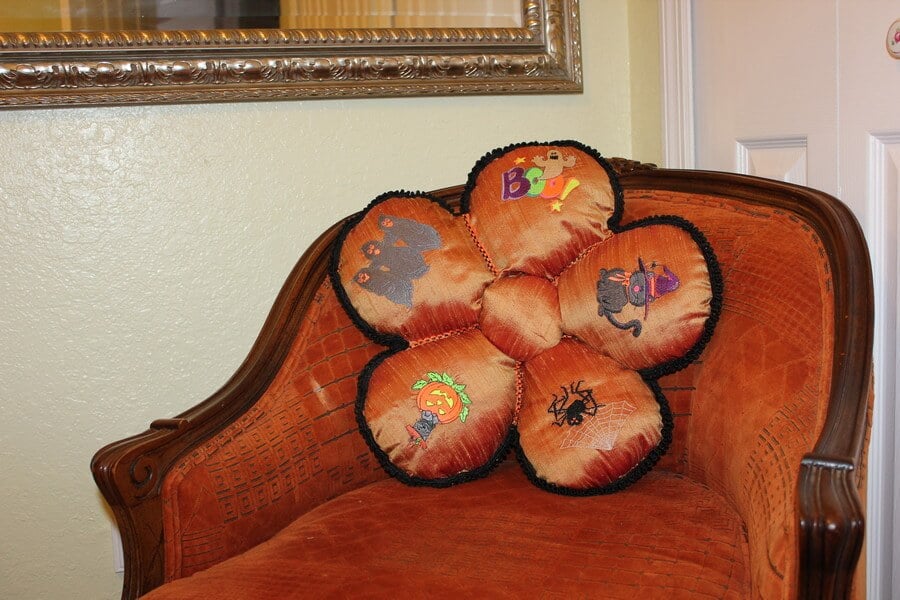
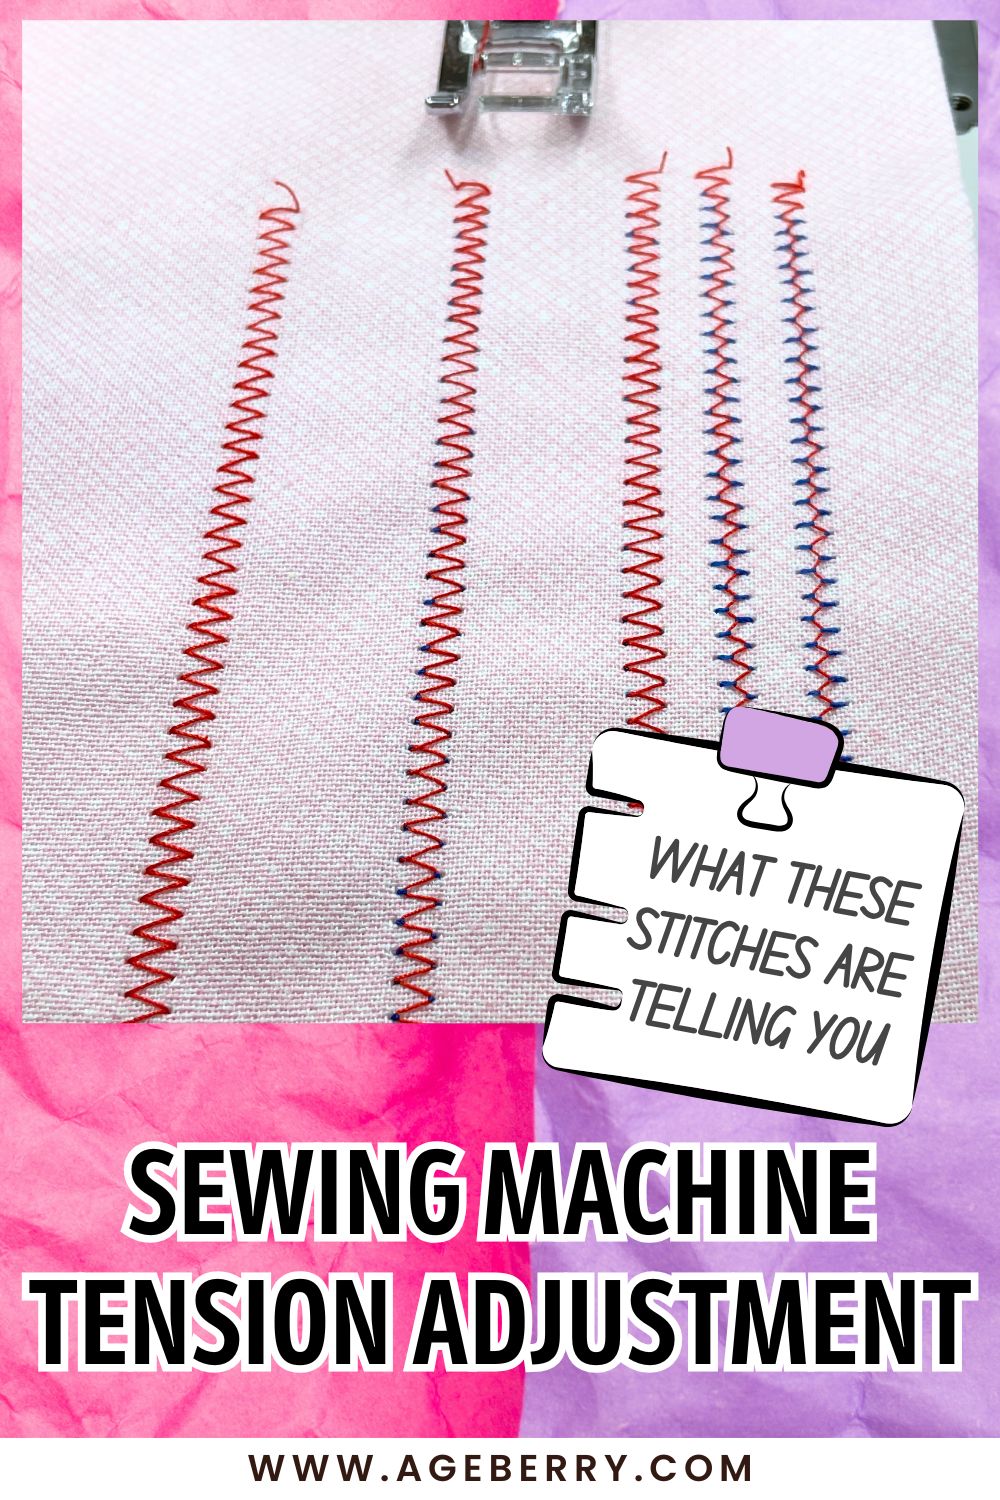
In the next video clip, I want to show you bad stitching. For this video, I used again 100% silk fabric (dupioni) which was left after I made an interesting embroidered Halloween pillow. You can see a tutorial on making this pillow here.
Look what happens (in the video clip below) if stitch settings are not right for your fabric. And after I changed the settings overcasting was done quite well.
Special Overcast stitch
Now let’s use a different stitch – a special overcast stitch. And I am going to use an overcasting foot C.
This stitch is working better with thicker fabric because these overcasting stitches are going back and forth as you will notice.
For this test, I used pink cotton gabardine fabric which is medium-weight fabric (maybe closer to heavyweight though).

I can tell you that you can use overcasting stitches right after you cut your pattern pieces before making any seams or you can make the necessary seams first and overcast after that. It works fine but it’s better to keep your seam allowances wider that the presser foot width. And it works better if you don’t need to open seam allowances flat.

This type of overcasting stitches can be used to simultaneously sew and overcast the edges of fabrics. Usually, we can do it when we don’t need to keep seam allowances open flat. And it usually works well with knit fabric.
Let me show you how it works with lightweight rayon knit fabric – the fabric is very stretchy and it keeps its stretchiness after sewing with the overcast stitch. I had 6 yards of this fabric and made different garments with it. Here you can see one of the outfits which got many likes on my Instagram account.

So, I am using the overcasting foot C. And in the video below you can see also the settings of the sewing machine I am using for the overcast stitch.
As you can see the seam is not really perfect, it’s a little bit overstretched because the fabric is lightweight and because the stitch goes back and forth, back and forth.
But with medium-weight cotton knit fabric which is less stretchy, this overcasting stitch works very nicely.

Double Overedge Stitch
The next type of overcasting stitches is called Double overedge stitch in my sewing machine manual. They say it’s good for fabrics that tend to fray extensively such as linens and gabardines. Two rows of stitches are simultaneously sewn over the fabric edge to prevent the fabric from fraying. This stitch works only with medium to heavy-weight fabric. I am using an overcasting presser foot C.

Overlock stitch
The next type of overcasting stitches – is an overlock stitch. This stitch finishes the raw fabric edges very similar to a serger. It’s necessary to use foot M for this stitch.
These overlock stitches look really nice on the pink cotton fabric.

But Overcast presser feet and overcasting stitches can be successfully used not only for finishing raw fabric edges.
Let me show you some other types of fabric finishes.
Making rolled hems with overcast presser feet
You can make very nice rolled hems using a zigzag stitch and an overcast foot.
Here I am making the rolled hem with the presser foot G using my white silk fabric.

Below you can see the rolled hem with presser foot G also on the 100 % silk charmeuse. You notice how fast and easy it is to make the rolled hem this way. This foot works in my opinion better than the rolled hem foot which is designed for this purpose even if it does not actually roll the material. For another procedure to create the rolled hem please see my article Narrow hem tutorial.

Now let’s try to make a rolled hem on 4-way stretch rayon. As you can see it works also and I think this kind of rolled hem is called a lettuce hem, right? Looks beautiful.

Making pintucks with overcast presser feet
You can also make pintucks with overcasting presser feet to embellish clothes. It’s very easy to create beautiful stitches parallel to each other at regular intervals. You can use threads of the same color as your fabric, or use a contrasting thread as an additional decorative element.

Want to improve your sewing skills?
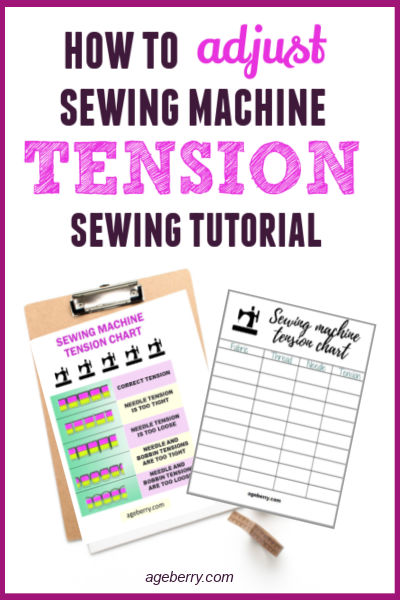
Get my detailed guide on SEWING MACHINE TENSION ADJUSTMENTS free!
Subscribe to my weekly newsletter with sewing tips and tutorials, free sewing patterns, printable PDFs, and other useful content and you’ll find the eBook in your inbox.
Subscriber exclusive offer.
Don’t miss the free HELPFUL eBook!
Did you find this tutorial helpful? If so, save this pin (see below) on your sewing board so you can come to this tutorial later when you are ready to make an overcast stitch, and follow me on Pinterest for more tips, tutorials, and inspiration!
Ready to take the next step in your sewing journey? Check out more step-by-step tutorials from my site and don’t forget to share!
latest posts
- Butterfly Quilt Block Tutorial – Foundation Paper Piecing
- How To Sew Quilt Squares So The Corners Match
- Sewing With Fork Pins: How They Help With Pattern Matching, Slippery Fabric, And Seams
- How Much Fabric Do I Need? 21 Helpful Tips For Calculating Fabric Yardage
- Easy Simple Sewing Project: Fabric Jar Opener
- DIY Oven Mitts: Step-by-Step Sewing Tutorial
- Easy DIY Potholder: New Design
- Tailor’s Clapper: What It Does, Why It Works, And How To Use It Right
- Heat Resistant Batting for Sewing: What It Is, How It Works, and What Makes a Difference


Thank you Olga. I only have presserfoot “G”. I can’t wait to experiment with this method of overcasting.
Thank you Janis! I think most people have the presser foot G, it seems to me it’s a standard accessory for Brother and Babylock. And feet C and M are made by Janome but as they are regular snap-on feet for low shank sewing machines they are good for a big number of modern sewing machines.
Thank you, Olga, for the wonderful tutorial for the beginner sewist like myself. I have been a quilter since 2012 but know absolutely nothing about sewing. I have never even hemmed a pair of pants! I am so glad that I found, and signed up for, your blog. These tips on how to use your feet for serger type results are absolutely wonderful and I can’t wait to give it a try. Again, thanks so much.
Your tutorial for the overcast stitches was very good. I will try these stitches in the weeks to come. I am hoping to delay buying a serger for a while. With this tutorial, I just may be able to put it off a while longer!
Thank you again! You have very good and useful tutorials!
Thank you! Indeed these stitches can save you sometimes, and are convenient because you don’t have to set up another machine, but for a larger project, a serger is still better.
THANK YOU!!!!! I definitely will try all these. I really don’t want a serger and was considering one.
Not now!
Great tutorial!
I like working with all kinds of fabrics and I have a serger, but haven’t used it for quite some time as I don’t need it. I have loads of different presser feet and twin needles – they do all I need!
I am happy to hear you found it useful! If you like to use twin needles maybe you will like my tutorial on twin needles I published recently. But still, I use my serger a lot, especially for sewing knits.
Just wanted to say how wonderful I think your site is. I have been sewing on and off for many years (more now that I have retired from working). Some things I had forgotten how to do and I find your site so useful as a refresher/reminder of how to do things and your hints and tips to make life easier. I love the wonderful new gadgets and presser feet that are now on the market to make sewing a pleasure. Your explanation and reviews are so easy to understand and clear. I like the fact that you give options on presser feet but are honest when you say that you don’t like something and why. I don’t feel that you are trying to sell me something, just pass on your experience and knowledge which is much appreciated. Thank you!!
Thank you! The truth is that I would love if you bought something from one of my links, after all that is what allows me to keep the site up. It is not cheap to maintain a website, and it becomes even more expensive as technology advances. But I will never directly promote something I did not try; I will never say “I like it” if I did not test it. And if I try and don’t like it, I will say this too. It helps, not being associated with or supported by any manufacturer or brand.