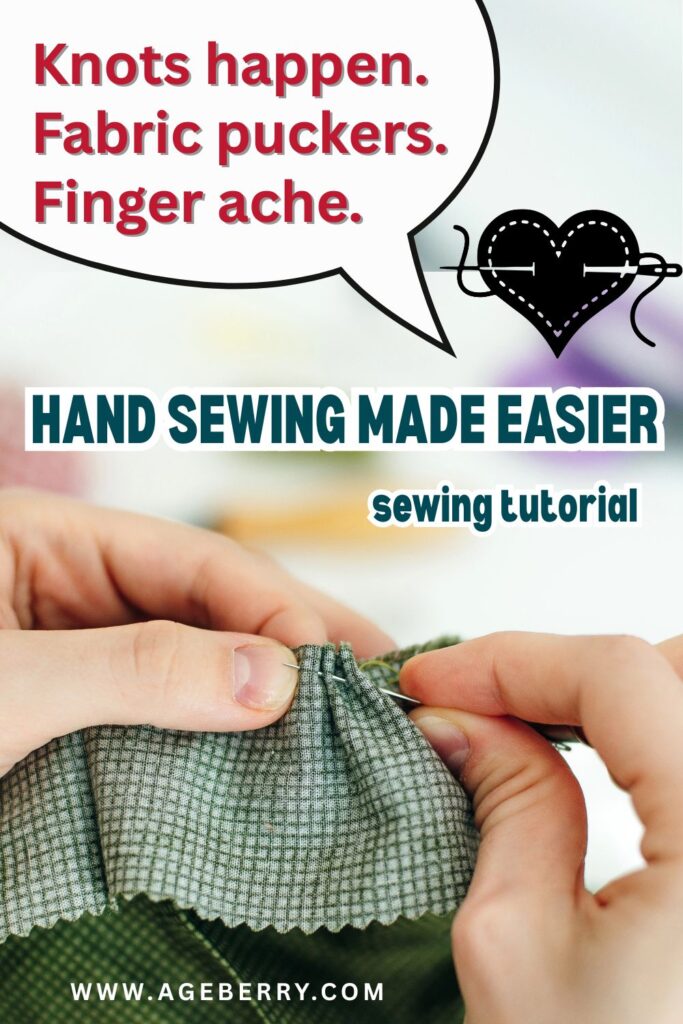
Top 10 Hand Sewing Tips: Smart Hacks, Essential Tools, and Simple Techniques Every Sewist Can Use
Even if most of your projects go through a sewing machine, hand sewing is always part of the process. Buttons, hems, basting, tiny repairs, or even small decorative projects all call for a needle and thread.
Hand sewing gives you control, precision, and a quiet rhythm that many sewists enjoy. In this guide, I’m sharing practical tips, useful tools, and clever tricks that make hand sewing smoother, easier, and more precise.
Where Hand Sewing Fits Into Every Project
I love my sewing machines. My serger is fast, my embroidery machine makes magic, and my regular machine does most of the heavy lifting. But no matter how many machines I have, I can’t avoid hand sewing. It always sneaks in.
Think about it. You want to baste two tricky pieces together before machine stitching? Hand sewing. A button pops off your favorite cardigan? Hand sewing. That hem on a delicate skirt looks better with invisible stitches? Hand sewing again. Even the tiniest bit of hand embroidery counts, whether you’re adding a flower to a pocket or stitching initials inside a gift.
And then there are the fun little projects that are only about hand sewing. Small ornaments, pincushions, soft toys—those don’t need a machine at all. Sometimes I even find it relaxing to pick up a needle and thread instead of wrestling with presser feet and bobbins.
So yes, if you sew, you hand sew. It’s not optional. It’s part of the deal, and honestly, it’s the handwork that connects us to generations of sewists before us.
#1. Waxing Your Thread
Waxing thread reduces tangles, prevents fraying, and adds slight strength. Wax gives the thread a smoother “coat” so it glides more easily through fabric.
How to Do It
- Cut your thread to a manageable length.
- Rub the thread lightly over a beeswax block or cake, sliding it along so the fibers pick up wax.
- (Optional, but useful) Place the thread between clean pieces of papers or cloth and press with a warm iron. The heat helps melt the wax so it penetrates the fibers evenly.
- If you skip the iron, just run the thread through your fingers a few times. The warmth of your hands will help set the wax well enough for most projects.
When to Skip or Use Caution
- With very delicate, sheer, or heat-sensitive fabrics — the wax can darken or leave a mark.
- With novelty threads or ones whose shine might change under wax.
- If you don’t trust the wax quality (always use 100% beeswax, not blends or substitutes).
Note: Some of the links on this page are affiliate links. This means I will receive a commission if you order a product through one of my links. I only recommend products I believe in and use myself.


#2. Starting Without a Knot
Knots can be troublemakers sometimes. On fine fabrics they can create tiny bumps that catch the light and ruin that smooth finish. Sometimes they even pull through to the front. And a knot that pops loose halfway through hemming can be enough to make you want to put the project down and walk away.
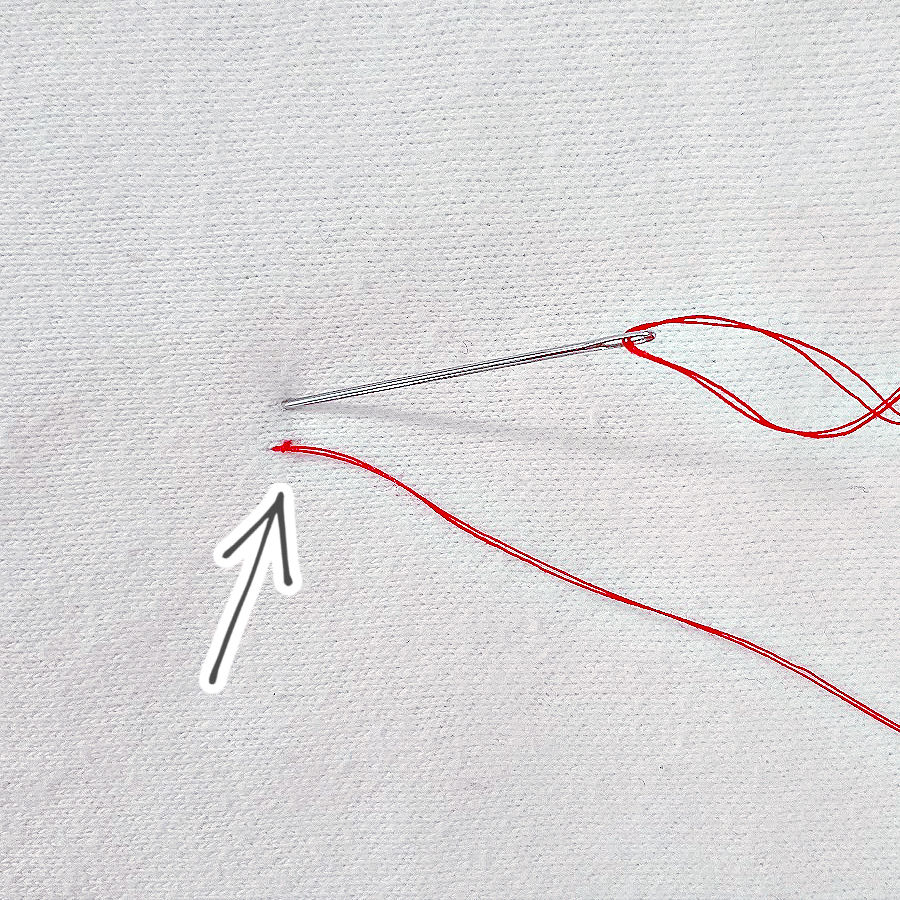
1. The Double Thread Loop (my favorite)
Step 1. Take a double thread and place both cut ends through the needle. The folded loop stays at the bottom.
Step 2. Make your first stitch through the fabric. The loop end will show on the fabric.
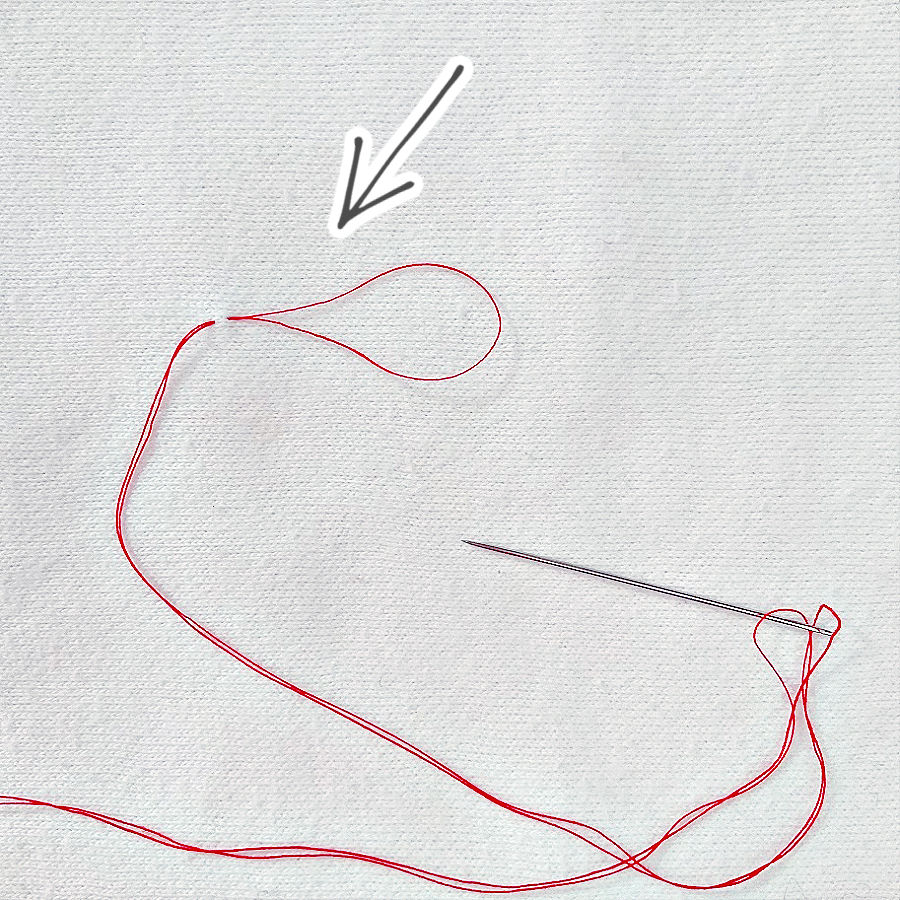
Step 3. Before pulling the stitch tight, pass the needle through the loop.
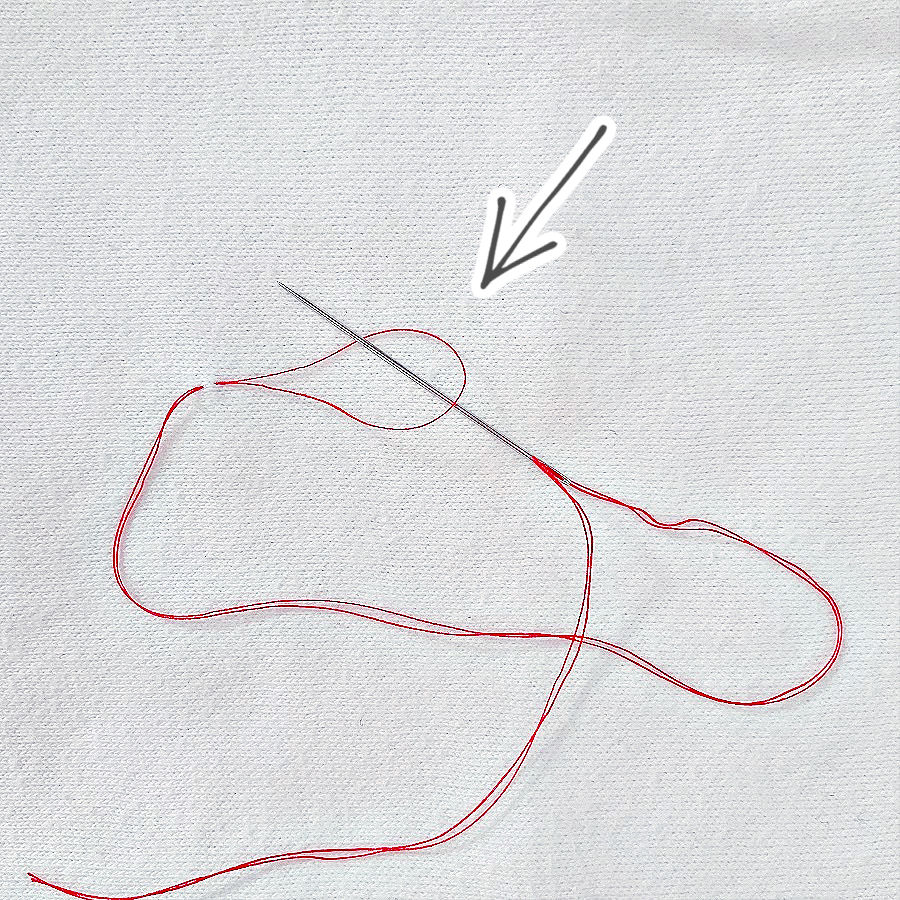
Step 4. Pull snug. The loop closes around the thread and anchors it neatly without a knot.
2. The Backstitch Anchor
- Bring your needle up from the wrong side of the fabric.
- Take a tiny stitch forward and go down through the fabric.
- Now bring the needle back up at the starting hole—that same first spot where you originally came up.
- Then make a second stitch that goes forward again and one more backward stitch the same way if you want extra hold.
- After that, just keep sewing like normal. Your thread isn’t going anywhere.
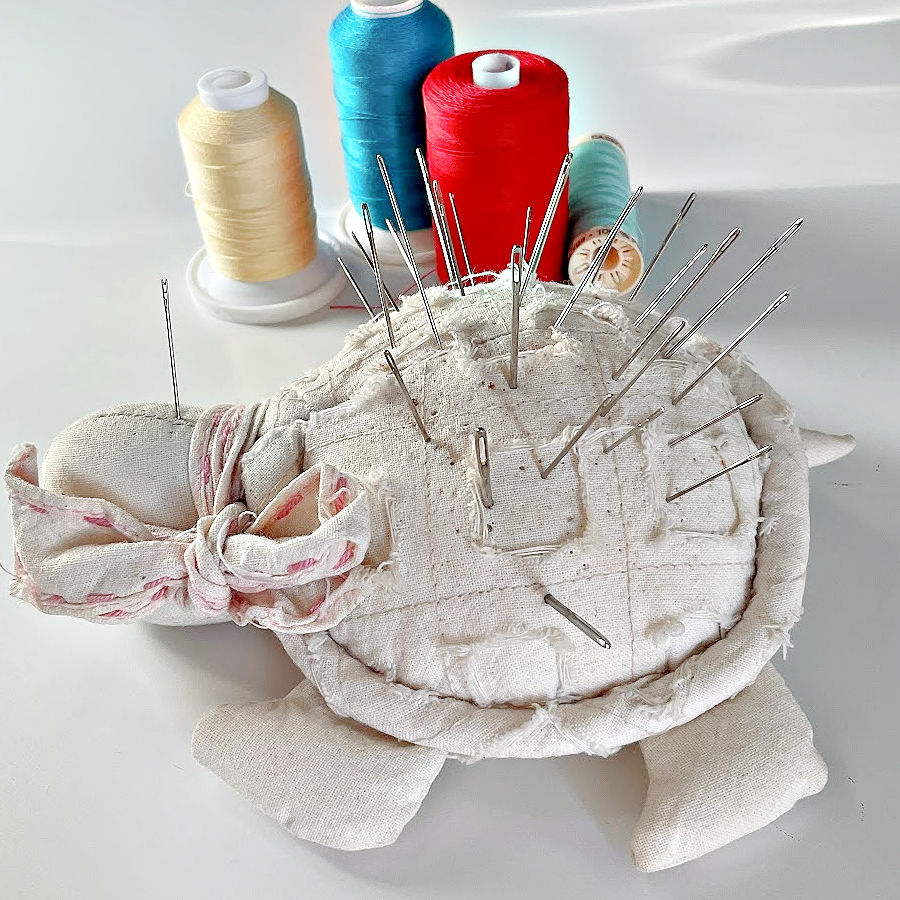
#3. Choosing the Right Needle
Here’s a little scene from my sewing table. I have an alteration project: repairing small holes in a cashmere sweater. My pincushion is full of different needles, and I need to pick just one. But which one should I choose?
There is no truly “universal” hand needle.
“This one looks promising, but it’s too short and the eye is tiny.” That means I’ll struggle to thread it, and the short length won’t give me much control.
“This one is long enough, but a bit too thick for this fabric.” Nobody likes big holes left in the fabric!
“And here’s another—nice medium length, medium eye… but wait. The tip is triangular.” That’s a leather needle, definitely not a good match for cashmere.
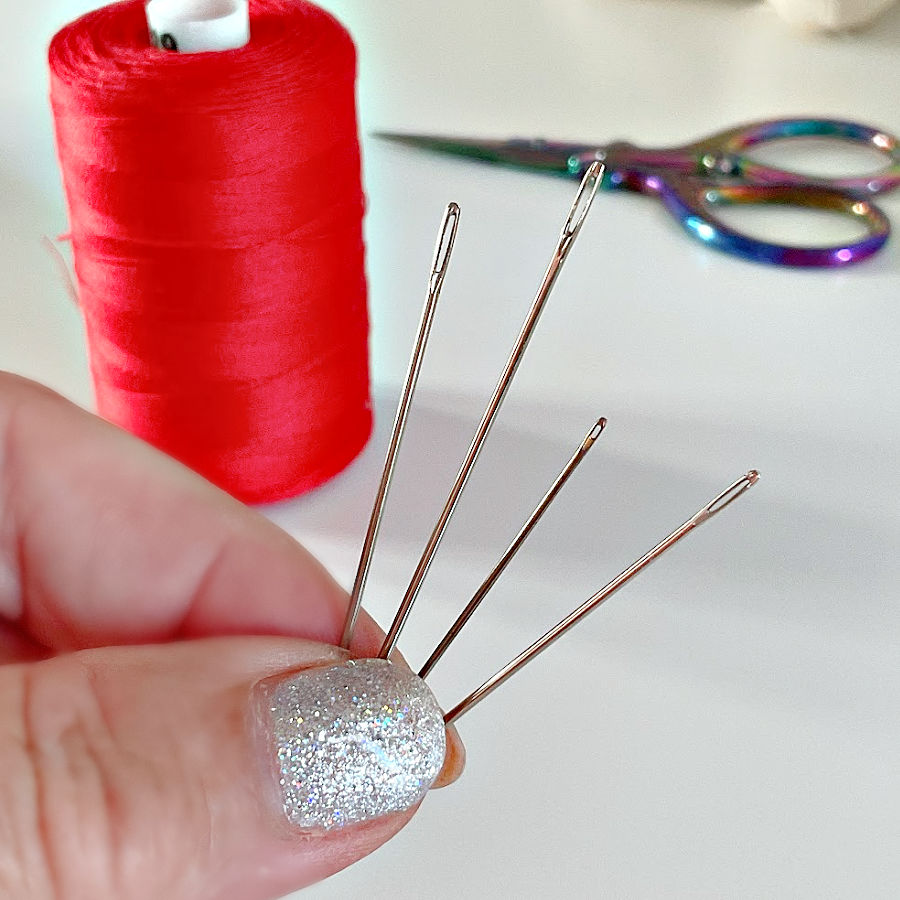
So you see, it’s not always an easy choice.
Needles come in different types and sizes, and each one has a specific purpose.
- Sizes: Higher numbers mean finer needles. A size 12 is delicate and slim, while a size 4 is sturdy and thick.
- Types: Sharps are the everyday all-rounders. Embroidery needles have longer eyes for thicker threads. Quilting needles are short and sharp for quick stitches. Tapestry needles have blunt tips for weaving through open fabrics. And leather needles? They have cutting tips designed for skins and hides, not sweaters.
- Why it matters: A needle that’s too large can leave visible holes or cause puckering. A needle that’s too fine may bend or struggle with heavier fabrics. The best match is always a balance between your fabric weight and your thread thickness.


If you’d like more detail, I’ve written a full guide: Types of Hand Sewing Needles and Their Uses: A Guide for Modern Sewists. It explains each type with examples so you can see exactly which needle works best for your project.
#4. Using Self-Threading Needles
Sometimes threading a needle feels like a cruel test of patience.. That’s when self-threading needles feel like a small miracle. Instead of poking and squinting, you just slip the thread into the special slot at the top and start sewing.
But not all self-threading needles are equal. I’ve had excellent results with Singer self-threading needles. They’re smooth, they hold the thread without slipping, and they don’t shred it.
Unfortunately I was not able to find Singer self threading needles anymore, and I can’t recommend the no-names sold on Amazon or elsewhere (I tried them, and not once). But if you need a self threading needle, I suggest try other brand names like the ones below.


The no-name ones I tried? They were kind of rough, frayed the thread, and turned “easy threading” into “more fixing.”
There’s also another type you might see: side-threading needles. In theory, you slide the thread through a slot on the side of the eye. In practice, they catch on the fabric, and the thread pops out at the worst moment. Personally, I don’t find them useful and I do not recommend them.
So yes, good self-threading needles are worth keeping around—especially when your eyes are tired, or when you just want to get going without a fight. But stick with good-quality ones, and use them in the right situations.
If you’d like to explore this more, I wrote a full guide: Are You Missing Out on the Magic of Self-Threading Needles? It explains the different types and shows how to get the best results with them.
#5. Using a Thimble
I was laughing recently at my daughter. She thought thimbles were just little souvenirs—something you bought in gift shops, not something you actually used.
But try sewing through several layers of denim without one, and you’ll quickly learn why thimbles exist. You’ll hurt your finger before you even finish the seam.
A thimble acts like armor. It gives your finger the strength to push the needle through heavy fabrics and saves you from those painful dents that come with hours of stitching. Even with lighter fabrics, it makes sewing more comfortable.
There are a few styles worth trying:
- Metal thimbles are the classics, they are sturdy and long-lasting.
- Leather thimbles feel soft and flexible, and they mold to your finger over time.
- Silicone thimbles have extra grip and bend a little, so they’re useful if metal feels too stiff or slippery.


The key is to find one that fits well and feels natural. If your thimble is uncomfortable, you won’t use it, and your finger will end up paying the price.
I’ve written a full tutorial that takes the mystery out of thimbles: How to Use a Thimble: The Ultimate Guide. It shows you how to choose, wear, and sew comfortably with one, so your fingers stay safe and pain-free.
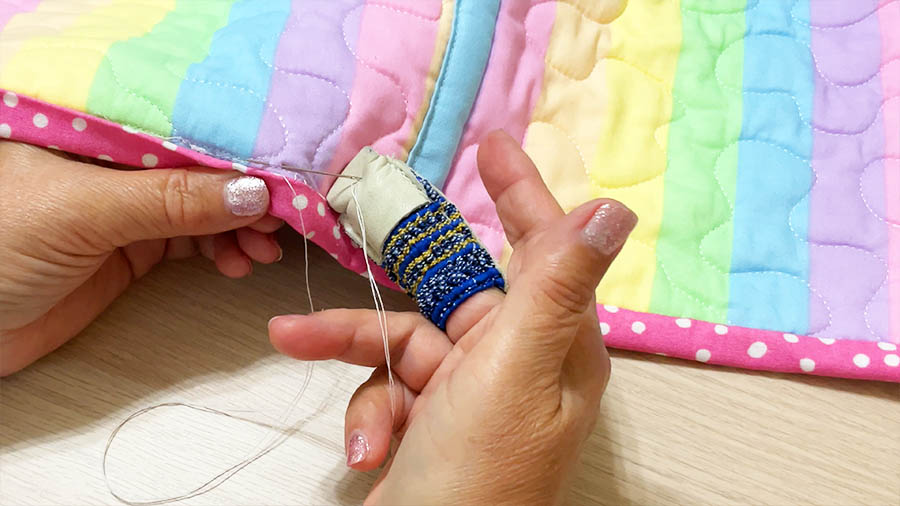
#6. Using a Thimble Pad
I recently discovered a tool that made me smirk: a Thimble Pad — a sticky leather pad that act like a lightweight, no-bulk thimble.


These pads are thin, flexible, and designed to adhere to your fingertip so you can push needles without the bulk or stiffness of a full thimble.
Here’s what makes them useful (and fun):
- How they work: Stick one pad to the finger you use to push the needle. The leather surface gives grip so your needle won’t slip off.
- Comfort: Because they’re thin, you barely notice them. Many sewists say they “feel like a dream” compared to rigid metal thimbles.
- Reusability: The adhesive is reusable. You can peel them off and stick them again. The adhesive can hold all day, even through handwashing.
- When to use: Especially handy when you want fingertip protection but don’t want the bulk or stiffness of a full thimble — for delicate fabrics, light seams, or just to give your skin a break during longer sessions.
Because they are so small, you need to be careful when positioning the needle on the pad!
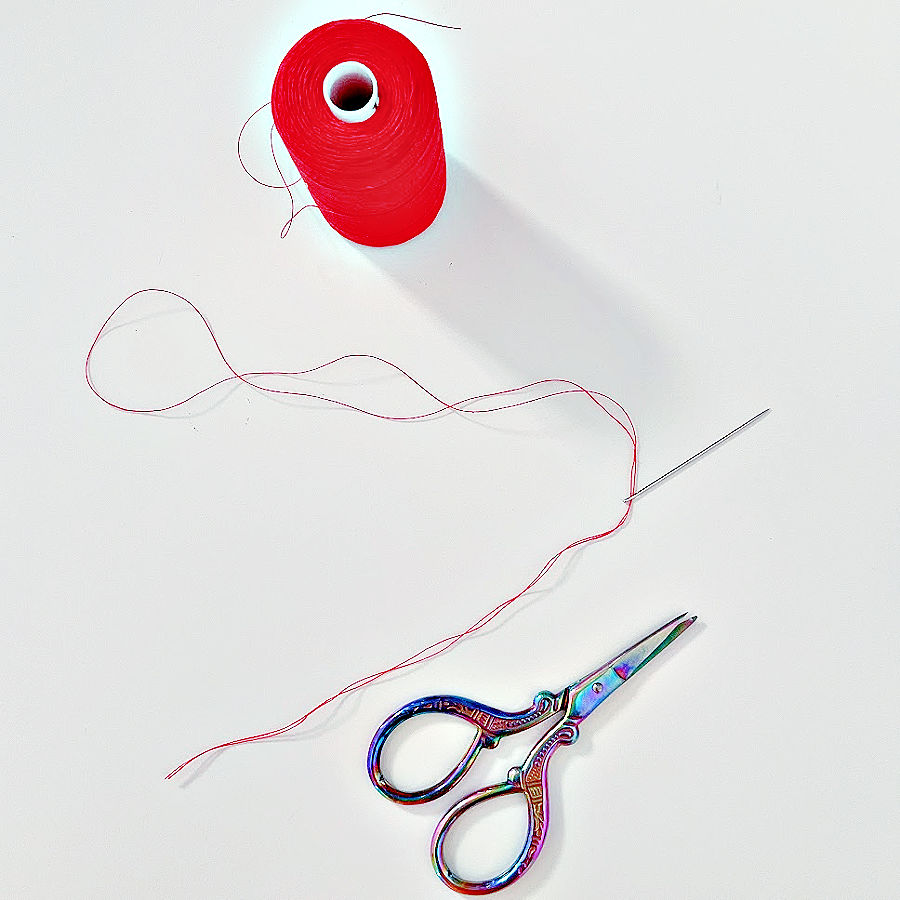
#7. Keeping Thread Length Manageable
When it comes to hand sewing, longer thread doesn’t mean faster sewing. In fact, it usually means more trouble. The general rule is simple: cut your thread no longer than the length of your arm.
Why? Because extra-long thread loves to misbehave. It twists, knots, and even frays before you’re even halfway through your seam. By the time you untangle the mess, you could have re-threaded twice and finished the stitching already.
It may feel annoying to stop and re-thread more often, but shorter lengths make for smoother sewing.
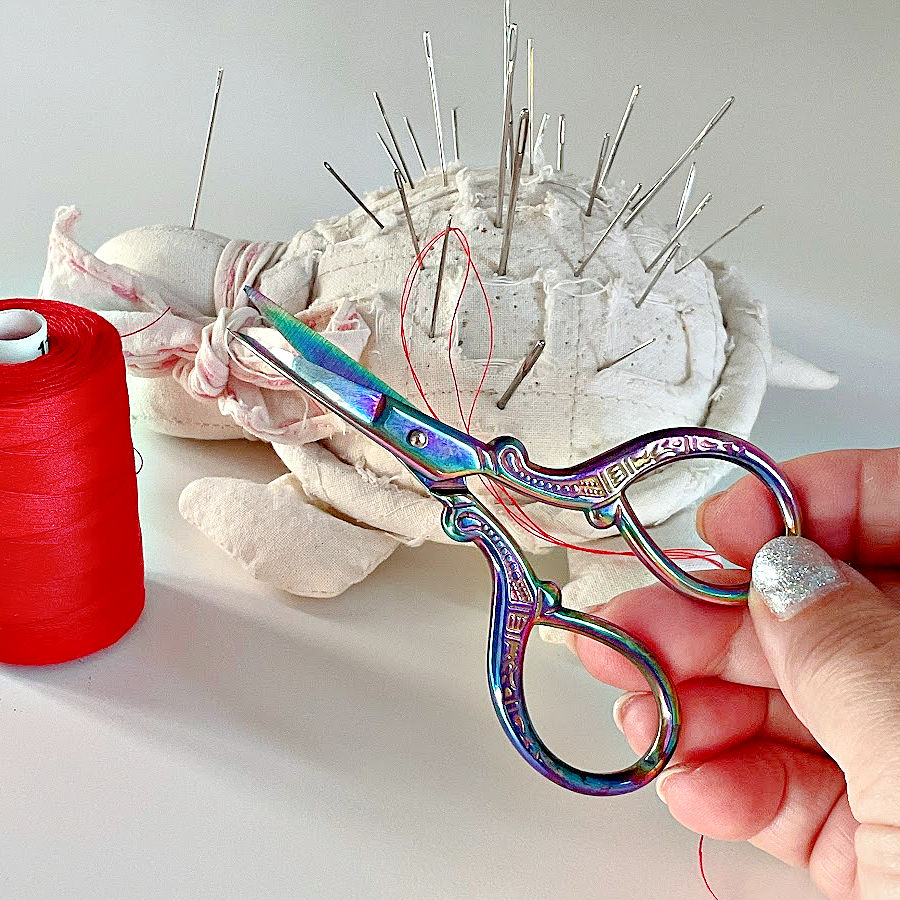
#8. Keeping Your Small Scissors Handy
Hand sewing usually means lots of tiny thread tails—and where there are tails, there’s snipping.
Big fabric shears? They’re overkill for trimming threads.
Here’s what I reach for instead:
- Thread snips — These are fast, spring-loaded, and easy to grab and click without adjusting your grip. Great for speed, though not always the most precise.
- Embroidery scissors — Small, pointed, and very sharp. These are perfect when you want to trim close to the fabric without accidentally slicing something important.
Just a heads-up: embroidery scissors feel razor-sharp when they’re new, but over time, they do get dull—especially if you use them for things they weren’t made for (like snipping interfacing or ribbon). So don’t be surprised if they stop slicing cleanly. It might be time to switch to a fresh pair. I like to buy them in bulk so there’s always a sharp one ready when needed.


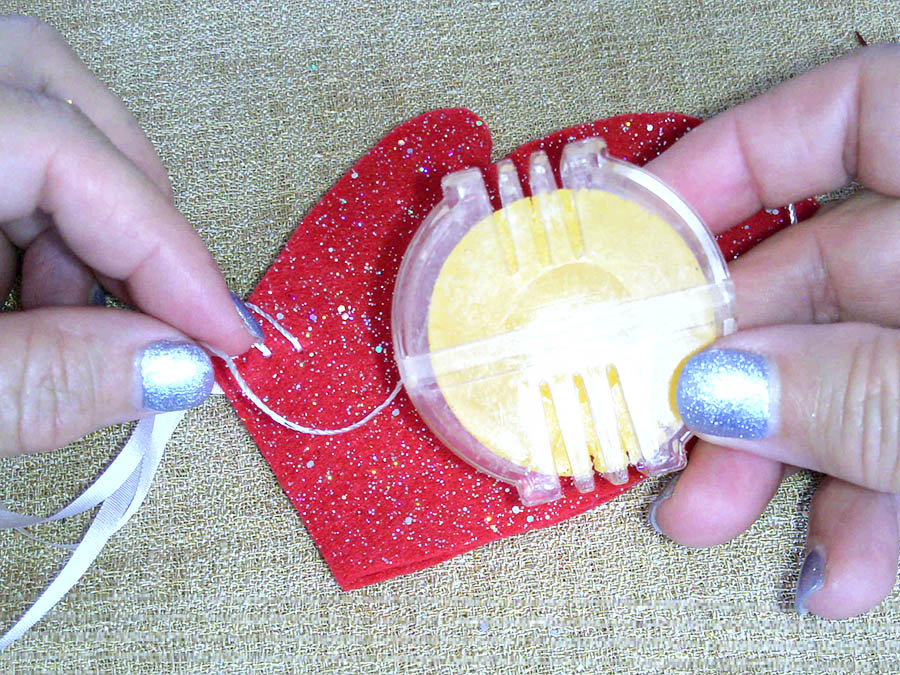
#9. Using a Needle Threader Wisely
Sometimes threading the needle takes longer than the actual sewing. That’s where a needle threader really helps.
But not all threaders are built to last. Those thin wire ones are useful, but they bend easily and don’t handle much pressure. After a few uses, the wire starts to warp, and suddenly you’re threading your needle the old-fashioned way again.
If you use a threader often, look for something sturdier that holds up better. They’re less likely to snap the moment your thread resists.

Unfortunately, the more sturdy threaders are also for large eye needles – and those are obviously easier to thread than the smaller needles. For the small needles I recommend stick with the wire threaders, they will break, but they are also quite cheap.


Tip: If the thread doesn’t fit through the needle eye, don’t force it. That’s a sign you need a larger needle, not a stronger threader.
Want more detail? I wrote a full guide: How To Use A Needle Threader For Sewing Machine And Hand Sewing. It covers different types of threaders and how to use each one without breaking them.
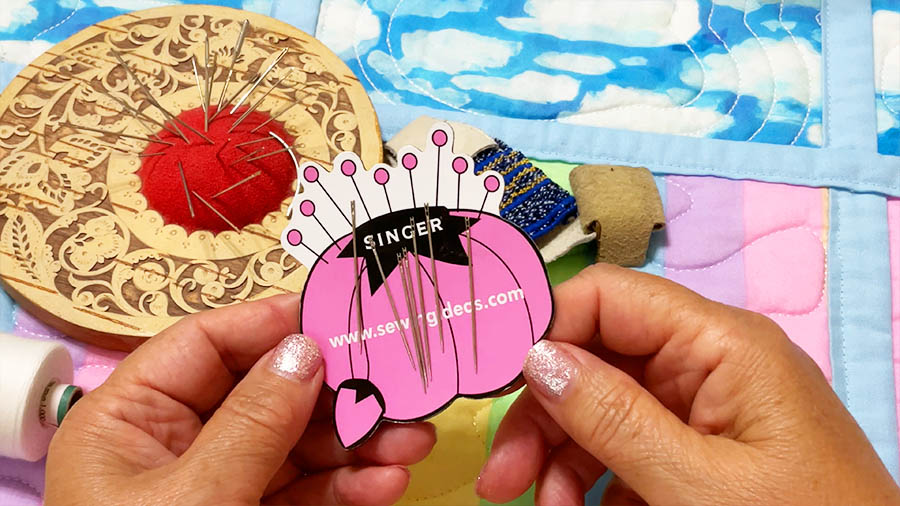
#10. Using Pincushions and Needle Books
Needles have a habit of vanishing just when you’re ready to sew. A good pincushion or needle book helps you keep track of them—and keeps your fingers safe from those surprise pokes when you least expect them.
Pincushions may be named for pins, but they’re excellent for needles as well. They can even make it easy to sort different needle types. You can keep your sharps on one side, embroidery needles on the other, and never have to guess which one you just pulled out. Needle books take this even further, letting you tuck needles into felt “pages” by size or project.
If you enjoy a little handmade charm in your tools, you’ll love these DIY tutorials:
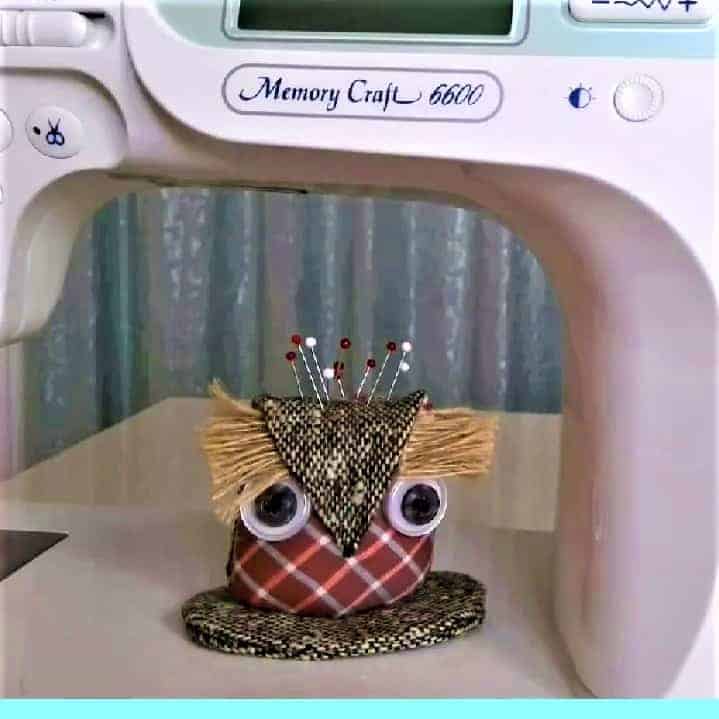
How to make an owl pincushion: a sewing tutorial plus a free pattern — adorable, practical, and made from fabric scraps.
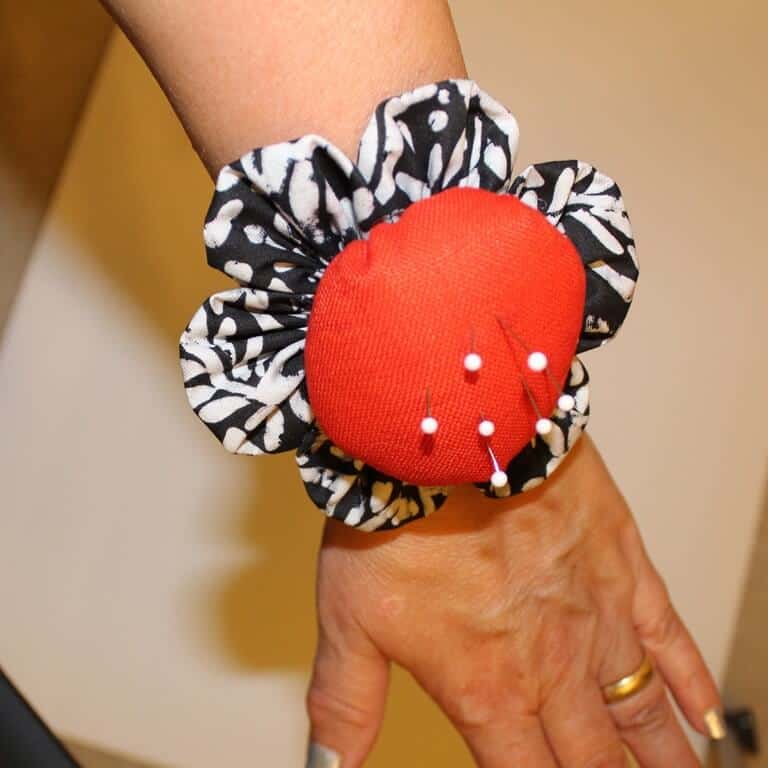
How to make a cute and very useful wrist pin cushion {step-by-step sewing tutorial} — great for keeping pins right where you need them.
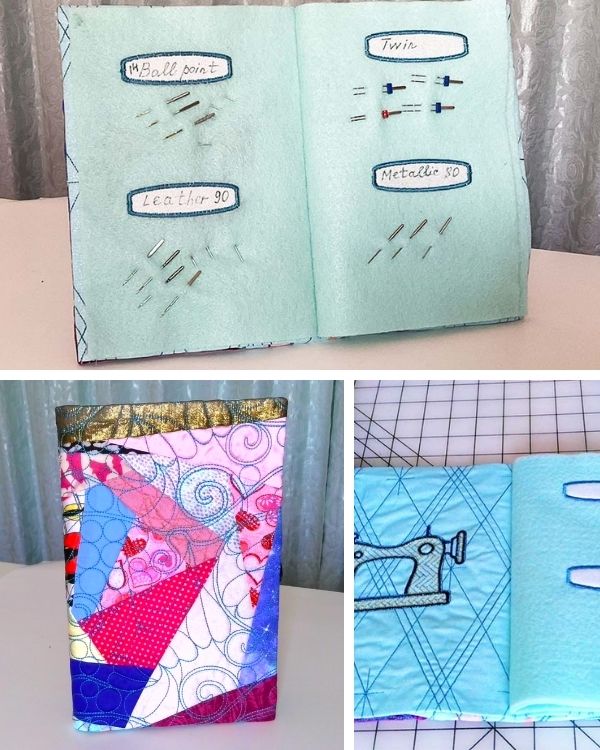
Adorable DIY Needle Book | Easy Tutorial for Beginners — a beginner-friendly way to store needles safely and stylishly.
You don’t need a fancy kit to stay organized—just a few scraps, a little time, and a good habit of putting your needles where they belong.
────────── ✧ ──────────
If you’re ready to put these tips into practice, here are two detailed hand sewing tutorials to explore next:
Blanket Stitch Tutorial: Techniques, Tips, and Variations
In this guide, I am showing how to sew the blanket stitch neatly and evenly by hand. It covers edging, appliqué, decorative uses, and how to adapt the stitch for different fabrics and thread types. Includes step-by-step instructions and examples.
Invisible Stitch by Hand: A Couture Sewing Technique for Silk Garments
This guide shows how to sew completely invisible hems by hand, using a couture technique ideal for silk and other delicate fabrics. You’ll learn how to secure the thread and keep the stitches hidden.
Did this guide get your needles moving? Then don’t let it wander off like that one spool of thread you swear was just here. Save the pin below so you can find it later when you’re hand sewing again. And if you enjoy sewing tutorials that mix helpful advice with a few light laughs, follow me on Pinterest — I’m always sharing something worth threading a needle for.

latest posts
- How To Sew Curves the Easy Way Using a Curve Master Presser Foot
- 30 Sewing Hacks That Turn Ordinary Items into Useful Sewing Tools
- Seam Allowances in Sewing Patterns: What They Are and How to Use Them
- What Do You Call a Person Who Sews? I Asked My Readers and Got 1,408 Opinions
- DIY Round Purse: PDF Sewing Pattern and Detailed Instructions
- Mini Wonder Clips By Clover: Useful Sewing Tool Or Just Another Notion?
- Non-Slip Grips For Quilting Rulers: A Small Notion With A Useful Job
- Fabric Eraser for Sewing: What It Removes and When to Use It
- What Is The Best Thread For Sewing Machine Projects? Let’s Find Out!