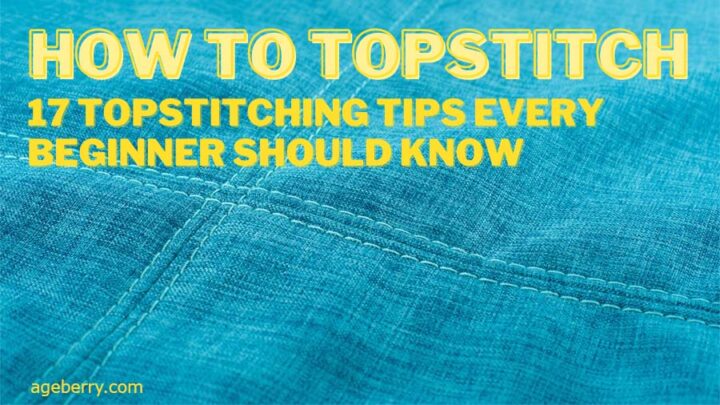
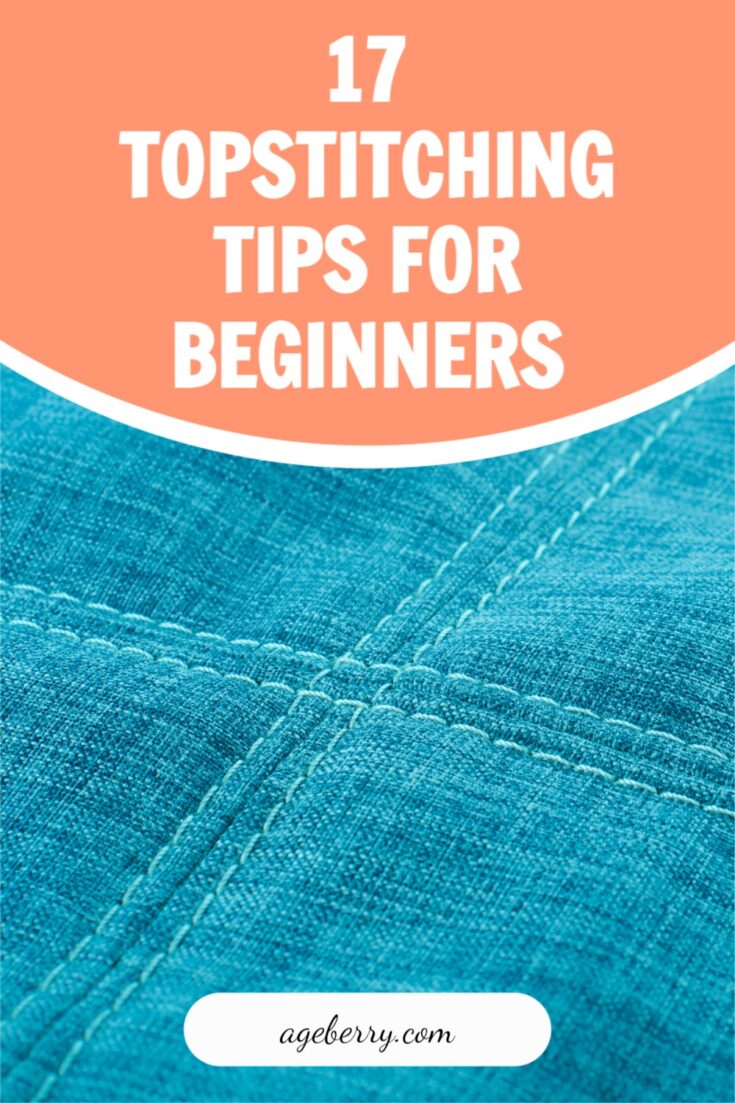
How To Topstitch | 17 Topstitching Tips Every Beginner Should Know
Topstitching (also sometimes known as topstitching or edge stitching) is decorative, visible stitching on garments, bags, or other items. If you look around at the clothes you own, you’ll likely see topstitching on most of them. Jeans are an excellent example because topstitching is often used on denim to create decorative edging (or patterns on the back pockets).
If you’ve ever looked at topstitching lines on a garment and wondered how they got the lines so perfectly straight, wonder no more! The truth is, there’s no magic involved – just a little bit of know-how and practice, practice, practice. In this tutorial, I have some proven tips to help you add beautiful, professional-looking topstitching to all your sewing projects.
When it comes to clothes, the topstitching is often one of the first things I look at. To me, it can be a telltale sign of whether an item was made by an amateur or a professional. If the topstitching is done carelessly, with crooked lines or uneven spacing, it immediately diminishes the look of the garment.
On the other hand, well-executed topstitching can really elevate an outfit and give it a polished feel.
Personally, I tend to only wear clothes that I have made myself, and I take pride in ensuring that all the topstitching is done neatly and precisely.
What is topstitching, and why would you want to do it?
Topstitching is a sewing stitch meant to be visible on the right side of an item to give a decorative touch to your final product. You can do it by hand or with a machine to give your project a clean and professional-looking finish.
You will usually find it along seams and on the internal portion of garments.
Generally speaking, topstitching is added to projects as a decorative finishing touch after construction has been completed. Here are a few examples:
- Add decorative seams to denim, sportswear, and activewear
- Create decorative stitching designs on garments
- Give necklines a finished look
- Provide a professional look to hems
- Create a casual look on waistbands (especially on jeans)
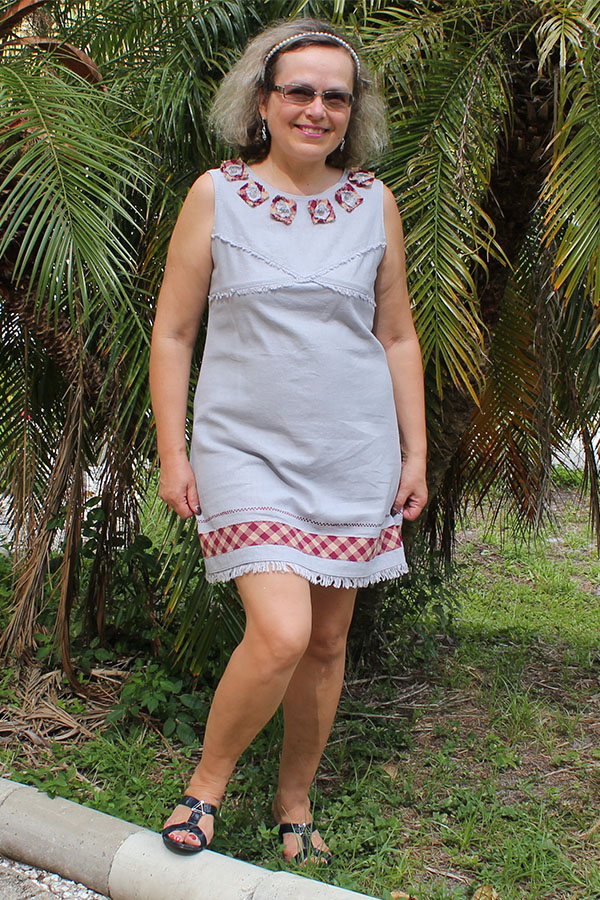
For example, I use some decorative topstitching for this dress.
In addition to mainly being decorative, this type of stitching can also be functional. For example, adding topstitching to your final product can help hold pleats in place so they don’t flop around.
Another practical use for topstitching is to keep the seam allowance flat and in the desired position so that you don’t need to do as much ironing after washing the garment.
So, functional topstitching (which is both decorative and purposeful) may be added as you work at times, such as:
- Attaching pockets
- Holding facings in place
- Making seams flatter
- Adding strength to seams
- Lending definition to zippers (and keeps seam allowance edges flatter for comfort)
- Finishing hems
- Keeping tucks in place
- Maintaining the structure of pleats and keeping them flat
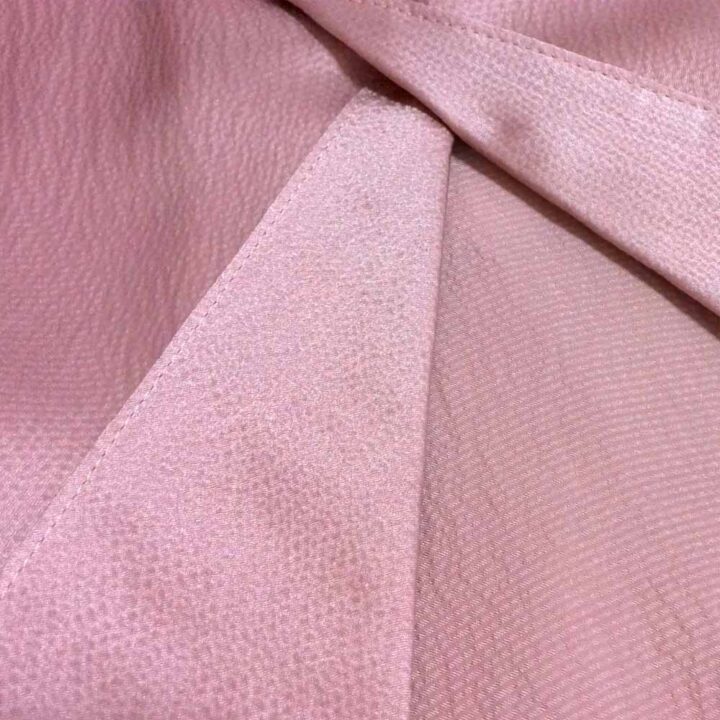
Here is a project with lots of topstitching.
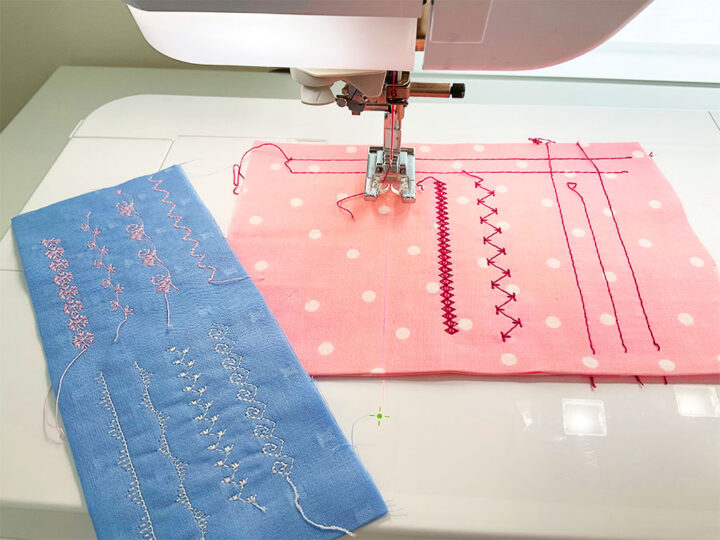
You will typically use a straight stitch, whether you topstitch by hand or with a sewing machine. However, you can also use different types of stitching (like zig-zag stitches, decorative stitches) and thread in a contrasting color to create the decorative effect you desire.
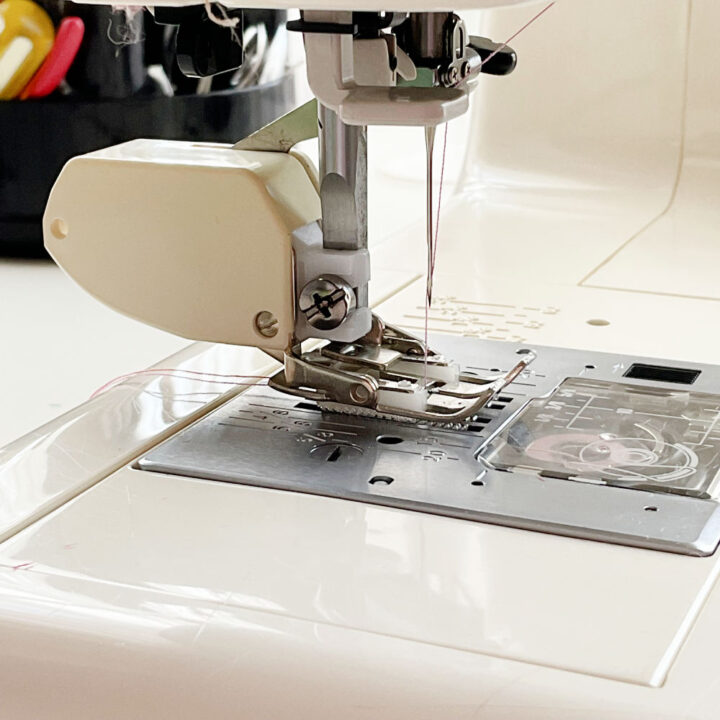
Topstitching commonly uses longer stitches to create a smooth finish and prevents unnecessary bulk. You can use a regular sewing machine presser foot for topstitching, but there are other options that you might find helpful.
Top Tips For Topstitching Like A Pro
There are a few key things to keep in mind when topstitching.
1. Learn to sew straight
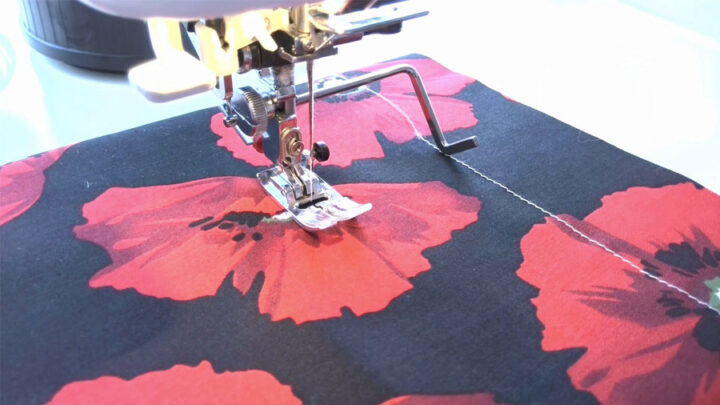
It’s very important to keep your topstitching line straight and have an even distance from a seam or a fabric edge. Sewing a straight line while topstitching may seem easy, but it can actually be quite difficult to get those perfectly straight, evenly-spaced stitches, especially if you’re new to sewing.
The good news is that there are many tools that can help you achieve topstitching perfection.
There are many different seam guides that are extremely helpful in getting the topstitching straight. I wrote a detailed tutorial on how to use seam guides so check it out. But let me list them here too.
- Seam guide attachment from the sewing machine accessories
- Magnetic seam guide
- 6-in-1 Stick’nStitch Guide with Nancy Zieman
- Laser seam guide
- Diy seam guides
Note: Some of the links on this page are affiliate links. This means I will receive a commission if you order a product through one of my links. I only recommend products I believe in and use myself.
You can also use special presser feet for sewing straight.
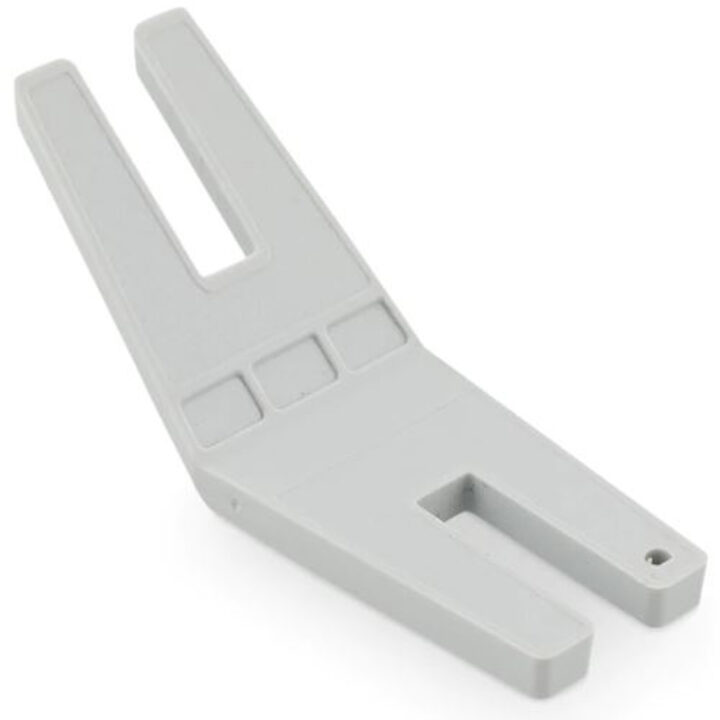
My favorite presser feet for this purpose are the Edge Guide foot and the Blind Stitch foot.
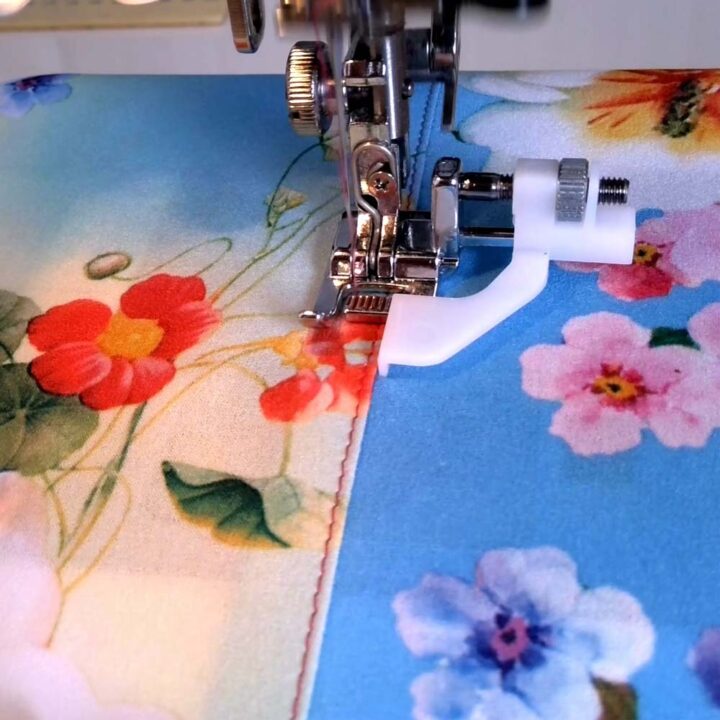
Both of these feet come with built-in guides that help to keep stitching lines straight and they’re super easy to use. I have a detailed tutorial on how to use these feet so check it out.
The Edge Guide presser foot from Janome (here is a link to Amazon for the same product for comparison) has a screw that you can turn to adjust the white plastic guide, which allows you to align it with the fabric edge. Additionally, there are red lines on the foot that indicate 1 mm intervals – so you can sew as close to the edge as 1 mm, and as far from the edge as 10 mm. This is a snap-on foot, which means it attaches easily to your sewing machine.
You can also use the edge of your regular presser foot to keep your stitching straight.
You can also change the needle position to be off-center as you topstitch.
It also requires a great deal of practice to sew a straight line.
2. Your eyes and hands are your best tools
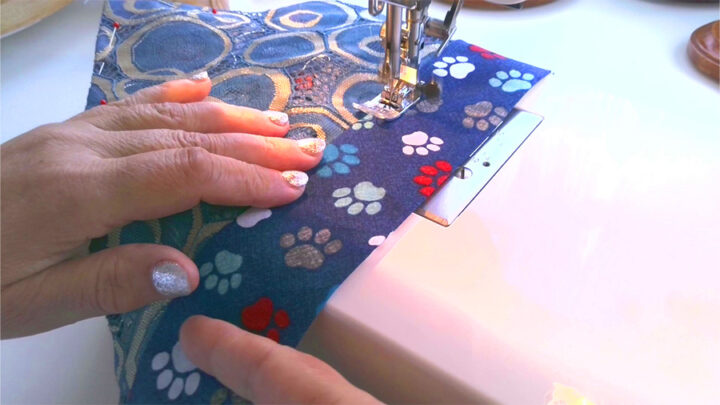
As any experienced sewist knows, your eyes and hands are your best tools when topstitching. Use your hands to guide the fabric under the presser foot and keep the fabric flat. Gently hold the fabric in front of the presser foot and guide it through as you stitch.
It’s important not to focus your eyes on the needle when sewing. Instead, look at your guides or guidelines and let your hands do the work.
3. Make sure your fabric is not stretched out
This will help prevent any unevenness in your stitches. Keep all the fabric on the table and don’t let a part of the project fall from the table. Also, don’t pull the fabric behind the needle.
4. Topstitch on the right side of the fabric
Sew with the right side of your project facing up to see where your seam is and how it looks.
5. Topstitch with consistent speed
When you sew, try to keep a consistent pace throughout the topstitching process to avoid problems. Don’t go slow-fast-slow- fast – this will result in uneven stitches. Instead, focus on sewing at a consistent speed from start to finish.
If you find that you’re having trouble at certain points, it’s likely because you’re hesitating or slowing down.
It is also important to not go too fast. If you go too fast, you may make mistakes and your stitches will not be consistent.
To fix this, try to focus on sewing with consistent speed throughout the entire process.
6. Take your time and don’t rush
Rushing through a sewing project can often lead to mistakes, so it’s best to take your time and focus on each stitch. Sewing slower and carefully will give you the best results.
7. Best thread for topstitching
Make sure you’re using the right type of thread for topstitching.
You can use a regular thread or a special topstitching thread from Gutermann. Your fabric’s weight will help determine the type of thread you use.
For example, lightweight and medium-weight fabrics will work well with all-purpose thread. By contrast, you’ll want to use thicker topstitching thread with heavier fabrics (like denim and canvas).
The topstitching thread gives the most professional-looking appearance. The topstitching thread is thicker and stronger than a regular sewing thread, which means it will be less likely to break or stretch as you sew. In addition, topstitching thread is usually made from stronger fibers, so it will hold up better to repeated wear and tear.
If you are new to topstitching or want a more subtle design, use a thread of a similar color. Choose a contrasting color when you want something more eye-catching.
NOTE: topstitching thread color choices are quite limited. If you can’t find a topstitching thread in the color you want, you can use an all-purpose thread and just double it up to make a “thicker” thread.
Unfortunately, some machines don’t have two spools on top, so how do you use two threads? Here’s a trick.
- Fill a bobbin and put both your thread spool and your newly filled bobbin on the machine.
- Thread both threads through the machine (but not the needle) one at a time.
- Once both threads are through the machine, thread them as one single thread through the needle.
Use a color-matching, all-purpose thread in your bobbin, no matter what thread you use to topstitch. Don’t use topstitching thread in your bobbin.
8. Use a topstitching needle
If you are using all-purpose sewing thread, a universal needle will do the trick.
However, you want to use a special topstitching needle when using topstitching thread that is thicker than regular sewing thread. The longer eye of the needle can accommodate the thicker thread, preventing it from shredding or breaking and the sharp point penetrates multiple layers of fabric easily.
Most brands of sewing machine needles offer a topstitch needle in their range. If you are using topstitching thread, be sure to use a topstitch needle – it will give you better results.
Microtex needles are also perfect to use for topstitching.
Microtex needles are designed for use with microfibers, polyester, silk, foils, artificial leather, and coated and laminated materials. The ultra-sharp point pierces these fabrics easily, while the thin shaft reduces friction to prevent fabric damage.
Additionally, Microtex needles are less likely to leave holes in your fabric, which is important when working with delicate fabrics.
When choosing a Microtex needle, be sure to select the correct size for your project. The best needle size to use will depend on the type of fabric you’re using.
9. Presser feet to use for topstitching
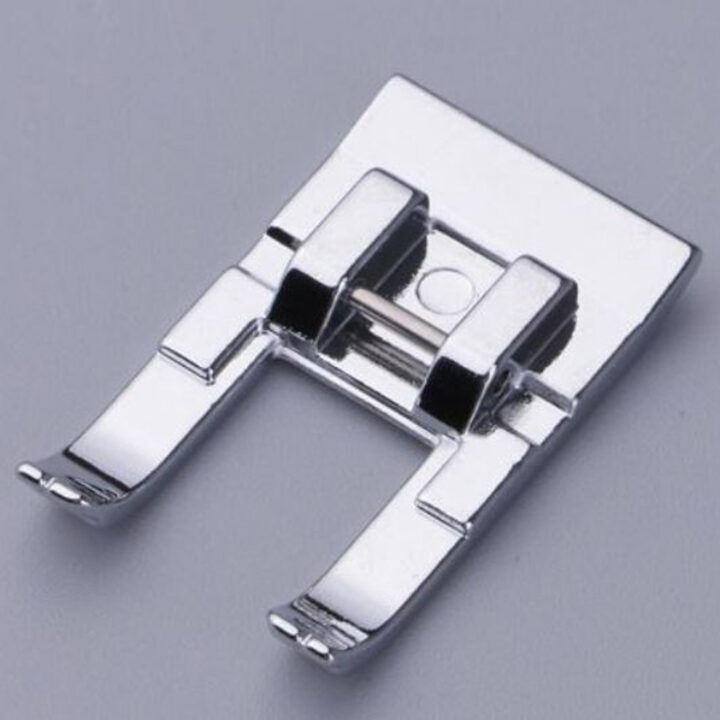
Many sewists simply use their all-purpose sewing foot for topstitching, but you can use other presser feet too.
I have already mentioned the Edge Guide foot and the Blind hem foot (see above).
There is also an open-toe presser foot that can be used if you mark your topstitching lines with a fabric marker.
The open-toe presser foot provides a clear view of the fabric, making it easy to follow your topstitching lines. Simply mark your lines with a fabric marker, and you’ll be able to see them as you sew.
But this foot is only good if you topstitch somewhere in the middle of the project, and not along the fabric edge.
A walking foot helps to feed the fabric evenly through the machine, which will make it much easier to topstitch.
A walking foot attaches to your machine and has its own feed dogs that work in unison with your machine’s feed dogs to grab the fabric and move it through the machine evenly.
This is especially helpful when working with thicker fabrics or multiple layers of fabric, as it prevents the fabric from bunching up or getting stuck. Plus, it helps to produce nice, even stitches that are perfect for topstitching.
I have three detailed tutorials on using a walking foot so check them out.
Walking Foot Attachment For A Sewing Machine: What It Is And Why To Use It
10. Sewing machine settings for topstitching
You will need to adjust some machine settings based on your fabric and project.
Stitch Length For Top Stitching
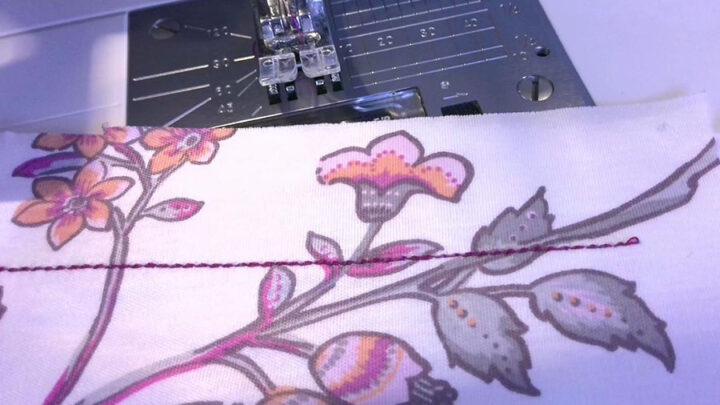
Use a longer stitch than you would for seaming because longer stitches will be more visible and lie more smoothly. For very thin fabrics, I might use a stitch length of 2.5, but I will often use a length of 3 for most of my topstitching on lightweight silk fabric.
When working with medium-weight fabrics, I will use either a length of 3 or 3.5. And when I work with heavy materials, I will sometimes move up to use a stitch length of 4.
Ultimately, your stitch length will depend on your desired appearance. I recommend using the longest setting you can for your fabric because it will give you a straighter, less wiggly stitching line that looks more professional.
✅ Related tutorial: What is the stitch length and how to adjust it for different fabrics
Tension
You will most likely need to adjust your tension for topstitching.
Use a test scrap fabric that is the same or closely matches the material for your project to test your tension and make sure it looks great on both sides of the fabric.
Here’s how to check your tension to see if it’s too loose, too tight, or just right:
- Too loose – your topstitching thread will peek through the backside of your project.
- Too tight – your bobbin thread will peek through the front of your project.
- Just right – you’ll get beautiful stitching on both sides of the fabric and won’t be able to see the wrong thread on the wrong side.
Tension can be a source of frustration and confusion for sewing machine users. I have a detailed tutorial on How to Adjust Sewing Machine Tension that will help you get to know your sewing machine’s tension settings and why they’re important. I also cover some common problems that people have with their tension settings, how to find the right setting for your project, and what adjustments may need to be made based on fabric type or stitch pattern. It also includes a printable chart if you need it.
Presser Foot Pressure
You’ll also need to adjust your presser foot pressure to avoid having fabric puckering or tangled thread. There are four key indicators that you have the correct presser foot pressure:
- The fabric stays pucker-free.
- The thread doesn’t tangle.
- Stitches are all the same length.
- The feed dogs pull the fabric through smoothly.
11. Don’t backstitch
Don’t backstitch when topstitching as you would with seams because it will create a bulky bundle or become knotted (or both). Instead, leave a loose tail (about 6-inches long) at each end and tie the threads in a square knot.
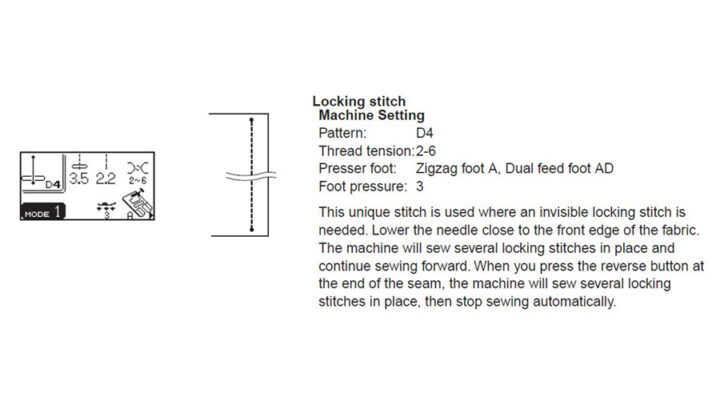
Or use a special straight stitch. On my Janome 6600 machine, I have this stitch that starts and ends with 5 stitches in the same place. It’s called “locking stitch”. This secures the topstitching thread in place without any nasty snags. And, when you’re done topstitching, your project will look professional and polished – not messy and tangled.
12. Use scrap fabric to test settings
Your fabric, needle, stitch length, tension settings, and more can cause your topstitching to appear very different. For the best results, I recommend putting in the extra effort to do a test swatch that mimics the area you’ll be sewing (1 or 2 layers of fabric, interfacing, etc.)
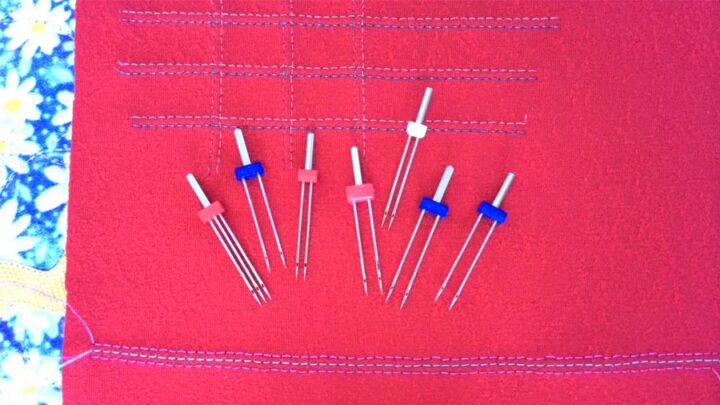
13. Topstitching with a twin needle
A twin needle is essentially two needles stuck together. A twin needle is a great tool for topstitching, as it creates two perfectly spaced stitching lines. It’s especially useful for topstitching on knit fabric. You’ll need two spools of thread and two spool holders on the top of your machine.
Using a twin needle is not difficult, but there are a few things to keep in mind. First, you will need to choose the right size twin needle for your project with the desired width between the needles. Second, you will need to adjust the tension on your sewing machine. When using a twin needle, it is important to have the tension set correctly, as too much tension can cause the threads to break.
I have a detailed tutorial on using a twin needle so check it out.
14. Topstitching on knit fabric
Topstitching on knit fabric can be a little different than stitching on other types of fabrics. For best results, use ballpoint or stretch needles that are specially designed for knit fabrics.
In addition, your sewing machine may have special stretch stitches that can be used for topstitching so that the stitches don’t pop when the fabric is stretched.
A walking foot may also be helpful.
Use a twin needle for topstitching on knits or a special cover stitch machine. If you’re new to using a cover stitch machine check out my tutorial Coverstitch vs. serger
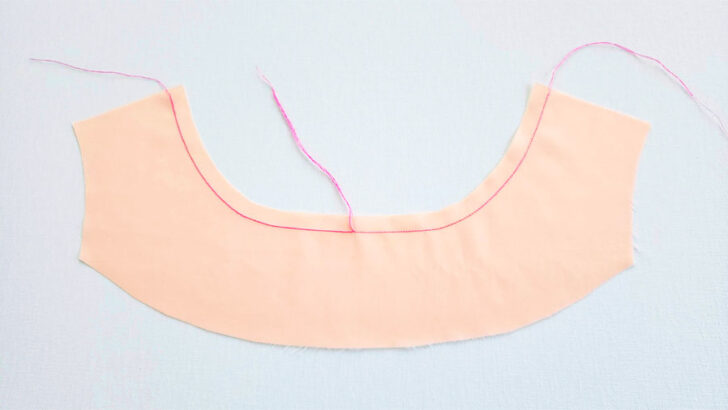
15. Mark sewing lines
Mark your stitching lines before you begin topstitching.
This is especially helpful for beginners, as it can be difficult to follow the seam guide on your machine if you are not used to it. By lightly drawing a line with a fabric marker or chalk before you sew, you’ll have a much easier time staying on track.
I am not a beginner but I always mark fly front lines when I sew pants.
I personally like to use an erasable marker to draw my stitching lines to know where to sew as it gives me a nice thin line that’s perfect for this purpose. But Clover chalk liners are also good for this, as they give a precise line that’s easy to follow. Test your markers first to ensure it disappears from the fabric.
Give it a try next time you’re starting a new sewing project – you might be surprised at how much easier it is to topstitch when you’ve got a line to follow.
16. Keep the presser foot level
If you get to a bulky seam and find your presser foot won’t move or the thread gets tangled, you probably need to level out the presser foot. Take a piece of scrap fabric that’s a similar thickness to your project and stick it under the foot, behind the material you’re sewing.
Keeping your foot level will keep your project moving forward without a hit and help keep your stitch lengths even.
There is a special tool called Bulky Seam Jumper to help topstitch over bulky seams on jeans or other thick layered fabrics.
17. Finish with a press
Ensure your final project sports a professional look by ironing your project in an up and down motion (along with the stitching). Ironing will set the stitches into the fabric and help everything look nice and crisp.
Different Ways To Topstitch For Different Effects
In most applications, sewists use a straight stitch when topstitching to create a clean and finished look for sewing projects. However, there are many options for creating variety through topstitching.
Try using different decorative stitches. Modern computerized machines have hundreds of them!
Play around with thread color because you can use a complementary thread color or a contrasting one. Similar thread colors will blend in more and offer subtle decorative value that’s perfect for some projects.
However, when you want more noticeable decoration on your garments, try opting for a contrasting color. No matter what type of stitching you use, contrasting thread color will make it “pop.”
If you enjoyed learning about topstitching, be sure to check out my tutorial on stay stitching. Stay stitching is a great way to ensure that your fabric retains its shape and doesn’t stretch out while you’re sewing. It’s a simple technique that can make a big difference in the final look and fit of your garment. If you’re interested in learning more, be sure to check out my tutorial on stay stitching – Stay Stitching 101: Essential Techniques for Fabric Stabilization.
Did you find this tutorial helpful? If so, save this pin (see below) on your sewing board so you can come to this tutorial later when you want these topstitching tips, and follow me on Pinterest for more tips, tutorials, and inspiration!
latest posts
- Corset Pressing Board for Sewing: What It Does and How I Use It
- 7 Essential Tools and Settings for Sewing Denim on a Regular Sewing Machine
- That Purple Thang: 10 Smart Ways to Use This Weird Little Tool
- 20+ Reasons Your Sewing Machine Thread Keeps Breaking (+ Solutions)
- Dresden Plate Quilt Block: 4th of July Fireworks
- How To Sew Curves the Easy Way Using a Curve Master Presser Foot
- 30 Sewing Hacks That Turn Ordinary Items into Useful Sewing Tools
- Seam Allowances in Sewing Patterns: What They Are and How to Use Them
- What Do You Call a Person Who Sews? I Asked My Readers and Got 1,408 Opinions