How To Make A Round Quilted Placemat | Free Printable Template
Interested in learning how to make round placemats?
This quilted placemat is beautiful and unique, perfect for any occasion. The tutorial features clear images and a helpful video to guide you through the entire process. The quilt is made using the paper piecing technique.
With just a few simple steps, you can create this gorgeous round placemat that will be sure to impress your friends and family. Plus, it’s a great way to use up all of those fabric scraps you’ve been collecting.
Paper piecing is a great technique not only for beginners but for quilters of all levels. It’s a method where you sew small pieces of fabric together using a paper template. This makes it easier to get precise results, and it’s great for making circular designs like this one.
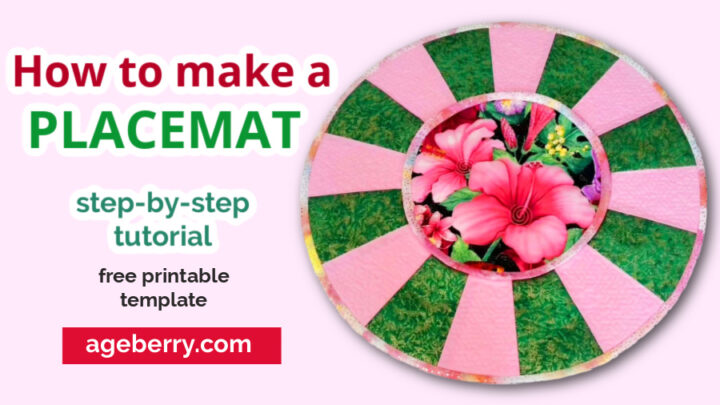
The finished quilted placemat looks stunning, and it would be perfect for displaying on your table. You could also give it as a gift to someone special. Follow the tutorial closely and you’ll be able to make your own beautiful round placemats in no time at all.
Note: Some of the links on this page are affiliate links. This means I will receive a commission if you order a product through one of my links. I only recommend products I believe in and use myself.
What you’ll need to make this placemat
Fabric – a few different fabrics, I used 5, three for the main circle, one for binding, and one bigger piece for backing
Batting – medium weight
Embroidery stabilizer (I used tear away)
Sewing machine
Walking foot ( optional)
Regular sewing notions
Quilted placemat pattern (or template) – it’s free for subscribers to my newsletter, you will find it in my resource library.
If you already are a subscriber to my newsletter, you will find the password to access the Resource Library in the emails. If you are not a subscriber, no problem – use the below form to subscribe and you will receive the password by email in seconds.
What fabric to use?
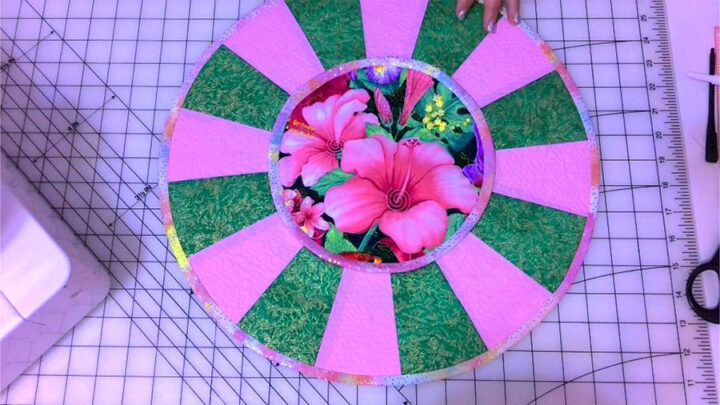
I used 100% quilting cotton. When deciding on your fabric, consider what colors you want for this project. For the center circle, I used fabric with big flower prints. Its colors are eye-catching and vibrant and perfect for the upcoming spring season.
I found a few designs on Amazon that would be perfect for this quilt. The colors are very bright and summery, just the type you would love for this project, so check them out.
I also used 3 different fabrics with colors that closely matched the colors of the center circle in order to create a more cohesive look but it is not required at all.
You can choose all contrasting colors and still have an amazing-looking piece – just make sure that the material for the center circle has big flowers.
It’s really fun choosing the fabric for this placemat.
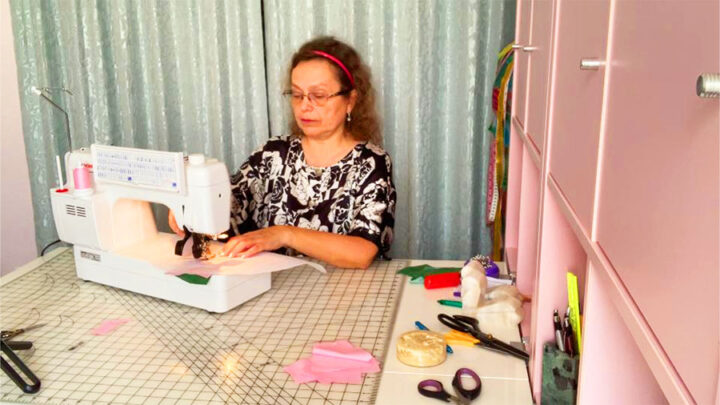
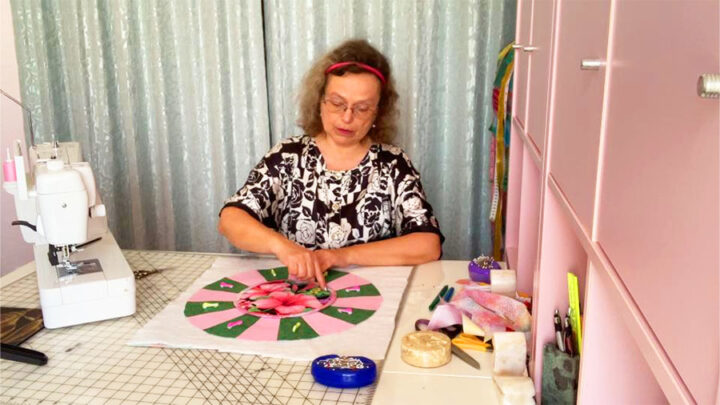
Set up your sewing machine – thread it with matching color thread, try tension on scrap, etc.
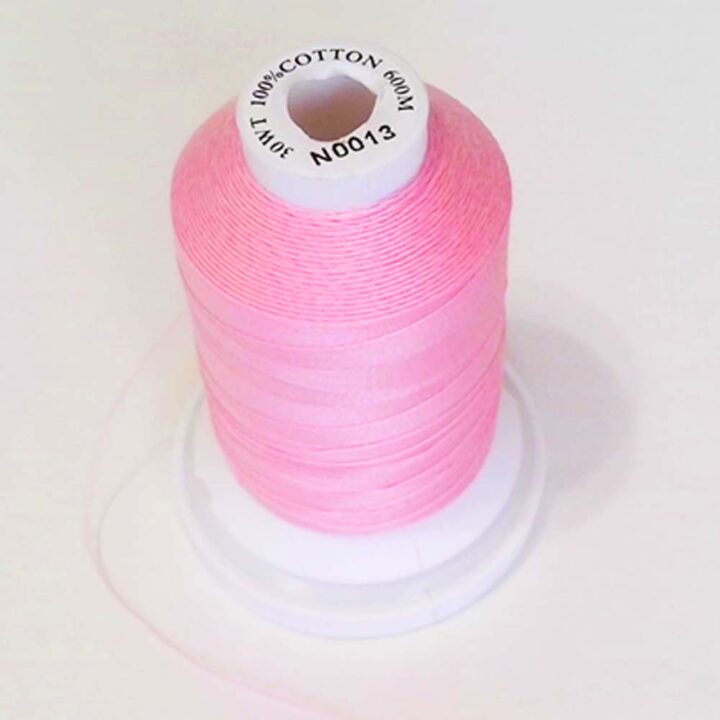
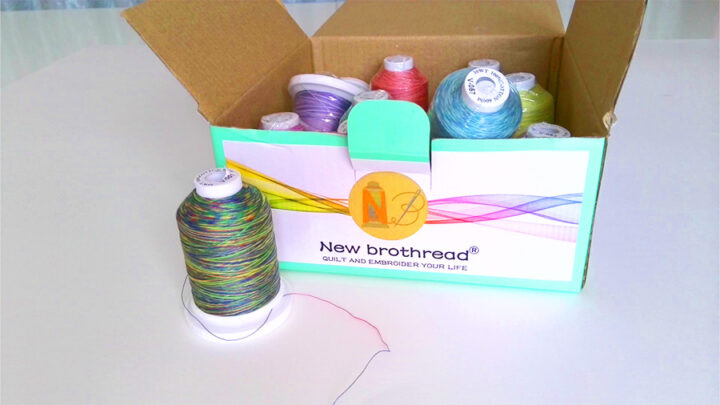
I used Brothread 100 % cotton thread. Pink color. This thread is so good, it’s strong enough, does not have too much lint, and doesn’t break. Highly recommend this thread. I think pink is the best color for these pink and green fabrics.
My sewing machine is a Janome 6600, and this machine has a built-in walking foot, so I am going to use the walking foot. Called Accufeed. But you can also use an open-toe presser foot.
Please, read all instructions before starting the project.
Attention! If you like the video format, at the bottom of this post, look for a YouTube video version where there is a detailed tutorial on how to make a round quilted placemat. For a more complete picture, I recommend exploring both versions.
Free downloadable placemat pattern | template

The pattern is free for my subscribers, as mentioned above.
Step 1. Printing and assembling a quilted placemat pattern | template
Print the PDF pattern for the placemat, it’s only 6 pages.
But before I go on to the steps for this sewing project, let me first say a few words about printers.
If you’re a sewing enthusiast, then having a printer is an absolute must. You can print out your favorite sewing projects in no time and get started on them right away.
You don’t have to waste any more time going from store to store trying to find the perfect pattern or book that will help you learn new skills.
They also come with built-in wireless connectivity which means it doesn’t matter where in the house you keep yours because it will always be able to connect wirelessly when needed.
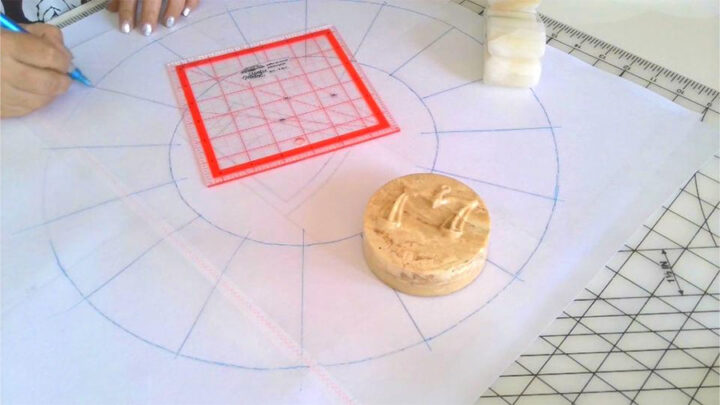
Assembling the template is easy.
Start with your first row, pages 1, 2, and 3. Draw lines like this on pages 2 and 3, cut pages 2 and 3 along these lines, and overlap them on page 1 and page 2 accordingly.
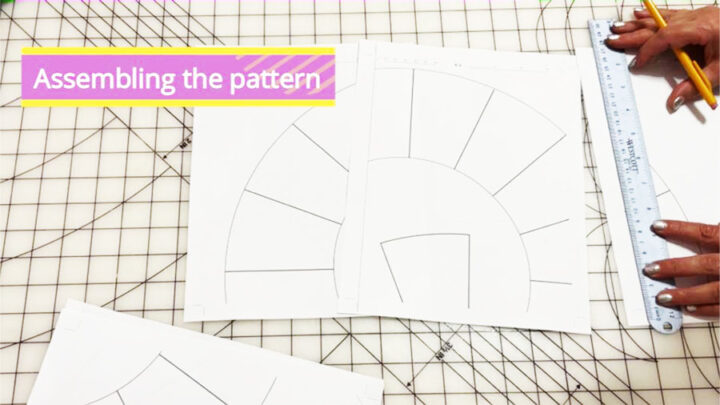
Line up the pattern lines. You will also see these small triangles that will help you line up your pattern even easier. Tape the pages together using regular scotch.
And here we have our first row.
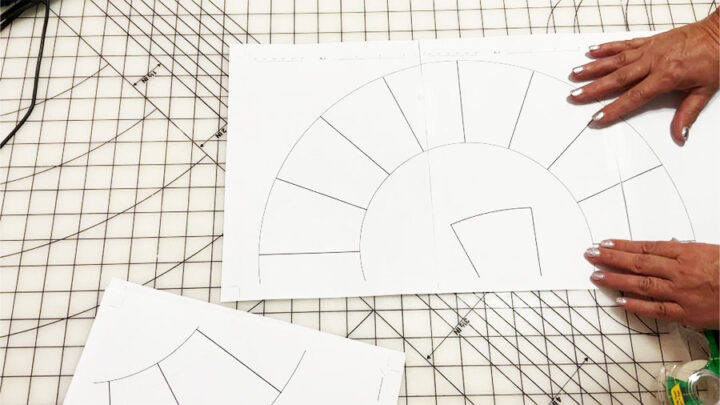
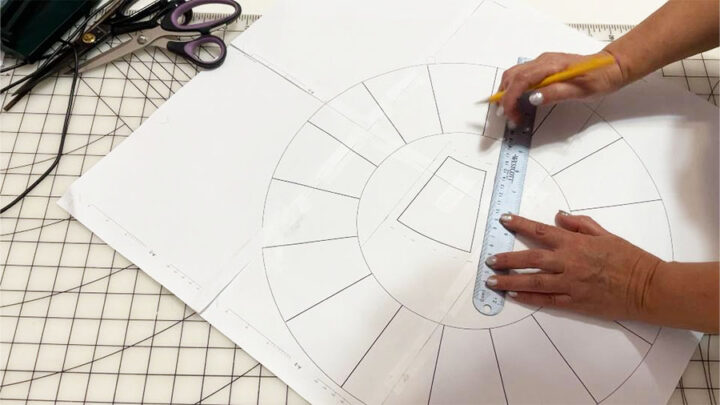
Now prepare the next pages and line everything up and tape the pages together. When taping, try to keep the pages so they don’t shift.
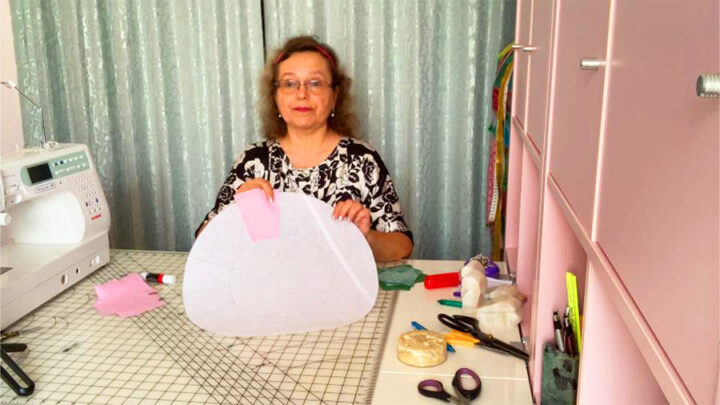
And this is the result, the template is ready.
Now, how do we use this template to make a lovely round placemat?
Step 2. Prepare the template for using the paper piecing technique
So, I am going to use the paper piecing technique. Did you try this technique before? I did, and I even made a tutorial Foundation paper piecing tutorial. But this project is completely different even if I use the paper piecing technique.
It’s very important to prepare an accurate template to use for paper piecing.
We can use many types of paper for paper piecing projects. But now there are new materials that are used instead of paper and they don’t even have to be torn off later.
I have decided to use my embroidery stabilizer for this project. This stabilizer is called a TEAR-AWAY stabilizer. I use it a lot for my quilting projects.
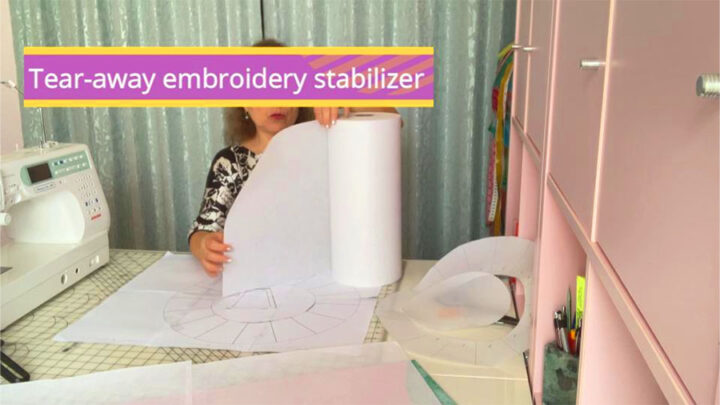
So I just traced the pattern on my embroidery stabilizer. I can see through it very well. And I am using my frixion pen. I like this pen a lot. See, the marks are very visible. And they will disappear when I press it with a hot iron.
Now I cut the circle. I use my paper scissors for this stabilizer. Don’t want to use my fabric shears. The main thing is that I can easily see the pattern on both sides of this stabilizer which is very helpful.
✅ Related tutorial: Cutting Tool For Sewing: Ultimate Guide
Ok, the template for my paper piecing project is ready.
Step 3. Cutting fabric for the quilted placemat
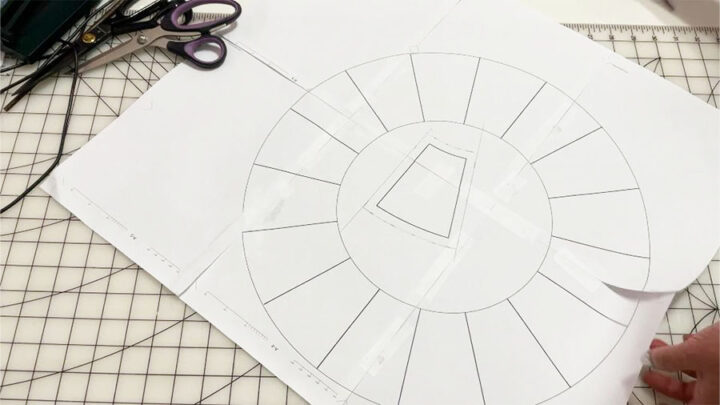
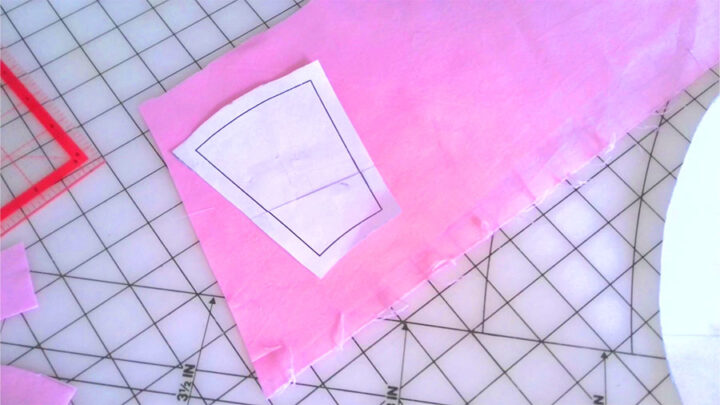
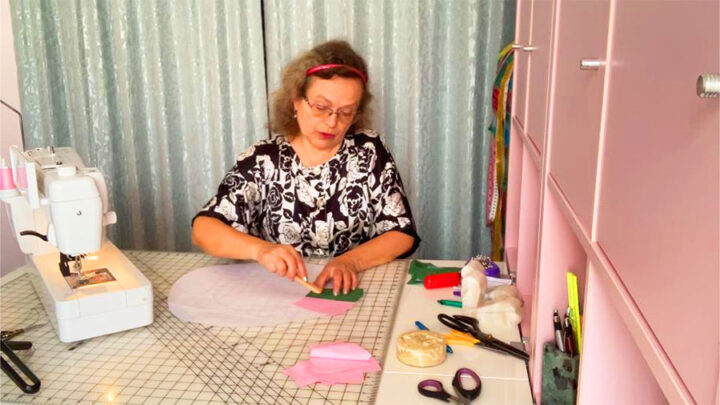
Now the next step – I have to cut 16 small pieces from different fabrics.
You may notice that this template in the center is without seam allowances. I am not really good at making patterns in Adobe Illustrator. Couldn’t figure out how to add seam allowances for this piece, I was always able to do it before but not this time. But I don’t think it’s a problem. I just added ⅜ inch using my ruler. You will need to do the same.
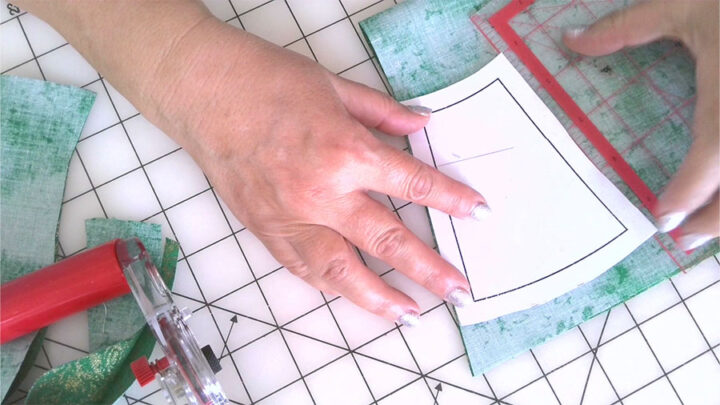
I need to cut 8 pieces from this pink cotton and 8 pieces from green. I am going to use my favorite Martelli rotary cutter. I cut 2 layers at once. For small pieces like this, it’s better to use a small ruler. I don’t need to be very precise here but still, I like to follow the template. I cut curved lines just by following the paper pattern, without any ruler.
I read that you can use just some odd pieces of fabric for your paper piecing project and cut fabric roughly larger than your paper pieces. But this way I save a lot of fabric and it makes sewing easier. So I cut pieces using my template with added seam allowances.
After I cut all the necessary parts I had lots of scrap fabric pieces left. But I usually don’t throw them away because I like to make something nice even from small scrap pieces. If you would like to see how I use scrap fabric check out this tutorial – Adorable DIY Needle Book | Easy Tutorial for Beginners
Step 4. Paper piecing the round placemat
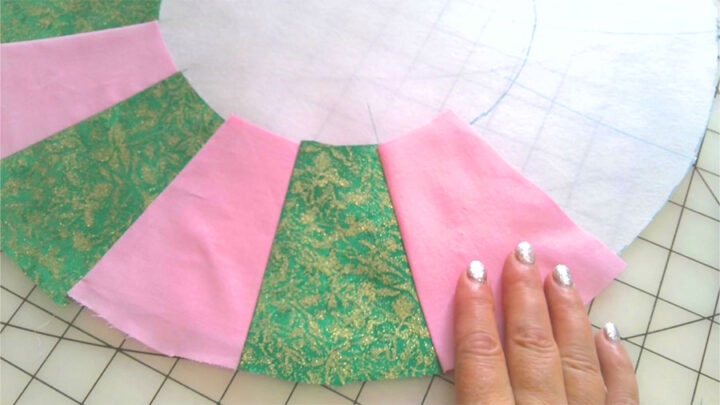
Now all the pieces are cut and I am going to my sewing machine. I will use the “paper piecing” technique even if I use an embroidery stabilizer for this process and not paper. So it’s actually “stabilizer piecing”.
The first piece – I need to attach it to the stabilizer. It’s very important to position the first piece correctly.
I am doing it with my fabric glue stick. Can be done with pins too but glue sticks are the best. Wrong side of the fabric to the right side of the template.
So the first piece is here, it’s a pink one. Now let’s put the green piece, put them right sides together, and use a pin to secure them.
✅ Related tutorial: Types of sewing pins and their uses: all you need to know about straight pins for sewing
Now I carefully flip the template and stitch exactly on the line.
Don’t sew exactly from point to point – make the stitch a little longer. Go ¼ “ beyond each point.
Now I am going to use this small tool. Do you know what it is?
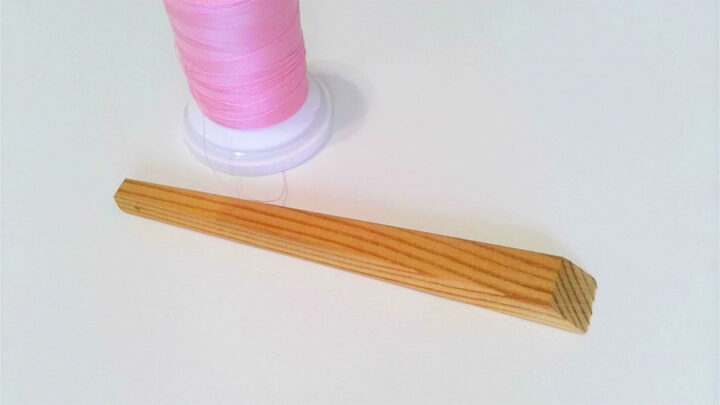
It’s a finger presser. So useful tool. I finger press over the stitching line. And I don’t need to use an iron for now.
Now I will add another piece, the pink one. Use a pin. Flip. Stitch exactly on the line. Fingerpress.
Next is the green piece.
Add the part after part according to the pattern. Step by step, the block will take shape.
You will have a small problem attaching the last green piece. But it’s actually very easy to do. So go to my YouTube video and check out how to sew the last green piece.
No, you shouldn’t stitch on the top of the green piece if you think that this is the solution.
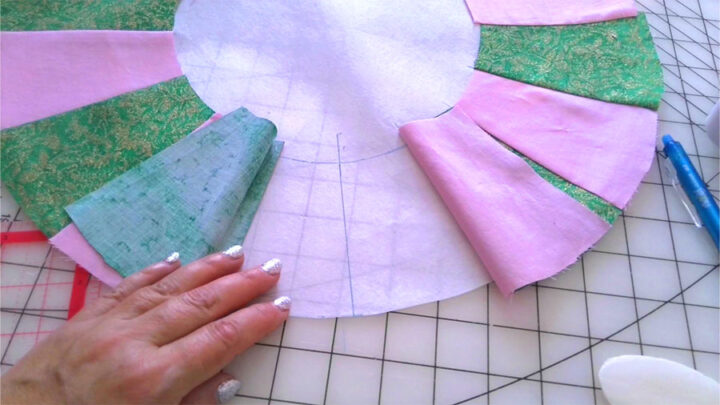
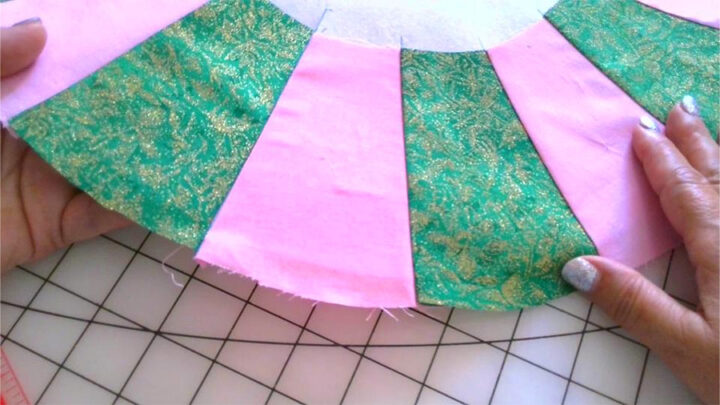
Now all the pieces are in place and I need to adjust the edges of the circle and cut off all the excess fabric. It’s easy to do as I can clearly see the circle lines on my stabilizer template.
And now I can press this circle. All the frixion pen lines will disappear, I don’t need them anymore.
Ok, my circle quilt is almost ready.
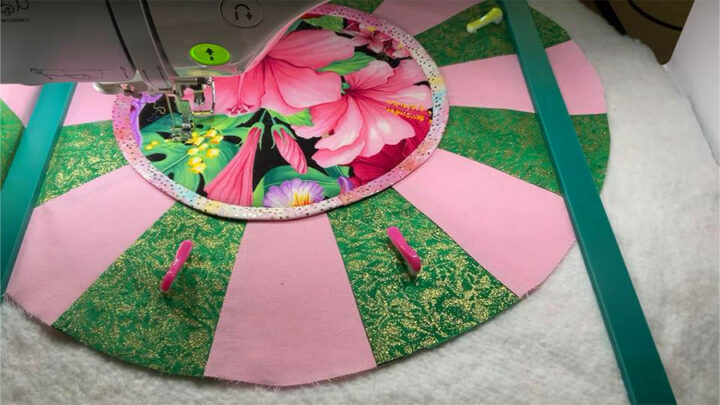
Step 5. Make a central circle
Now I need to make a central circle.
For this I use a paper pattern of the circle, it’s easier to cut fabric using a paper pattern. Just trace the circle on a piece of pattern paper (I use vellum paper). I want to have these colorful flowers in the center. Cut this circle very carefully, exactly on the line. So do it slowly.
I also cut a small circle (exactly the same size) from the batting.
Put the fabric circle on the batting circle. You can secure the 2 layers with pins. And now bind this circle.
The binding strip is 1.5 inches wide and about 27 inches long. Let me remind you that binding strips must be cut on the bias, at 45 degrees angle. If you cut them straight on the grain you will have problems binding the circles and the circles will not lay flat.
✅ Related tutorial: How to cut fabric on the bias
To start, fold the end of the bias strip (about 3/8 inch) and work your way all around the circle, securing the bias strip with pins or wonder clips.
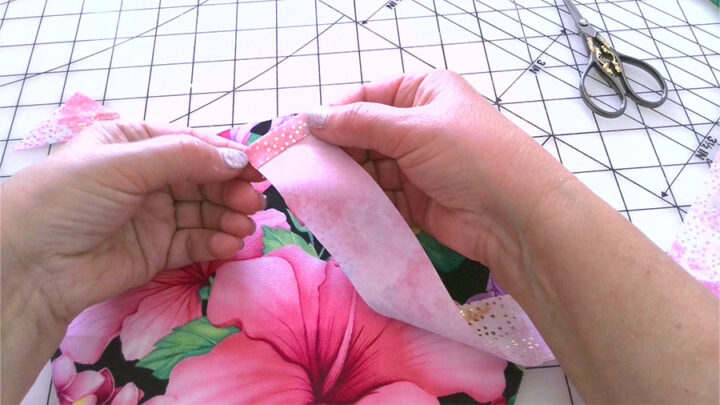
Be careful not to stretch the bias edge. When you come to the place where you started, overlap the ends. Don’t fold the second end, just place it on the folded end and pin.
Go to your sewing machine and stitch. I like to use a walking presser foot. My Janome machine has a built-in walking foot, it’s different from a regular walking foot. Seam allowances are 1/4 inch. Don’t sew over pins. Make sure you remove pins or clips when the needle is close to them.

After you have stitched the binding, turn it on the wrong side and press. You don’t need to finish the binding on the wrong side.
Just place this circle on the quilt and make a stitch in the ditch – sew exactly on the line between the binding strip and the main fabric.
Step 6. Finishing the quilted placemat
Ok, the next step. Take a piece of batting, don’t cut a circle from batting yet. And we also need a piece of fabric for quilt backing.
Let’s make a quilt sandwich – backing fabric, batting, and this prepared circle piece.
I baste the quilt with these Wonder pins.
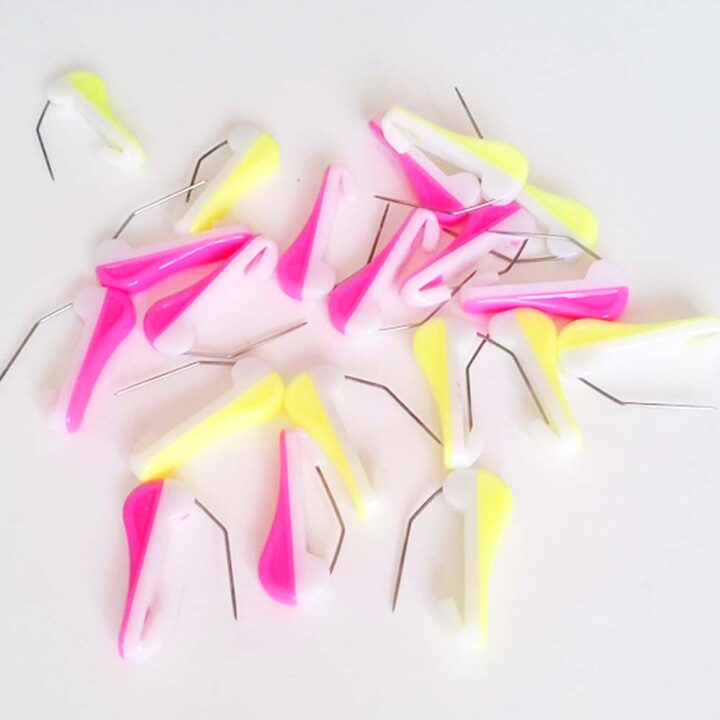
They have a plastic-covered top that’s easy to handle and bright colors that are easy to find and remove. The tip is very sharp yet thin enough not to leave large holes in your fabrics.
So, to baste the quilt, I just insert these wonder pins with one hand. And they are easy to remove too.
✅ Related tutorial: How to baste a quilt
Ok, the placemat is almost ready, I only need to quilt it.
I am going to use my embroidery machine. There are many ways to quilt it – like free motion quilting, and hand quilting. Just straight line quilting.
I quilted the small circle only between big flowers and also in the center of each flower. For the small circle, I used variegated cotton thread (not embroidery thread). It looks great!
For the big circle, I used a pink cotton thread and I quilted only pink shapes, just stippling stitches.
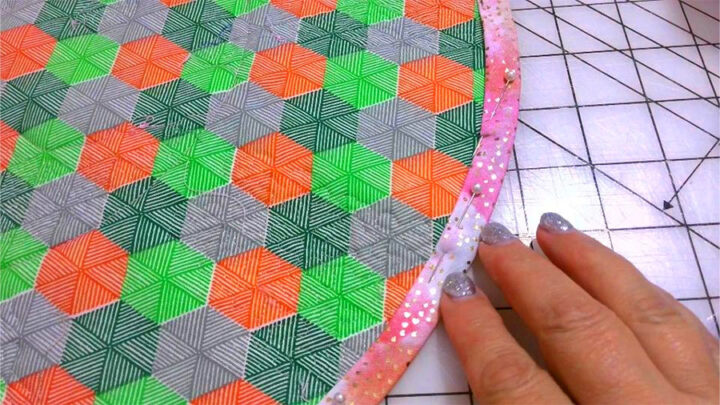
And the last step – binding the placemat. The binding strip size is 1.5 inches wide and 56 inches long. Again, fold the end of the bias strip (about 3/8 inch) and work your way all around the circle, securing the bias strip with pins or wonder clips. Be careful not to stretch the bias edge. When you come to the place where you started, overlap the ends. Don’t fold the second end, just place it on the folded end and pin.

When stitching, make sure you don’t stretch the fabric. It has to be exactly the opposite – you really need to ease the fabric when attaching bias strips to circles and curves. Otherwise, the fabric will stretch and the circle will not lay flat.
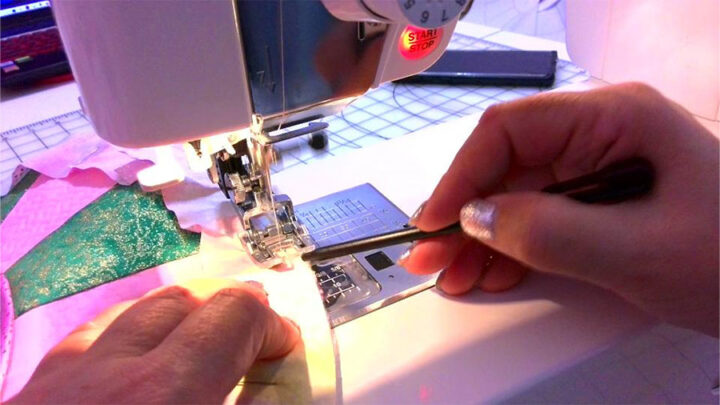
For this, I like to slightly push the fabric toward the presser foot. Don’t do it with your fingers! Use a small stick or even a seam ripper. I am using a stylus that was supposed to be used with touchscreen devices. Well, it doesn’t work with my devices but I am often using it with my sewing machine.
Now the bias tape is stitched in place. We have to wrap the bias strip over the fabric edges of the circle. After that, press it.
Next, fold the raw edge of the bias strip. The folded edge should just cover the stitches we made attaching the bias strip. Make sure it has the same size all over and doesn’t have any pleats or folds. Pin in place (on the wrong side of the circle). Press with a hot iron.
Stitch in the ditch on the right side of the placemat. If you correctly fold the edge of the bias strip on the wrong side you will have nice stitches on both sides of the circle.
Did you find this tutorial helpful? If so, save this pin (see below) on your sewing board so you can come to this tutorial later when you want to make a round quilted placemat, and follow me on Pinterest for more tips, tutorials, and inspiration!
So here is my YouTube video. Check this out if you like to see a helpful video on how to make a placemat (instead of reading).

Thanks for following along with me on this round placemat tutorial. I hope you’ll give it a try! If you do, be sure to subscribe to my newsletter so you can download the free printable template. I love getting feedback from my readers, so if you make one of these quilts, please share a picture with me on social media. I can’t wait to see what everyone creates!
latest posts
- Corset Pressing Board for Sewing: What It Does and How I Use It
- 7 Essential Tools and Settings for Sewing Denim on a Regular Sewing Machine
- That Purple Thang: 10 Smart Ways to Use This Weird Little Tool
- 20+ Reasons Your Sewing Machine Thread Keeps Breaking (+ Solutions)
- Dresden Plate Quilt Block: 4th of July Fireworks
- How To Sew Curves the Easy Way Using a Curve Master Presser Foot
- 30 Sewing Hacks That Turn Ordinary Items into Useful Sewing Tools
- Seam Allowances in Sewing Patterns: What They Are and How to Use Them
- What Do You Call a Person Who Sews? I Asked My Readers and Got 1,408 Opinions