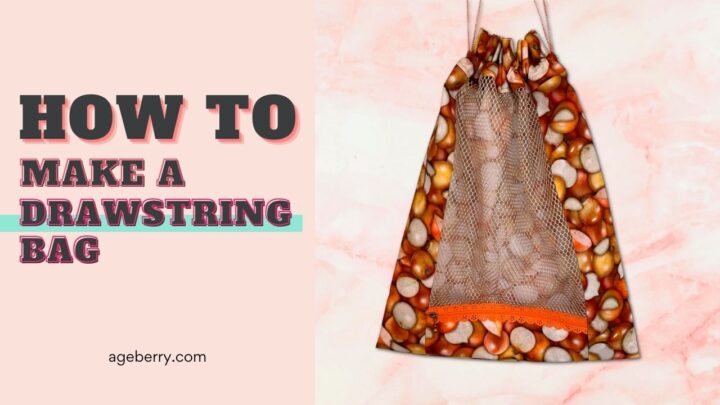
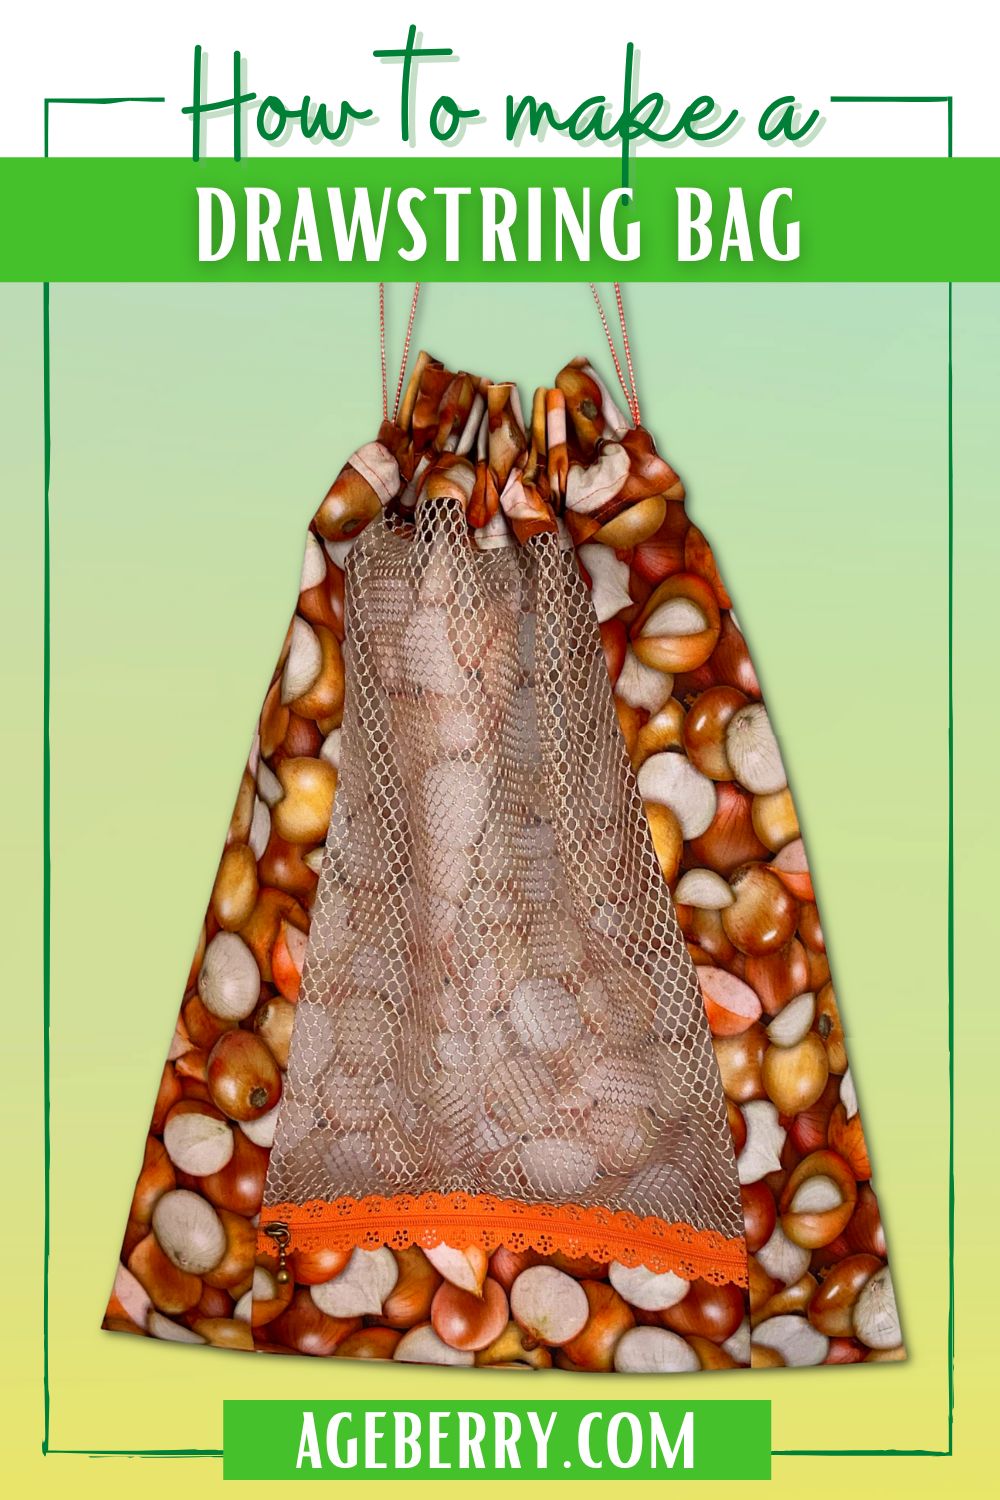
How To Make A Drawstring Bag | Sewing Pattern And Tutorial
This sewing tutorial will show you how to make a drawstring bag with a “window” from mesh fabric and a zipper at the bottom. The mesh fabric makes it perfect for storing items that need air circulation. I am going to use it to store onions. The mesh window also allows you to see what’s inside the bag without having to open it, and the zipper at the bottom makes it easy to access whatever you’ve put inside.
Sewing a drawstring bag is a great beginner project. DIY drawstring bags are practical, eco-friendly (they are not plastic!), and can be easily customized to match your style. In just a few simple steps, you’ll have a unique drawstring bag that will come in handy for everything from carrying shoes to toting groceries.
Note: Some of the links on this page are affiliate links. This means I will receive a commission if you order a product through one of my links. I only recommend products I believe in and use myself.
What you’ll need for making the drawstring bag
- Fabric (I used quilting cotton) for the bag
- Mesh fabric for the “window”
- Ribbon or strings – 70 inches total (cut in two 35” each)
- Sewing machine
- Zipper (optional) – I used an exposed zipper, 10 inches long
- Zipper presser foot
- Safety pin
- Regular sewing notions
- Drawstring bag pattern (you can buy it in my shop for a small fee)
- Paper for making a pattern (if you want to draw your own pattern)
Choose your fabric. I have chosen quilting cotton. The fabric is very sturdy. It is also very easy to find mesh fabric in a variety of colors that match the color of the quilting cotton. These fabrics are also machine washable, which is important for a drawstring bag.
Prepare the zipper and the zipper presser foot (most of the time it will be in your accessories box, it’s a standard foot that usually comes with a sewing machine).
Set up your sewing machine – thread it with matching color thread, try tension on scrap, etc.
✅ Related tutorial: How to Adjust Sewing Machine Tension
Step 1. Making a DIY Drawstring Bag Sewing Pattern
You can draw the pattern pieces on paper first.
Or you can print the PDF pattern. It’s available in my shop for a small fee, and the step-by-step instructions are included in the PDF.
So, if you want to draw your own pattern pieces, here are the sizes.
Rectangle 1 ( Main body of the drawstring bag)- 14 ¾” x 18 ¾”
Rectangle 2 ( Lower body front)- 8 ¾ “ x 3 ¼ “
Rectangle 3 ( Top body) – 5 ¾ “ x 13 ¾ “
Rectangle 4 ( Mesh insert)- 8 ¾ “ x 12 ¼ “
Seam allowances are included and they are mostly ⅜ “.
Making a paper pattern is a simple process but it requires a few tools and materials.
The first step is to choose the type of paper you will use. Recently I started to use medical paper for my patterns and I see it as a good option.
Once you have your paper, you will need a wide quilting ruler that has straight angles and a pencil. Use the ruler to draw the outline of the rectangle onto the paper.
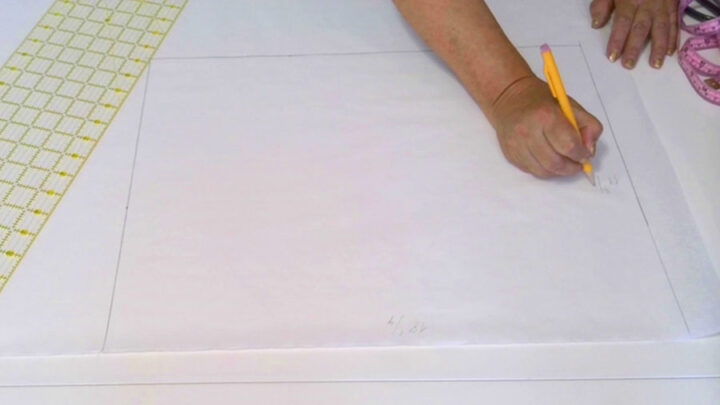
When you are finished, cut out the rectangles along the pencil line. You can now use this paper pattern to cut fabric pieces that should be the same size and shape as the paper pattern.
Step 2. Cut All The Pieces For The Drawstring Bag
Cut from quilting cotton:
Pieces 1 and 2 – cut 1
Piece 3 – cut 2
Cut from mesh fabric
Piece 4 – cut 1
When cutting out pattern pieces, it is important to align the grainline with the selvage. The grainline is the line on the fabric that runs parallel to the lengthwise threads. The selvage is the finished edge of the fabric that is tightly woven and will not unravel.
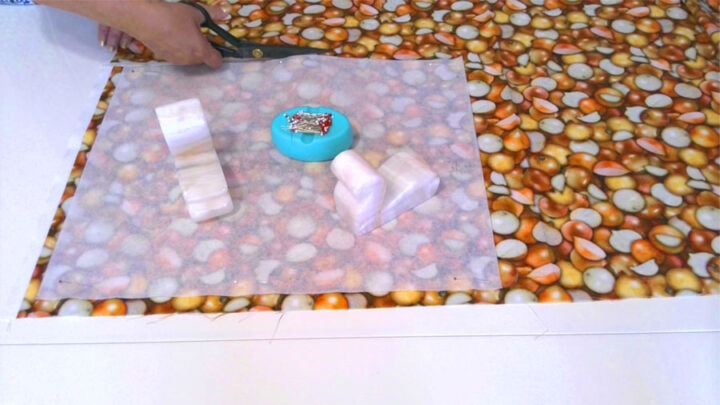
You need to cut selvages first (for any sewing project).
You can use a rotary cutter or fabric shears to cut your pattern pieces. Rotary cutters are great for cutting straight lines quickly. However, if you’re only cutting a few pieces, fabric shears will do the job just as well.
Use pins and fabric weights to hold the pattern in place.
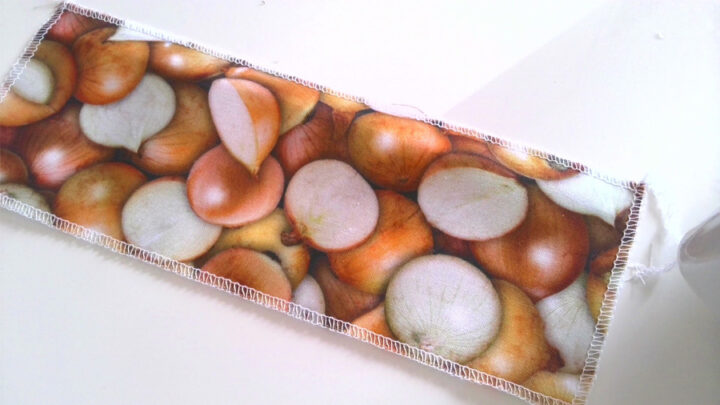
After you cut all the pieces, finish (overcast) all the edges on your cotton fabric using a 3-thread 1-needle overlock stitch of your serger or overlock stitches of your sewing machine. You don’t need to overcast the edges of mesh fabric as it doesn’t unravel.
✅ Related tutorial: Best serger for beginners – Serger buying guide
Step 3. Sew An Exposed Zipper For The DIY Drawstring Bag
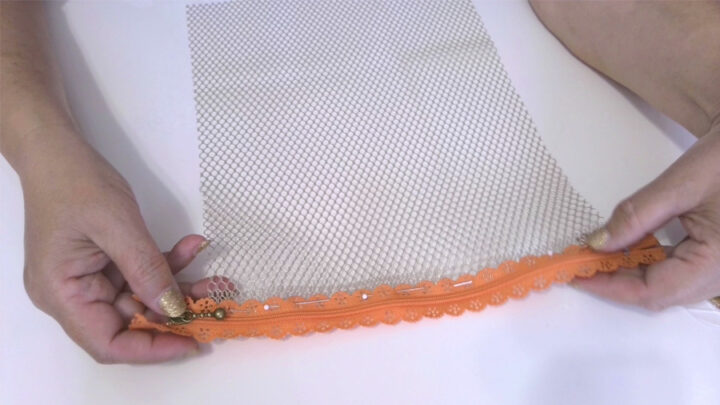
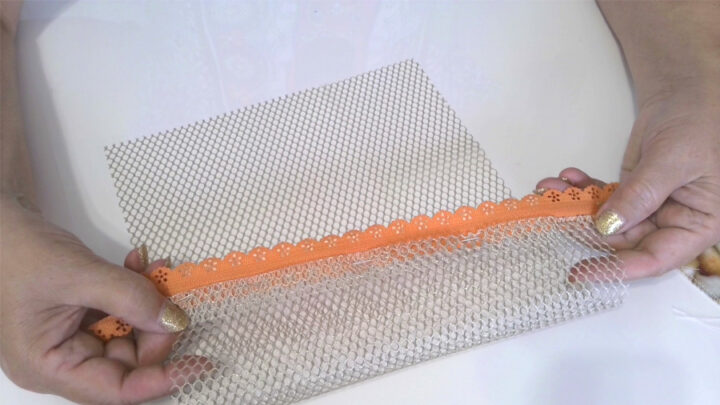
As you can see in the image, my drawstring bag has an exposed zipper at the bottom so I can take the onions from the bag without actually opening the bag.
This is extremely helpful when I’m cooking because I can just grab an onion or two without having to open the whole bag. And as I used this beautiful exposed zipper it even looks very nice, it’s a kind of decoration for the bag. Isn’t it a stylish way to store onions? Lol.
But if you don’t feel like sewing a zipper you can skip this and just sew together pieces 2 (from cotton) and 4 (from mesh).
An exposed zipper is a type of zipper that has its teeth and lace exposed, rather than being hidden behind a fabric flap. Exposed zippers are often used for decorative purposes, as the lace can add a bit of visual interest to a project.
It’s pretty easy to sew the exposed zipper.
Exposed zippers are available in a variety of colors, sizes, and styles.
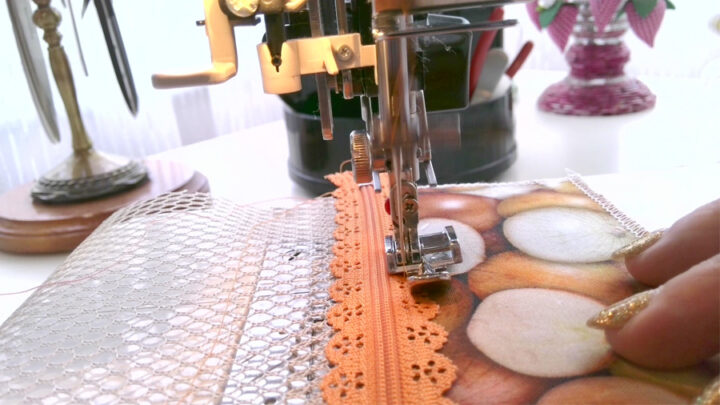
When sewing an exposed zipper, it’s important to use color-matching thread so that the stitches blend in with the fabric. Additionally, be sure to use a zipper foot on your sewing machine, which will help you sew the zipper straight. You’ll want to sew slowly and carefully to avoid snagging the fabric on the teeth. This will allow you to sew close to the teeth without damaging the fabric.
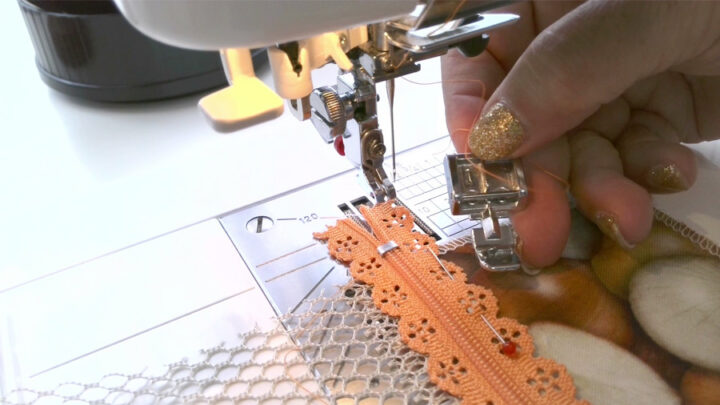
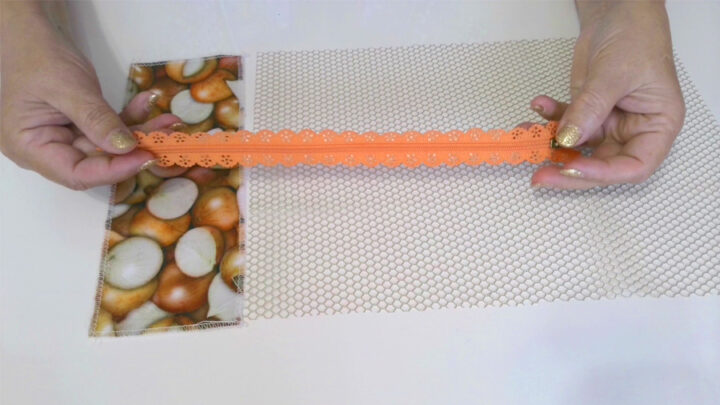
Start by folding the seam allowances to the wrong side on the corresponding sections of the pieces 2 (from cotton) and 4 (from mesh). Turn under ⅝ “ (not ⅜ “ in this case). Press with a hot iron.
Position the zipper wrong side to the right side of fabric between the pressed zipper opening. First, position one side of the zipper lace so that the zipper teeth are pretty close to the mesh fabric fold but still there is at least 3 mm (⅛ “) from the fabric fold to the zipper teeth. Pin securely in place. Try to open the zipper and see if it opens without any obstacles.
Next, position the other side of the zipper lace on the cotton fabric. Pin in place.

Attach the zipper foot to your sewing machine. Stitch across the zipper lace on both sides of the zipper removing pins one by one when the zipper foot is going close to the pins.
Press the seams on the wrong side using a pressing cloth.
Step 4. Sew The Other Seams Of The Drawstring Bag
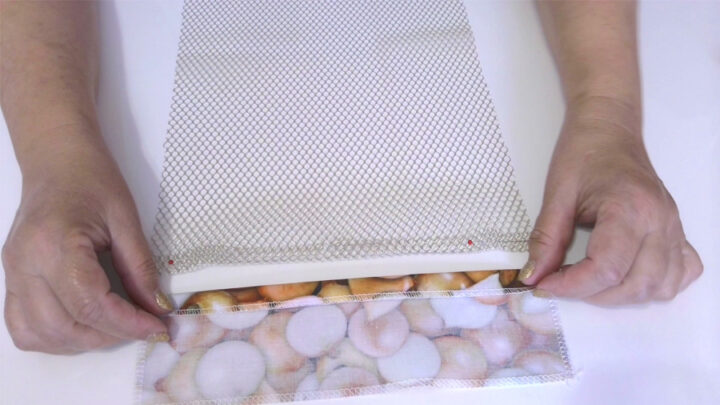
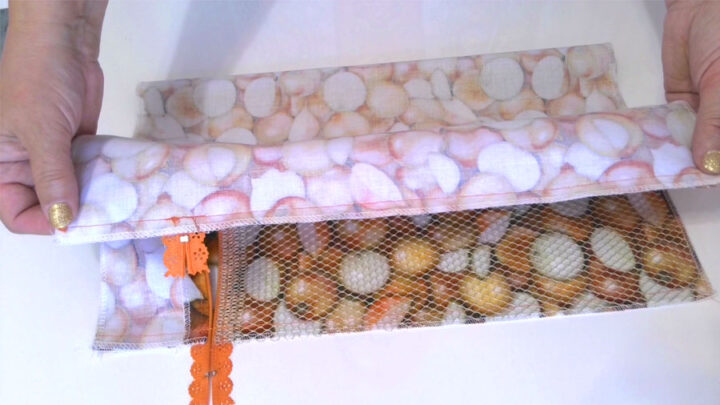
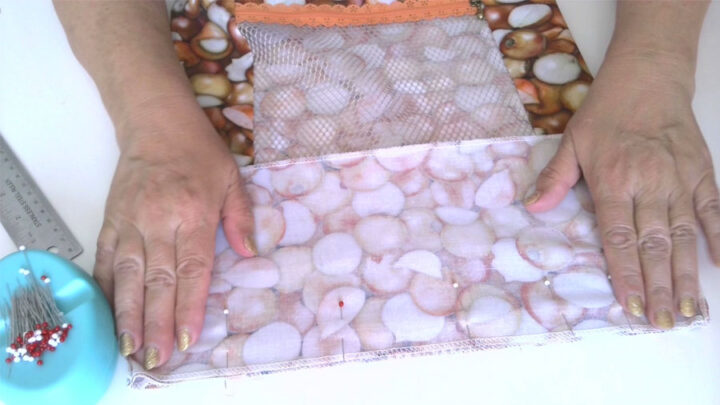
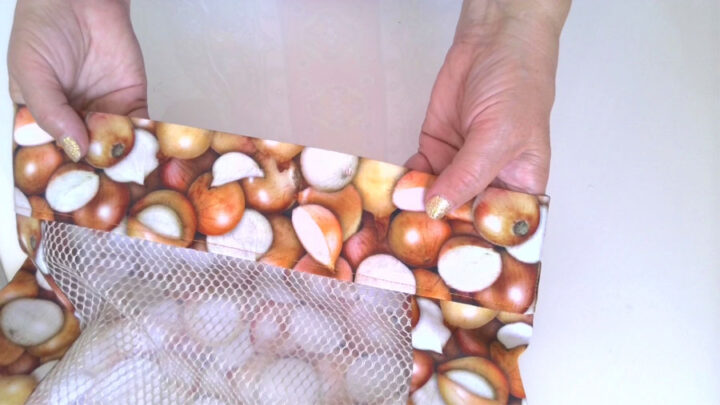
Place the front piece with the zipper (the piece we just made in step 3) on the folded main body piece as you see in the image below.

Now we need to sew the side seams attaching the front insert with mesh fabric to the main body piece. Place the pieces right sides together, pin and stitch 2 side seams. Don’t forget to change the presser foot – now you should use a universal presser foot. Seam allowances ⅜ “. Sew over the zipper lace a few times to really secure the zipper and cut the zipper ends on both sides.
Press the seam allowances toward the main body of the bag.
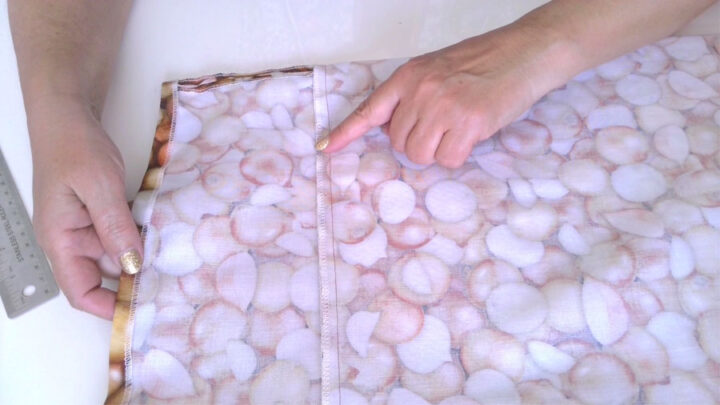
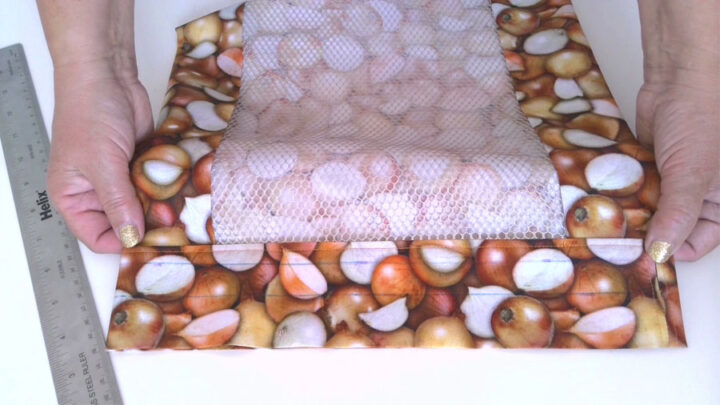
Next, make sure that the mesh insert is centered and that the size of the fabric on the left side is equal to the size of the fabric on the right side.
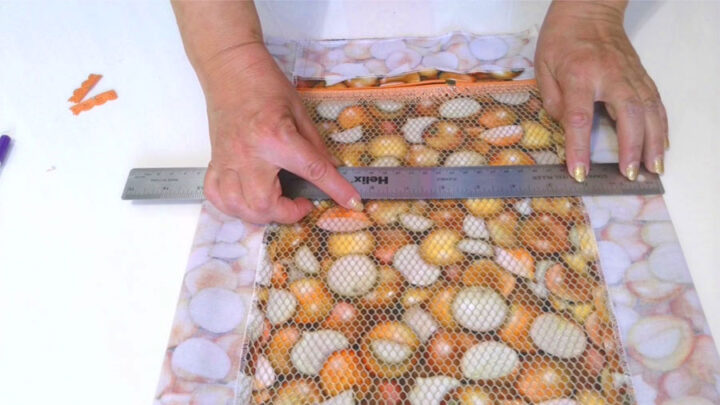
Stitch the bottom seam of the drawstring bag. Press.
Sew the side seams of the top body pieces.
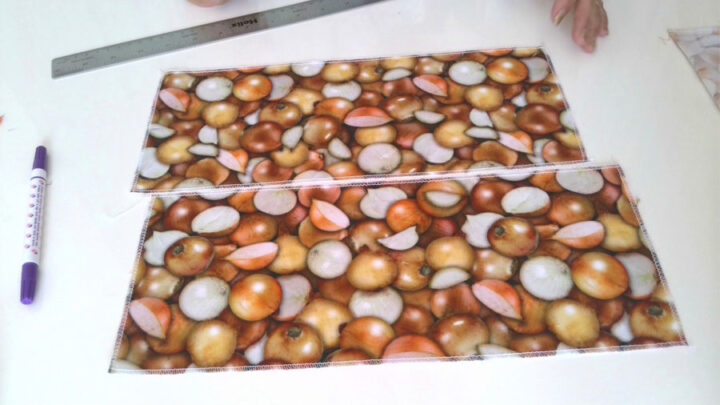
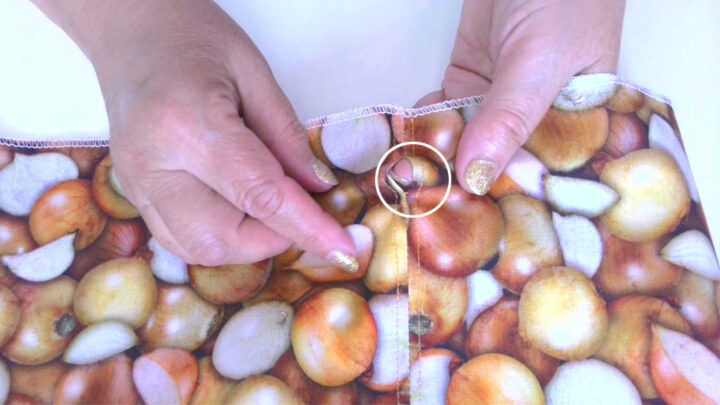
But you need to leave openings (not stitched parts of the seams) on both sides for the strings. The size of the openings is ¾ “ on both sides. Press the seams open.
Topstitch the seam allowances.
Place the top body on the top edge of the bag. The side seams of the top body piece should be aligned with the sides of the bag. Pin and stitch.
Press the seam toward the top body.
Turn under (to the wrong side) ⅜ “ on the upper edge of the top body piece and press.
Fold the top body in half lengthwise wrong sides together and line up the folded edge with the stitch line. Pin and topstitch in place. Press.
Step 5. Insert The Drawstrings
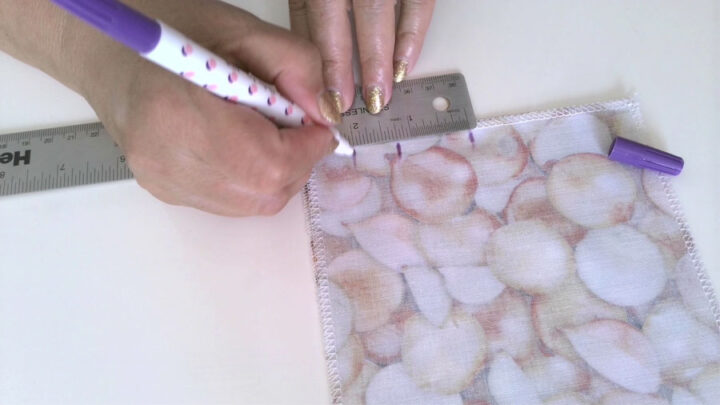
Make a casing for the strings: just draw 2 straight lines between the openings on both the front and back of the drawstring bag using a fabric marker and sew 2 lines of straight stitches to form the casing.
Turn the bag right side out.
Feed one of the strings through one opening in the casing so that both ends of the string are loose on the same side. Use a safety pin or a bodkin.
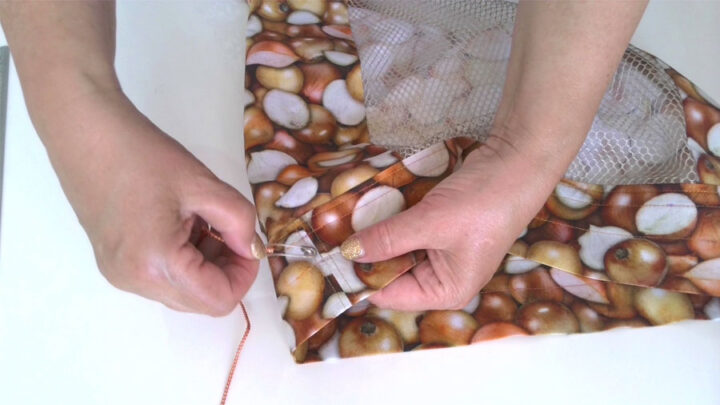
Repeat with the other string but this time feed it through the opening on the opposite side so that both ends of the string are loose on the other side.
Make sure the ends extend evenly on both sides.
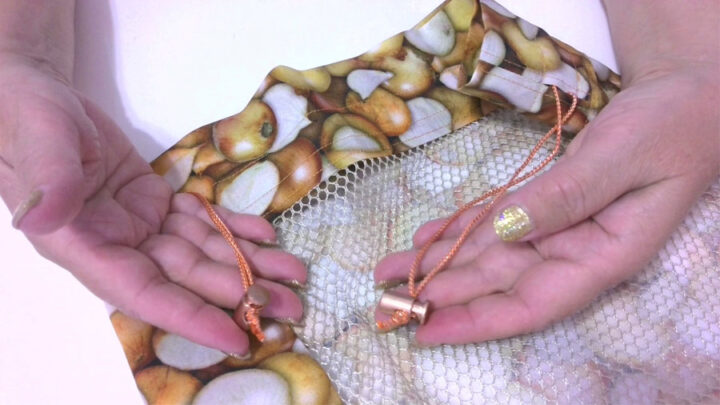
You can knot the raw ends of the string together. Try different knots to secure the drawstrings. You can even add beads or other decorations to personalize your bag.
I decided to insert a metal string’s “stop” on each side of the bag.
Congratulations on finishing your drawstring bag! This project was easy and fun, and now you have a unique and stylish new bag to use. And once you have sewn one bag you can easily cut and sew a few more in no time!
If you liked this tutorial you might be interested in my other easy sewing projects for beginners – 17 Fun And Unique Fabric Scrap Projects. These tutorials include step-by-step instructions and plenty of photos so you can follow along easily. I hope you will find it helpful! As always, if you have any questions or comments, feel free to get in touch.
Did you find this tutorial helpful? If so, save this pin (see below) on your sewing board so you can come to this tutorial later when you want to make a drawstring bag, and follow me on Pinterest for more tips, tutorials, and inspiration!
latest posts
- What Do You Call a Person Who Sews? I Asked My Readers and Got 1,408 Opinions
- DIY Round Purse: PDF Sewing Pattern and Detailed Instructions
- Mini Wonder Clips By Clover: Useful Sewing Tool Or Just Another Notion?
- Non-Slip Grips For Quilting Rulers: A Small Notion With A Useful Job
- Fabric Eraser for Sewing: What It Removes and When to Use It
- What Is The Best Thread For Sewing Machine Projects? Let’s Find Out!
- Butterfly Quilt Block Tutorial – Foundation Paper Piecing
- How To Sew Quilt Squares So The Corners Match
- Sewing With Fork Pins: How They Help With Pattern Matching, Slippery Fabric, And Seams