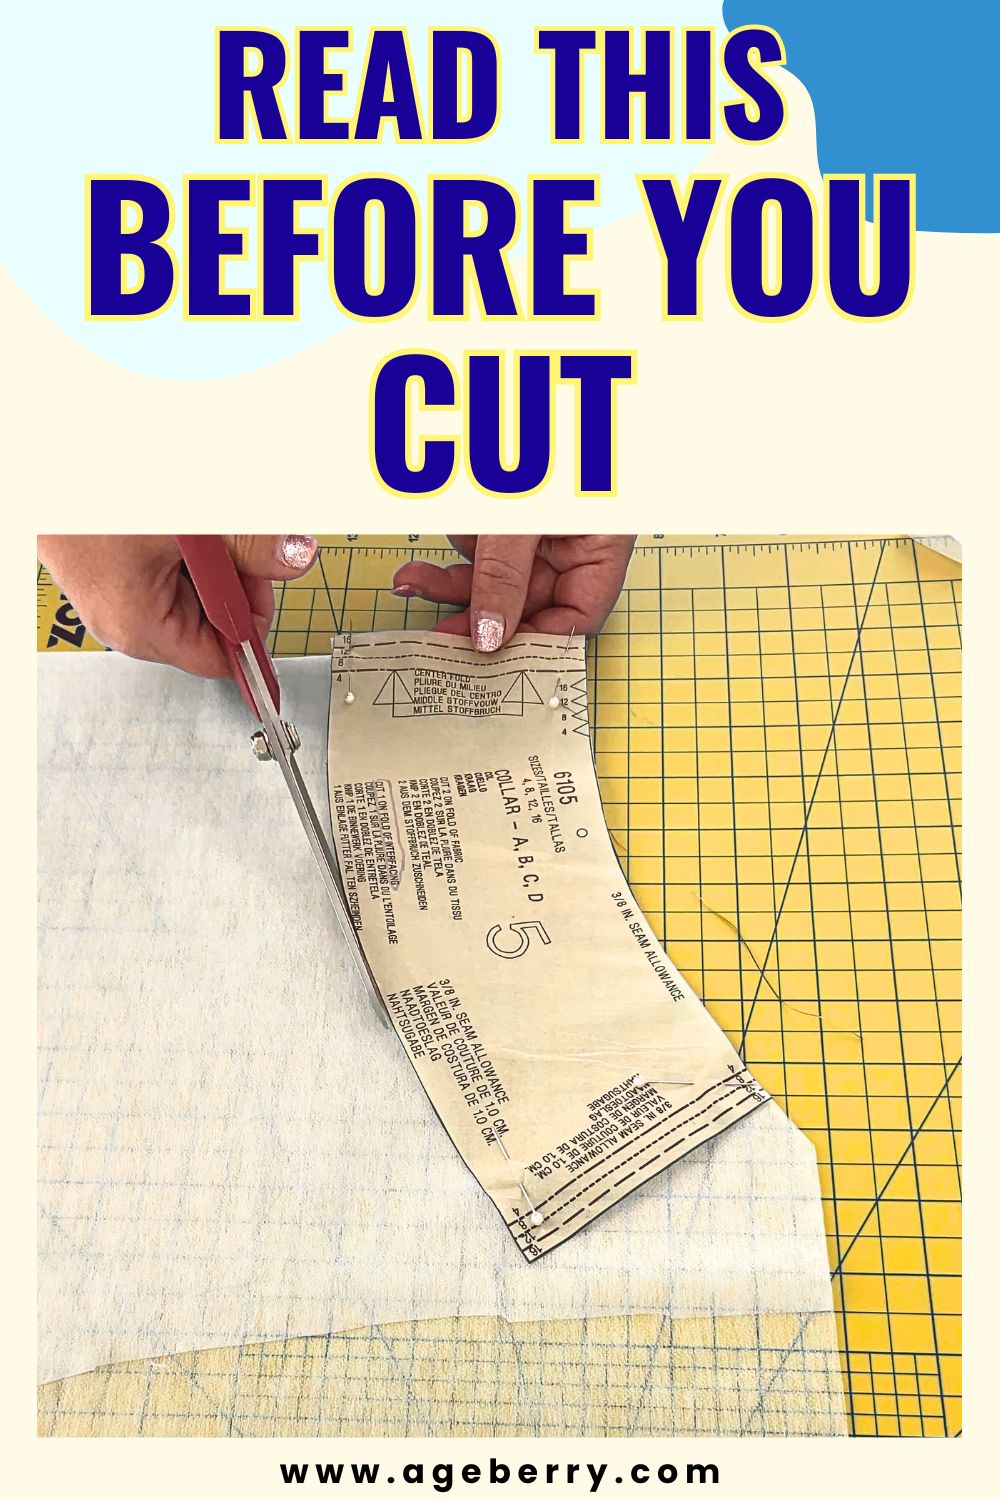
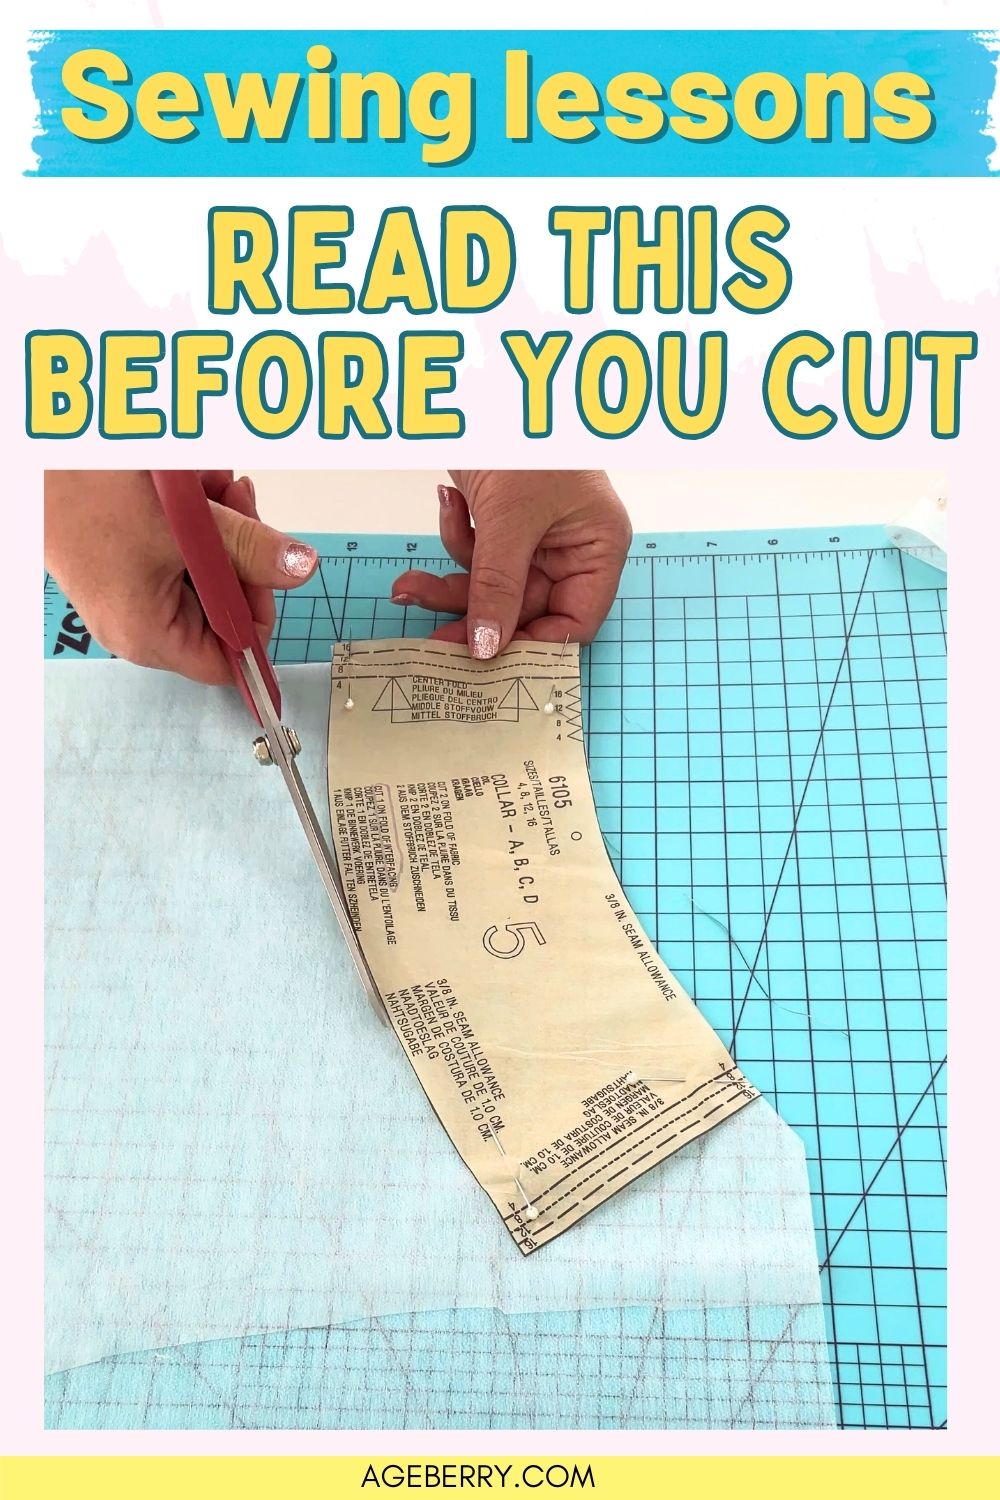
The Interfacing Cutting Guide: Methods, Folds, and Seam Lines
Before you reach for your scissors, you need to make one strategic decision: do you cut your interfacing separately from your fabric and then fuse them together, or do you fuse a larger block of interfacing to your fabric first and then cut out your pattern pieces?
This choice affects your entire process, so let’s look at both approaches.
Approach 1: Cut Interfacing and Fabric Separately (The Traditional Method)
This is the most common method and what most pattern instructions assume you’ll do. Here’s how it works:
- Cut your interfacing pieces using your pattern.
- Cut your fabric pieces using your pattern. Once both are cut separately, you’ll fuse the interfacing to the wrong side of each fabric piece.
This method works best when you have:
- A limited amount of fabric
- Just a few interfacing pieces to prepare
- Large pattern pieces that are easy to handle
- Confidence in cutting interfacing accurately
The benefit: You see exactly what you’re working with before fusing, and there’s minimal waste.
The drawback: You’ll be cutting two separate pieces for every section that needs interfacing. This requires precision and increases the chance of slight size mismatches between fabric and interfacing pieces.
Approach 2: Block Fuse First, Then Cut (The Time-Saving Method)
With this approach, you fuse a larger block of interfacing to a block of fabric first. Once they’re bonded together, you cut your pattern pieces from the already-interfaced unit.
Here’s the workflow:
- Cut both your fabric and interfacing into one large block (the same size, or close to it).
- Fuse the entire block together.
- Once fused, place your pattern pieces on top and cut out your final pattern pieces from the interfaced block.
This method works beautifully when you have:
- Several small interfacing pieces to prepare (collars, cuffs, facings, pockets)
- Lightweight or shifty fabrics that slide around while you work
- Plenty of yardage
- A willingness to fuse a larger area upfront
The benefit: You only fuse once, and your interfaced pieces are automatically perfectly aligned with your fabric. There’s no guessing about placement.
Second benefit: you only cut once too!
Third benefit (and we will talk about this also when I present next approach): interfacing is easier to manage because it is more stable than some fabrics. Besides, you won’t need to align two pieces when cutting.
The drawback: You use more interfacing and fabric overall because of the larger block size. This method only makes financial sense if you have plenty of both materials or if you have a plan for the scraps.
✅ Related tutorial: Crumb Quilt Tutorial: Easy Ideas for Making Fabric from Scraps
Approach 3: The Precision-First Method: Cut Interfacing, Fuse, Then Cut Fabric
I use this method most of the time. Not many sewists talk about it—but those who use it swear by it for accuracy and control.
This approach is actually a hybrid that combines the best parts of separate cutting and block fusing taking all the advantages from both. Here’s why this method works so well, and when it shines most.
How the Precision-First Method Works
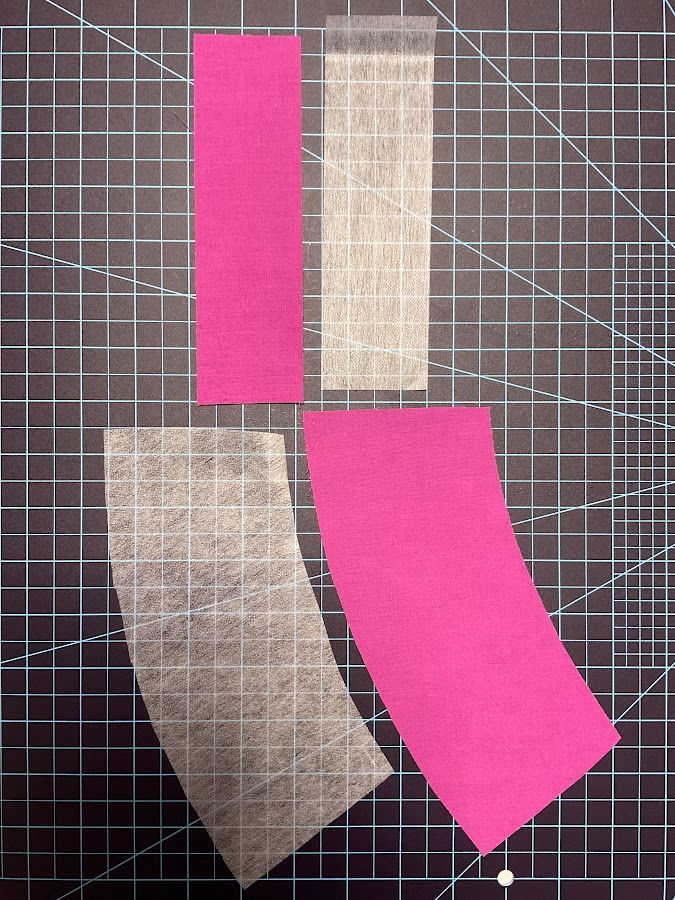
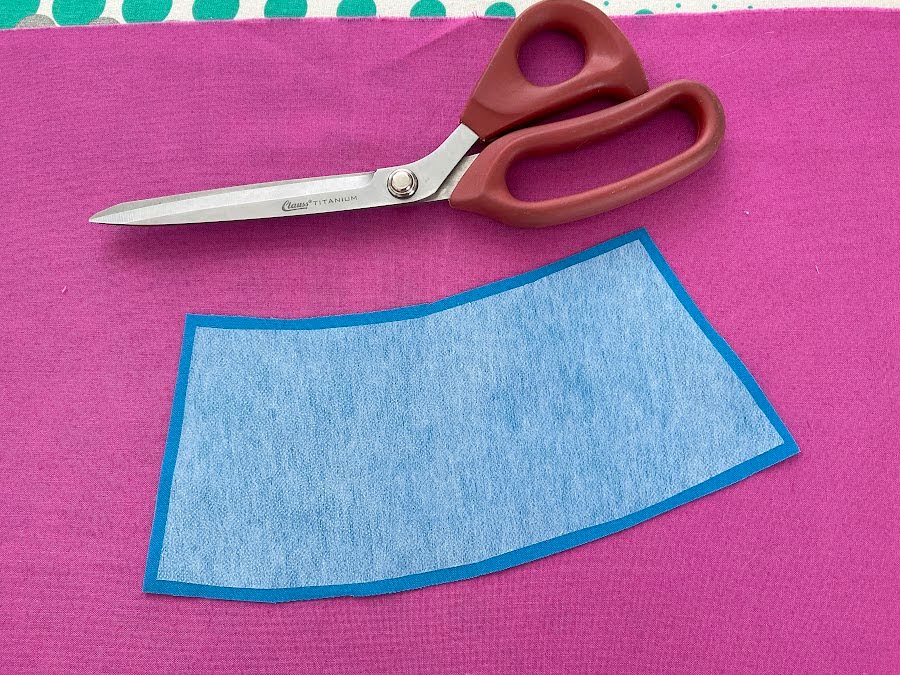
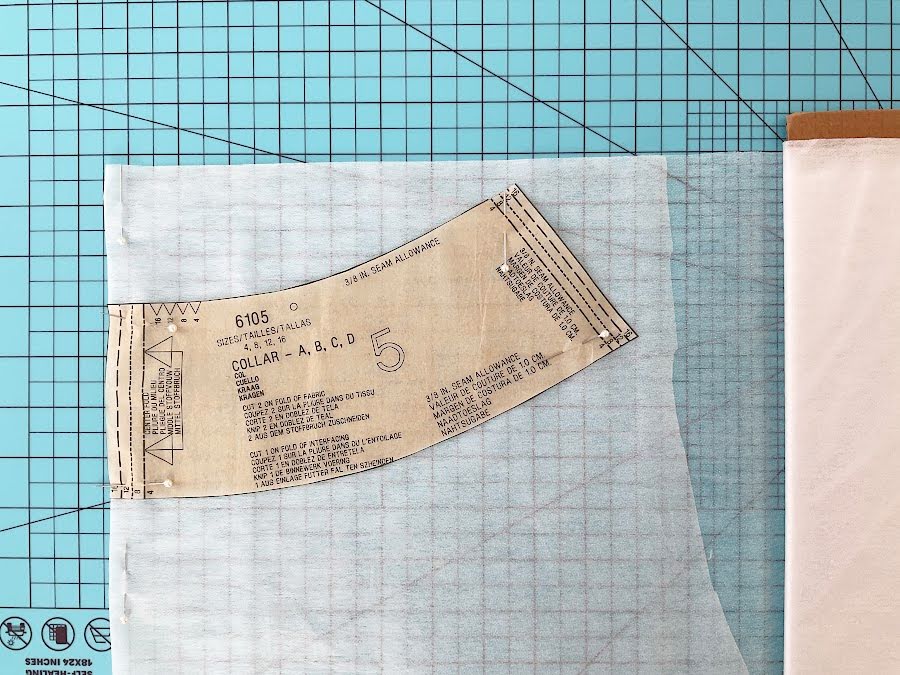
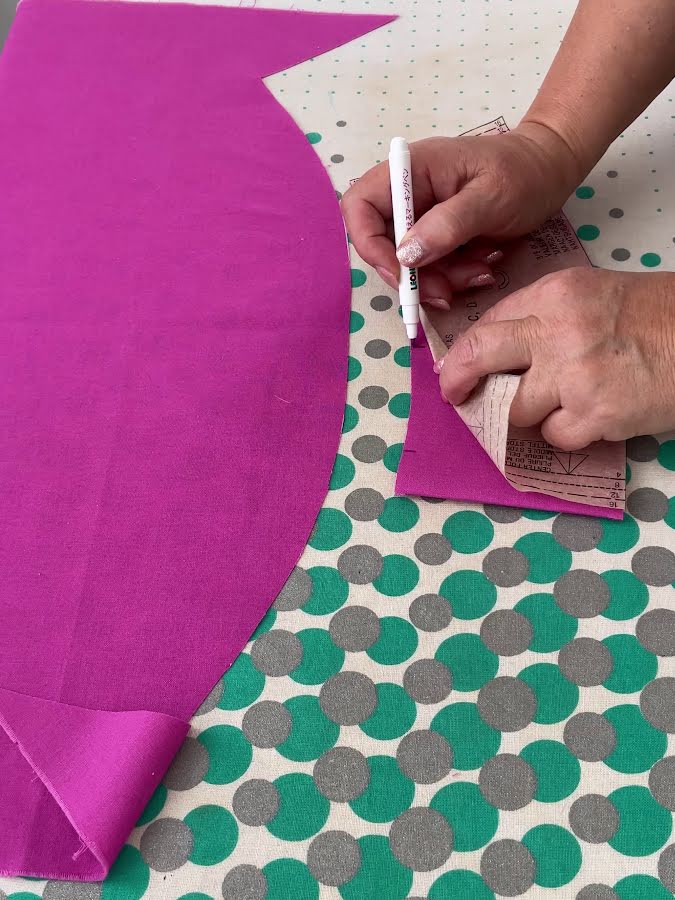
The workflow is straightforward. First, you cut your interfacing pieces from the pattern with care and attention. This gives you exact shapes with clean edges right from the start. The interfacing is now your master guide.
Next, you place these precisely cut interfacing pieces glue-side down onto your fabric block and fuse them. The fabric is now anchored to these perfectly shaped interfacing pieces. Once fused, the interfacing stays exactly where you positioned it.
Finally, you cut the pattern piece around interfacing.

✅ Related tutorial: Essential Sewing Tips: How to Apply Fusible Interfacing Correctly
Why This Method Delivers Precision
It seems interfacing is easier to cut precisely than fabric. It doesn’t shift as much, and it’s less prone to the slipping that happens with lightweight or slippery fabrics. When you cut interfacing first, you eliminate one source of error—the interfacing shapes are locked in and correct before the fabric ever comes into play.
Once the interfacing is fused to the fabric, cutting becomes simpler too. You’re not trying to align two separate cut pieces. You’re cutting through fabric where the interfacing is already in the right place. This means your fabric piece matches your interfacing piece perfectly every time.
In comparison to block fusing, this method also has the advantage of the traditional approach (cutting separately), does not need a large block of either fabric or interfacing and minimizes scraps.
Best Uses for This Method
This approach works beautifully for small precision pieces like collars, cuffs, waistbands, and facings.
It also works well for curved pieces. You can cut interfacing more carefully around curves than you might cut fabric, since interfacing doesn’t fray or slip as easily. Once that interfacing is fused in place, the fabric follows the interfacing’s lines.
If you’re working with difficult fabrics—slippery rayon, flimsy voile, or bias-cut pieces—this method keeps things under control. The interfacing is your anchor, and the fabric behaves once it’s attached to something stable.
✅ Related tutorial: How To Sew Curved Seams: 21 Helpful Ideas for Sewing Round Edges
The Material Consideration
One thing to note: this method works best when your interfacing matches your pattern piece size exactly. If your pattern calls for interfacing with reduced seam allowances, you’ll need to trim the interfacing first before fusing. Otherwise, you end up with extra bulk in your seams.
For most garment sewing, though, standard interfacing that’s the same size as the pattern piece works perfectly with this method.
How to Decide Which Method to Use
Choose the separate-cut method if:
- Your pattern requires just one or two interfaced pieces
- You’re working with expensive fabric
- You’re using a heavy interfacing and want to be conservative with material
- Your pattern pieces are large and easy to handle
Choose the block-fuse method if:
- You have many small interfaced pieces (like making a dress shirt with collar, placket, and cuff facings)
- Your fabric is thin and slippery (rayon, silk, challis, voile)
- Your pattern pieces have lots of curves or bias edges that shift during cutting
- You have adequate yardage and don’t mind using a bit extra
The precision-first method shines when you want maximum control over alignment and symmetry. This method produces clean results for collars and other visible pieces where centerline accuracy matters. Small, detailed pieces benefit from this approach because the interfacing acts as a guide for cutting the fabric. If your fabric tends to shift or if you’re working with bias edges and curves, the precision-first method keeps everything stable. The interfacing becomes your anchor, and the fabric follows its lead.
Mixing Methods Works Too
Many experienced sewists don’t stick to one approach for an entire project. You might use the precision-first method for collars where symmetry is critical. Then switch to block fusing for multiple small cuff pieces. Use the separate-cut method for large jacket fronts. Your choice can shift based on what each section needs.
Should You Cut Interfacing the Same Size as Your Pattern Pieces?
For most projects, yes—you can cut interfacing exactly the same size as the pattern piece. This is the easiest and most accurate option, and it’s how most pattern instructions are designed.
It works especially well if:
- You’re using lightweight fusible interfacing
- You plan to trim seam allowances later
- The fabric isn’t too bulky
Once the interfacing is fused, trimming the seam allowances afterward keeps them smooth and less bulky without the stress of trying to cut smaller shapes in advance.
When to Cut Interfacing Slightly Smaller
Cutting interfacing smaller is optional, not mandatory.
Some sewists prefer cutting interfacing about ⅛ inch smaller along all sides, especially for thicker interfacing or tightly curved pieces. This helps seams turn more neatly and reduces a stiff ridge at the stitching line. This also prevents glue from seeping onto your ironing board or pressing cloth, which can ruin them both.
In those cases, trace the original pattern piece onto the interfacing, then use sharp scissors to trim off about ⅛ inch around the edges. You don’t need a separate pattern piece—just trim freehand after tracing.
When Cutting Smaller Isn’t Practical
On small pieces like collars, cuffs, waistband facings, or pockets, cutting smaller pieces often makes alignment tricky. You end up stretching or misplacing the interfacing while pressing. It’s safer to cut it the same size, fuse it, and trim around the edges once sewn. This ensures perfect alignment and clean edges.
This simplified method (cut same size, then trim) is what many pattern companies assume you’ll do.
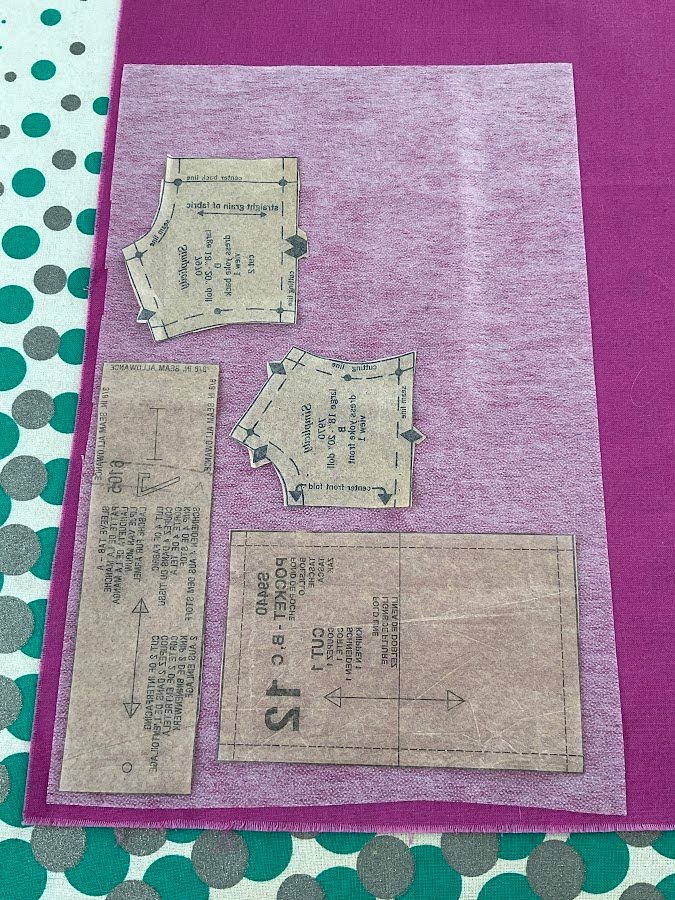
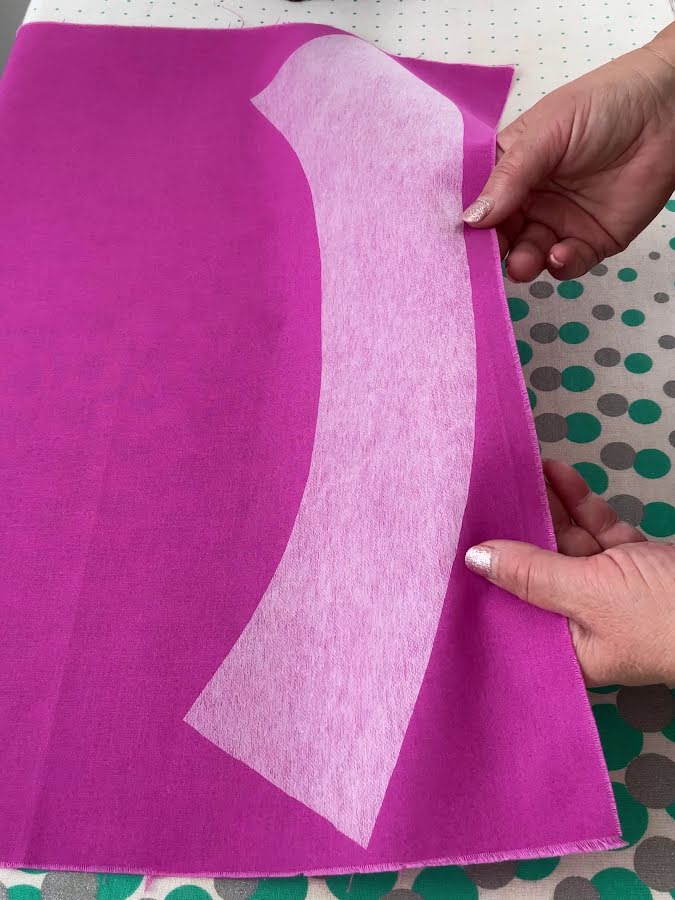
Should You Fold Your Interfacing or Cut Single Layer
This question matters most when you’re making collars. Folding interfacing to cut both halves at once sounds efficient—until you unfold it and see a bumpy, uneven centerline where the fold was. This happens more often than you might think, especially with collars where that crooked line shows immediately at the neckline.
✅ Related tutorial: How Not to Sew: A Lighthearted Guide to What Not to Do at Your Sewing Machine
When you fold and cut through both layers, the bottom layer creeps slightly under the top layer as you work. It’s a tiny shift, just a thread or two, but it’s enough to throw off symmetry when you unfold everything. Collars broadcast these mistakes. A lopsided centerline catches the eye every time you look at your neckline.
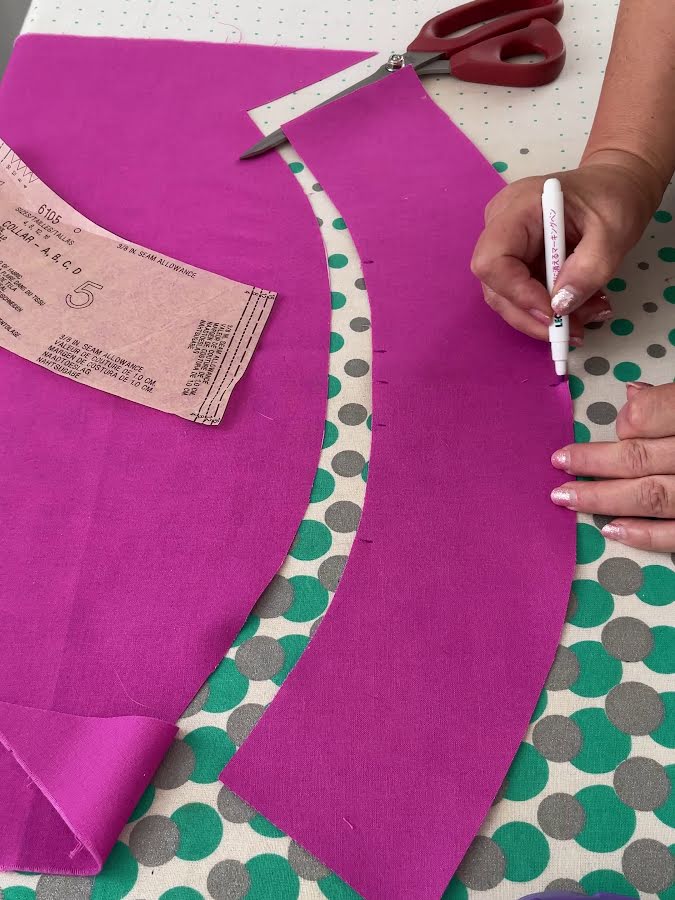
For collars and other small pieces like cuffs or waistbands, single-layer cutting gives you better control. Lay your interfacing flat, place your pattern on top, cut one piece. Then flip your pattern and cut the mirror-image piece beside it.
This takes a bit longer, but your collar centerline stays perfectly straight. You know exactly what you’re getting before you fuse anything. Single-layer cutting works especially well if your interfacing is slippery or if your fabric tends to shift around during pressing.
If you prefer folding collars and want to avoid the bump, slow down and use pattern weights or pins directly on the fold line. You can also finger-press your fold line lightly. This holds the fold steadier. That extra step ensures collar symmetry.
Do You Need to Mark Your Interfacing While Cutting?
Skip marking the interfacing itself—those marks usually vanish the moment you fuse it to your fabric.
When you place your pattern piece on interfacing to cut, you might wonder if you should transfer markings onto the interfacing at the same time. The short answer is no. Interfacing is a temporary support layer. The marks you need to see while you sew are on your fabric, not on the interfacing.
Here’s why this matters. Once you fuse the interfacing to the fabric, the two layers bond together permanently. Most marks on the interfacing get sealed beneath that adhesive. You won’t see them, and you won’t be able to reference them while you sew.
Transfer all your pattern markings to your fabric, but do this after the interfacing is fused.
The one exception: if your pattern calls for specific markings on the interfacing for positioning purposes before fusing (like grain lines or fold lines), transfer those marks in pencil only. These are placement guides, not construction marks. Once the interfacing is fused, you won’t need them anymore.
Cut your interfacing without worrying about marks. Fuse it to your fabric. Once everything has cooled, mark your fabric with all the construction details from your pattern. This keeps your process clean and prevents wasted marking work.
Which Cutting Tool to Use for Your Interfacing
Your choice of cutting tool matters more than most sewists realize.
Interfacing is thinner and more delicate than fabric, which means it responds differently to your scissors or rotary cutter. This isn’t just about preference—the tool you choose affects both how quickly you work and how clean your edges look.
Sharp Fabric Scissors for Most Interfacing
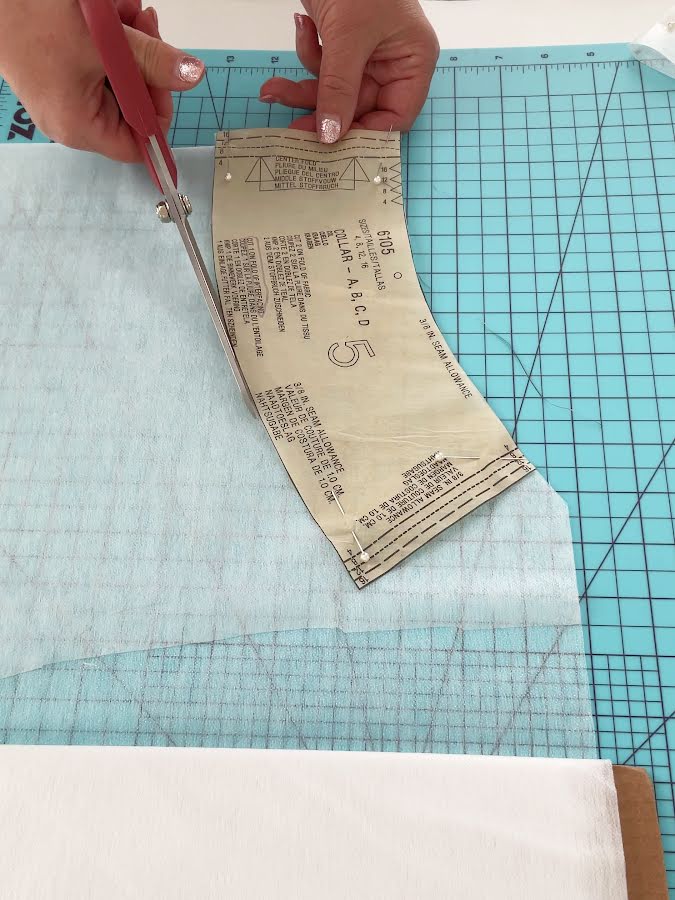
For everyday interfacing pieces (collars, cuffs, facings, pockets), sharp fabric scissors are your best friend. A quality pair of dressmaker shears gives you control over curved edges and intricate shapes without stress. You can feel your way around the pattern piece, adjust as you go, and pivot easily when you hit a corner.
The key word here is sharp. A dull pair of scissors will chew through interfacing instead of cutting it cleanly, which frays the edges and makes fusing harder later. If your scissors have lost their edge, have them professionally sharpened or grab a fresh pair before you start cutting interfacing.
Rotary Cutters for Block Interfacing and Straight Edges
When you work with block fusing (that is, fusing large rectangles of interfacing before cutting your final pieces), a rotary cutter is far superior. A sharp rotary blade cuts through multiple layers smoothly and gives you perfectly straight edges in one continuous motion.
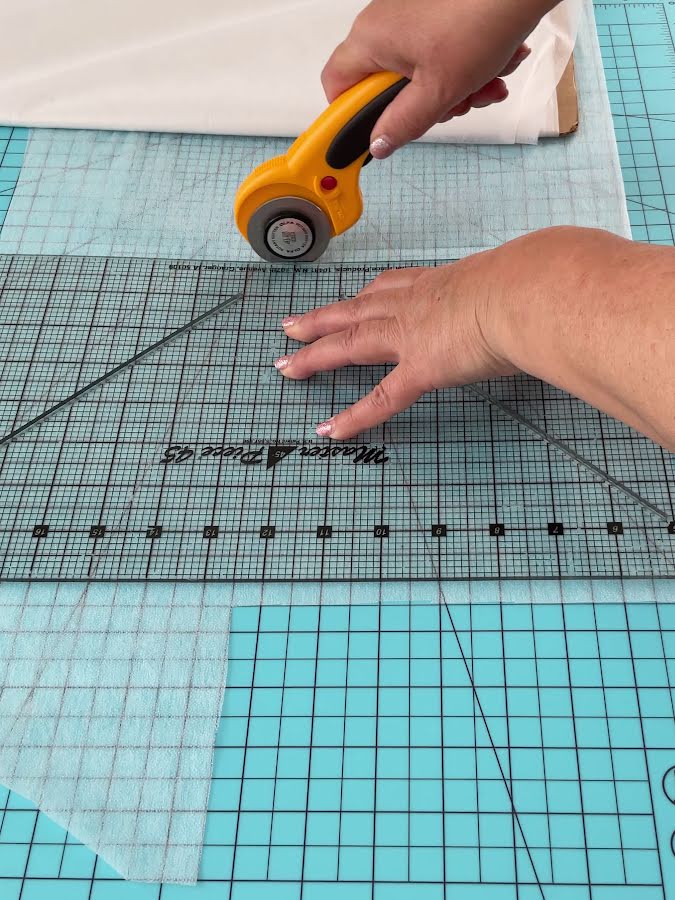
Rotary cutters shine when you have large, straight pieces to cut. Instead of making multiple cuts with scissors, you line up a ruler and roll the cutter along once. The cut is cleaner, faster, and requires less hand fatigue.
Block interfacing involves cutting generous rectangles of interfacing and fabric together. A rotary cutter handles this efficiently. You’ll also want a self-healing cutting mat and a ruler. The setup takes a moment, but the time savings add up quickly when you’re cutting multiple pieces.
✅ Related tutorial: Rotary cutter tips and tricks – what mistakes to avoid
Did you find this article helpful? If so, save this pin (see below) on your sewing board so you can come to this tutorial later when you need this information, and follow me on Pinterest for more tips, tutorials, and inspiration!
latest posts
- What Do You Call a Person Who Sews? I Asked My Readers and Got 1,408 Opinions
- DIY Round Purse: PDF Sewing Pattern and Detailed Instructions
- Mini Wonder Clips By Clover: Useful Sewing Tool Or Just Another Notion?
- Non-Slip Grips For Quilting Rulers: A Small Notion With A Useful Job
- Fabric Eraser for Sewing: What It Removes and When to Use It
- What Is The Best Thread For Sewing Machine Projects? Let’s Find Out!
- Butterfly Quilt Block Tutorial – Foundation Paper Piecing
- How To Sew Quilt Squares So The Corners Match
- Sewing With Fork Pins: How They Help With Pattern Matching, Slippery Fabric, And Seams