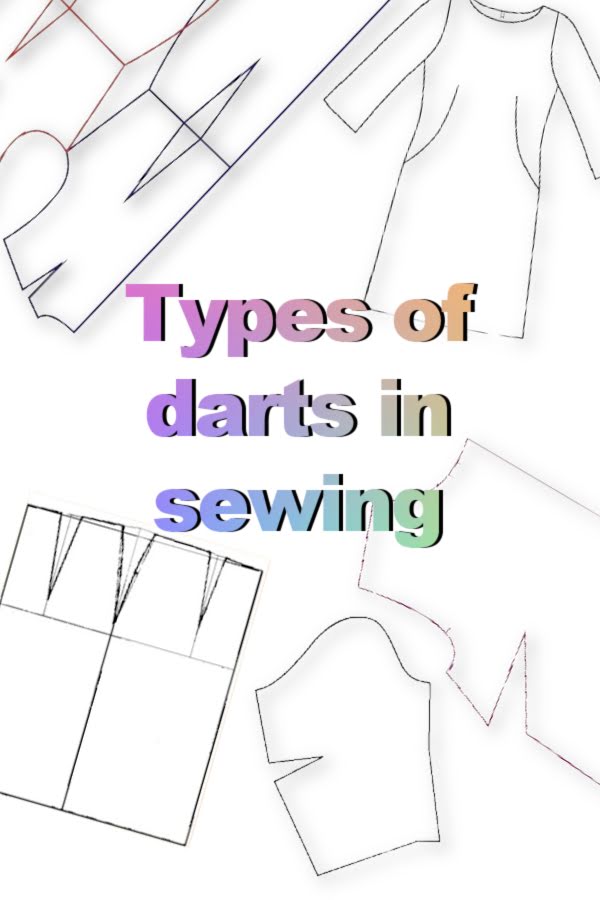
Steam or Dry Heat for Fusible Interfacing: Which Actually Works
There’s a reason this question appears in almost every sewing forum on the internet—the advice is all over the map. Some pattern instructions scream “no steam,” while experienced sewists swear by it. The truth is that both approaches work, but they work differently depending on your interfacing type and your goals. Here’s what you need to know.

The Traditional Advice: Dry Heat Only
For decades, the standard instruction has been to use a dry iron with no steam when applying fusible interfacing. This guidance was coming from manufacturers like Pellon, whose fusible interfacing packages typically specify a dry iron and no steam. The reasoning behind this is straightforward—heat alone melts the adhesive. Steam, in theory, can introduce moisture that interferes with the glue bonding to the fabric fibers.
The dry heat method works reliably for most lightweight to medium-weight interfacings. Many sewists have fused interfacing successfully this way for years. If you follow the manufacturer’s instructions on your specific interfacing package and use dry heat, your interfacing will bond to the fabric.
But I was always genuinely surprised by these “no steam” instructions. It felt counterintuitive to me. Most of the pattern instructions I used called for a damp pressing cloth anyway. That contradiction stayed with me for years.
I ended up using a steam iron for almost all my interfacing work simply because that’s what felt natural with a steam iron in my hand. The result? I never experienced problems with my interfacing. It always fused properly, stayed put, and held through washing and wearing. This made me wonder if the traditional advice was actually as critical as it seemed.
The Steam Approach: What the Data Shows
Here’s where things get interesting. Recent testing by experienced sewists reveals something surprising—when steam is used properly, the interfacing often bonds more thoroughly and smoothly to the fabric than with dry heat alone.
When interfacing fused with steam is tested by touch and pull strength, it feels more integrated with the fabric. It doesn’t feel like a separate layer sitting on top. When you pull at the edges, it requires significantly more force to lift.
What appears to be happening is that steam helps the fabric fibers swell slightly. This allows the adhesive to penetrate more deeply into the fabric structure, and creates a stronger mechanical bond. The heat from the steam also acts as a more effective heat transfer medium than dry air, ensuring the adhesive melts more evenly across the entire piece.
One detailed test showed a clear difference when comparing methods. With dry heat only, the interfacing felt like it was sitting on top of the fabric as a separate layer. You could actually feel it standing up from the fabric when you ran your finger across it. But with steam, the interfacing felt truly bonded, as if it had become part of the fabric itself. The difference was noticeable enough that pulling the interfacing away required significantly more effort with the steam method.
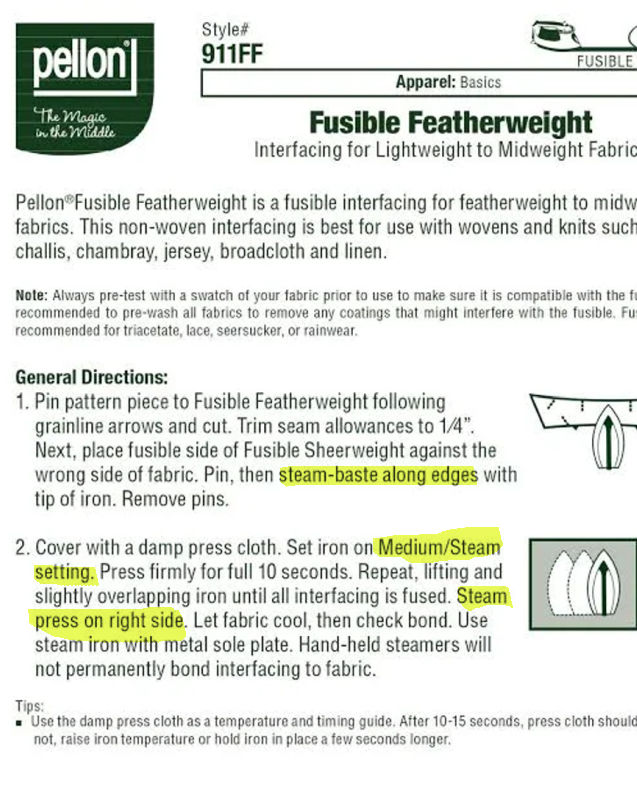
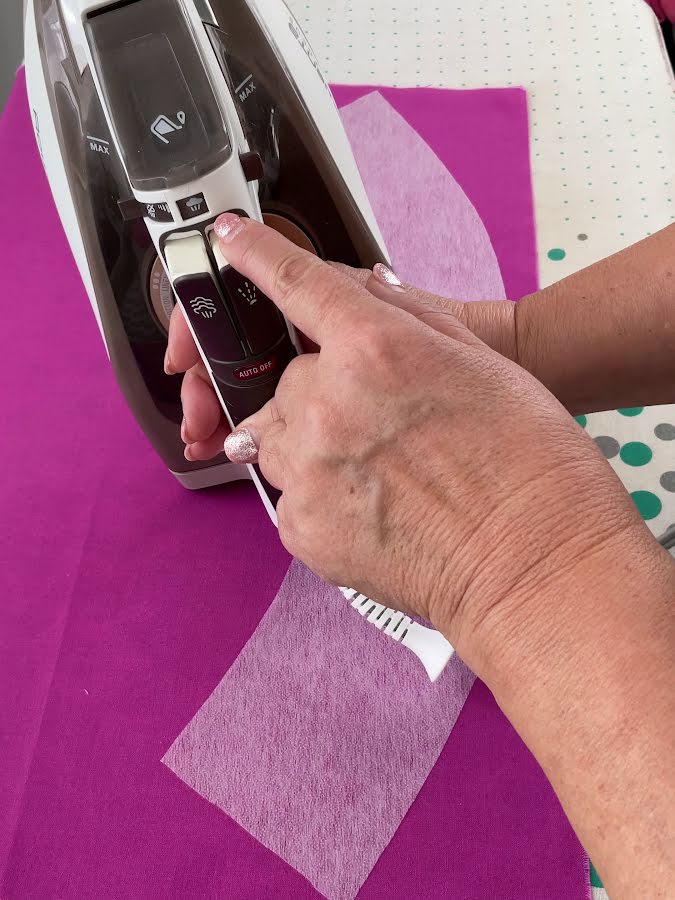
Interestingly, manufacturers seem to have recognized this difference over time. If you check more recent instructions — like the Pellon label I’m showing here — steam is now clearly part of the recommended process. That wasn’t always emphasized this way. It feels like real-world sewing experience finally caught up with the instructions. After enough people tested, pressed, and compared results, the guidance quietly shifted.
Interfacing Type Matters
Not all interfacings respond the same way to steam. This is a key detail that gets lost in generic advice.
✅ Related tutorial: Types of Interfacing Explained: Woven, Non-Woven, Knit, Fusible, and Sew-In
Heavier interfacings, particularly those with larger glue dots or film-based adhesive, may benefit from steam because the heavier structure needs more thorough penetration to bond properly.
Some specialty interfacings—like certain fusible fleeces—are actually designed to be used with steam. These come with their own instructions that specifically call for moisture. Following the manufacturer’s guidance for your particular interfacing is always the safer choice.
What to Do If You’re Unsure
Always test on a scrap of your actual fabric paired with the exact interfacing you plan to use. Fuse one test piece using dry heat only. Fuse another using steam. Let both cool completely, then test them by trying to peel the interfacing away from the fabric. Feel how they bond. Look at how smoothly they integrate. This simple test takes five minutes and removes all guesswork for your specific fabric and interfacing combination.
If your tested interfacing bubbles, ripples, or refuses to bond after washing, try the opposite approach on your next project. Many sewists who experienced bubbling with dry-heat methods found that steam solved the problem entirely.
The Reality for Home sewists
Your home iron is different from the industrial fusing presses used in garment factories. Home irons tend to run cooler than you might think, even on the highest setting. This is actually where steam becomes advantageous—it helps compensate for the lower heat output of domestic irons by transferring heat more efficiently to the adhesive.
If interfacing has been peeling off your finished garments after a few washes, moisture activation through steam might be the missing piece. Many sewists report that switching to a steam method eliminated their persistent interfacing problems. My own years of steaming interfacing without incident certainly support this observation.
✅ Related tutorial: Basic sewing tools: iron buying guide
When to Follow the Package Instructions Strictly
If your interfacing package specifically warns against steam, honor that instruction. Some interfacings genuinely don’t respond well to moisture. Manufacturers know their products best. However, if your package doesn’t explicitly forbid steam and you’re having adhesion problems, steam is worth trying.
The steam versus dry heat question doesn’t have a one-size-fits-all answer. The best approach is the one that works for your specific interfacing and fabric combination. Test it. Feel the results. Trust what your hands tell you about the bond strength. Your intuition about your own materials will guide you more reliably than any generic instruction.
Did you find this article helpful? will you try using steam next time when you use fusible interfacing? If so, save this pin (see below) on your sewing board so you can come to this tutorial later when you are ready, and follow me on Pinterest for more tips, tutorials, and inspiration!
latest posts
- What Do You Call a Person Who Sews? I Asked My Readers and Got 1,408 Opinions
- DIY Round Purse: PDF Sewing Pattern and Detailed Instructions
- Mini Wonder Clips By Clover: Useful Sewing Tool Or Just Another Notion?
- Non-Slip Grips For Quilting Rulers: A Small Notion With A Useful Job
- Fabric Eraser for Sewing: What It Removes and When to Use It
- What Is The Best Thread For Sewing Machine Projects? Let’s Find Out!
- Butterfly Quilt Block Tutorial – Foundation Paper Piecing
- How To Sew Quilt Squares So The Corners Match
- Sewing With Fork Pins: How They Help With Pattern Matching, Slippery Fabric, And Seams