Essential Sewing Tips: How to Apply Fusible Interfacing Correctly
Applying fusible interfacing is a straightforward process, but it only works well when you use the right method. The goal is to create a strong, smooth bond between the fabric and interfacing—without bubbles, wrinkles, or peeling.
This guide walks you through each step of applying fusible interfacing so it holds up beautifully in your finished project.

Step 1: Prepare the fabric
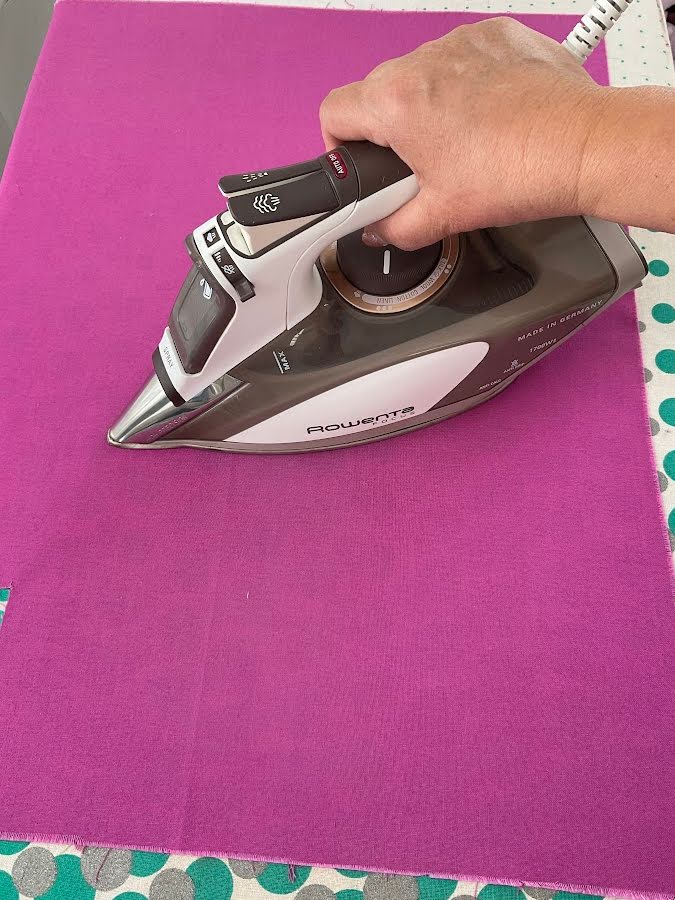
Press the fabric first. Wrinkles in your fabric will become permanent once you fuse the interfacing to it. Lay your fabric wrong side up on your ironing board and press out all creases with an iron.
Note: Some of the links on this page are affiliate links. This means I will receive a commission if you order a product through one of my links. I only recommend products I believe in and use myself.
Step 2: Cut the Interfacing
There are multiple ways to cut interfacing, and each choice changes your workflow.
Cutting interfacing is more complex than most sewists expect. You have decisions to make before you ever pick up your scissors.
Do you cut your interfacing separately from your fabric, or do you fuse larger blocks together first? Should you fold your interfacing in half to cut mirror pieces, or cut each one individually? And here’s the real question many people skip over: do you cut your interfacing with full seam allowances, slightly smaller, or adjust after fusing?
These choices matter because they affect precision, alignment, and how your finished garment looks. A small decision at the cutting stage can mean the difference between a collar with a straight centerline and one with a visible bump down the middle.


Rather than try to cover all these cutting variables in one step, I’ve created a comprehensive guide that addresses every cutting scenario you might face. Head over to The Interfacing Cutting Guide: Methods, Folds, and Seam Lines to explore:
- The three main cutting methods and when to use each one
- Why folding your interfacing might give you a bumpy centerline (and how to avoid it)
- Whether to cut interfacing with seam allowances or trim them smaller
- How your fabric type and pattern piece size influence your cutting choices
Read through that guide and choose the approach that fits your project. Then come back here and move forward to Step 3.
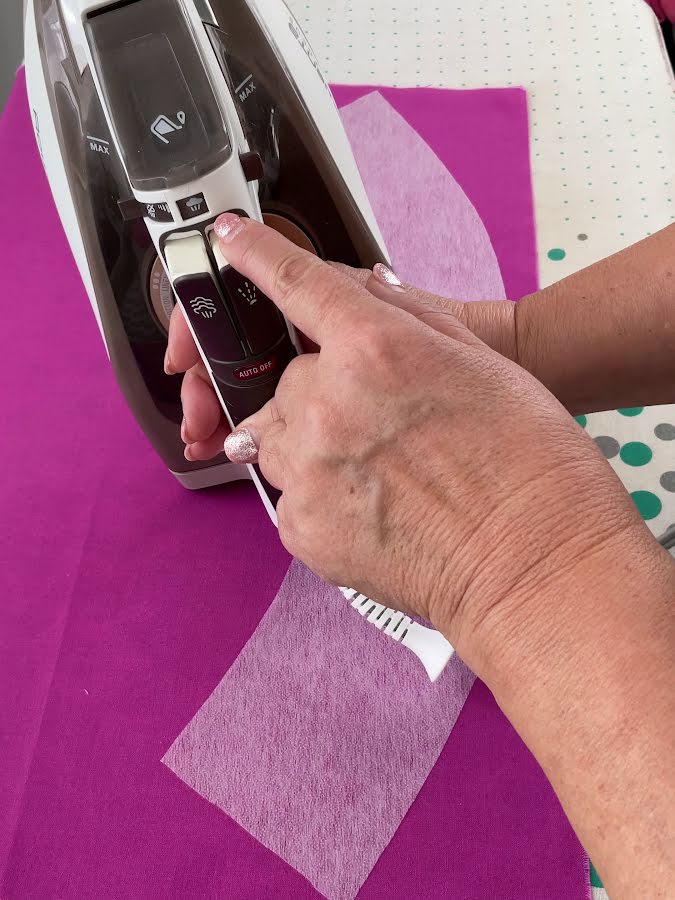
Step 3: Confirm the glue side (do this every time)
This seems obvious, but it’s a common mistake.
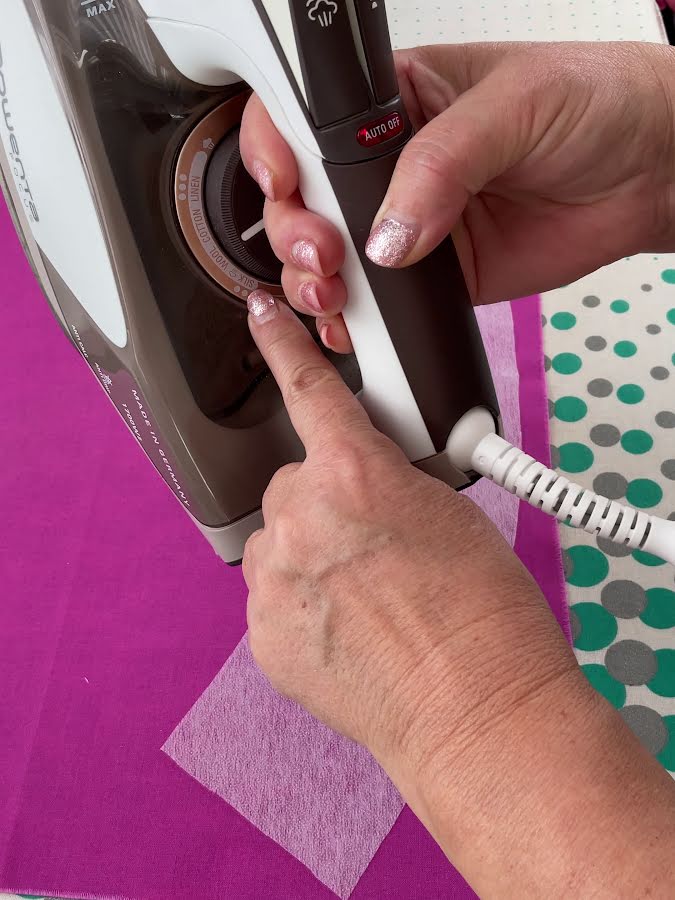
The glue side feels bumpy or has a slightly shiny appearance due to the adhesive dots. The smooth side is where your iron will rest.
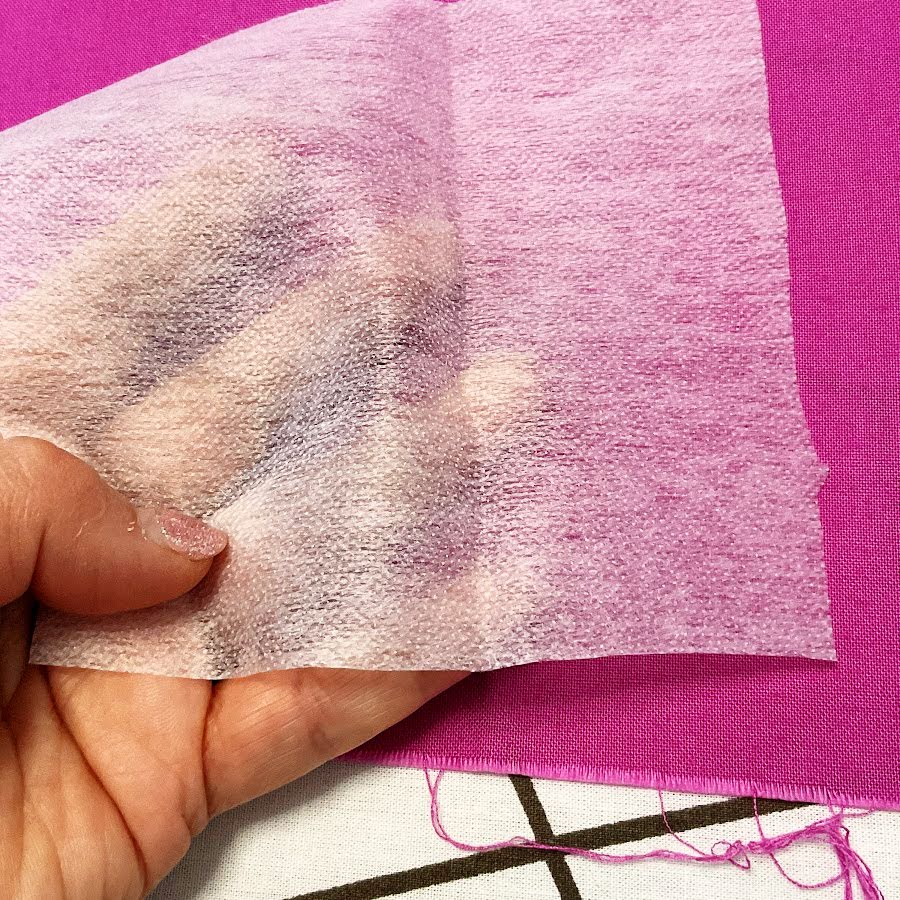
Run your fingers across both sides to feel the difference. Once you know which side is the adhesive side, never let your iron touch it directly.
This small check saves your iron from a sticky incident—literally. Adhesive residue on an iron’s sole plate is frustrating to clean off and can damage future projects.
If however you happen to touch the iron to the glue side, all is not lost – there is such a thing as the iron cleaner. I had excellent results using the Faultless Iron Cleaner.


✅ Related tutorial: Care Of Sewing Tools And Equipment
When the Adhesive Side Isn’t Obvious
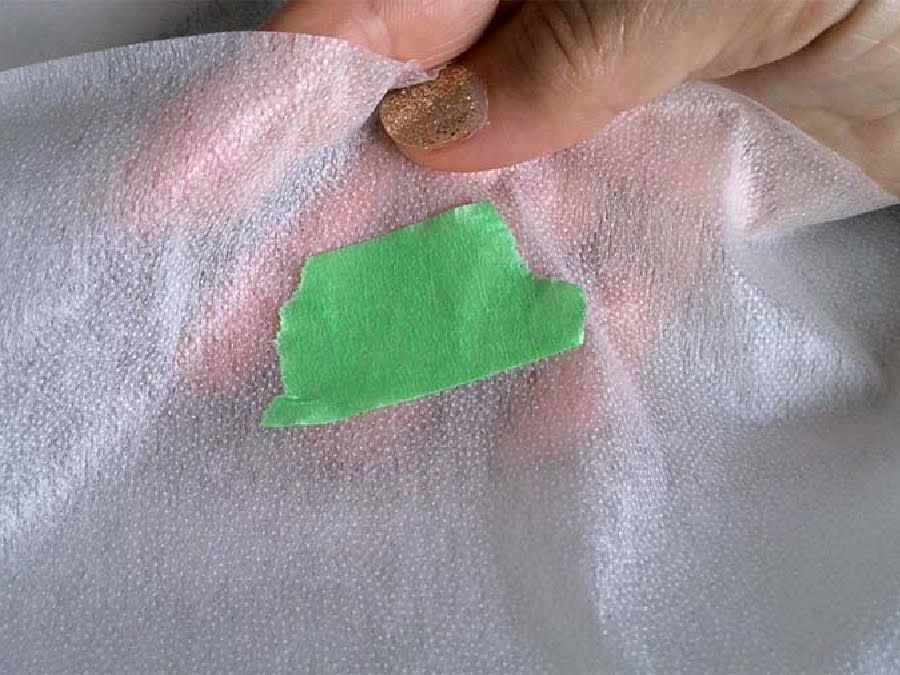
Some interfacing types don’t make this distinction easy. The bumpy texture may be subtle, or the shiny appearance might not be noticeable enough to help you. If you spend time figuring out which side is the adhesive side, mark it. This saves time and confusion later.
A piece of painter’s tape works perfectly for this. Place it on the adhesive side of your interfacing. The tape serves as your visual marker. Now you never have to wonder again with that particular piece. You know immediately which side needs to touch your fabric and which side faces your iron.
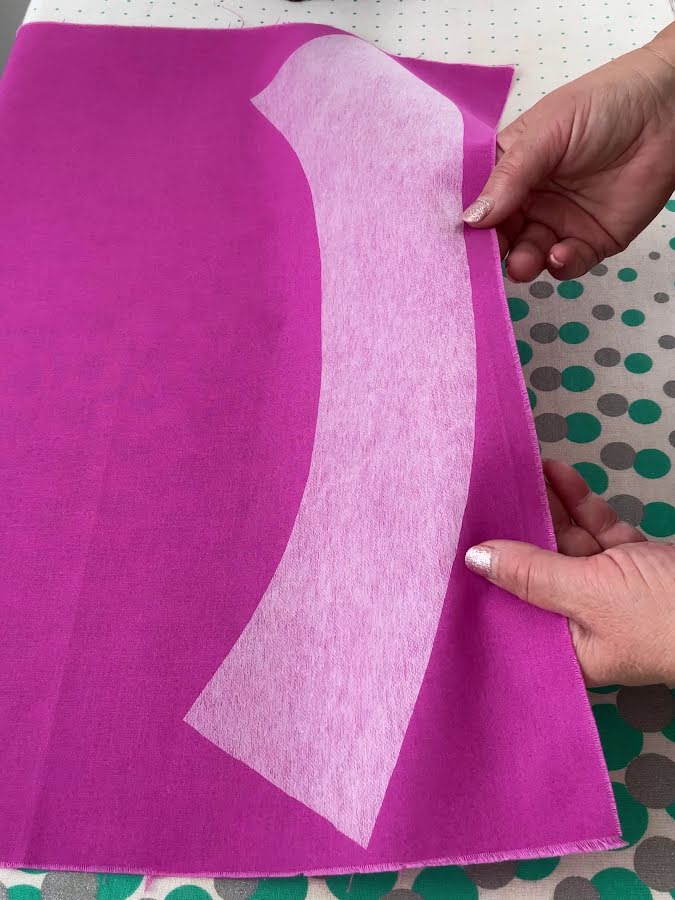
Step 4: Position the layers
- Put the fabric wrong side up on the board.
- Place the interfacing glue side down on the fabric.
- Smooth with your hands. Use gentle strokes. Do not stretch the fabric.
If you need to move it, lift and reposition. Do not drag it across the fabric. Dragging it might stretch the interfacing, the fabric or both.
Step 5: Steam-Baste Your Interfacing in Place
This is the step that most pattern instructions skip over—but it’s the one that keeps your interfacing from creeping out of position when you’re not looking. We need to make sure the interfacing won’t shift while we work with it, so while no thread is involved, this is still “basting” in my view.
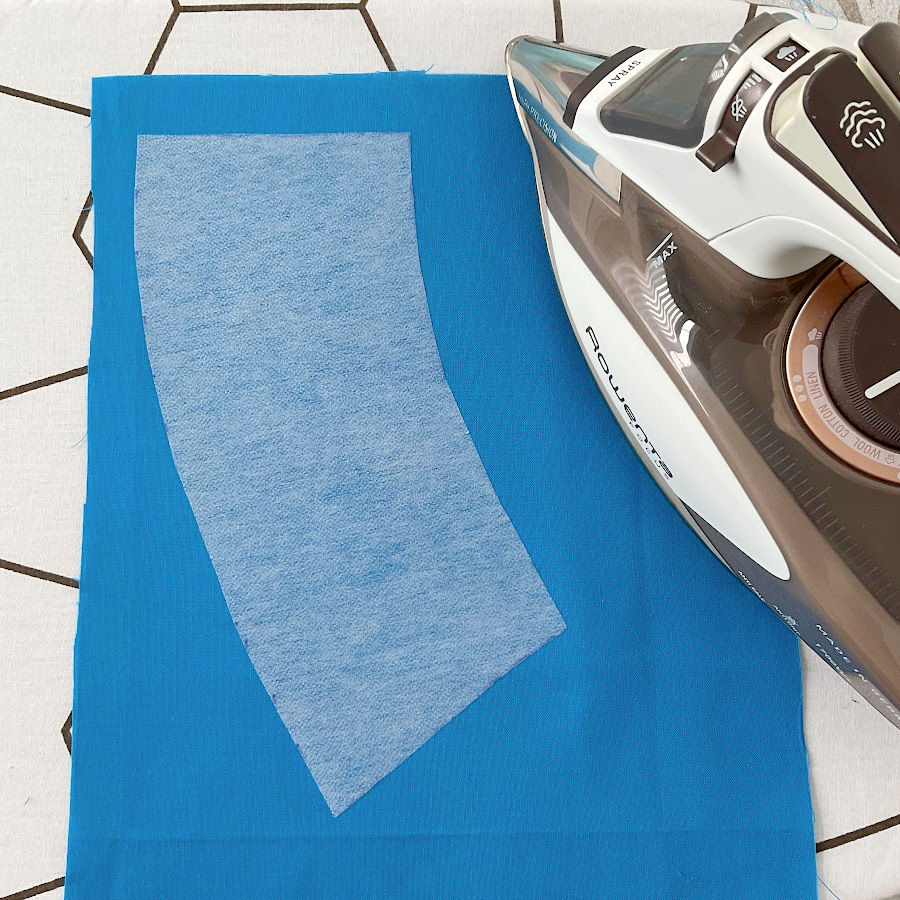
Once your interfacing is positioned on the fabric and smoothed in place, you have one more move to make before you proceed. Take your hot iron and press it down onto one area of the interfacing for a second or two. You’re not doing the final fusing yet. You’re just using a bit of heat (and probably steam) to soften the adhesive slightly. This small amount of bonding is enough to hold the interfacing steady in place.
Lift the iron straight up, then move to an adjacent area and press again for a few seconds. Continue this press-and-lift motion across the entire piece of interfacing. Overlap your placements slightly to make sure you cover the whole area.
The next step of this guide introduces a pressing cloth—a tool you’ll place on top of your layers before applying full heat. Many pattern instructions assume you’ll just use that pressing cloth without mentioning this steam-baste step first.
Here’s the thing: if you skip the steam-basting and go straight to adding the pressing cloth, the interfacing can shift beneath it. A non-transparent cloth means you can’t see what’s happening underneath, and that’s exactly when interfacing loves to creep out of position. Those few seconds of basting prevent that frustration.
Think of this as a temporary anchor. Your interfacing stays put while you apply your full fusing heat. You’ll also find that everything adheres more evenly because the layers don’t move during the actual fusing process.


Step 5.5: Steam Iron or Dry Heat—Which Method Works Best?
Before you move forward, you need to decide on one key question: will you use steam iron, or will you use dry heat only? This choice matters more than you might realize, and the answer isn’t as straightforward as pattern instructions suggest.
This is an important topic. And I’ve created an entire dedicated article exploring the science behind steam versus dry heat fusing. The decision affects your interfacing bond strength, the appearance of your finished piece, and whether your garment will hold up through multiple washes.
Head over to my guide Steam Iron or Dry Heat for Fusible Interfacing: Which Actually Works to explore both methods in depth. You’ll learn what major manufacturers recommend, what experienced sewists have discovered through testing, and how to choose the right approach for your specific interfacing and fabric combination.
Once you’ve decided on your method, return here to Step 6 and move forward with your pressing cloth and final fusing.
Step 6: Add your pressing cloth
According to major interfacing manufacturers such as Pellon, Vilene (Vlieseline), and Bosal, using a pressing cloth (preferably damp) when applying fusible interfacing is strongly recommended — not strictly mandatory, but in practice, it’s the safest way to get consistent, clean results.
Why the Pressing Cloth Matters
A pressing cloth acts as a heat buffer and glue shield. Here’s what it does:
- Prevents adhesive transfer.
If glue seeps out from the edges, a pressing cloth catches it before it coats your iron. Adhesive on an iron can ruin your next fabric and make future pressing miserable. - Protects delicate fabrics.
Some fabrics (especially rayon, wool and synthetics) shrink, scorch, or develop shiny patches under direct heat. The cloth disperses heat more evenly and adds a layer of protection. - Controls moisture.
When using a damp pressing cloth, the steam helps the adhesive melt evenly and bond more securely to the fabric without over-saturating it. It creates a stable, uniform fuse instead of patchy adhesion. - Helps preserve texture.
For textured or napped fabrics (corduroy, velvet, etc.), direct pressure can crush the pile. The cloth cushions the iron impact.
In Short
- Is it absolutely necessary? Not always.
- Is it wise to use one? Absolutely yes.
It’s like wearing an apron while cooking — technically optional, but a lot safer if you care about what happens next.
While some experienced sewists skip the cloth for sturdy fabrics like cotton, every major manufacturer still includes “use a pressing cloth” in their written instructions.
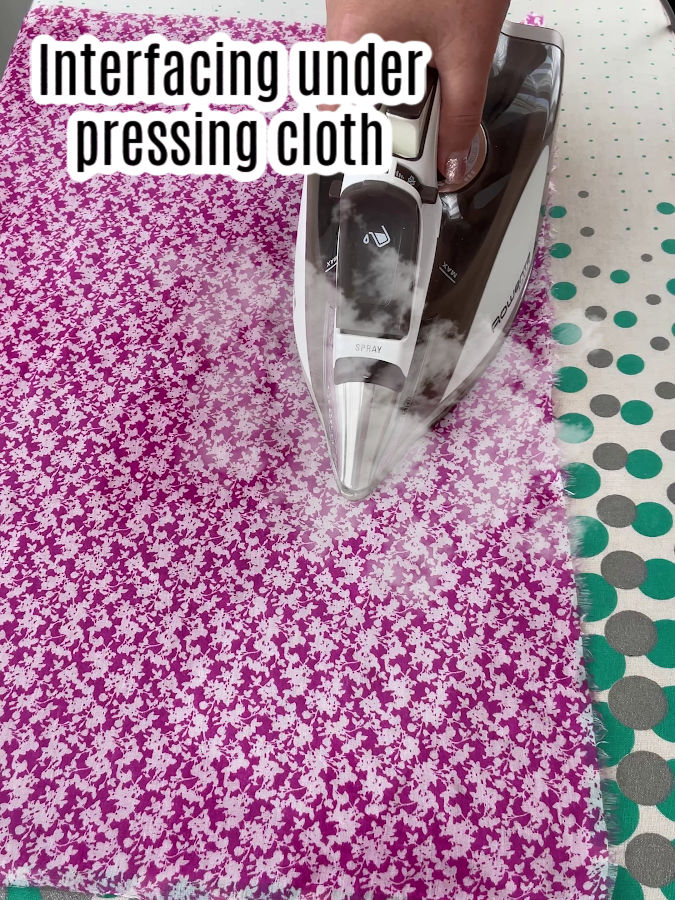
Step 7: Fuse with the press-and-hold method (no sliding)
This is the core technique.
- Set your iron to the appropriate temperature for your fabric.
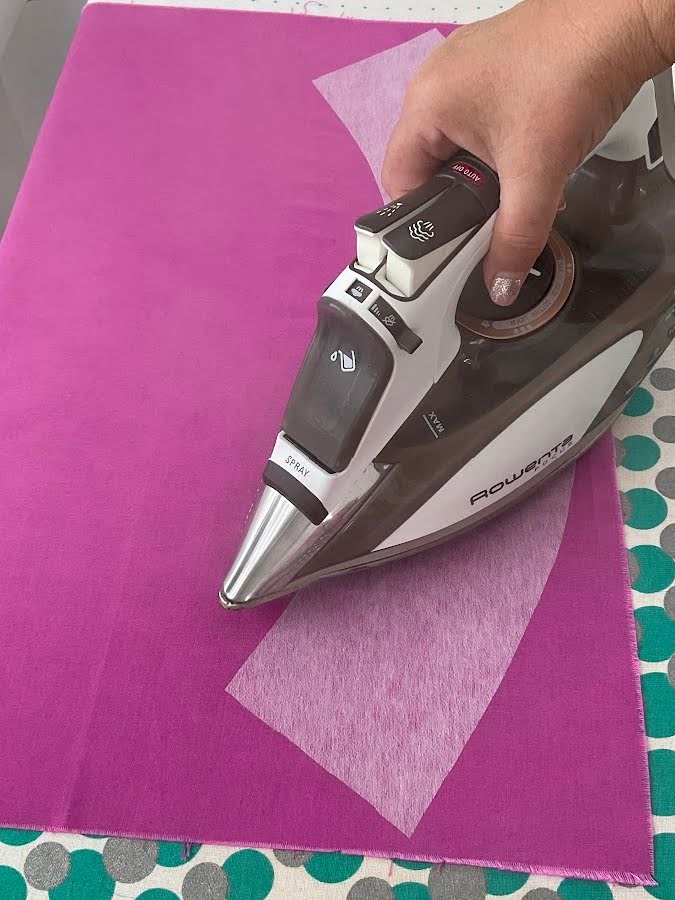
- Lower the iron straight down onto the pressing cloth. Apply firm pressure.
- Hold the iron in place. Many fusibles bond well with 10–15 seconds per section. Some need longer. Time matters more than people expect.
- Lift the iron straight up. Move to the next section.
- Overlap the next press slightly. This prevents unfused “stripes.”
- Continue until the whole piece has received even heat and pressure.
Step 8: Let it cool flat (this finishes the bond)
Do not move the piece right away.
- Leave it flat on the ironing board until it cools.
- For extra flat results, place a clapper or heavy book on top for 20–30 seconds.
Cooling sets the adhesive. This step helps the interfacing bond as one layer with the fabric.
Step 9: Check the bond before you sew
After cooling, check a few areas:
- Edges feel attached
- No spots lift when you gently flex the fabric
- The piece behaves like one layer
If you find a loose edge:
- Put the pressing cloth back on
- Press-and-hold that area again
- Cool flat again
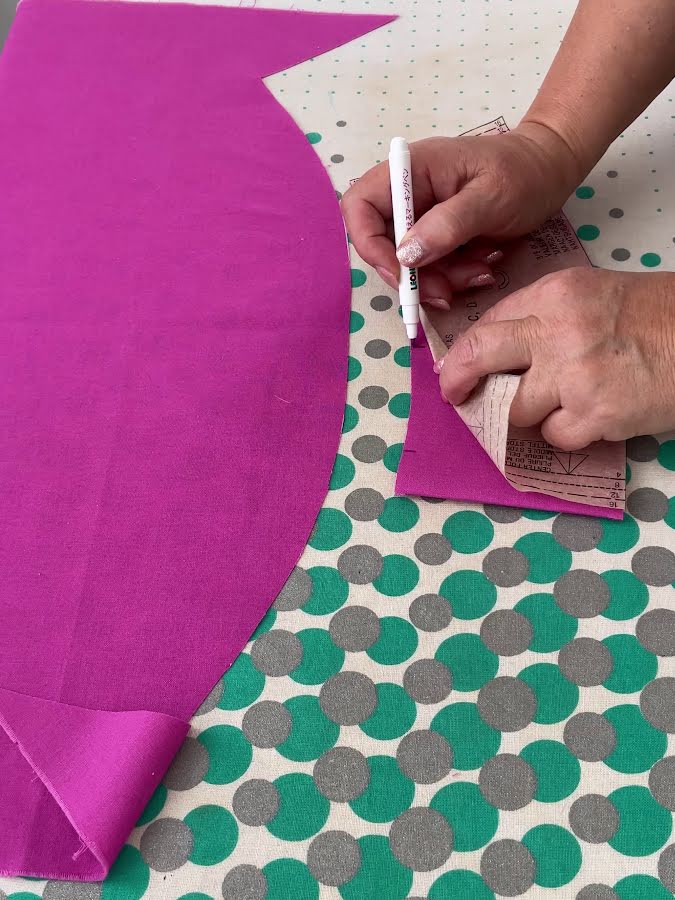
Step 10: Transfer Your Pattern Markings
Here’s something that catches many sewists off guard: once you fuse interfacing to your fabric, any marks you made on the wrong side become hidden. Your pattern markings are instructions that tell you how pieces fit together, how to align seams, or where to place buttonholes. Lose these marks now, and you’ll be wondering where everything should go.
So, you mark your fabric after the interfacing has been fused to it. Or yo0u mark again, if you already did this.
Reattach your pattern piece to your already-interfaced fabric unit and transfer all your marks onto the fabric side.
Use whichever marking method works best for your fabric: chalk, washable fabric pen, etc. Make clips and notches as required.
Once you’ve marked everything you need, you’re ready to move forward with construction knowing that every important detail is clearly marked on your fabric surface.
The Test Swatch
Before you fuse interfacing to your actual project, cut a 4-inch square of your fashion fabric and a piece of interfacing to cover half of it. Fuse them together using your intended heat setting.
Once cooled, try to peel back the interfacing. You shouldn’t be able to separate the layers easily. Try pulling hard to test the bond. Fold the test swatch to see if the interfacing holds and the fabric behaves as you expect. Check for discoloration, scorching, or stiffness.
This one small step saves projects. It takes five minutes and answers every question about whether your heat settings are correct for your specific fabric and interfacing combination.
The Fabric-by-Fabric Guide to Heat Settings and Timing
Different fabrics need different amounts of heat. This is where you can run into trouble. Don’t assume that all fabrics tolerate the same temperature. A cotton shirt collar can handle high heat that would melt a polyester facing.
For cotton, linen, and heavy natural fabrics: These fabrics are heat-loving. Set your iron to a linen or cotton setting, whichever is hotter on your machine. Press down firmly for 10-15 seconds per section, depending on the interfacing weight. Heavier interfacings need longer pressing times. Lift your iron straight up, move it to the next section, and repeat. Do not slide the iron back and forth, as this can shift the interfacing out of position.
For lightweight fabrics like cotton voile, lawn, or silk: These fabrics need lower heat to prevent damage. Set your iron to a wool or synthetic setting. Press for 8-10 seconds per section. Lightweight fabrics are more delicate, so use less pressure and reduce the time. The adhesive still needs to melt, so don’t rush this step.
For polyester and polyester blends: Polyester has a low melting point and can become shiny or distorted if your iron is too hot. Keep your iron on a low to medium-low setting. You’ll need to press longer—about 10-15 seconds per section—since the lower heat takes more time to melt the adhesive. Be patient. Rushing this step by turning up the heat will ruin your fabric.
For delicate, heat-sensitive fabrics like velvet, silk charmeuse, or metallics: These fabrics cannot tolerate high heat. Use a low setting. Press for 15 seconds and allow extra cooling time. Some sewists prefer to use sew-in interfacing for these fabrics instead of fusible, which is a wise choice.
For knit fabrics: Knits can stretch under heat, so they need careful handling. Use a medium heat setting, and press for 10-15 seconds. Many sewists use knit-specific interfacing for stretch fabrics, which has some give to it. Allow the fabric to cool completely before moving it.
Block Interfacing: A Technique That Reduces Problems
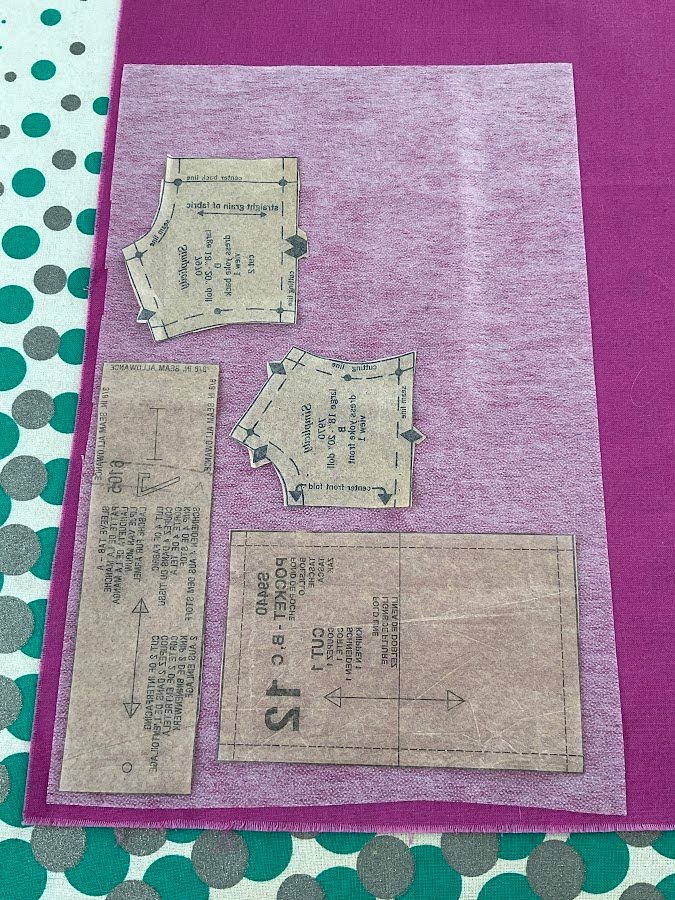
If you’re interfacing small pieces like collars, cuffs, or button plackets, block interfacing might be your answer. This technique means fusing a large piece of interfacing to your fabric first, then cutting out your pattern pieces from the fused layers.
This method prevents many common problems because your fabric and interfacing are already bonded before you cut. The cut edges don’t fray or separate, and the pieces line up perfectly. You also avoid the frustration of trying to line up two separate pieces and fuse them together.
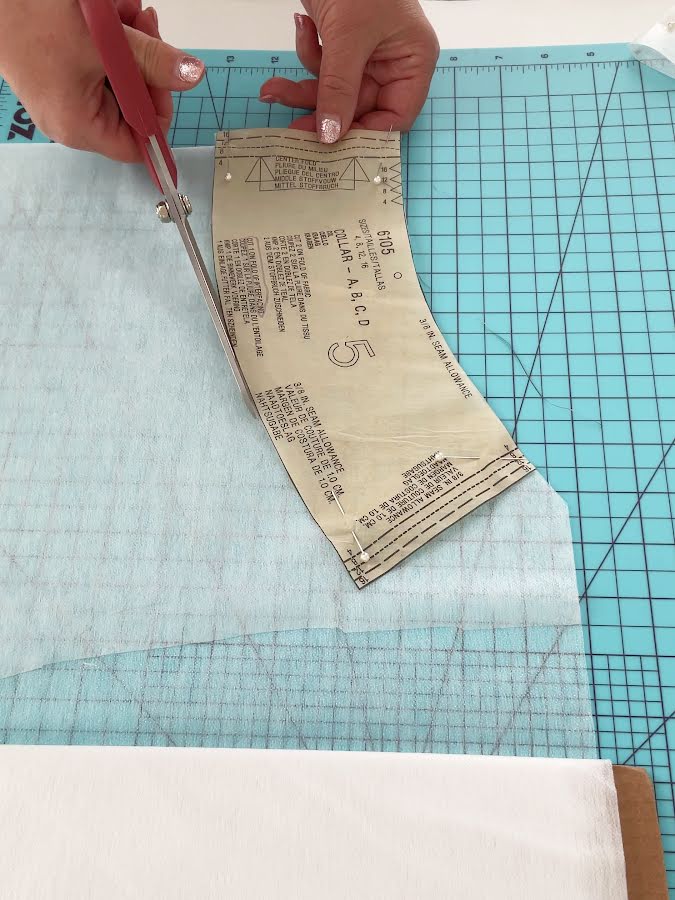
To block interface, cut a piece of interfacing larger than you need—maybe 4 inches larger than your biggest pattern piece. Place it glue side down on your fabric and fuse it according to your fabric’s requirements.
Use a rotary cutter and ruler if you can. Interfacing shifts easily, and scissors can distort the edges. A rotary cutter gives clean, straight lines and saves time if you’re cutting multiple pieces.
Once cooled, lay your pattern pieces on the fused fabric and cut everything at once. You now have perfectly interfaced pieces with no alignment problems.
Should You Prewash Interfacing?
The answer depends on which type you are using.
Non-woven fusible interfacings are stable and do not shrink, so they need no prewashing.
Woven interfacings, however, can shrink when exposed to heat and moisture. If you skip prewashing a woven interfacing, your fabric and interfacing will shrink at different rates once you wash your finished garment. This causes bubbling, puckering, and separation—problems that are difficult to fix.
If you must prewash fusible woven interfacing, do it gently. Fill a sink with warm (not hot) water and submerge the interfacing for about ten minutes. Never put fusible interfacing in a washing machine or dryer, as the heat and agitation will damage the adhesive. Gently squeeze out the water (do not wring), then hang the interfacing flat to air-dry completely. This approach takes time but protects the bond quality.
The Bottom Line
Fusible interfacing is reliable when you follow the logic. Different fabrics need different heat. Your iron needs adequate pressure and time. Cooling is not optional. A test swatch answers your questions before they become problems.
The sewists who have the most success with fusible interfacing aren’t the most experienced—they’re the ones who take five minutes to understand their fabric, set their iron correctly, and trust the process. Once you do this a few times, it becomes second nature.
If this article helped clear things up, save the pin below to your sewing board so you can easily find it again later. And follow me on Pinterest for more practical sewing tips and tutorials.
latest posts
- What Do You Call a Person Who Sews? I Asked My Readers and Got 1,408 Opinions
- DIY Round Purse: PDF Sewing Pattern and Detailed Instructions
- Mini Wonder Clips By Clover: Useful Sewing Tool Or Just Another Notion?
- Non-Slip Grips For Quilting Rulers: A Small Notion With A Useful Job
- Fabric Eraser for Sewing: What It Removes and When to Use It
- What Is The Best Thread For Sewing Machine Projects? Let’s Find Out!
- Butterfly Quilt Block Tutorial – Foundation Paper Piecing
- How To Sew Quilt Squares So The Corners Match
- Sewing With Fork Pins: How They Help With Pattern Matching, Slippery Fabric, And Seams