
There are so many good tutorials on DIY Halloween crafts that it’s really hard to make something that wasn’t described before. But I think I found one project that may be an interesting way to get into the holiday spirit. I decided to make a Halloween pillow: a nice accent for your couch, always useful if you take a nap or simply relax watching TV, and an easy way to decorate for the haunting season.


Note: Some of the links on this page are affiliate links. This means I will receive a commission if you order a product through one of my links. I only recommend products I believe in and use myself.
Of course, we can buy Halloween pillow covers or pillows but the most affordable ones are not always the best quality and are not made of natural materials. Some people complained that stitching ripped right away, that not the softest fabric was used, etc. So, if you do it yourself for Halloween you can make the pillow from 100% silk fabric, fill it with natural fiber and decorate it as your heart desires.
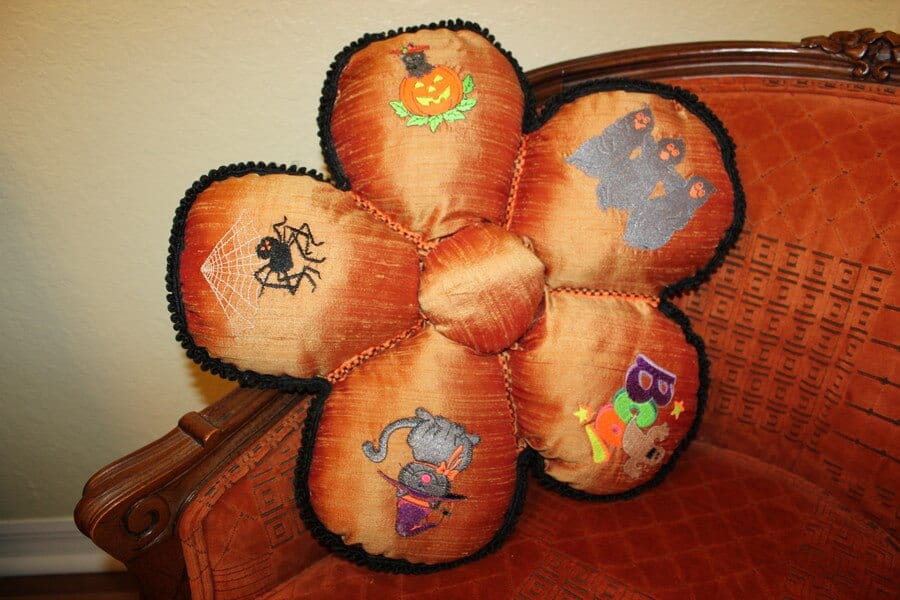
Instead of the boring and monotonous square and round cushions, I decided to make a pillow with a completely unexpected appearance. A modern decorative pillow is more than just bedding – it can be an exquisite addition to the interior and shows the ability of the owners to create a unique style and comfort in the house, like the one that I presented in the article below.
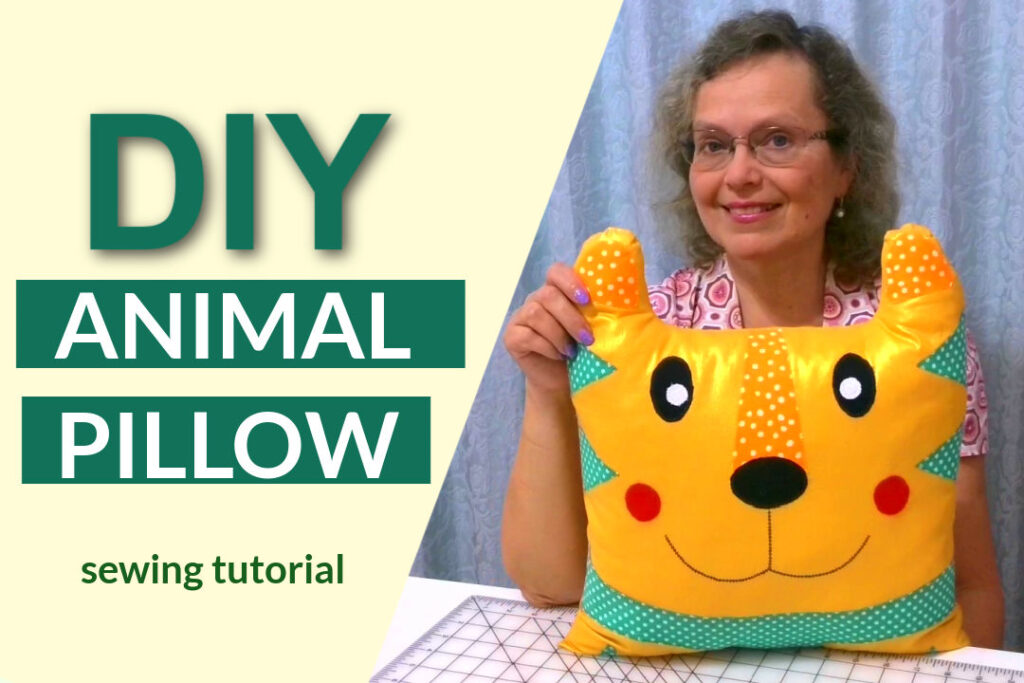

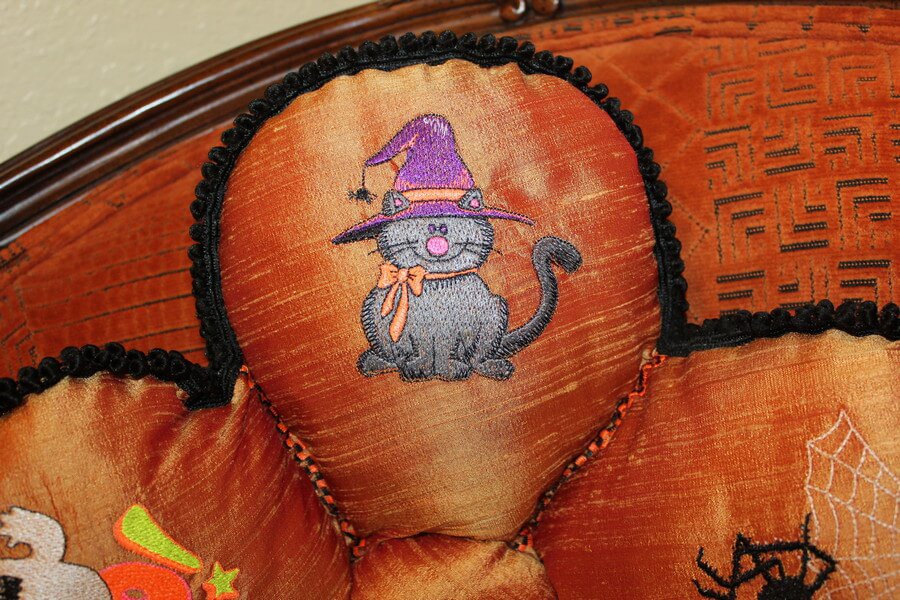
Cute animal pillow ! Yes, I wanted it to be a tiger (wrrrroarrrh!) but in the end it is just a cuddly large pussycat !
I also can tell you that before I buy or make something on Halloween, I think: will not this be too frightening? In the end, it’s not necessary to make monsters. Witches, vampires, and ghosts can look quite friendly.
I like to work with organic and natural fabrics so I decided to use silk dupioni for my pillow. If you are not familiar with this type of silk check out my article “Most common types of silk fabric”. If you look at the finished pillow you can see how shiny the fabric is. And it’s also super soft and pleasant to the touch.
1. The first step is to create a pattern for the pillow. Draw a sketch on paper (in the shape of a proportional flower) and cut out the template.
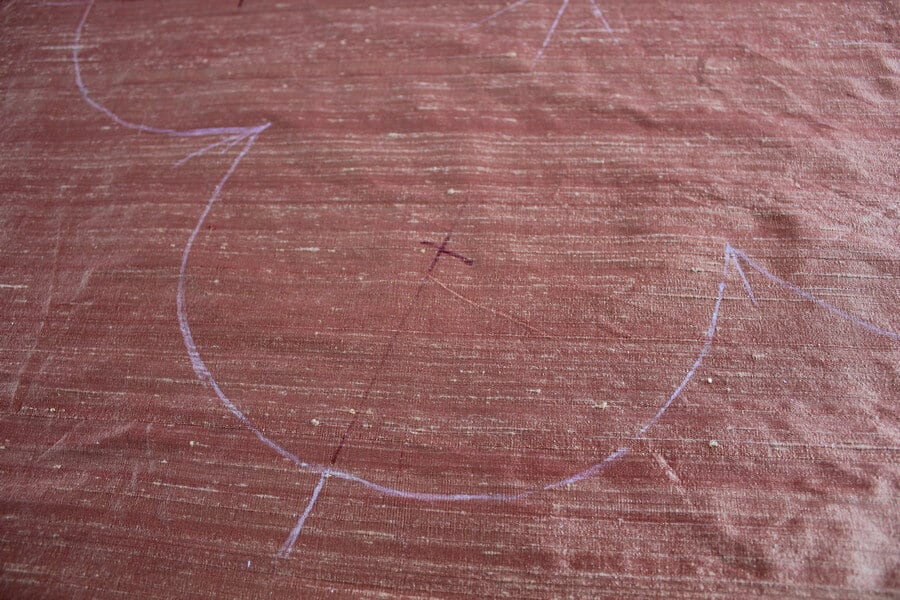
Fold the fabric in half and transfer the pattern to the fabric. Mark the center of the flower (we will need it later). Mark also the top middle of every petal.
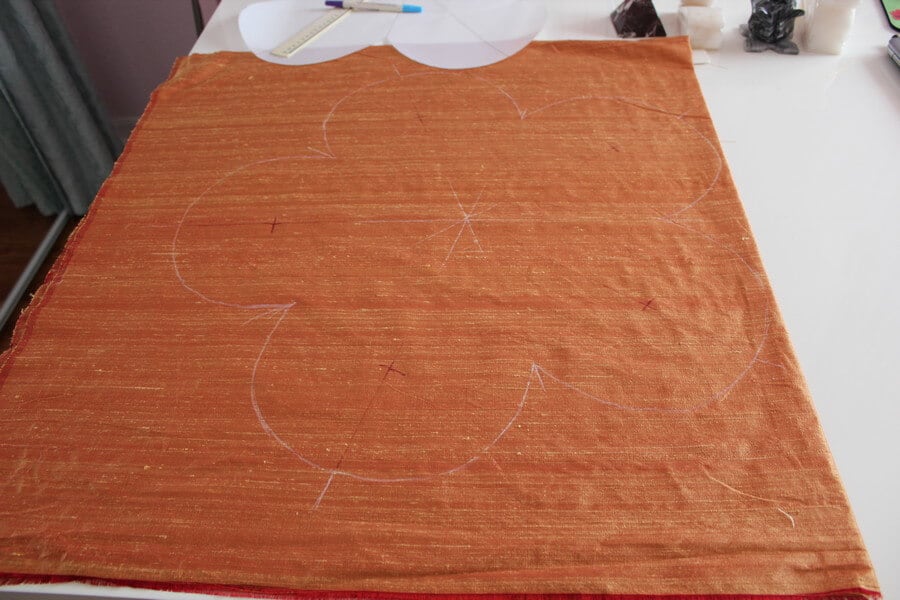

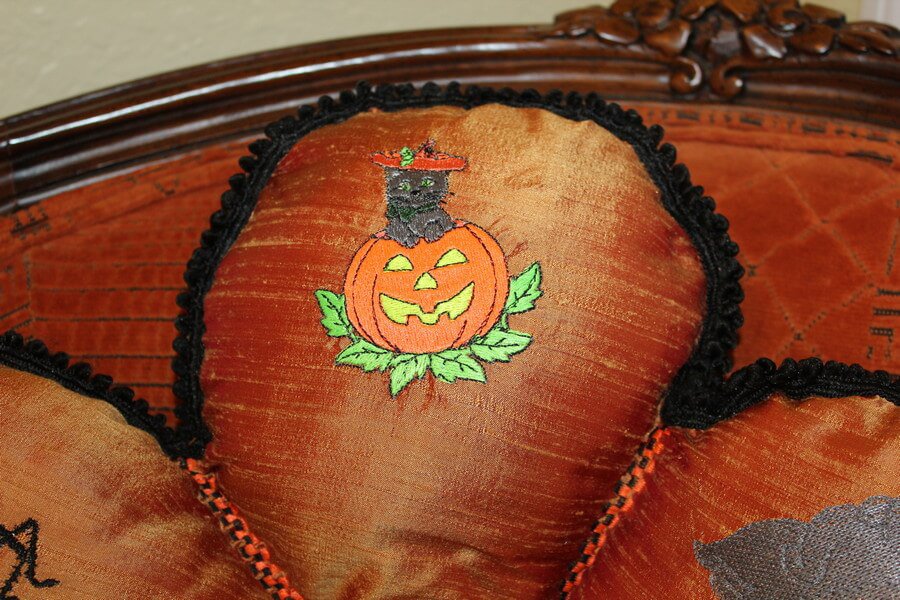
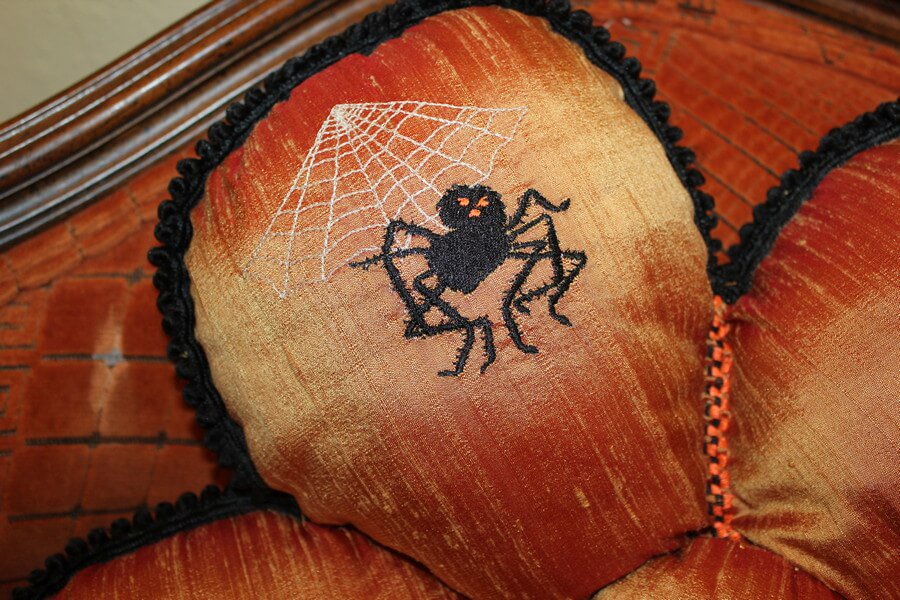
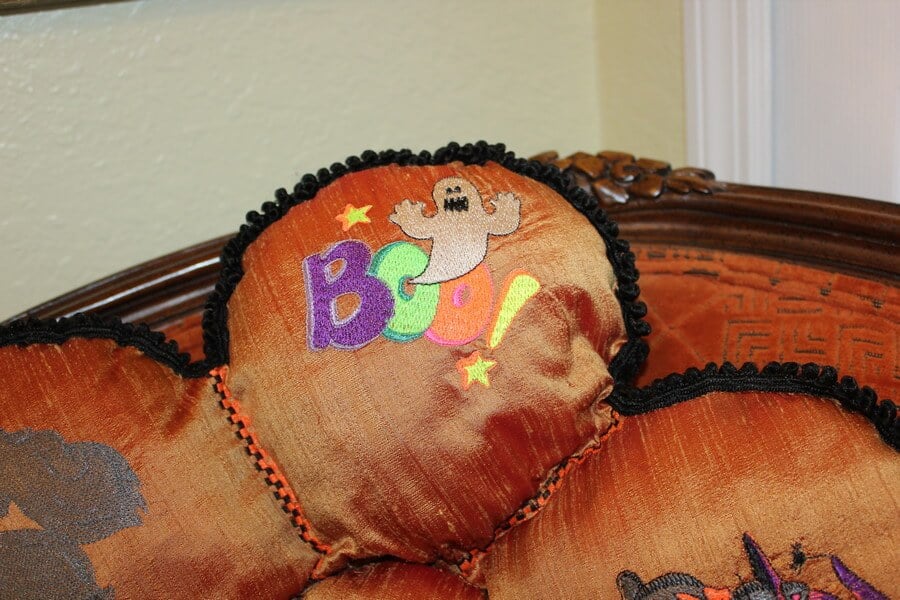
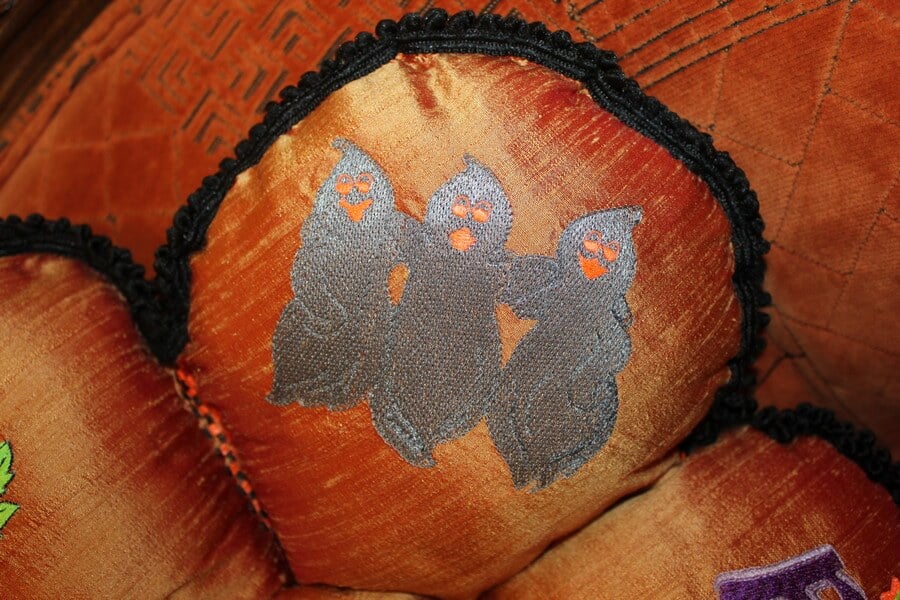
2. And why not make a pillow even more exclusive, decorating one side with interesting embroidery? If you plan to embroider the pillow mark also the points which will be the centers of future embroidery.

I had in my collection plenty of Halloween designs but if you don’t have any go to this website where you can get free designs every week.
Thinking about buying an embroidery machine? Here is the list of best sellers from Amazon.
The designs I choose are quite cute and not too scary, I think. I don’t want my pillow to haunt my couch after all.
3. After you are done with the embroidery cut 2 pattern pieces for the pillow.
Make notches in the middle of every petal on both pieces.


4. Cut two circles from paper with diameters of 3 ¾ and 5 ½ inches (approximately). I always use some household items of suitable diameters to draw circles.
Mark the small circle in the middle of the flower. Mark also lines between petals.

Stitch the small circle with a regular straight stitch connecting two sides of the pillow.
5. Make decorative stitches on the lines between petals.
I decided to do it with a twin embroidery needle and two different color threads – black and orange. In the video below you can see how to thread your sewing machine with the twin needle.


There are so many decorative stitches available. I had to choose one that goes well with the twin needle.

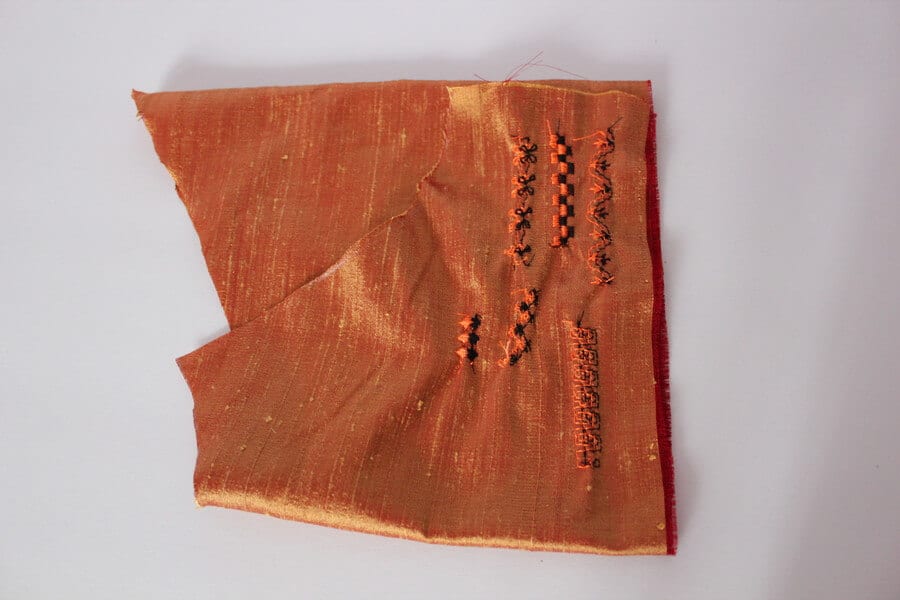

These decorative stitches look pretty much like a ribbon.
After you are done press the pillow so all embroidery motifs and decorative stitches look nice without any puckers.


6. The next step is to fill the petals with fiber to make a pillow.
I don’t like to use polyester so I bought in Joann Nature-Fil Corn Fiber Fill 12-ounce Bag. It’s fluffy enough, clean, feels great, and pleasant to touch. Unfortunately it doesn’t seem to be available anymore so I found a cotton alternative below:
")
On the label, it’s written that this all-natural fiberfill is environmentally friendly, and made from corn sugar. It has a texture similar to polyester fiberfill with superior resiliency. PLA fiberfill is hypoallergenic and great for all craft projects. So I guess, this is an eco-friendly product manufactured with sustainability in mind. Unfortunately this product does not seem to be available anymore, I found nevertheless a wool replacement which I have to confess I did not try yet:

")
I found on Amazon also 100% organic cotton fiber to fill pillows. I didn’t buy it yet but I think it’s a great Eco-Friendly Stuffing to make custom pillows.


“Grown on a certified organic farm in Texas, this cotton fiber is right off the farm and has not been ginned or cleaned. That means there are cotton seeds and sometimes small pieces of the cotton plant mixed in. Raw cotton is often used for stuffing or cushioning and it’s common to have some other plant matter besides the fiber. Grown without the use of pesticides and herbicides, this organic fiber is as natural as it gets! “
While filling the petals check if it doesn’t look distorted or misshapen overall.
Take a generous handful of filling and begin stuffing in a place near the circle farthest from the seam opening. With your fingers gently, but firmly, push the filling into the petal. Repeat a few times gradually working your way toward the seam opening. If you see any lamps forming fix them by adding a little bit more filling to the area.
Fill all 5 petals and take one last look at the pillow from the outside so you can fix any problem areas.

7. The next step is to hand sew the seams closed. First, use pins to close the seams – insert the first pin in the middle of the petal connecting notches. And after that baste the seams by hand. As you sew, continue to manipulate the fill making sure no stuffing pokes out of the seam.

After basting all petals use your sewing machine to sew over the basting stitches. It’s not very comfortable to stitch the stuffed pillow but if you use a piping/zipper foot you can do it easier.

After sewing, the seams take the basting thread out and cut seam allowances to about 5-7 mm or sew a raw of zigzag stitches and cut close to them afterward.
8. The next step is to sew pom-pom trims around the outer edges. First I tried to use fabric glue to attach the trims but I didn’t like how it works because the trims were too narrow. So I started to sew them by hand and it worked really nicely.
I placed the trims on both sides of the pillow to cover seam allowances in between the trims.

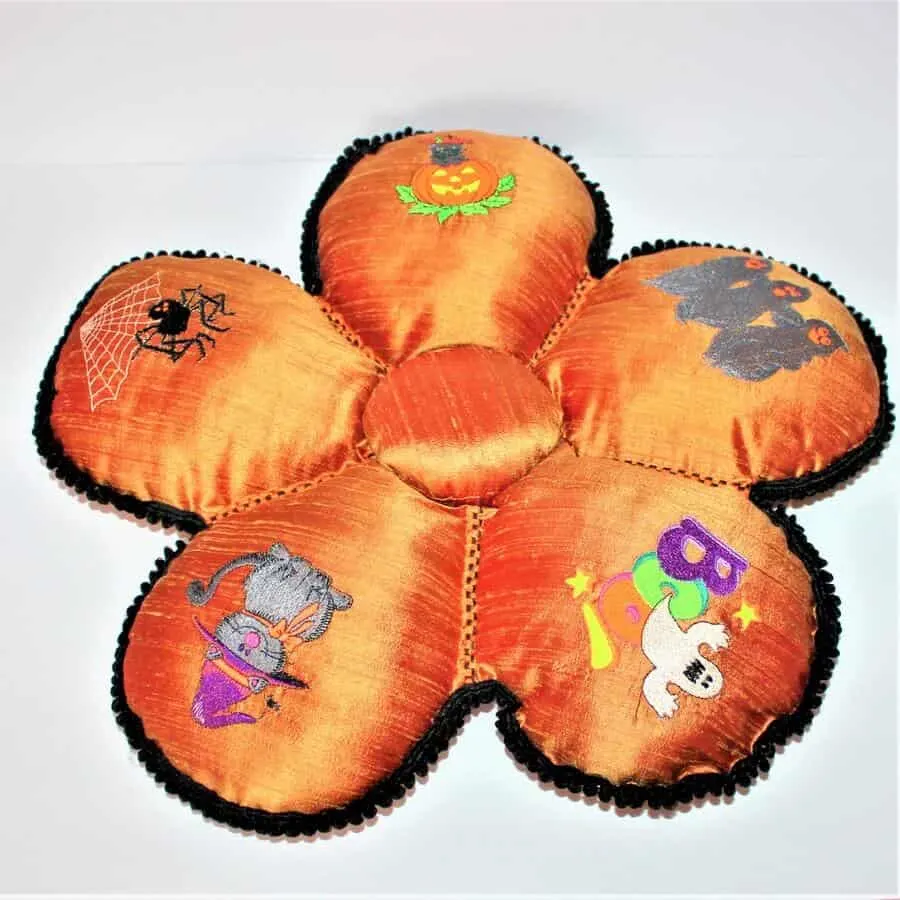
9. And the last step is to make the middle circles for the pillow.
Cut 4 pieces using the bigger circle with a diameter of 5 ½ inches. Sew each 2 pieces right sides together leaving a small opening for turning. Seam allowances are ⅜ inches in this case. Fill these circles with a small amount of fiber and hand sew the openings. Attach these small circles with fabric glue first and after that hand sew them in place.
If you liked this tutorial and would want to keep it close to you at any time, just save this pin to your Pinterest sewing or DIY board and follow me on Pinterest for more tips, tutorials, and inspiration!

Ready to take the next step in your sewing journey? Check out more step-by-step tutorials from my site and don’t forget to share!


latest posts
- Adorable DIY Needle Book | Easy Tutorial for Beginners
- Master the Seam Ripper: Your Ultimate Guide to Precision Stitch Removal
- Think You Know Zippers? This Installation Guide Might Surprise You
- Why Does Your Seam Ripper Have a Red Ball? Discover Its Purpose!
- Topstitching Troubles? This Simple Trick Will Turn It Around Instantly!
- How to Sew Shirring: A Step-by-Step Guide to Elastic Thread Gathering
- Are Self-Threading Needles Really Useful?
- Amazon Spring Sale: Best Choices
- Elevate Your Prom Look: A Guide to 10 Neckline Choices (2024)