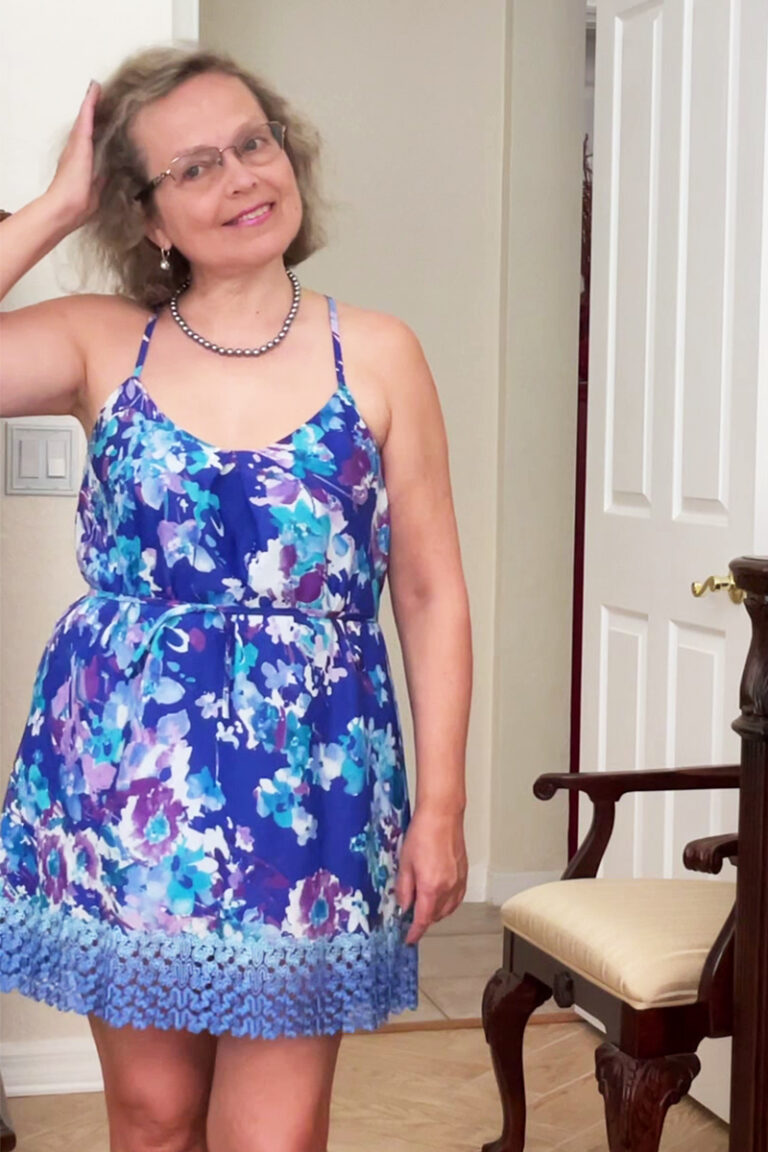
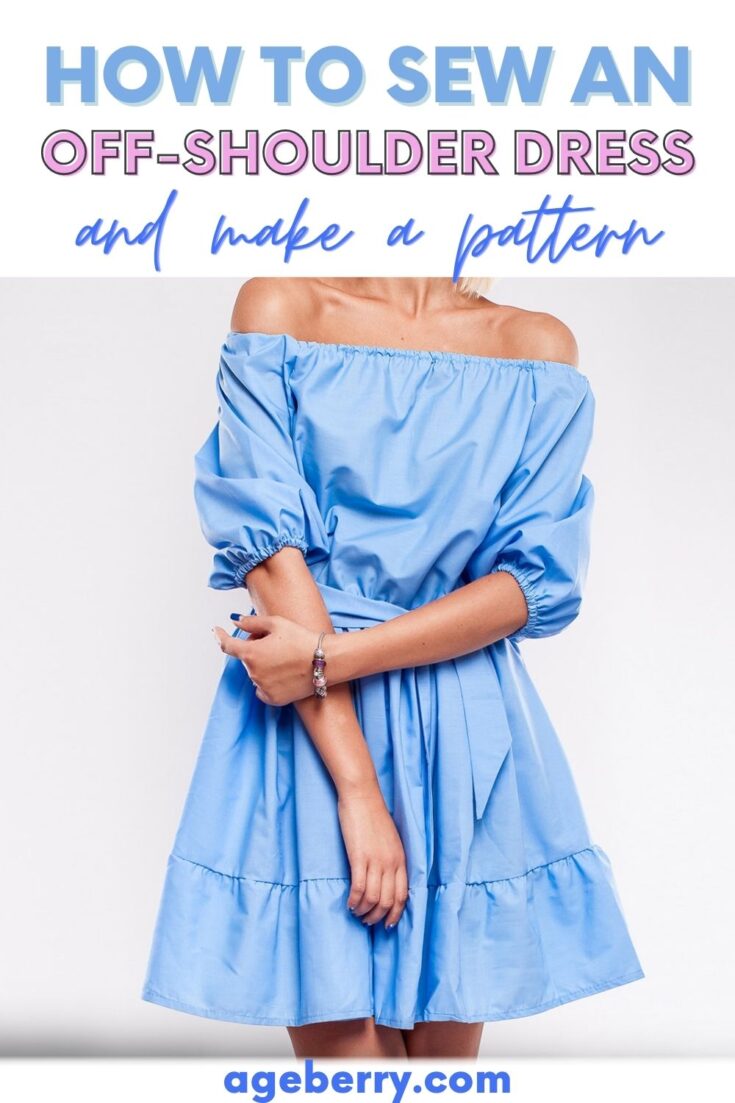
Off-shoulder dress cutting and stitching {a video sewing tutorial}
In this sewing tutorial I will show you how to make off-shoulder dress cutting and stitching.
For the free tutorial on off-the-shoulder dress pattern drafting, go to this link.
Note: Some of the links on this page are affiliate links. This means I will receive a commission if you order a product through one of my links. I only recommend products I believe in and use myself.
What you’ll need
3 yards of lightweight stretchy knit fabric
Elastic for the neckline, waistline, and sleeves – around 3 yards, ¼ inch wide
Regular sewing notions
Serger
Serger thread
Eloflex thread (optional, but recommended for stretch fabric)
Ballpoint needles (for knit fabric)
Most if not all of these you may already have in the house, below are some Amazon suggestions.
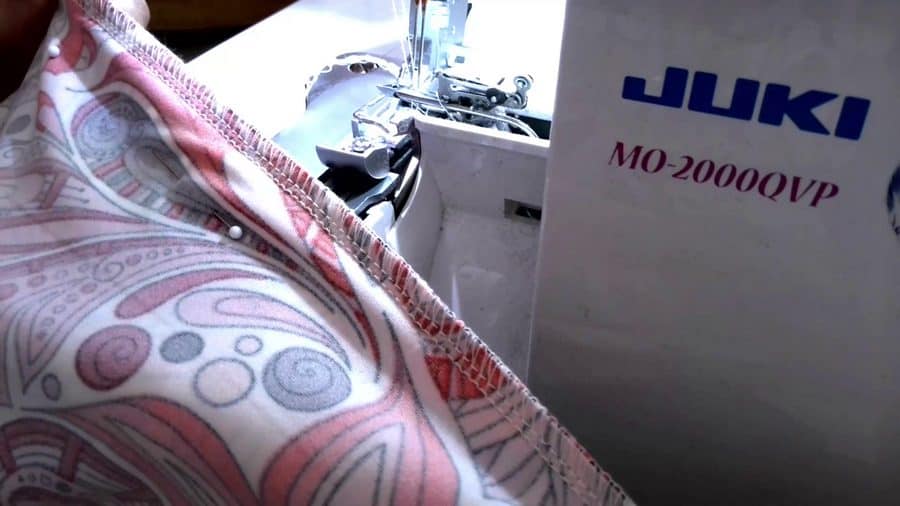
I made the dress using my serger mostly with 4 thread 2 needles serger stitch, only a few stitches are made by sewing machine. I like my Juki serger very much, I even wrote a review about it here: Review of JUKI serger MO-2000 QVP. It is a little pricey, but the ease of use and versatility makes it worth it to me. Here is a link to Amazon for it: Juki MO-2000 QVP.
But you don’t really need to spend thousands of dollars if you want a serger; there are excellent sergers (outside North America they are known as overlock machines) for much less, and a link is below.
If you need a little more information, you can always refer to my article Best serger for beginners – Serger buying guide which offers some tips about buying a serger.
For this dress I used knit fabric, it’s very stretchy, I am not sure of the fiber content, but I think it’s probably rayon because even if the fabric is thin it has some weight (and this is usually happening with rayon).
Some side note: for this dress, you will probably need a special bra. I found a very interesting article on How to wear off-the-shoulder tops with a bra for you to check out.
Off-shoulder dress cutting
Now, let’s cut the fabric.
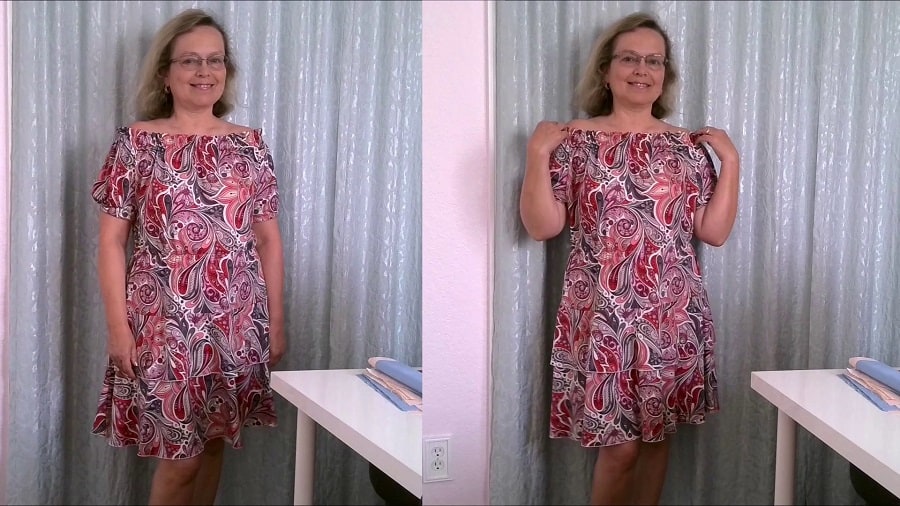
I started by cutting the bottom skirt. As you can see in the image above the dress has 2 skirts, one longer and one shorter.
Cut two pieces on the fold: one is the skirt front and the other is the skirt back.
Follow the grainline – it’s usually parallel to the selvages.
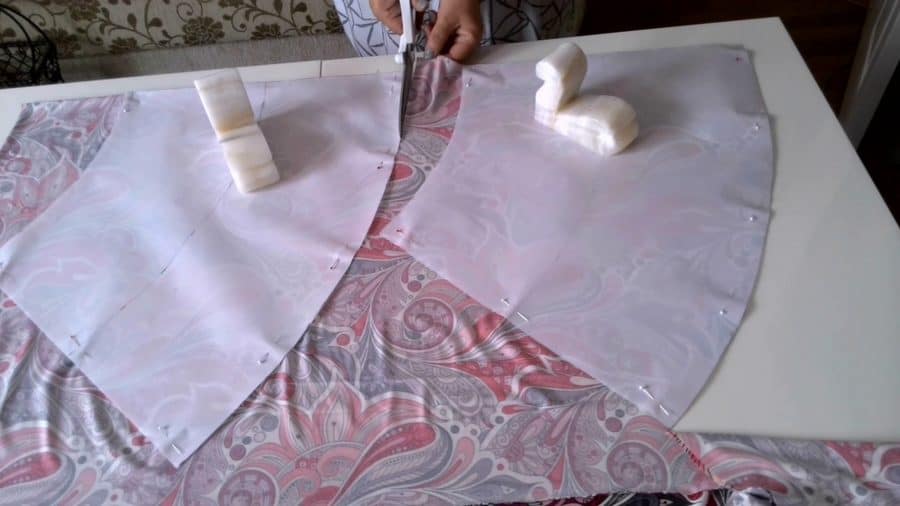
Cut also the top pieces: front, back, and sleeves.
If your fabric has a directional print take this into consideration so the upper edges of the top and upper edges of the skirt have the same direction of the print.
For example, make sure if the flowers on your skirt looking up they are going up on the top also. Just be attentive to details. If you want to know more about cutting fabric with directional prints check out my tutorial “What is NAP in sewing”.
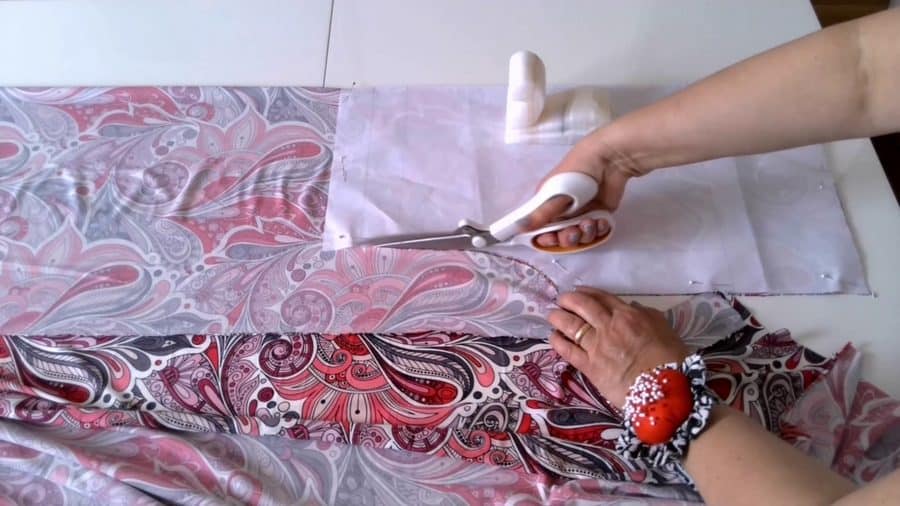
Cut also a long strip to make a casing for the elastic at the waistband – about 46 inches long and 1.5 inches wide.
Off-shoulder dress stitching step-by-step
Step 1
Stitch side seams and short sleeve seams. I like to pin the pieces together before stitching.
Seam allowances are ¼ inch. Use your serger.
Step 2
Stitch the sleeves into armholes (right sides together). Pin them before stitching of course. First, pin 3 points: start pinning at the side seams, then pin at the front, and after that pin at the back. Then insert a few pins in between.
Step 3
Fold the upper edge of the dress inside along the marked fold line.
Stitch forming a casing for the elastic.
Related post: The Ultimate Guide to Stretch Sewing Machine Needles
Sew 2 rows of stitches forming a casing for the elastic.
You have to use a regular sewing machine for this. And here you may have a problem because a regular sewing machine doesn’t sew stretchy knit fabrics without adjusting its settings.
So you have two choices here: first – use an Eloflex stretchable thread and a regular straight stitch of the machine, or second – use a special stretch stitch of your sewing machine if you prefer to use regular all-purpose thread.
Related post: Types Of Stretch Stitches On A Sewing Machine And When To Use Them

I like to use the Eloflex thread (you can read my review of this thread). And I have these small handy gadgets to keep the bobbin with the exact same thread together with the spool.
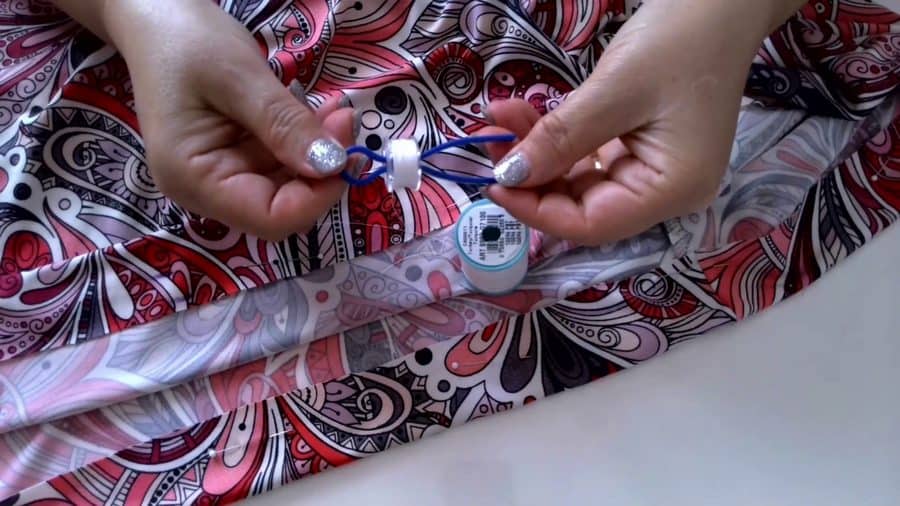
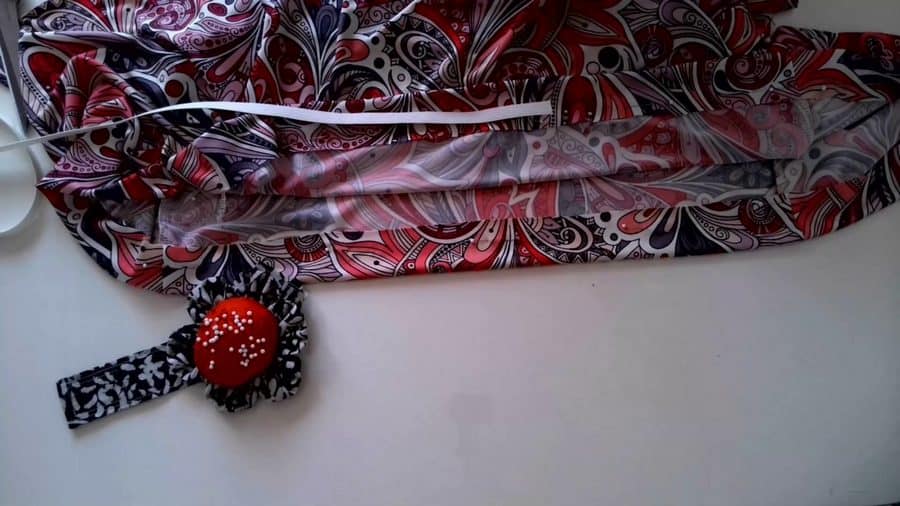
Insert elastic. I like to use safety pins for this and usually I put two of them on each end of the elastic. Sew ends of elastic together for a finished measurement of 27-34 inches and adjust the elastic length after fitting.
Related post: Stretch thread for sewing
If you wish you can even stop right here and wear it as a top (without sewing the skirt). You can easily make a few tunics like this from different fabrics.
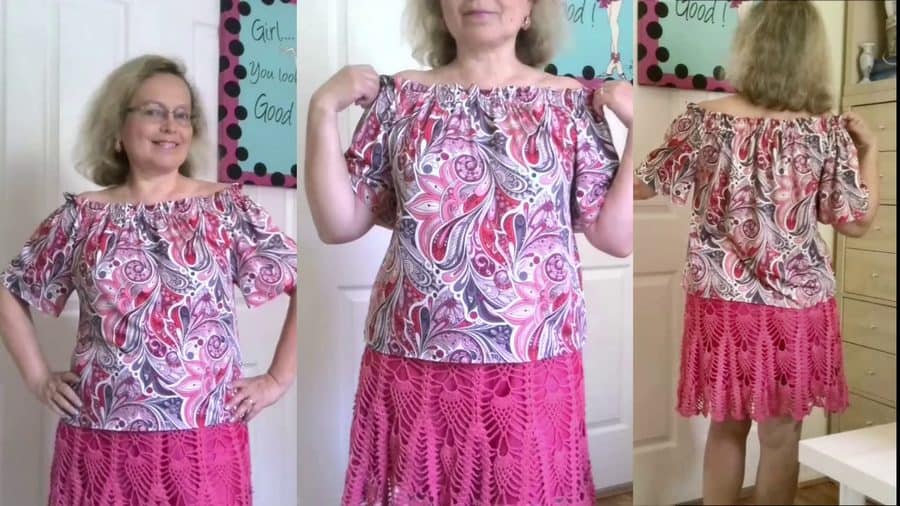
But I wanted to show you how to sew a dress so let’s continue.
Step 4
Finish the skirt hem on all skirt pieces.
I used a rolled hem stitch of my serger. But you can use other techniques to finish the skirt hem of course.
Stitch side seams on skirt pieces with a serger.
Lay the top skirt on the down skirt with the wrong side facing the right side and baste the upper edges together. I decided also to stitch them together on my serger.
Stitch the skirts onto the dress using your serger.
Step 5
Try the dress on and adjust the marked waistline ( points BF on the pattern). The skirt may pull the top down a little. It doesn’t happen often, but check it just in case. My waistline stayed where it was, didn’t go down.
Tie a piece of ribbon around your waist and mark the waistline (where you want the elastic) in a few places with a sewing marker. After that, check if it’s the same as on the pattern (the line BF). If it’s about the same place – leave it as it is. If it’s up (compare to the marked waistline BF) draw a new waistline for inserting elastic (parallel to the previous one).
The fabric strip for the casing has to go over the waistline.
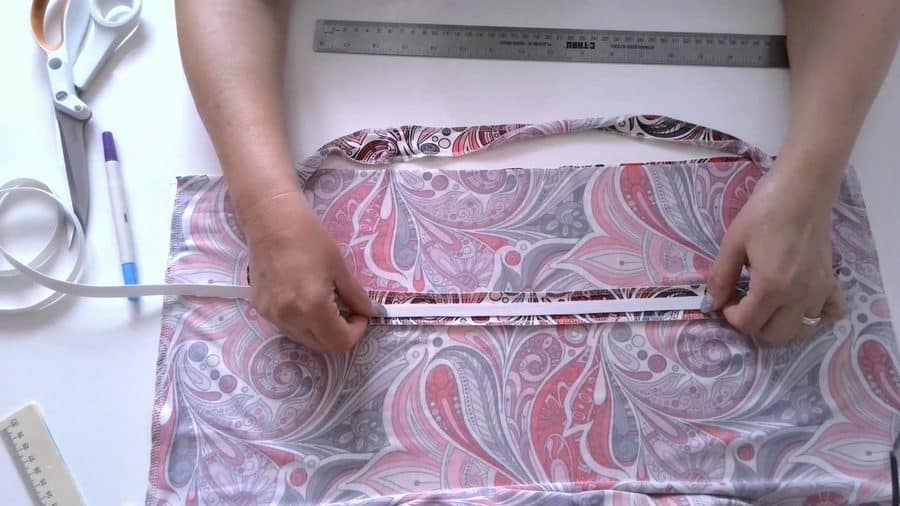
Finish the lengthwise edges of the strip for the waist casing with a serger.
Baste the facing strip on the inside of the dress over the marked casing line (waistline), and turn the short ends of the strip in.
Stitch the strip forming a casing for the elastic. Use the Eloflex thread again.
Sew ends of the elastic together for a finished measurement of approximately 35 – 38 inches. Adjust the length of the elastic after trying the dress on.
Step 6
Insert elastic into the sleeves also.
You can also watch my YouTube video tutorial on off-shoulder dress cutting and stitching.

Did you find this tutorial helpful? If so, save this pin (see below) on your sewing board so you can come to this tutorial later when you are ready to sew your own off-the-shoulder dress, and follow me on Pinterest for more tips, tutorials, and inspiration!
Like sewing tips? I have other popular tutorials on my site that might be interesting for you. Check them out below.

latest posts
- DIY Round Purse: PDF Sewing Pattern and Detailed Instructions
- Mini Wonder Clips By Clover: Useful Sewing Tool Or Just Another Notion?
- Non-Slip Grips For Quilting Rulers: A Small Notion With A Useful Job
- Fabric Eraser for Sewing: What It Removes and When to Use It
- What Is The Best Thread For Sewing Machine Projects? Let’s Find Out!
- Butterfly Quilt Block Tutorial – Foundation Paper Piecing
- How To Sew Quilt Squares So The Corners Match
- Sewing With Fork Pins: How They Help With Pattern Matching, Slippery Fabric, And Seams
- How Much Fabric Do I Need? 21 Helpful Tips For Calculating Fabric Yardage