How to cut and sew a dress: step-by-step tutorial
In this article, I want to take you into my workshop and describe in detail how to cut and sew a dress step-by-step. I will discuss how to get inspired, how to choose fabric and patterns for sewing projects, and how to cut and sew the dress. This time I can’t bring it down to “5 simple steps” or “a 3-hour sewing project”; there are plenty of such posts out there, but this is not one of them. I didn’t strive for simplicity with this project. I prefer to add some extraordinary touches to everything I make and that takes time and effort. Of course, I am not successful all the time but I try.
I like experimenting with different fabrics, textures, colors, sewing techniques, and design elements. I sew almost every day. It’s something I truly enjoy doing. Most of the time I sew something not because I need the garment but because I like to create something nice, unique, and elegant.
Sewing for me is a kind of a creative outlet, a kind of art. I can make a dress in 3 hours. I can even show you how to make a dress that’s stylish, flattering, and fun in 30 minutes but usually the process of creating something truly special is much longer. And it all starts with an idea.
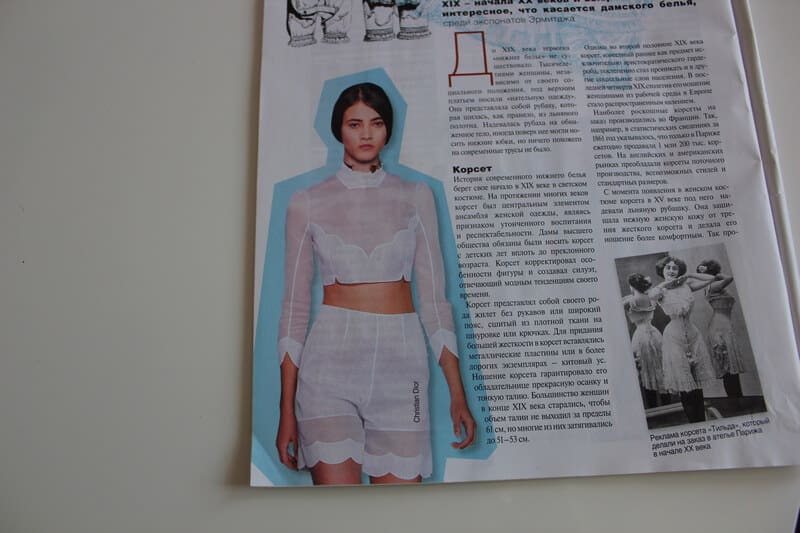
For example, I got the inspiration for this blue dress from an image I found in one of the sewing magazines.
To me, an inspiration to sew can strike anytime but I just have to know where to look. I find many ideas in fashion magazines, I look online on Instagram and Facebook, and I visit high fashion stores to see how this or that dress is made and what design elements I can use in my own garments.
I don’t copy the ideas of others of course. They just give me the inspiration to create something similar and different at the same time and I work with the idea from a new perspective. Ideas of others inspire me to come up with something equally impressive. And I always feel there is so much to learn.
Anytime I find something I like in a magazine or online, I make an image on my phone and add it to my collection. The idea sits inside for a while and then emerges and I start to think about what pattern to use and what fabric would be suitable.
I wanted to make something like the image above. I decided it has to be a blue dress and I found some blue fabric in my collection (I don’t like to use the word “stash” as everybody uses it because the word has sometimes negative connotations) I was debating with myself which fabric I should choose.
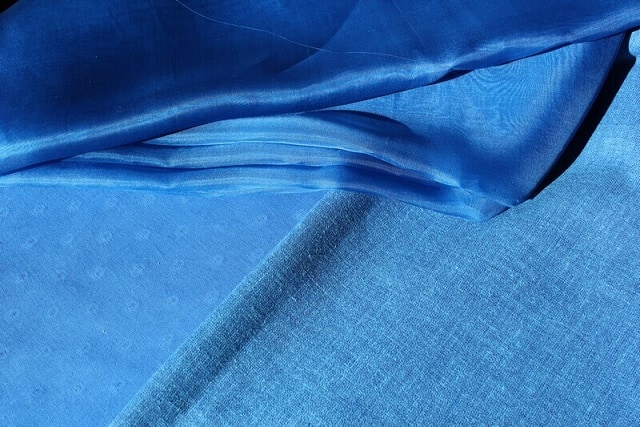
It took me a few days to select the fabric as I think the carefully chosen fabric is 50% of the success with the garment. In the end, I decided to go with plain cotton and silk organza. I thought that those small dots on the fabric to the left will not go very well with the embroidery I planned to put on the dress.
After choosing the fabric I started to think about a pattern I would like to use. I am a long-time subscriber to Burda magazine. I have some issues from 1988 and I still like to use patterns from them. But this time I found a suitable pattern in the 12/2016 issue.
Note: Some of the links on this page are affiliate links. This means I will receive a commission if you order a product through one of my links. I only recommend products I believe in and use myself.
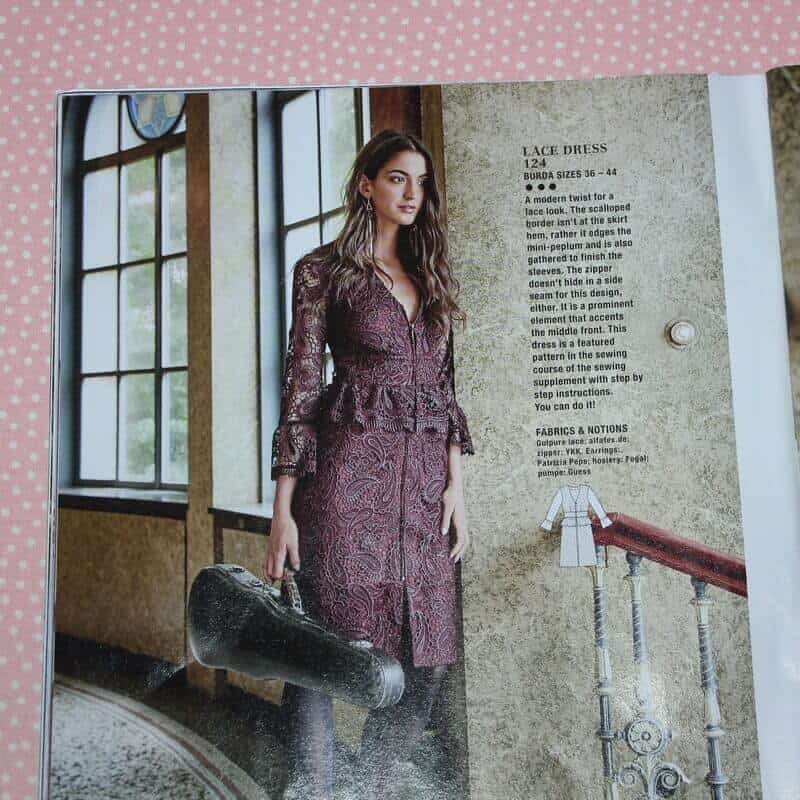
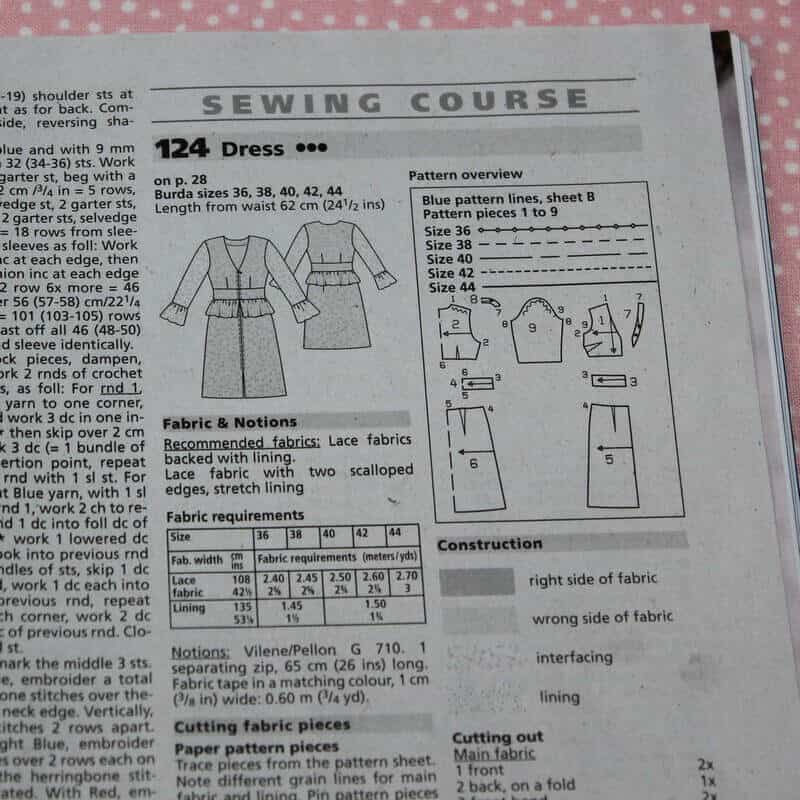
I liked that the dress in the magazine had this band between the top and the skirt, that the top part can be easily transformed for my ideas, and that the skirt is not a slim-fitting skirt with a straight, narrow cut but it’s an A-line skirt, and that the dress has the classic silhouette to which I can add some modern touches.
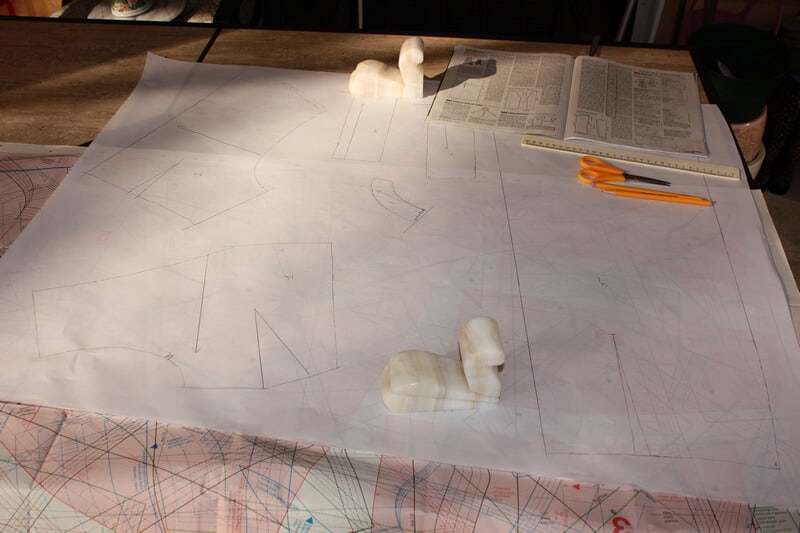
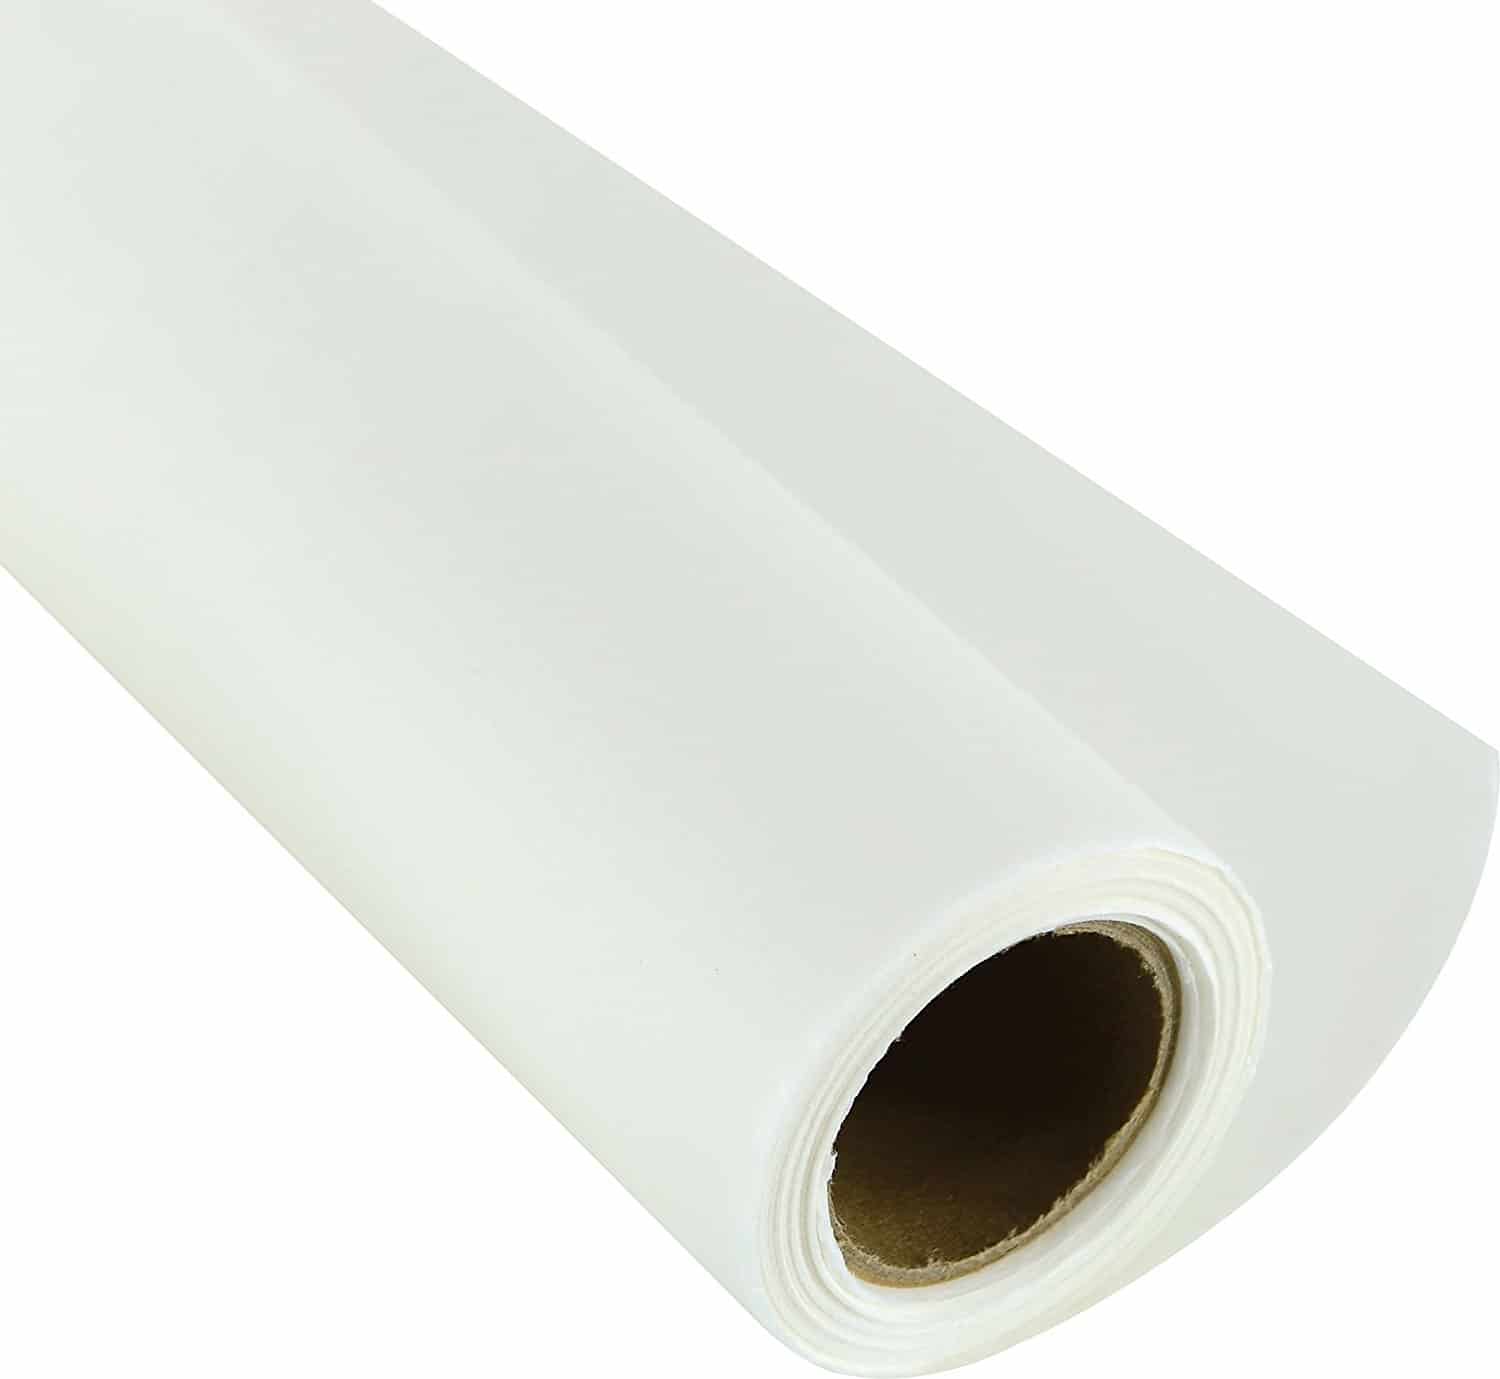
Going on further, I traced the pattern pieces (my size is 40 here) from the pattern sheet (all Burda magazines have patterns inside and each pattern comes with 5 standard sizes) using my favorite roll of tracing paper.
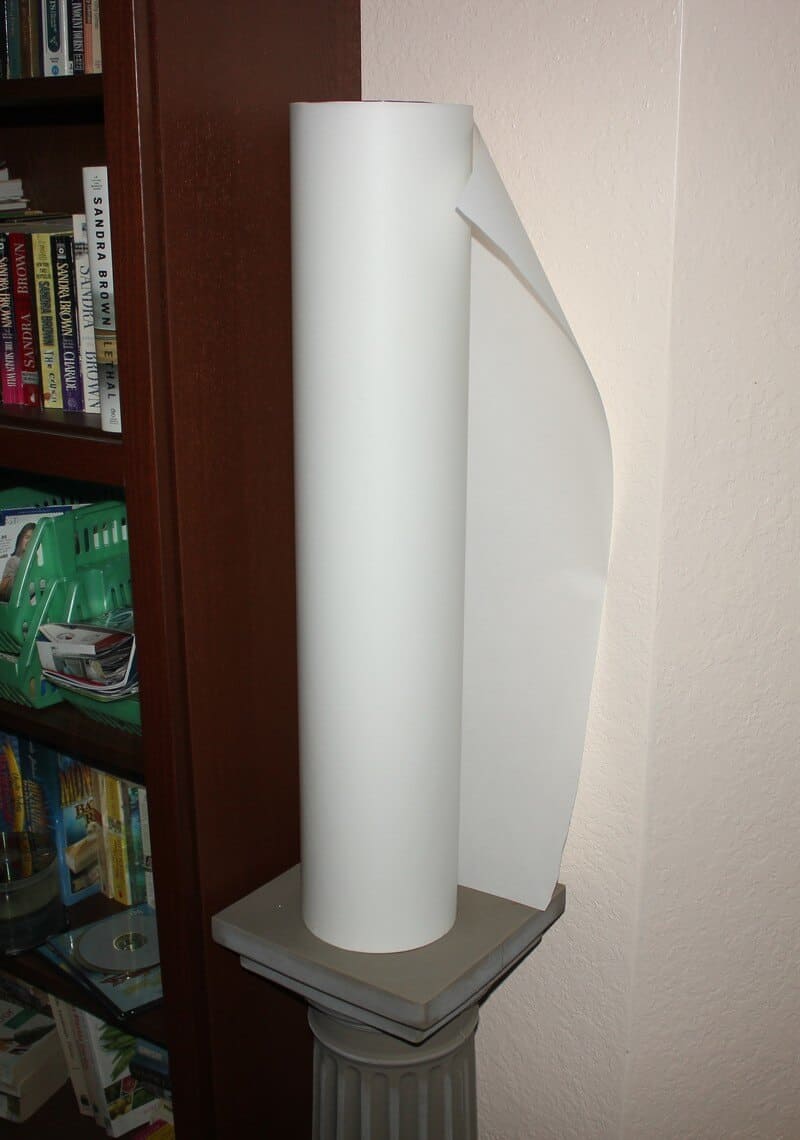
Do you trace your patterns? If you do I highly recommend this tracing paper roll.
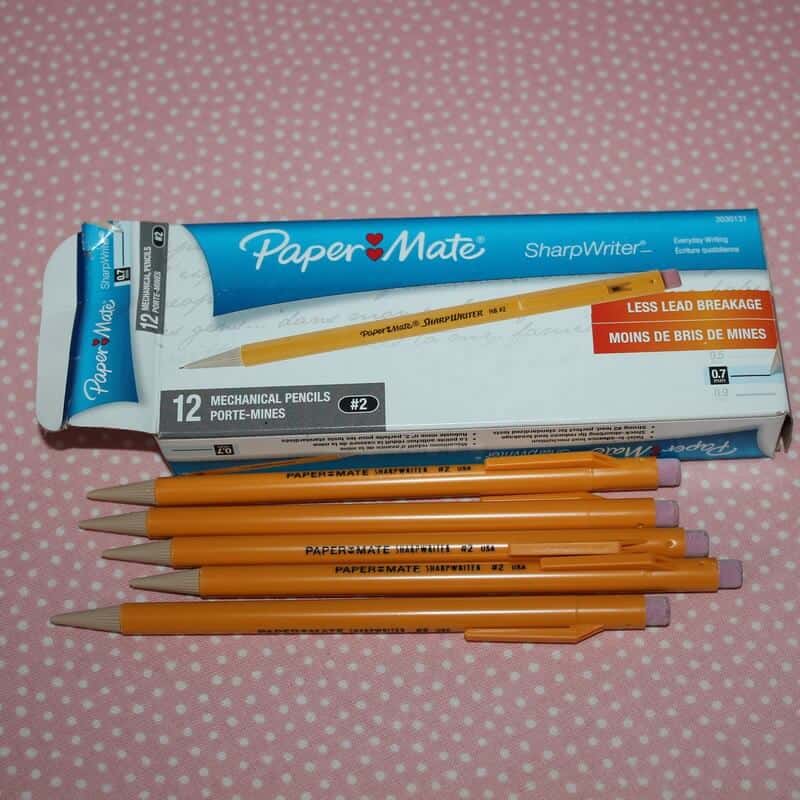
I have to say here also a few words about the pencils I use for tracing patterns. I tried many different brands and in the end, I stuck to this – Paper Mate SharpWriter Mechanical Pencils, 0.7mm. They are never broken even if I push hard sometimes and the eraser on top does its job without any dirty marks. So I always have a few boxes at home.
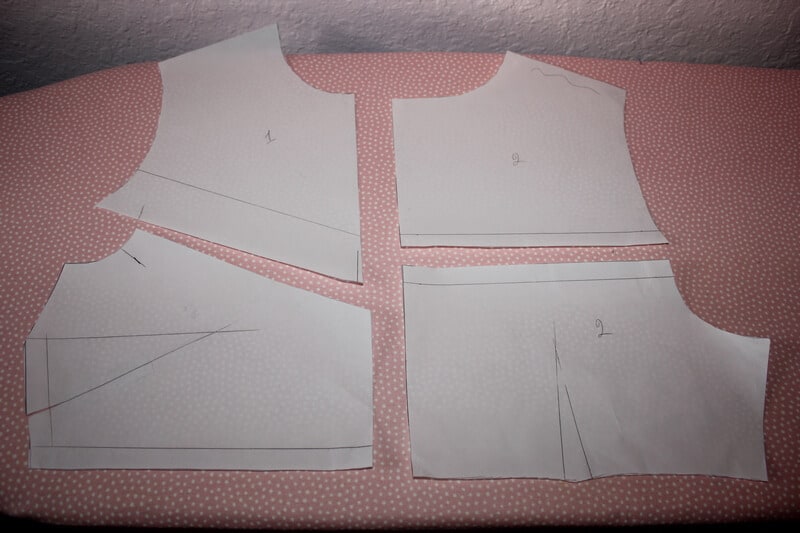
After tracing the pattern I had a small surprise. I discovered that the drawing in the magazine has a mistake with the placement of the darts. The pattern has bodice darts in the side seams not in the waist seams as it is in the drawing. Oh, well, mistakes happen. I could easily change the dart placement but I decided to leave it as it is because I planned to make too many changes already.
Burda magazine patterns don’t have seam allowances included, but I like to add seam allowances right on paper pieces and not on the fabric. So after tracing pieces from the pattern sheet I drew also seam allowances (1.5 cm or 5/8 in) and cut.
What did I do next? I changed this basic pattern a lot according to my design ideas. Well, why not?
I remember a joke now. Two friends are talking:
How is it going with you making a dress from that gorgeous silk your grandmother gave you?
Oh, it didn’t go well with the dress, now I am sewing a skirt.
Ok, don’t worry, if you will have problems with the skirt also at least you can sew a nice handkerchief.
I didn’t go that far in my changes. Here they are:
- I adjusted the bodice for my petite height.
- I wanted to put embroidery on the dress top, therefore, I decided to make yokes which I planned to sew from sheer silk organza.
- I didn’t want the zipper closure and a V-neckline, so I changed that also.
- I didn’t want long sleeves, so I made them shorter.
- I didn’t want the peplum.
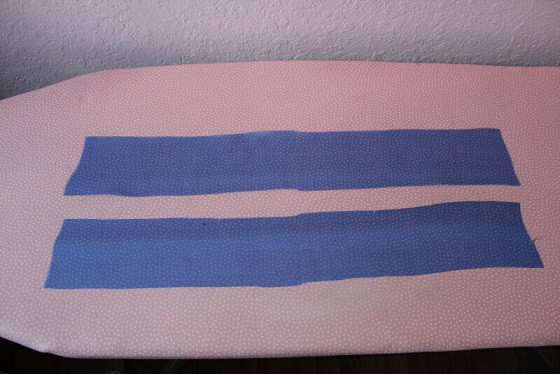
- I made the skirt shorter and cut the bottom pieces for the skirt front and the skirt back around 6.5 cm (plus 3 cm for seam allowances) which I wanted to make from sheer silk organza also.
Burda patterns fit me well usually and I almost never bother to make a muslin. But in this case, I made too many changes, so I decided to make the muslin and check the fit.
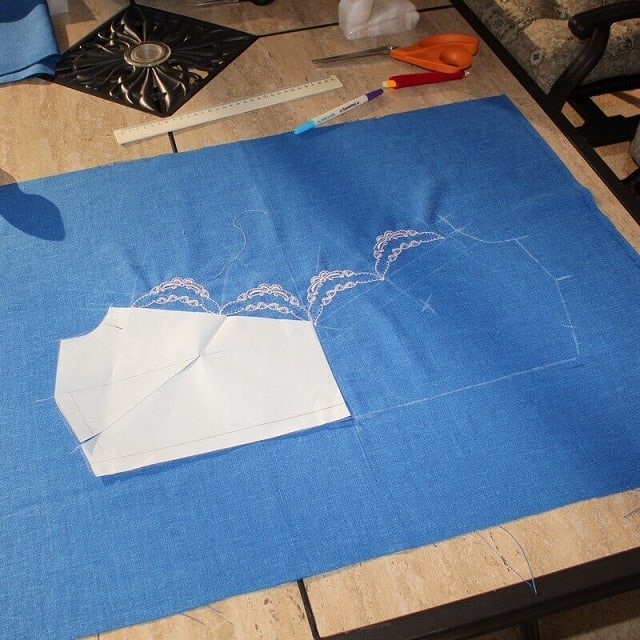
Well, it fitted quite nicely. When sewing, you need to be your own critic. While trying on the muslin I had to decide how I will place the embroidery. The image that inspired me had 3 scallops on each side of the top, but I decided to go with only 2 scallops to avoid resizing the design to a smaller size ( which my machine does not do ).
The next step was to pre-wash the fabric (to avoid surprises later) and iron it.
After preparing the fabric I cut pattern pieces from it. I would like to say here that cutting silk organza should be done on a single layer of fabric otherwise the small details may be distorted. I forgot about it and cut the skirt bottom pieces on folded organza first. So when I unfolded them they were obviously out of shape and I needed to redo the cutting as you can see in the images below ( and I remembered the joke again).
But I couldn’t finish cutting the top piece because I had to keep some fabric for the embroidery hoop.
Sewing tip
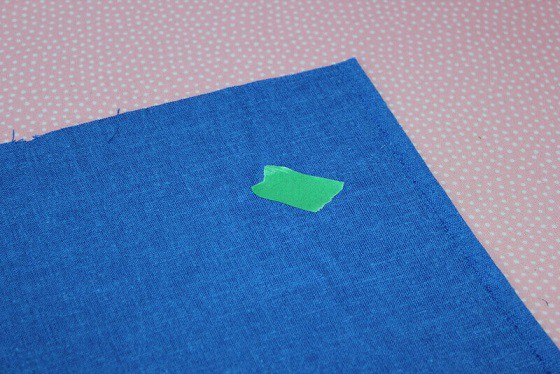
The blue cotton fabric didn’t have a big difference between the wrong and right sides so I had to apply one small trick I am always using in this case. It can be really annoying to check where the fabric’s wrong side is every time I sew pattern pieces together. I can even make mistakes like sewing darts one on the wrong side and another on the right side.
Did it happen to you also? Anyway, my trick is to use a small piece of painter’s tape to mark the wrong side of the fabric on pattern pieces (all or some of them). The tape will not leave any sign even on delicate silk fabric after removing.
According to my plan, the next step was doing the embroidery. I like to add embroidery to my garments because I am sure that embroidery can take any dress from plain to glorious.
It was a little bit of a challenge. The design I chose was pretty simple, it had only one color, but I had to repeat it many times and needed to calculate the exact placement of the designs which wasn’t really easy and I had to do a lot of math with my embroidery placement.
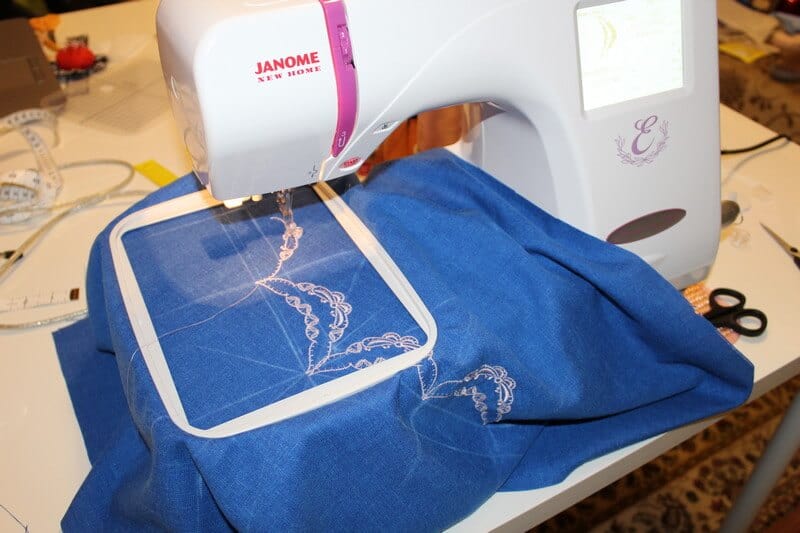
For the embroidery, I had to choose the thread, the needle, and a proper stabilizer and decide how I will connect the design pieces together and what size of the design I will use. For the top, I had to make the design 20% bigger than for the skirt but my machine can do this automatically.
I took my time and spent 2 days on the embroidery only (of course not 2 whole days, only a few hours during those two days).
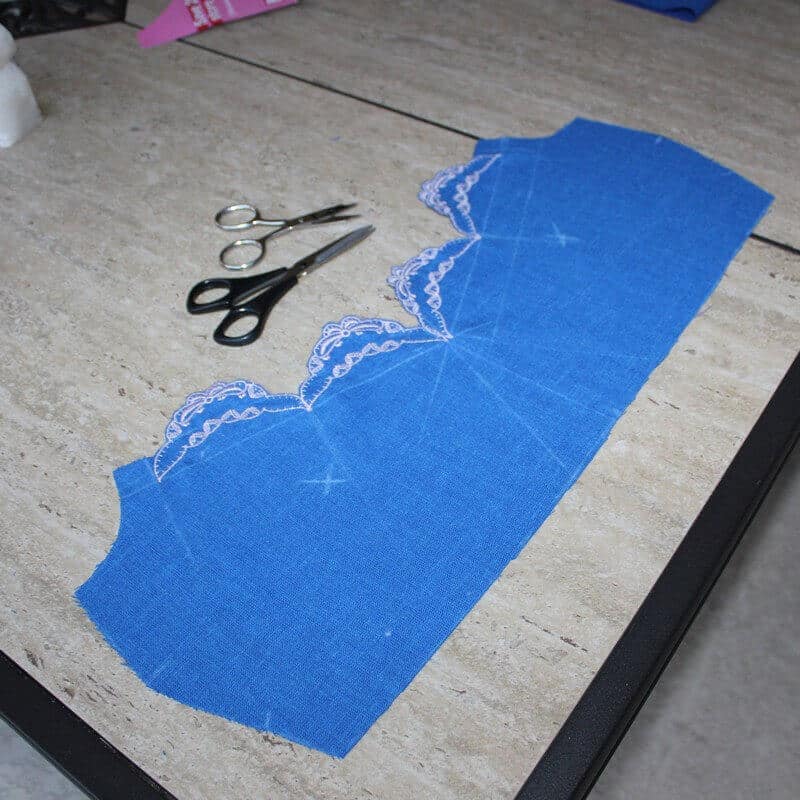
After that, I cut the top piece. I also had to cut the fabric around the embroidery design using very sharp small scissors.
Now I was finally ready to start sewing. As you can see I do a lot of preparation work before I actually start to sew.
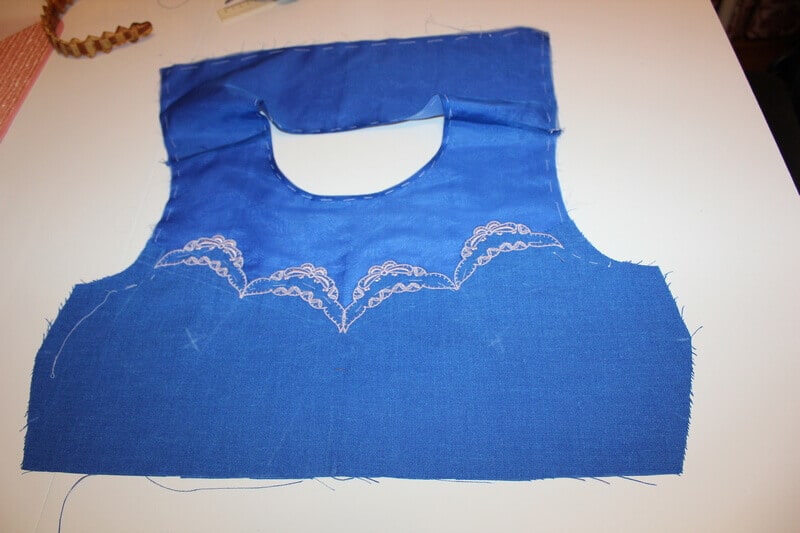
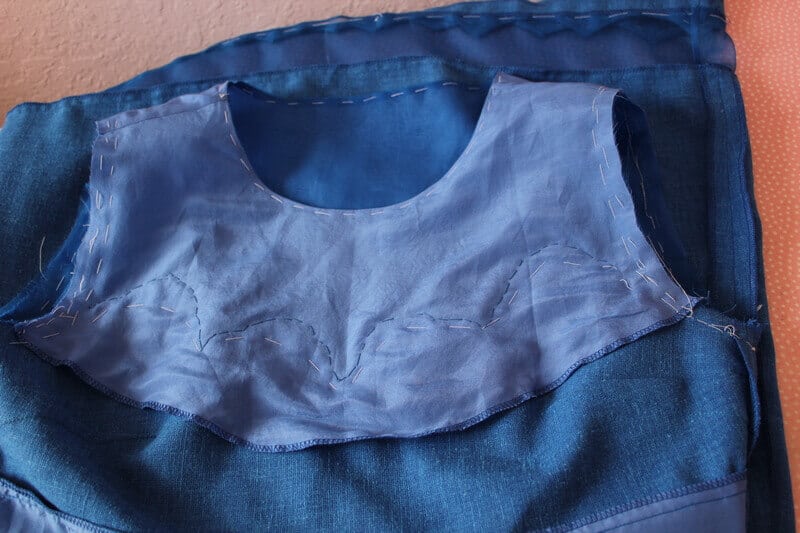
I planned to keep the yokes and the band which I cut from silk organza clear (see-through) but in the end, I decided to add some silk lining to them. I don’t have the perfect body like the model in the image that inspired me so I made these changes.
Sewing the dress was pretty straightforward – darts, bands, side seams, etc. Some advice here – minimize movement between sewing steps. It means that you will break the order of garment construction coming from the pattern notes. I usually sew as many seams as possible before going to my iron to press, saves a lot of time. And afterward I press everything I prepared before going back to sewing.
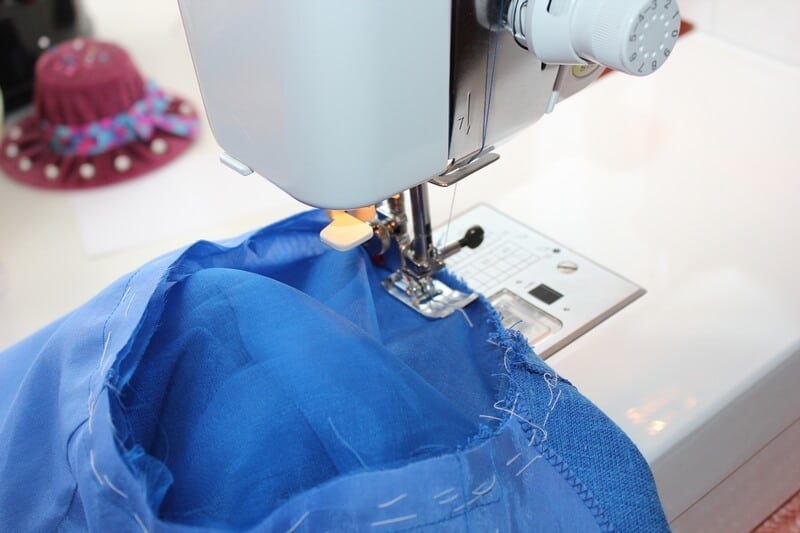
I am glad that I decided to use some lining for the yokes and the bands, it made finishing the neckline much simpler. After sewing the neckline I basted the lining to the yokes and to the bands and used them as one piece.
Also, I need to say that I used French seams for shoulder seams and sleeves seams. If you would like to know how to sew French seams check out my tutorial on How to sew a French seam.

I had to use quite a lot of hand sewing to attach the embroidered pieces.
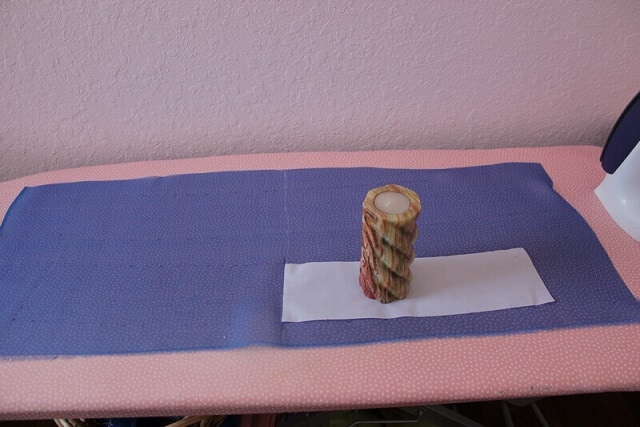
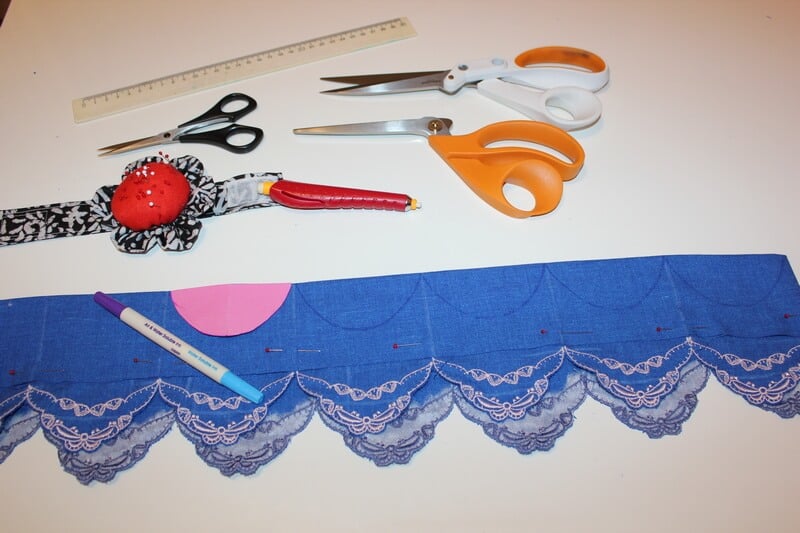
To finish the scalloped edge of the skirt I had to fold the fabric as you see in the image below and draw a scalloped seam line. After that, I sew exactly along the drawn line, cut seam allowances to 5 mm and turn it right side out, pressed, placed the embroidered edge on the organza, and sew it by hand (I used very strong thread for hand sewing).
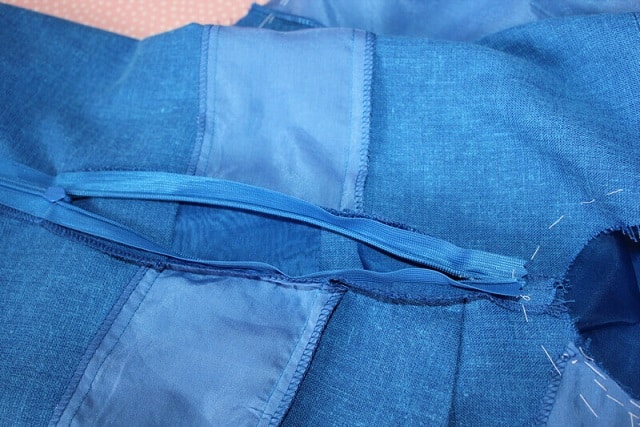
I inserted an invisible zipper into the side seams. By the way, you might want to read my detailed tutorial on inserting invisible zippers.
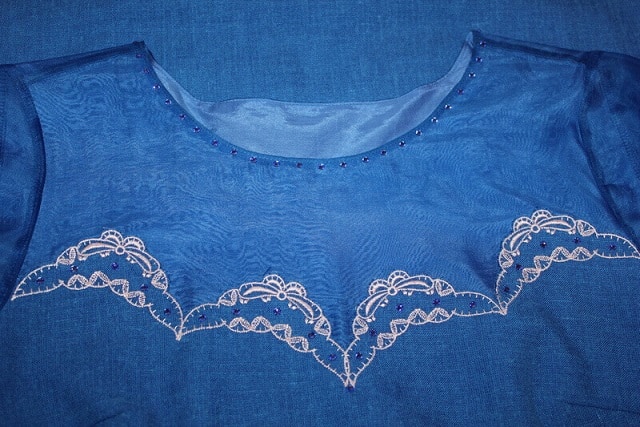
And in the end, I decided to enhance the neckline and the top embroidery with blue Swarovski crystals. They add some charm and at the same time, they are hiding those tiny seam allowances that still could be seen through the organza by the neckline.
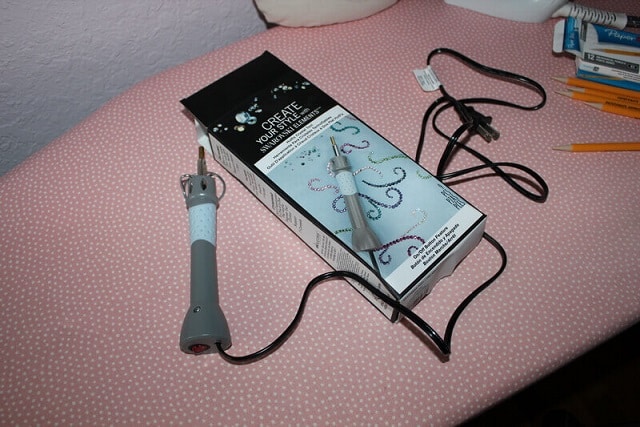
I use a hotfix applicator wand (see an image below) to embellish my garments with crystals. It instantly applies rhinestones to the fabric.
One difficult thing about sewing is the sheer number of distractions: email, Instagram, Facebook, and YouTube. When I am sewing I try not to touch my phone so I can work without any of these distractions.
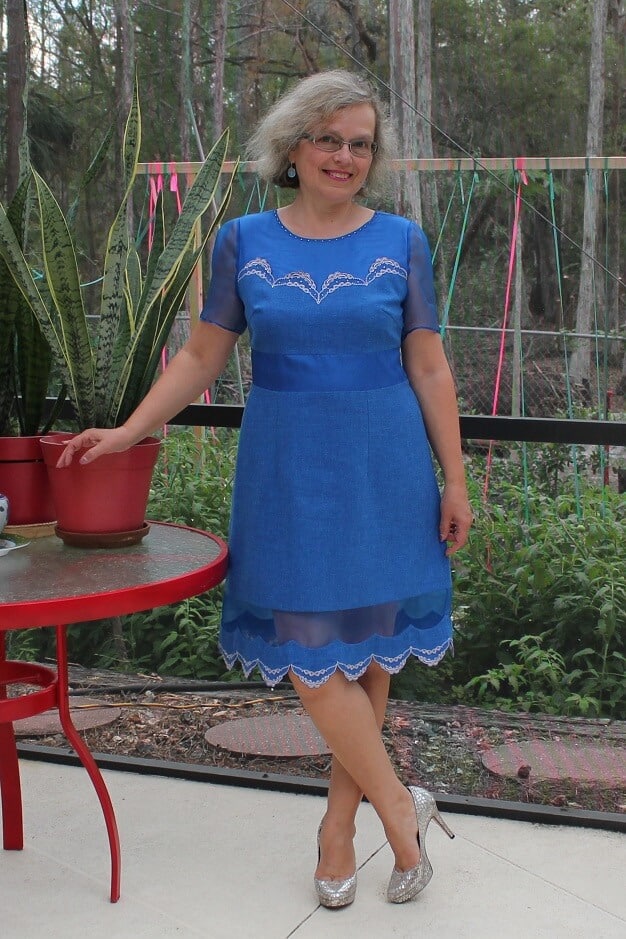
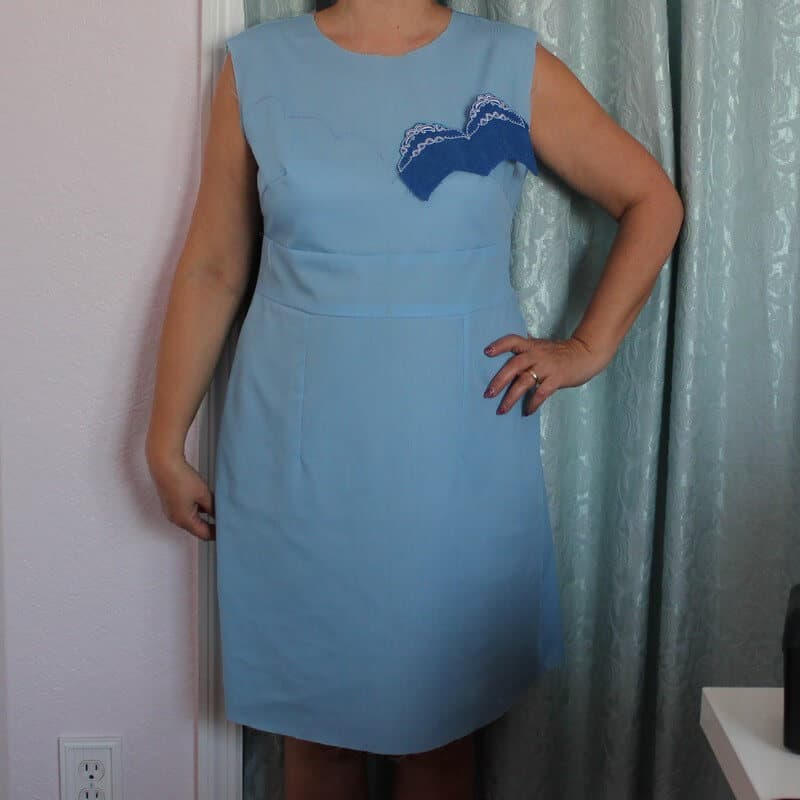
With that being said I completed my Dior-inspired project and I am quite happy with the result. I wore it for Valentine’s day and people keep staring at me. I feel like this dress is the perfect mix of style and comfort ( in my opinion). It can be worn to a formal event and a casual gathering (depending on accessories and shoes) so the dress is good for a wide variety of occasions.
P.s. I went to some event wearing this dress and one of my shoes got broken. I wore the shoes only a few times before… and I didn’t climb any rocks either. Maybe I should start making shoes also?

Alright – you are never too informed to learn and try something new in sewing as I did with this project. If you liked this tutorial, please go ahead and sign up for my blog, and don’t forget to pin it so others can read the article also.
Want to improve your sewing skills?
Get my detailed guide on SEWING MACHINE TENSION ADJUSTMENTS free!
Subscribe to my weekly newsletter with sewing tips and tutorials, free sewing patterns, printable PDFs, and other useful content and you’ll find the eBook in your inbox.
Subscriber exclusive offer.
Don’t miss the free HELPFUL eBook!
Did you find this tutorial helpful? If so, save this pin (see below) on your sewing board so you can come to this tutorial later when you need to learn how to sew a dress, and follow me on Pinterest for more tips, tutorials, and inspiration!

latest posts
- Butterfly Quilt Block Tutorial – Foundation Paper Piecing
- How To Sew Quilt Squares So The Corners Match
- Sewing With Fork Pins: How They Help With Pattern Matching, Slippery Fabric, And Seams
- How Much Fabric Do I Need? 21 Helpful Tips For Calculating Fabric Yardage
- Easy Simple Sewing Project: Fabric Jar Opener
- DIY Oven Mitts: Step-by-Step Sewing Tutorial
- Easy DIY Potholder: New Design
- Tailor’s Clapper: What It Does, Why It Works, And How To Use It Right
- Heat Resistant Batting for Sewing: What It Is, How It Works, and What Makes a Difference