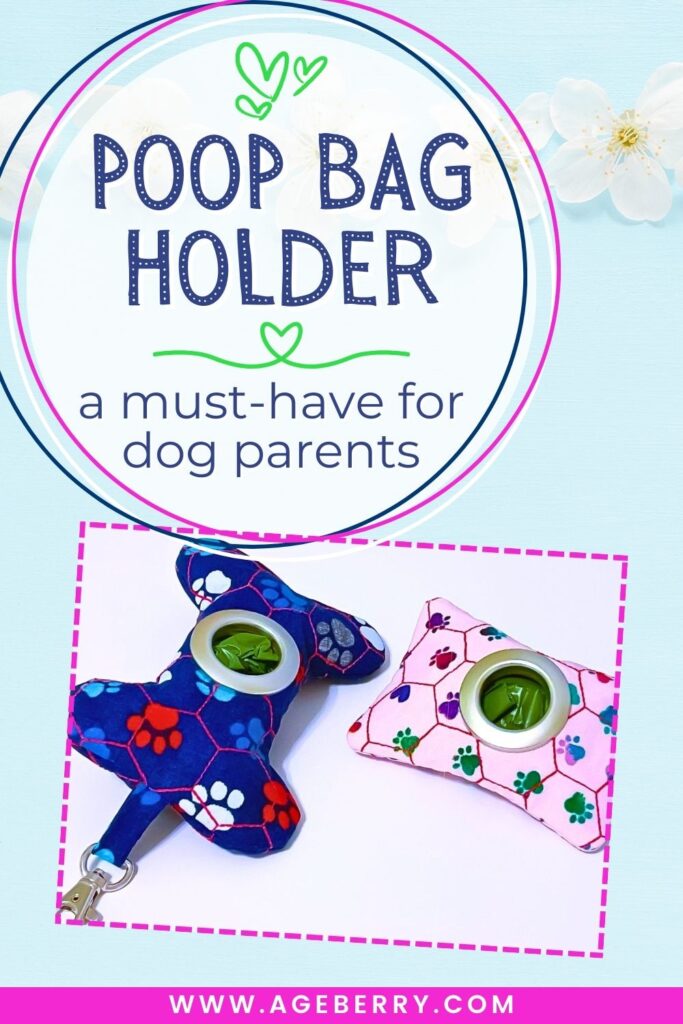
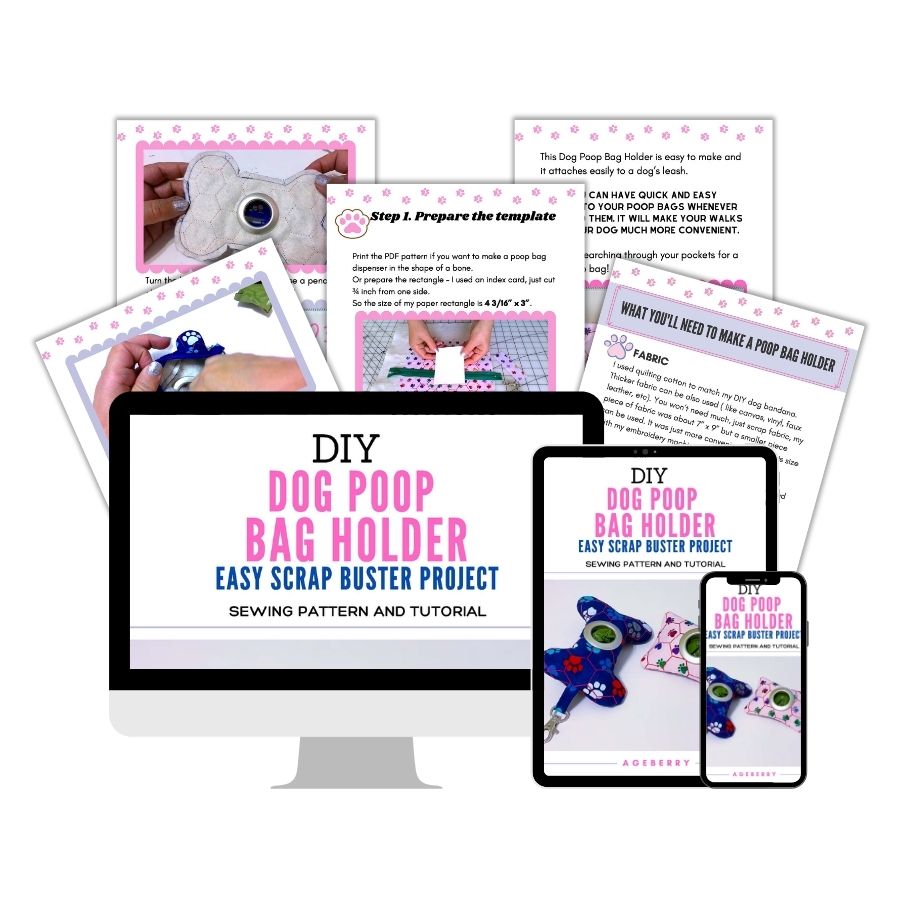
DIY Dog Poop Bag Holder | Easy Scrap Buster Project
Do you hate carrying around a bunch of poop bags in your pocket? I know I do! Not only that, but not all my clothes have pockets suitable for this. This DIY dog poop bag holder solves the problem!
It’s easy to make and it attaches easily to a dog’s leash. Now you can have quick and easy access to your poop bags whenever you need them. It will make your walks with your dog much more convenient. No more searching through your pockets for a stray poop bag!
Attention! If you like the video format, at the bottom of this post, look for a YouTube video version where there is a step-by-step video sewing tutorial on how to make a dog poop bag holder. For a more complete picture, I recommend exploring both versions.
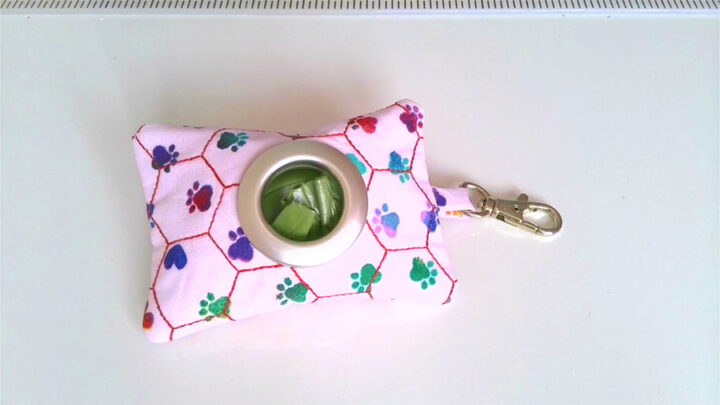
This dog poop bag holder keeps the bags accessible and organized. It has a zipper so you can load up bags and then secure them. When you need to take out a baggie, just grab it through the opening and effortlessly pull it out one at a time. There are no end caps to fall off. The front opening is big enough to allow the bags to come out, but not that big so they fall out.
You can make the strap easily attachable to any type of leash, so you’ll never have to worry about losing it.
All you need is some fabric, a sewing machine, some basic supplies, and a little bit of know-how. I’ll give you all the instructions you need to make this handy little holder. It’ll be an easy scrap buster project.
Not only do these DIY poop bag holders make for an excellent craft project, but they are also perfect as a small gift for any dog owner. You can customize them with fun colors and cute fabrics.
Do you know that in North America until the 1970s there was no actual rule or regulation regarding cleaning after your pet? I was surprised to find out that the first organized “pooper scooper” laws and bylaws appeared so late! Nowadays it seems common sense, but I was surprised to find out that at the time, city councils had difficulties adopting such laws. A very interesting article here : Pooper-scooper – Wikipedia .
What you’ll need to make a poop bag holder
Fabric – I used quilting cotton to match my DIY dog bandana. Thicker fabric can be also used ( like canvas, vinyl, faux leather, etc). You won’t need much, just scrap fabric, my piece of fabric was about 10” x 10” but a smaller piece can be used. It was just more convenient to quilt this size with my embroidery machine.
Note: Some of the links on this page are affiliate links. This means I will receive a commission if you order a product through one of my links. I only recommend products I believe in and use myself.
I was excited to see that there are so many pet-themed quilting cotton fabrics on Amazon! The designs look adorable and they are all perfect for this kind of project.
Piece of quilt batting or fusible fleece – you will need it only if you decide to use quilting cotton (to make fabric sturdier). And if you use vinyl for this project you won’t need batting or fusible fleece.
Zipper – regular, minimum 7” long, you can cut it if you have bigger zippers.
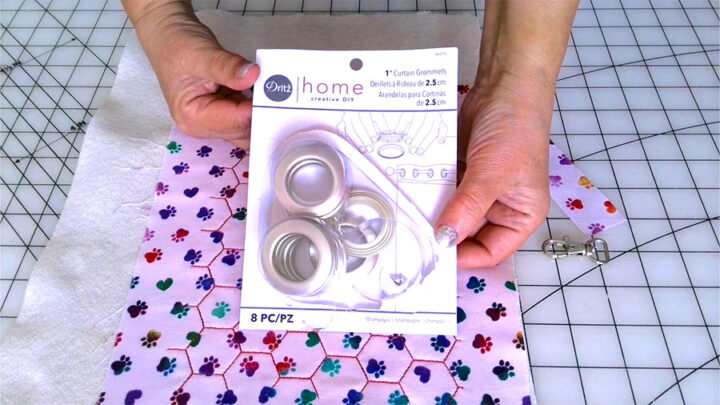
1 Grommet – 1” size. I bought them from Dritz, 8 pc.
Snap hook (or swivel hook, or lobster claw) – so you can attach the poop bag holder to the leash.
A small amount of fiberfill stuffing (polyester) to put inside if you decide to make the poop bag holder in the shape of a bone.
Bag holder pattern/template – if you want to make the bag holder in the shape of a bone then you can download a free printable PDF file from my Resource Library. For the other bag, I just used a rectangle shape.
My pattern is free for my subscribers, and if you subscribe to my weekly newsletter you can download it from my site right away.
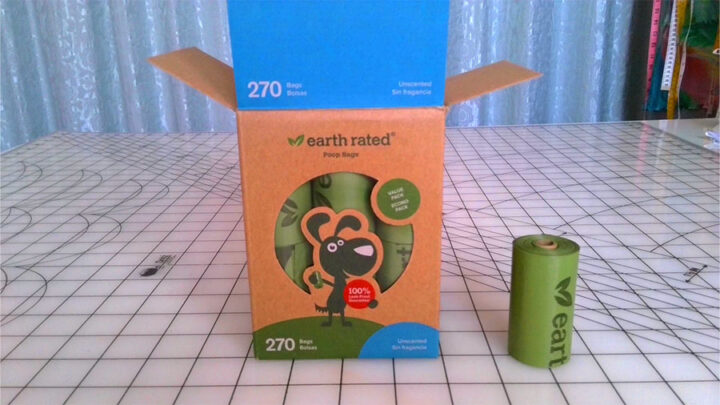
Dog waste bags – I recommend these ones Earth Rated Dog Poop Bags, 270 Extra Thick, and Strong Poop Bags. They are much thicker than the ones you buy at the store. Honestly, I have never seen a product that has more than 150,000 5-star reviews.
I created a very helpful Printable PDF eBook DIY Dog Poop Bag Holder | Sewing Pattern And Tutorial. I have all the information that you need for making the holder in this eBook and you can read it without ads. You can purchase the PDF file for only $5.99. This way you can print it out and it will be available for you to refer to anytime you want.
Step 1. Prepare the template for the DIY poop bag holder
Print the PDF pattern if you want to make a poop bag dispenser in the shape of a bone.
Or prepare the rectangle – I used an index card, just cut ¾ inch from one side. So the size of my paper rectangle is 4 3/16” x 3”.
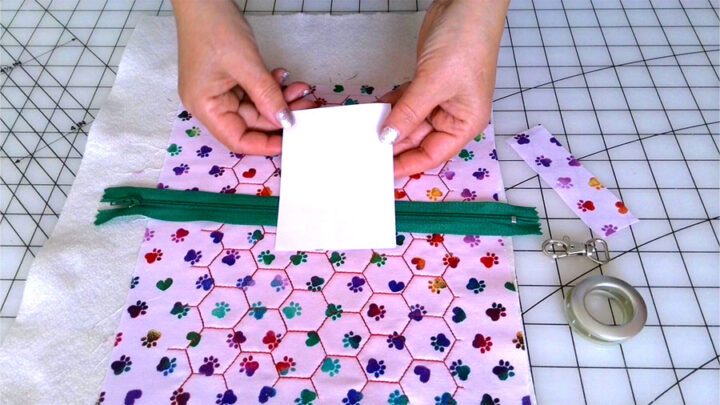
This size worked really well for the poop bags I bought from Amazon (they are 2 ¼” x 1 ⅛ “) but if you have different bags you might want to adjust your template.
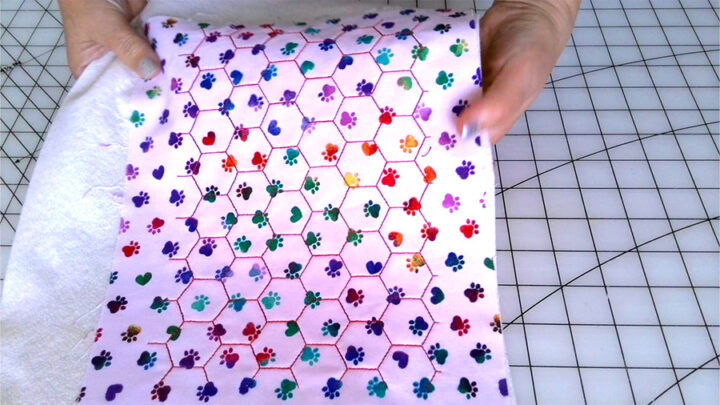
Step 2. Quilt the fabric attaching batting (totally optional)
If you use quilting cotton fabric you need to make it thicker. One way of doing it is to use batting and quilt it.
I like to use my embroidery machine to quilt it. The quilting stitches perfectly attach the batting to the fabric.
You can also use fusible interfacing or fusible fleece.
The size of the fabric I quilted was about 10 x10 inches.
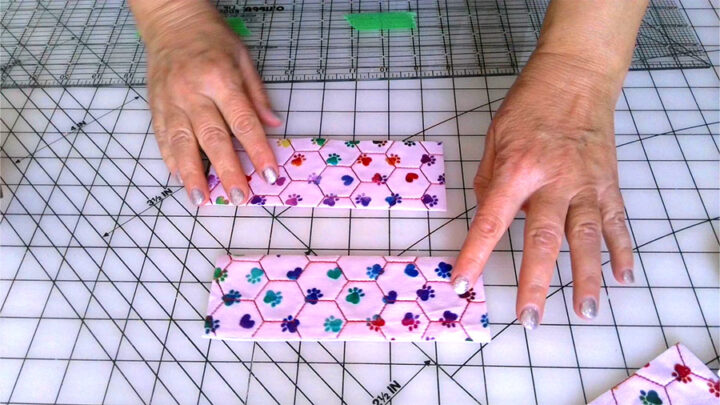
Step 3. Cut the fabric
I cut 2 rectangles for the front and back of the holder. Their size is a bit bigger than the templates, about 5” x 7”.
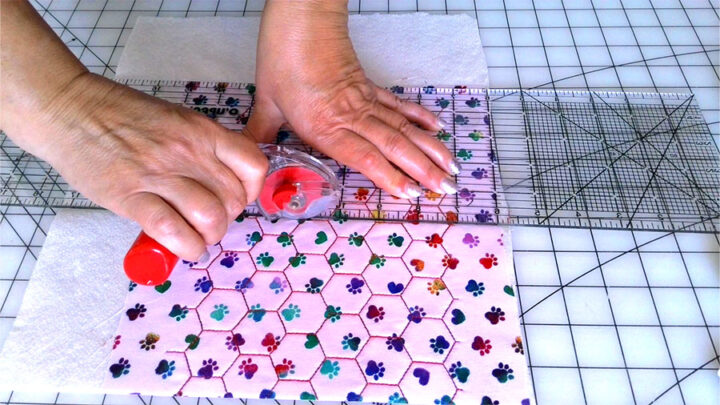
And after that, I cut one of the rectangles in half lengthwise.
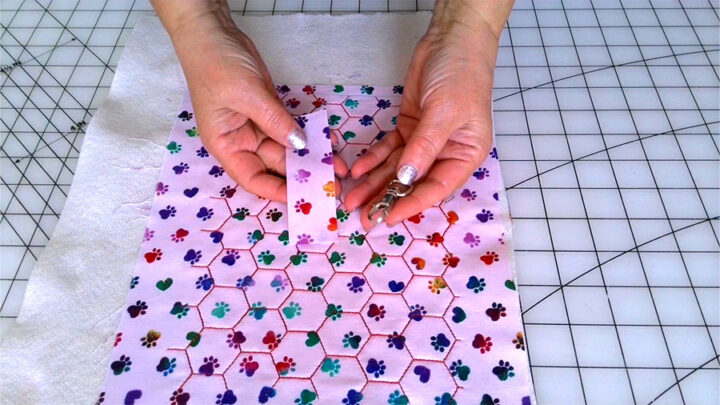
Cut also a small rectangle for attaching the snap hook – 2.5 or 3 inches x 1 inch. This is for the loop the holder hangs from.
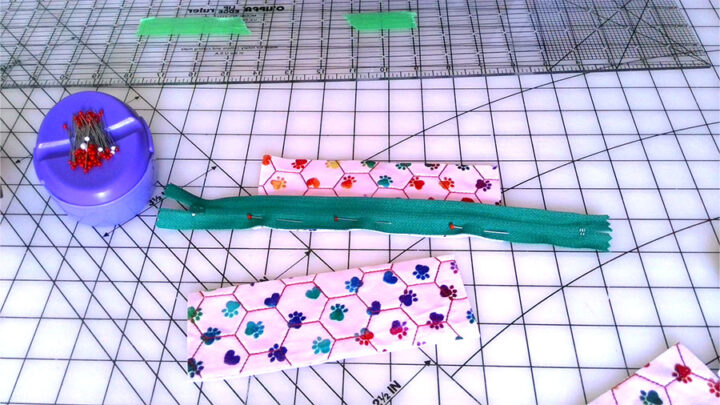
Step 4. Attach a zipper and sew the loop
Lay a zipper right side down on one of the smaller rectangles and pin it. Make sure you align the edges.
Go to your sewing machine and stitch. Seam allowances are about ⅛ inch. You can use a special zipper foot if you have it, but a regular presser foot is good too. That’s what I used.
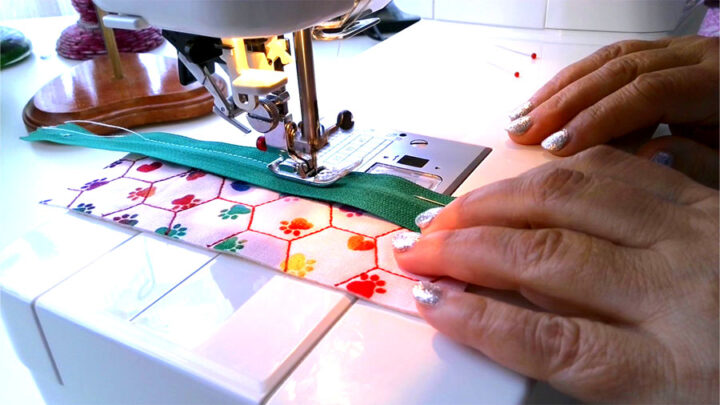
Pin another part of the zipper align all edges and stitch.
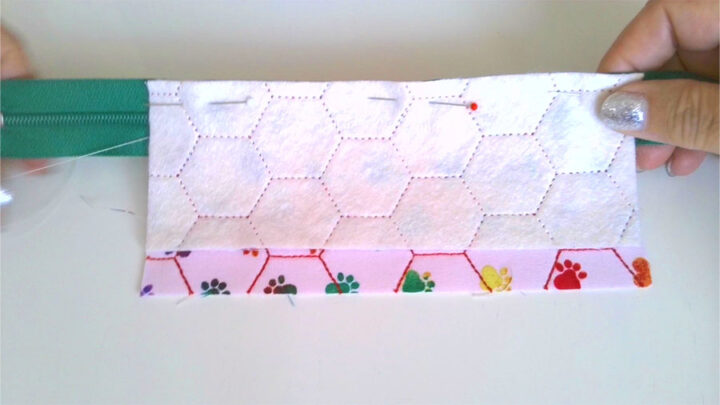
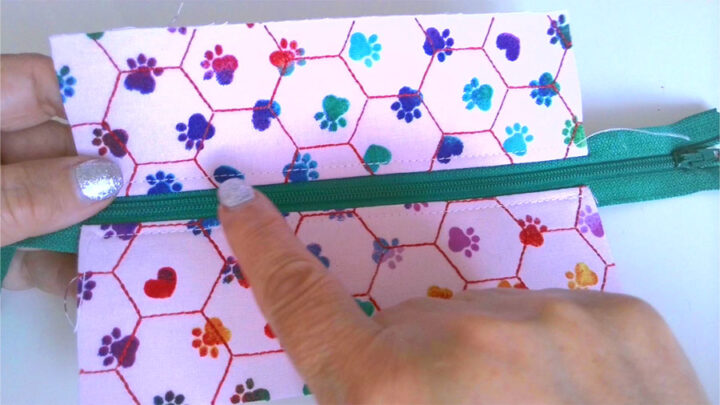
Press. Use pressing cloth so you don’t destroy the zipper. Topstitch the fabric edges next to the zipper.
Sew also the strap. For this, fold the small rectangle lengthwise and stitch keeping ⅛ inch seam allowances. Turn it right side out using a safety pin or a bodkin. Press it and topstitch along the edge.
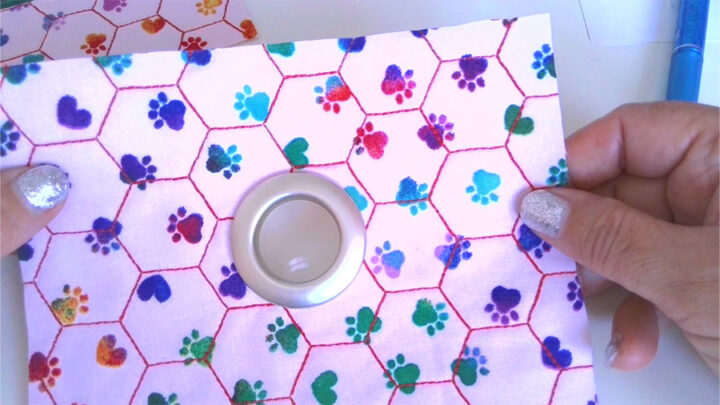
Step 5. Insert the grommet
You don’t need any special tools for this. The grommet just snaps together.
The package has a template for cutting a hole in the fabric. Position the template in the center of the fabric rectangle and trace the circle with a fabric marker or even a regular pencil.
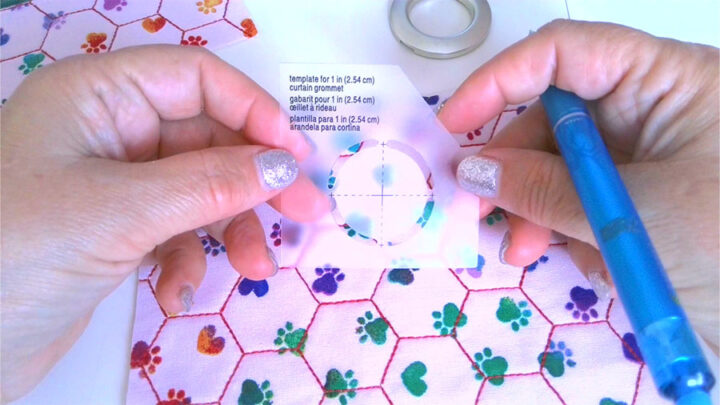
Cut out the hole.
You will see that the grommet has 2 parts: one has the raised center and a few circles and the other has “prongs”.
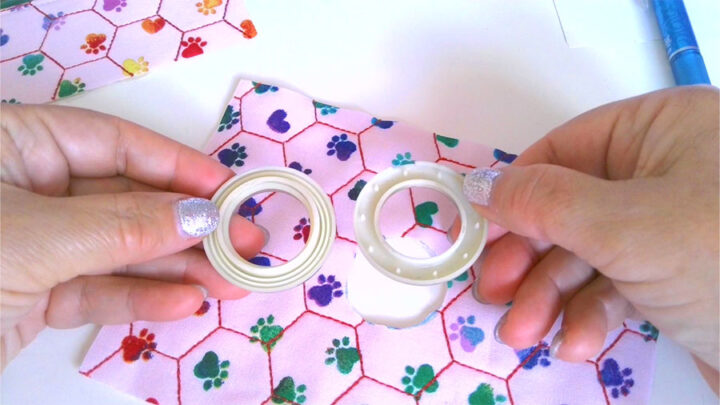
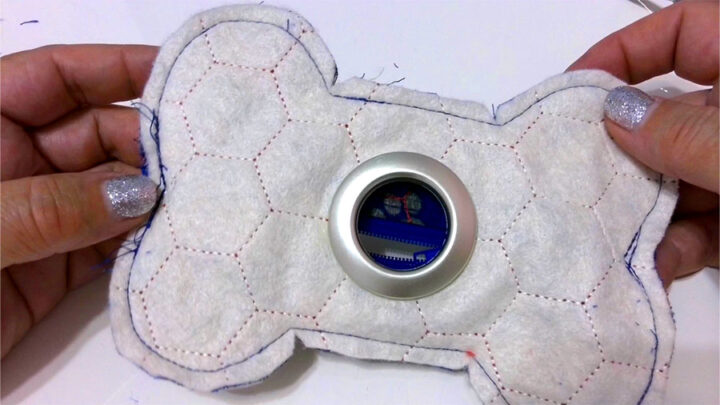
Place the raised center of the grommet in the hole from one side of the fabric rectangle. In my case, I put this part of the grommet under the wrong side of the fabric.
On the other side, position the “prong” side of the grommet over the raised center. Press down to secure.
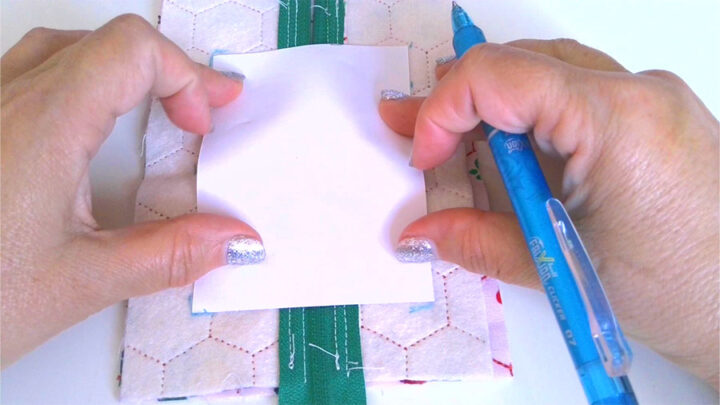
Step 6. Sew the front and back of the dog waste bag holder together
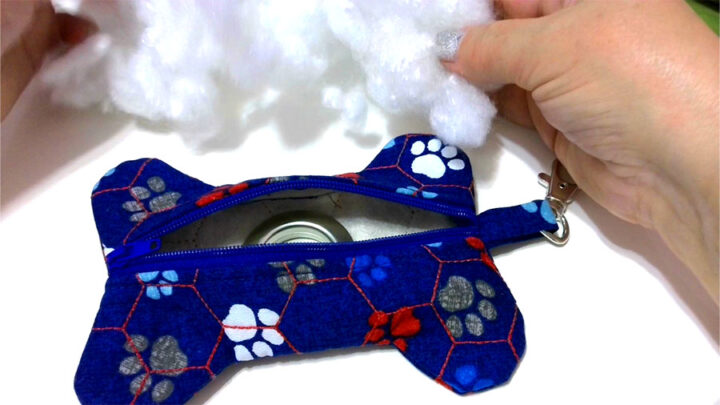
Open the zipper halfway for turning the holder’s right side out.
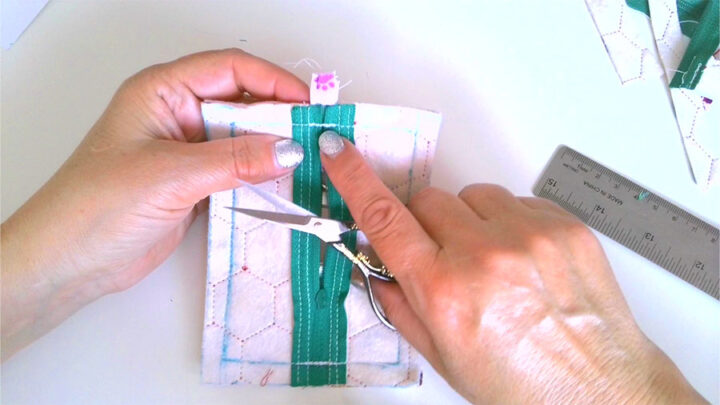
Place the front (with the grommet) and zippered back, and right sides together and pin, preparing it for stitching. Make sure they stay together and don’t move.
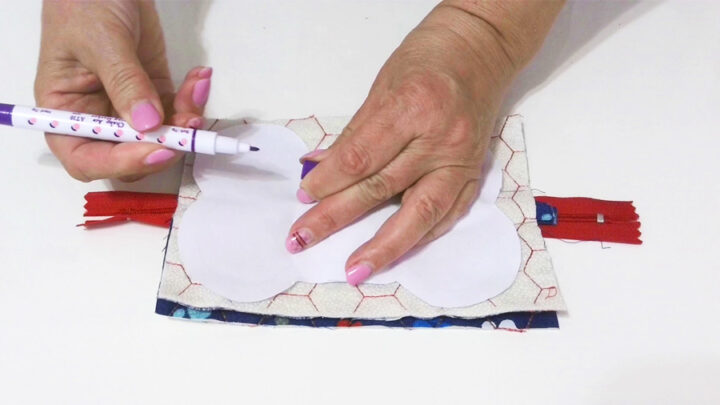
Use the template to see how you should cut it making sure that the zipper is centered.
Add ⅜ inch seam allowances to the rectangle and cut the fabric. If you have excess on your zipper you can cut that off too.
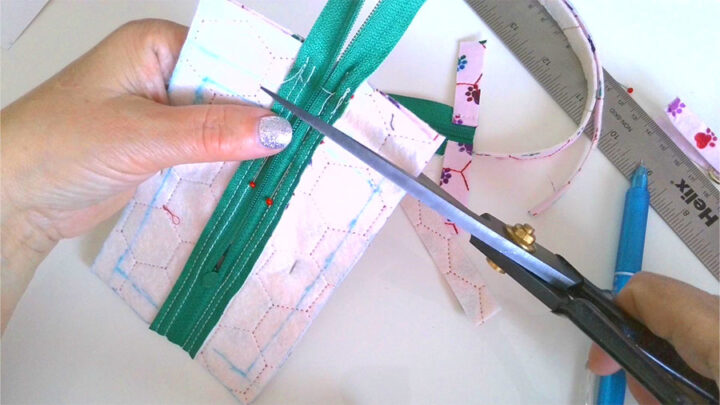
If you are using the bone template you don’t need to add seam allowances as they are included.
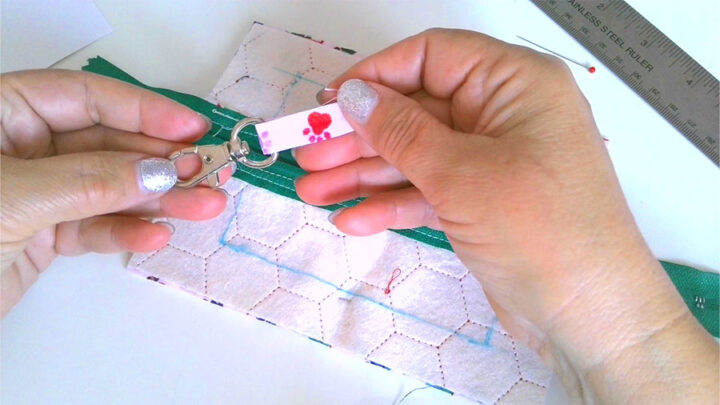
Now you need to add the loop with the swivel hook.
Take the small strap and “thread” it through the D-ring in the swivel hook, fold it in half, pin the raw edges together. Position the loop in the center point of one side so that the raw edges are matching and the swivel hook is inside the bag. Pin in place.
Make sure you pin together unzipped ends of the zipper as close as you can, even overlap them just a bit.
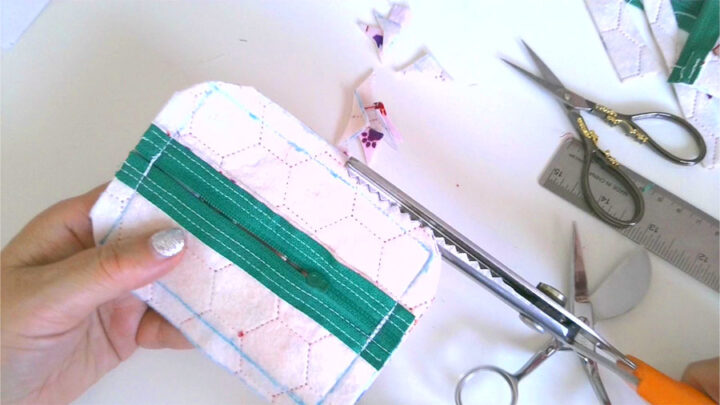
Stitch using ⅜ inch seam allowances. Secure stitches well around the zipper – sew over the zipper ends a few times.
Step 7. Finish the dog waste bag dispenser
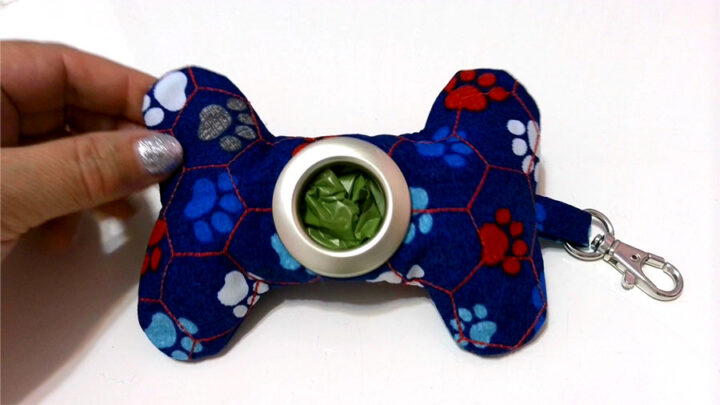
So, this holder is sewn together and almost ready.
Trim close to stitches (I used my pinking shears) and snip corners to reduce bulk inside the holder.
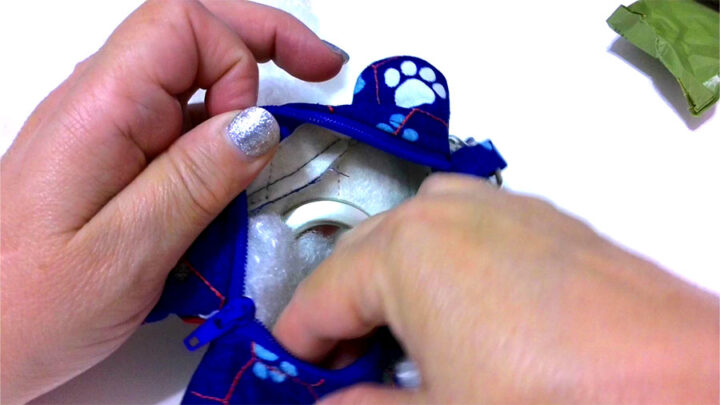
Turn the bag holder right side out. Use a pencil or a chopstick to push out the corners well.
If you are making the bone holder you might need to add some filling material (like they put in pillows and toys) into the sides so that the poop bag stays in the middle.
Now that you know how to make a dog poop bag holder, it’s time for you to get creative! What fabric will you choose? I can’t wait to see what you come up with. Be sure to share your creations with me on my social media channels or in the comments below.
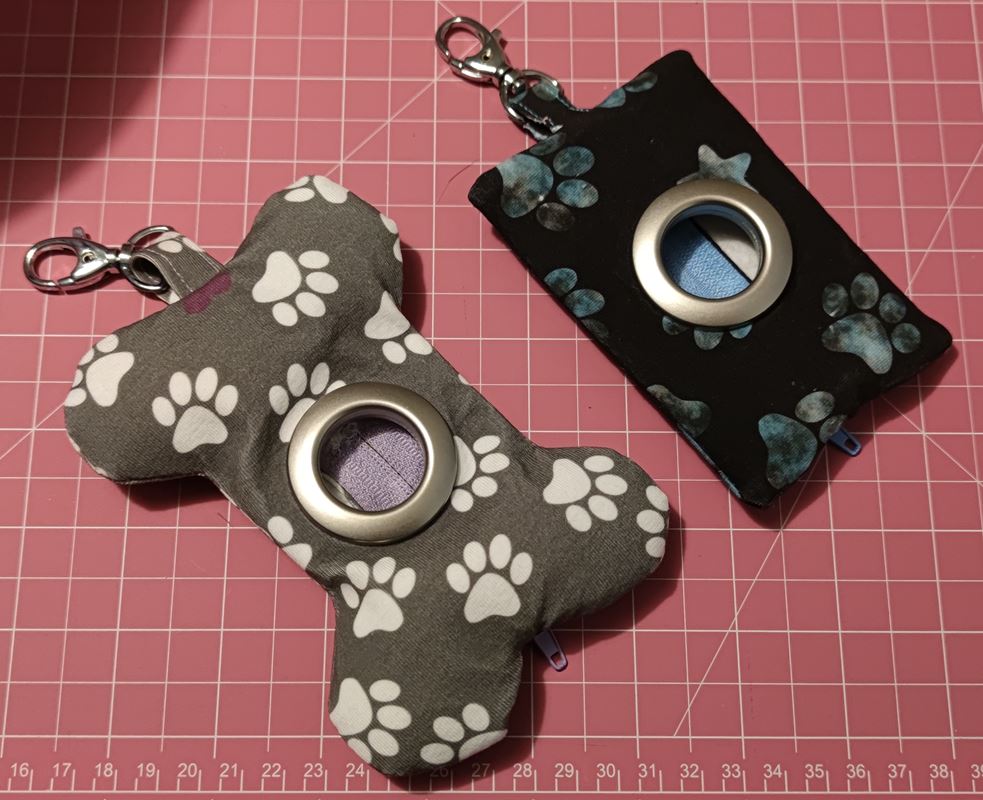
Sandra D. sent me this image of the holders she made using the patterns and instructions ion this article. In her own words, “About a week ago I never touched a sewing machine and now I made this, including zippers 😊”. Congratulations, Sandra!
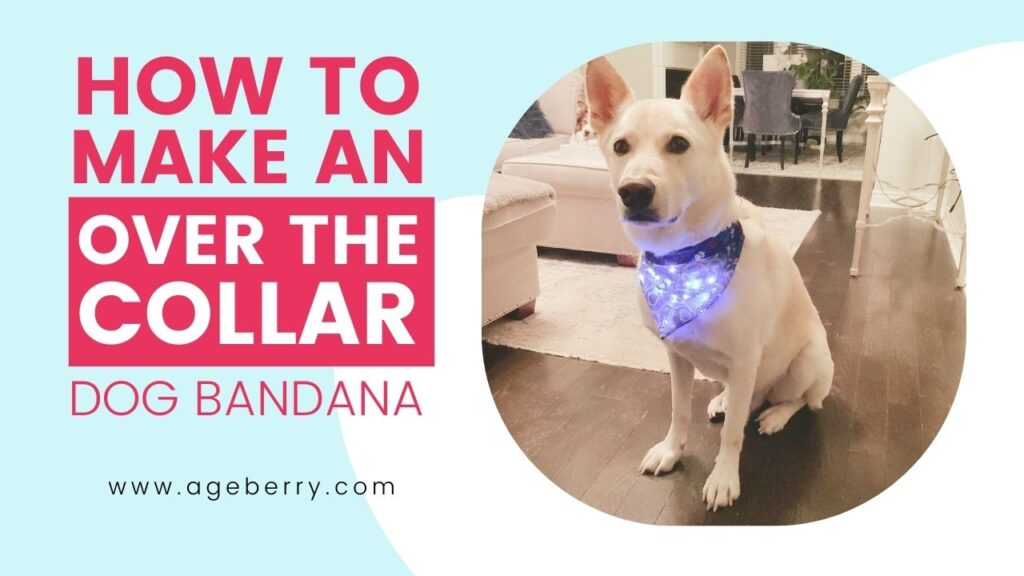
You may also want to check out my other project – a DIY dog bandana. So go ahead and read that tutorial where I’ll show you how to make an Over The Collar Dog Bandana! It’s unusual though because it has small LED lights inside.
So here is my YouTube video. Check this out if you want to see how to make a dog waste bag dispenser instead of reading…

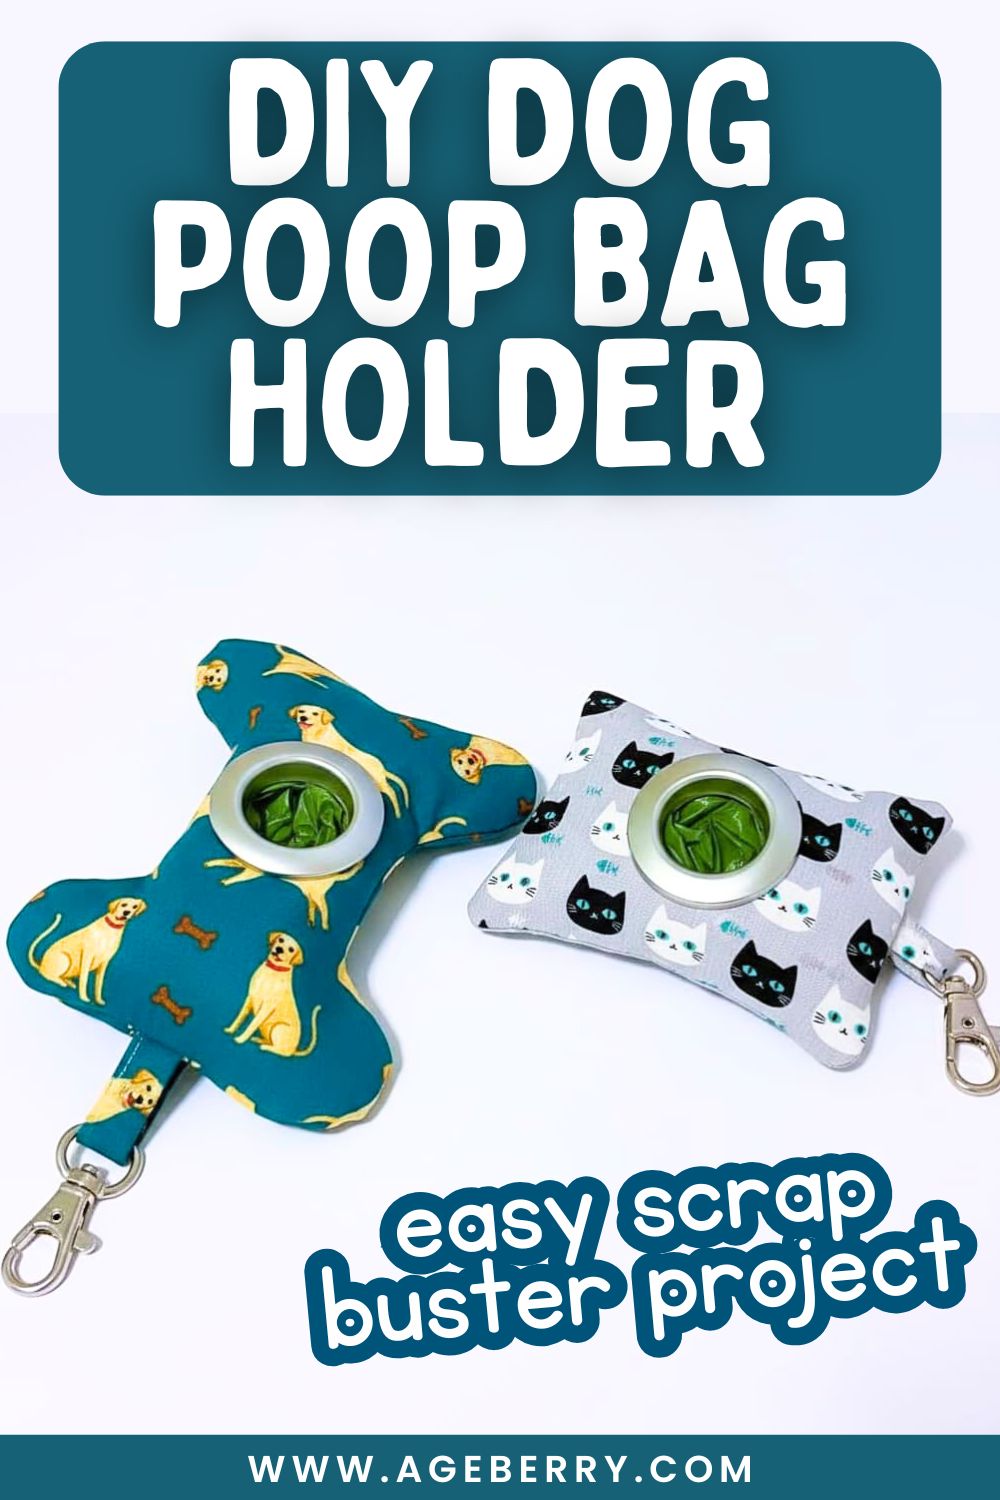
Did you find this tutorial helpful? If so, save this pin (see below) on your sewing board so you can come to this tutorial later when you need this information on making a DIY dog poop bag holder, and follow me on Pinterest for more tips, tutorials, and inspiration!
latest posts
- Types Of Sewing Machine Feet And Their Uses
- The Interfacing Cutting Guide: Methods, Folds, and Seam Lines
- Steam or Dry Heat for Fusible Interfacing: Which Actually Works
- Essential Sewing Tips: How to Apply Fusible Interfacing Correctly
- Types of Interfacing Explained: Woven, Non-Woven, Knit, Fusible, and Sew-In
- Fabric Eggs DIY: Quick Easter Craft Decorations From Scraps
- Stuffed Bunny Sewing Pattern And Tutorial (Free Download)
- Sewing Machine Basics: Simple Maintenance Tips Every Sewist Should Know
- Interfacing vs Stabilizer: Is There Really a Difference?