
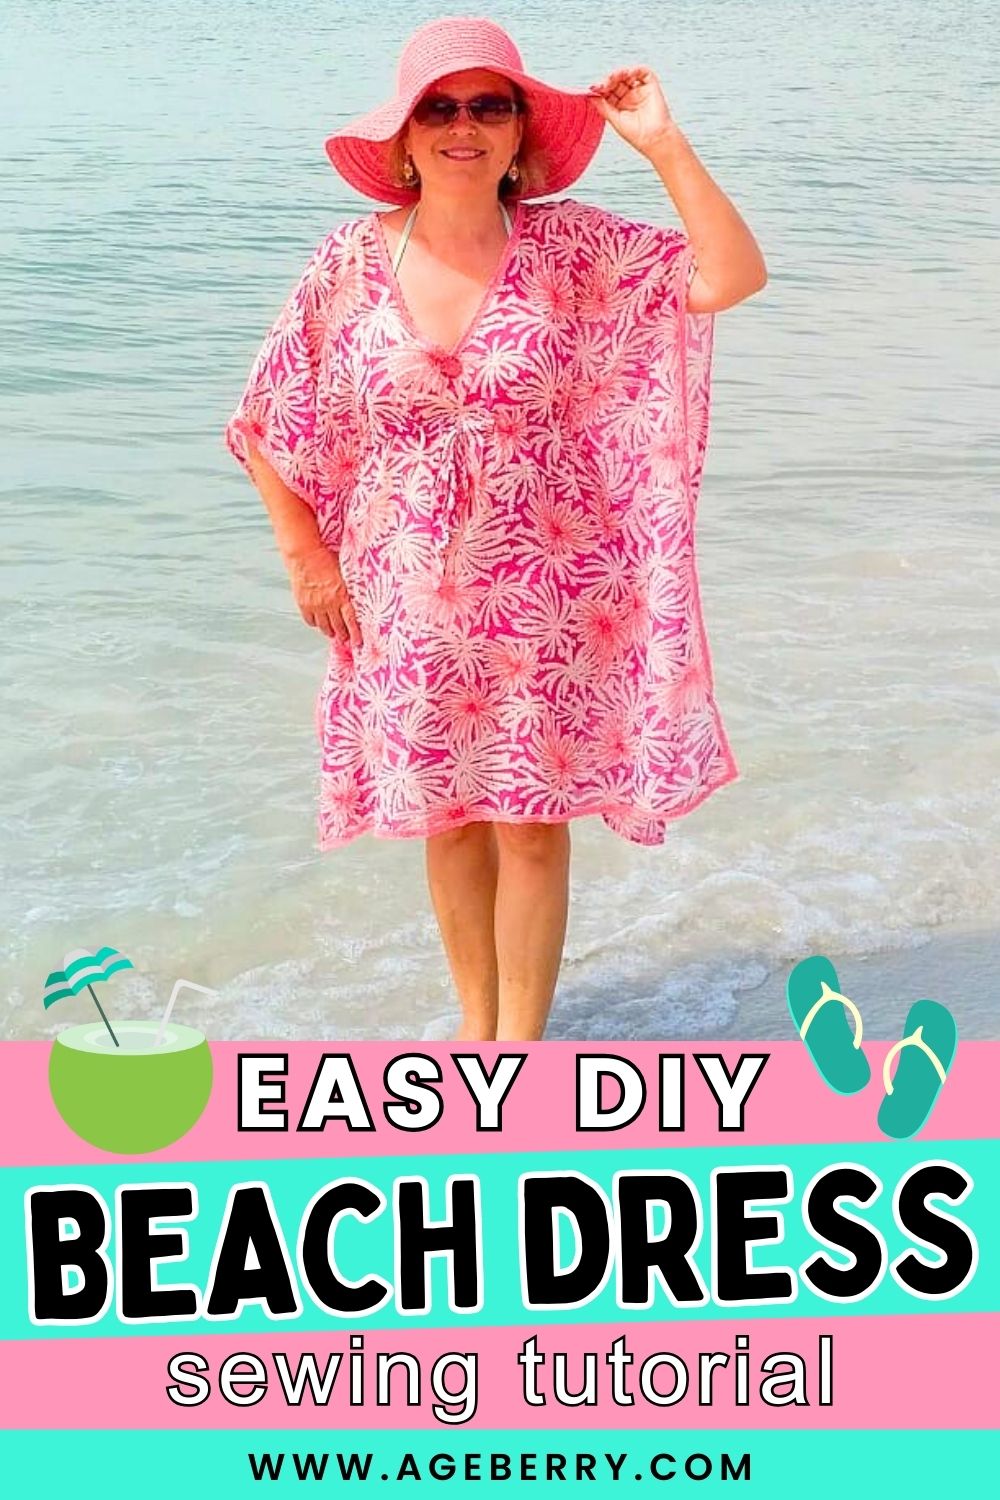
DIY beach dress sewing tutorial plus how to make a beach cover-up pattern
This is a step-by-step tutorial on a DIY beach dress (cover-up) with a simple free beach cover-up pattern you can draw right on your fabric.
While we always remember to put on sunscreen for protection from the sun’s harmful effects, sometimes we forget that clothes can shield the body from the mighty rays also. Here are some protective DIY beach dresses that will help you stay covered and stylish at the same time. And best of all – you can sew them yourself in no time at all from the fabric of your choice and they can be not only sun-protective but also bright, fashionable, and fun.
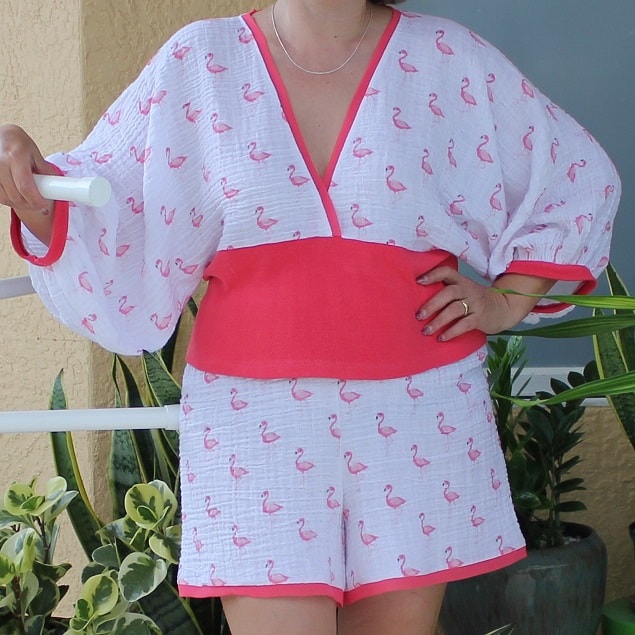
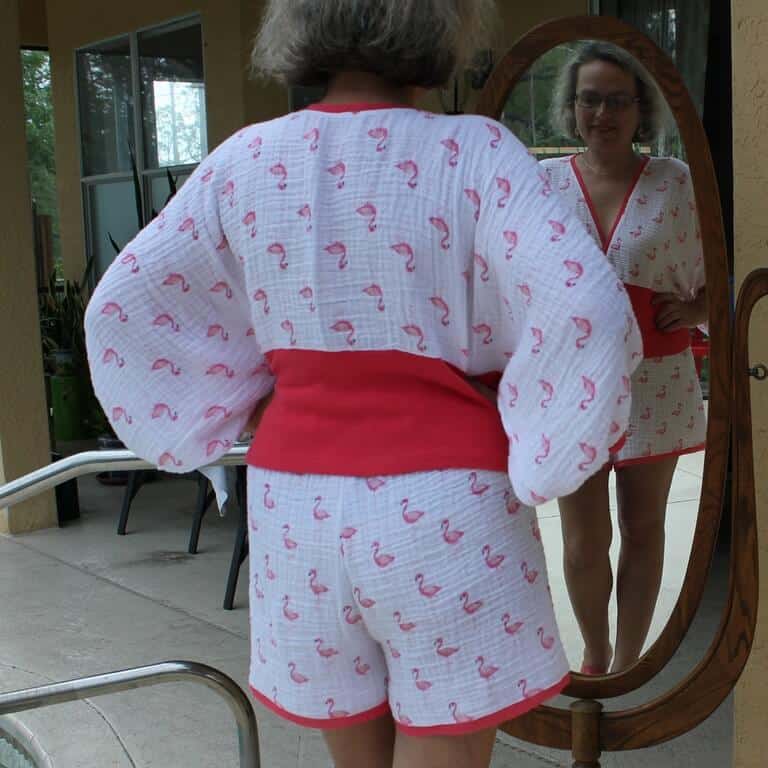
I made these 3 beach cover-ups (see images below) from woven lightweight fabric using the same kaftan sewing pattern. I see that I can call this kind of cover-up “kaftan” – it’s a long loose belted dress/tunic.


Note: Some of the links on this page are affiliate links. This means I will receive a commission if you order a product through one of my links. I only recommend products I believe in and use myself.
By the way, do you have a nice bathing suit? I recently found some hot swimsuits in my favorite styles. Take a look. I have never made a swimsuit myself, seems not so easy to sew it properly. But I always make cover-ups myself – it’s very simple and I can sew them quite fast.
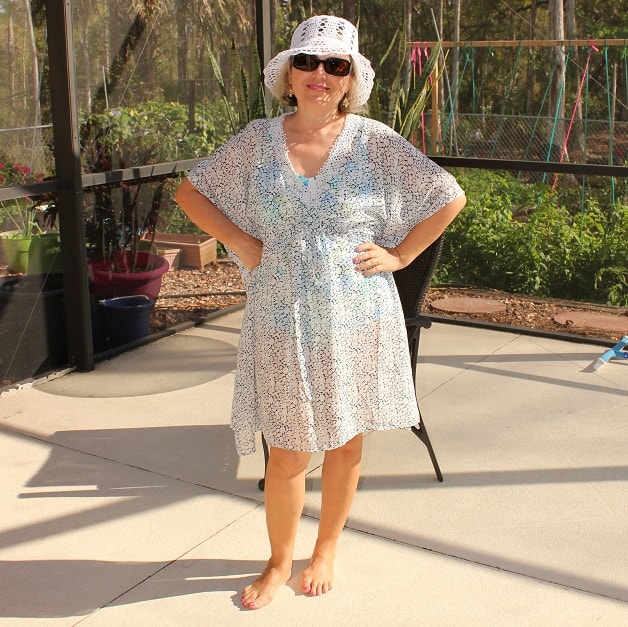
Side note: I’m always so touched when readers take the time to write to me and ask about things they’ve seen in my photos. It really helps me to feel connected to all of you, even though we’re scattered all over the world. Recently, I’ve been getting a lot of questions about the white crocheted hat I’m wearing (see images above). Yes, I made it myself – I actually enjoy crocheting as much as sewing. If you’re interested in learning how to crochet, I would highly recommend this blog – Desert Blossom Crafts. Rachel is fantastic at breaking down the basics in a way that’s easy to understand. She also has a great sense of style, so you can be sure you’ll end up with a beautiful finished product.
Take the following measurements:
Hip circumference ( hips )
Shoulder to Waist circumference (check out my tutorial on taking body measurements for sewing).
As you can see we will need only 2 measurements. If you would like to know more about taking body measurements for sewing check out this link.
I use the Imperial system and give all the numbers in inches, but if you are used to the Metric system you can easily convert inches to centimeters using a regular sewing tape measure which has both metric and imperial numbers.
Beach dress pattern instructions
You can read my detailed instructions below. But I also made a short video with step-by-step instructions on making the swimsuit cover-up pattern right on the fabric. Check it out below (I hope you don’t mind a few ads before the video). But you will not be able to see the video if you have ads blocked.
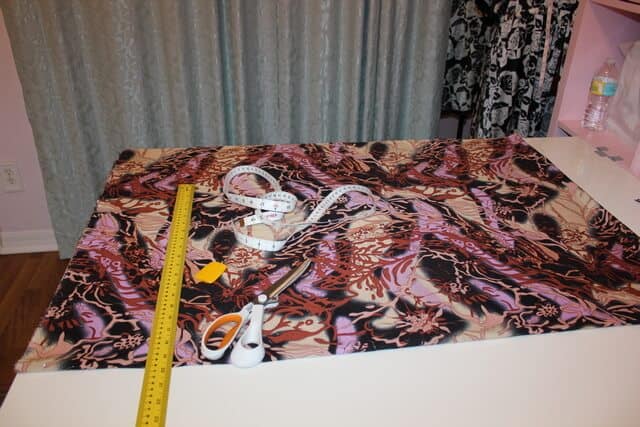
I drew all the necessary lines right on my fabric. I didn’t make a paper pattern.
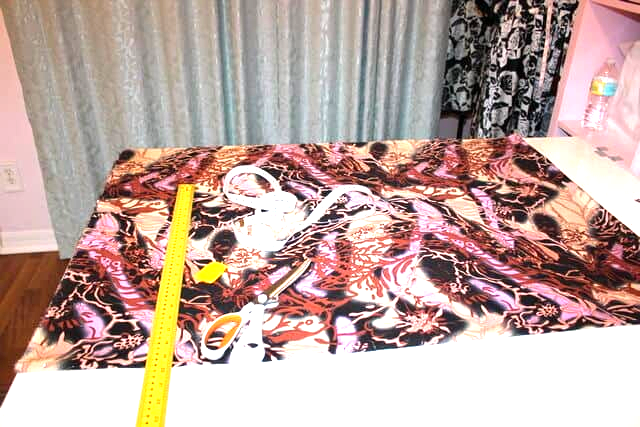
Start by cutting a rectangle from fabric approximately 78 inches long and 39 inches wide.
Mark the center of this rectangle as point X. Mark the medians of the rectangle which intersect in X.
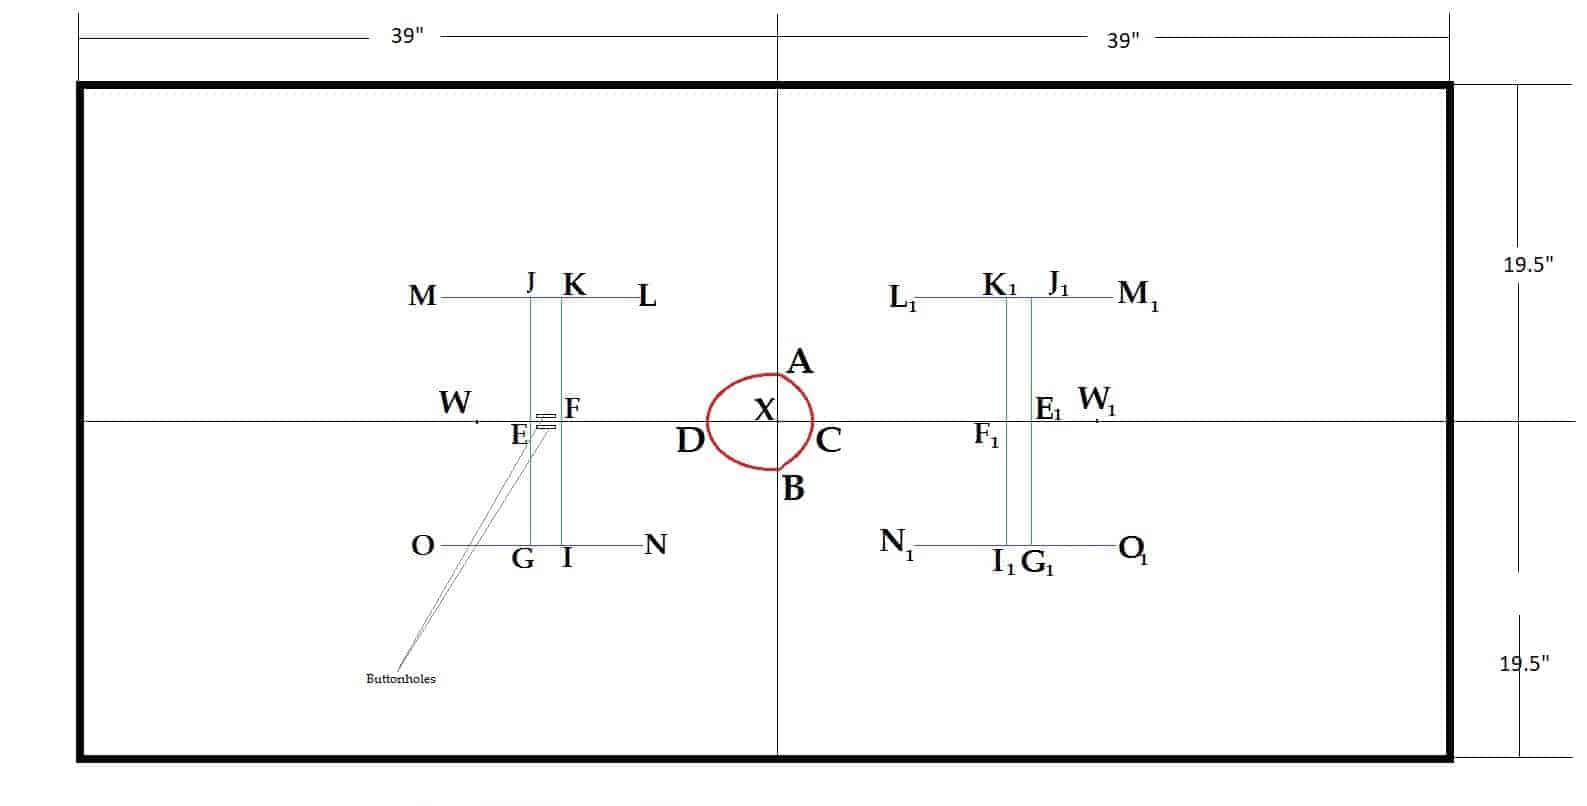
Now let’s draw a neckline for the DIY beach dress.
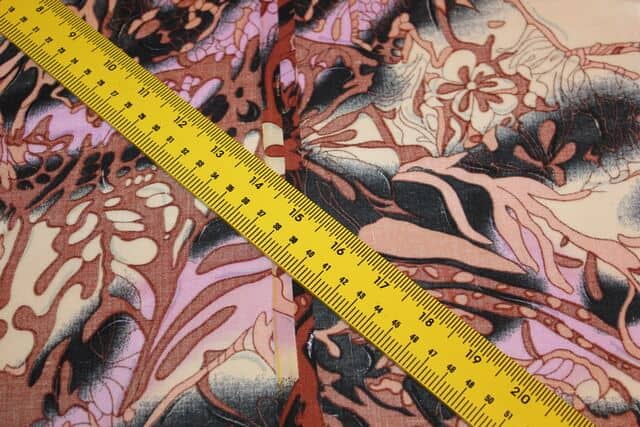
For one of my dresses (the one with black, brown, and beige colors) I draw the neckline like this:
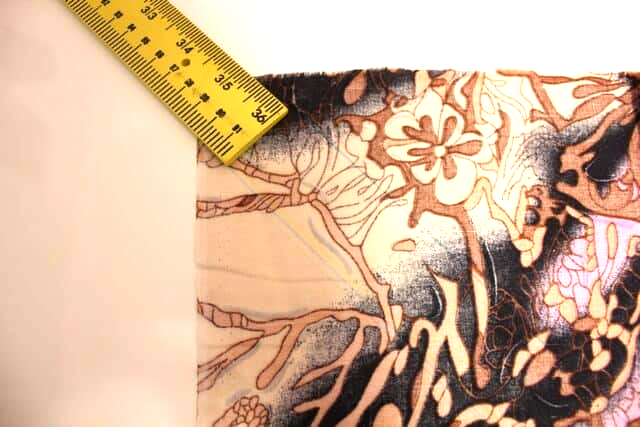
Mark points A, B, C, and D as in the image. Distances A to X, B to X are equal to 3.5″, and D to X is equal to 4″.
Distance C to X is 1.5″.
Use the French curve tool (or draw it freehand) to draw curves between A-C, C – B, B – D, and D – A. These lines will form the neckline.
But you can draw it as you like as soon as you can manage to put the dress on through the neckline and it’s big enough for your head. White and pink beach dresses have a different neckline – in the shape of a V.
Just be careful and don’t make the back and the front neckline equal. In the front the neckline MUST be deeper than in the back, otherwise, your dress will be pulled backward.
Let’s continue with making the beach dress pattern.
Now I want to show you how to make a casing for the belt and side seams (kind of, because they are just stitching lines).
Please note that the cut lines for this pattern will be only the outer lines of the large rectangle and the neckline, all the rest are sewing lines ONLY.
I will explain below the creation of the left side ( in the image ) of the pattern. This will be the front of the dress. A similar mirrored construction will be created for the right side of the pattern ( back of the dress ) with the exception of the two buttonholes which are not present in the mirrored image.
Mark a point W on the longer median at a distance from X equal to the shoulder to waist measurement. X – W = shoulder to waist measurement.
Mark a point E on the pattern at a distance from W equal to 2 inches. Distance X to E = shoulder to waist minus 2″.
Mark a point F on the pattern at a distance of 1 1/2 inches from E as in the image.
Draw perpendicular lines on the median in points E and F. Mark 2 points on each line drawn at a distance equal to ¼ hips + 3/4″ from the median. Obtain this way points J, K, G, I. The distance between points J – K and G – I respectively will be equal to 1 1/2″ and equal to the distance between E and F.
Draw a line through points J and K parallel to the median. Mark two points on this line: point M at 3 1/2″ from J and point L at 3 1/4″ from K. The distance between points M and L will be 8 1/4″.
Repeat the previous step for the other side of the pattern and obtain in the same manner points N and O.
Mark on the pattern the location of two buttonholes as in the image. The length of the buttonholes will be 1 inch and the distance between the buttonholes 1 1/4″ total ( each buttonhole is 5/8″ from the median ).
Repeat the steps to create the mirror image for points on the right side ( in the image ) of the pattern. These lines will be sewing lines for the back of the dress. Please note the absence of the two buttonholes in this mirror construction.
I made 3 beach dresses with this pattern from different fabrics. For pink and white dresses I made a little bit different neckline – V-neckline, but I made them before I decided to publish the tutorial on my blog, and I realized that the V-neckline is harder to finish for beginners so I made the third dress with just the round neckline which is very easy to finish with a regular facing strip.
But you can experiment with the neckline and make it exactly as you wish – round, square, or v-line, etc.
Making the beach dress step-by-step
Cutting out
Cut the rectangle with sides 78″ x 39″.
Cut the neckline according to the pattern above.
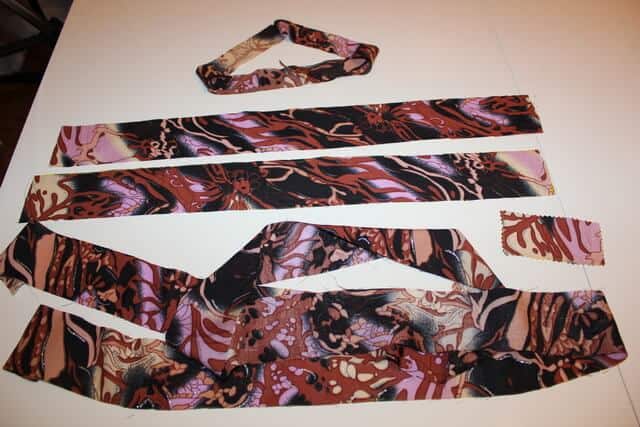
Cut also 2 rectangular pieces for belt’s casings 2.5 inches wide and length is ¼ hips + 2″
Cut a rectangular piece of fabric for the belt – 2.5″ wide and approximately 78″ long.
Cut a bias strip for facing the neckline. The width is about 1.5″ (I usually use the width of my ruler) and the length is equal to your neckline (on the pattern).
Check the video below on how to measure your neckline.
Measure your neckline using your tape measure as I am showing in the video below.

If you don’t have enough fabric to cut the bias strip without a seam then sew two rectangular pieces of fabric together forming a square and cut the bias strip from it.
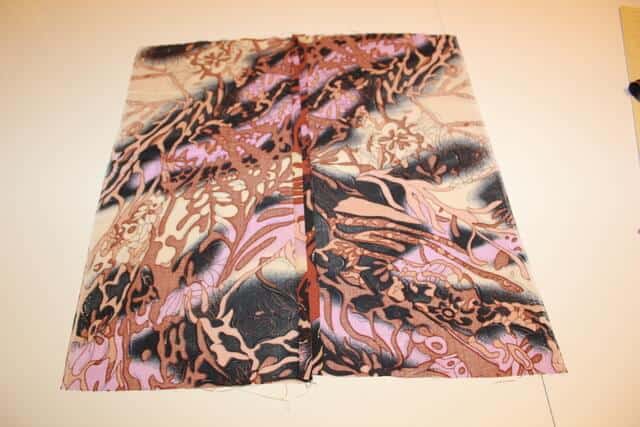
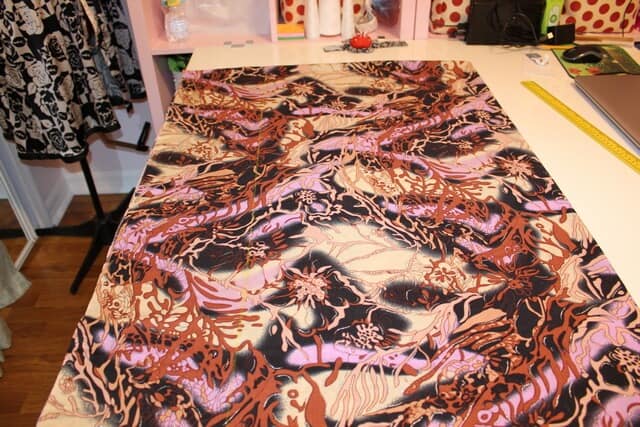
If you have directional prints on the fabric you will have to cut the pattern at shoulder lines and cut the front and the back of the dress separately so the prints will go in the same direction on the front and on the back (I mean down or up).
If you don’t do it you may end up with something like in the images below ( well, I made it for my pajamas tutorials, I wanted to simplify the sewing as much as possible).
Construction
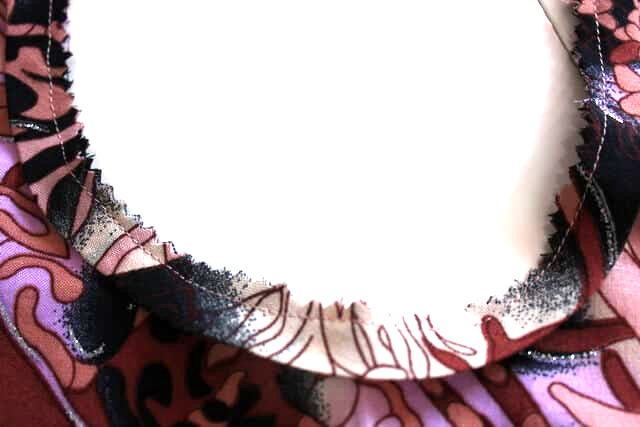
Step 1. Staystitch the neckline
We staystitch the neckline to prevent the fabric from stretching while the dress is being made. For this, change the settings of your sewing machine tension to 1 and stitch length to 2 mm. Stitch 1/4″ from the edge.
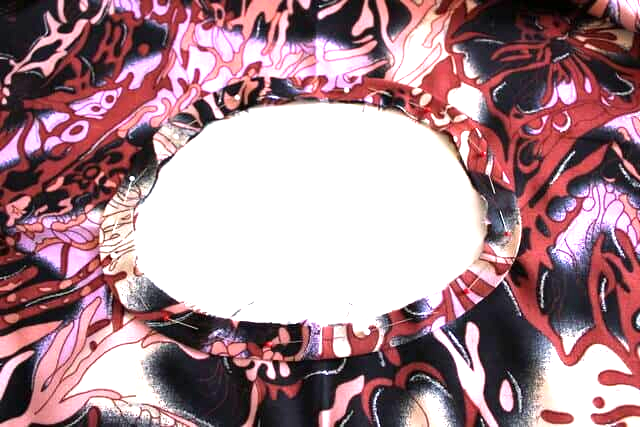
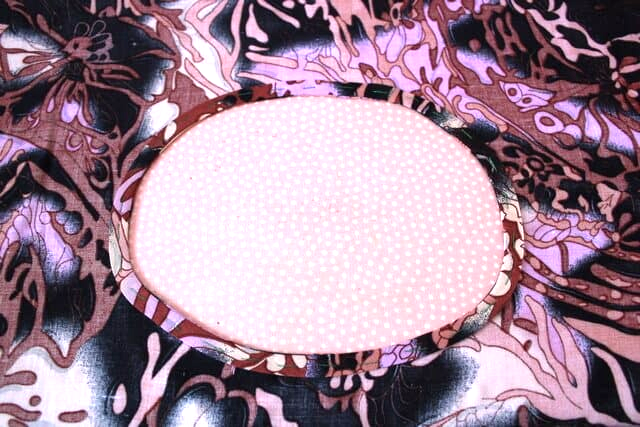
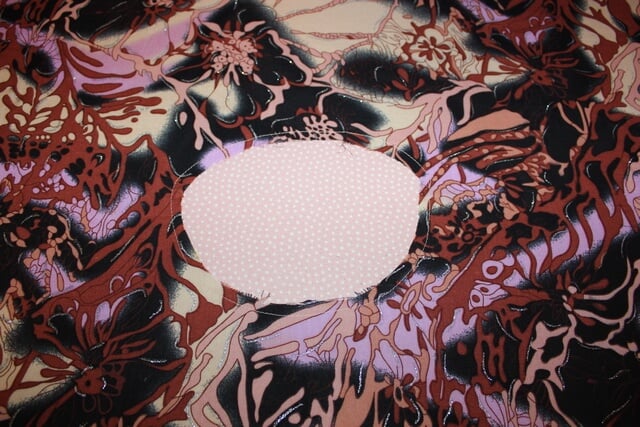
Step 2. Finish the neckline.
Sew together short edges of the bias strip, press it and fold the bias strip in half lengthwise while pressing.
Pin it to the neckline ( on the wrong side or on the right side of the dress – as you wish), stitch it to the neckline (3/8″ seam allowances), cut seam allowances close to stitching using pinking shears, turn the facing strip on the other side, baste, press and stitch.
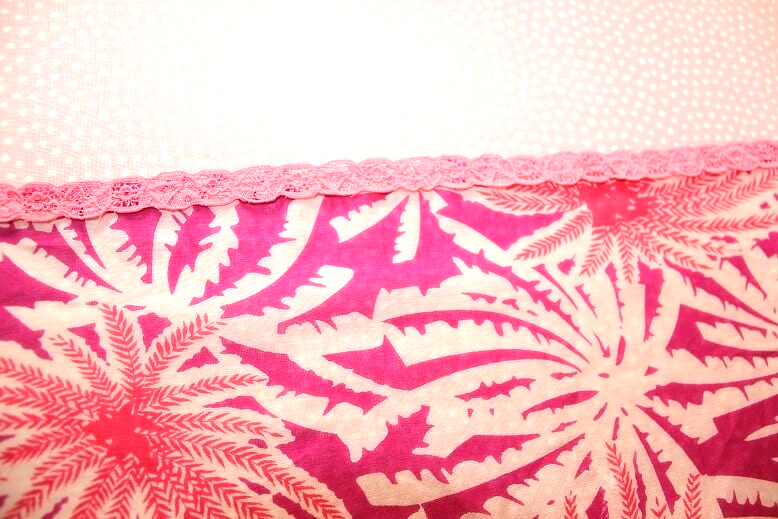
You can also use nice trims along the neckline for embellishment (or to cover stitches if you didn’t manage to sew them nicely).

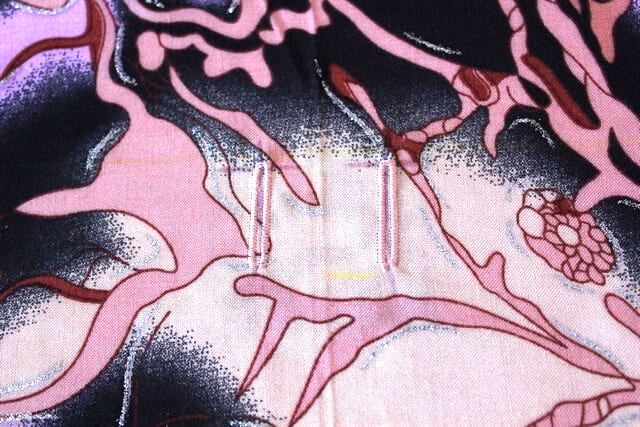
Step 3. Make 2 buttonholes for the belt.
For this reinforce the fabric first: cut a small rectangle 2.5″ x 4″ from the fabric, use pinking shears for cutting so the fabric doesn’t fray, fold it in half crosswise and baste over buttonholes markings on the wrong side of the fabric.
For basting, I am using a fabric glue stick.
Sew 2 buttonholes with a length of around 1 inch. Check my tutorial on making buttonholes with a sewing machine.
Step 4. Add embroidery to the dress.
You can add at this step any embellishment you desire, including embroidery. Entirely up to you.
Step 5. Sew casings for the belt on the front and back of the dress.
For this turn-in seam allowances of the casings on all 4 sides (long and short), press and stitch over only the short ends of casings.
Place casings on the wrong sides of the front and the back over placement marks, baste, and stitch along long edges.
The casing in the front of the dress has to cover buttonholes. Don’t stitch over short edges, they need to be open so you can insert the belt.
Step 6. Sew the front and back together
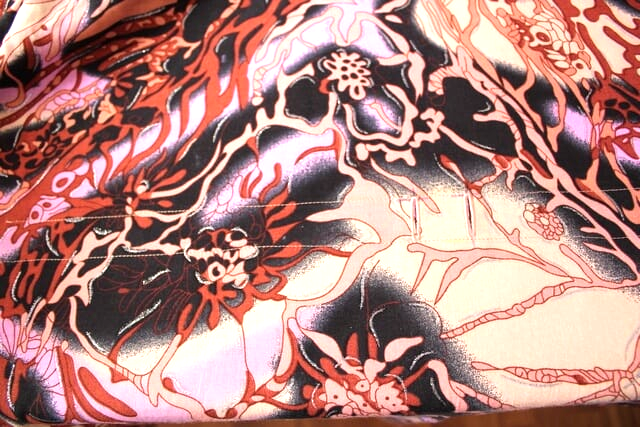
Fold the dress in half crosswise and sew the front and the back together at the sides along marked lines. You have to stitch lines L-K and J-M, N-I and G-O but don’t stitch between points K-J and I-G.

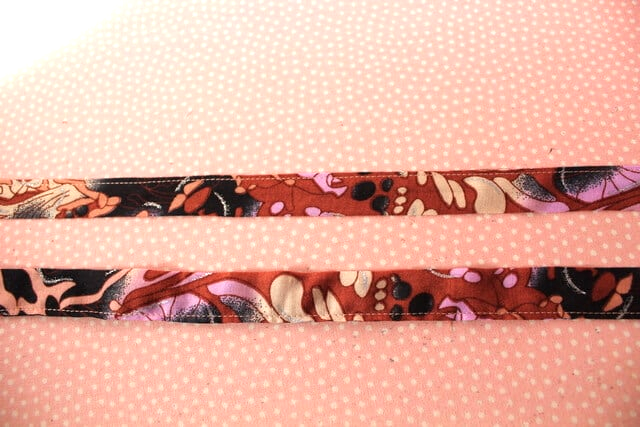
Step 7. Make the belt
Make the belt. It is 3/4″ wide after stitching. Insert it into casings through buttonholes in the front.
Press the belt after topstitching. You see the difference between the pressed and not pressed belt in the image below.
Step 8. Final try-on
Try the dress on and see if you are satisfied with the length – at this point, you can make it shorter. If you want you can cut a few inches at the sides also.
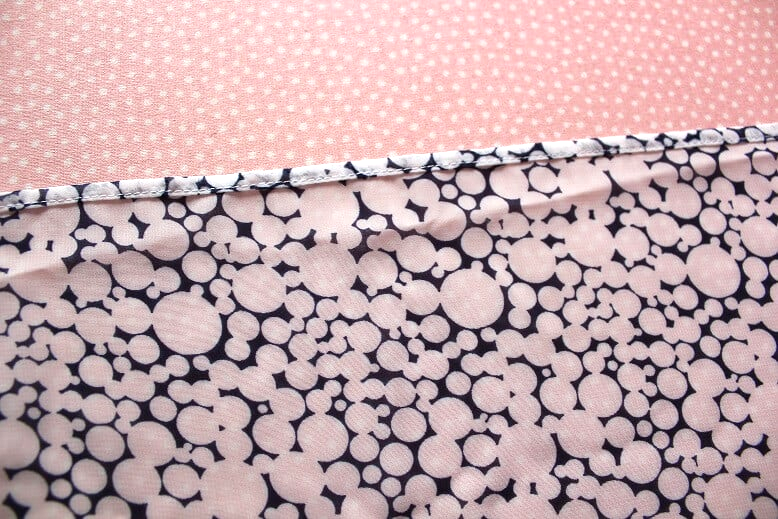
Step 9. Finish all raw edges of the dress
Finish all raw edges of the dress – for example, make a narrow hem or sew suitable trims. For a tutorial on how to make a narrow hem please refer to my article “Narrow hem tutorial“.
As you can see this beach dress/kaftan is very easy to make and it doesn’t require hours of your time. I advise you to make a few from different fabrics and with different embellishments. This is a kind of pattern you can make in so many different ways. Which dress did you like more – pink, white or black (with beige and pink)?
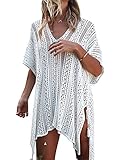
Well, I just showed you how to make the beach dress/cover-up, but if you don’t have time, you can always buy a cover-up, and here is one link; because sometimes we just want to buy not DIY, right? And besides, the models in the images certainly look excellent!
Here are more very nice links from Amazon:


Want to improve your sewing skills?
Get my detailed guide on SEWING MACHINE TENSION ADJUSTMENTS free!
Subscribe to my weekly newsletter with sewing tips and tutorials, free sewing patterns, printable PDFs, and other useful content and you’ll find the eBook in your inbox.
Subscriber exclusive offer.
Don’t miss the free HELPFUL eBook!
Did you find this tutorial helpful? If so, save this pin (see below) on your sewing board so you can come to this tutorial later when you are ready to sew the DIY beach dress and make a beach cover-up pattern follow me on Pinterest for more tips, tutorials, and inspiration!

Ready to take the next step in your sewing journey? Check out more step-by-step tutorials from my blog and don’t forget to share!
latest posts
- Butterfly Quilt Block Tutorial – Foundation Paper Piecing
- How To Sew Quilt Squares So The Corners Match
- Sewing With Fork Pins: How They Help With Pattern Matching, Slippery Fabric, And Seams
- How Much Fabric Do I Need? 21 Helpful Tips For Calculating Fabric Yardage
- Easy Simple Sewing Project: Fabric Jar Opener
- DIY Oven Mitts: Step-by-Step Sewing Tutorial
- Easy DIY Potholder: New Design
- Tailor’s Clapper: What It Does, Why It Works, And How To Use It Right
- Heat Resistant Batting for Sewing: What It Is, How It Works, and What Makes a Difference


