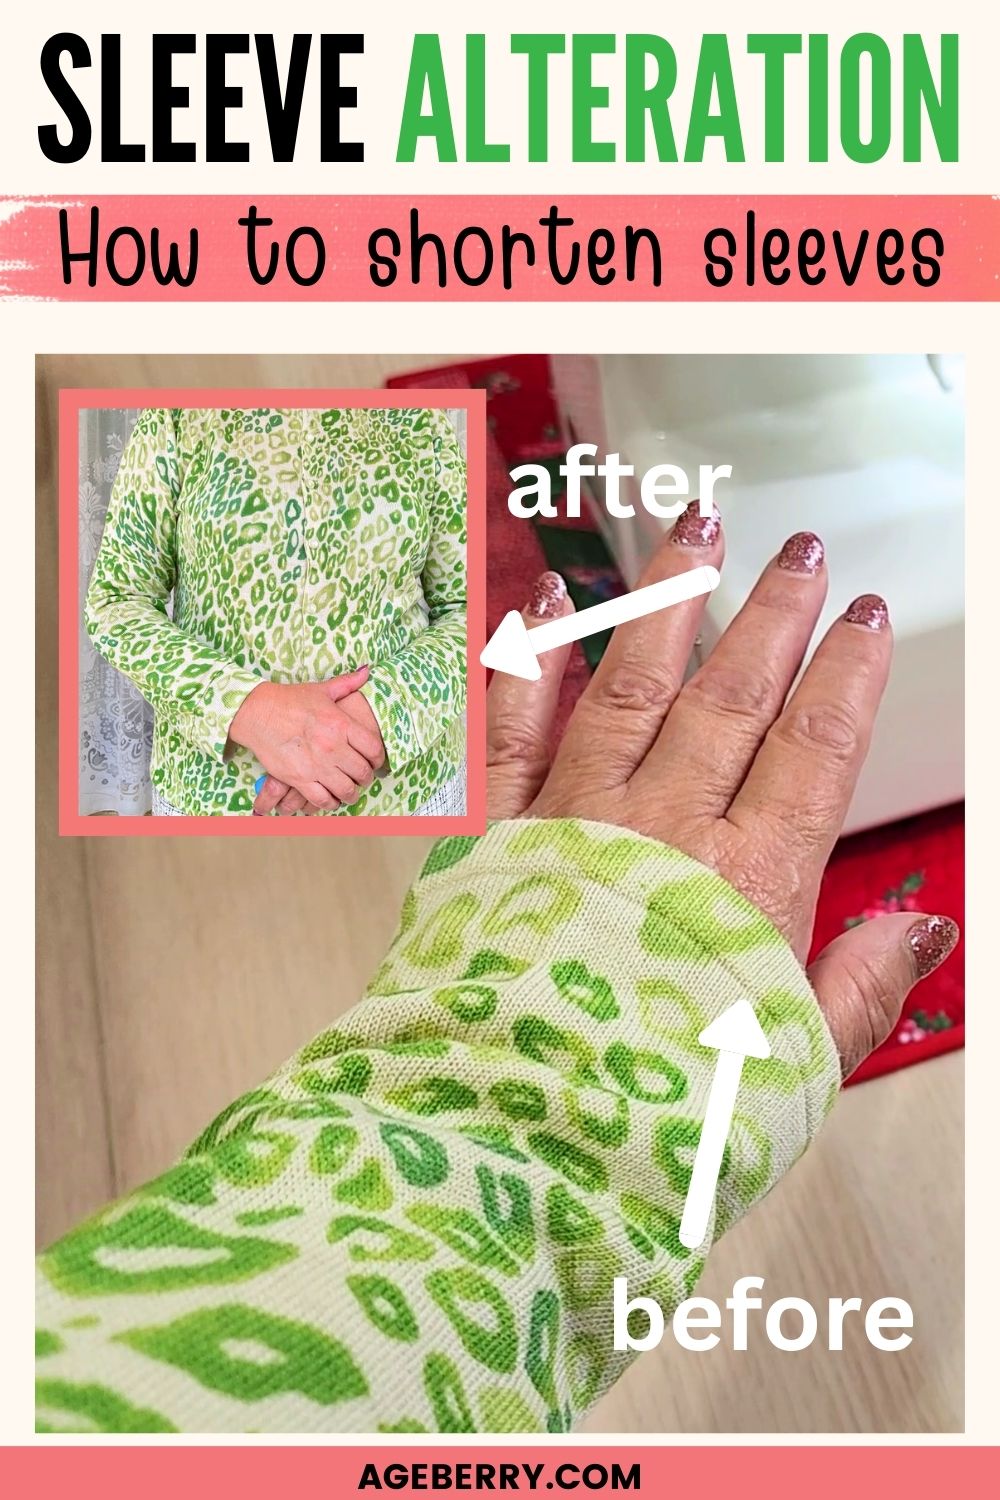
How to Shorten Sleeves on a Sweater and Keep the Original Finish
A sweater can be almost perfect and still end up hanging in the closet because of one small detail — sleeves that are just a little too long.
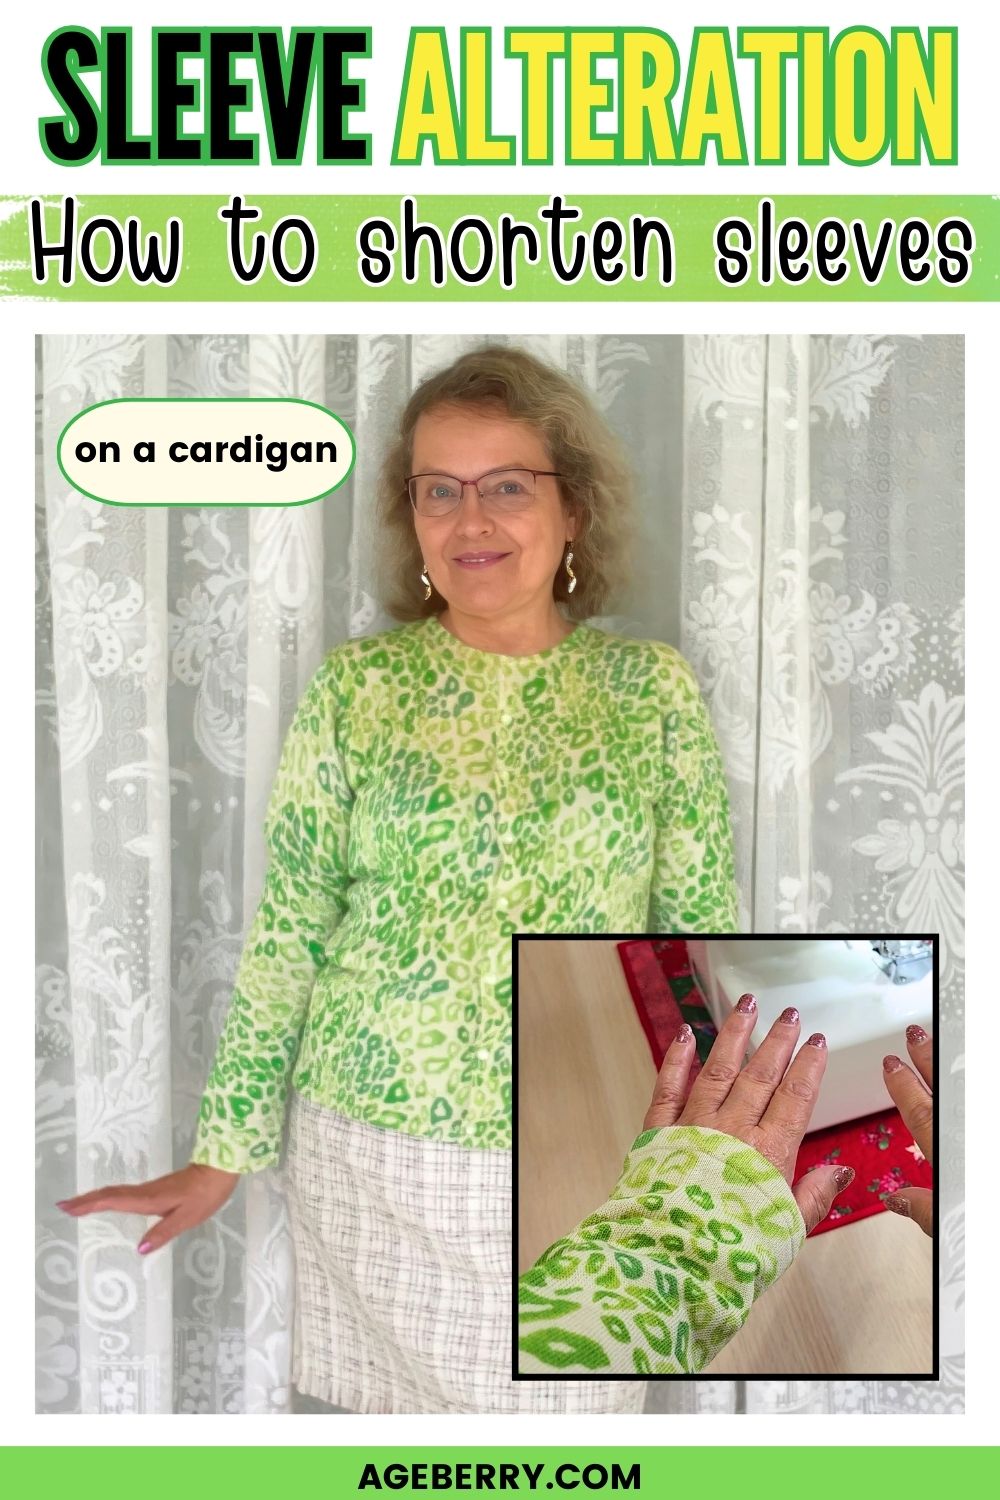
I’ve had this cardigan in my wardrobe for a while, and it’s one of those pieces I keep reaching for. It’s made from natural silk, which means it feels light on the body but still adds warmth when Florida winter decides to show up for a day or two. I love the color, I love how it drapes, and I love that it works with almost all the skirts and jeans I own.
There was just one problem. The sleeves were way too long.
When I bought it, I assumed the sleeves would shorten a bit after washing. Silk knits often relax and change with laundering, so I waited. Nothing happened. The sleeves stayed just as long as before, covering half my hands and throwing off the whole look.
At that point, shortening the sleeves became unavoidable. I wanted the sweater to fit the way it should, but I also wanted it to look untouched — not altered, not homemade, not obviously “fixed.” That’s when using the original sleeve finish became the only option that made sense.
This tutorial walks you through shortening knit sleeves the right way — without sacrificing the professional ready-to-wear look.
What You’ll Need
- Serger
- Matching thread
- Fabric scissors
- Regular sewing notions
Note: Some of the links on this page are affiliate links. This means I will receive a commission if you order a product through one of my links. I only recommend products I believe in and use myself.

✅ Related tutorial: How to shorten sleeves on a winter coat or a jacket with lining
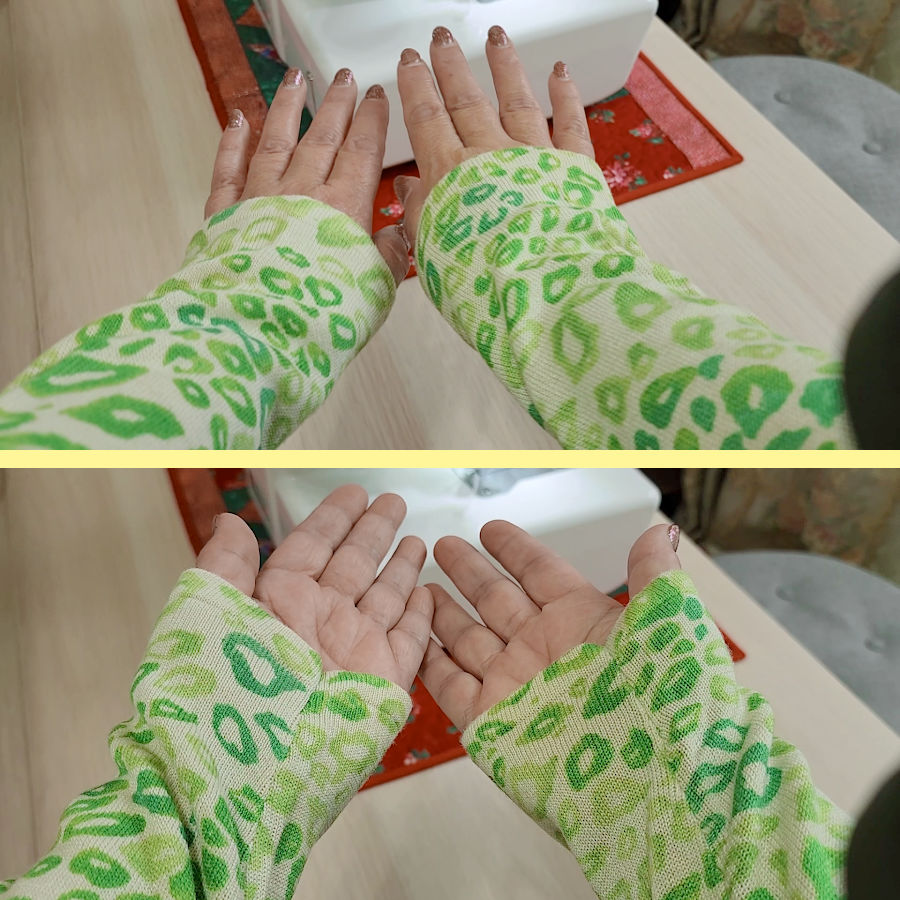
Step 1: Try On the Sweater and Decide the New Sleeve Length
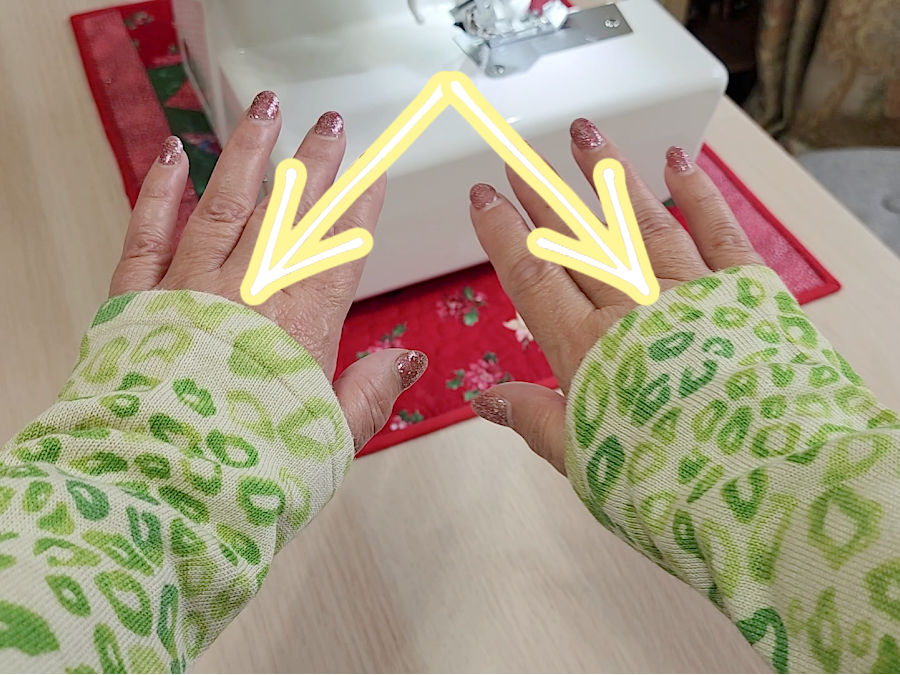
Put the sweater on and stand naturally, arms relaxed at your sides. This matters more than it sounds. If your elbows are bent, the sleeve length will look shorter than it really is.
For most cardigans, the best sleeve length ends right at the wrist bone or just slightly above it. That spot gives you freedom of movement without making the sleeves look cropped or unfinished. If the sleeve drops onto the hand, it looks sloppy. If it stops too high, the sleeve can make the cardigan look slightly ill-fitting, even if everything else fits well.
A good test is this: let your arms hang down, then raise them slightly forward. The sleeve should still clear your palm and not pull awkwardly up your arm.
Once you’re happy with the length, use a marking tool to place a few small marks around the sleeve at that point. Don’t draw one big line yet. Just mark a few spots while the cardigan is on your body. Do this for both sleeves, even if they look the same. Bodies are not perfectly symmetrical, and sleeves shift differently when worn.
After marking, take the sweater off and lay it flat. This is where those small marks become your guide for creating an even, accurate cut in the next step.
Step 2: Measure and Cut the Sleeve — in Two Parts
Lay the sweater flat on a table or cutting surface. Smooth the sleeve out gently so it lies flat without pulling or stretching the knit. Take a moment here. Knit fabric shifts easily, and accurate cutting starts with a relaxed sleeve.
Now comes the part that sounds complicated on paper but is very simple in practice.
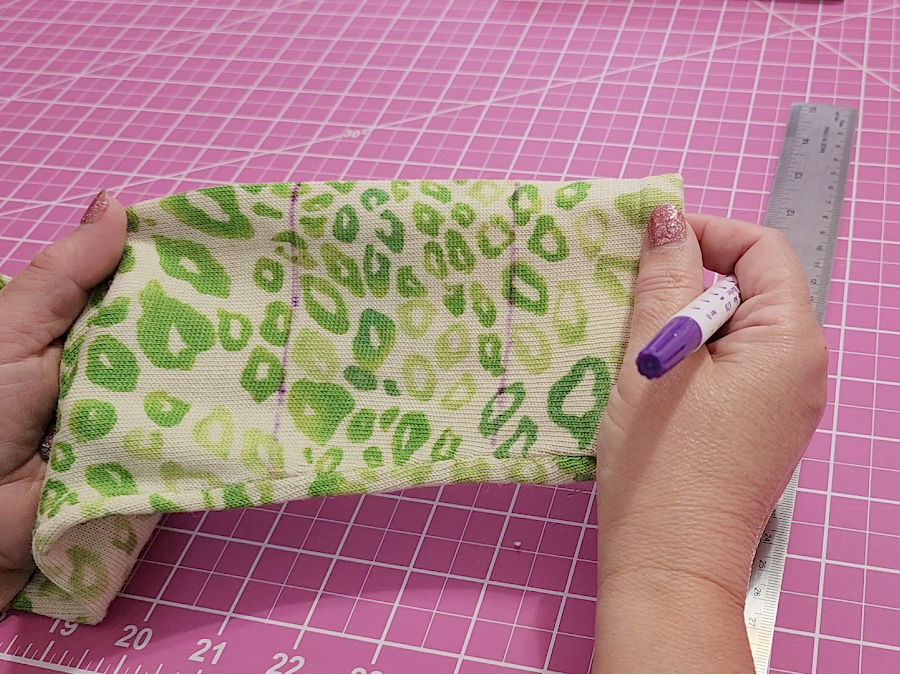
After measuring, I knew the sleeve needed to be shortened by 2¾ inches.
I also decided how wide I wanted the original sleeve band to be when reattached. In my case, the band would be 1½ inches finished, which meant cutting it at 1¾ inches to include seam allowance.
I measured this distance from the sleeve end and made a clear mark all the way around the sleeve to guide the cut.
✅ Related tutorial: Your Guide For Choosing The Best Quilt Marking Pens For Every Project
Because the band and the sleeve body will be sewn back together, both pieces need seam allowance. Taking that into account, the total amount that needed to be removed from the sleeve was 4¼ inches.
How did I arrive at this number: 2¾ inches needed to shorten the sleeve. I determined the width of the band that contains the original finish to be 1½ inches finished which means 1¾ inches including the seam allowance. That is the first cut. 1 1/2 of this will be reattached to the sleeve.
Second cut: 2¾ (need to shorten) – ¼ (seam allowance remains on the sleeve, but will be hidden). So the second cut line is at 2½ from the first, giving the total cut length 2½ + 1¾ = 4¼.
I measured this distance on the sleeve and marked it all the way around to create a clear guide for cutting.
At this point, you might be wondering if you’re following my thinking — or if all these numbers just made you quietly consider closing the tab. Sewing math can look intimidating when it’s written out like this, but I promise it’s much simpler at the cutting table than it appears on the screen.
But the truth is when seam allowance enters the room, you’re suddenly subtracting, adding, and double-checking like you’re filing taxes instead of shortening a sleeve.
────────── ✦ ──────────
So, instead of cutting all of that at once, I did it in two steps.
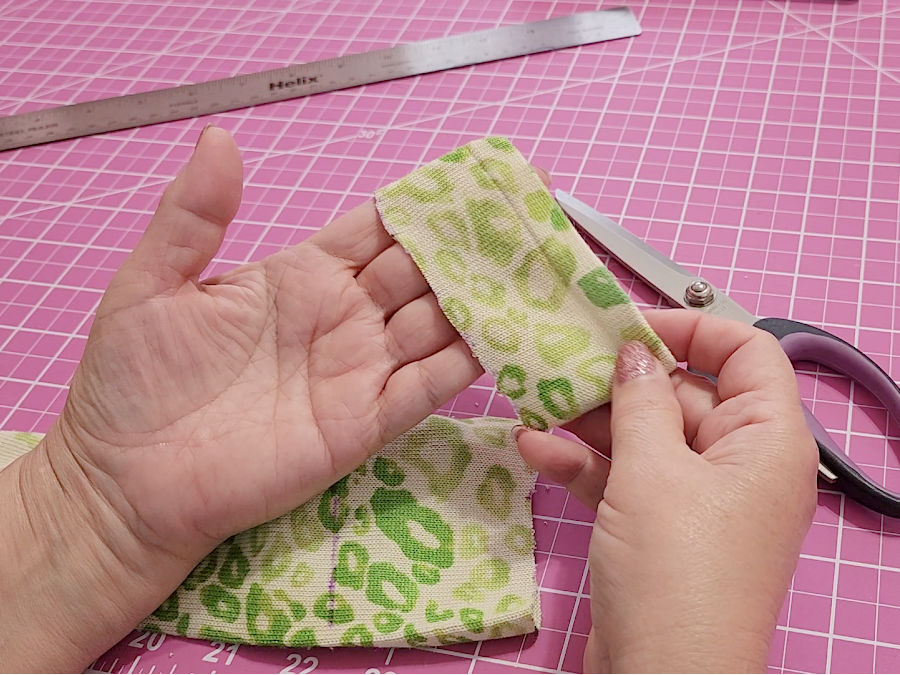
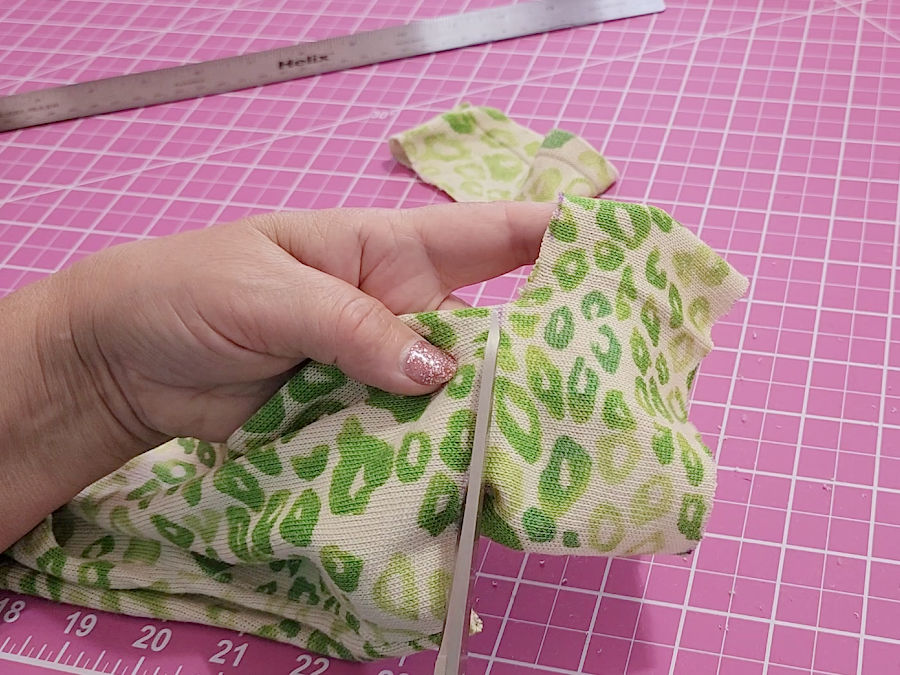
First cut: removing the band
I cut 1¾ inches from the sleeve end. I needed to keep this piece intact. This is the original factory finish, and it’s what will give the sleeve a professional look later.
Set the band aside.
Second cut: shortening the sleeve body
From the newly cut sleeve edge, I cut 2½ inches more. This removes the extra length while leaving ¼ inch seam allowance on the sleeve body so the band can be sewn back on properly.
When you’re finished, you’ll have:
- the sleeve body shortened to the correct length, with seam allowance in place
- the original band ready to be reattached
Repeat the same process for the second sleeve.
Step 3: Reattach the Original Sleeve Band
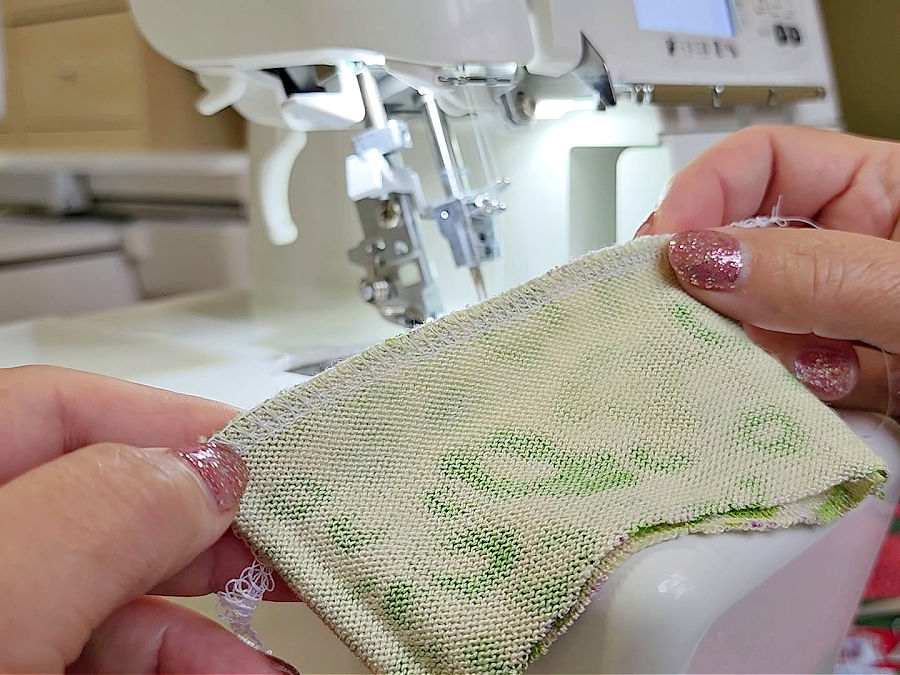
Take the sleeve band you cut off earlier and the shortened sleeve body. Place the band and the sleeve right sides together.
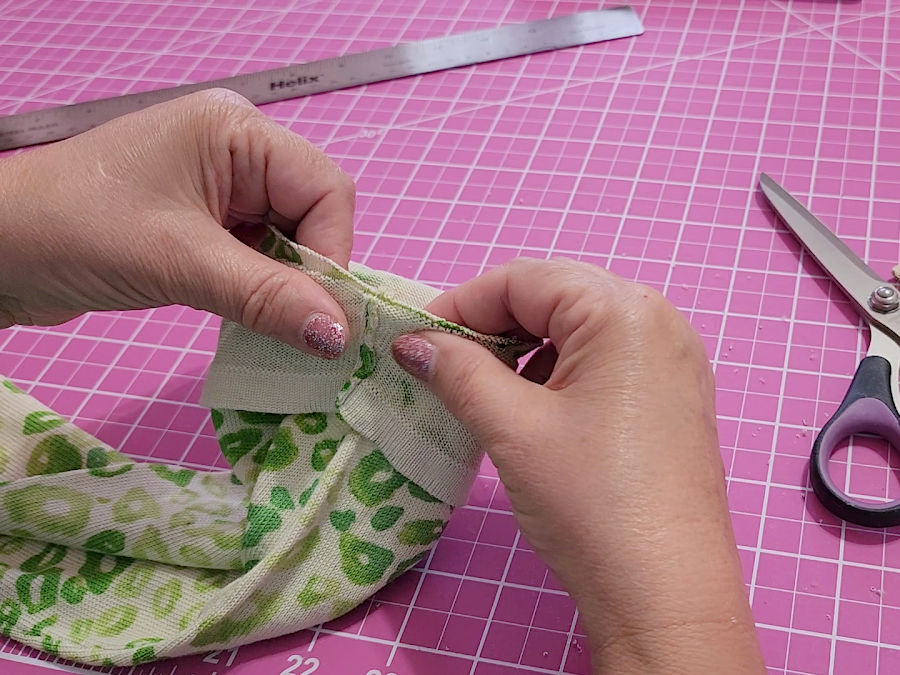
Align the raw edge of the band with the raw edge of the sleeve body. The edges should match evenly all the way around. If one piece looks slightly wider than the other, don’t panic. Knit fabric stretches easily. Gently ease the wider piece to match the narrower one rather than pulling hard.
Baste the band to the sleeve using a ½-inch seam allowance.
Basting stabilizes the knit layers and keeps the band from creeping while sewing. Sergers move fast, and knit fabric loves to shift at exactly the wrong moment. A basted seam stays predictable.
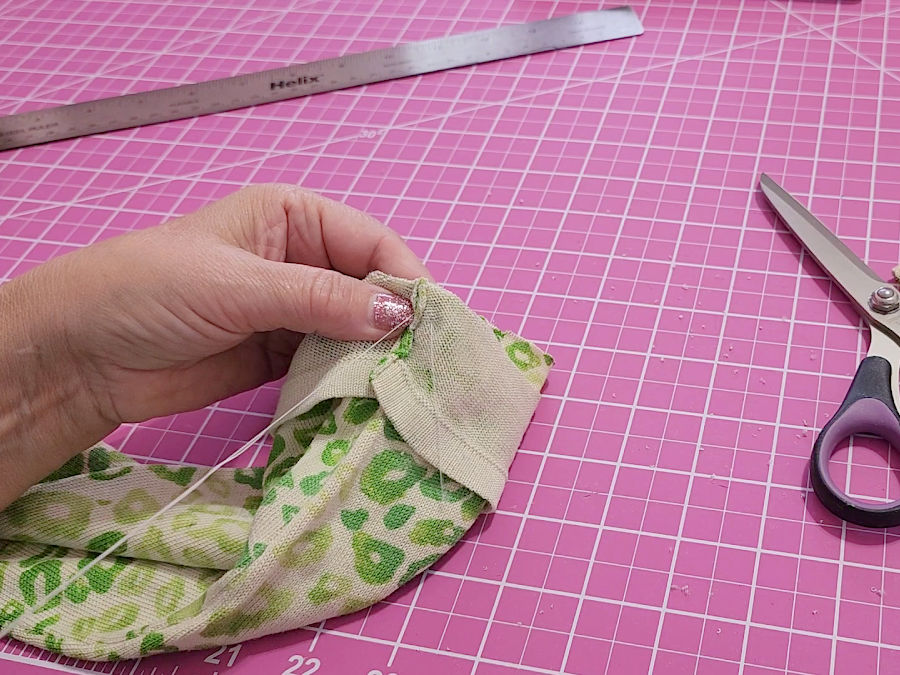
As you baste, keep the fabric flat and relaxed. Do not stretch the band or the sleeve. Let the fabric rest naturally under your hands. Stretching here can lead to ripples or a sleeve opening that flares instead of hugging the wrist.
✅ Related tutorial: Basting Stitch: Why, When And How To Baste In Sewing
When finished, check that:
- the band sits evenly all the way around
- the seam allowance is consistent
- nothing is twisted
Once both sleeves are basted, you’re ready for the final stitching — and the sleeves will already look like they belong together.
Step 4: Test Your Serger Settings
Before sewing the actual sleeve, take a moment to test your serger settings. This step saves time and prevents disappointment later. Knit fabric behaves differently depending on thickness, stretch, and fiber content.
Use the scrap of fabric cut from the sleeve earlier. This is important. Test fabric should match the garment as closely as possible, especially with knits.
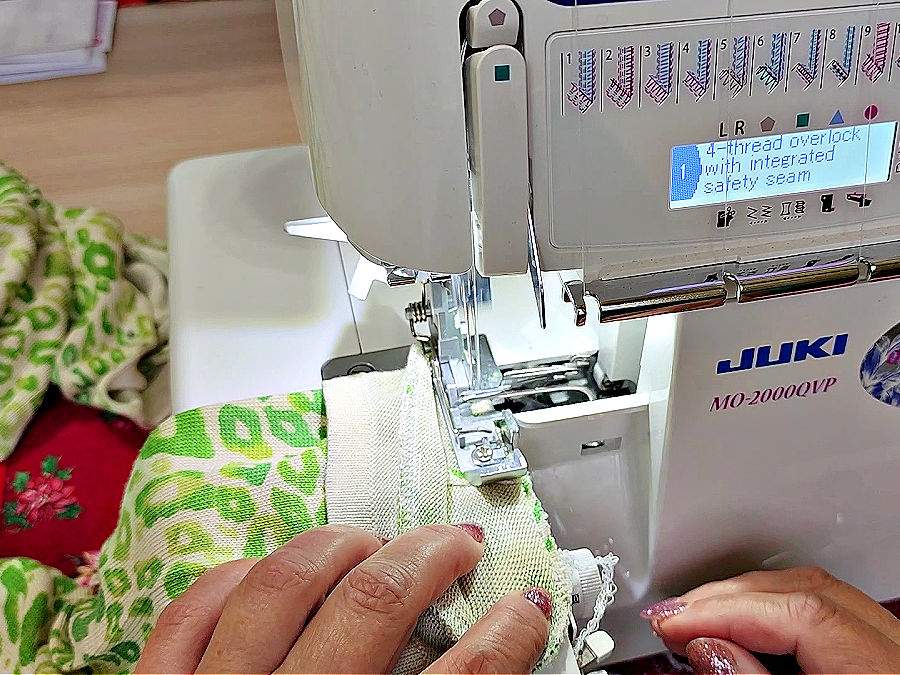
Set your serger for a 4-thread overlock stitch. This stitch gives strength, flexibility, and a clean finish all in one step, which works well for sleeve. On my serger the seam I used is called “4 thread overlock with integrated safety seam”.
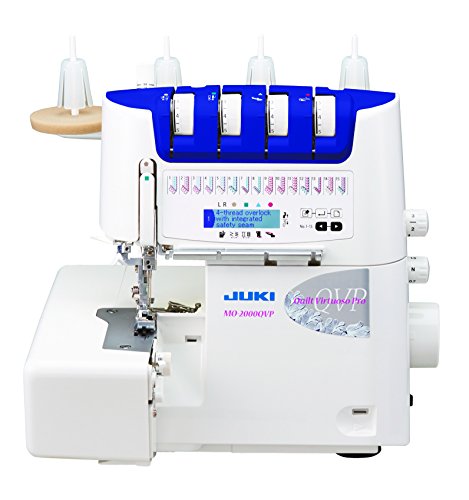
I like my Juki serger very much; I bought it a while ago and I am still very satisfied with it. One of the features that appealed to me at the time was the auto threading, but this is a solid machine all over. I wrote about it here: Review of JUKI serger MO-2000 QVP and I highly recommend it.
Sew a short test seam and take a close look at it. You’re checking for three things:
- Tension: The stitches should wrap neatly around the fabric edge. There should be no loose loops hanging off the edge and no puckering pulling the fabric inward.
- Balance: The threads should meet cleanly at the fabric edge, not pull to one side or dominate the seam.
- Stitch width and length: The seam should feel secure but still stretch comfortably when you gently pull the fabric.
If something looks off, adjust one setting at a time. Test again after each adjustment. Don’t rush this step — it usually takes less time than fixing a bad seam later.
Once the stitches look even, you’re ready to sew the sleeve. At that point, the serger will do exactly what you expect it to do.
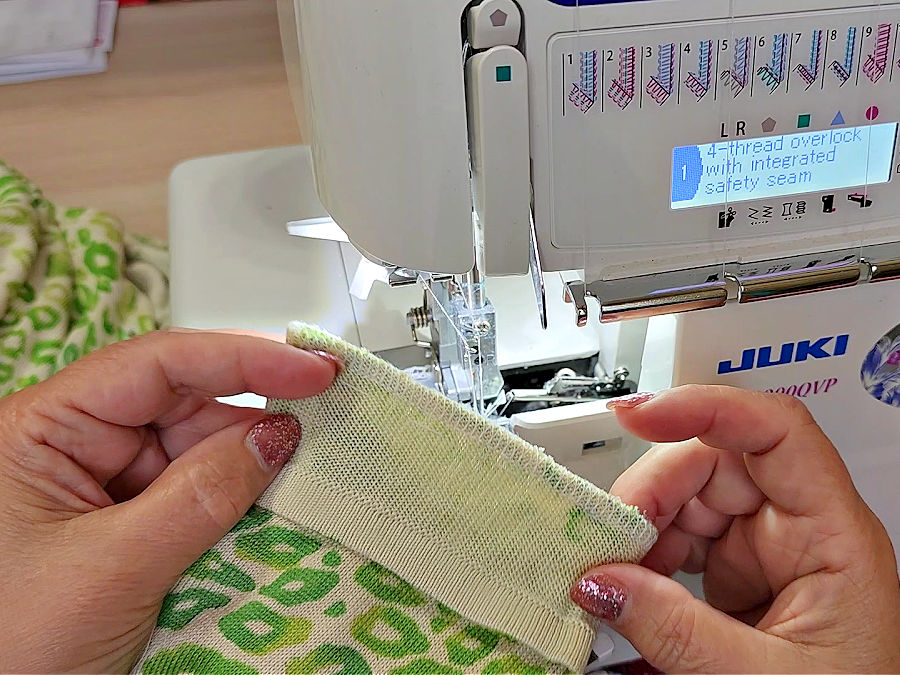
Step 5: Serge the Sleeve Hem Back On
Take the basted sleeve to the serger. Make sure the fabric can feed smoothly under the presser foot.
If your serger has a free arm, use it. Sliding the sleeve over the free arm makes it much easier to keep the fabric flat as you sew around the circle.
If you don’t have a free arm, that’s fine too. Just rotate the sleeve carefully as you sew and keep an eye on the edges.
Guide the fabric gently and focus on keeping the raw edges aligned with the serger knife. There’s no need to pull or stretch the knit. Stretching at this stage can create ripples or a wavy sleeve edge.
This seam takes about a minute to sew, but accuracy matters more than speed. When you reach the starting point, overlap the stitches slightly and chain off.
Once the seam is finished, remove the basting stitches. Then give the sleeve a gentle press with steam. Don’t let the steam relax the stitches and help the seam settle into place.
Repeat the same steps for the second sleeve.
At this point, the sleeves should look like they were made this way from the beginning.


A similar issue (keep the original hem) appears when shortening pants, but because the pants are usually a heavier material the process is a little more elaborate. If you would like to see how it is done, my article How to Hem Jeans with The Original Hem shows the process step by step.
Did you find this tutorial helpful? If so, save this pin (see below) on your sewing board so you can come to this tutorial later when you are ready, and follow me on Pinterest for more tips, tutorials, and inspiration!
latest posts
- What Do You Call a Person Who Sews? I Asked My Readers and Got 1,408 Opinions
- DIY Round Purse: PDF Sewing Pattern and Detailed Instructions
- Mini Wonder Clips By Clover: Useful Sewing Tool Or Just Another Notion?
- Non-Slip Grips For Quilting Rulers: A Small Notion With A Useful Job
- Fabric Eraser for Sewing: What It Removes and When to Use It
- What Is The Best Thread For Sewing Machine Projects? Let’s Find Out!
- Butterfly Quilt Block Tutorial – Foundation Paper Piecing
- How To Sew Quilt Squares So The Corners Match
- Sewing With Fork Pins: How They Help With Pattern Matching, Slippery Fabric, And Seams