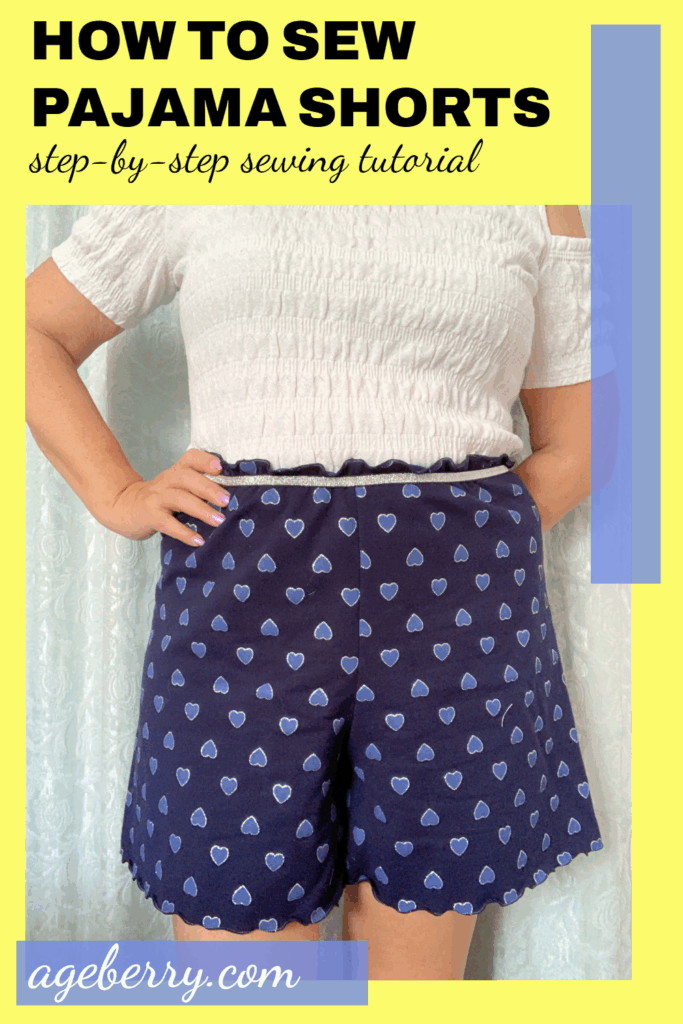
How To Sew PJ Shorts (Elastic Waist) — A Step-by-Step Sewing Tutorial
There’s nothing better than slipping into a pair of handmade pajama shorts that actually fit. No riding up, no elastic digging in, no guessing at sizes. You’ve already drafted your custom shorts pattern using your own measurements, so the hard math part is behind us. Now it’s time for the fun bit—cutting into fabric and sewing everything together.
This tutorial will guide you step by step through sewing your shorts, from preparing the fabric to hemming the legs. Each stage includes clear instructions, plus tips to avoid the common “oops” moments that can sneak in along the way. Think of it as a friendly sewing room chat, with practical details you’ll actually use.
Supplies
- Your paper pattern (¼” / 6mm seam allowances already included)
- Fabric (lightweight wovens (preferably a bit stretchy with elastane); or soft stable knits)
- 3/8″ (1cm) elastic for the waistband
- Thread to match
- Sewing machine; serger optional (I’ll note both)
- Iron + pressing tools
This tutorial uses the custom shorts pattern drafted in my previous post: How to Make a Pajama Shorts Pattern (XS–XXL) Using Your Own Measurements. If you haven’t made your pattern yet, head there first—it’s a simple, step-by-step guide that’s easy to follow and the pattern is tailored to your body.
Note: Some of the links on this page are affiliate links. This means I will receive a commission if you order a product through one of my links. I only recommend products I believe in and use myself.

Fabric Choices for Pajama Shorts
The fabric you choose makes all the difference in how your pajama shorts feel and wear. Here are some great options:
Stretch Woven Fabrics
Lightweight woven fabrics that include a touch of elastane are an excellent choice. The weave keeps the structure crisp, while the bit of stretch adds comfort and ease of movement. Cotton gauze is also good (even if it doesn’t have elastane) – it’s breathable, airy, and a bit stretchy so forgiving when you sit, bend, or lounge.
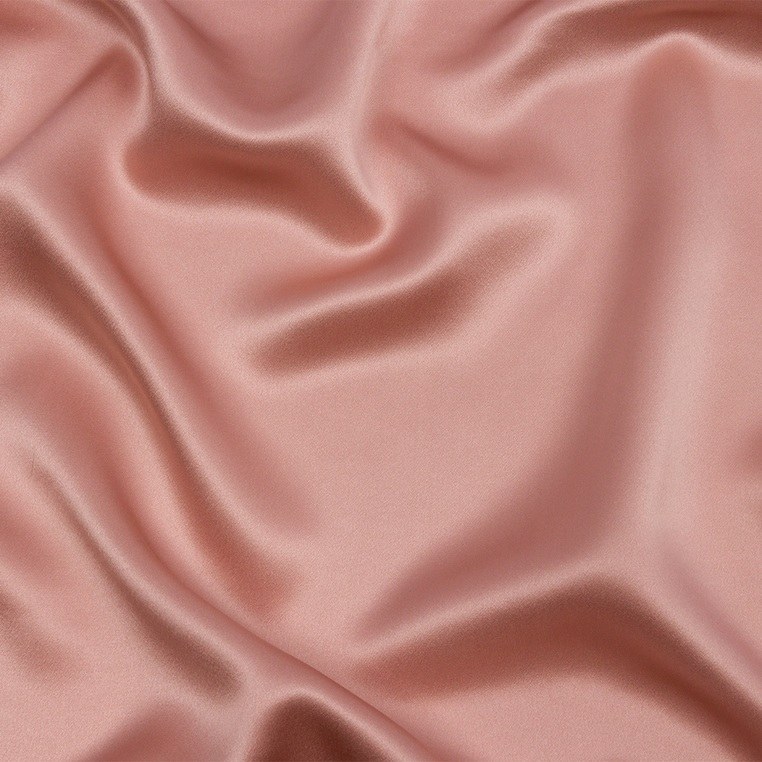
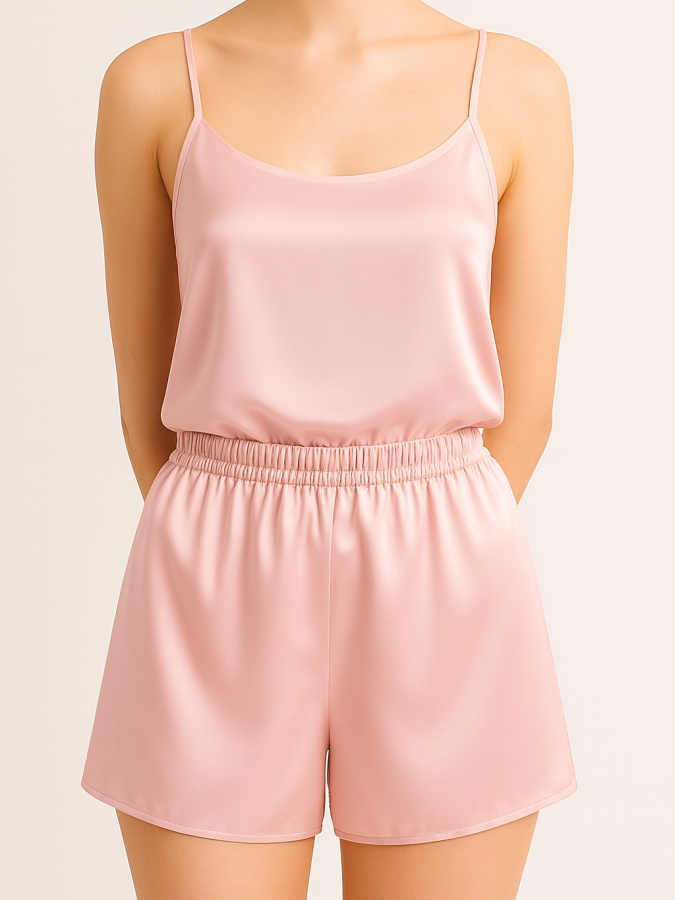
Stretch Silk Charmeuse
If you want your shorts to feel like luxury, silk charmeuse with stretch is hard to beat. It’s buttery soft, drapes beautifully, and feels amazing against the skin. The added elastane makes it even more comfortable for sleepwear because the fabric moves with you. Silk pajama shorts can be pricey in stores, but making your own allows you to enjoy that indulgence without the boutique price tag.
Cotton Knits
For something casual and practical, cotton knits work perfectly. They’re soft, breathable, and easy to sew. Cotton knits are also great for everyday wear and wash well, so they are a reliable choice for pajama shorts. But look for options that aren’t extremely stretchy.
With these fabric options, you can create anything from breezy everyday shorts to a luxe silk pair that feels like a treat every time you wear them.
✅ Related tutorial: How Fabrics Are Made – And Why It Matters
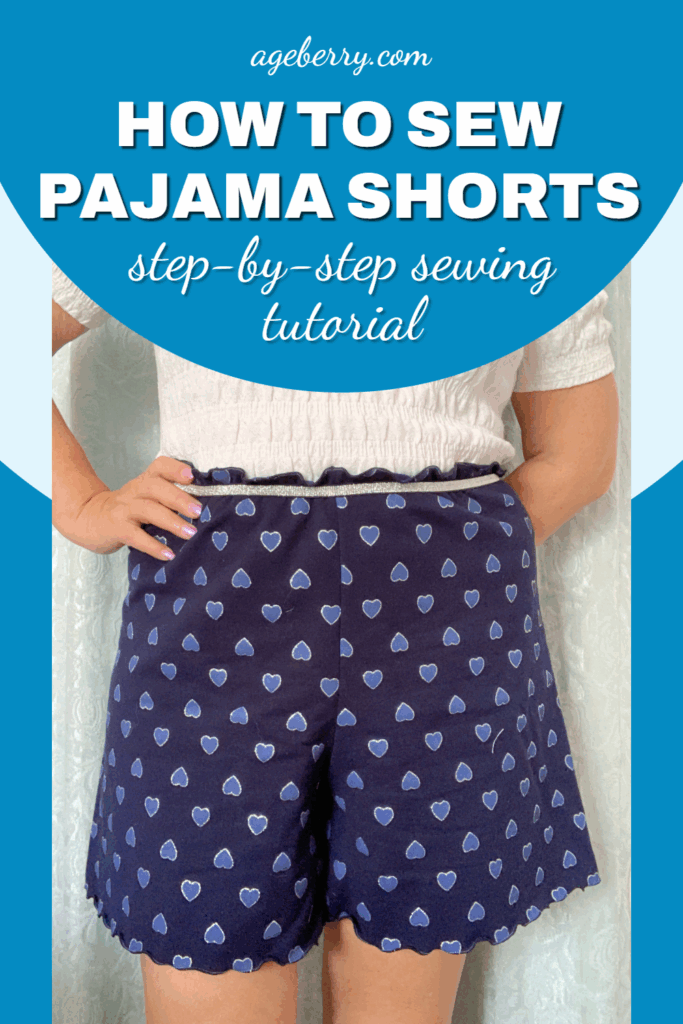
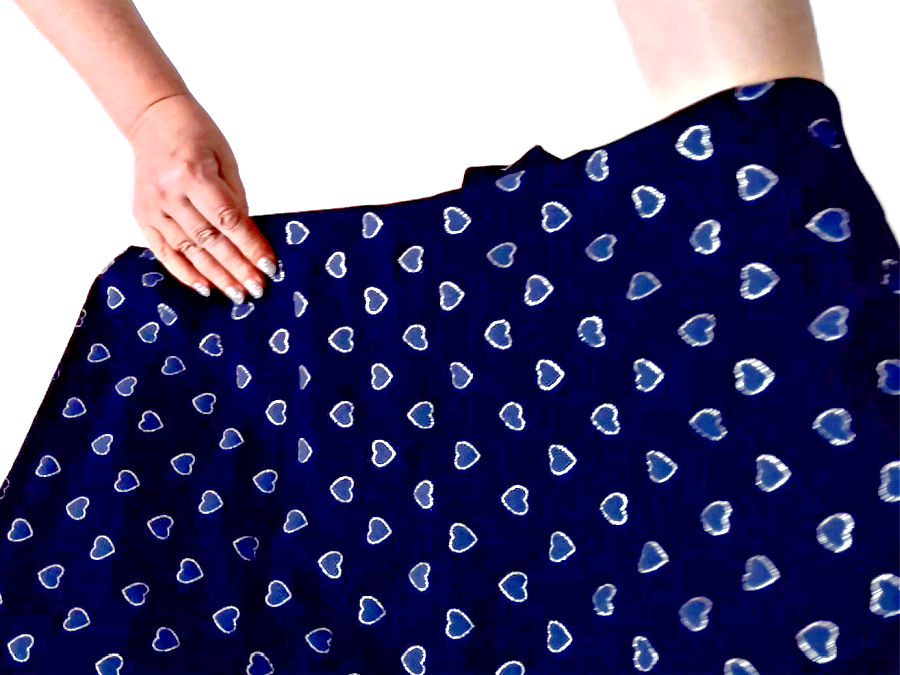
For this version of the shorts, I worked with a 100% cotton knit. It’s a novelty knit sprinkled with little hearts, each one accented with silver paint. The fabric has just enough stretch to make the shorts comfortable while the metallic detail adds a playful shine.
I do not remember where I bought the fabric, but I certainly am glad I have it!
✅ Related tutorial: Confessions of a Fabric Collector: Why I Keep Buying Fabric (and How I Stopped Feeling Guilty)
Prepare the Fabric
Before you even think about scissors or pins, prepare your fabric – it’ll pay off.
Prewash
Fabrics shrink, sometimes dramatically, the first time they’re washed. Prewashing lets the fabric misbehave before you spend time cutting and sewing.
Imagine making the perfect pair of shorts, only to find they’ve magically become doll-sized after their first trip through the laundry. Prewash now, and you’ll save yourself that heartbreak later.
- Wovens (cotton, linen, silk): Wash and dry them exactly the way you plan to care for your finished shorts. If you’ll tumble dry, tumble dry now.
- Delicate trims or specialty fabrics: Stick with air-drying to keep them looking their best.
- Knits: Prewash them too, especially if they contain cotton or rayon. These tend to shrink more than polyester blends.
✅ Related tutorial: Prewashing Fabric: Is It A Good Idea?
Press
After the wash, give the fabric a good press. Heat and steam relax the fibers and smooth wrinkles, which makes your cutting more accurate. A wrinkled fold can throw off your grainline by half an inch, and that can show in the final fit.
✅ Related tutorial: Pressing Matters: 15 Common Ironing Mistakes to Avoid
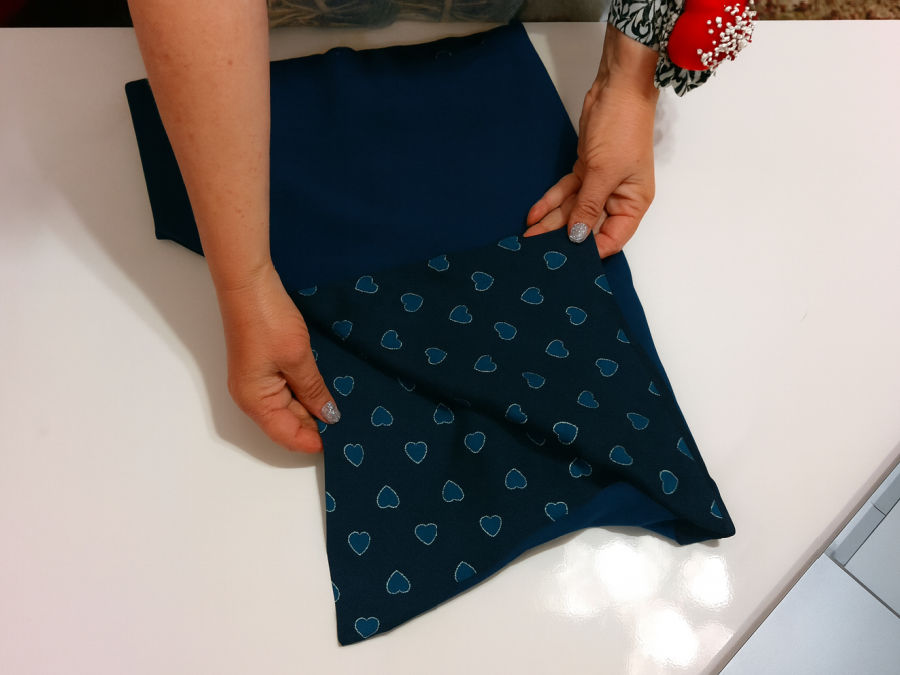
Square up the Fabric
Store cuts are rarely straight. One side may drift off-grain by an inch or more, and if you cut your shorts from that, the legs can twist after the first wash. To avoid this, square up your fabric:
- Lay your fabric flat.
- Align the selvedges (the factory edges) neatly together.
- Look at the cut edge—does it run straight across, or does it slope?
- If it’s uneven, trim along the cross-grain until the edge is straight.
Now your fabric is “true” and ready to behave.
But there are other methods to square up the fabric. For example, to square up my fabric, I used the print itself as a guide. The rows of hearts run perfectly perpendicular to the selvages, so I aligned my cut along one of those rows. It’s a simple trick that makes sure the fabric is straight before placing the pattern.
✅ Related tutorial: How to square up fabric
💡 Want the complete guide in one place?
I know scrolling back and forth through a long tutorial can be a bit tricky while you’re working at your sewing table. That’s why I created a printable PDF version of this tutorial: How to Sew Pajama Shorts and Make an Easy DIY Pattern.
It includes everything step-by-step, with clear instructions and images, so you can keep it right next to your fabric while you cut and sew. No ads, no distractions—just the whole process in a neat package you can save or print.
You can grab your copy below and have the instructions handy anytime you feel like making a new pair of pajama shorts.
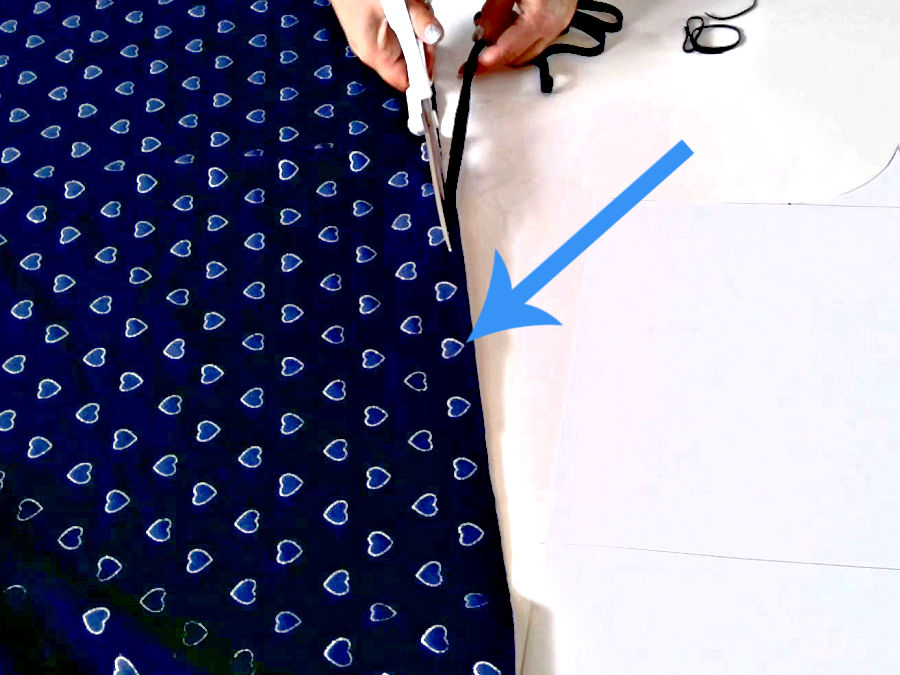
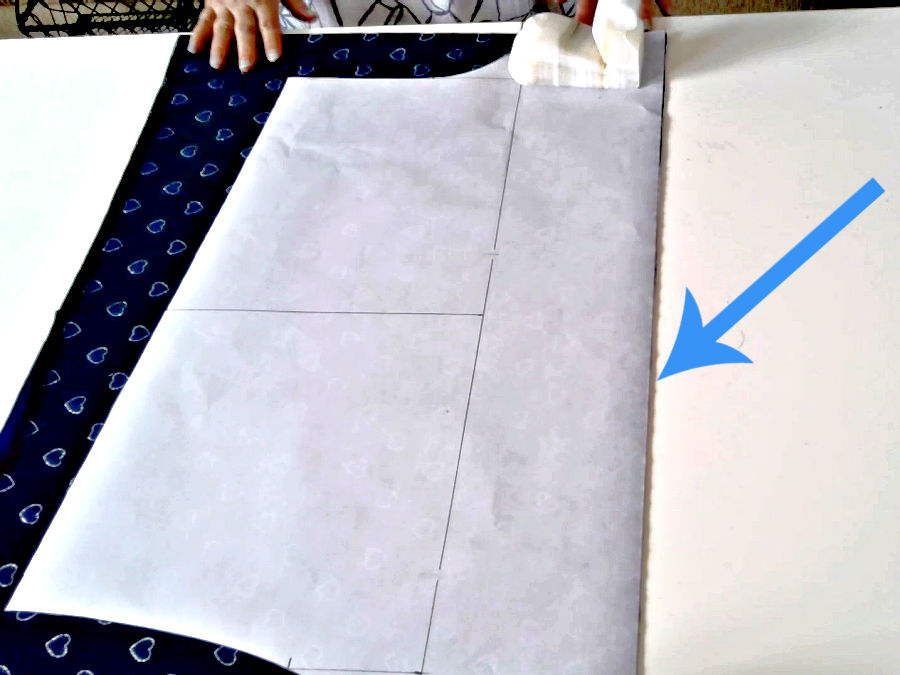
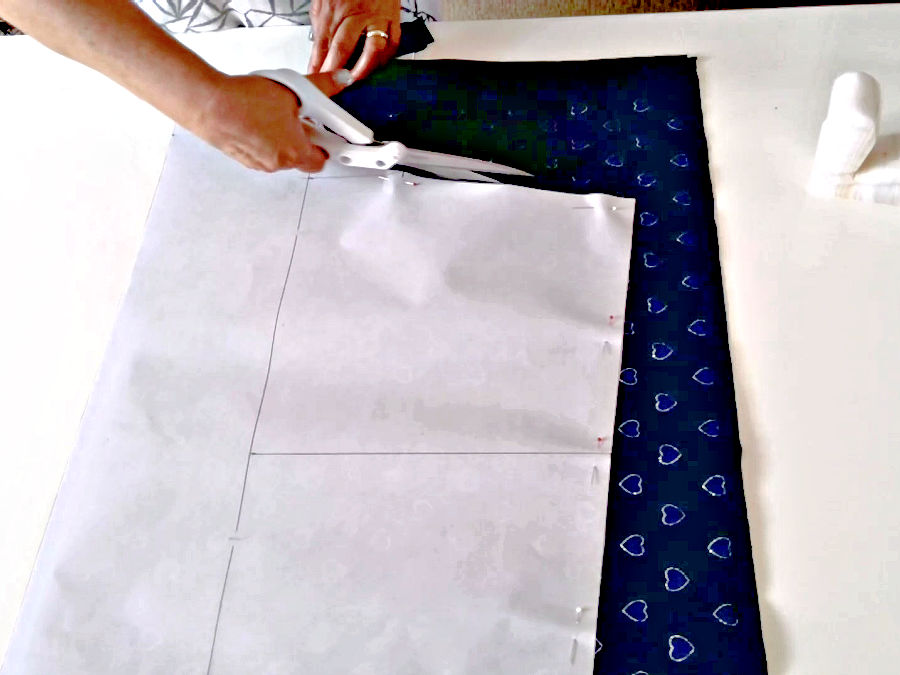
Cut the Pieces
These shorts are extremely simple – they have no side seam. We will cut just two pieces for this. If your fabric is wide enough, cut on the fold for speed. If not, cut single layers as mirror images.
As you’ve probably noticed, I recommend using fabrics with some stretch for these shorts. It doesn’t matter whether it’s a woven with elastane or a knit—both will give you comfort and ease of movement. But stretchy fabrics behave differently under the needle.
To help with that, I’ve written a full guide packed with practical advice: 25 Expert Sewing Tips for Working with Stretch Fabric. It’s worth a read before you start, especially if you’re new to sewing with stretch.
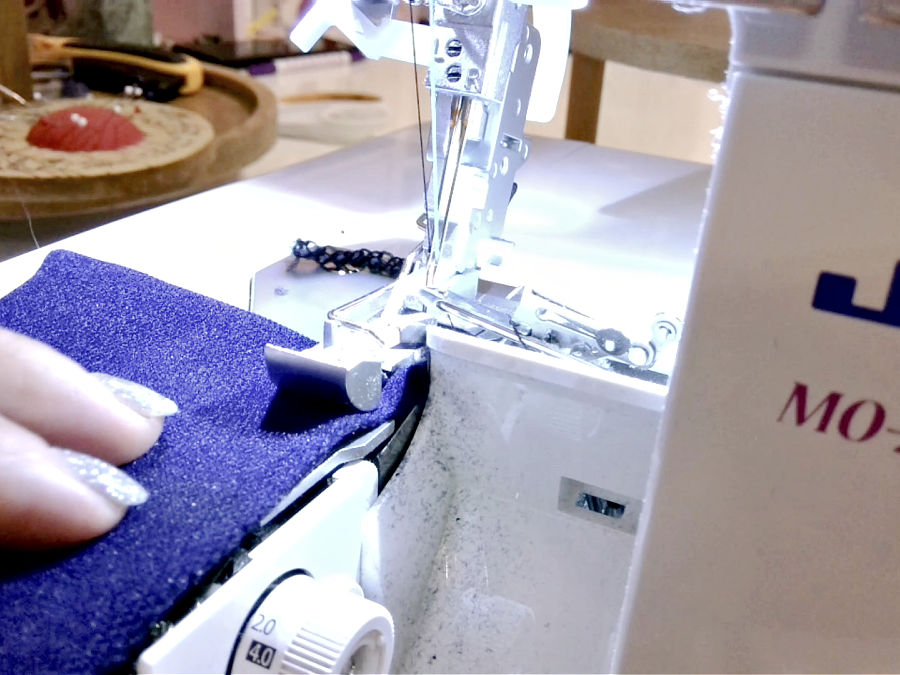
Construction Overview (Serger (better) or Sewing Machine)
You can sew the whole project on a regular sewing machine. But I prefer to use a serger. It gives a tidy inside finish, but it isn’t mandatory. If you serge: set a 4-thread overlock stitch, test on scraps, and press as you go.
✅ Related tutorial: Serger vs. sewing machine
1) Sew Inner Leg Seams
Place each leg right sides together. Stitch the short inseam on both legs. Press seams toward the back.
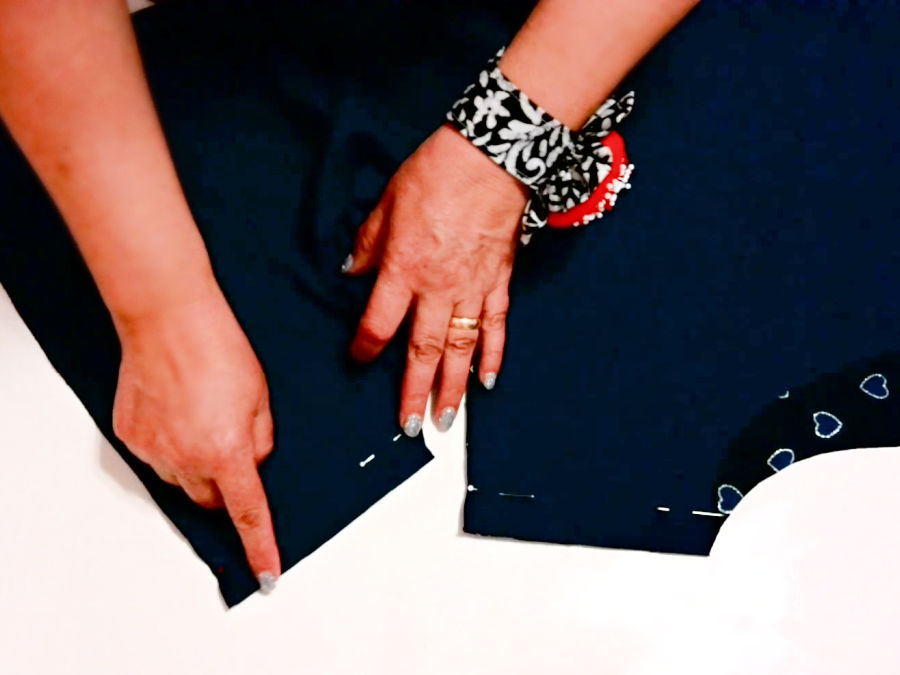
2) Join the Crotch as One Continuous Seam
Turn one leg right side out. Slip it inside the other leg, right sides together. Align inseam. Sew the center front and center back in one pass for a smooth curve. Press.
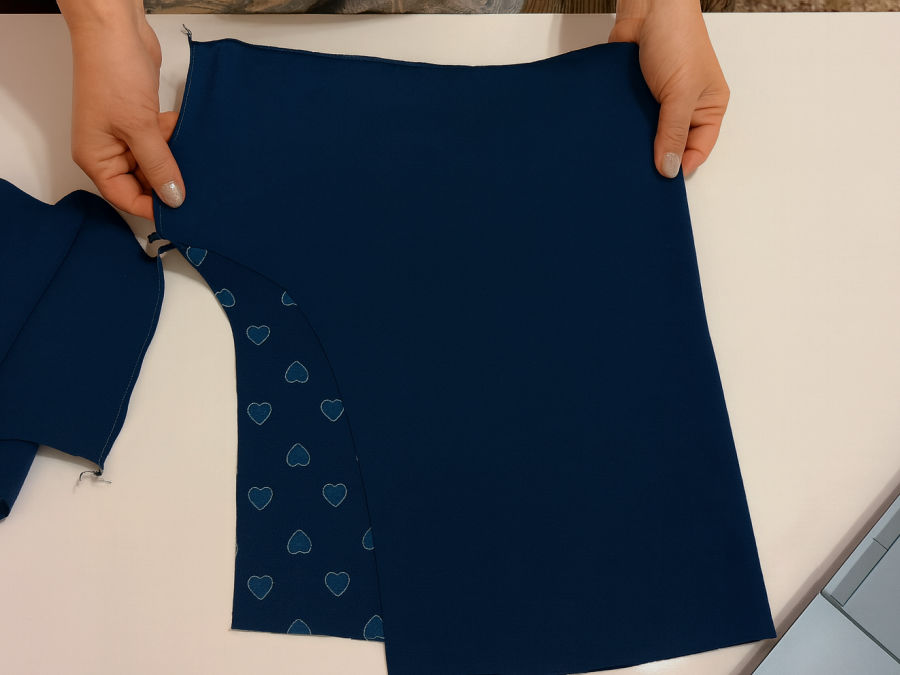
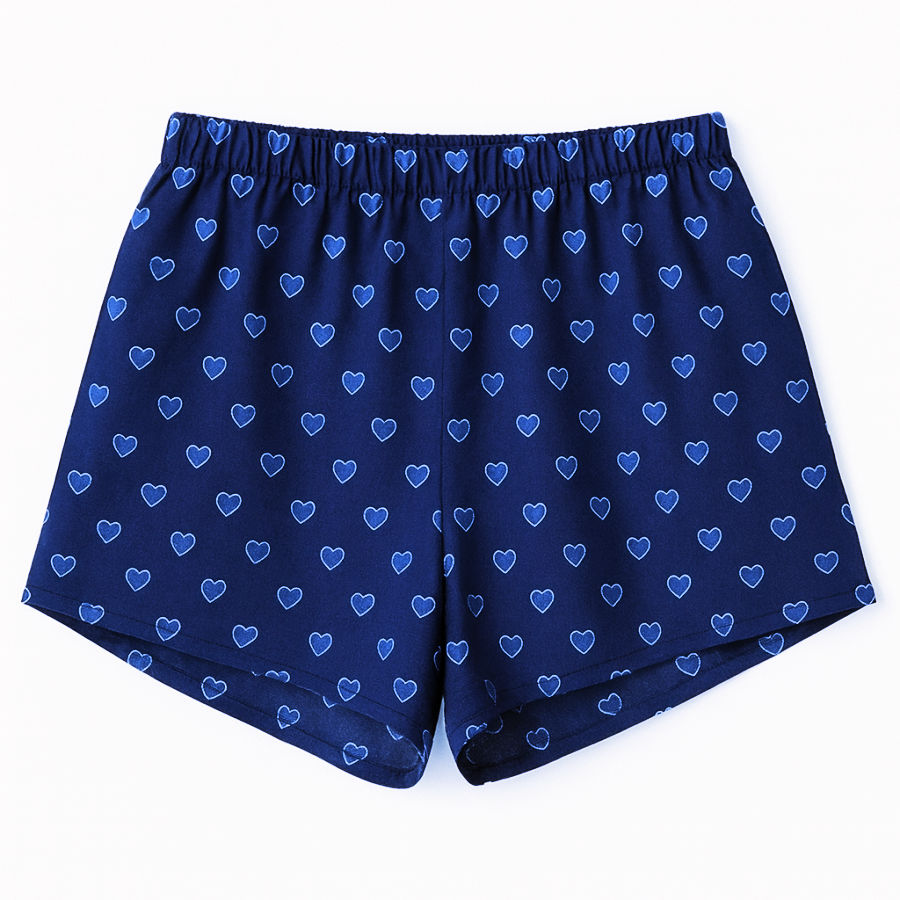
At this point, the shorts are basically done—it’s just time to polish them with hems and an elastic waistband.

Finishing the Hem and Waistband
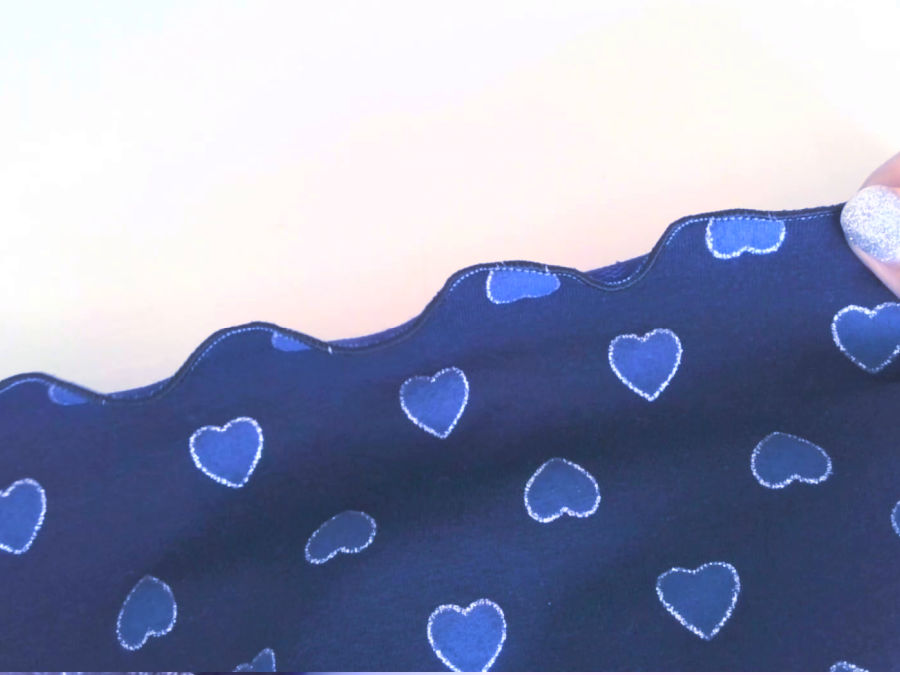
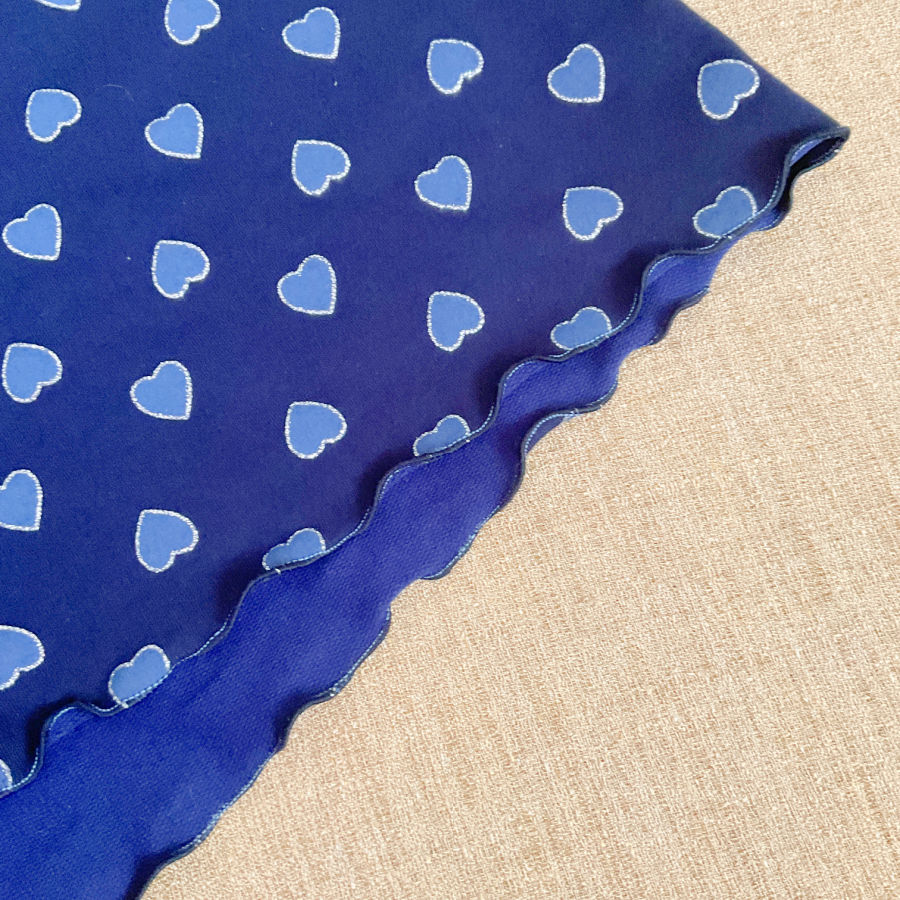
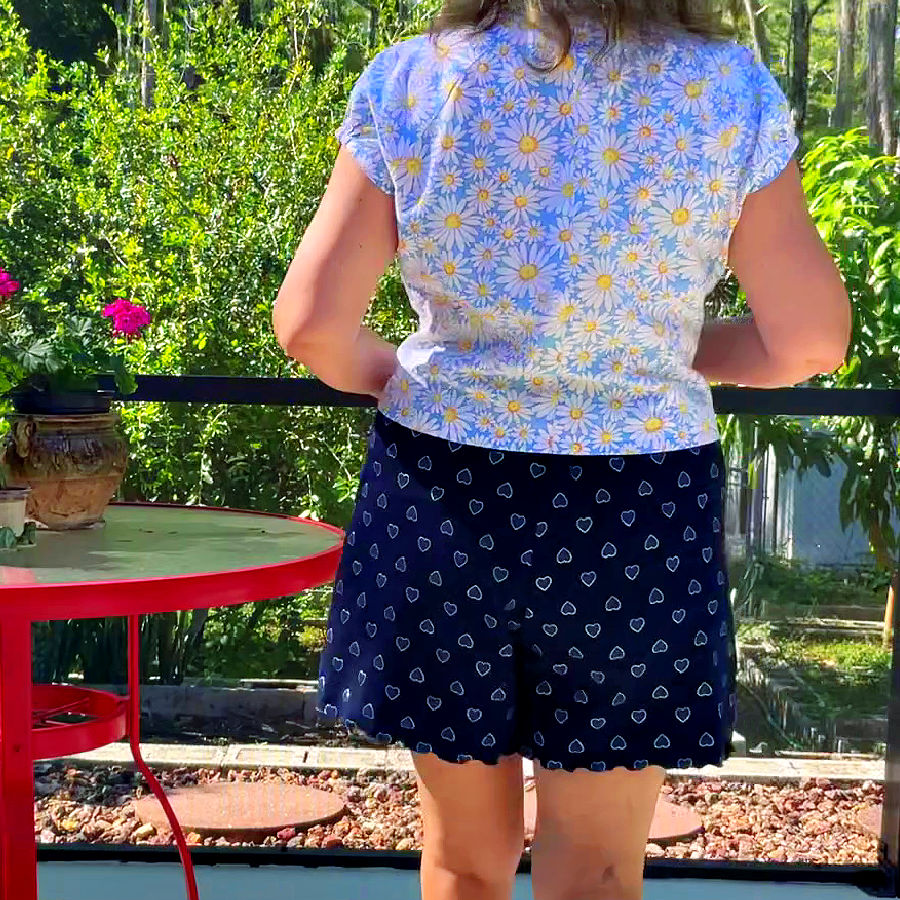
There are plenty of ways you can finish the edges of your shorts. The hem could be folded and stitched for a classic look, bound with bias tape, or even dressed up with lace or another trim. For this pair, I chose a lettuce hem—it gives a soft, wavy finish that pairs well with the playful fabric.
✅ Related tutorial: How to sew a lettuce hem – 10 best sewing tutorials on the lettuce hem
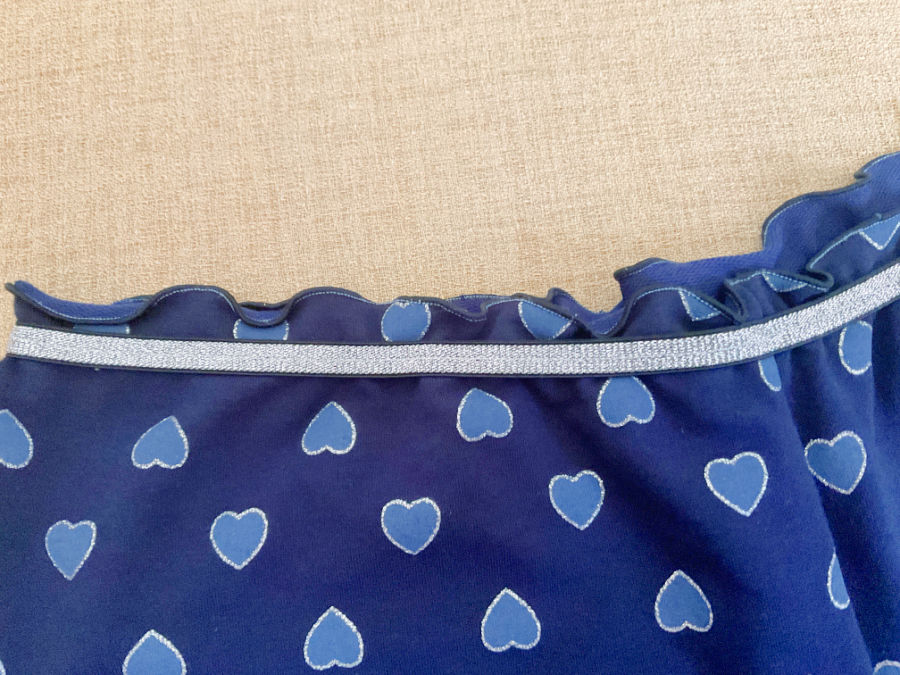
The waistband also offers options. You could make a casing and thread elastic through it, or attach a decorative elastic directly. If you decide to make a casing, the following tutorial might be helpful: How to Sew Elastic into Waistbands: A Casing Method by Serger.
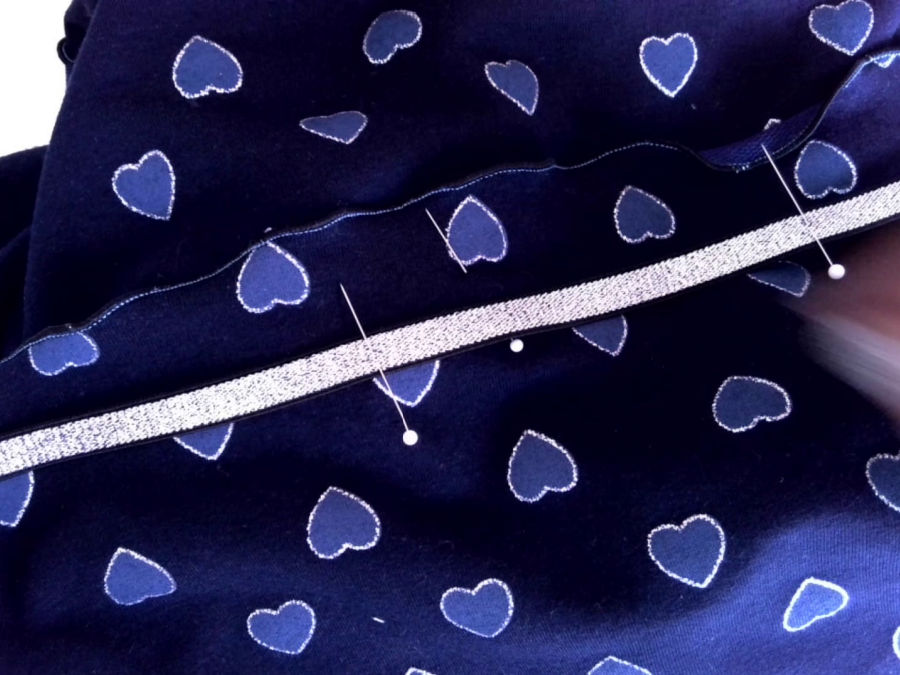
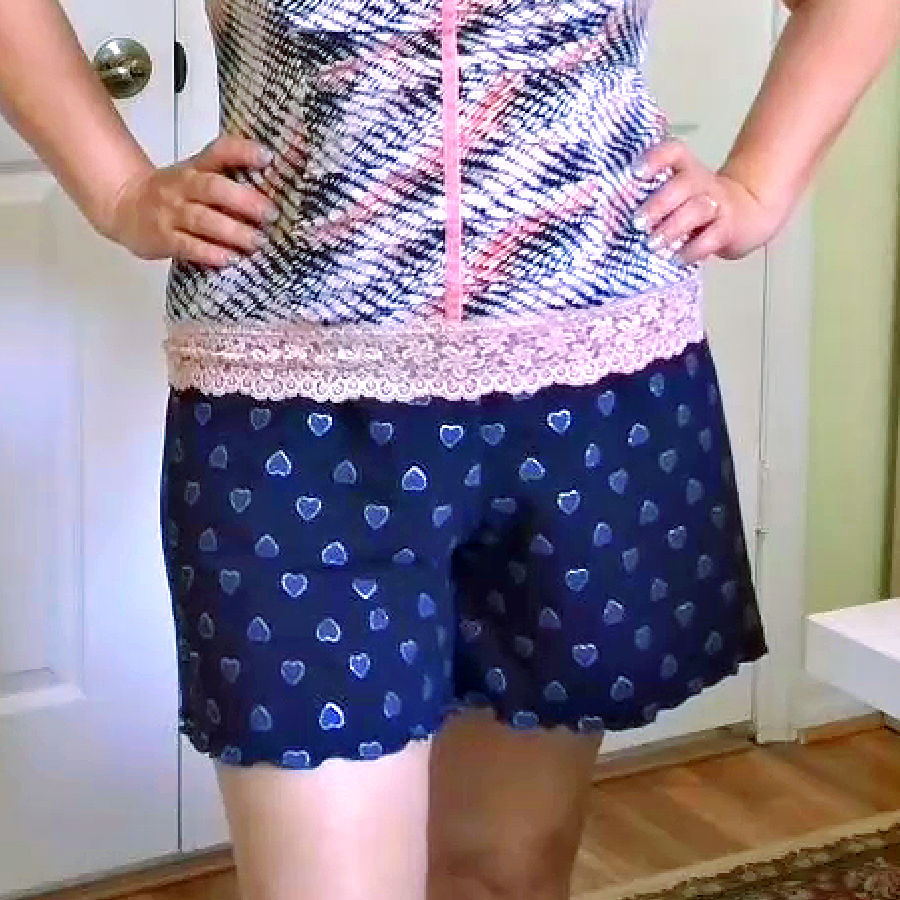
I decided to directly attach decorative elastic to my shorts. In my version, I used the same lettuce edge at the top, then layered a narrow silver elastic over it, positioning it about ¾ inch down from the waist edge. It adds both comfort and a little sparkle.
So let me walk you through exactly how I put it together.
Finish with a Lettuce Hem
For these shorts, I used a rolled hem setting on my serger and differential feed. Test the stitch on a scrap first to dial in the correct tension.To get that playful lettuce edge, gently stretch the fabric as you sew the rolled hem. When the fabric relaxes, it will spring back into shape, leaving a pretty, wavy finish.
✅ Related tutorial: Ever Tried This on Your Serger? This Differential Feed Feature Will Amaze You
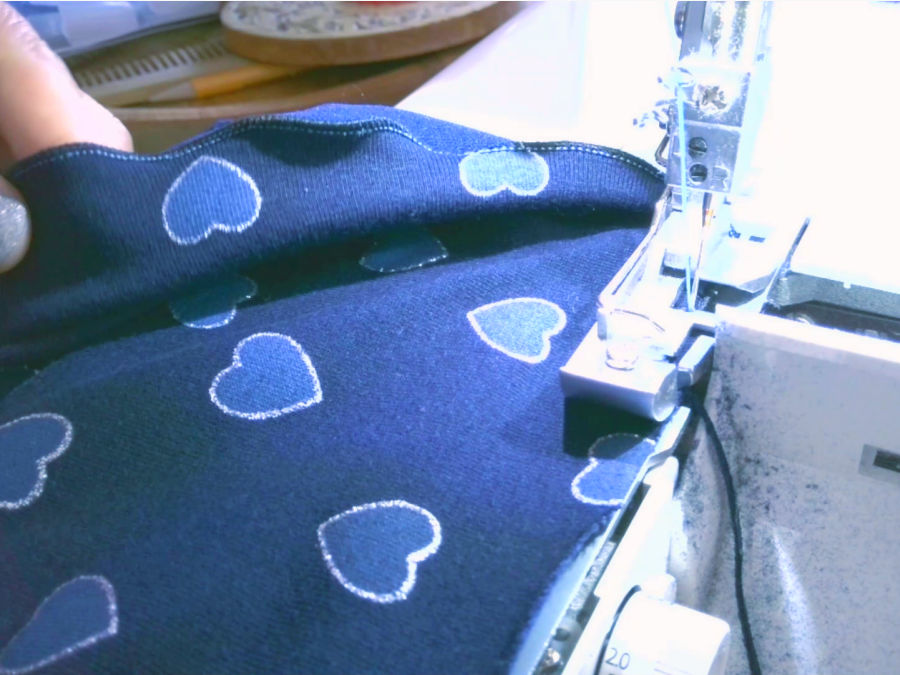
Hem both leg openings this way, then repeat along the top edge of the shorts to finish the waistband.
Add the Elastic
I used a piece of ½-inch wide elastic for the waistband. I picked a silver one to match the little hearts in my fabric.
- Wrap the elastic around your waist and cut it to size. The elastic has to be a little bit stretched; how much? It depends on how tight you want the shorts around your waist, on your waist size and on the elastic itself.
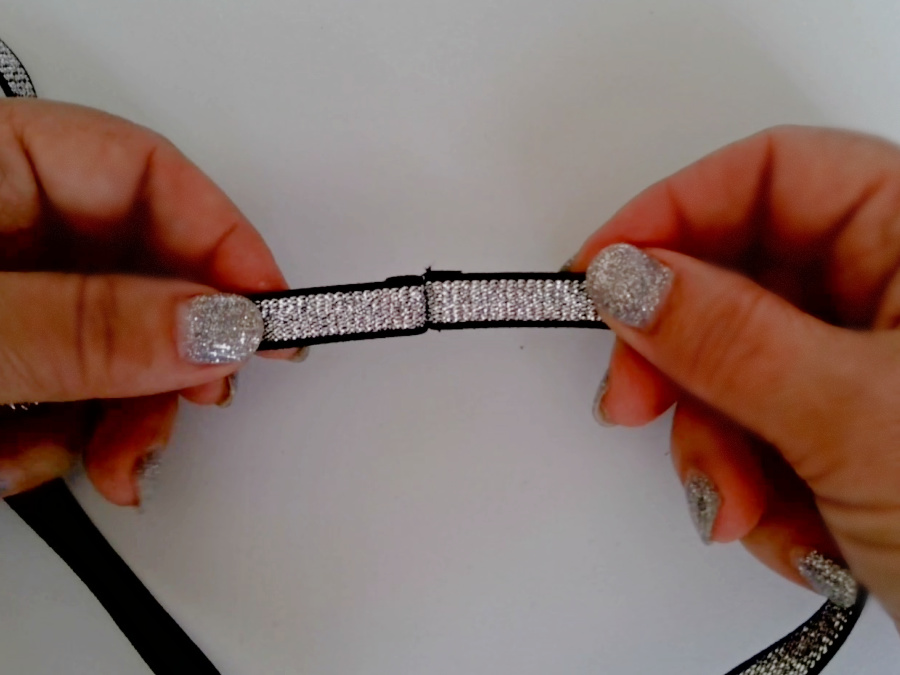
My advice is to make this as tight as you can bear because later when we will sew the elastic the stitch from the sewing machine will stretch it a bit already. - Overlap the ends and stitch them together on your regular sewing machine. To prevent fraying, carefully singe the seam edges with a lighter.
Safety first
This operation (using heat to treat the edges of polyester or nylon fabric) is widely used. However, these are flammable products and utmost care must be taken. Keep the flame as far away from the material as possible, only treat the area that you want to melt and that only for a very short time. Just in case, keep a fire extinguisher close and try to perform this operation in a place which is free of any other objects and materials.
- Divide the elastic into 8 equal sections. Mark each point with a pin.
- Do the same with the shorts’ waistband—divide it into 8 equal sections and mark those spots.
Attach the Elastic
Pin the elastic to the waistband edge, matching each set of 8 marks. Keep the elastic set slightly in from the fabric edge so it doesn’t slip off. Once pinned, the elastic should be evenly distributed around the waist.
On your sewing machine, use a zigzag stitch and drop the needle into one of the marked points—starting at a side is easiest. Sew while stretching the waistband fabric gently so that it matches the elastic length as you go. Keep holding both the front and back of the fabric to guide it smoothly under the presser foot.
✅ Related tutorial: Mastering the Zigzag Stitch on a Sewing Machine
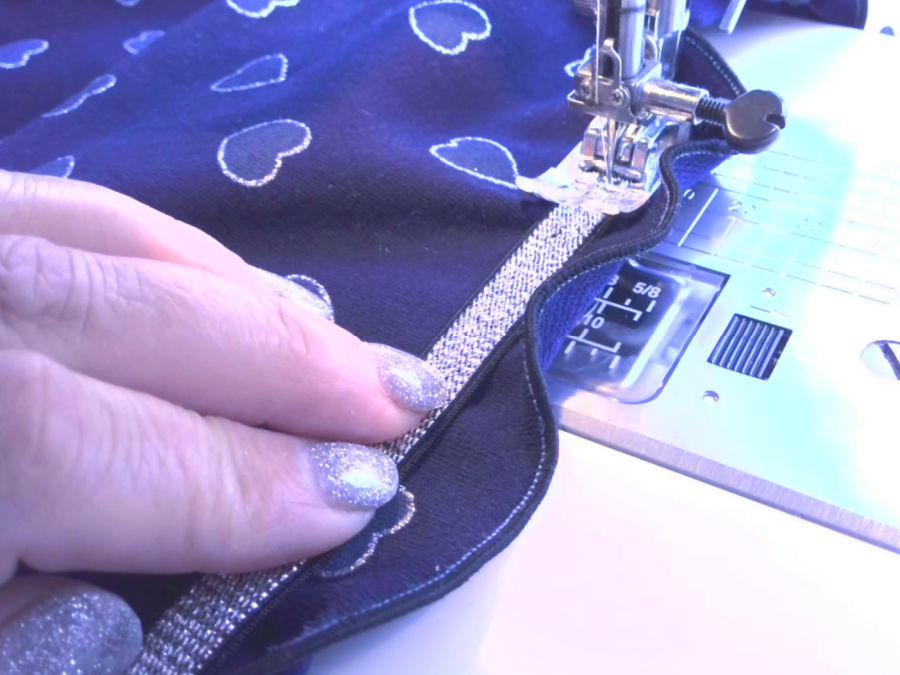
Continue sewing all the way around. When you return to your starting point, overlap the stitches to lock everything in place.
Done!
And that’s it—the shorts are finished. Between the wavy lettuce hems and the shimmering elastic waistband, they’re as fun to wear as they are to sew.
Optional Style Ideas
- Add a narrow lace at the hem for a feminine sleep-shorts look.
- Use contrast elastic trim on knits for a sporty edge.
- Add a small satin ribbon bow at center front so you can tell front from back at a glance.
Pair with a homemade pajama top in the same fabric to make a full set.
Here’s the link once more to my printable PDF ebook about pajama shorts. It’s the same tutorial in a clean, ad-free format that’s easy to keep by your side while you sew.
Ready to stitch up your own pajama shorts? Before you dive into fabric fun, go ahead and pin this post to your sewing board so it’s easy to find later (because let’s be honest, bookmarks vanish into the void). 📌 And don’t forget to follow me on Pinterest for more down-to-earth sewing tutorials, handy tips, and creative ideas you’ll actually want to try!
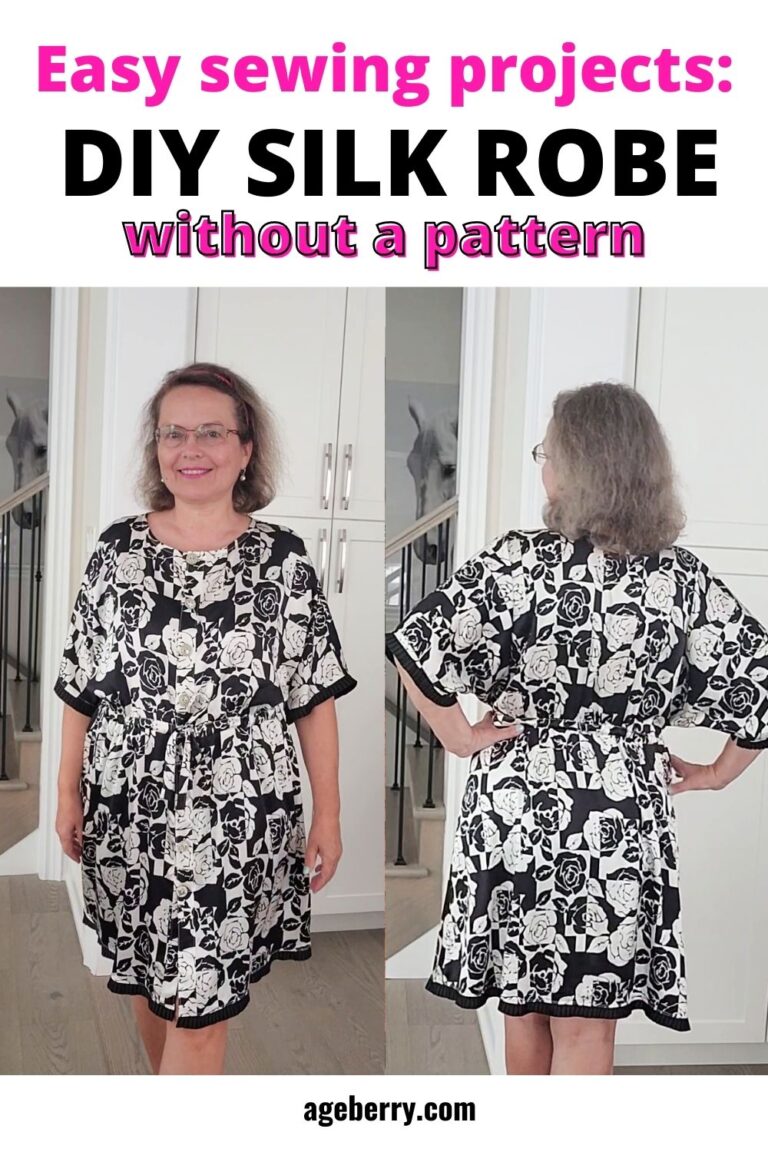
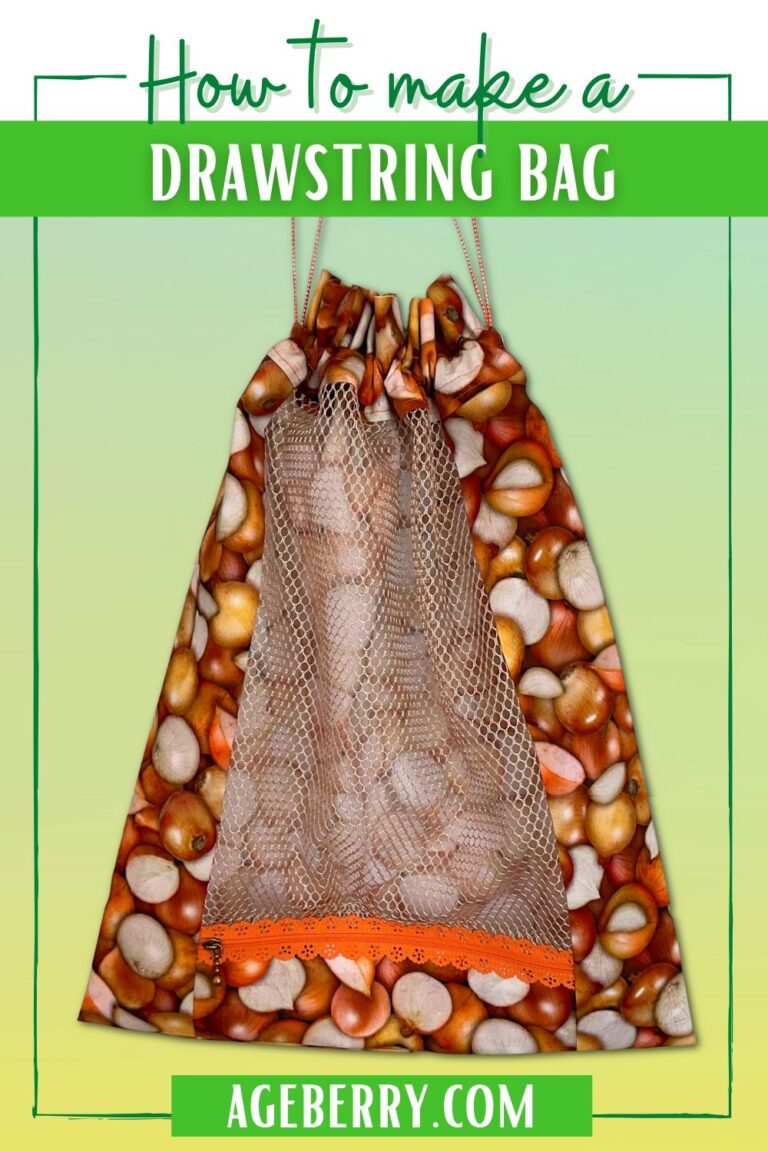
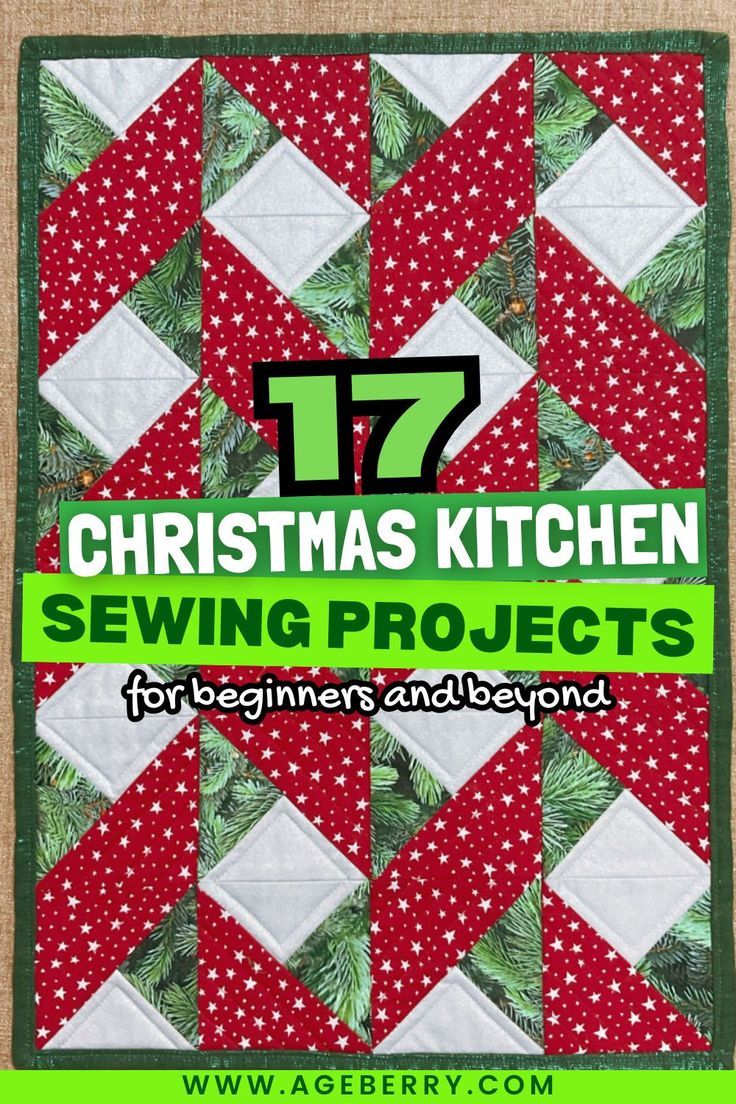
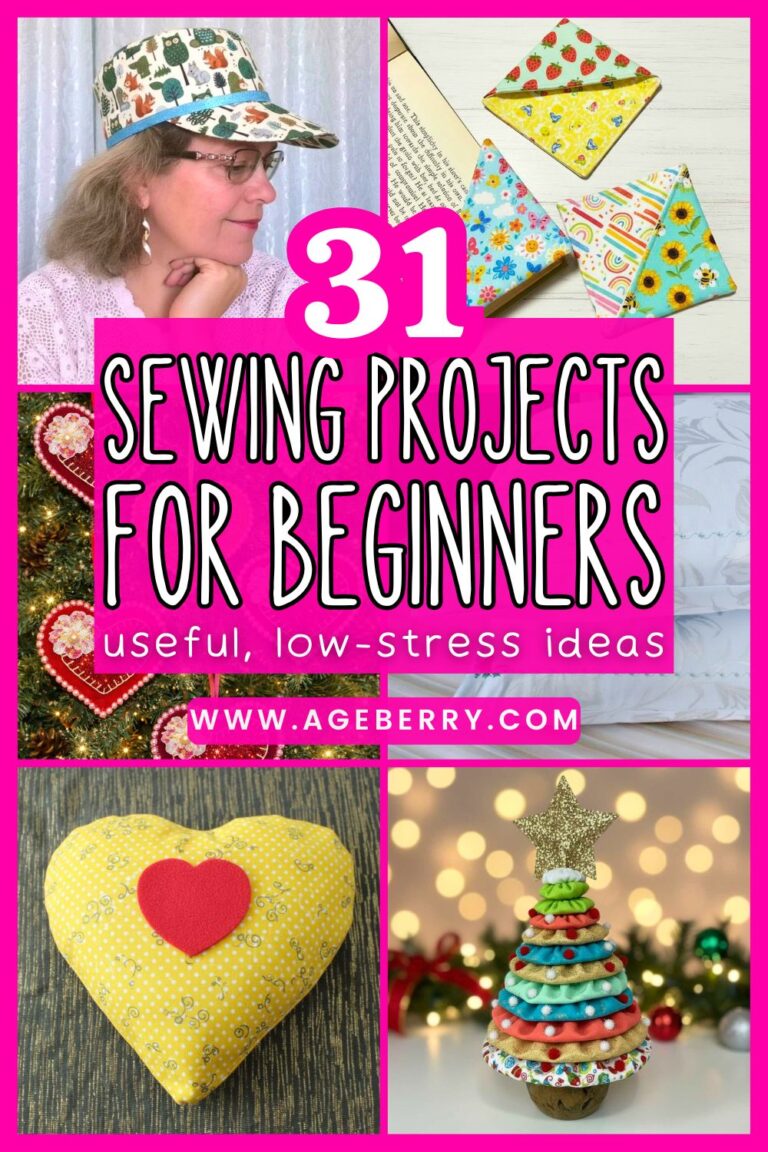
latest posts
- Butterfly Quilt Block Tutorial – Foundation Paper Piecing
- How To Sew Quilt Squares So The Corners Match
- Sewing With Fork Pins: How They Help With Pattern Matching, Slippery Fabric, And Seams
- How Much Fabric Do I Need? 21 Helpful Tips For Calculating Fabric Yardage
- Easy Simple Sewing Project: Fabric Jar Opener
- DIY Oven Mitts: Step-by-Step Sewing Tutorial
- Easy DIY Potholder: New Design
- Tailor’s Clapper: What It Does, Why It Works, And How To Use It Right
- Heat Resistant Batting for Sewing: What It Is, How It Works, and What Makes a Difference