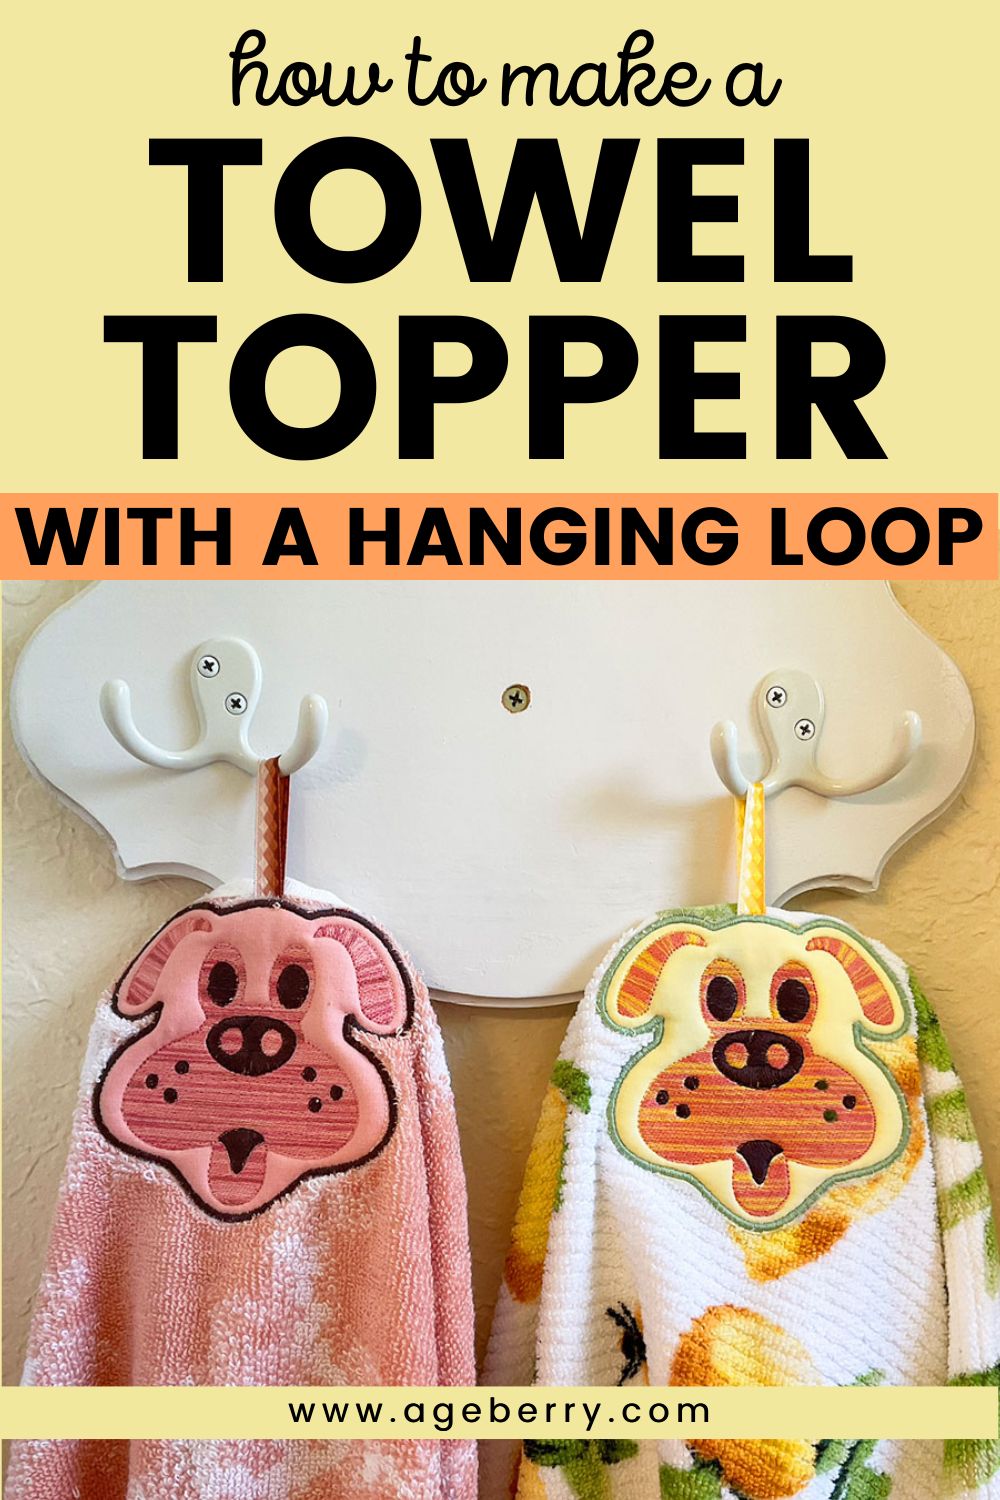
How To Make In The Hoop Towel Topper With A Hanging Loop (Free Design)
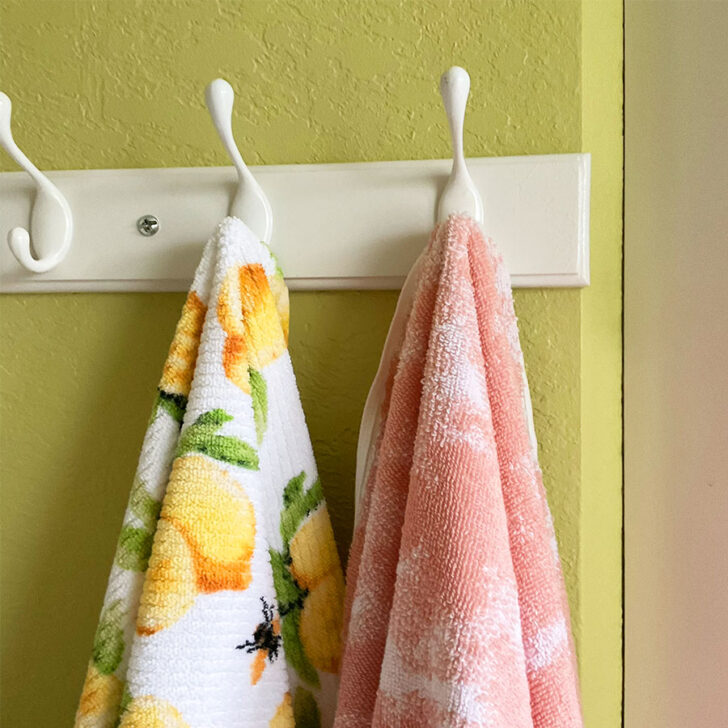
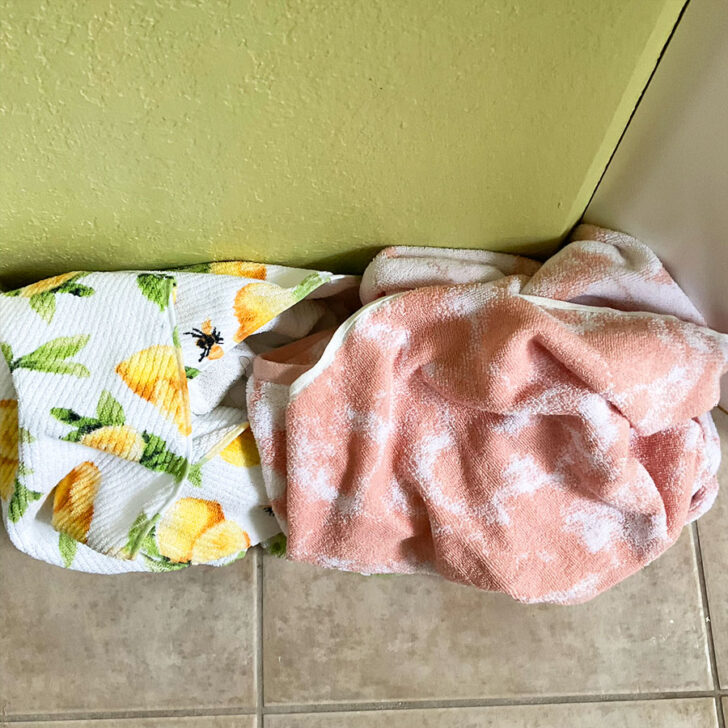
We’ve all been there – you step out of the shower, grab your bath towel, and go to hang it up, only to have it slip off the hook and onto the floor. It’s a frustrating and all-too-familiar experience that can leave you feeling defeated before your day has even begun. But this common problem can be easily solved with a simple addition: a hanging loop. In this post, I’ll show you how to make an in-the-hoop bath towel topper with a hanging loop.
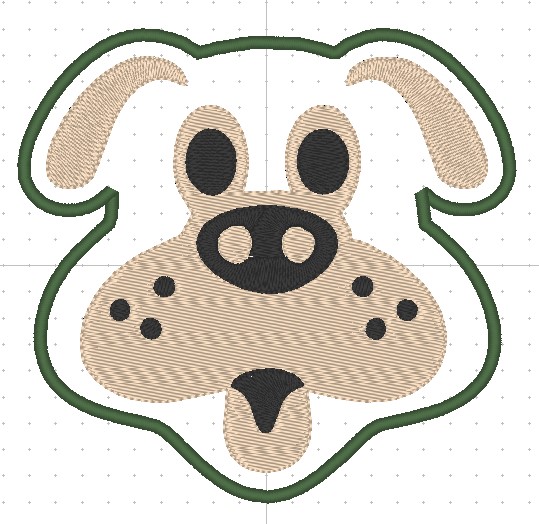
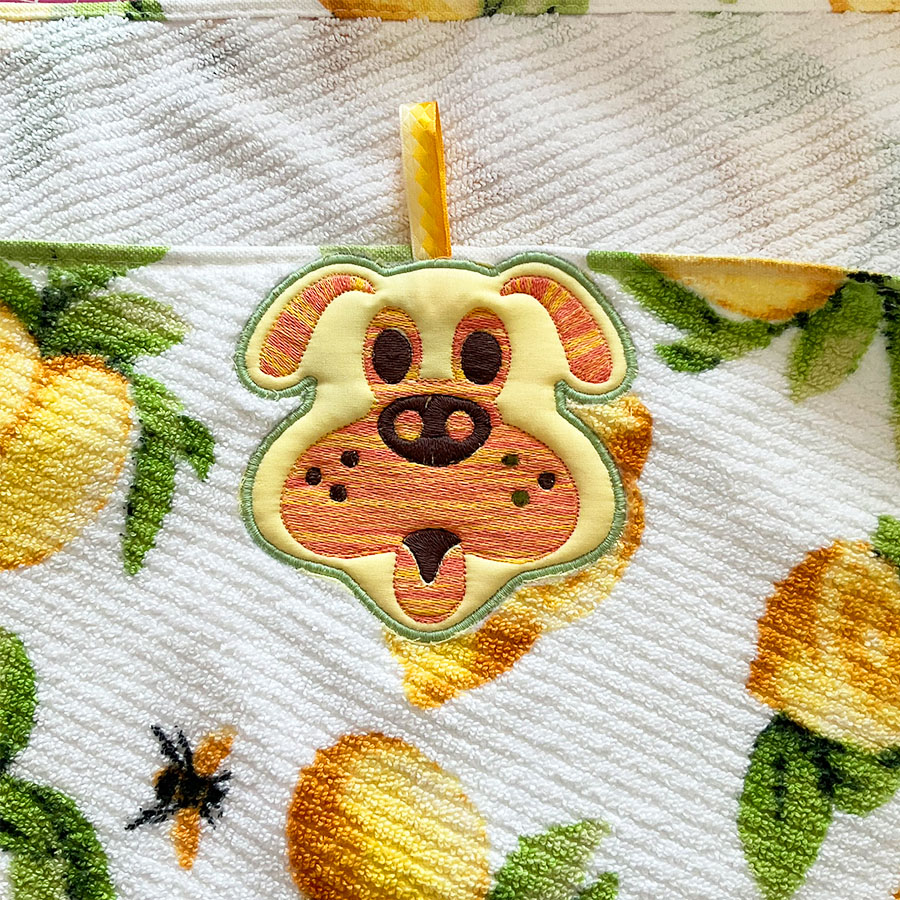
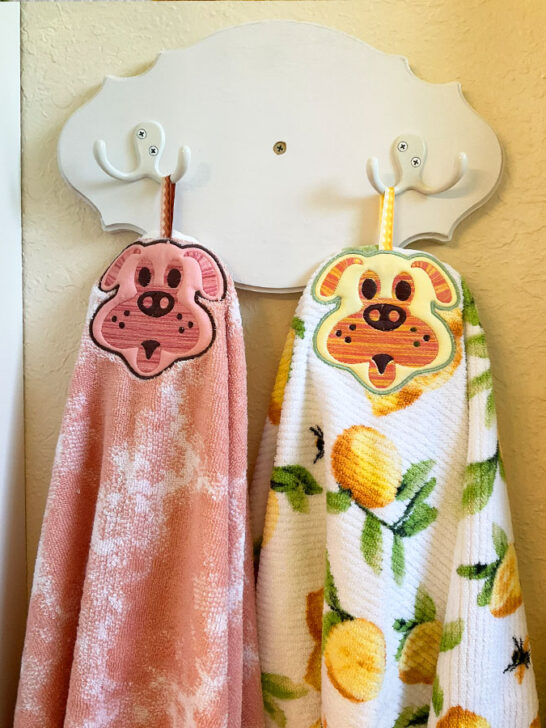
I have chosen a dog’s face for the design. There’s just something about that goofy grin and those floppy ears that makes me laugh every time I look at it. And let’s be real, who doesn’t need a little more laughter in their life these days?
Sure, I could have gone with a more traditional design, like a floral pattern or a cute little cat. But where’s the fun in that? No, I wanted something that would make me chuckle every time I saw it, and that’s exactly what I got with that silly dog face.
Now, every time I walk past my bath towels, I can’t help but smile. It’s like that dog’s face is saying, “Hey, life’s too short to take everything so seriously. Let’s have a good laugh, shall we?”
Note: Some of the links on this page are affiliate links. This means I will receive a commission if you order a product through one of my links. I only recommend products I believe in and use myself.
Benefits Of Hanging Loops
First, let’s talk about why it’s important to have a hanging loop for your bath towels. Without one, your towel is at risk of falling off the hook and onto the floor, which can be both inconvenient and unsanitary. By adding a hanging loop, you can ensure that your towel stays securely in place and off the ground.
I mean, why not make life a little easier, right? No more struggling to get the towel to stay put on the hook, no more towels piling up on the bathroom floor. It’s a win-win situation.
It may seem like the easiest solution to the towel struggle is to simply buy some hanging clips on Amazon. And let’s be real, there are plenty of options out there to choose from – check out this link for example. But for those of us who like to add a personal touch to our home decor, DIY towel toppers with hanging loops are the way to go.
By making your own bath towel toppers, you have complete control over the size, shape, and color of your towel hanger. You can choose fabric that matches your bathroom decor or add a pop of color to your towels with a bright and bold applique. Plus, making your own towel hangers is a fun machine embroidery project!
But perhaps the best part of DIY towel hangers is the sense of satisfaction that comes from creating something useful and beautiful. Every time you hang up your towel, you’ll be reminded of the time and effort you put into making your towel toppers, and that feeling of pride and accomplishment is priceless.
Why I Created My Own Embroidery Design For The Towel Topper
There are a few ways to have them made. You can find a wide variety of beautiful and unique designs on Etsy, Designs by JuJu, Kreative Kiwi, etc.
While browsing through the many bath towel toppers on Etsy, I noticed that many of them had a fabric part that extended beyond the towel. While these designs were certainly beautiful, I couldn’t help but worry about what would happen after a few washes. Would the shiny embroidery threads unravel? Would the fabric shrink and wrinkle?
That’s when I decided to create my own in-the-hoop embroidery for a bath towel topper with a hanging loop. I wanted to make sure that the towel topper was completely inside the towel, eliminating the risk of any fabric parts coming loose or unraveling after a few washes.
So, while Etsy may be a great option for some, I found that creating my own in-the-hoop embroidery for a towel topper with a hanging loop was the best choice for me.
Let me show you how to make it.
What You’ll Need To Make In The Hoop Bath Towel Topper With A Hanging Loop
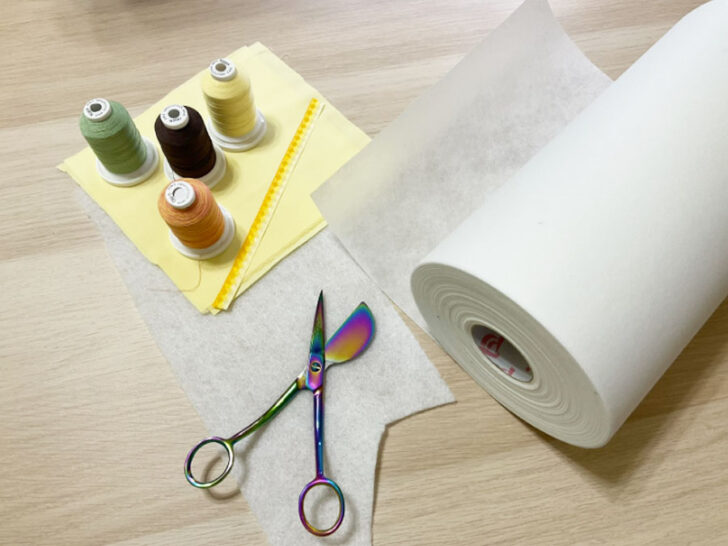
First and foremost, I made sure to use high-quality materials that would stand up to frequent washes and use.
For the embroidery thread, I opted for 100% cotton embroidery thread. This ensured that the thread would hold up well in the laundry and wouldn’t unravel or shrink over time. Plus, cotton thread is known for its durability, making it the perfect choice for a project like this.
What cotton embroidery threads do I use? I usually buy Brothread threads from Amazon. I like their quality and also their price. I never have to worry about my thread ripping or fraying mid-stitch. They come in a wide range of colors, so I can always find the perfect match for whatever project I am working on. I even used variegated thread for this project.
Also, for this project you can’t use pre-wound bobbins as the thread on them is polyester and very thin. So fill your own bobbins – two will be enough for the project. I advise you to fill bobbins with the color that you are going to use last (for satin stitches around the towel topper) – in my case, it was green color.
✅ Related article: Bobbin Thread 101: Answers to Your Frequently Asked Questions
Next, I used 100% quilting cotton for the towel topper itself. This type of fabric is soft and absorbent, making it the good choice for a bath towel. Plus, it’s easy to work with and comes in a wide variety of colors and patterns, so I was able to find fabric that matched my bath towel perfectly.
I used two types of embroidery stabilizer – tear away as the main stabilizer and film-like clear wash away. This combination provided the perfect amount of stability and support for the towel.
You will also need a small piece of batting.
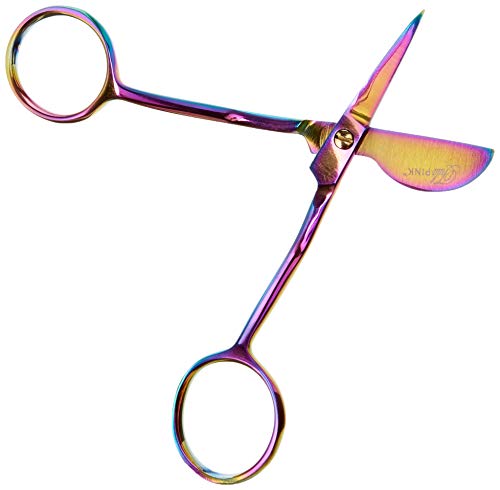
And let’s not forget about the tools! Duckbill scissors were a must-have for cutting the applique, as they allowed me to get a precise cut without damaging the fabric.
✅ Related article: Duckbill Scissors: What They Are And How To Use Them
And for the hanging loop, I chose a ribbon that was sturdy and strong, so that it could support the weight of the bath towel without coming loose.
The design is made for 6 x 10 hoop.
Embroidery design ( in the format for your embroidery machine) – you can get it free by subscribing to my weekly newsletter.
If you are a subscriber you can find the design files in all popular formats (including PES and HUS) in my Resource Library.
If you are not a subscriber click the link below to subscribe and download your FREE machine embroidery design files from my Resource Library!

In the hoop Embroidery: Towel Topper With A Hanging Loop
Materials
- Embroidery machine with 6 x 10 hoop (or bigger)
- Embroidery thread - 100% cotton
- Quilting cotton fabric - just 2 pieces about 6 x 6 inches
- Tear away stabilizer
- Wash away stabilizer
- Duckbill scissors
- Piece of ribbon for a hanging loop
- Bath towel
Instructions
Step-by-step Instructions For Making A Towel Topper With A Hanging Loop
The process of creating an in-the-hoop embroidery for a bath towel topper with a hanging loop is relatively simple, but it does take some time and patience.
As the bath towel is quite large, it can be a bit tricky to maneuver during the embroidery process. However, with some patience and careful handling, I was able to complete the embroidery without any issues.
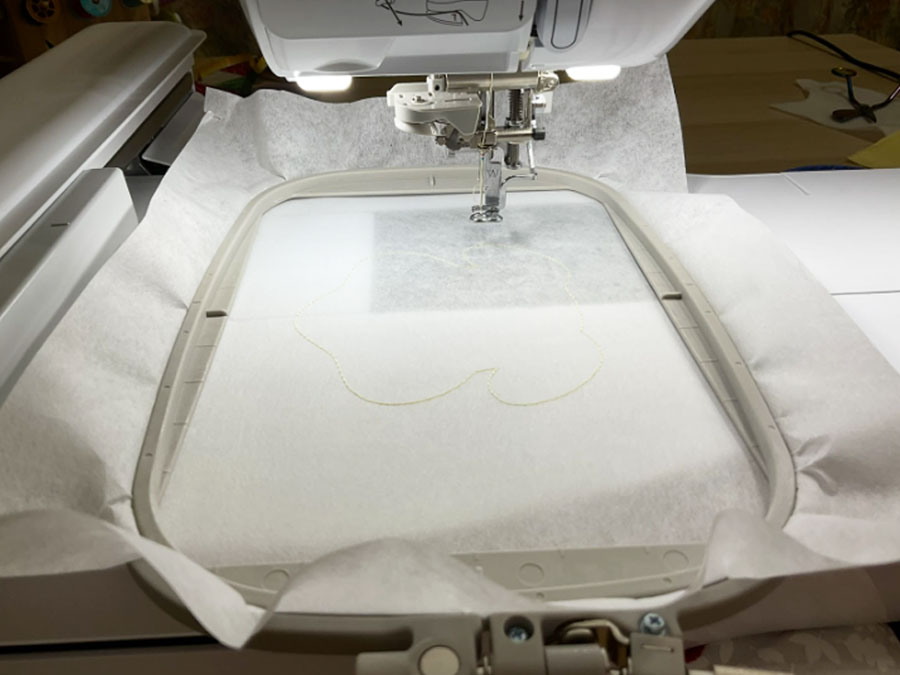
Step 1.
Load the design onto your embroidery machine. Hoop the tear away stabilizer in a 6 x 10 hoop and run the first step of the design - placement stitch for the towel topper.
Step 2.
Carefully place the bath towel on top of the stabilizer in the hoop, making sure that the center of the towel side matches the center of the design.
Cover the design completely with the towel, making sure that there were no gaps or wrinkles. However, keep the towel edge close to the top of the design - about ¼ inch away. This allowed for enough space to add the ribbon for the hanging loop, while still ensuring that the towel topper was completely inside the towel.
Double-check to make sure that the design is centered and that the towel is covering the entire design area.
Then place a piece of clear wash away stabilizer on top of the towel, making sure that it is covering the entire design area. This stabilizer will help to prevent the loops of the towel from getting caught in the scissors when trimming the batting and fabric around the design.
Then, run the second step of the design that is a tacking stitch for the towel and a placement stitch for the batting and fabric.
![]()
Step 3.
Select a piece of ribbon for the hanging loop that matches the color of the towel and cut it to the desired length. The length of the ribbon will depend on personal preference and the size of the towel topper.
Place the ribbon on the towel topper, making sure that it is centered and aligned with the top of the design. Secure the ribbon in place with tape.
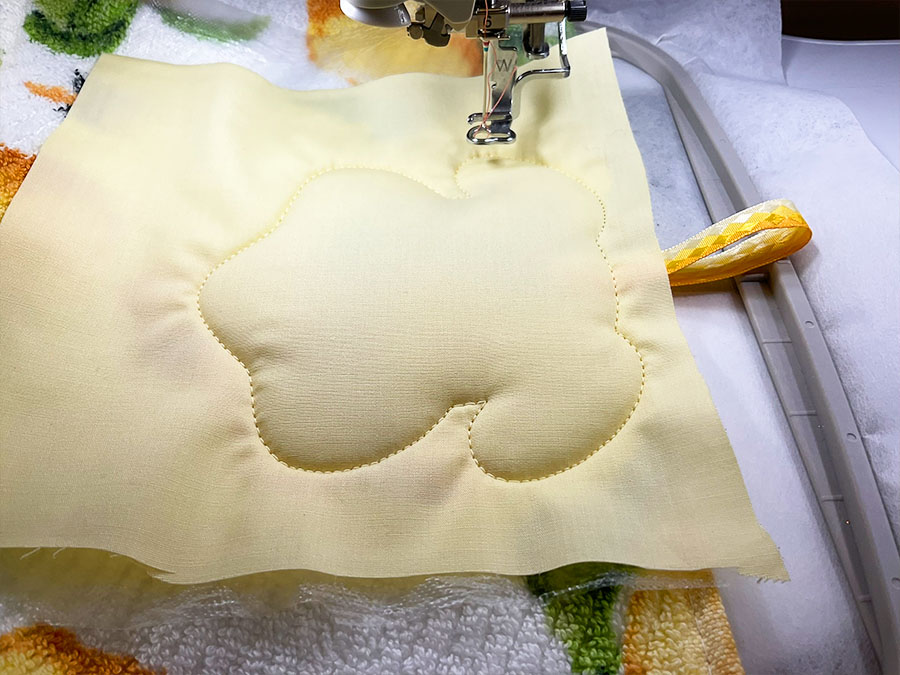
Place a piece of batting over the placement stitch on the towel. Then, run the next step of the design, which is attaching the batting to the towel.
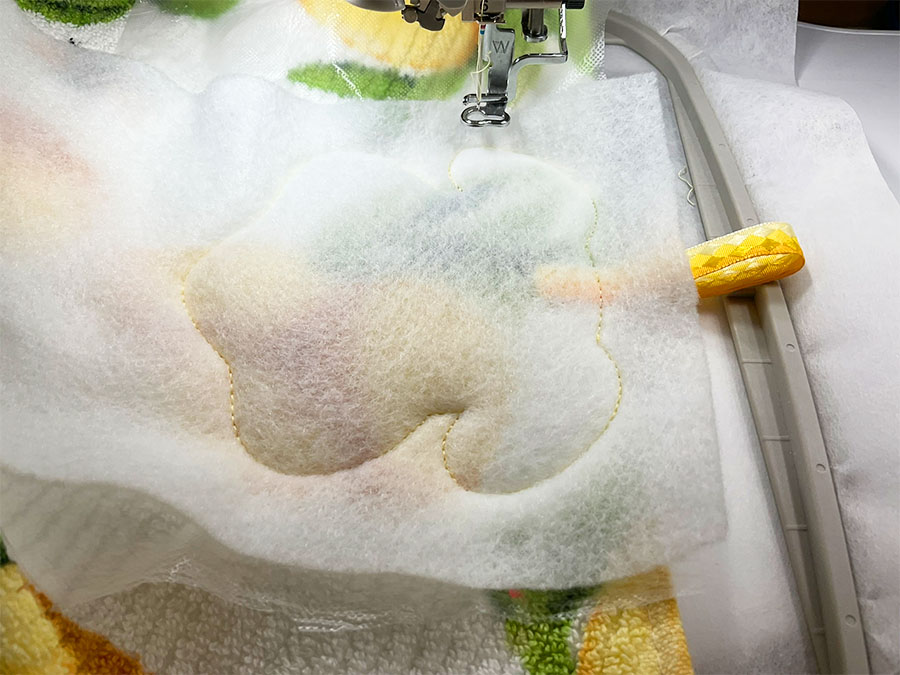
Step 4.
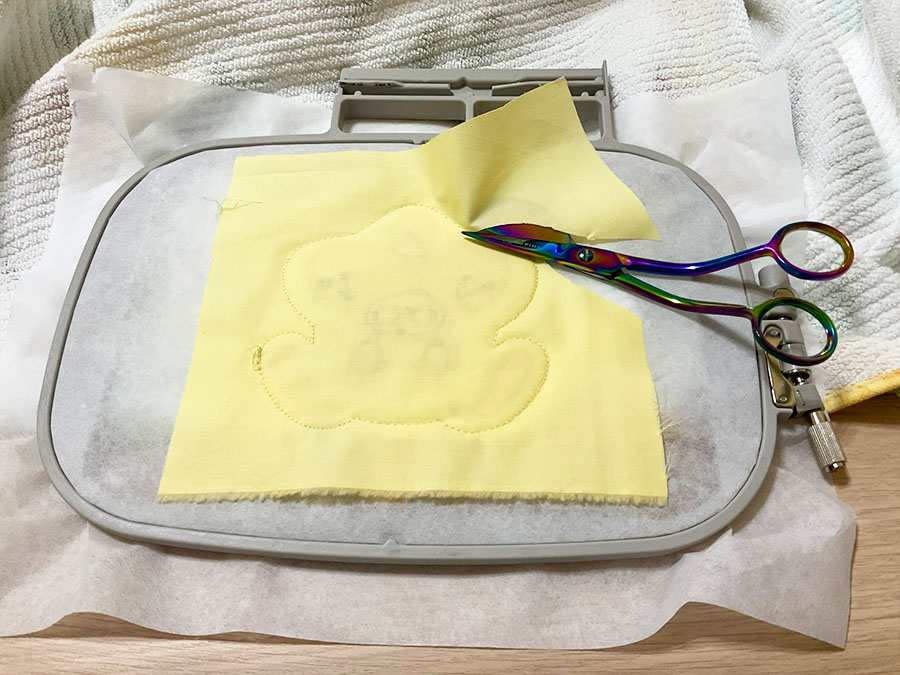
Carefully remove the hoop from the machine, but leave the project hooped. This allows you to easily access the batting and trim it using duckbill scissors.
Trim the batting around the edges of the design.
Step 5.
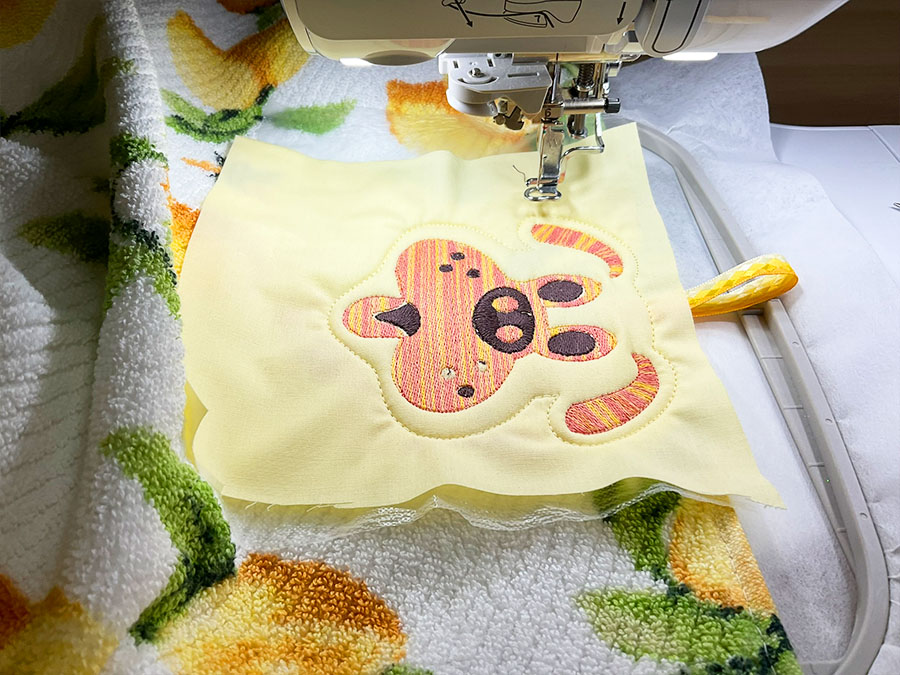
Place a piece of fabric on top of batting and run the next step of the design. This step will attach the fabric to the towel.
Step 6.
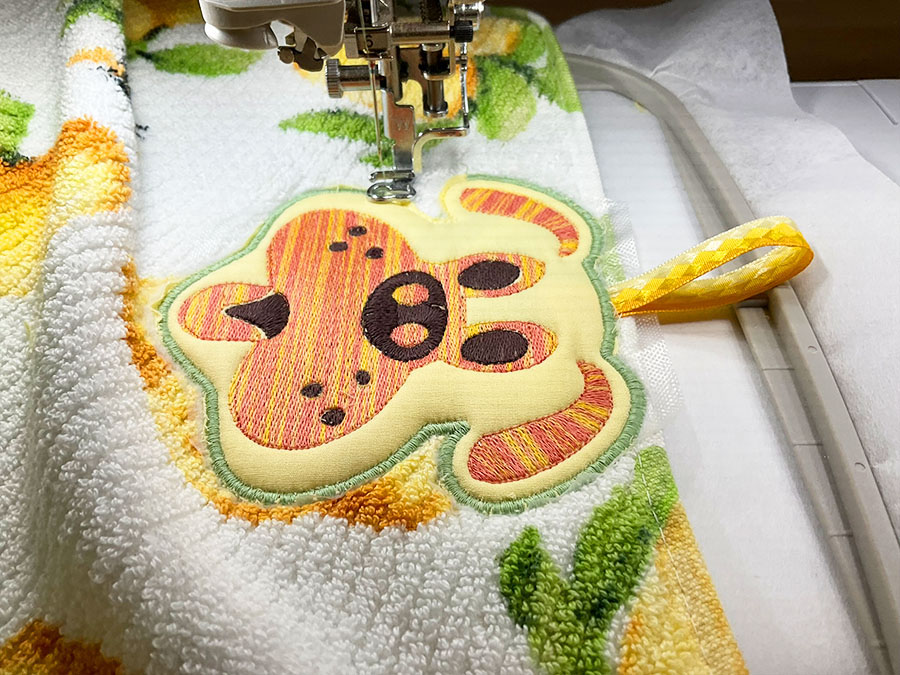
Run the next two steps of the design (the dog face) changing thread colors.
Step 7.
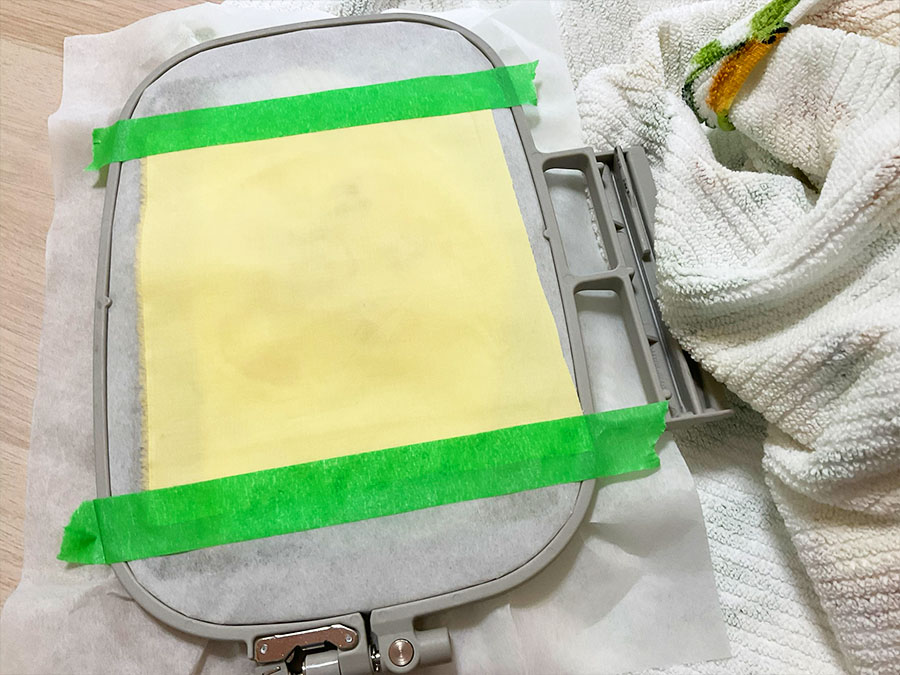
After you finish embroidering the dog face, carefully take the hoop out again but don’t unhoop the project. Flip the hoop and place the second piece of fabric on the design. Secure it with tape.
Return the hoop onto the machine.
Step 8.
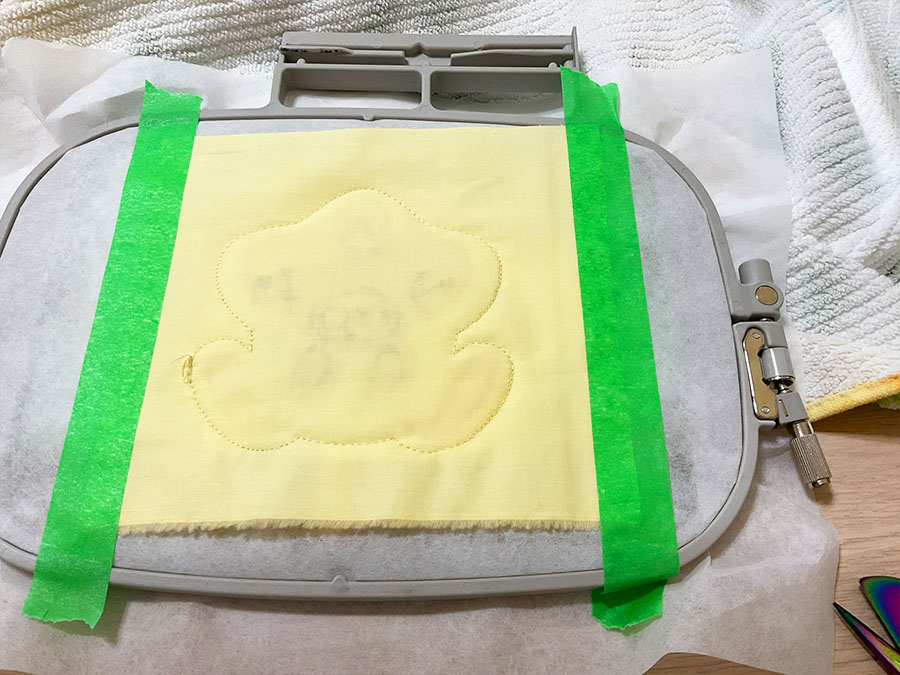
Run the next step of the design attaching the back piece to the towel.
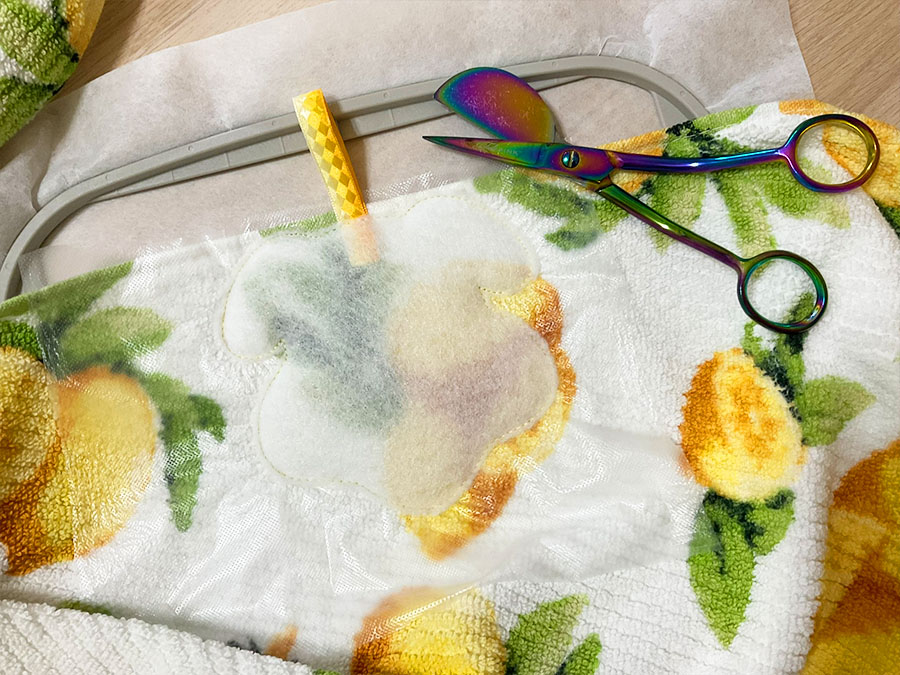
Step 9.
Take the hoop out again and carefully trim the fabric on both sides using duckbill scissors. Return the hoop onto the machine.
Step 10.
Run the last step of the design - satin stitches around the towel topper.
Step 11.
Take the towel from the hoop, take away tear away and wash away stabilizers.
Recommended Products
As an Amazon Associate and member of other affiliate programs, I earn from qualifying purchases.
-
 New brothread Light Weight Clear Wash Away - Water Soluble Embroidery Topping Film
 -
 Tula Pink Hardware 4" Duckbill Applique scissors, Rainbow
 -
 80 Pcs Solid Color Fabric Cotton 10 x 10 Inch
 -
 New brothread Multi-Purpose 100% Mercerized Cotton Threads
 -
 5 Pack Hanging Tea Towels Clip,Metal Kitchen Towels Clips with Hanging Loop
 -
 Ariv Towels 4-Piece Large Premium Bamboo Cotton Bath Towels Set
After seeing how nicely my towel topper with a hanging loop turned out, I was inspired to embroider the same design onto another bath towel, but this time, I used different fabric and threads to match the colors of the towel.
Did you like this tutorial on how to make a bath towel topper with a hanging loop? If so, be sure to save this pin to your sewing or embroidery board so you can easily find it later when you need to refer back to the information. Additionally, don’t forget to follow me on Pinterest for more helpful tips, tutorials, and inspiration for your next project!
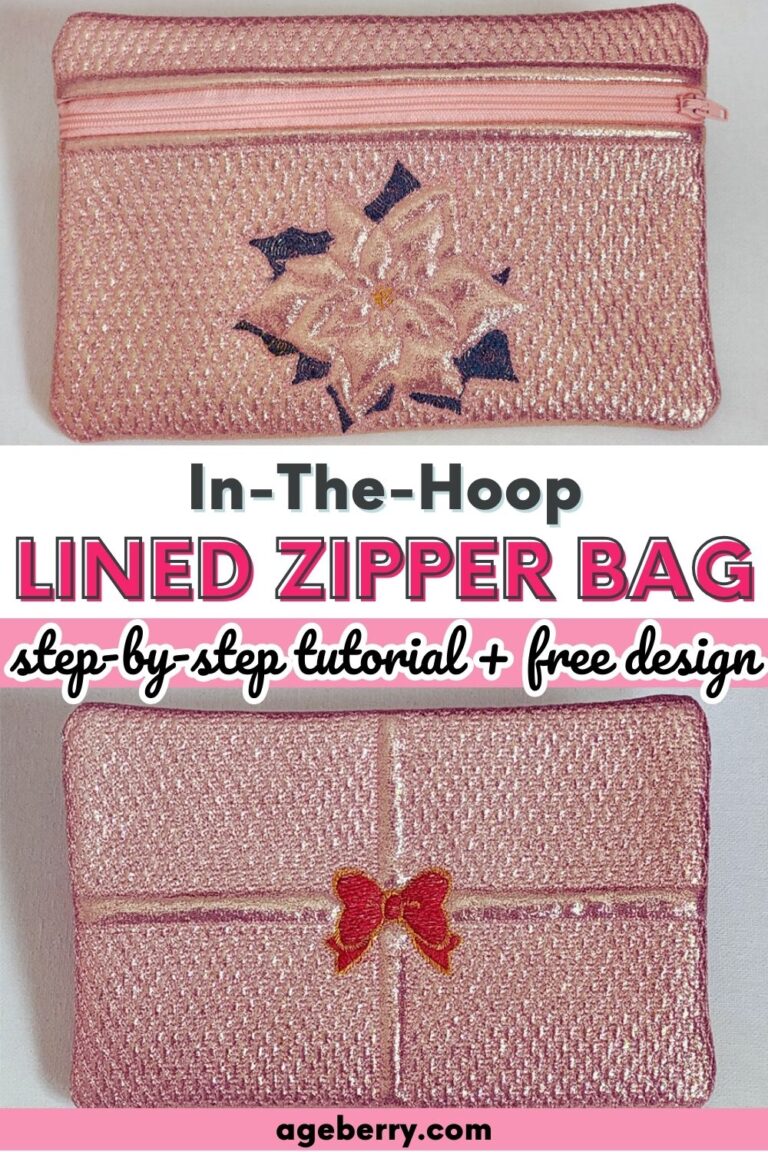
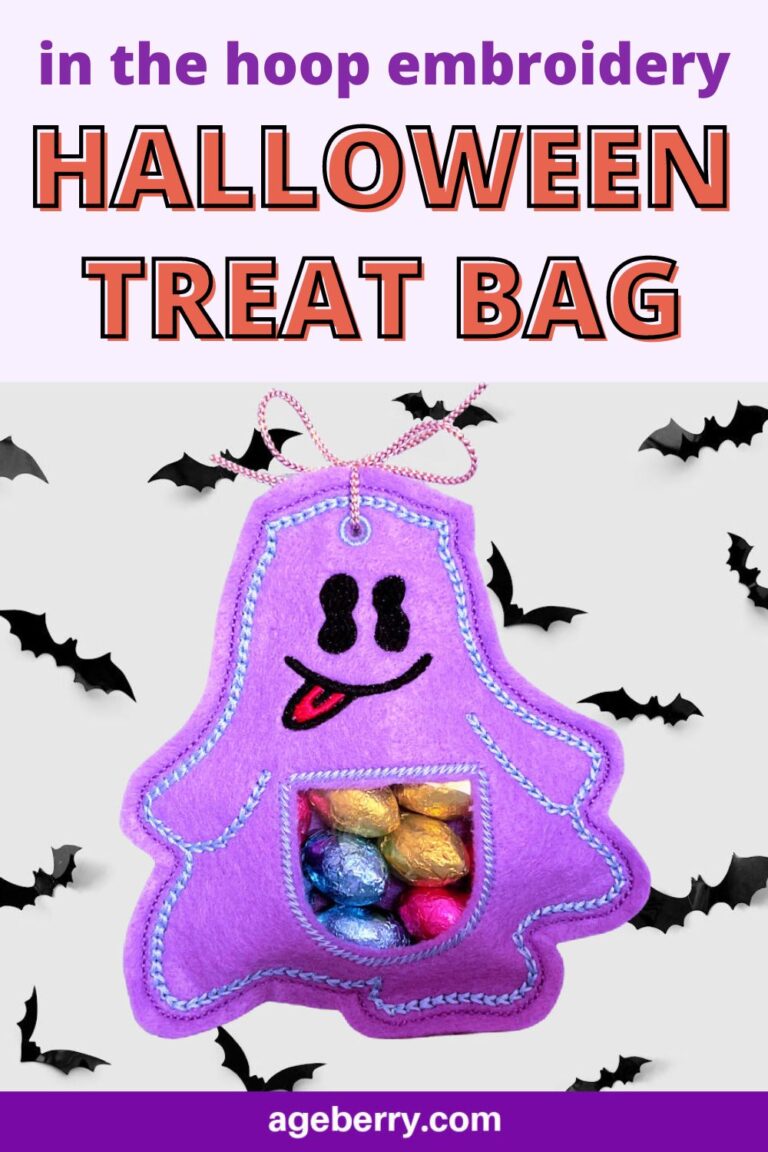
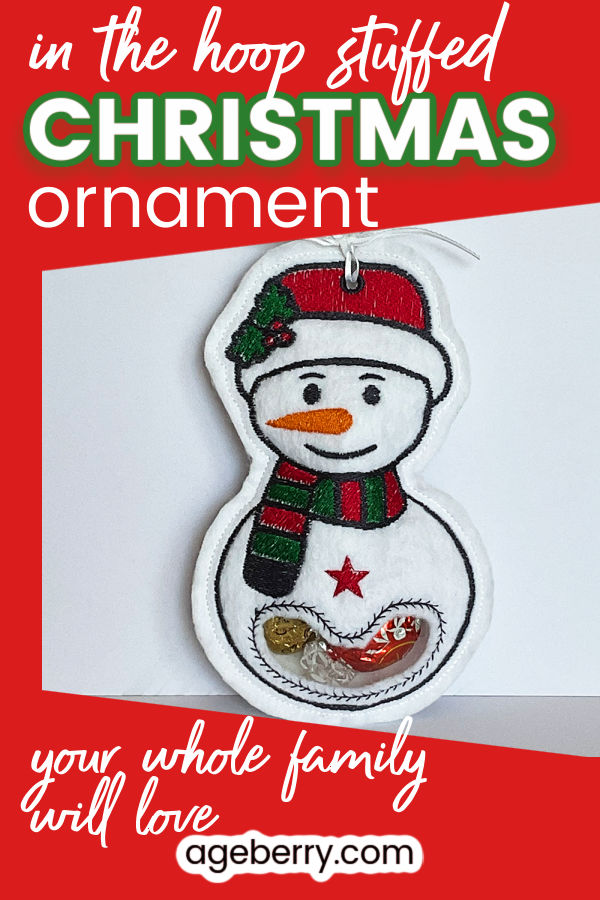
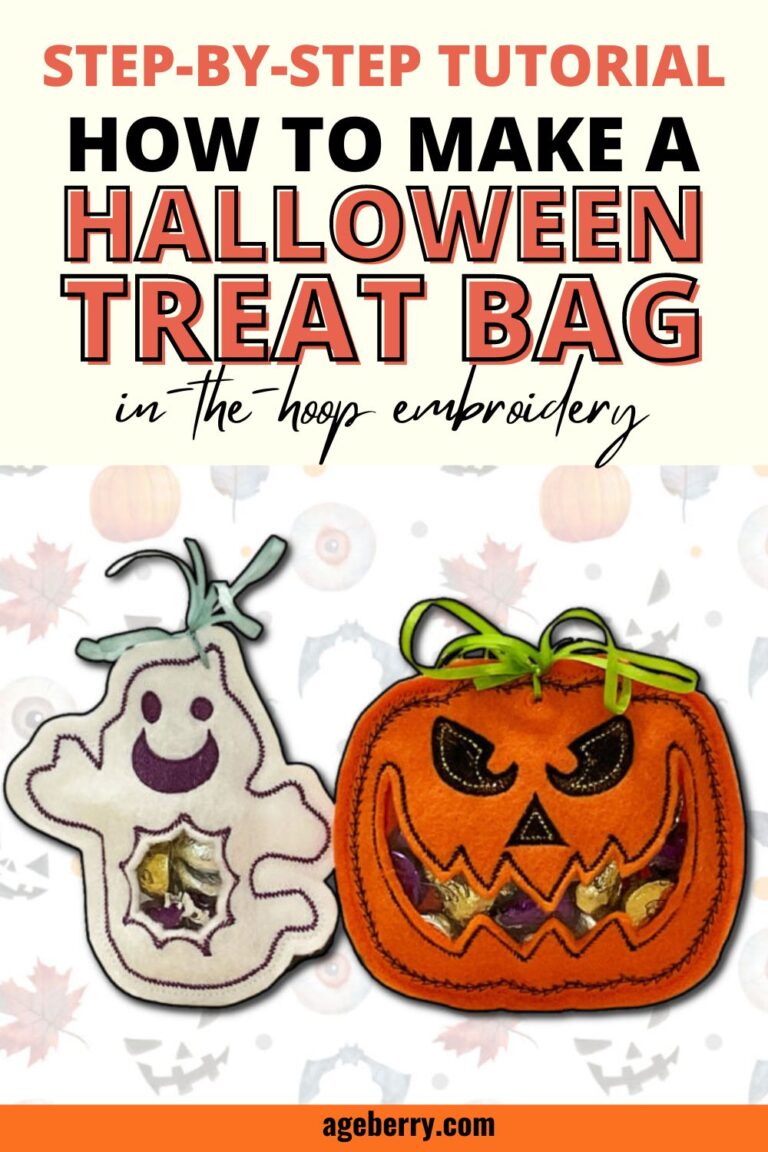
If you liked this in-the-hoop embroidery project, you might also be interested in checking out some of my other creations. From personalized gifts to home decor accents, there’s something for everyone in my collection of in-the-hoop embroidery projects. Take a look and discover your next creative endeavor today!
In-the-hoop Embroidery Projects


latest posts
- What Do You Call a Person Who Sews? I Asked My Readers and Got 1,408 Opinions
- DIY Round Purse: PDF Sewing Pattern and Detailed Instructions
- Mini Wonder Clips By Clover: Useful Sewing Tool Or Just Another Notion?
- Non-Slip Grips For Quilting Rulers: A Small Notion With A Useful Job
- Fabric Eraser for Sewing: What It Removes and When to Use It
- What Is The Best Thread For Sewing Machine Projects? Let’s Find Out!
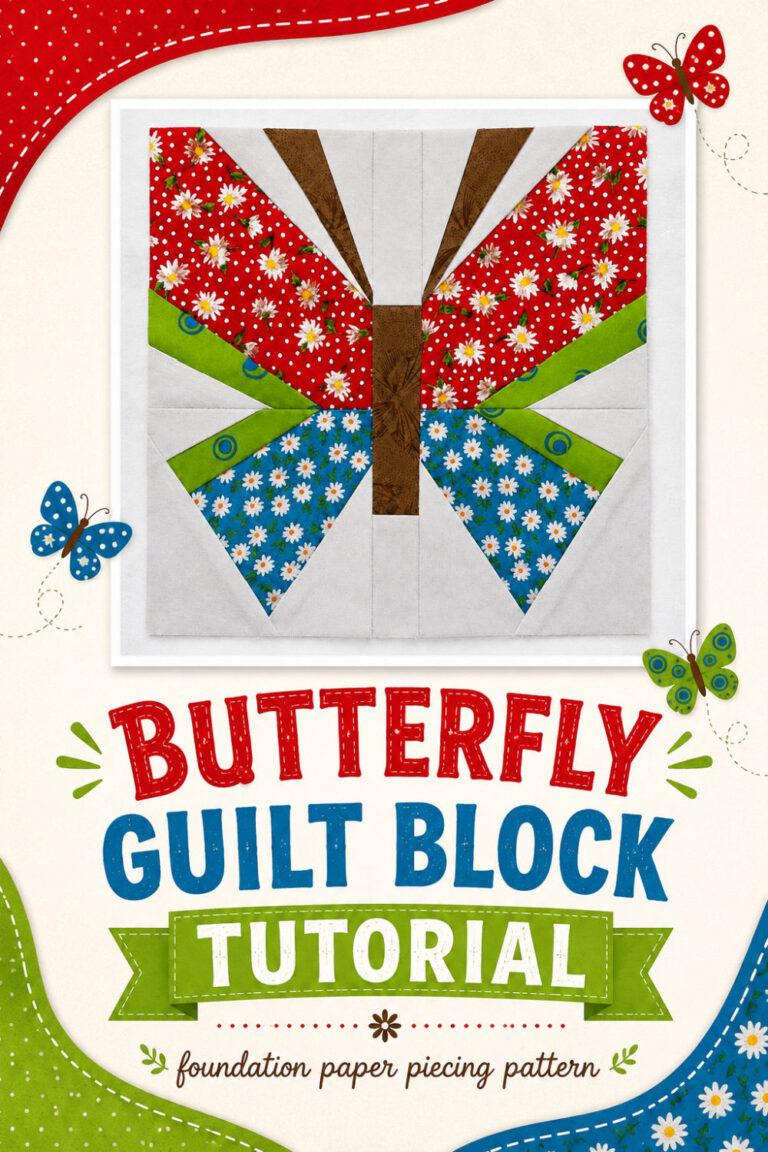
- Butterfly Quilt Block Tutorial – Foundation Paper Piecing
- How To Sew Quilt Squares So The Corners Match
- Sewing With Fork Pins: How They Help With Pattern Matching, Slippery Fabric, And Seams