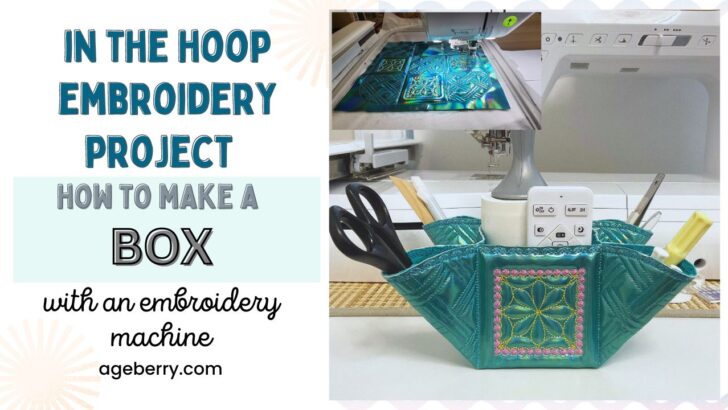
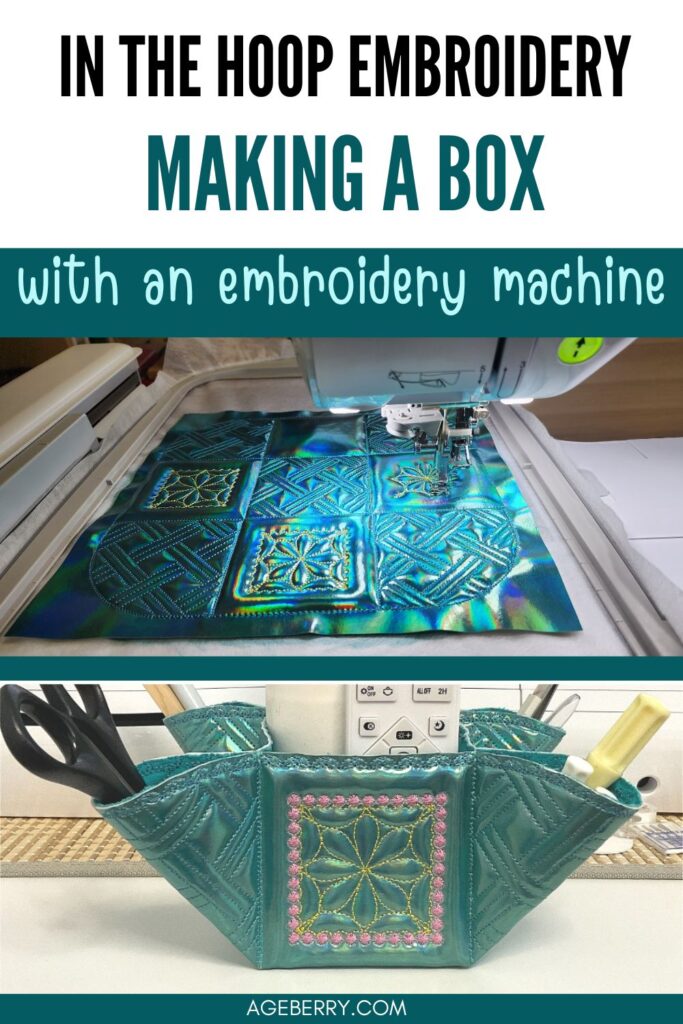
In the Hoop Embroidery: Transforming Threads into a Functional Box
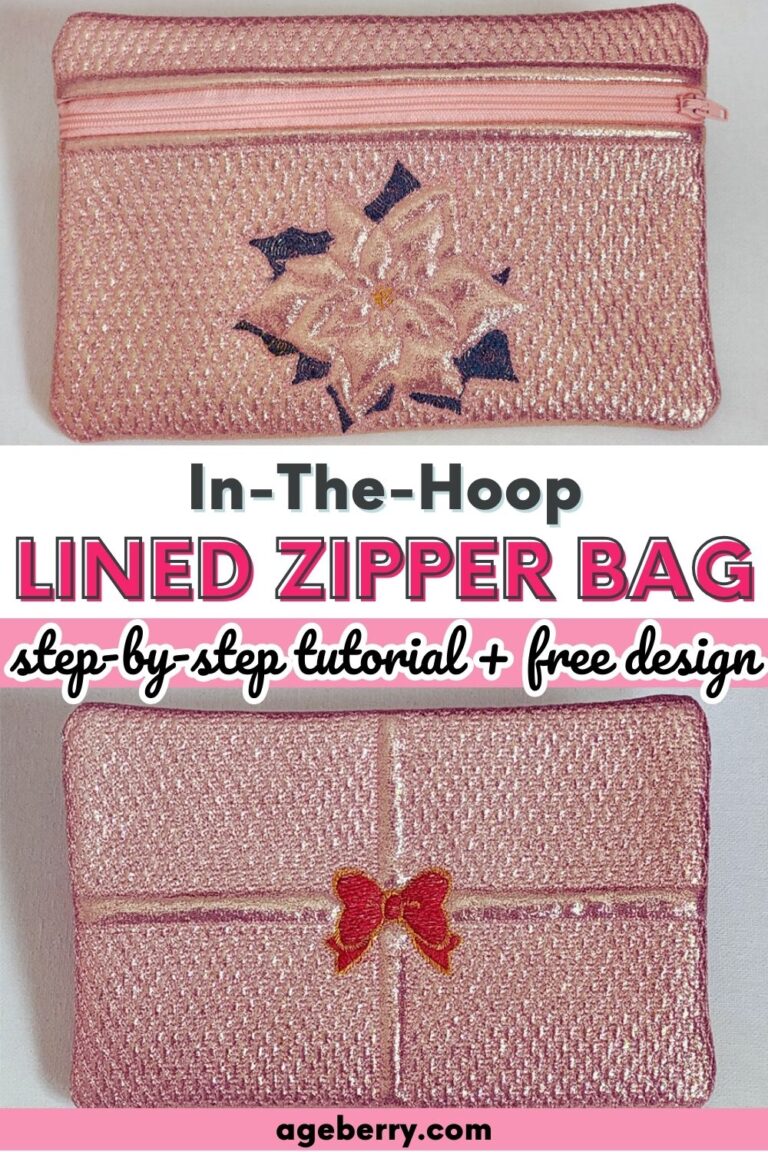
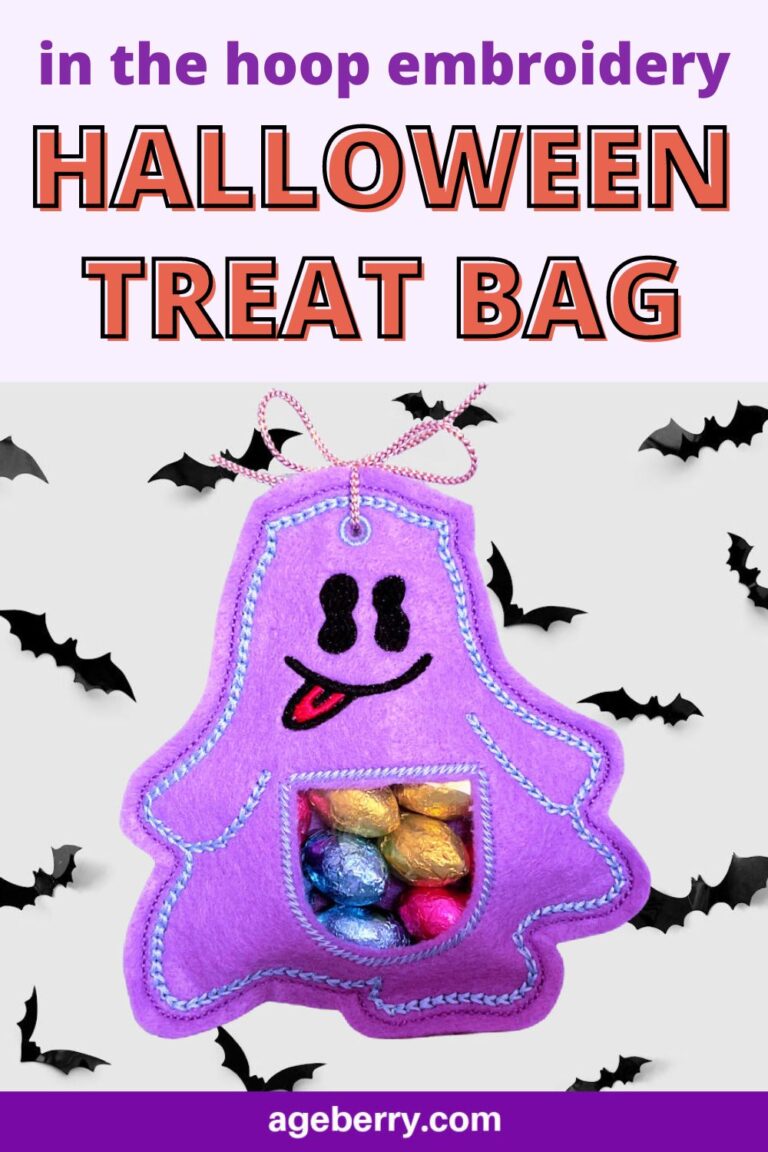
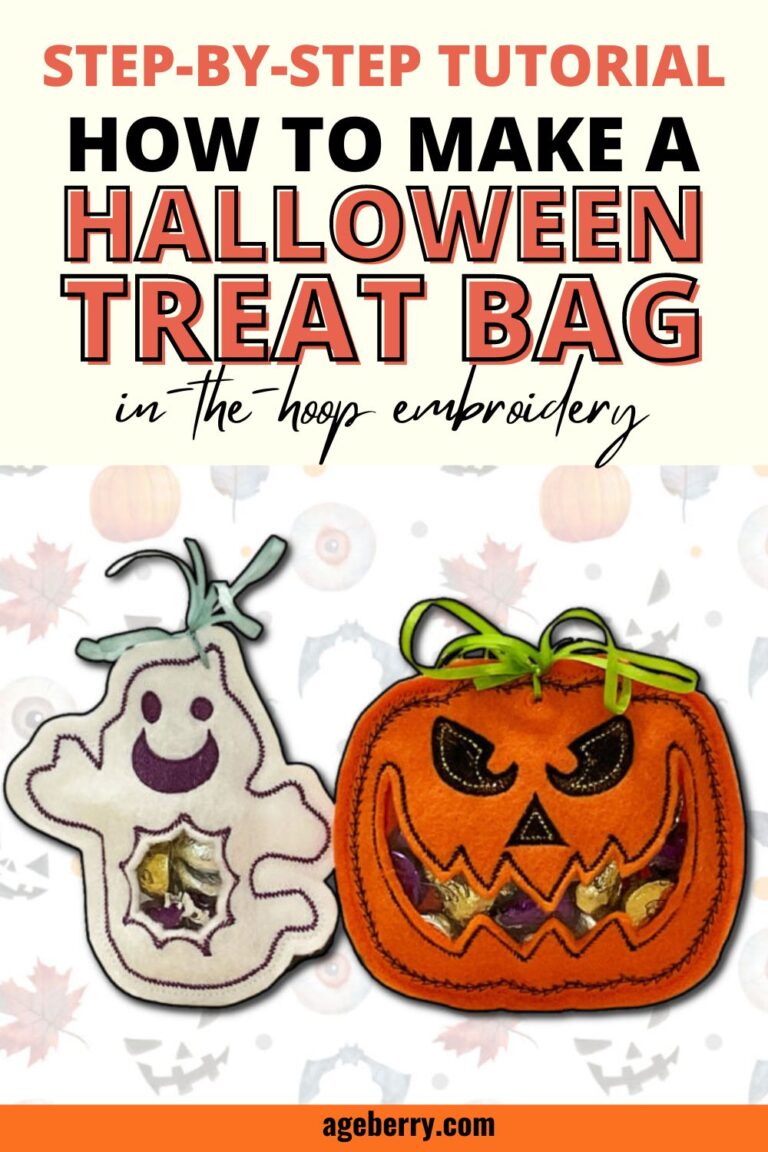
Embroidery machines can do more than just embellish fabrics—they can also be used to create practical items like pouches, bags, toys, fashion accessories and boxes or pencil holders. With a Brother Luminaire machine and some in-the-hoop (ITH) embroidery designs, you can craft a custom and durable item for your desk. Here’s how to do it.
What You Will Need For This ITH Project
Embroidery design (in the format for your embroidery machine) – you can get it free by subscribing to my weekly newsletter.
- Vinyl or Craft Felt: Ensure it’s large enough for your design plus a bit extra; a 12 x 12-inch piece should suffice.
- Batting: Cut a piece the same size as your vinyl or felt.
- Cotton Fabric: This will be used for the lining, so it should match the size of your other materials.
- Water-Soluble Stabilizer: Essential for in-the-hoop projects.
- Large Embroidery Hoop: This project requires a sewing machine with the biggest hoop 10 ⅝” x 16 such as Brother Luminaire or Babylock Solaris
- Embroidery Thread: Choose colors that complement your design or personal preference.
Step by Step Instructions to Make This ITH Box
Step 1. Hoop the Stabilizer
To start your in-the-hoop box project, the first thing you’ll need to do is prepare your stabilizer. For this project, we’re using a water-soluble stabilizer, which is key for creating a clean finish once the embroidery is complete, as it can be easily dissolved with water.
- Make sure the piece of water-soluble stabilizer is large enough for your machine’s hoop. It should cover the entire hoop with a little extra around the edges to ensure a secure fit.
- Lay the stabilizer over the larger outer part of the hoop, which should already be placed on a flat surface.
- Take the smaller inner hoop and press it down over the stabilizer and outer hoop. The hoops should fit together snugly, with the stabilizer sandwiched in between.
- Most hoops have a screw or mechanism that allows you to tighten them once the stabilizer is in place. Adjust the hoop until the stabilizer is stretched tight, like a drum skin. This tension is necessary as it prevents the fabric from puckering and ensures that the stitches are even and consistent.
- Before you begin stitching, make sure there are no wrinkles or loose areas in the stabilizer. If it’s not taut, the design may not stitch out correctly.
Step 2. Stitch the Placement Line
The placement line is an integral part of any in-the-hoop embroidery project. It serves as a blueprint for where each subsequent layer of material will be placed.
- Start by loading the pencil holder design into your embroidery machine. Ensure you have selected the correct file (for example, for my Brother Luminaire machine, I choose PES files) and that it’s sized appropriately for your hoop.
- Choose a thread color for the placement line that contrasts with your stabilizer but won’t be visible in the final product. Thread the machine.
- Begin the embroidery process. The machine will start by stitching the outline of the box onto the stabilizer. This outline shows you exactly where to place your batting, vinyl, and lining in the subsequent steps.
- As the machine stitches the placement line, keep an eye on the process to ensure the line stitches out correctly.
- After the machine finishes stitching the placement line, remove the hoop from the machine but don’t unhoop the project.
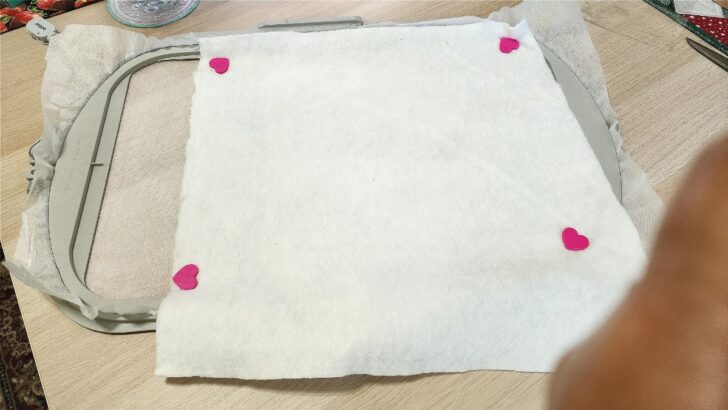
Step 3. Add the Batting
The batting will give your embroidered box project its soft structure and dimension.
- Cut a piece of batting slightly larger than the placement line stitched on your stabilizer. This extra size ensures the entire area will be covered once the batting is secured.
- Lay the batting over the placement line. Make sure it’s smooth and covers the entire area within the stitched outline.
- To prevent the batting from shifting during the embroidery process, it needs to be secured. While tape can be used, for this step, I used sewtites (magnetic sewing pins). They provide a strong hold without leaving any residue. Place the sewtites around the edges of the batting, outside of where the stitching will occur.
- With the batting in place, return the hoop to your machine. Stitch the next step of the design – a tacking line, which is essentially a basting stitch that goes around the placement line. This tacking line will attach the batting to the stabilizer.
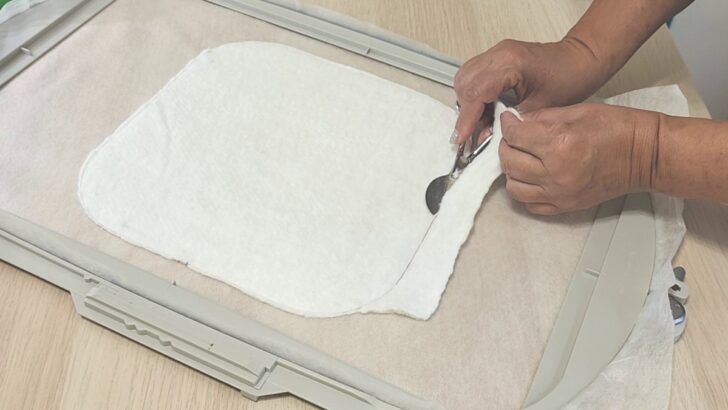
Step 4. Trim the Batting
Once the tacking line is stitched, you’ll need to trim the excess batting.
- Gently take the hoop off the machine, ensuring that you keep the fabric and stabilizer firmly in place within the hoop. It’s important not to unhoop your project at this stage, as doing so will misalign your work.
- For trimming the batting, duckbill scissors are the ideal tool. Their unique design allows you to cut close to the stitching without risking damage to the fabric or the stabilizer beneath. The flat, wider blade of the duckbill scissors will slide smoothly under the batting while the sharp pointed blade trims, giving you a clean, close cut.
- Carefully trim around the tacking line, removing the excess batting beyond the stitches. Take your time and follow the contours of the stitching closely for a precise cut.
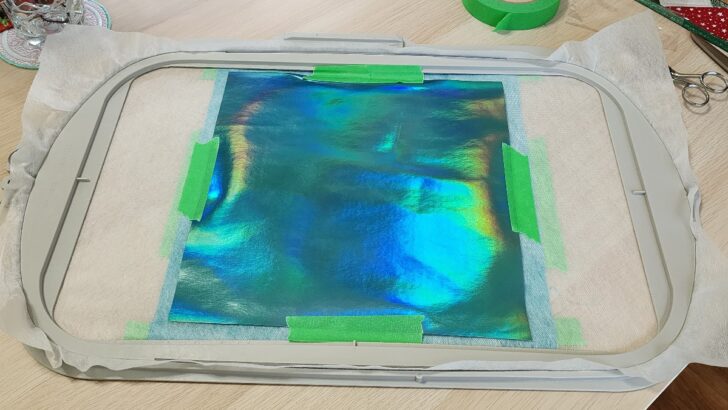
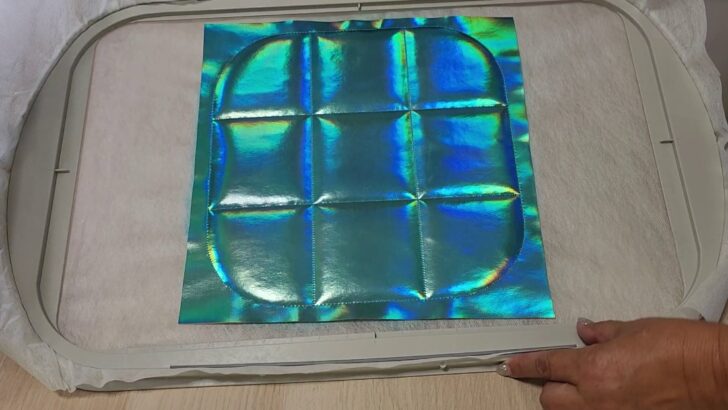
Step 5. Add Vinyl and Lining
Now it’s time to add the decorative and functional layers to your embroidered box project.
- Cut a piece of vinyl slightly larger than the tacking line on your batting.
- Lay the vinyl over the batting, aligning it carefully to cover the entire area within the tacking stitches. Smooth out any wrinkles or bubbles in the vinyl to ensure it lies flat against the batting.
- Secure the vinyl to prevent any movement during the embroidery process. You can use a small amount of tape at the edges, outside the area of the design, to hold the vinyl in place.
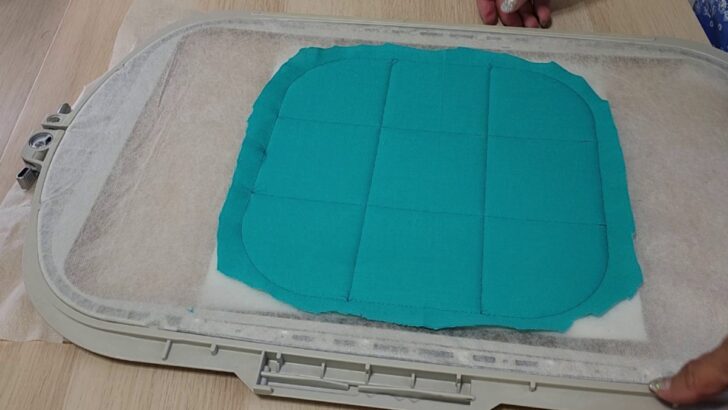
- Cut a piece of lining fabric that is also slightly larger than the design area. This fabric will form the inside of your box, so choose something that complements the vinyl color.
- Flip the hoop over so you’re looking at the back. Tape the lining fabric over the back of the design, making sure it’s centered and covers the entire area of the tacking line. As with the vinyl, smooth out the lining fabric and secure it with tape beyond the design boundaries.
- Carefully place the hoop back into the machine, ensuring that the lining and vinyl remain properly positioned.
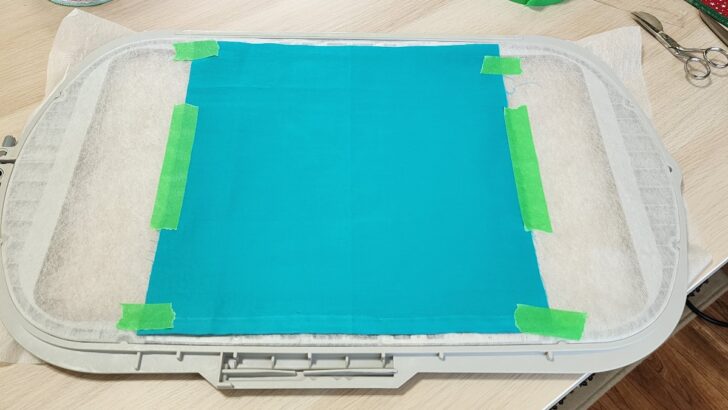
Step 6. Run the Tacking and Grid Line Stitches
With the vinyl and lining properly placed and secured, you’re ready to move on to the next steps in your embroidery project.
- Choose the thread color for the tacking stitch. This color should ideally blend with your vinyl, as it will be visible in the final product. Thread your machine with the chosen color.
- Start your machine to run the tacking stitch. This stitch will secure the vinyl to the batting and the stabilizer, as well as attach the lining to the back. It’s important to monitor the machine during this process to ensure that the vinyl and lining don’t shift and that the stitches are being properly placed.
- Once the machine has completed the tacking stitch, pause to check that the vinyl and lining are firmly attached with no puckering or wrinkles. If everything looks good, you can move on to the next stitching step.
- Resume the embroidery with the machine now programmed to stitch the grid lines onto the vinyl. These lines add detail to the design and will also create a guide for a later step.
Step 7. Trim the Lining
- Remove the hoop from the embroidery machine, making sure not to disturb the project that is still snugly hooped.
- Carefully peel off any tape that was used to secure the vinyl and the lining. Be gentle to avoid pulling at the stitches or distorting the fabric.
- Flip the hoop over to access it. Trim the excess lining fabric close to the tacking stitches. Be cautious not to cut the tacking stitches or the stabilizer, as this could cause the lining to come loose or the project to lose its tension.
- You need to trim the lining so it won’t get caught in the machine’s foot or needle during subsequent stitching.
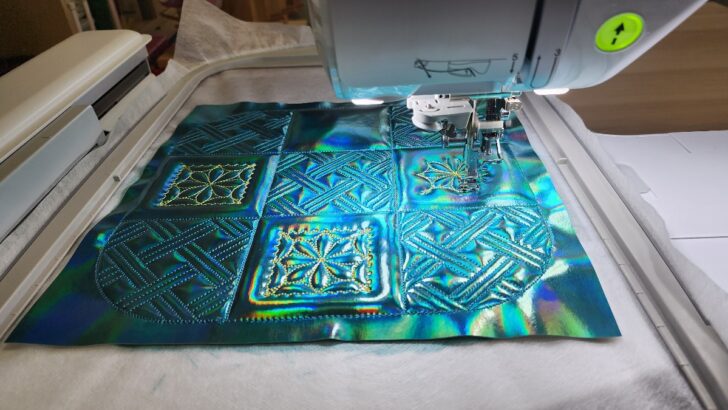
Step 8. Complete the Embroidery
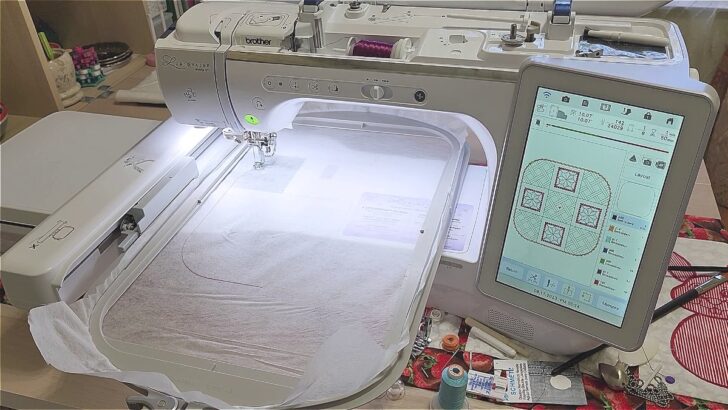
- Insert the hoop back into the embroidery machine.
- Select the next step in your machine’s embroidery program and begin stitching. The machine will continue to add the design elements to your project.
- Be prepared for thread changes. Keep a close eye on the embroidery process. Although machines can operate independently, it’s important to be present to resolve any issues that may arise, such as thread breaks, jams, or if the machine needs a bobbin change.
- After the machine stops, remove the hoop. It’s now time to unhoop your project and proceed with any post-embroidery finishing steps.
Step 9. Remove and Trim the Design
- Gently release the hoop’s fasteners and lift the fabric out.
- Peel away excess stabilizer from around the embroidery.
- Using sharp fabric scissors, cut around the embroidered box design. You should cut through all the layers—batting, vinyl, and lining—ensuring to leave a small margin around the stitching to avoid unraveling of the threads. Avoid cutting too close to the stitching to prevent it from coming apart.
- Once trimmed, inspect the edges and the overall piece to ensure a clean finish.
- Next you will need to transform the flat embroidered design into a three-dimensional box.
Step 10. Stitch the Box Shape
Lay your cut-out embroidered design flat with the right side facing down.
Fold the corners of your design, bringing the wrong sides of the material together. Align the grid stitches that you’ve previously embroidered.
Before sewing, it may be helpful to use clips to hold the edges in place, especially if you’re working with materials like vinyl that could shift during sewing.
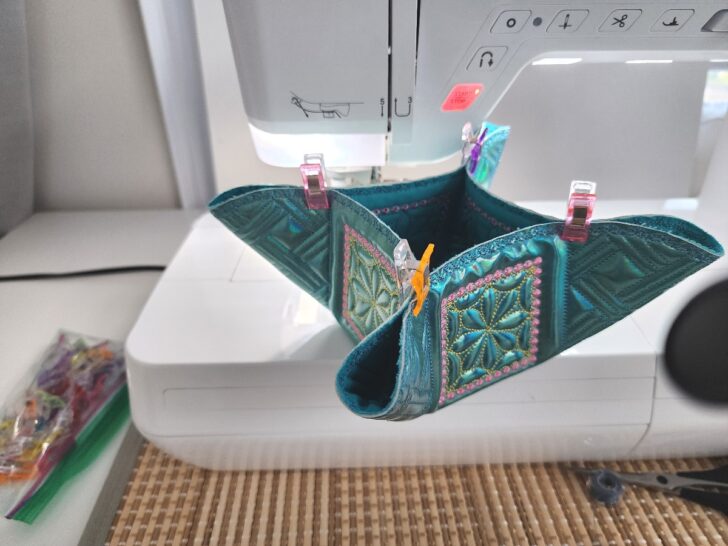
Stitch along these crossbars, which will become the actual corners of your box. Choose a matching thread and set the machine to a straight stitch with an appropriate length for your fabric.
For added strength, you might want to go over the stitching a second time or use a zigzag stitch to reinforce the seams, particularly if the box will be subject to wear and tear or frequent handling.
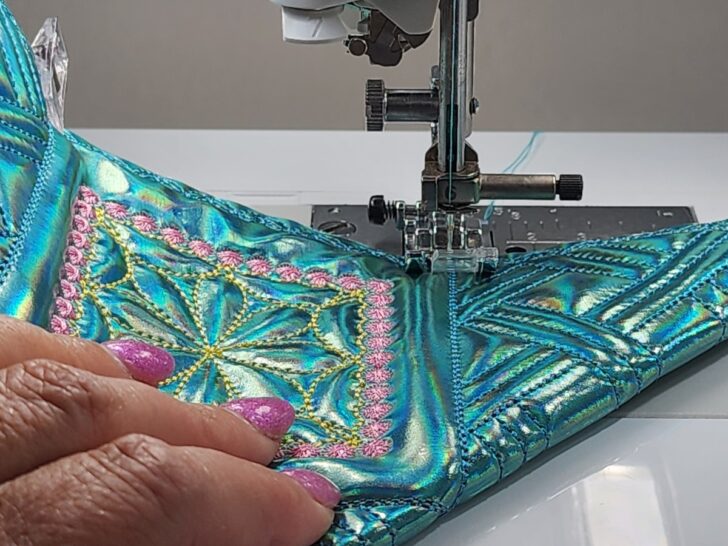
Give your box a final inspection to ensure that all corners are properly aligned and that the box sits flat and even.
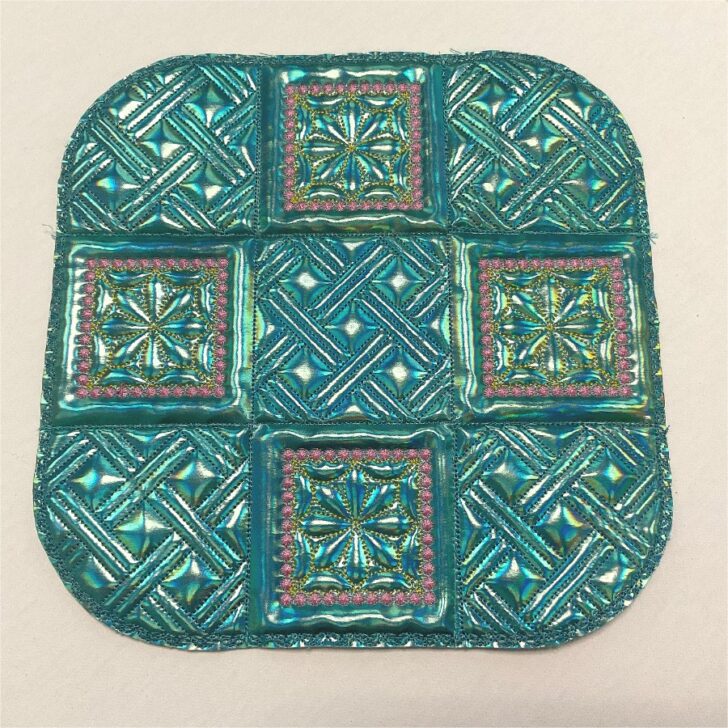
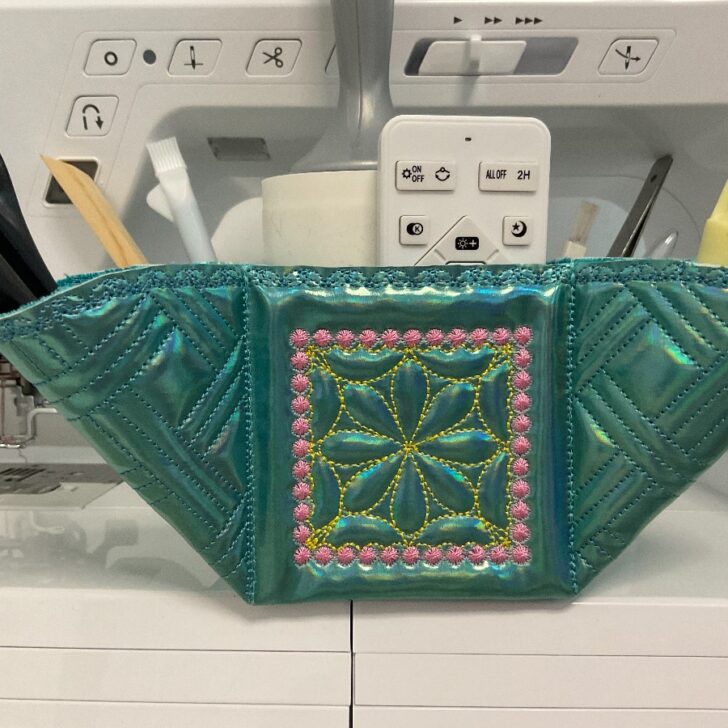
And here is the result.
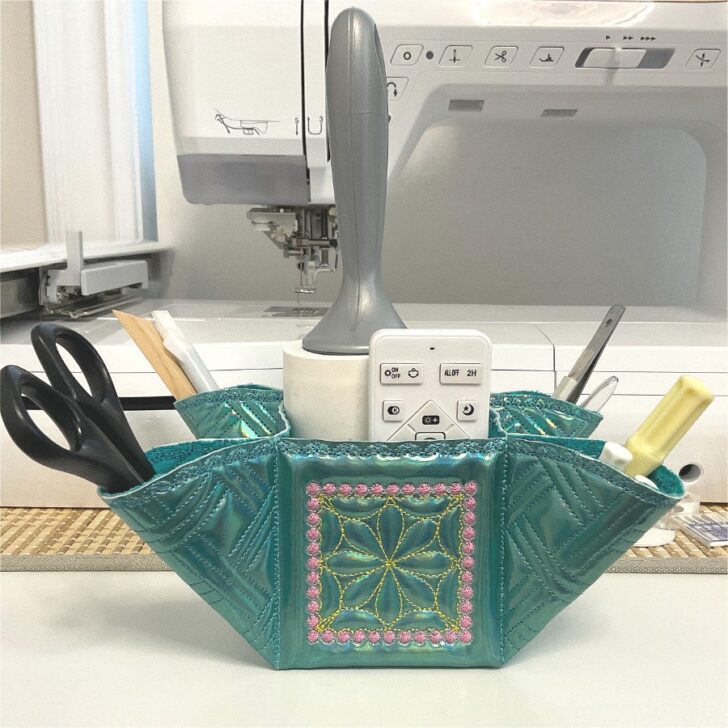
You can use it to hold a variety of items depending on your needs. It’s perfect for keeping your desk clutter-free by serving as a pencil holder, or in the bathroom to organize makeup tools.
Personally, I’ve found it very useful for storing my sewing essentials. The compartments are ideal for neatly organizing small screwdrivers, a seam ripper, a marking pen, small scissors and a tiny brush, which is essential for keeping my sewing machine clean from lint and dust.
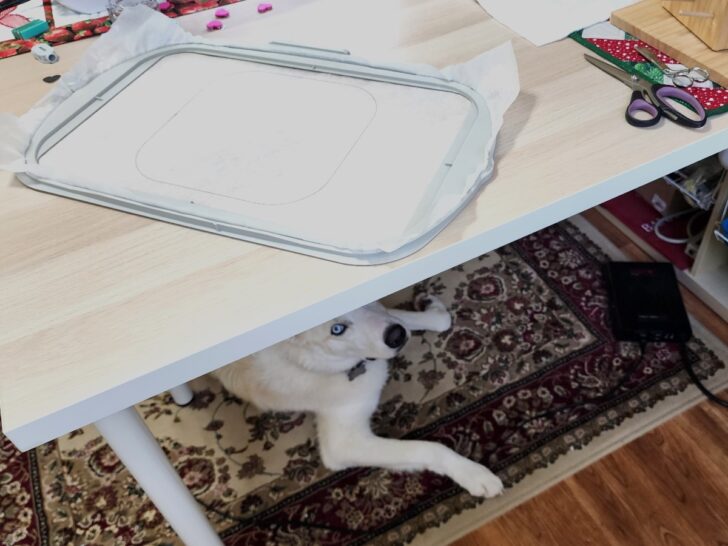
In the central part of the box, I keep a lint roller. As a pet owner with two dogs, I know all too well how fur can find its way onto fabric projects. The lint roller is now always within reach. I also have space for my hand cream and a remote for the room’s light, which I used to misplace constantly.
Was this tutorial useful to you? Don’t forget to bookmark this pin (see below) to your embroidery board for future reference on creating an in-the-hoop embroidery box. Plus, stay connected by following me on Pinterest for a wealth of additional tips, tutorials, and creative inspiration!
In-the-hoop Embroidery Projects


latest posts
- What Do You Call a Person Who Sews? I Asked My Readers and Got 1,408 Opinions
- DIY Round Purse: PDF Sewing Pattern and Detailed Instructions
- Mini Wonder Clips By Clover: Useful Sewing Tool Or Just Another Notion?
- Non-Slip Grips For Quilting Rulers: A Small Notion With A Useful Job
- Fabric Eraser for Sewing: What It Removes and When to Use It
- What Is The Best Thread For Sewing Machine Projects? Let’s Find Out!
- Butterfly Quilt Block Tutorial – Foundation Paper Piecing
- How To Sew Quilt Squares So The Corners Match
- Sewing With Fork Pins: How They Help With Pattern Matching, Slippery Fabric, And Seams