
How To Make Half Square Triangles (A Brother Luminaire Tutorial)
I like innovations in life and especially in sewing. And I like to come up with new ideas and new ways of doing something using new technology and modern sewing tools. So in this tutorial, I want to show you how I can make 16 perfect half-square triangles at once with precision (and I don’t need to trim them after I am done) and very fast with my embroidery machine Brother Luminaire. You can do it with Babylock Solaris as well.
I am quite new to quilting and I just LOVE the end results of my efforts (aka quilts) but I don’t like to cut lots of identical pieces over and over and over again. So I come up with some ideas that help me to avoid it.
This is one such idea. I am often using my Brother Luminaire embroidery machine for creating quilt blocks.
I digitized this embroidery design and it works great as my template for making identical half-square triangles. Let me show you. The whole embroidery takes only 5 minutes. But with changing threads it will be a bit longer.
Attention! If you like the video format, at the bottom of this post, look for a YouTube video version where there is a step-by-step tutorial on how to make 16 half-square triangles at once with an embroidery machine Brother Luminaire. For a more complete picture, I recommend exploring both versions.
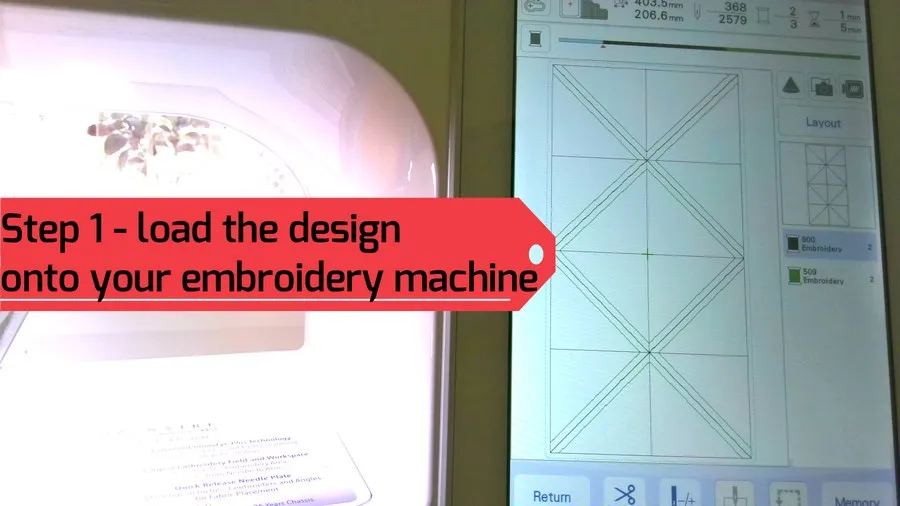
Step 1 – load the design for 16 half-square triangles onto your Brother Luminaire embroidery machine
The design is created for final squares of 3 inches in size (3.5 inches before sewing).
I can use this design as many times as I need and the resulting squares are completely identical and don’t need trimming to size. They all exactly are 3.5 x 3.5 inches, period!
✅ Related tutorial: Machine Embroidery Needles 101: how to choose the right needle for your embroidery project
This design is free for subscribers to my newsletter and is stored in my Resource Library. If you are a subscriber you can get the PES files from the Library. Or subscribe to the form below to get the password to access the Library.
Step 2 – hoop a piece of TEAR-AWAY stabilizer
Note: Some of the links on this page are affiliate links. This means I will receive a commission if you order a product through one of my links. I only recommend products I believe in and use myself.
Use the biggest hoop 10 ⅝ x 16 inches. The stabilizer must be tear-away – the one that you can easily tear away.
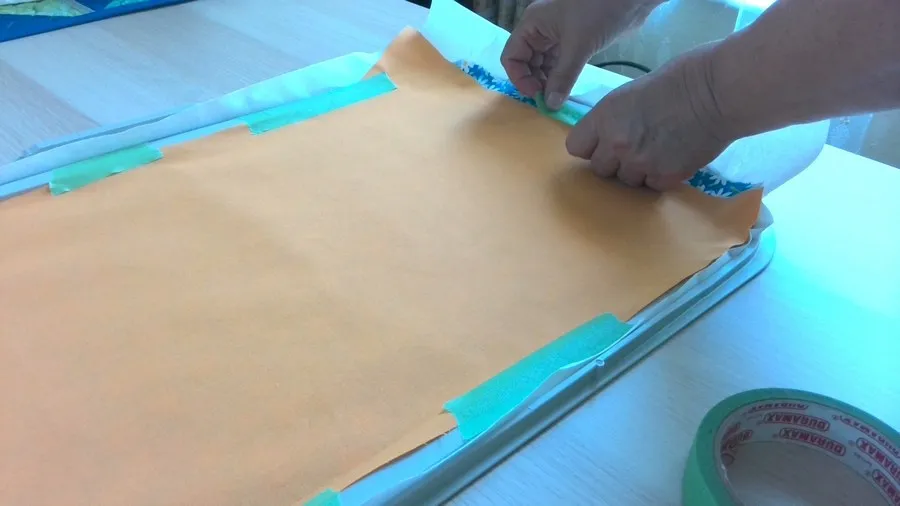
Step 3 – run a placement stitch for the half-square triangles design
Prepare 2 pieces of quilting cotton you want to use for the half-square triangles to cover the placement stitches. Place the first piece over placement stitches right side up and place the second piece right side down on the first one. Smooth all wrinkles and folds, the fabric should lay completely flat. It’s very important if you want your half-square triangles to be identical.
You can even iron the fabrics together before placing them on the hoop – ironing helps them to stick to each other.
Use painter’s tape to secure the fabric to the hoop so it doesn’t move at all.
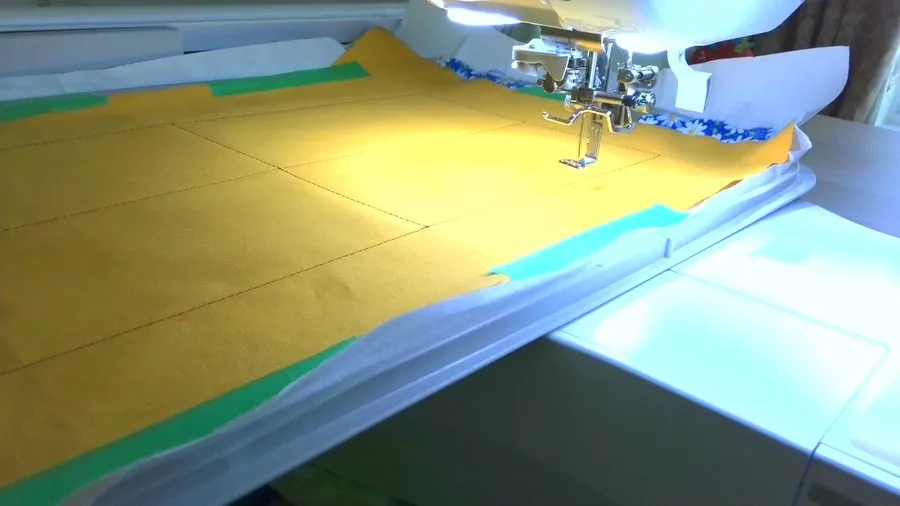
Step 4 – run the next step of the half-square triangles design which is CUTTING lines
For this step use regular polyester embroidery thread of contrasting colors to the fabric.
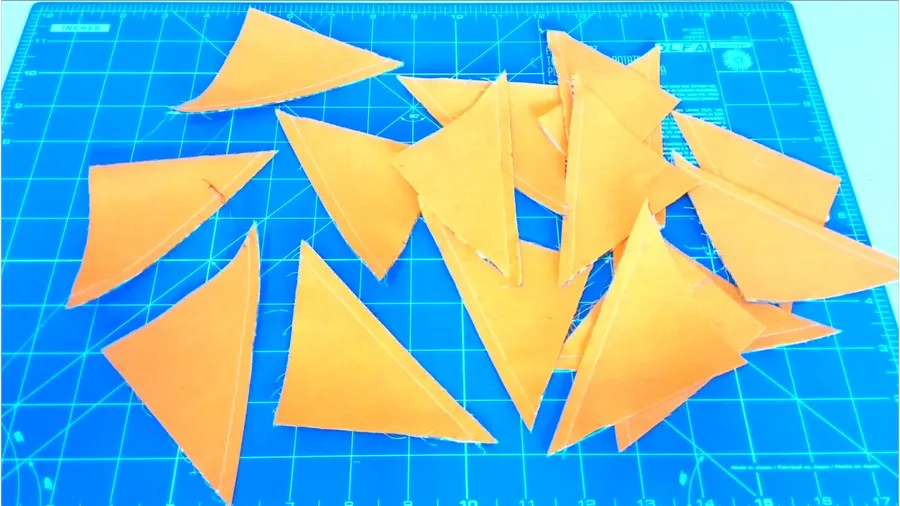
My fabric is yellow so the red color for the cutting lines seems good.
Have in mind the cutting lines are made with running stitches of 3.5 mm long.
✅ Related tutorial: Sewing thread types and uses
Step 5 – run the last step of the design which are actual SEAMS of the half-square triangles

For this step, it’s better to use 100% cotton thread (that’s what I think). And the running stitch length is set to 2 mm in the design.
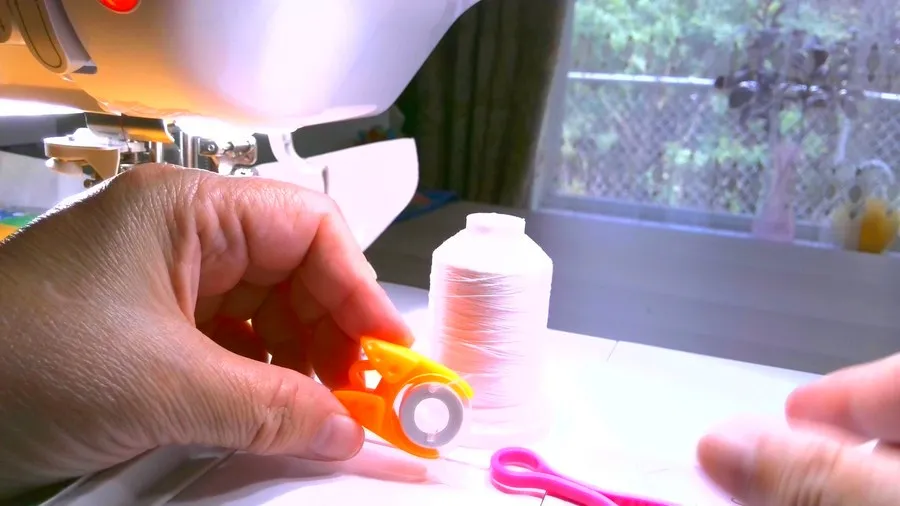
Let me show you some useful new gadgets for the threads. This one that’s called bobbin thread holder (in the image below) helps to keep the bobbin with the thread it was filled with. Very useful, because I like to know what kind of thread I have in my bobbins.
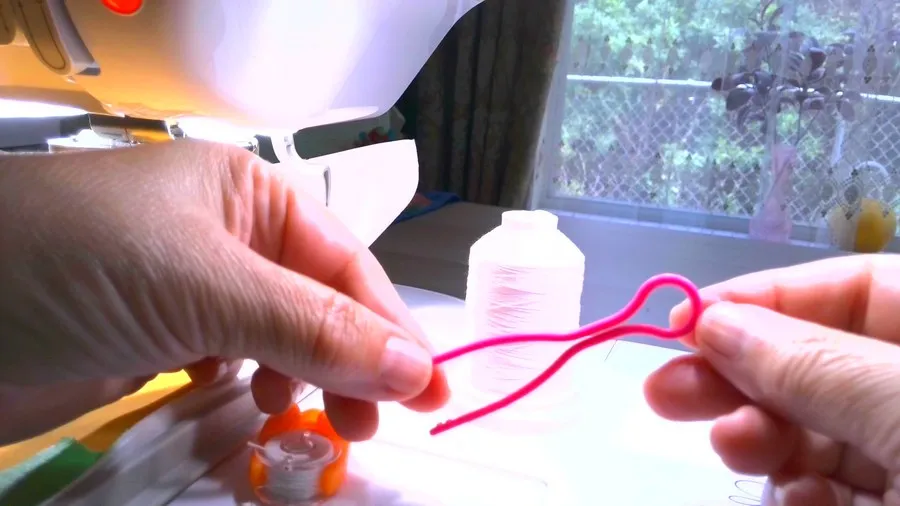
And this one called a bobbin clip (or clamp) helps to hold the thread tail on the bobbin.
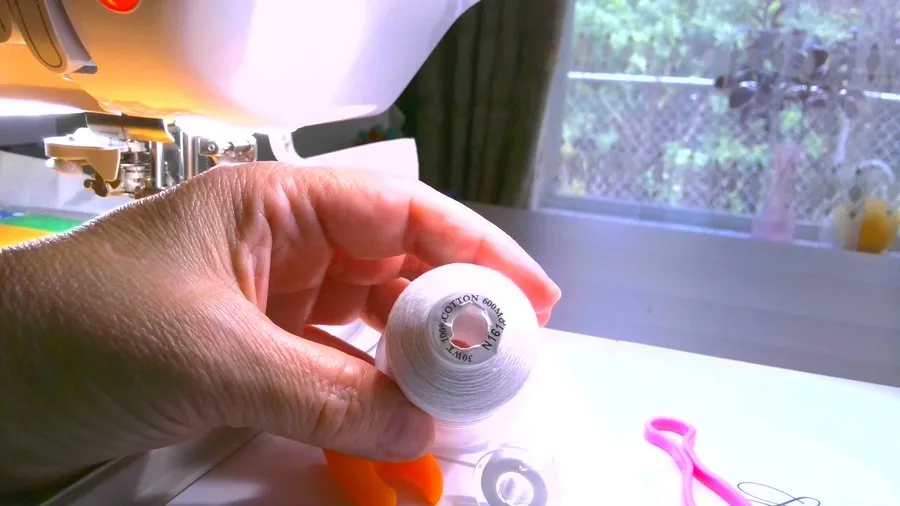
This 100% cotton thread is made for embroidery which is really good because regular quilting cotton threads are shredding a lot if used for embroidery and this is not good for embroidery machines as they make a lot of lint. I bought it recently on Amazon.
Step 6 – cut the half-square triangles
I am going to use my new rotary cutter. A Martelli rotary cutter. I see that the blade is completely covered. They say it requires less pressure to cut fabric which is perfect for hands with arthritis, carpal tunnel syndrome, tendonitis, or hand fatigue.
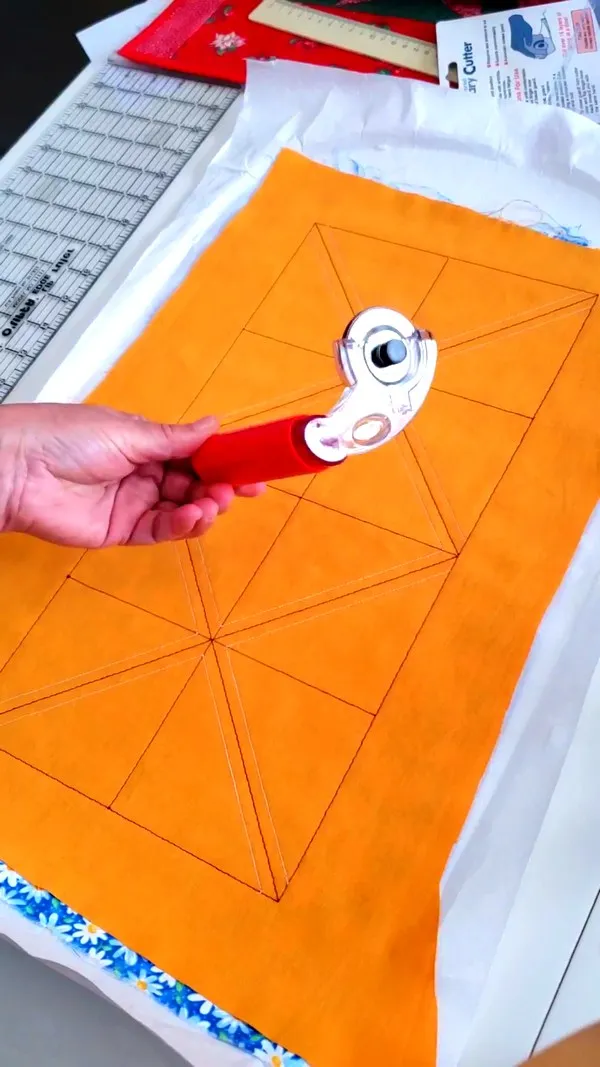
I think it’s better to start cutting the half-square triangles with the lines of the long rectangle.
Cut exactly over stitches if you want your squares to be identical.
They say I have to cut with my hand down in a horizontal position like holding a computer mouse. Well, it feels unusual. The blade is very sharp and they say it can cut 15 layers at once.
Here I have all my half-square triangles.
Now I will need to tear away the stabilizer which is really easy to do. The needle perforated the stabilizer and it’s tearing away easily.
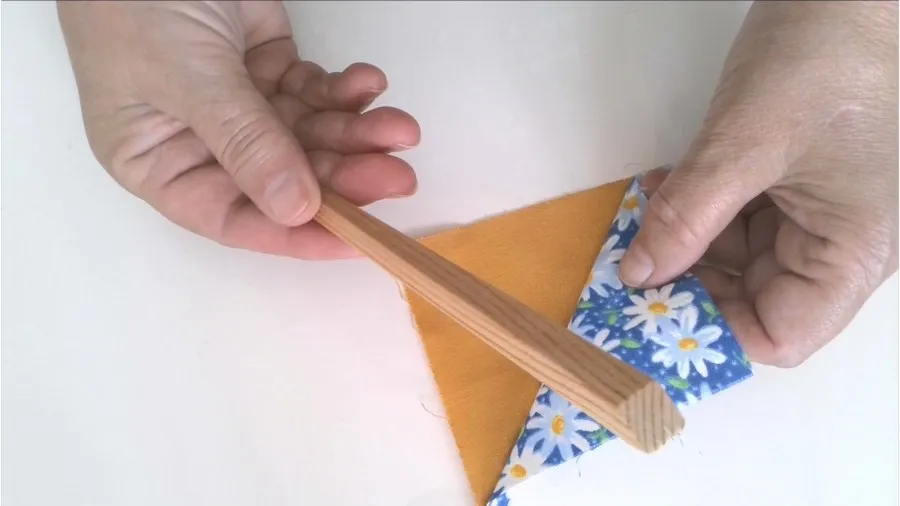
Next, I will need to press them. Before pressing I like to use my finger presser – it’s actually a wooden stick specially made for pressing short seams. It works so well! Now I can iron over my triangles without any problem.
And the last thing – cut “dog’s ears” in the corners. I can use my rotary cutter, but I prefer scissors.
So here is my YouTube video. Check this out if you like to see how I make 16 half-square triangles at once with the Brother Luminaire embroidery machine (instead of reading…).

So, if you liked this method and want to use it with your Luminaire or Babylock Solaris you can get the free design but you need to subscribe to my newsletter, the design is in my Resource Library.
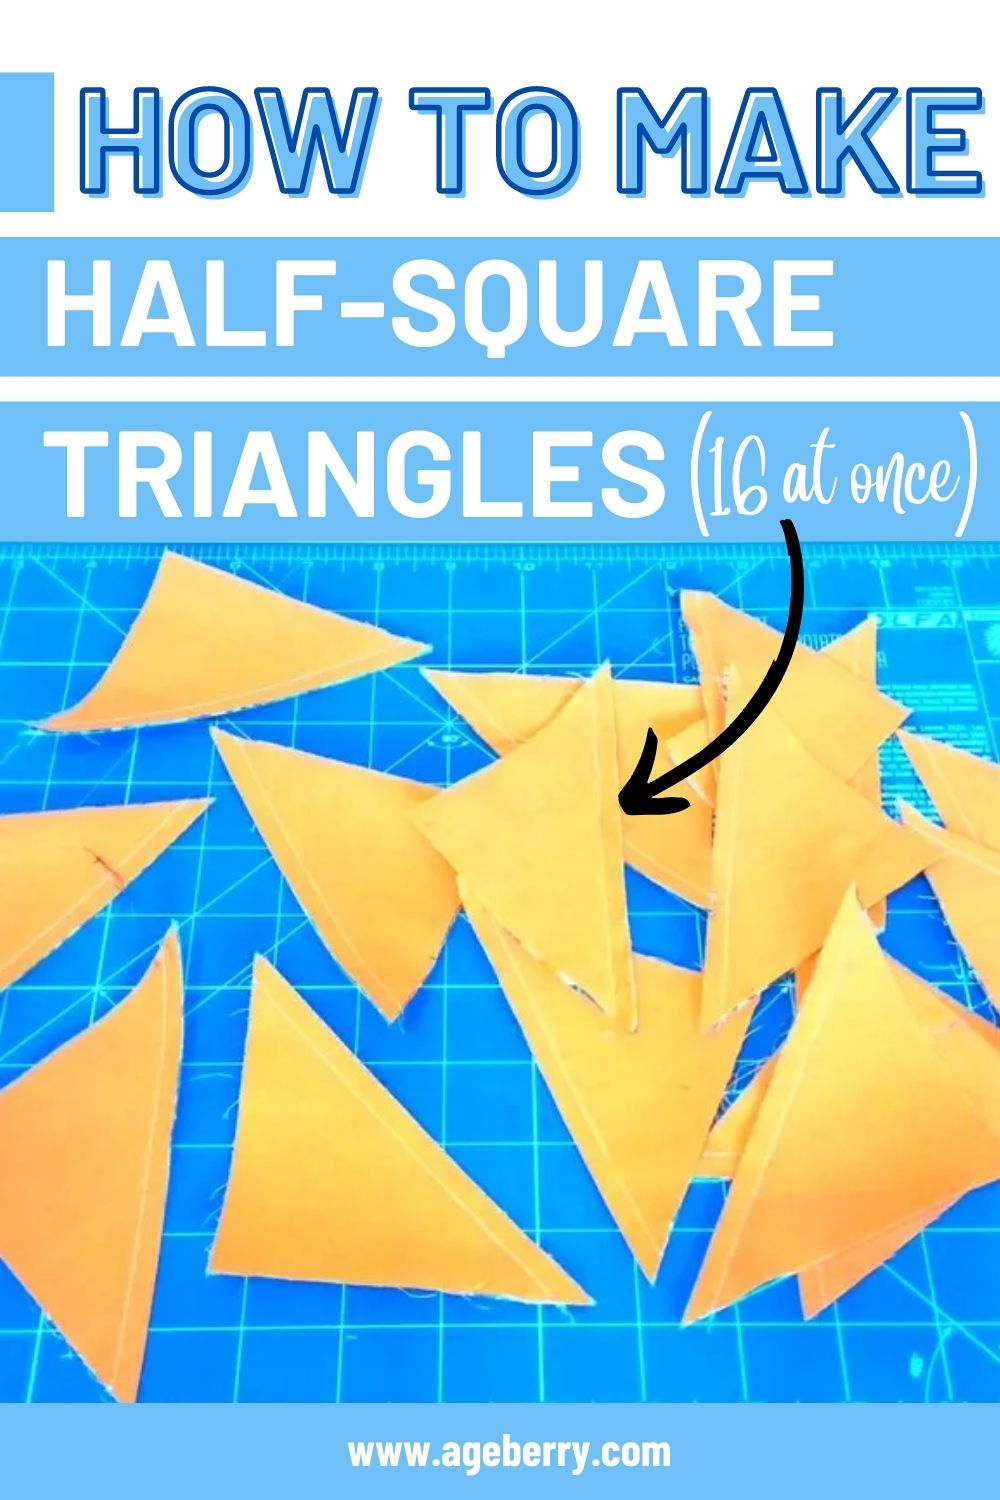
Did you find this tutorial helpful? If so, save this pin (see below) on your sewing board so you can come to this tutorial later when you are ready, and follow me on Pinterest for more tips, tutorials, and inspiration!
latest posts
- What Do You Call a Person Who Sews? I Asked My Readers and Got 1,408 Opinions
- DIY Round Purse: PDF Sewing Pattern and Detailed Instructions
- Mini Wonder Clips By Clover: Useful Sewing Tool Or Just Another Notion?
- Non-Slip Grips For Quilting Rulers: A Small Notion With A Useful Job
- Fabric Eraser for Sewing: What It Removes and When to Use It
- What Is The Best Thread For Sewing Machine Projects? Let’s Find Out!
- Butterfly Quilt Block Tutorial – Foundation Paper Piecing
- How To Sew Quilt Squares So The Corners Match
- Sewing With Fork Pins: How They Help With Pattern Matching, Slippery Fabric, And Seams


Hello Olga – I discovered your Half Square Triangles tutorial and have downloaded the PES file but my machine (Brother Innovis XV8550) but the machine won’t accept the design. I’ve tried every trouble-shoot I can find and I’m still unable to get it to work. Any suggestions would be appreciated!
Thank you for bringing this to my attention. The Innovis 8550 has a maximum design size of 9.25×14 inches if I am not mistaken. The design I made is for the Luminaire (one generation later) which accepts 10.25×16 (or thereabout) designs. The design for 32 triangles will not fit in a 9″ wide design so this is probably why the Dream Machine does not take it. The solution would be to either make a smaller triangle or a smaller number of triangles at one time, and that both would require redesigning the procedure. I will think about it perhaps in a future version.
I have a machine that is different too.
What size is the square before it is divided (on screen)? (Edge to edge stitches).
I could use a square boundary frame to stitch the square that size. Then use stitch stacking to divide the square diagonally, by rotating the stitches (that are in another frame) Like what is posted in this video
( https://www.youtube.com/watch?v=axRbSO3uSHQ ). That way I can still do the same thing you did here, and have this design fit my machine.
The square size is 197.2 mm or 7.76 inches. Hope it helps!