
How to make a chair cushion
Summer is here and it’s the best time to spend a day off or a weekday evening in your backyard. How pleasant it is to sit in a backyard surrounded by greenery and listen to the birds! But no matter how good the chairs are, without cushions they will not be comfortable enough.
To make your chairs as comfortable as possible, you need chair cushions. In this sewing tutorial, I will show you how to make the cushions for your outdoor furniture using your old faded, and worn cushions.
You don’t need to spend a fortune to make your outdoor furniture look nice. And the best part of it is since you don’t spend a lot of money you can renew the cushions as often as you like.
Attention! If you like the video format, at the bottom of this post, look for a YouTube video on How to make a chair cushion where you will find really helpful information on … well, how to sew cushions for outdoor furniture. For a more complete picture, I recommend exploring both versions.
Select and Prepare Fabric for Chair Cushions
Outdoor chair cushions are usually sewn from durable fabric that can withstand significant usage.
Look for outdoor fabric that has the following requirements:
- easy to clean
- UV resistant. It is good if the fabric doesn’t fade in the sun and retains its original appearance for a long time. The manufacturers have managed to improve the fade resistance of fabrics with persistent dyes.
- resistant to high humidity and high temperatures
- resistant to water damage
- dries fast
- mold and rot resistant
All outdoor fabrics are specially treated so they can withstand outdoor conditions.
There are many different types of outdoor fabrics, if you would like to know more check out an article on my site Best fabric for outdoor furniture and cushions.
I made a mistake once (many years ago) and made outdoor chair cushions from regular home decor fabric. The design was nice but after only a month of usage in my backyard, the fabric was sun-bleached and lost its colors.
So choose your fabric wisely.
Note: Some of the links on this page are affiliate links. This means I will receive a commission if you order a product through one of my links. I only recommend products I believe in and use myself.
The next question people usually ask is – do you prewash the outdoor fabric for chair cushions?
Well, I didn’t prewash because the outdoor fabric is treated, and prewashing is not necessary.
But I steam-pressed it just in case.
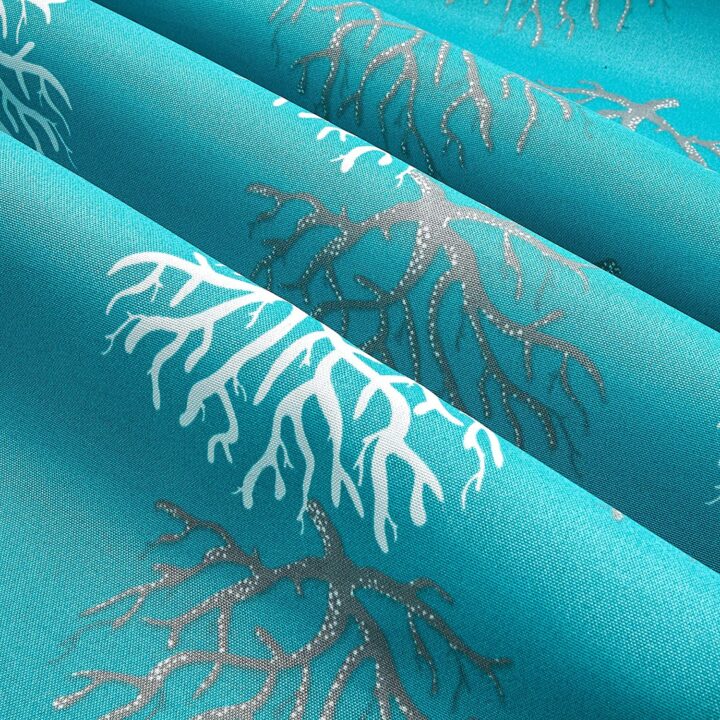
The selection of outdoor fabrics is huge now and I am sure you can find plenty of awesome designs that you like.
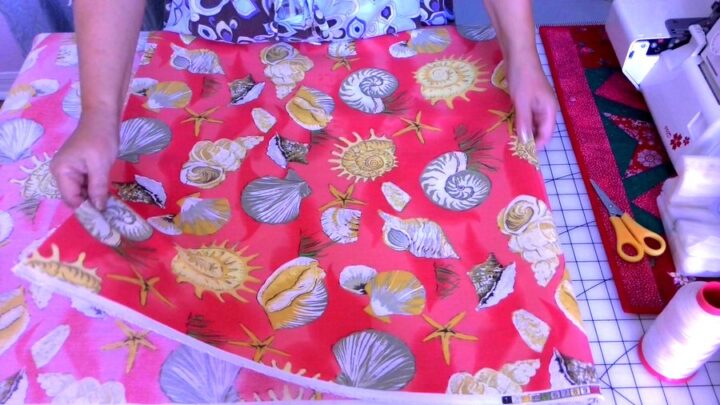
This is the design I’ve chosen.
I bought this fabric a year ago so I don’t think you can find this exact thing on Amazon now. But there are plenty of great designs like this one from PREMIER PRINTS.
Now we need to answer another question:
How many yards of fabric do I need for chair cushions?
Well, it depends! Let me show you how to calculate it.
First, consider the width of the fabric.
The outdoor fabric is usually 54 inches wide. So if your chair is 20 – 23 inches wide (a regular width for a chair) then you can make only 2 chair cushions on the width of your fabric.
Now let’s compute the length we need. The cushion has 2 panels (front and back) so you should multiply the length of the panel by 2. In my case, the length of one panel was 22 inches. So 44 inches is the length of the fabric for one cushion. But I need to add some material to it because they don’t cut fabric straight in stores.
You may say it’s not important but take a look at my article How to cut fabric straight. You will be amazed: sometimes the bevel is 5 inches or even more. So you have to protect yourself against this possibility. I decided to add 6 inches to my length.
So let’s say I need 50 inches for one chair cushion. If I buy 50 inches of fabric that’s 54 inches wide it would be enough for 2 chair cushions. And If I need to make 6 chair cushions I have to multiply 50 inches by 3. The result is 150 inches.
But they don’t sell fabric in stores in INCHES. They sell fabric by YARDS. Then how many yards do I need?
I have a fabric conversion calculator for this. The calculator will give me the closest yard fraction which is greater than 150 inches and with that, I can go to the store to buy fabric. Go to this link and you will see that I need 4 ¼ yards for 6 chair cushions. Simple!
Choose the Thread for DIY Outdoor Chair Cushions
I think the preparation work for making chair cushions for outdoor furniture takes longer than sewing itself. Well, it was certainly true for me. But don’t skip this if you want your chair cushions to last.
So, what is the problem with choosing the right thread?
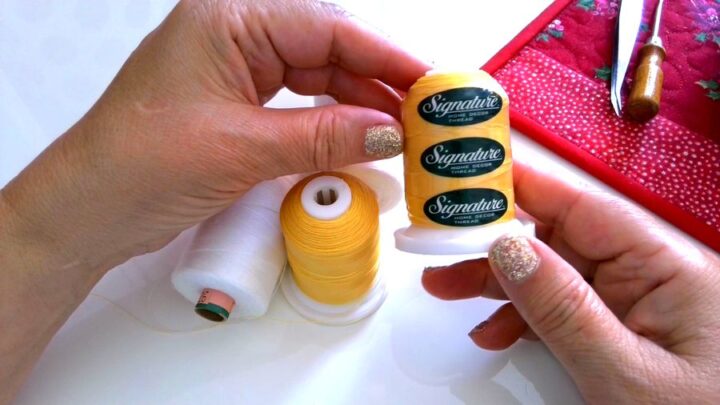
Well, not any thread will do in this case. The thread for outdoor chair cushions must be very strong (so it doesn’t break right away when you sit on the cushion a few times), durable, UV resistant and has to coordinate with your outdoor fabric.
Is there a thread like this? Certainly! I used the Sunstop thread from the American & Efird company. They say about this thread:
A&E‘s Sunstop® is a high performance multifilament polyester sewing thread. Offering advanced ultra-violet light protection, Sunstop® is ideal for outdoor applications where seam strength retention and fade prevention during UV exposure are required.
Sunstop® thread provides advanced UV protection, reducing strength degradation over traditional filament polyesters and color loss through fading. This product is also available in non-wick to help diminish moisture migration through the seams.
Unfortunately, I didn’t find Sunstop threads for home use on Amazon, I only found tex 135 threads which are too thick for home sewing. You may refer to my article Sewing thread sizes and how to choose for a better explanation of the tex numbers.
But you can use any bonded polyester or bonded nylon thread. Just choose not very thick bonded nylon thread they use for shoes, leather, vinyl, tents, etc.
Use thread that’s good for furniture and bags – tex 70! This is the largest size thread that in my experience will work well with home sewing machines.
Check this bonded nylon thread (that’s suitable for outdoor chair cushions) on Amazon.
Choose a Needle for Sewing Chair Cushions
Well, this is also important. The outdoor fabric is usually heavy-weight fabric. So the needle has to be thicker especially if you use a special thread for outdoor furniture.
I used universal Schmetz needles size 90/14 but size 100/16 is also a good choice.

Now, you can use your sewing machine to finish the project.
But I decided to use my serger. Why serger?
It’s faster.
The serger seams are very durable. I’ve chosen 4 thread 2 needles overlock stitch and it has two rows of straight stitches.
✅ Related tutorial: Best Serger for Beginners: Serger Buying Guide.
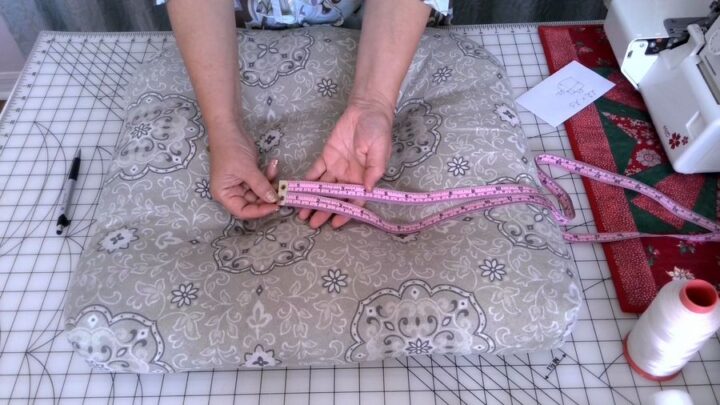
Measure Your Old Chair Cushion
This is a very simple process of course and should probably be the first step in your process. Just measure the length and the width of one panel from seam to seam. Any chair cushion has some volume. So consider the height too. Write the numbers on a piece of paper.
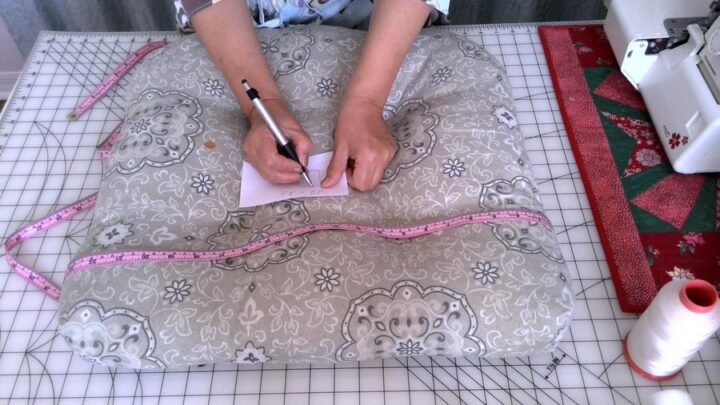
I am using my favorite tape measure. Do you think all tape measures are created equal? Not at all. I like to use a special tape measure with the scale that starts with a unit 1 at both ends: then no matter what end of the tape you take, the beginning of the scale will always be in your hands.
It seems unimportant, or even irrelevant, right? You will be amazed at how much time you save by not searching for the right end of the tape measure.
But there are some other details that I absolutely like. So check my tutorial All About Tape Measure for Sewing: Ultimate Guide
After measuring, my cushion is 22” x 23”.
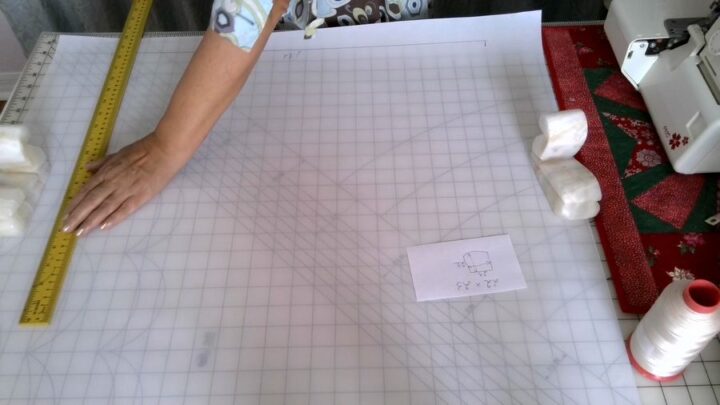
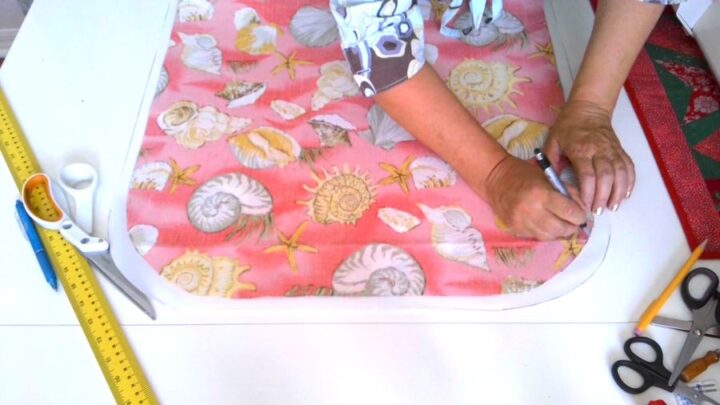
Make a Pattern on Paper for Your Chair Cushion
You can do it right on your fabric of course. It’s not difficult to draw a rectangle right on the fabric. But what if you need to make some adjustments after you made your first chair cushion? You need to make at least 6 of them at once and they must be equal, right?
So I am using vellum paper for my patterns.
The main thing here – is you have to keep the angles straight exactly 90 degrees. And the opposite sides have to be parallel to each other. I can do it easily using my cutting mat. It has an easy-to-read measuring grid.
My chair cushion has curved corners. So I have to make the same corners on my pattern.
I will draw the curved lines using … a dinner plate. If you don’t have any curved lines you will draw your pattern differently.
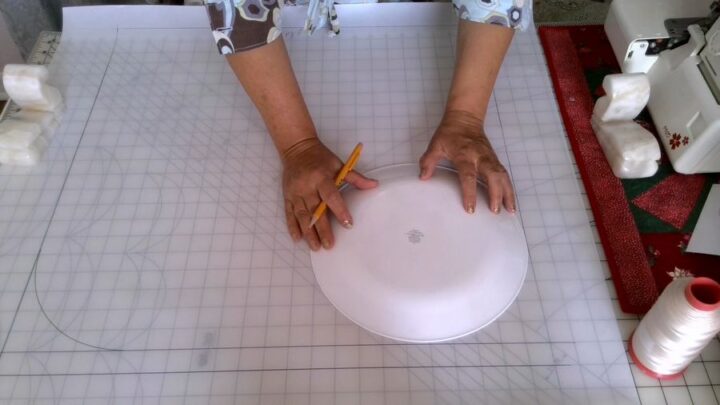
Don’t add any seam allowances to this pattern.
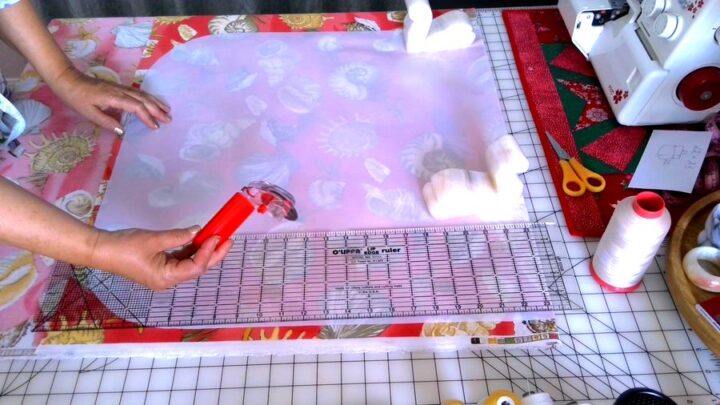
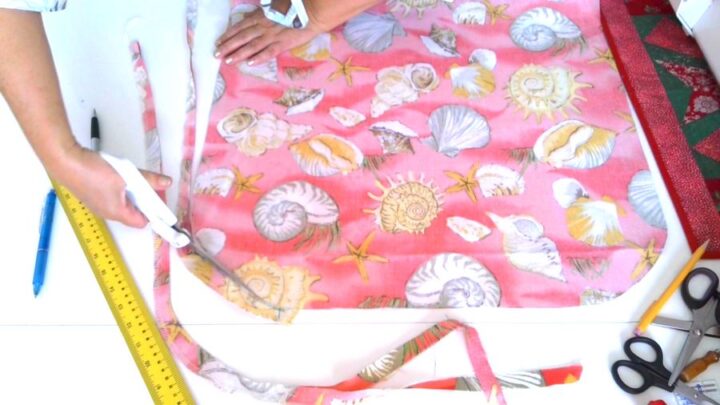
Cut Your Fabric
I will cut my fabric on the fold. Fold the fabric in half and use your pattern to cut the fabric. Cut the fabric only for ONE chair cushion for now.

I am using a rotary cutter to cut my fabric. This is a very special rotary cutter: see it has an unusual shape. It is a Martelli rotary cutter and there are two versions: for the right hand and for the left. I use the right-hand version. I bought it recently and I think it’s the best rotary cutter ever!
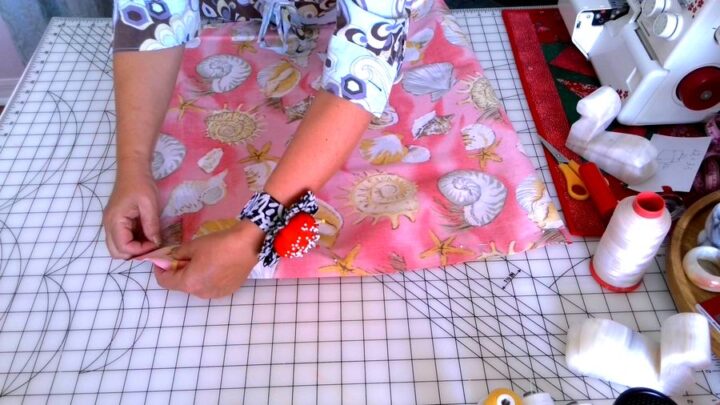
Pin the Seams or Use Wonder Clips
I prefer to use pins for serger projects. Insert pins parallel to the edge and make sure the distance is enough for the presser foot. Or take them off as soon as the presser foot reaches the pin.
Thread your serger and change the needle. The fabric needs a thicker needle. I am going to use the size of the Schmetz needle 90/14.
I have two sergers: an old simple Janome and a modern self-threading Juki MO-2000. For this project, I prefer to use my old serger because I am going to use thick fabric and thick thread. I usually keep my Juki for nice lightweight projects.
✅ Related tutorial: All About Self-Threading Sergers
Make the Stitch
Yes, it’s only one stitch all around. But don’t forget to keep an opening for turning it inside out. My opening is about 14 inches long.
But before you start stitching, test your serger settings on scrap fabric (it must be the same fabric though) and adjust settings as necessary.
When I tested my stitch on a scrap I got this:
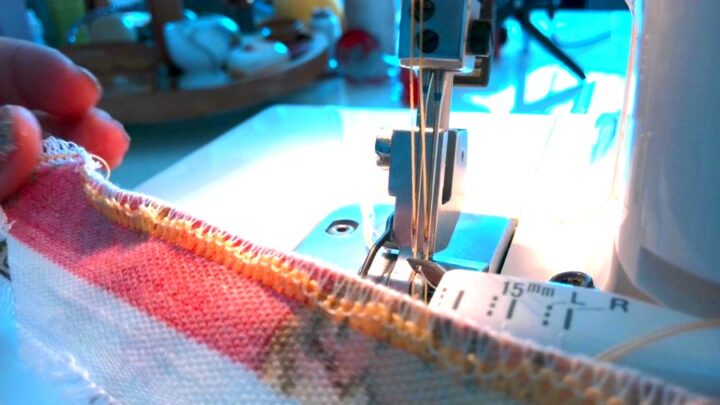
It’s obviously not acceptable. But it’s very easy to change tension settings so the serger stitch looks good.
Do you know how to do it? If not I have a very helpful serger course on how to use a serger SERGER MADE SIMPLE. Check it out if you are interested.
Try to Insert Your Old Chair Cushion Into This New Cover
You are going to try this test without turning the cushion right side out. This is only temporary.
If you see that the new cover is good then you are good to go and finish it.
But most of the time you will need to make some adjustments.
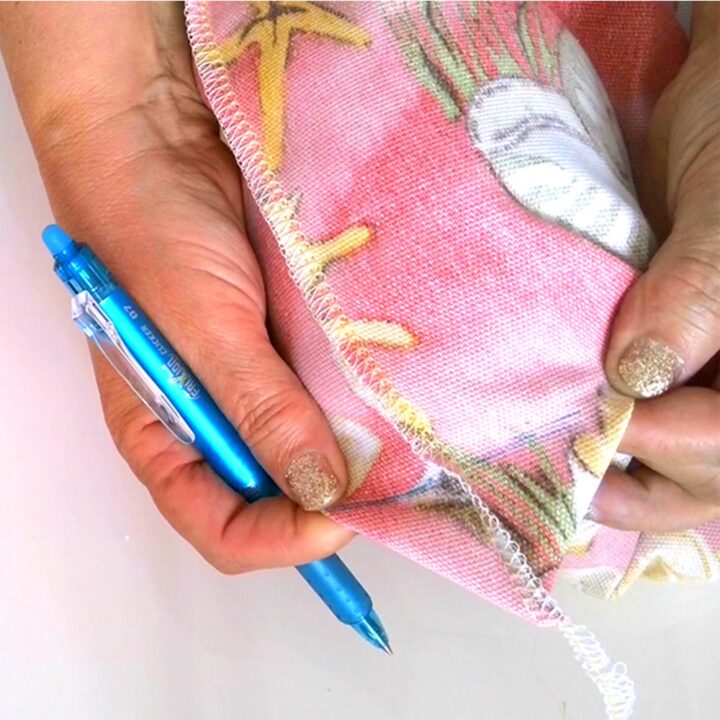
Here is my project: I can see that the cover is bigger than the old cushion, and I need to make it smaller at the sides (I think about half an inch will be great) and I need to make a new curved seam too. Well, it’s easy to do – just feel the old cushion inside and mark the new lines.
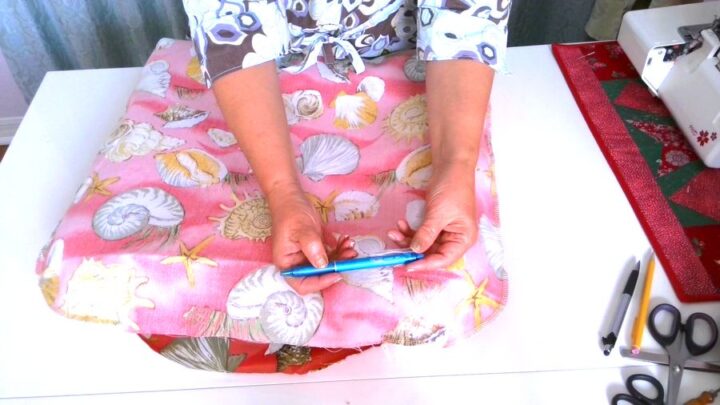
I am using my awesome Frixion pen as my marking tool. The marks are very visible and they disappear with the heat of an iron.
You also have to mark 2 corners because the cushion is not flat, it has some height too. It’s easy to do.
Redo the pattern and make a new stitch
Take the old cushion out, make new pattern lines, and cut the fabric along the new lines.
Why do you need to cut and not just sew using these lines? Because you need to redo the paper pattern too! You will need to use this pattern to make 5 more chair cushions and the pattern must be adjusted.
Now place the cushion you adjusted on the paper pattern and draw new pattern lines.
Use this pattern for the next 5 cushions and perhaps next year too.
Make a new stitch by serger.
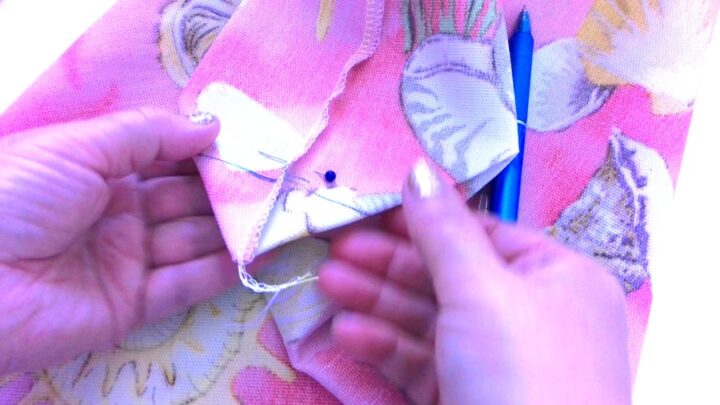
Also, stitch 2 corners.
For this, we have to fold the corner in such a way so the fold is aligned with the serger seam. If they are not aligning, move it a little until they are. When you position the corner correctly, pin it and mark the stitching line. We marked the corner in the previous step.
Now, do you know how to stitch by serger exactly along the marked line? I have a course on how to use a serger and there I am showing how to do it correctly. Check out this page for more information about my serger course.
Turn the cushion right side out and insert the old cushion inside.
Now it looks good and we can continue with finishing the project.
Sew the Opening Closed
I see that the opening in my old cushion was sewn by machine. But it wasn’t straight. I don’t like seams like that. I understand that manufacturers need to make things fast and they can’t afford to sew by hand. But that’s why I like sewing – I can make even simple projects look perfect.
So I sew the opening by hand. It’s a really simple hand stitch. I have a detailed tutorial on how to sew an invisible stitch, check it out.

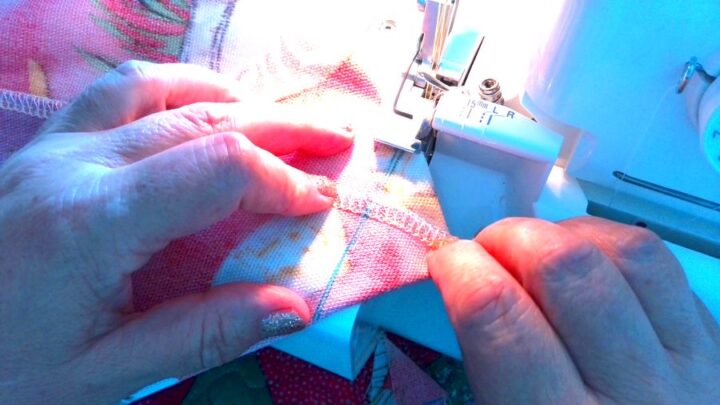
Sew Decorative “Points”
I see that chair cushions usually have these 4 points where sides are pressed together and there is almost no foam in there. I am not sure what they call these points. But I want to make them.
So, I find these points by hand, I can feel them through the new cover. And I sew them together using a very strong bonded nylon thread. Make the stitches almost in one place but not in exactly the same needle holes. Insert the needle a few millimeters apart from the previous hole.
I thought it should be easy to make these points. And it was easy until now.
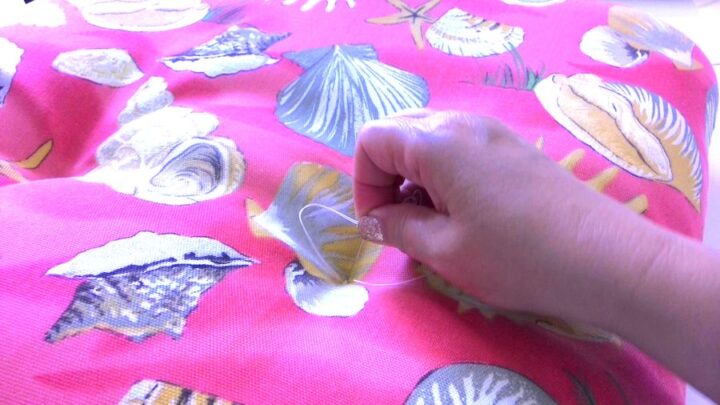
But how do I secure the thread now? The needle just doesn’t go. Let me try to use a curved needle.
Ok, I have the curved needle but I never used it before. Let’s see how it goes. Oh, that was great! I could secure the stitch!
So I did the same procedure with all 4 points and now I want to cover these stitches which don’t look nice to me, with some beads or buttons.
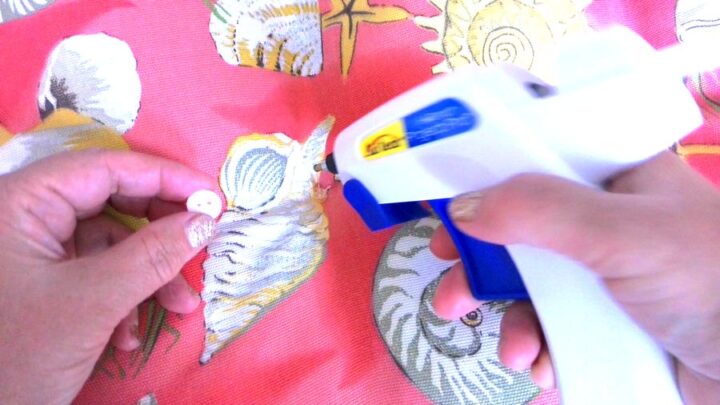
For obvious reasons, I decided to use small flat buttons. I don’t like sitting on beads even if they look nice. How to attach them? Well, a glue gun and a glue stick will do. I don’t think this button will ever go off the fabric.
Now the chair cushion is ready, I am satisfied with how it turns out and I am ready to make 5 more chair cushions like this one.
So here is my YouTube video. Check this out if you like to see how to make a chair cushion instead of reading…

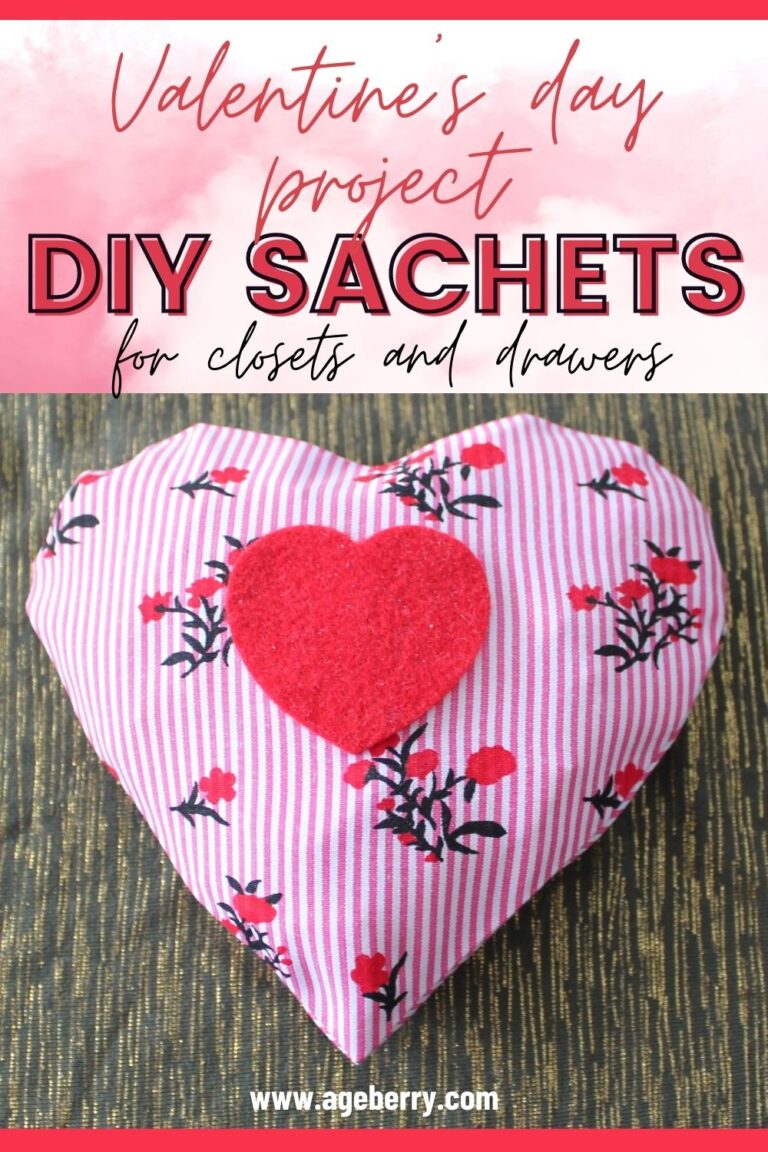
Did you find this tutorial helpful? If so, save this pin (see below) on your sewing board so you can come to this tutorial later when you are ready to make a chair cushion for your outdoor furniture, and follow me on Pinterest for more tips, tutorials, and inspiration!

latest posts
- What Do You Call a Person Who Sews? I Asked My Readers and Got 1,408 Opinions
- DIY Round Purse: PDF Sewing Pattern and Detailed Instructions
- Mini Wonder Clips By Clover: Useful Sewing Tool Or Just Another Notion?
- Non-Slip Grips For Quilting Rulers: A Small Notion With A Useful Job
- Fabric Eraser for Sewing: What It Removes and When to Use It
- What Is The Best Thread For Sewing Machine Projects? Let’s Find Out!
- Butterfly Quilt Block Tutorial – Foundation Paper Piecing
- How To Sew Quilt Squares So The Corners Match
- Sewing With Fork Pins: How They Help With Pattern Matching, Slippery Fabric, And Seams


Your latest post came just in time. I was going to buy mew cushions but I now I’ll make my own. You’re so inspirational! Fern