Buttons + creativity = miracle!
Usually, we don’t pay any attention to the buttons on our clothes until we lose one. Right? But buttons can be also used for embellishments or decorations.
If you know how to sew on a button you can create many beautiful things with a minimum amount of money and maximum creativity, feeling satisfaction and enjoyment in the process. If you don’t know how to sew on a button go to this article: How to sew on a button.
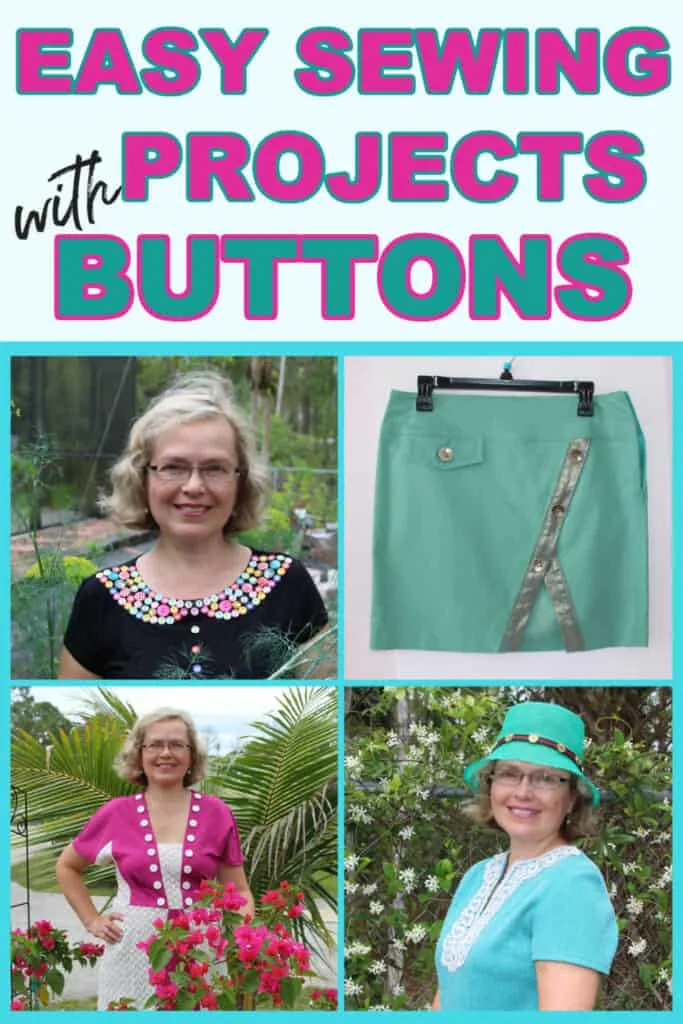
With buttons sewn on by hand, our clothes look unique, handmade, and even more valuable, because usually what we buy in stores is not decorated with buttons, if it is embellished at all, so this kind of decoration is certain to draw attention.
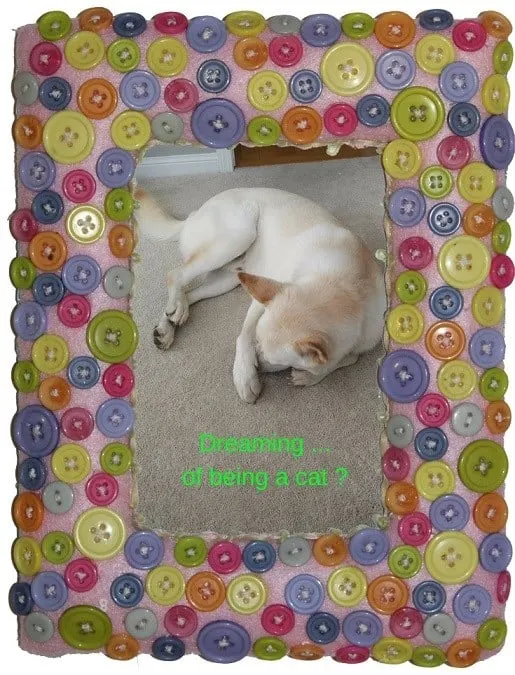
Your projects don’t need to be any big thing. A little goes a long way, and you do not need to limit yourself to clothes. Here is an example of something you probably did not think of: a picture frame embellished with buttons. I used it to display a funny image of my dog when he was still a puppy.
We live in a crazy time when we need to manage everything, always be on time, and keep all the things in memory ( if I could only remember where my phone is … ). Everything turns out to be important, valuable, and urgent – including the buttons! Yes, those buttons, to which no one pays attention. For example, if I ask you about the jacket that hangs in your closet, what kind of buttons there are, most likely, you do not even remember.
Yes, we are all busy but everyone still finds time to run into social media and hang out there, reading everything. I also hope that you will give this article a couple of minutes, you may change your opinion and I am sure that these little secrets about buttons will be useful to you.
Below are images of some items I decorated with buttons; it is one of my favorite embellishments, second only to embroidery. Easy to do, costs almost nothing (who does not have jars of buttons at home?), and the result can really be beautiful. See for yourself.
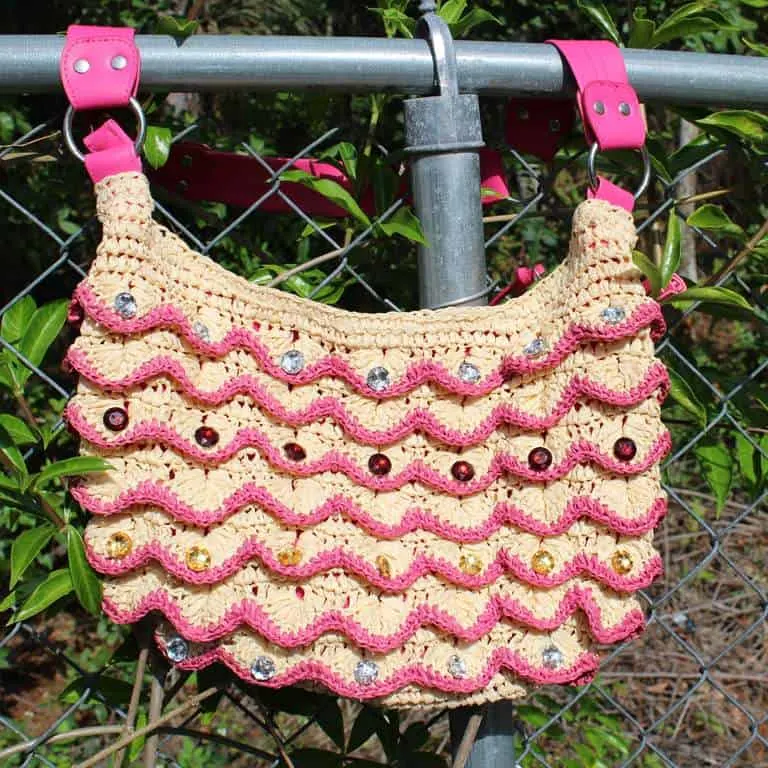
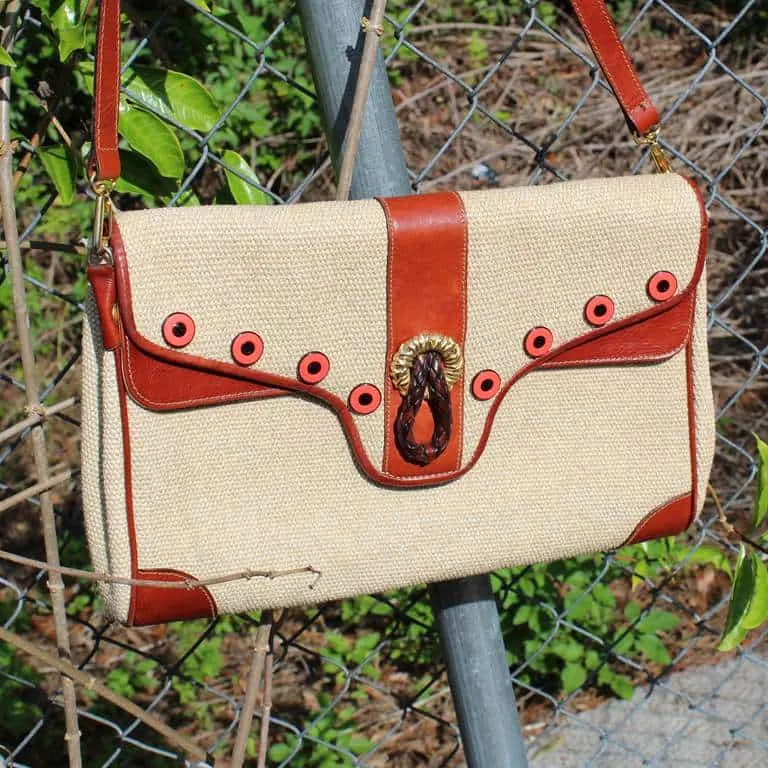
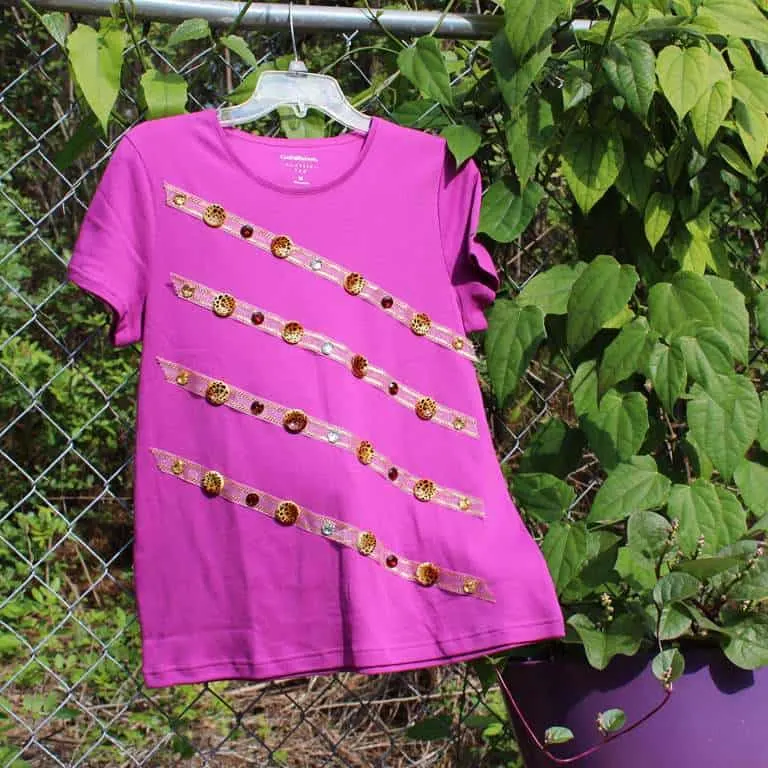
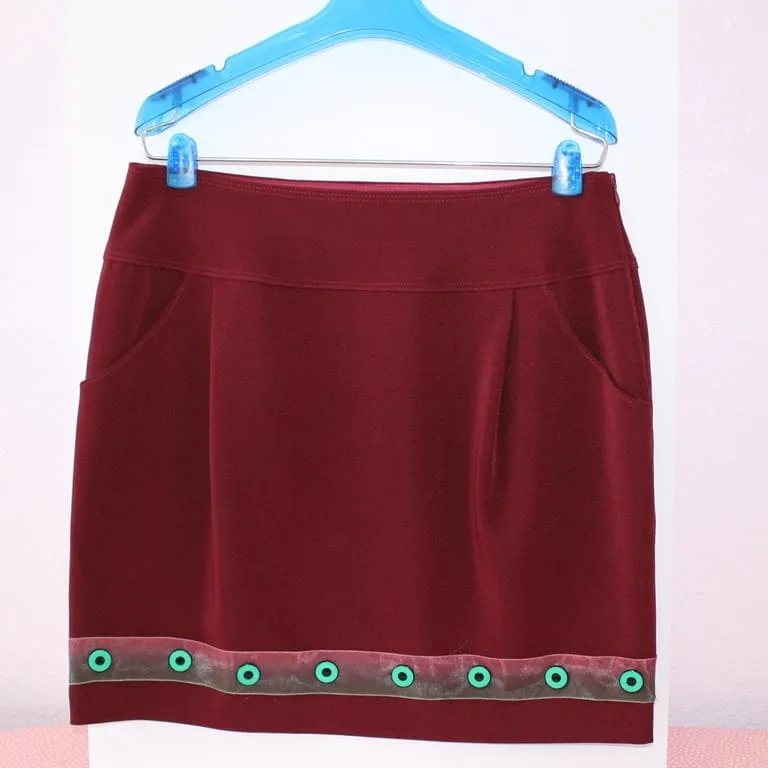

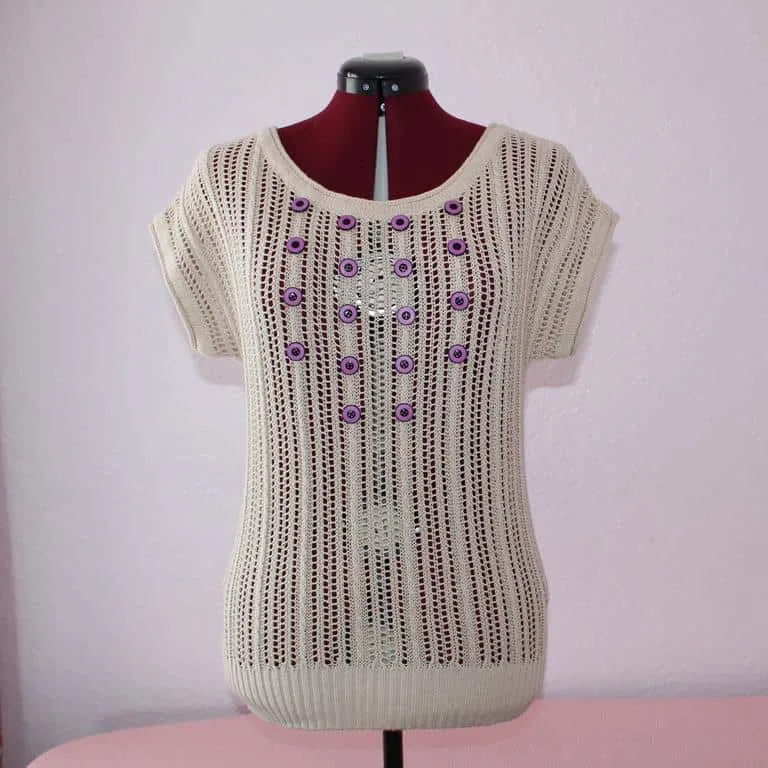
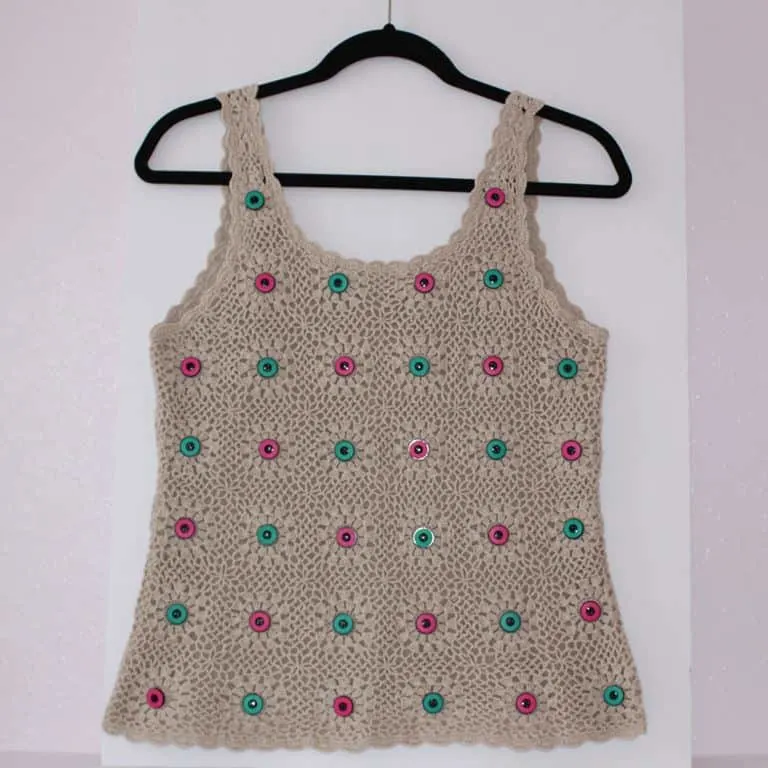


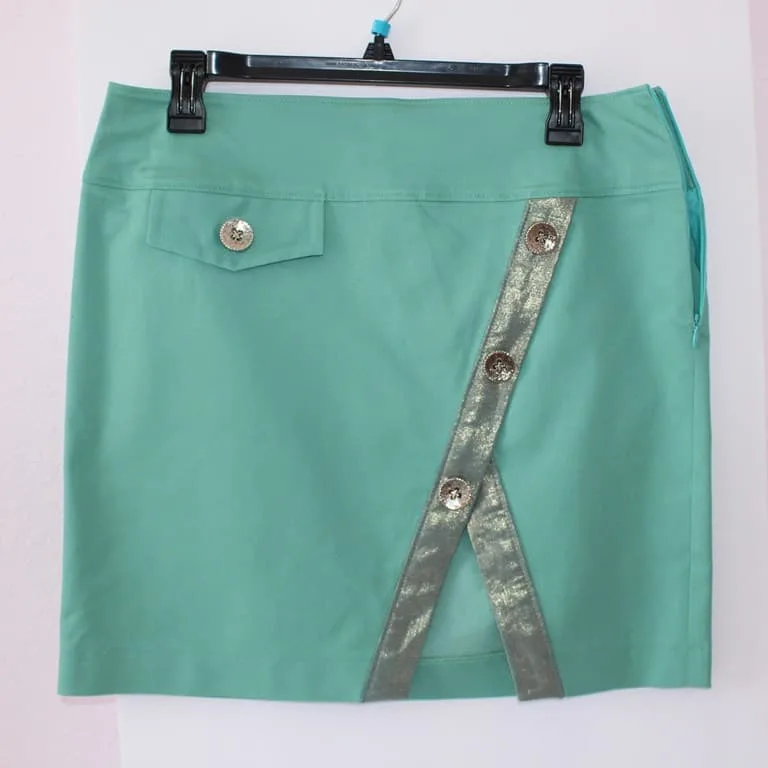
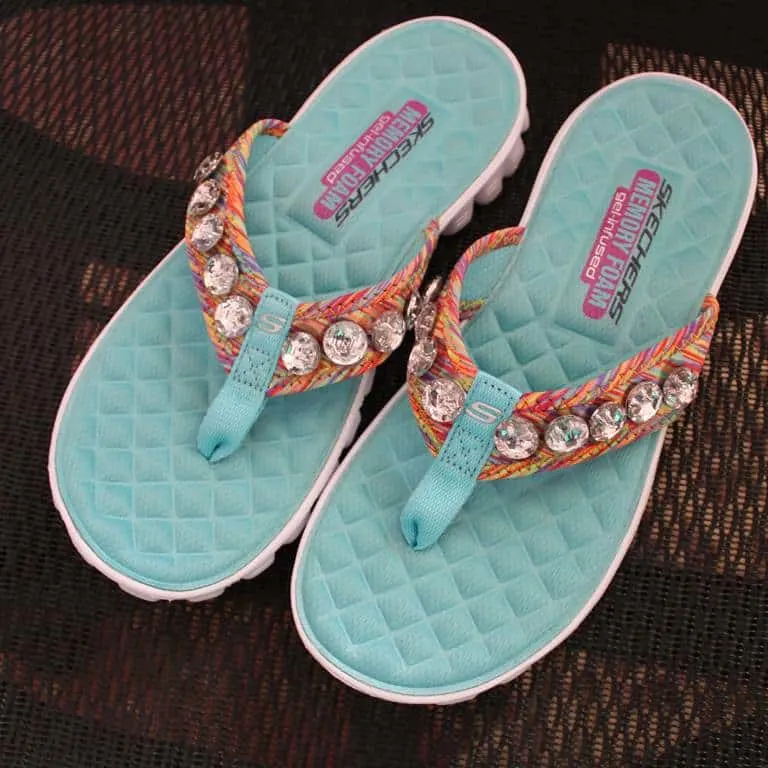
There are so many different kinds of buttons available! When I go to a craft store I see endless racks of buttons of all possible sizes, colors, materials, brands, and prices. And I always wonder – who in the world is buying them? Except me of course. There are many buttons that cost $5-10 apiece, and some of them are even $20. They are very close to costume jewelry.
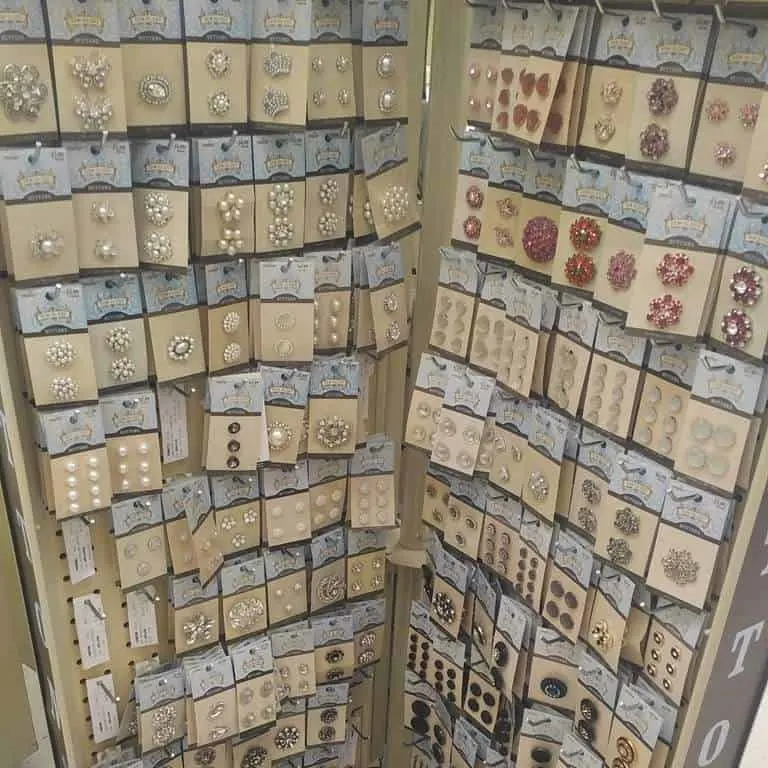
I buy buttons for my projects, and I buy buttons that I like just in case they are on sale. What if I will need some for my future projects? What if one button in there will give me an idea for a project? What if this abundance of buttons will not last forever if people are not buying them? So I do my duty 😉
Sometimes I buy a garment in a thrift store or garage sale for the buttons only, buttons are easy to clean, and very old (and probably not usable) pieces of clothing have sometimes very interesting buttons.
Let’s transform it into a regular T-shirt and embellish it with buttons. Ready? Let’s first gather the materials:
For this project, we will use one 100% cotton T-shirt. The fabric has to be a little thicker than rayon and polyester to be able to carry buttons.
You will need
- buttons
- water-soluble glue (for fabric)
- a piece of see-through paper
- some marking chalk.
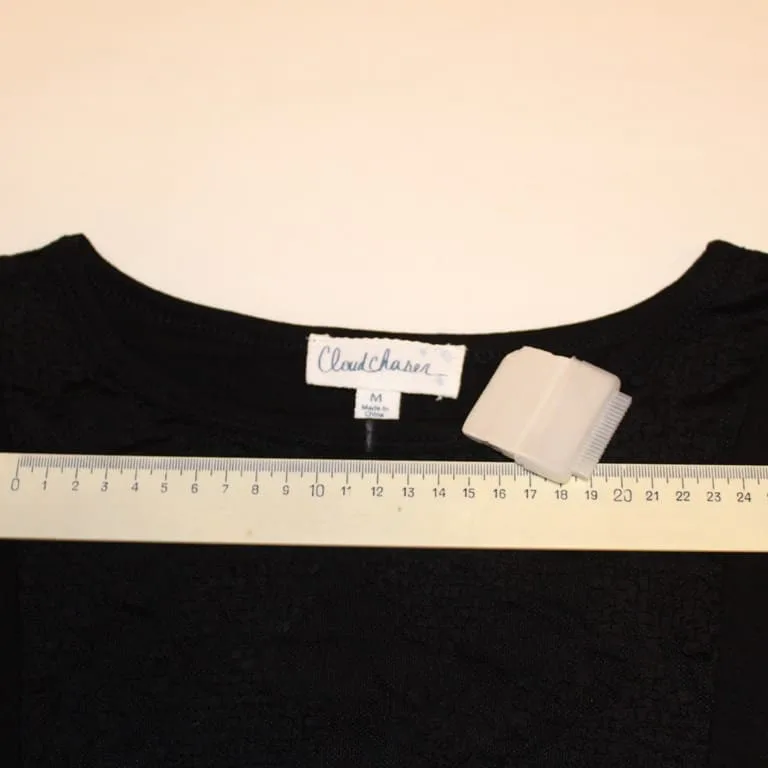
What are the steps?
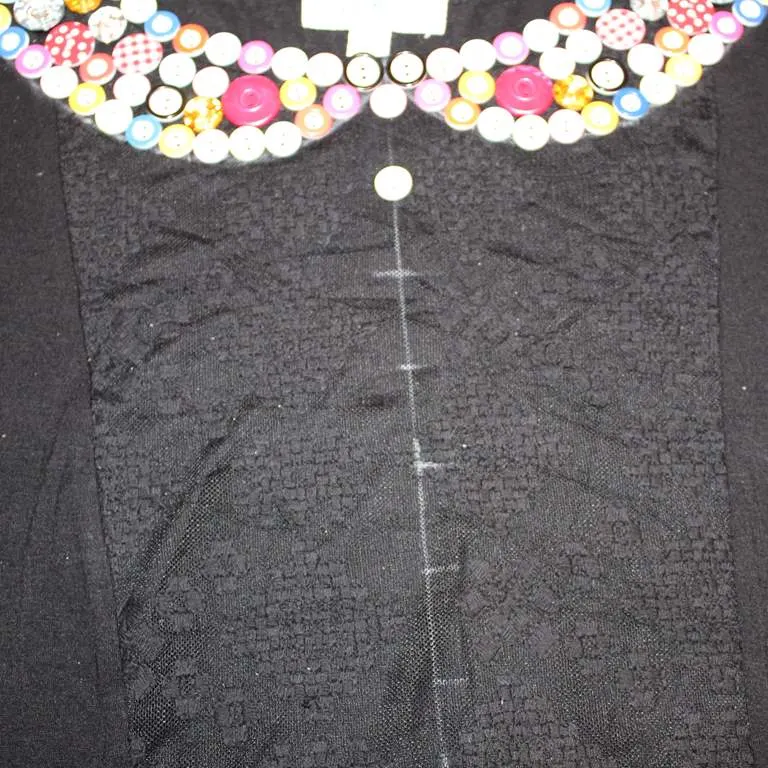
Make a pattern of half a collar on the paper. For this find, the neck and middle of the T-shirt, mark it with a piece of chalk and draw a collar line to the shoulder on the left or right side of the shirt. Don’t draw the symmetrical part of the collar on the other side yet. Without a pattern, it will never be symmetrical. Put the pattern paper over and copy the collar onto the paper. Cut. Put it on the other side of the T-shirt and now draw the line there using the paper pattern. You have prepared the space for buttons.
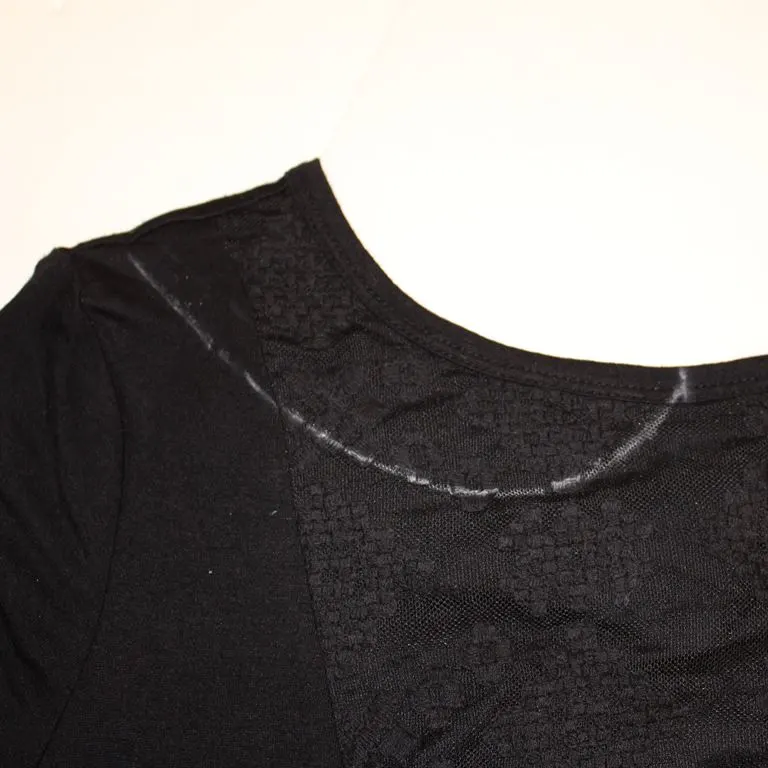
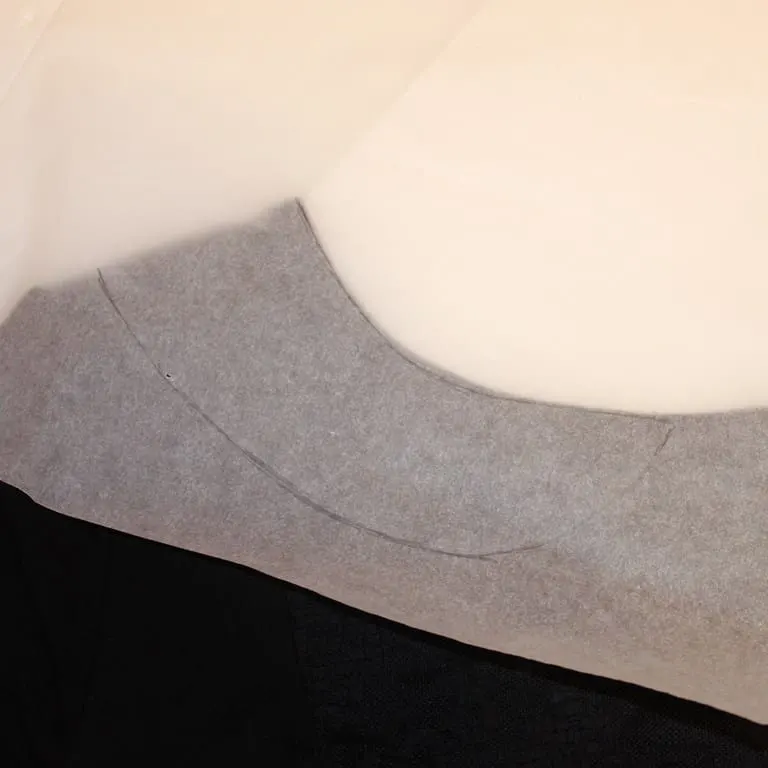
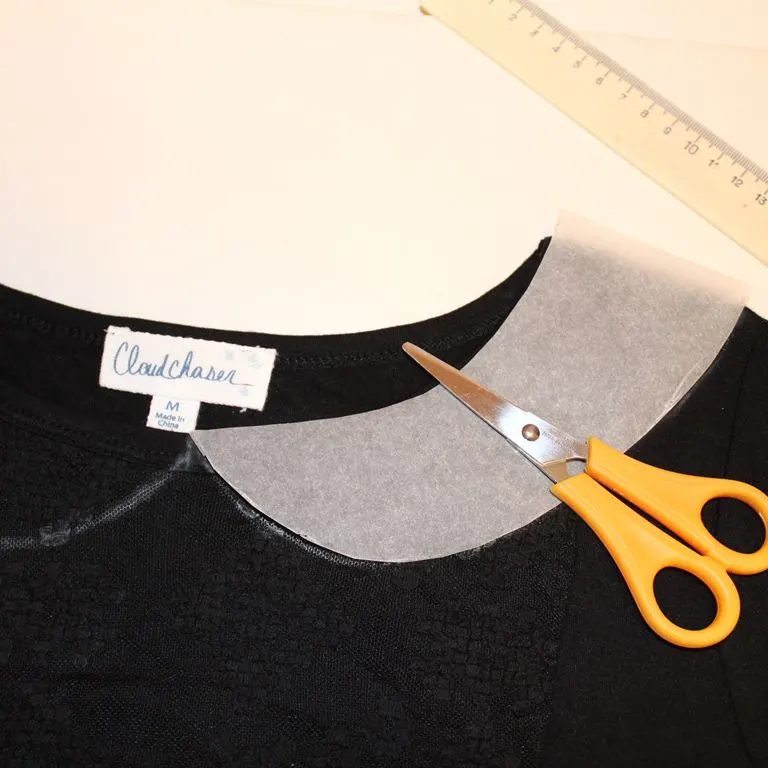
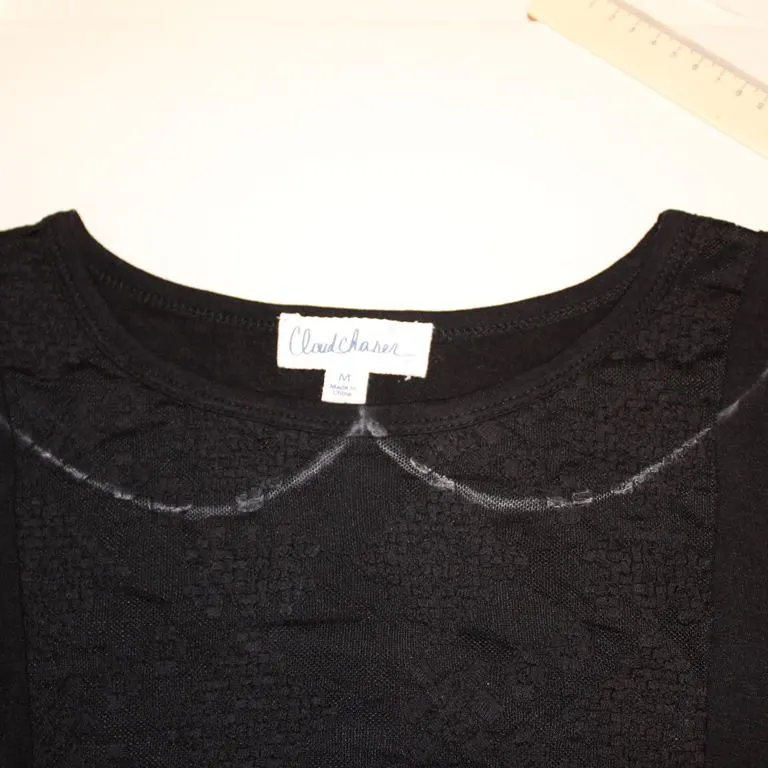
In the images above you will notice that both sides are marked with chalk in the third image; nevertheless do NOT mark the second half until after you cut the paper pattern, and use the pattern to mark it.
Put the buttons as you like, there is of course no rule. When you are satisfied with how it looks take fabric glue and put a very small amount of glue for every button to fix them on the shirt.
Take a thread and a needle to sew them on. Don’t sew them too tight to the fabric. After you are done with the collar draw a line to the bottom of the shirt for the middle line, put buttons with the glue, and sew them on also.
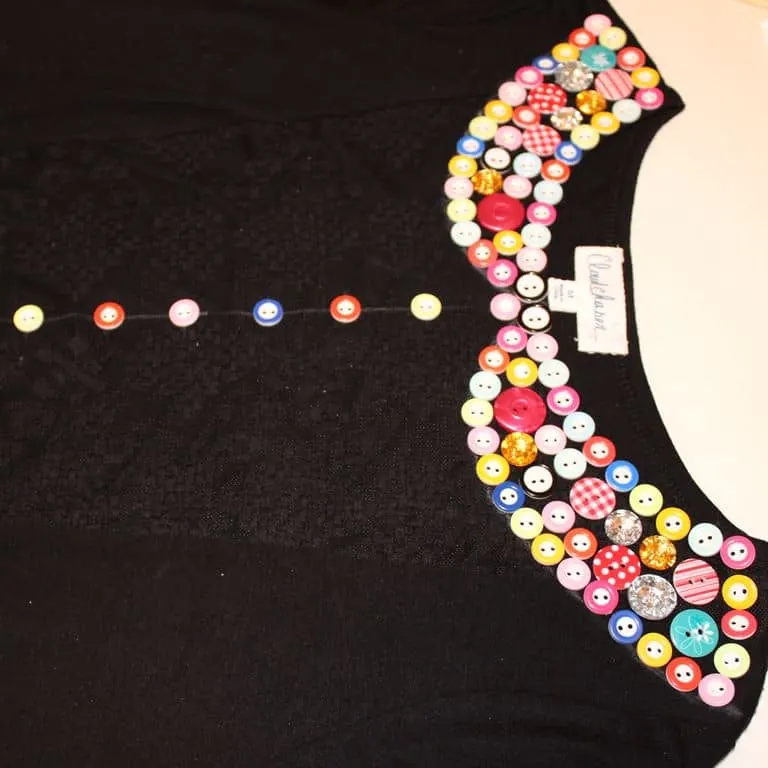
And here is the final product:

Below are some before and after versions of items embellished with buttons. You can see pretty obvious differences, right? Please allow for different camera conditions, some images are not taken in the most favorable light but for the “before” images I had to use photos that were sometimes older because I did not know at that time I will need images of the “before” article!
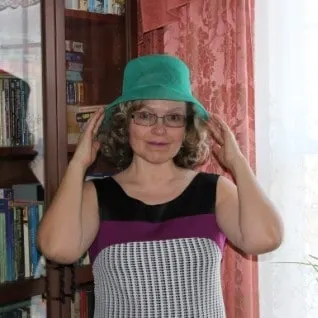

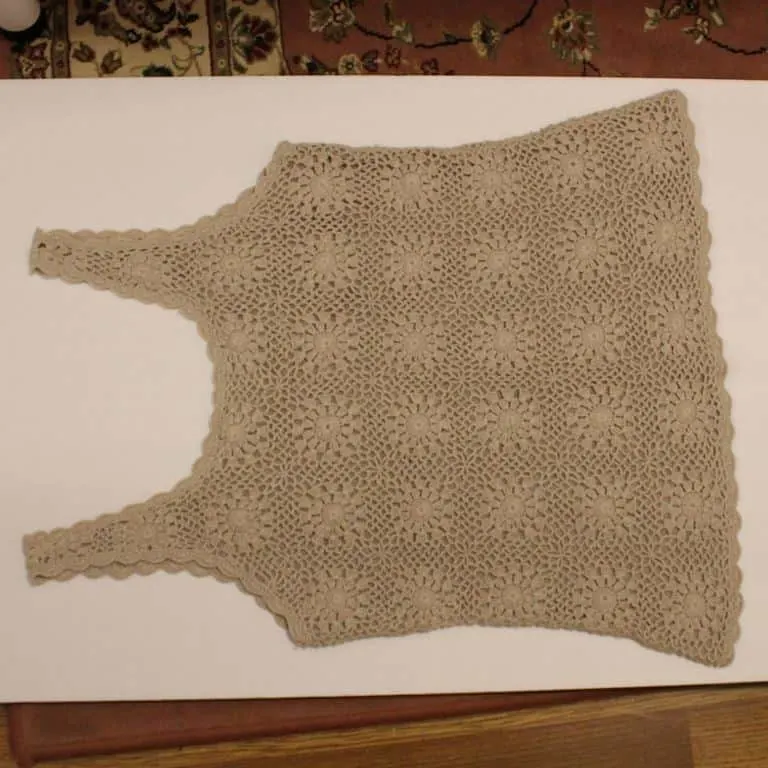

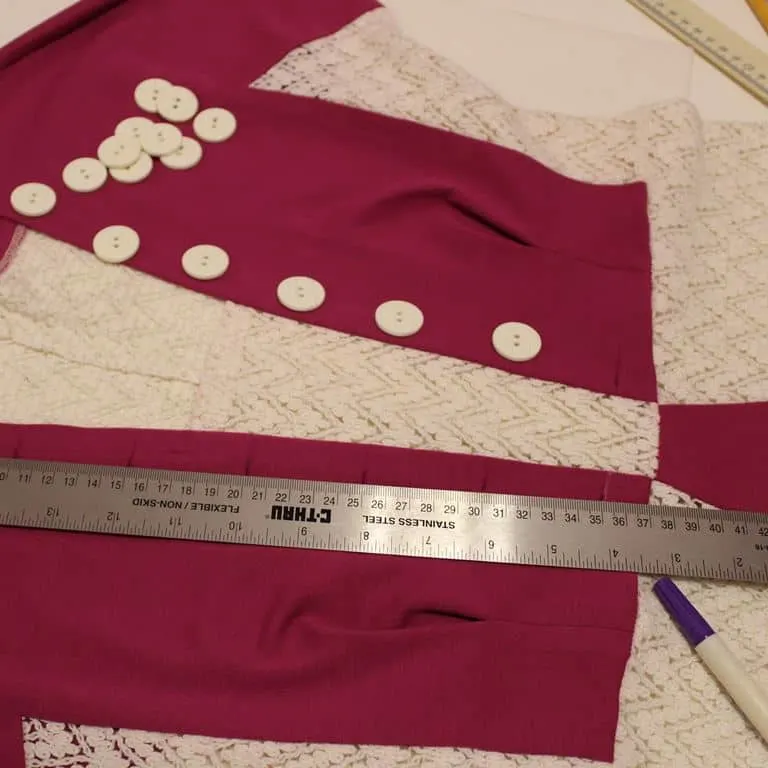

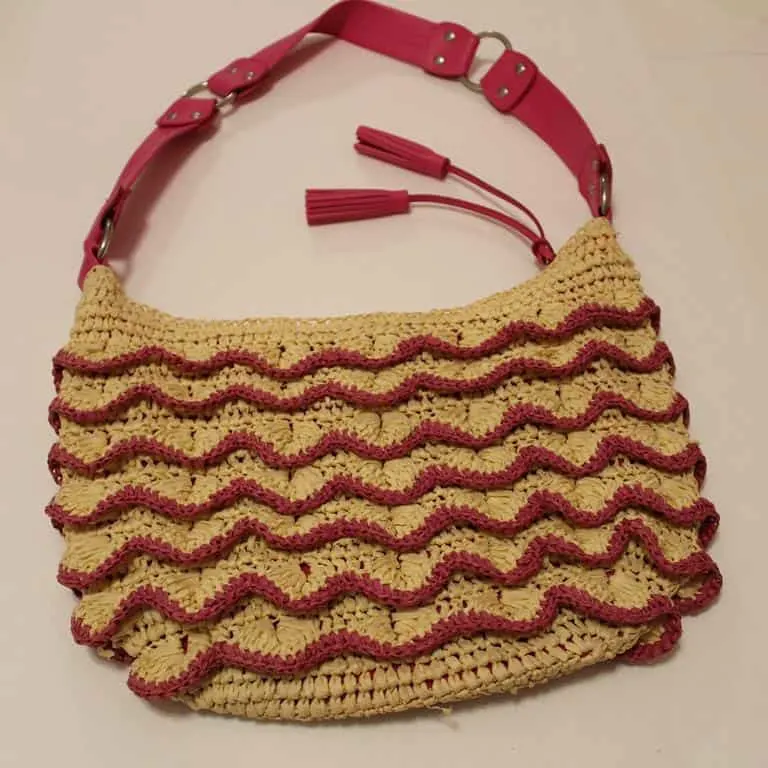

Ready for your own before and after results? Take the next step to creating something beautiful, and if you can, please send me an image of the result!
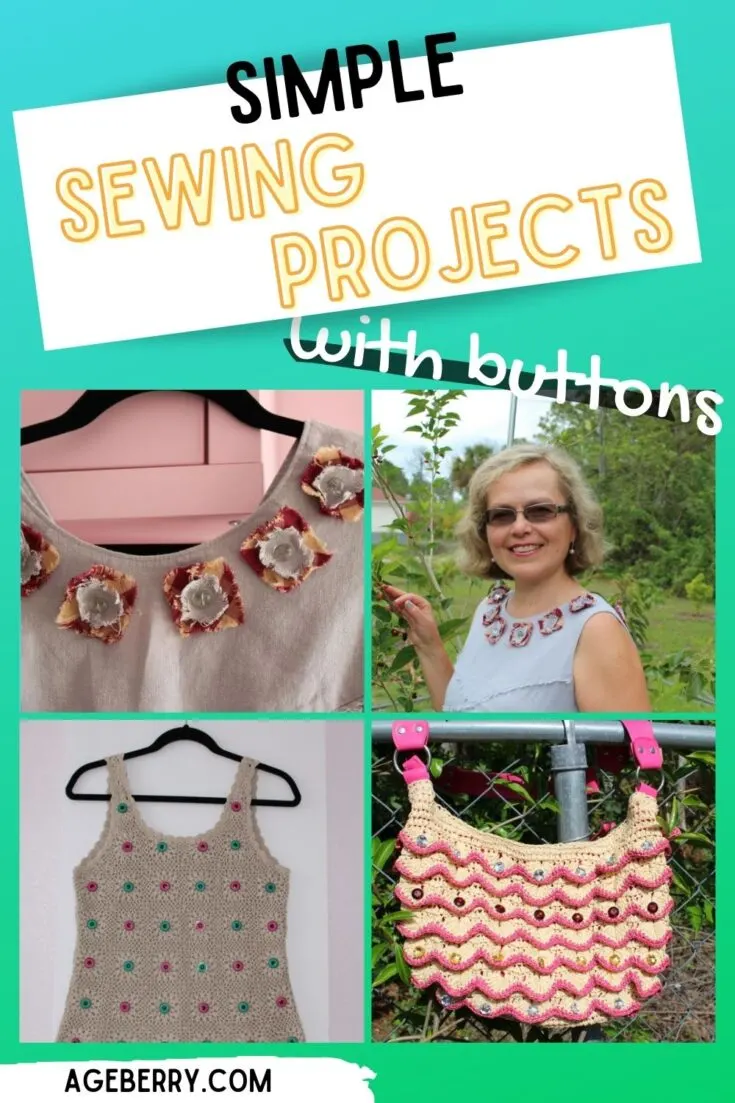
Did you like this tutorial? If you want to save it for future reference and to use it later when you are ready to make easy sewing projects with buttons, pin the image below to your sewing board on Pinterest and follow me on Pinterest for more tips, tutorials, and inspiration.
Like sewing tips? I have other popular tutorials on my site that might be interesting for you. Check them out below.
latest posts
- Ditch My Sewing Machine? Not in This Lifetime!
- Adorable DIY Needle Book | Easy Tutorial for Beginners
- Master the Seam Ripper: Your Ultimate Guide to Precision Stitch Removal
- Think You Know Zippers? This Installation Guide Might Surprise You
- Why Does Your Seam Ripper Have a Red Ball? Discover Its Purpose!
- Topstitching Troubles? This Simple Trick Will Turn It Around Instantly!
- How to Sew Shirring: A Step-by-Step Guide to Elastic Thread Gathering
- Are Self-Threading Needles Really Useful?
- Amazon Spring Sale: Best Choices

