
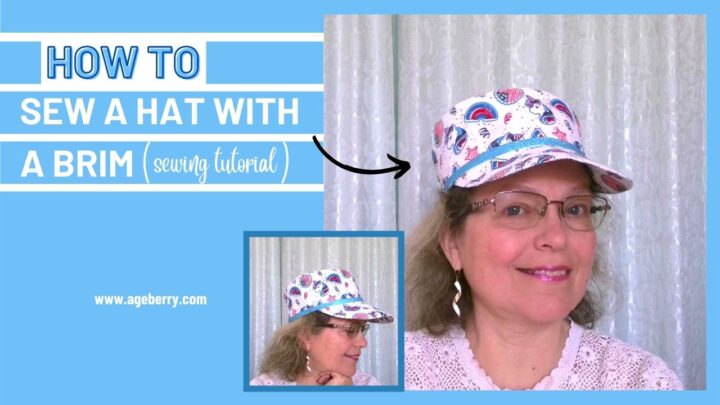
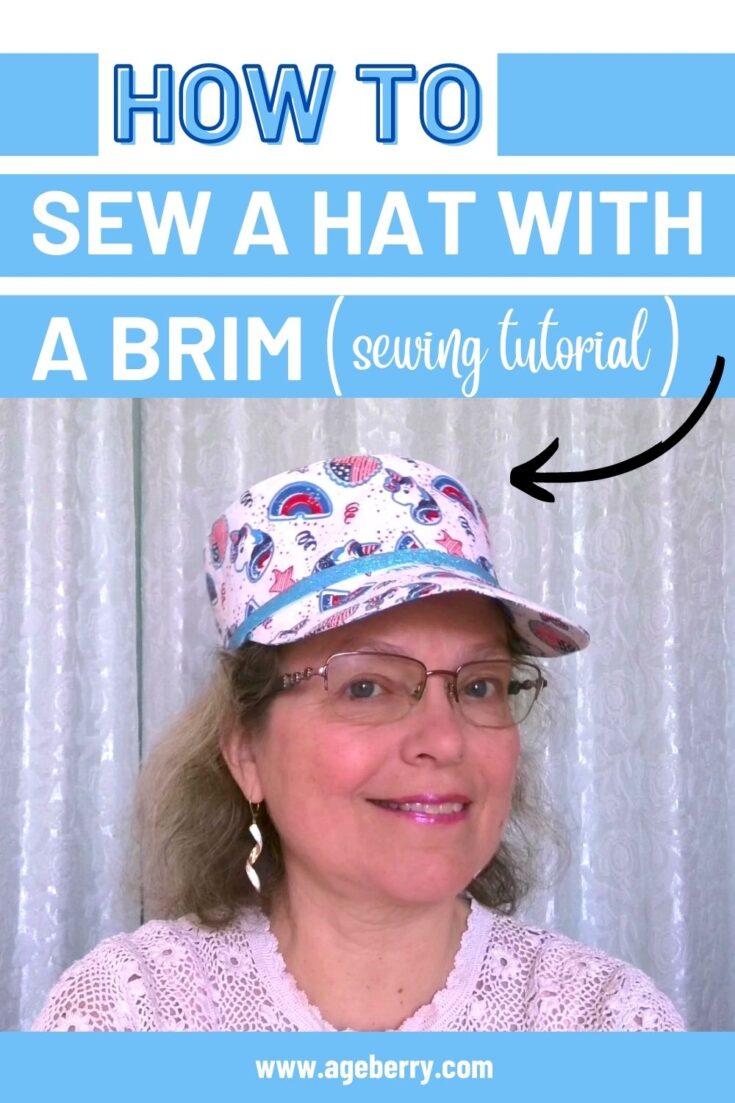
How to sew a hat for beginners
This is a video sewing tutorial on how to sew a hat. I like to wear hats. In Florida where I live it is a must to protect my head against the strong sun. I can’t stay in the sun without a hat, period. To me, a good hat is like a pair of blue jeans – a necessary thing in my wardrobe. But hats are also essential fashion accessories.
Attention! If you like the video format, at the bottom of this post, look for a YouTube video version where there is a step-by-step tutorial on how to make a hat with a brim. For a more complete picture, I recommend exploring both versions.
What you’ll need to make this military-style hat with a brim
Well, you’ll obviously need fabric, threads, scissors, a sewing machine, trims, etc. I made 2 hats from 2 different fabrics and the hats are lined so you will also need fabric for the lining.
Check out the tutorial first and after that, you’ll see exactly what I used. If you decide to sew a hat yourself, then you can collect all the necessary tools and notions.
Note: Some of the links on this page are affiliate links. This means I will receive a commission if you order a product through one of my links. I only recommend products I believe in and use myself.
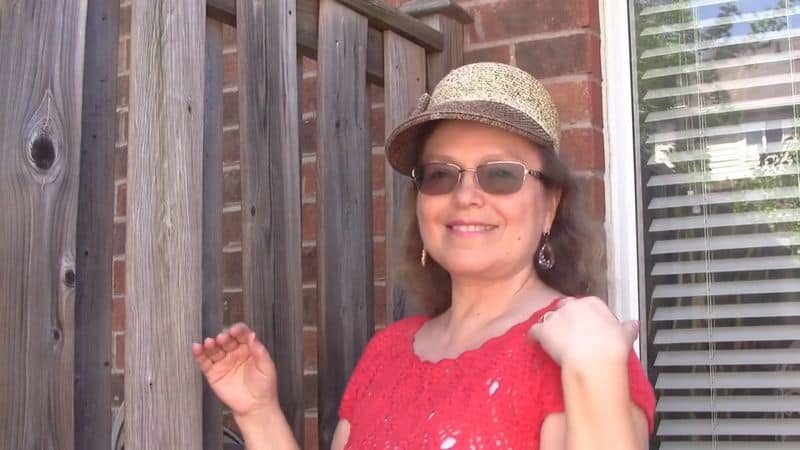
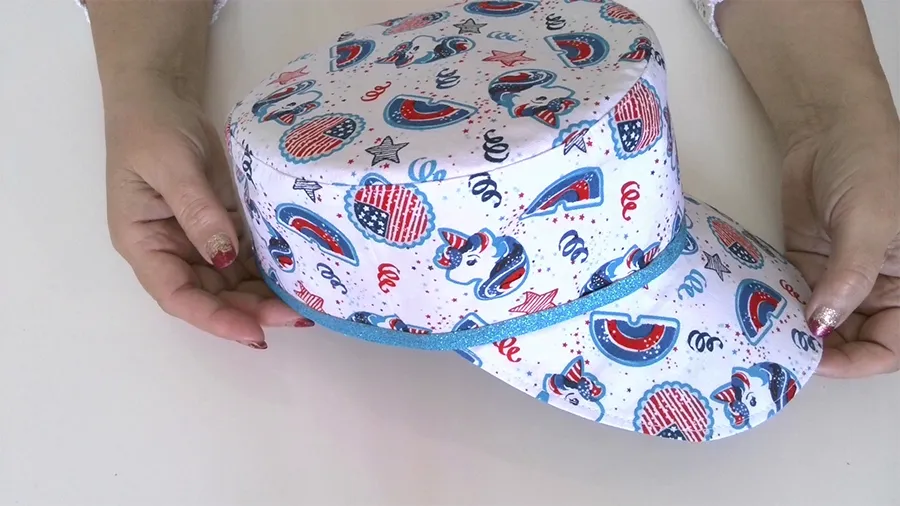
So, I have this store-bought hat (see the image below) and everybody is saying “oh, what a nice hat” when I wear it. And people often ask where I bought it. The shape of this hat is certainly unusual.
So I decided to make a few hats like this one for all my outdoor activities.
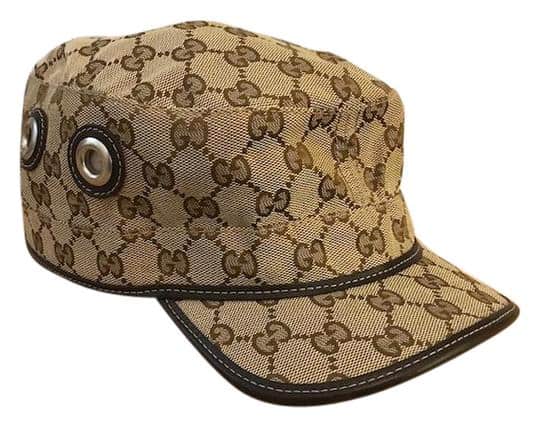
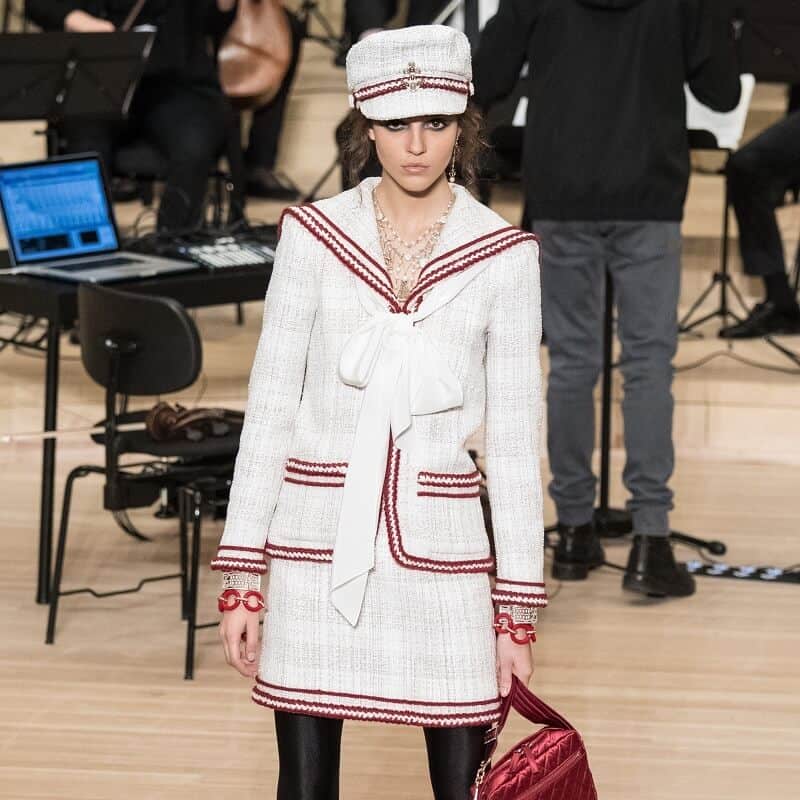
I am not sure what to call these hats – I found that they can be called “cadet caps” or “military-style hats“. Their shape is not very common but I see they are in fashion. Look, below is the image of a Gucci hat and another one is Chanel.
I want to show you in this step-by-step tutorial how to make this kind of hat. You don’t need advanced sewing skills for this, the project is easy even for a beginner sewist. You can make hats like these for everybody in your family.
Actually, I have a few other tutorials on making different hats, check this one below, I will show you a new easy way to see a beanie hat.
✅ Related tutorial: How to sew a beanie hat
How to make a DIY hat pattern
It’s really easy to make a pattern for this hat using your own measurements.
- Measure your head like this in the image below. Let’s use the letter P for this length.
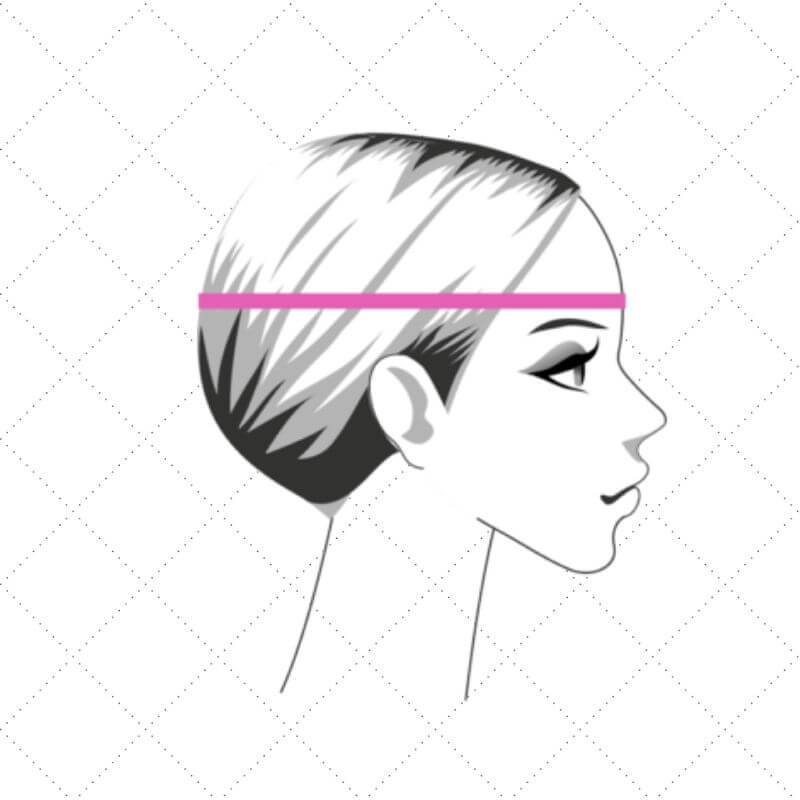
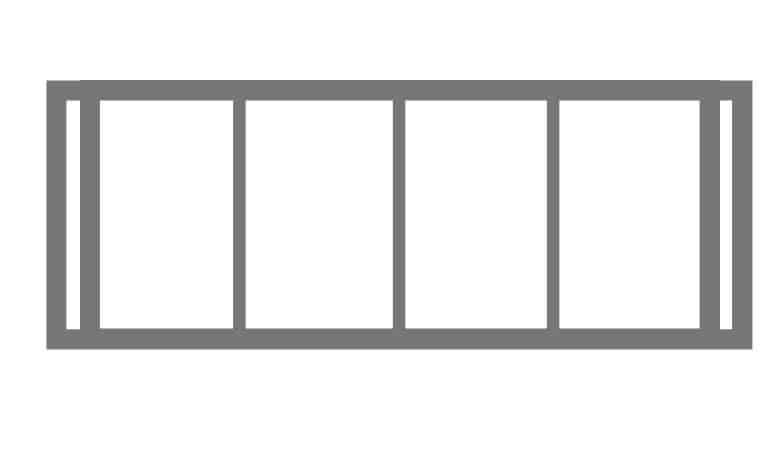
Draw a rectangle (for the sideband of the hat): its length is equal to P plus 2 cm (¾ in) for seam allowances, and the width of it can be 6-8 cm (2.5 – 3 in) (as you wish, I made mine 8 cm (or around 3 in)) plus 2 cm (¾ in) for seam allowances on each side. Mark 3 points on this rectangle – divide P by 4 and make the marks.
Now we need to calculate the radius (R) of the circle for the hat’s crown – (it’s a circle in this case) so the formula for the radius (R) is this
R = P divided by 2 π ( π is Pi, approximately 3.14)
Draw two circles – one with the radius R we just calculated and another one with the radius equal R+ 1cm (⅜ in) for seam allowances.
Mark 4 points on each circle with equal distance between them – just draw two diameter lines with the 90 degrees angles.

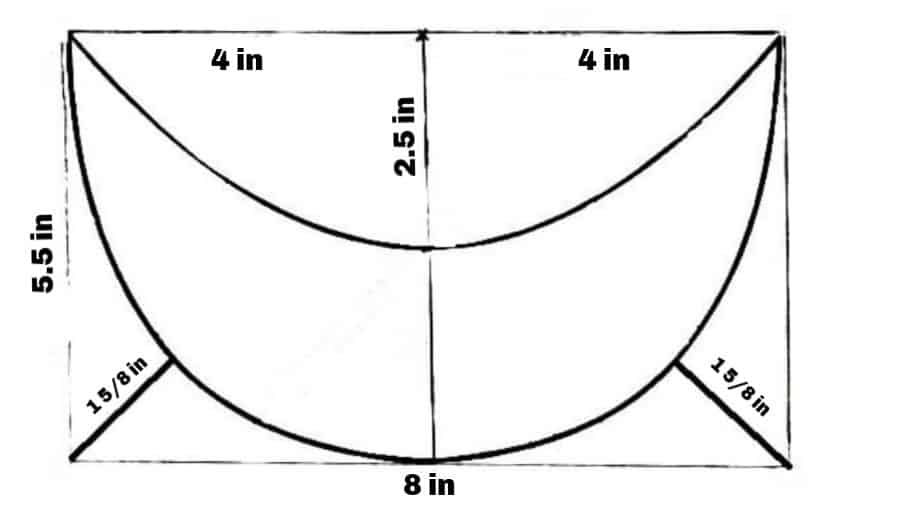
Draw the brim like this in the image below – it’s the same for all sizes.
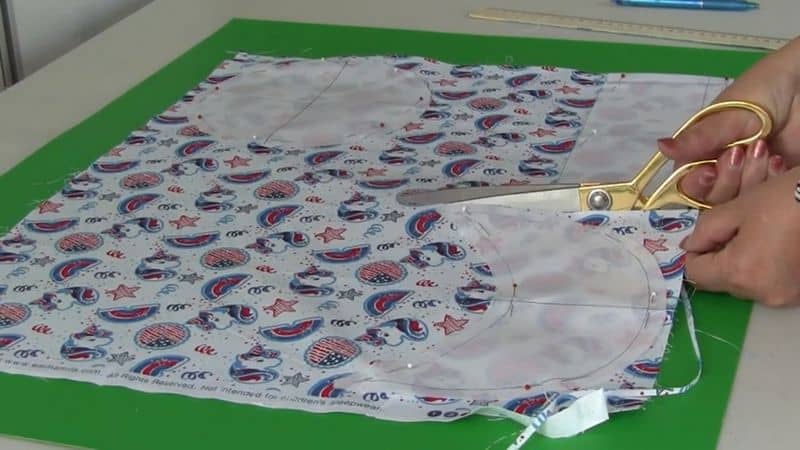
I decided to make the first cap on the 4th of July quilting cotton. I have just one fat quarter. Look at this fabric – it has ever-popular Unicorns! Can you buy a hat made from a similar fabric? I doubt it. That’s why I love sewing – I can make completely unique items in no time.
Place paper pattern pieces on the fabric. I like to use pins to secure them. Don’t forget to follow the grain line which is parallel to selvages. I have to make 2 pieces for the side band because my fat quarter isn’t long enough for making only one piece. But it’s not a problem – I just stitch them together in the middle.
Cut using nice sharp sewing scissors.
✅ Related tutorial: Types of sewing pins and their uses: all you need to know about straight pins for sewing
Transfer markings from the pattern – just make some notches. For this, the tips of your scissors should be very sharp. We will need these notches when we are going to connect the pieces.
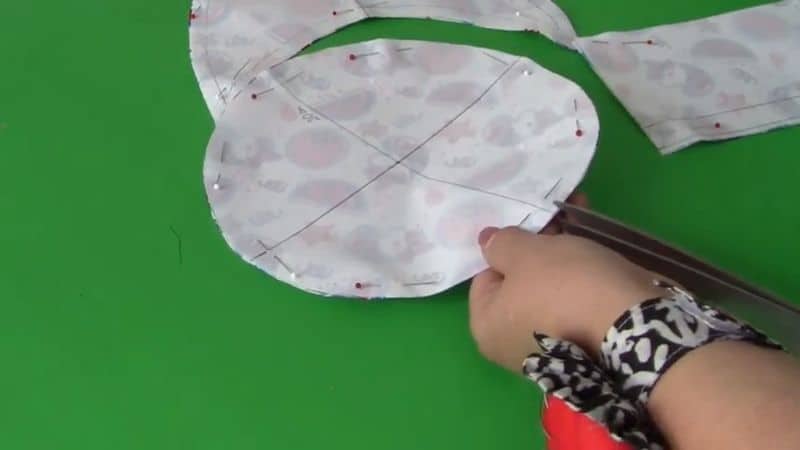
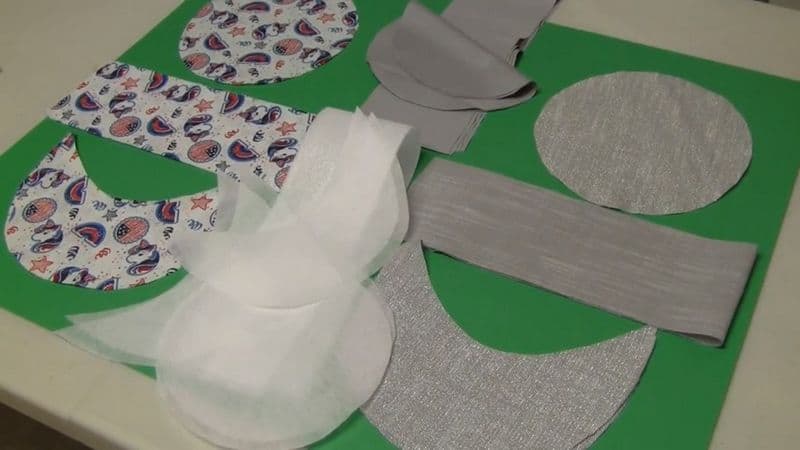
So, after cutting I have 2 pieces for the side panel, one for the crown (is it the right term, I wonder), and 2 for the bill or the brim – the part that goes at the front of the cap and shades from sunlight.
Now we need to cut fusible interfacing so the cap keeps its shape. I used Pellon heavyweight fusible non-woven interfacing which offers firm support for the fabric and makes the fabric stiff.
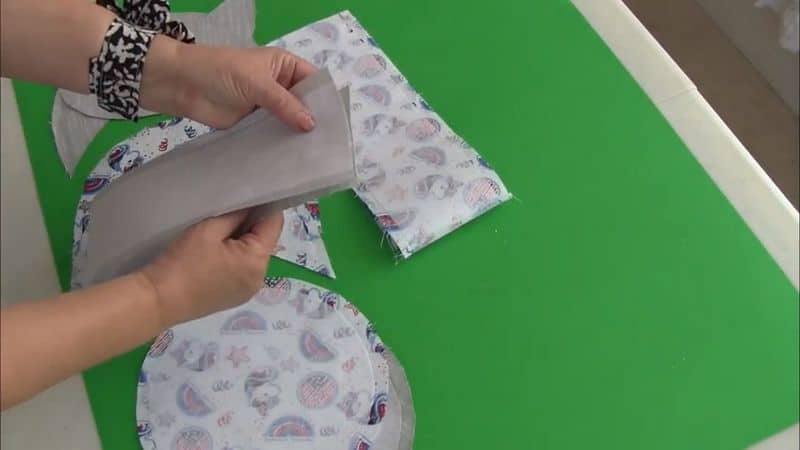
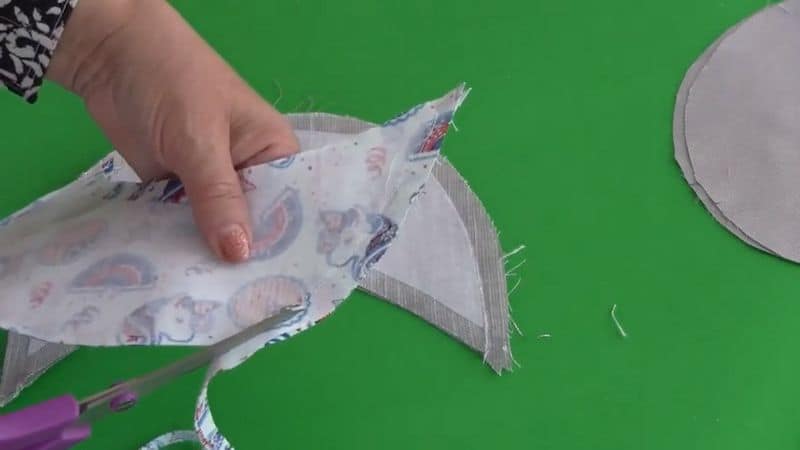
BTW, I have a detailed tutorial on my blog and a YouTube video – all about fusible interfacing. Check it out. Have in mind that pieces from interfacing are smaller than the main pieces because I didn’t want heavyweight interfacing in seams.
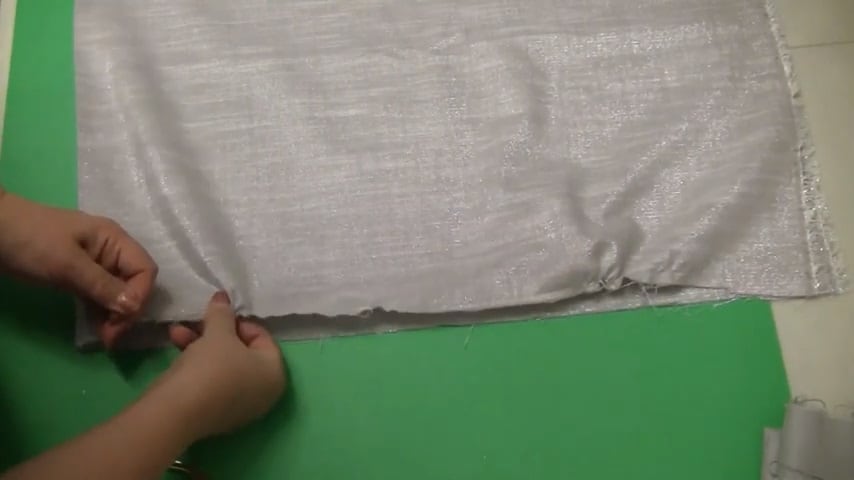
For the second cap, I decided to use this light grey cotton fabric with metallic thread. But before cutting pattern pieces I had to make a straight cut. I usually do it by pulling a single thread. And then the cut is perfectly straight. In the image, the cutting line is barely visible through but I could see it very well.
✅ Related tutorial: How to cut fabric straight
So in the end, for two hats I cut the following pieces from Unicorn cotton, silver cotton, and fusible interfacing, and also I cut 2 crown pieces and 2 side panels from light grey organic cotton fabric to make the lining for each hat. After all the lining is going to touch the head and hair so I want it to be nice.
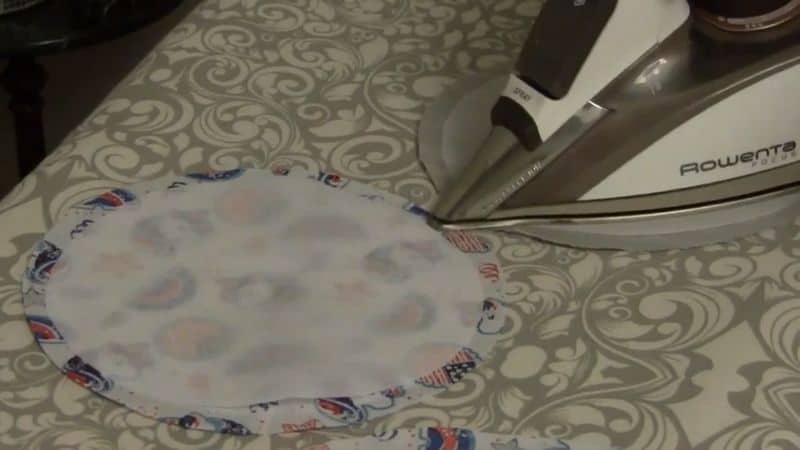
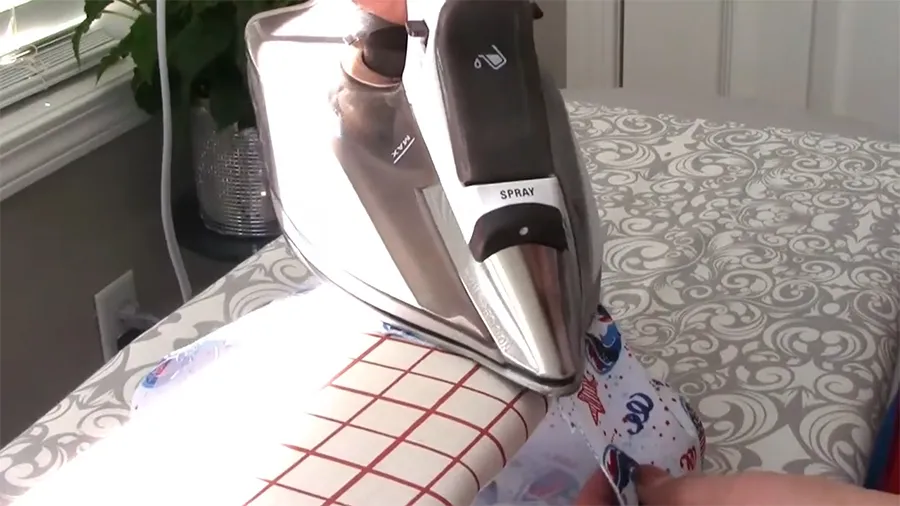
Now fuse interfacing to the main pieces. Be careful – don’t iron on the side of the interfacing with glue. The shiny side of the interfacing should go down on the wrong side of the fabric. It should be fused with a hot iron using light pressure and not so much gliding.
✅ Related tutorial: How to fuse interfacing
Ok, we prepared everything for sewing. The next step is pinning side bands to make tubes from them, and pinning brim pieces right sides together for stitching. I also prepared the lining at the same time so I can stitch everything at once. Don’t forget to press all seams after you are done with stitching.
I stitched what I prepared and pressed. Now let’s deal with the brims. I have to cut seam allowances pretty close to the seams.
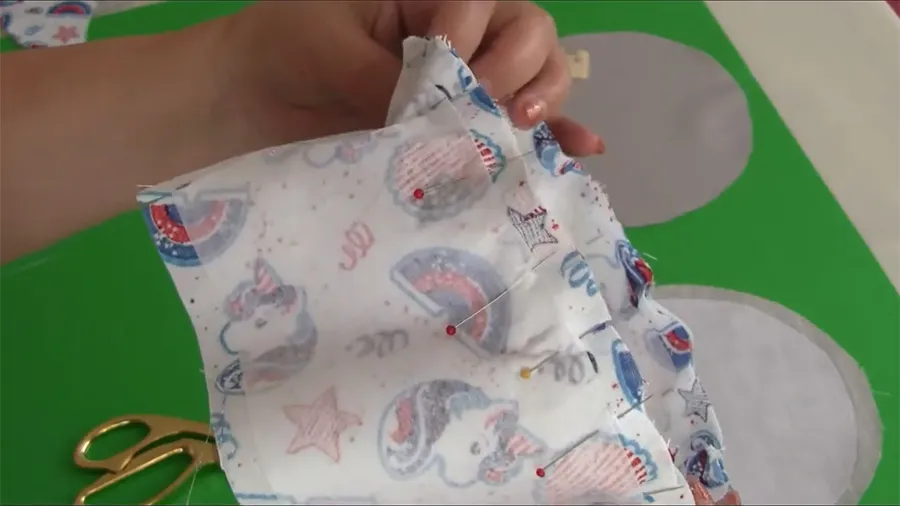
And now the hardest part of this process – how do we connect the round edges of the crown to the straight edges of the sidebands? So, first, pin all notches (or end seams) together. You remember that we made 4 notches on all pieces and they are equally spaced. After that make 3-4 small cuts between these notches. And pin the other parts of the sideband to the crown.
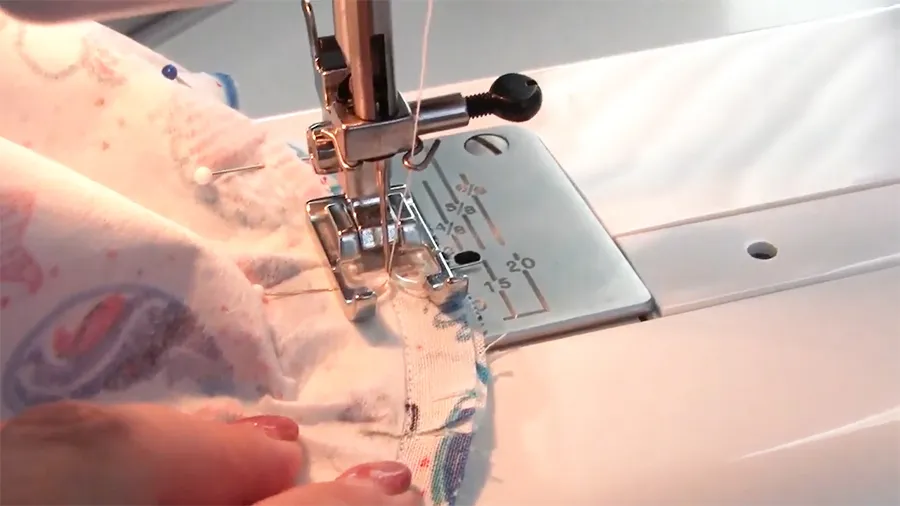
Now we are going to stitch the crown to the side band. Go slowly, and try to keep an equal distance from the edge – the distance is ⅜ in or 1 cm. It’s not very comfortable to sew. You should stop frequently.
I am used to sewing over pins – but they are really thin, for lightweight silk chiffon, and my sewing machine doesn’t even notice them. I was taught to sew like this but they say it’s dangerous because if the needle hits the pin, it can go straight to your eye. So be careful and take the pins out as you sew closer to them.
All seams should be perfect – keep an equal distance from the edges, and check your sewing machine tension so all stitches look nice.
Press the seams after you are done with stitching.
So, that’s what we have here – looks like a box. Now cut the seam allowances in half because we are going to press them down on the side band.
Stitch on the side of the sideband close to the seam.
We need to press all the seams and it’s not easy to iron a hat. But it has to be done. Little by little go over the seams with the iron.
Topstitch the brim.
Connect the brim with the hat. Start in the middle matching the notches. Pin and stitch.
Sew the lining band and press the seams open.
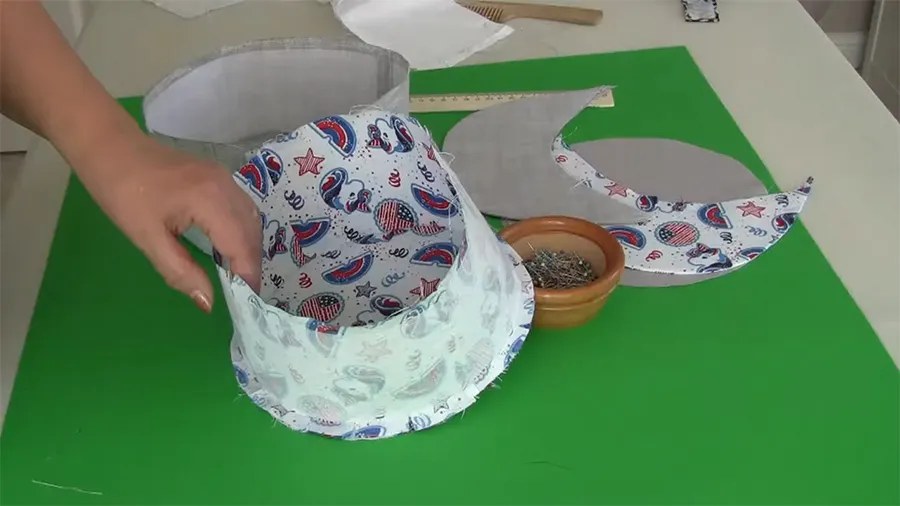
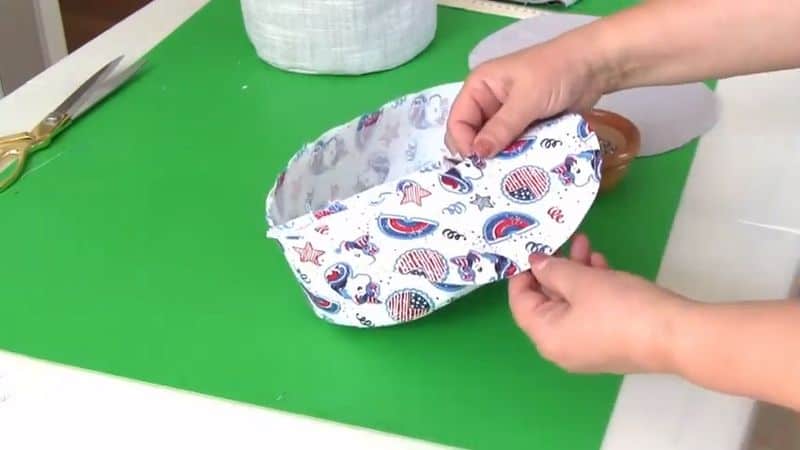
Turn the lining piece inside and baste it so no lining fabric is visible from the outside.
Press again.
Connect the lining crown and the lining band. Pin it first matching all notches again.
This time seam allowances are not ⅜ in but ⅝ in. The lining should be a little bit smaller than the main hat.
In principle, I should leave an unstitched hole now so I would be able to turn the hat right side out, but I prefer to make the stitch all over.
Now I press the seam open.
And only after that do I rip a small hole in the seams for turning. Why I did do that? Because now it’s very easy to see how much I need to turn in the seam allowances so they are equal and nice. I can see the folds and the holes from the needle and that are the lines for turning it in.
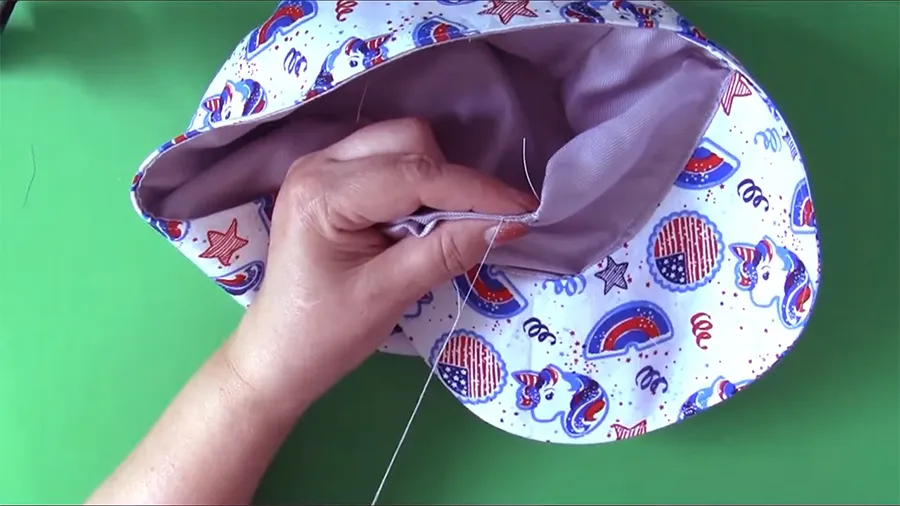
This can be sewn by hand – I use a stitch called invisible stitch, and after you are done it’s really invisible if you did it correctly.
✅ Related tutorial: How to sew an invisible stitch
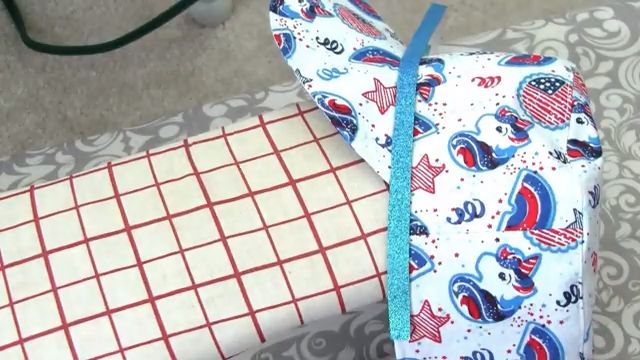
I think the hat looks nice without any embellishments but I would like to show you how to customize it even further with iron-on trims. I discovered these trims recently and I love them. They are pre-glued (if I can say that) and all you need to do is iron them on – no raw edges to be done, no unraveling, nothing – just cut and press.
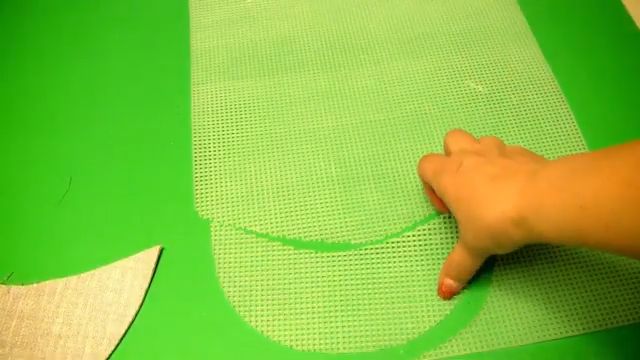
Now let’s return to the other hat – the silver one. This fabric is softer and thinner so I decided to make the brim stiffer. There is no real structure in the hat with thinner fabric. So I used a piece of plastic for the brim. I cut the plastic using my brim pattern only without any seam allowances. And only after that, I stitch the brim to the hat.
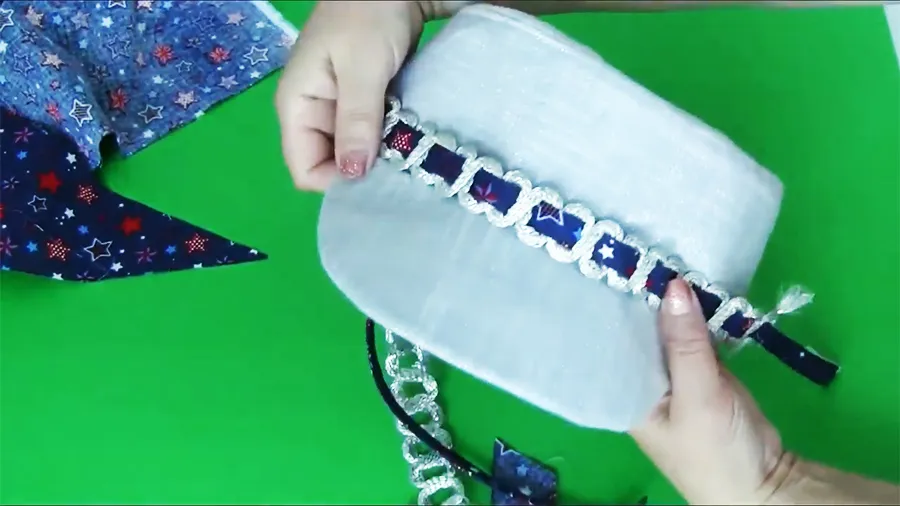
This hat is pretty plain, even if the fabric is metallic. I decided to embellish it also so it looks more expensive – and embellishment possibilities are practically endless. I had 4th of July fabric scrap and I thought why not use it now when it’s only 2 weeks before Independence Day.
So I made a strip ⅜ inches wide and the length is the same as the sidebands. And I had these silver trims, so I insert the strip as you see in the image below.
It’s a very easy embellishment, right?
I think both hats are nice and they are a great alternative to the standard baseball caps. Now I am thinking about making one from real leather for colder days. What do you think?
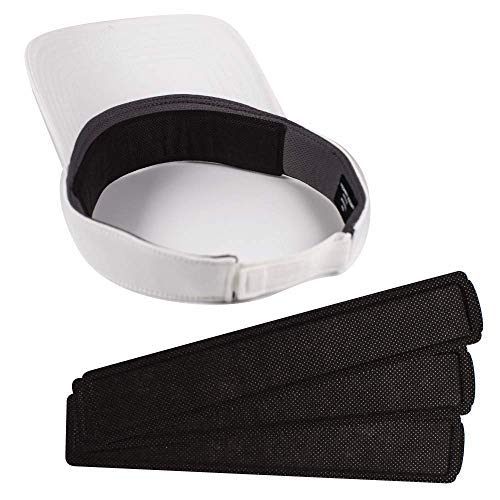
Also, I found out that there are some really cool things for sale to add to hats and caps. They are called NO SWEAT headliners and they look like this in the image below. They are moisture-absorbent sweatbands engineered to keep your head cool and dry.

So here is my YouTube video. Check this out if you like to see how to sew a hat instead of reading…

Did you find this tutorial helpful? If so, save this pin (see below) on your sewing board so you can come to the article later when you need this information on stay stitching , and follow me on Pinterest for more tips, tutorials, and inspiration!
Ready to take the next step in your sewing journey? Check out more step-by-step tutorials from my blog and don’t forget to share!
latest posts
- Corset Pressing Board for Sewing: What It Does and How I Use It
- 7 Essential Tools and Settings for Sewing Denim on a Regular Sewing Machine
- That Purple Thang: 10 Smart Ways to Use This Weird Little Tool
- 20+ Reasons Your Sewing Machine Thread Keeps Breaking (+ Solutions)
- Dresden Plate Quilt Block: 4th of July Fireworks
- How To Sew Curves the Easy Way Using a Curve Master Presser Foot
- 30 Sewing Hacks That Turn Ordinary Items into Useful Sewing Tools
- Seam Allowances in Sewing Patterns: What They Are and How to Use Them
- What Do You Call a Person Who Sews? I Asked My Readers and Got 1,408 Opinions


I LOVE, LOVE, LOVE your emails, information and videos (they are very clear and your accent is adorable). I need to learn more about You Tube as I was really involved with the hat video (I love hats) and suddenly, it went to the next video. Thankfully, it was near the end and I went back to the email and picked up where the video had ended. It’s time to look through my stash for my first project, as well as embellishments for a thrifted hat that has been taking up real estate in my sewing room Thanks for all the information and sewing inspiration!
Thank you so much for your kind words! I am really happy to hear that my tutorials are useful. As for the YouTube videos, sometimes glitches happen, sometimes we just press wrong buttons, I guess.
This is a hat I waited for! It looks great! And the tutorial explains everything very good. Thank you very much! I am glad I found it!
Martha, thank you very much for your kind words! I am happy to hear my tutorial is useful. Don’t hesitate to send me an email, if you have any questions.