In this sewing tutorial, I will show you how to sew a beanie hat.
It’s not only a comfortable and practical thing but also a fashionable accessory suitable for any gender and age. Of course, a beanie hat can be purchased in almost any clothing store, but a DIY beanie hat is much better, more interesting, and more beautiful in my opinion.
Moreover, it is not at all difficult to sew a beanie hat with an interesting twist, even a beginner can handle it. And you can even do it without a pattern. It won’t take much time: in one evening you will have time to sew for yourself and your whole family.

Attention! If you like the video format, at the bottom of this post, look for a YouTube video version where there is a step-by-step tutorial for sewing a beanie hat. For a more complete picture, I recommend exploring both versions.
What you’ll need for a DIY beanie
- Knit fabric
- Stretch or ballpoint needle for sewing machine
- Matching thread
- Trims for beanie decoration
- Steam iron
What material is suitable for the DIY beanie hat
Finding a suitable piece of fabric in order to bring your idea to life will not be difficult at all.
The best way to sew the beanie hat is from knit fabric, fleece, velvet, and lace.
The beanie can be sewn from lightweight fabric and worn in the warm season, or from textured knitted fabric or fleece for cold weather. It’s up to you to choose. The hat is good in different versions.
You can even use a boring old sweater or soft knitted dress.
I have chosen lightweight rayon fabric, it’s double-sided, my favorite color with sparkling silver threads.
Beanie measurements
This model is very simple, so you can cut it right on the fabric.
Take just one measurement: Head circumference.
In my case, it was 21.5 inches.
Step-by-step sewing tutorial DIY beanie hat
Cut a rectangle from the fabric for the beanie
What is the size of the rectangle?
Well, it depends. Make the length of the rectangle 22-24 inches. And the width of the rectangle in most cases should be equal to your head measurements, in my case, it was 21.5 inches. So below there is a beanie hat pattern – can you believe it?
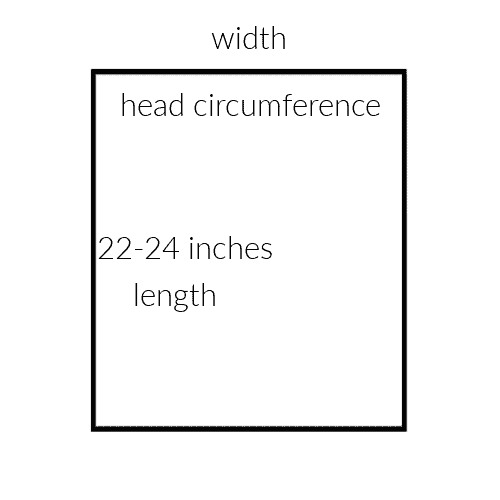
But have in mind that the knit fabric can have a different amount of stretch and in order to make the beanie hat we will need to take into account the properties of the selected material. So if your fabric is highly stretchable – make the width of the rectangle 1 – 1.5 inches less than your head measurements. If you do not make a decrease, then the hat will slide to your eyes. And if the amount of stretch is less than normal, then add 1 -1.5 inches to your head measurements. You want the hat to fit snugly around the head.
The side of the rectangle that is equal to the head measurements (the width)has to be more stretchy (I mean fabric, of course) than the length.
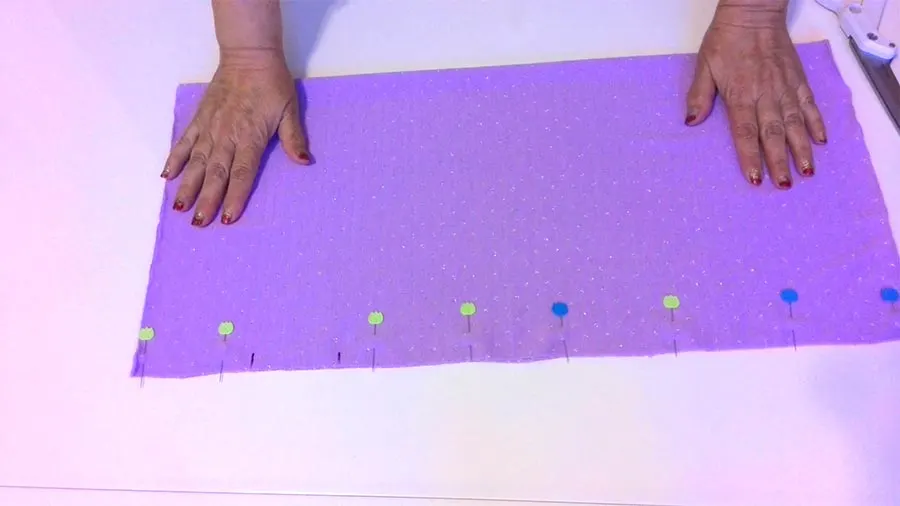
Fold the rectangle in half lengthwise
Pin it before going to a sewing machine. Leave an opening in the seam, for turning the hat right side out. The opening is about 2.5 inches long.
Prepare your sewing machine for making DIY beanie
We are going to sew stretchy knit fabric and the regular sewing machine settings will not work for it. You don’t want bursting stitches.
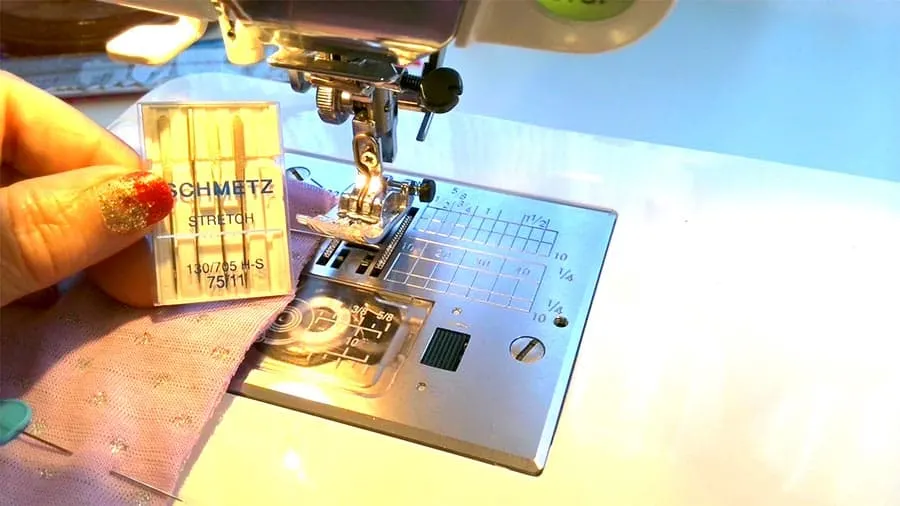
So first of all insert a stretch or ball point needle with a rounded tip. I have a detailed tutorial on stretch needles, check it out if you don’t know how to use them.
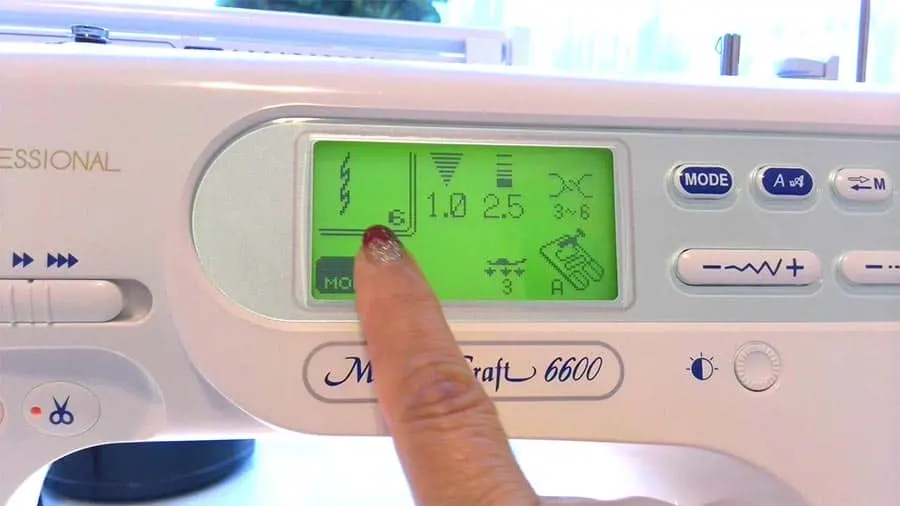
Second, choose a stretch stitch on your sewing machine. I have this stitch on my machine, it’s sometimes called a lightning stitch. If you want to know more about types of stretch stitches check out my video sewing tutorial.
Third, choose a proper thread.
Sew the seam leaving an opening for turning the beanie
Seam allowances are ⅜ inch. Don’t sew over pins. After you are done sewing, iron the seam carefully.
Make a twisted crown
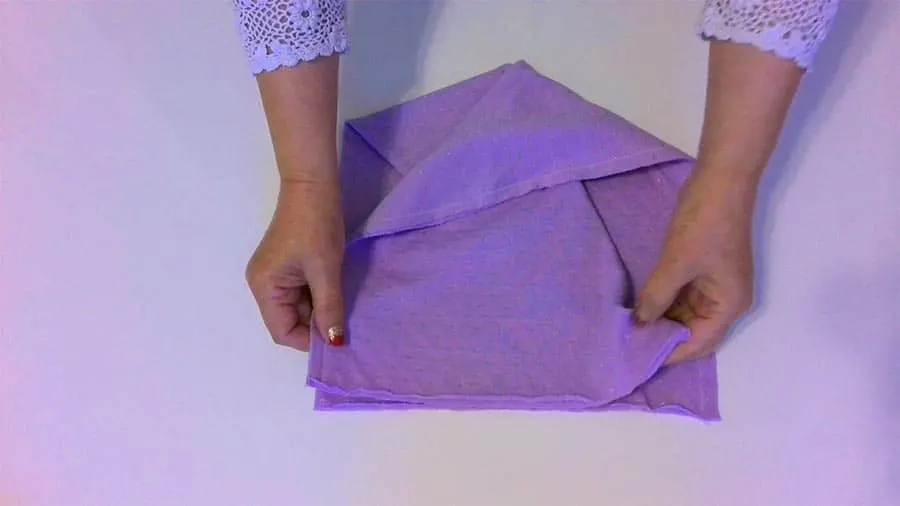
Now comes the trick of folding.
Swap two opposite corners on the top half of the folded fabric, connecting them to the bottom two.
Sew the bottom seam
Do exactly as I am showing in the video. Fold the prepared piece as you see in the video. It’s hard to describe it, just check the video (around 6 minutes) and do exactly the same.
But I still want to try to explain. So, we have a sandwich of 4 layers here and we need to sew the outer layers together; the top layer and the bottom layer are now the wrong sides out. We will sew them together, then turn them.
We have to take the inner two layers away from the stitching line.
What is now the inner two layers will be unfolded and pulled out and will become part of the tube itself.
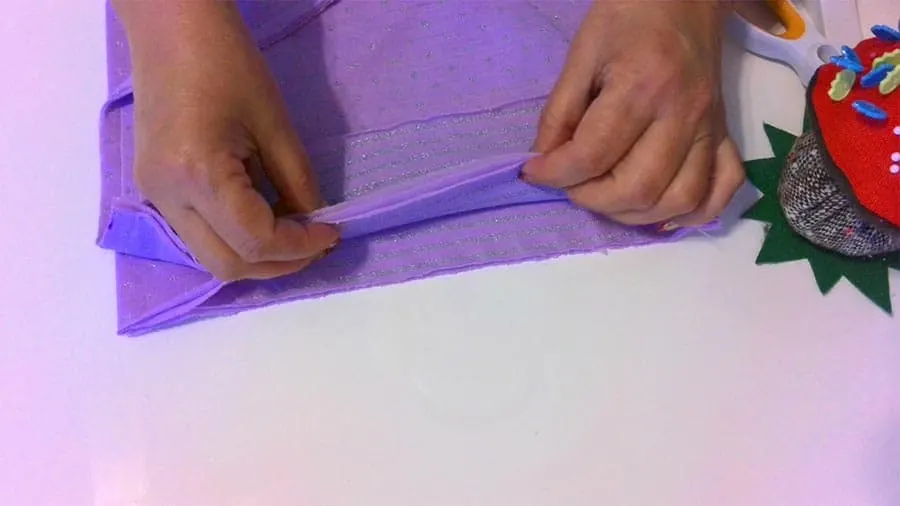
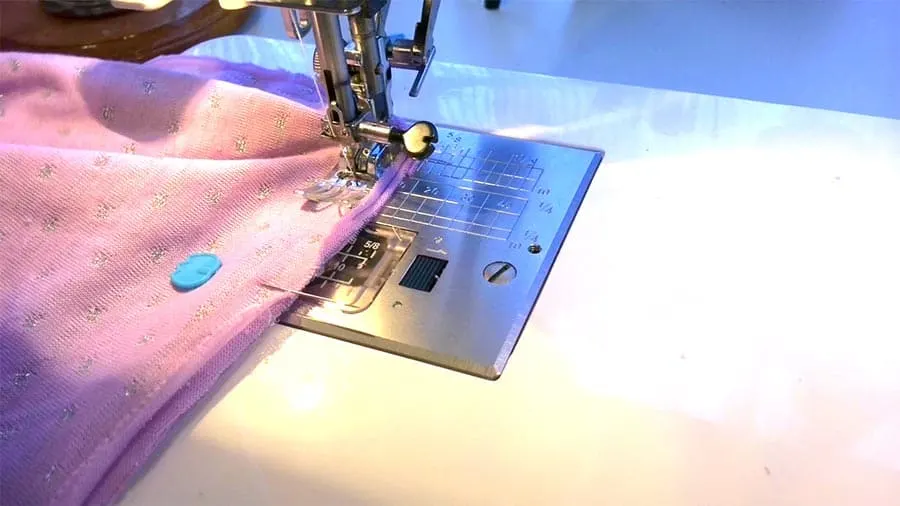
Stitch this tube using ⅜ inch seam allowances. Stitch until close to the folded edge, then pull the inner layers. The inner layers will come out, we arrange them manually and continue stitching. We do this until we encounter the initial pin which marks the start of the stitch.
Turn the beanie right side out and arrange the bottom edge
So now we have this shapeless piece. How do we make it a beanie hat? Well, easily! Find the opening left in the side seam for turning the hat inside out and turn the beanie hat.
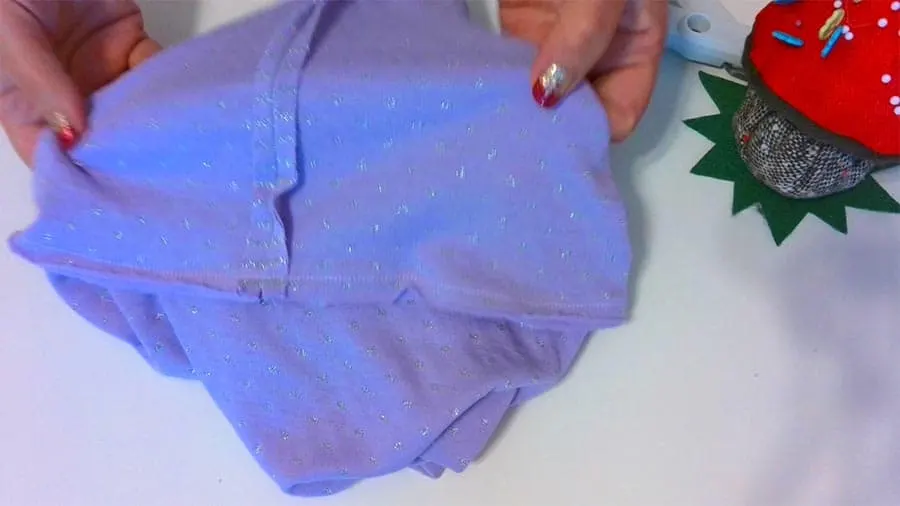
Align the edges – first with pins, then with an iron.
The bottom of the beanie hat should look neat. The hat is double-sided, it has a lining from the same fabric. We have to make sure that the lining does not pop out at the most inopportune moment and there is no need to constantly correct it. The lining should always stay “in place” when the beanie is worn.
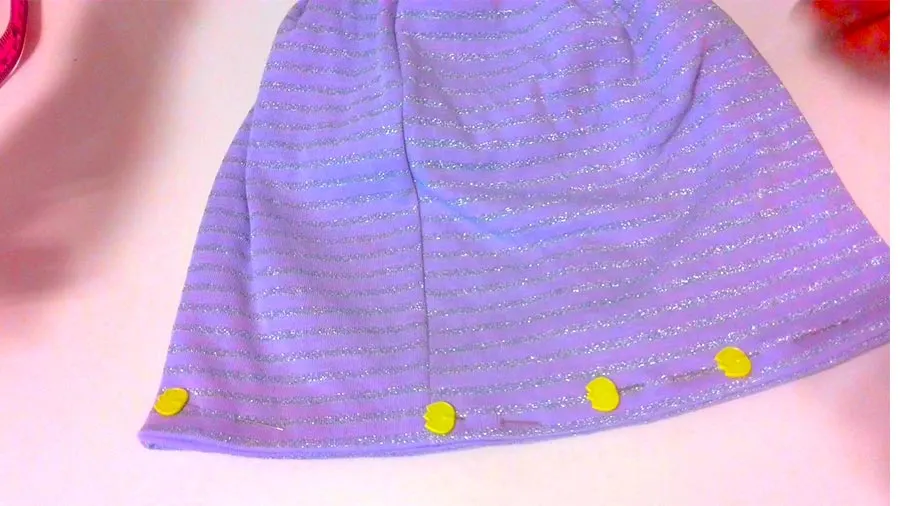
Decorate the DIY beanie
You can always decorate your beanie.
There are so many possibilities! With applique, rhinestones, ribbons, or embroidery. It all depends on your preferences. I decided to use elastic trims. The ribbon has to be elastic if you want to use it for the beanie hat.
I basted it first to the hat edge, and after that stitched. I used metallic thread in the needle, this Gutermann metallic thread is excellent for my sewing machine.
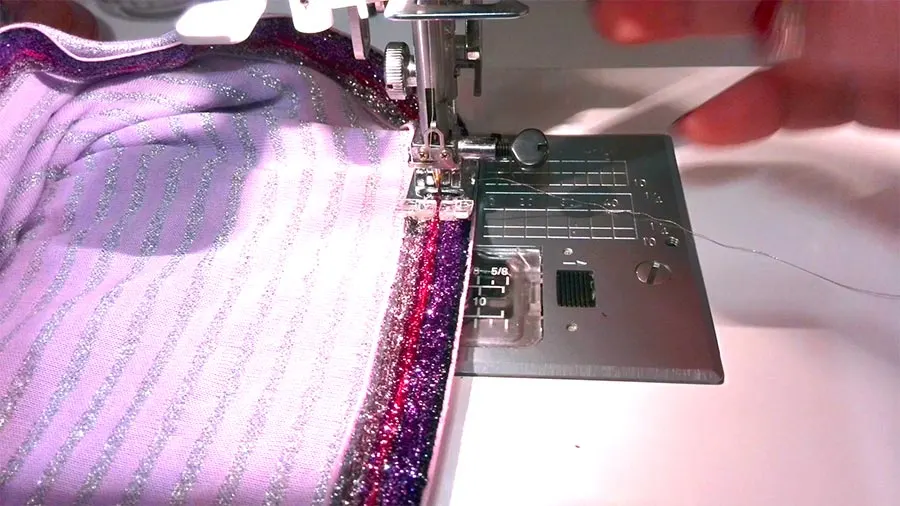
Close the opening
So now the hat is almost ready. It remains to sew the open seam section with blind stitches. Sew by hand. I have a video tutorial on my blog on how to sew invisible stitches if you are interested.
The beanie hat is ready! At the top of the head, there is an interesting pattern in the form of a spiral or a flower and a hole into which, if you wish, you can stick your ponytail, creating a unique stylish look.
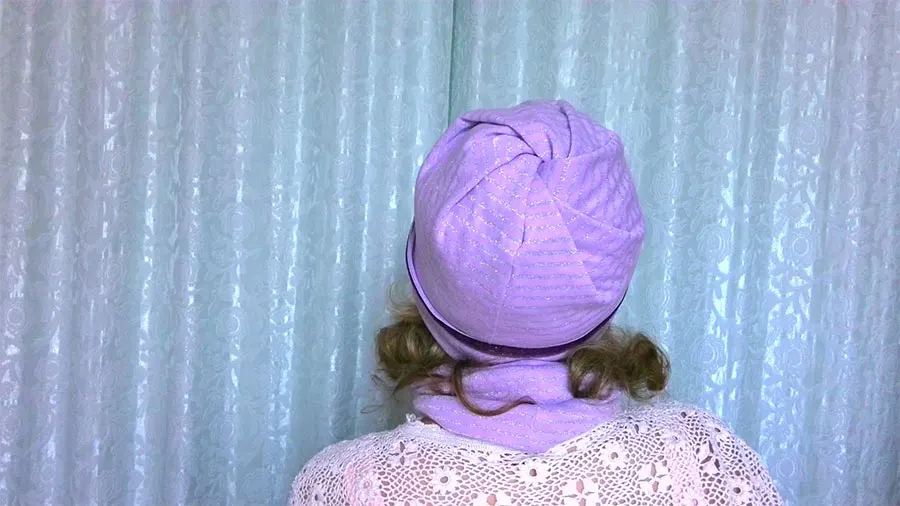
And below is the link to my YouTube video on making a DIY beanie hat.
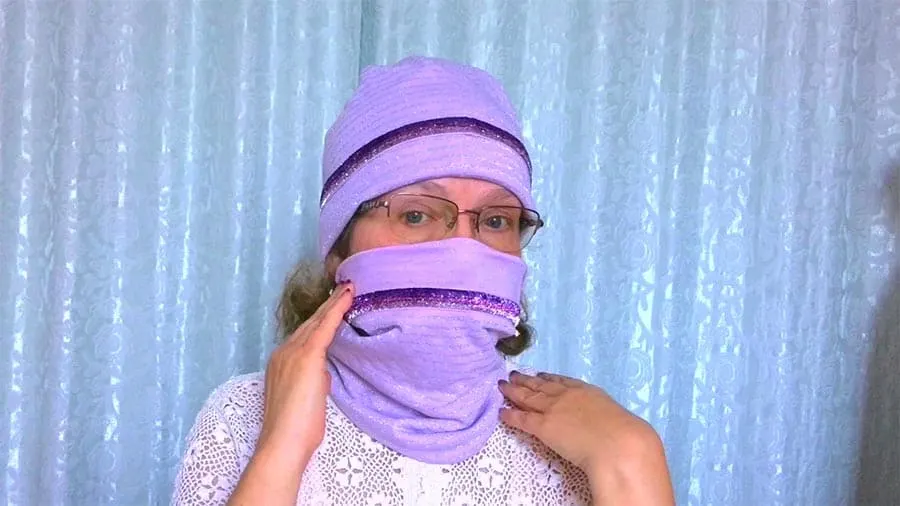
And in the next sewing tutorial, I will show you how to easily sew a tube scarf – a transformer that can be used as a face mask.
Did you find this tutorial helpful? If so, save this pin (see below) on your sewing board so you can come to this tutorial later when you are ready to make DIY beanie, and follow me on Pinterest for more tips, tutorials, and inspiration!

latest posts
- Ditch My Sewing Machine? Not in This Lifetime!
- Adorable DIY Needle Book | Easy Tutorial for Beginners
- Master the Seam Ripper: Your Ultimate Guide to Precision Stitch Removal
- Think You Know Zippers? This Installation Guide Might Surprise You
- Why Does Your Seam Ripper Have a Red Ball? Discover Its Purpose!
- Topstitching Troubles? This Simple Trick Will Turn It Around Instantly!
- How to Sew Shirring: A Step-by-Step Guide to Elastic Thread Gathering
- Are Self-Threading Needles Really Useful?
- Amazon Spring Sale: Best Choices
