
DIY kids mask: very easy child size and toddler mask pattern and sewing tutorial
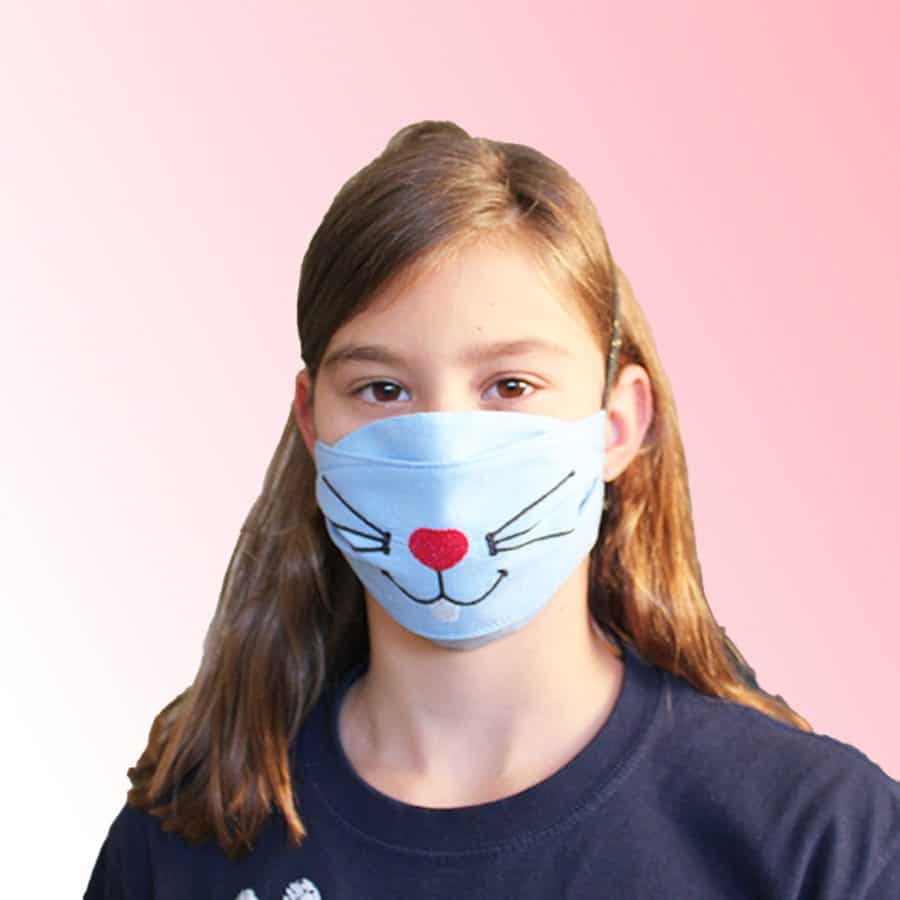
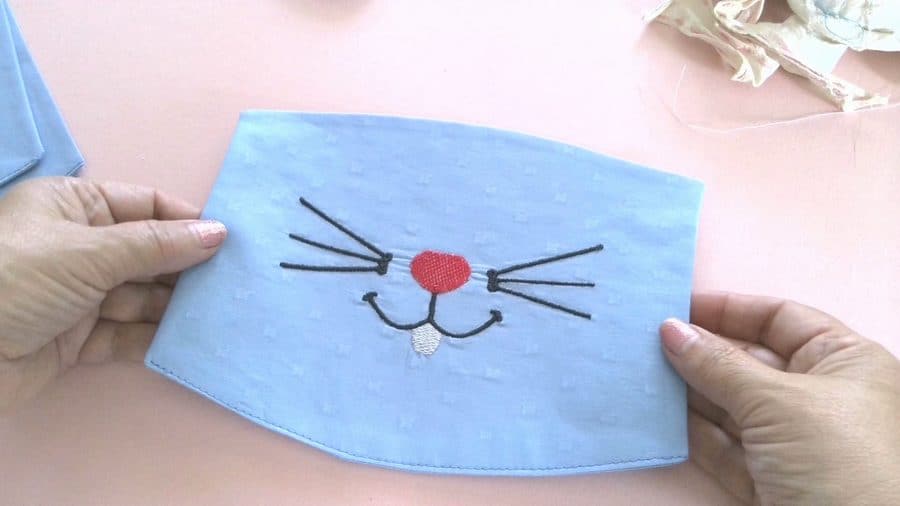
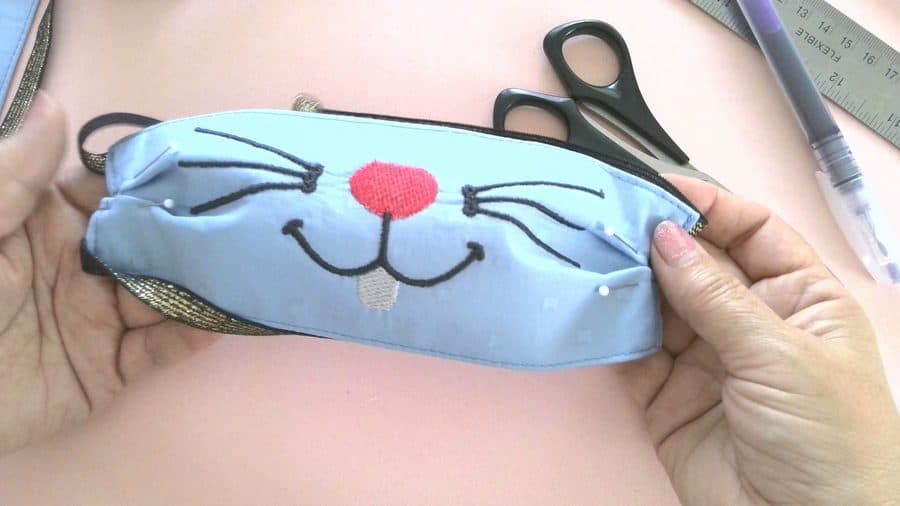
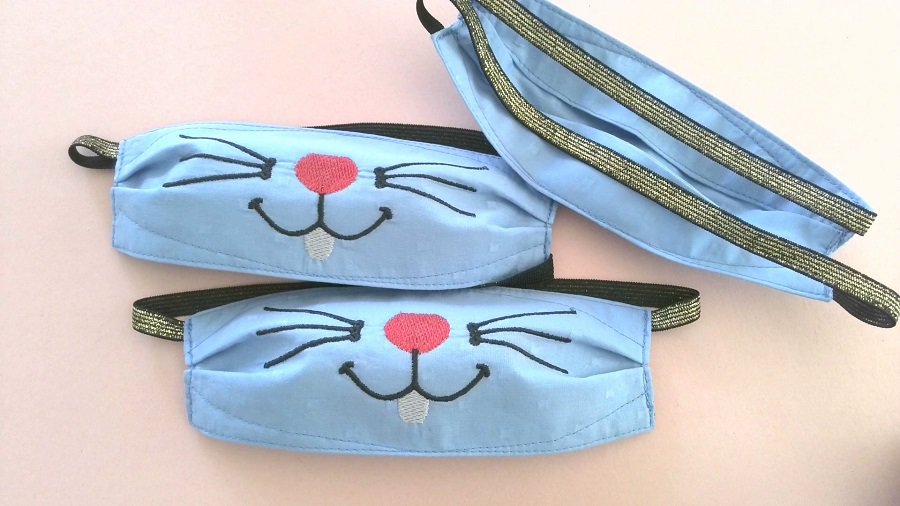
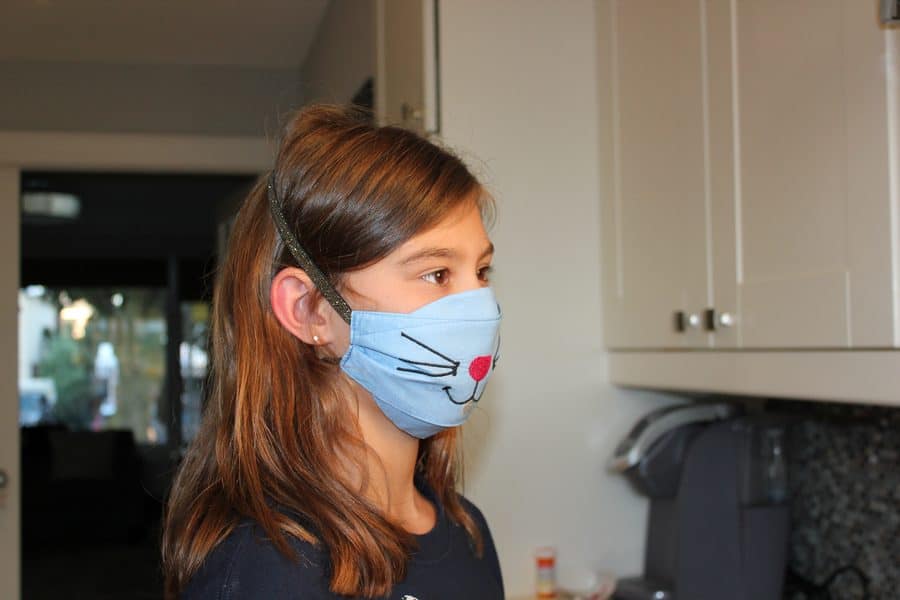
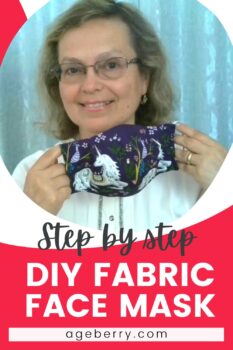
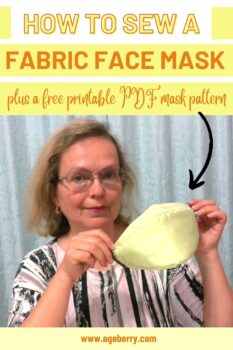
In this sewing tutorial, I will show you how to make a face mask for kids using my child-size and toddler face mask pattern. The DIY kids mask with whiskers is made for a 10 years old girl. You can find the free pattern and embroidery design in my Resource Library.
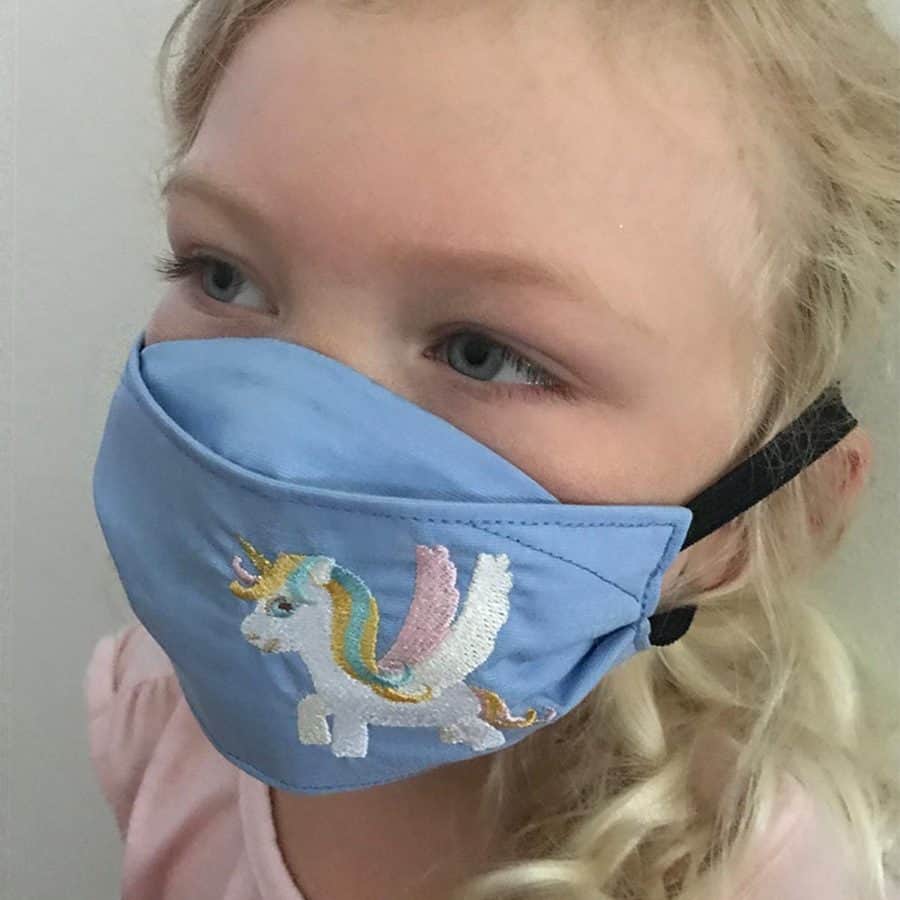
The other DIY kids mask (with the Unicorn embroidery) is made for a 4 years old girl. You can also find the free toddler face mask pattern in my Resource Library.
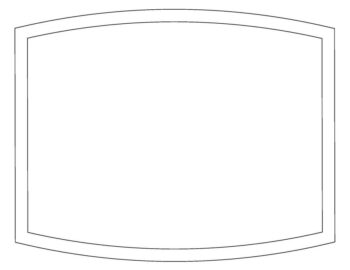
These patterns are very simple and look just like this (see the image below). This project is very easy even for a beginner.
Mask-making for kids? Where does this come from? The schools are starting! Normally, this means a little more free time for the parents; I know, I was there some years ago. But this year is a little different.
School start means a new set of problems for the parents, and this is: will my child be protected against this virus? Yes, data seems to show that younger kids seem to be less affected by it, nevertheless, there is always a risk. Wearing a mask is probably sensible, moreover, some school districts may even require masks to be worn by children when in class or on a school bus. So this year you may be faced with the very difficult task to include masks in the list of school supplies!
It is well known that the regular surgical mask is not really effective in filtering small particles; it was not designed for it. The N95 masks, while effective, are usually not designed to be worn for long periods of time and certainly not by kids. Kids (not only girls!) are very particular about what they want to wear, just try to make a girl wear a Hulk mask or a boy one with a butterfly; I can assure you the mask will be off the first chance they get.
Let me give you one example: I made a mask for a 10 years old girl, with a unicorn on it. Everyone likes unicorns, right? Wrong! Not THIS girl. She would not wear it, no matter what. When faced with the stern parent decision “you WILL wear this”, the girl simply reverted “but I can’t breathe!” Can you counteract this? Of course not. She wanted a mask with whiskers. In the end, that is what I made, and she said she can breathe just fine through it even if the mask was exactly the same except for the outside decoration.
For me, this was a lesson learned: kids need to LIKE their masks, the masks need to fit well enough to allow breathing, and – very important – the mask has to be loose enough around the mouth to allow speaking because the child needs to be able to talk while in school.
I have some experience with masks, I have three different designs, two of them I made in child size too. So, when my friends asked me to make masks for their kids, I said – why not? And I decided to make the patterns available for free, perhaps others will benefit from it.
The embroidery is not affecting the effectiveness of the mask, there is extra processing for that after the embroidery is done. Of course, if you have a nice pattern on the material, to begin with, you can skip the embroidery part altogether. But the bottom line is: that you will end up with a custom mask that will be very likely worn by the child as much as a fashion statement for protection reasons.
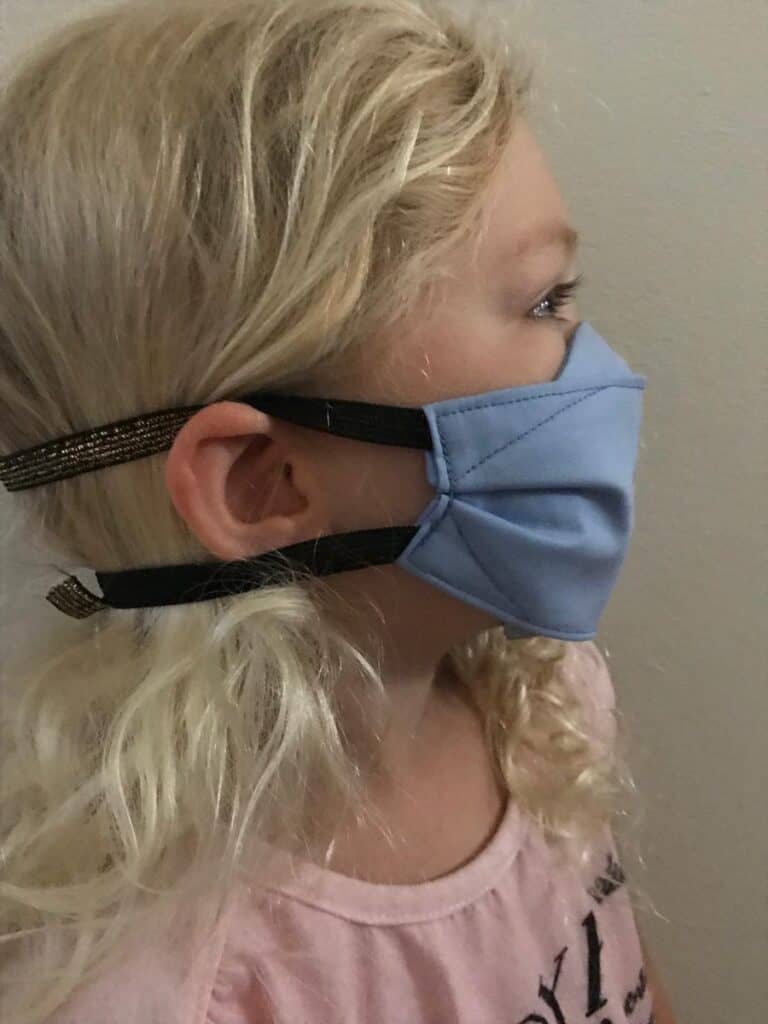
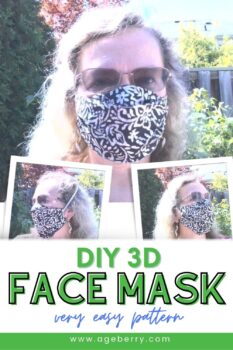
I think kids will like masks with embroidery. But to make an embroidery design you will need a flat surface. At the same time, the face mask can’t be flat if you want protection from viruses, the mask must have a 3D shape. So I made a special pattern that starts as a flat design but with some folds and pleats, it becomes a truly 3-D mask that covers the nose, mouth, and chins very well and at the same time doesn’t prevent a child from speaking.
I don’t really like elastic over ears. Of course, you can do it but the elastic has to be very thin (narrow) like commercial surgical masks have. But it’s quite tricky to attach very narrow elastic to the fabric by sewing. It’s possible of course and I will show you how to do it so the elastic doesn’t break after only a few days of wearing. And I prefer to make elastic for face masks going over the head.
What you’ll need
- Fabric – choose 100% woven cotton fabric, not very thick but not very thin either. Don’t use knit fabric – it needs special techniques.
- Fusible interfacing – lightweight interfacing from Pellon is the best. If you want more details about using fusible interfacing for masks, check out my article “All about fusible interfacing for masks”
- Elastic – choose elastic that’s not stiff, soft narrow elastic works the best
- Embroidery design of your choice (or you can download my design with whiskers from my Resource Library)
- Embroidery machine
- Embroidery tear-away stabilizer
- Sewing machine
- Regular sewing notions (like pins, markers, scissors, etc.)
Note: Some of the links on this page are affiliate links. This means I will receive a commission if you order a product through one of my links. I only recommend products I believe in and use myself.
Products you might need for this project


Print and cut the kids’ face mask pattern or the toddler face mask pattern
There are only 2 pieces. One-piece looks like a rectangle, and the other one (#2) has a curved mask shape. The pattern must be printed at 100% size (actual size). Have in mind that some printers try to “best fit” the pattern on the page and in the process resize the pattern.
On the template there is a 2” (5cm) line with the dimension marked on it, if that line is not exactly 2” (5cm) then the pattern has been resized by your printer. So try to print again until the size is right.
The child-size face mask pattern and the toddler face mask pattern are printable PDF files in my Resource Library. If you are a subscriber to my site you will find a password for the Library in my emails. Otherwise, subscribe to my newsletter in the form below and I will send you the password right away.
I was making 3 masks with whiskers at once so in the images and instructions below you can see sometimes 3 masks. These DIY kids masks were made for 10 years old children. The toddler face mask (with the Unicorn embroidery) was made for a 4-year-old girl and the instructions for making this toddler mask are exactly the same as for the mask with whiskers.
I made a short video with step-by-step instructions on sewing the face mask. Check it out below (I hope you don’t mind a few ads before the video). But you will not be able to see the video if you have ads blocked.
Step 1
Prewash a piece of cotton fabric for the mask (or for 3 masks if you want to make more than one) in hot water and press it.
Step 2 (optional)
Embroider it with the design of your choice. Place the embroidery within pattern piece #2 – this will be the visible front part of the mask.
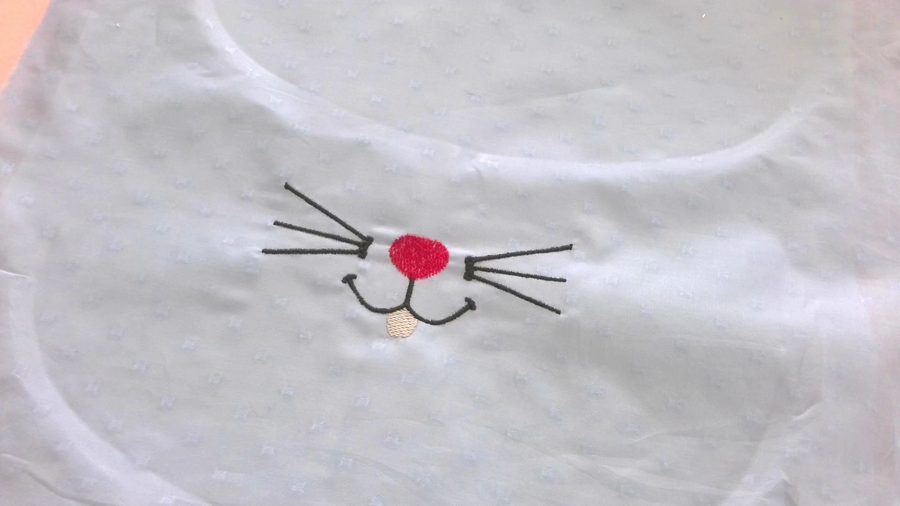
If you would like to download this embroidery design go to my Resource Library, the design is made for a 5 x 7-inch hoop in 3 formats – PES, JEF, and HUS. It’s a zip format and you need to unzip it after downloading.
For my embroidery, I used a tear-away stabilizer. Get rid of the stabilizer after the embroidery is done.

You will see that the needle made very many small holes in the fabric. This is not good for the face mask that offers good protection from viruses, right? The viruses can easily go through these tiny holes.
So we need to fix this using Pellon interfacing. If I fuse a piece of interfacing I will cover the holes very well.
Step 3
Cut a piece of fusible interfacing using the pattern. Fuse it placing the piece of interfacing over the embroidery design. If you are not sure how to do it correctly, check out my tutorial – “How to fuse interfacing”.
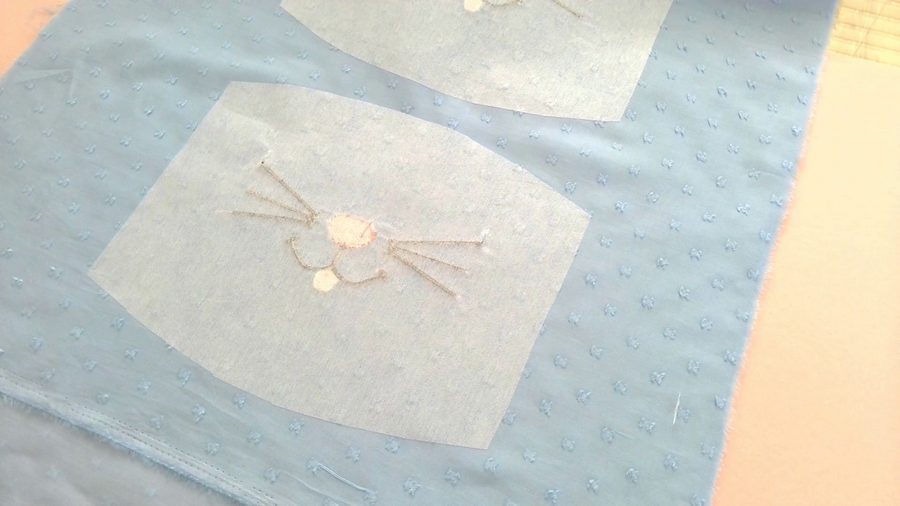
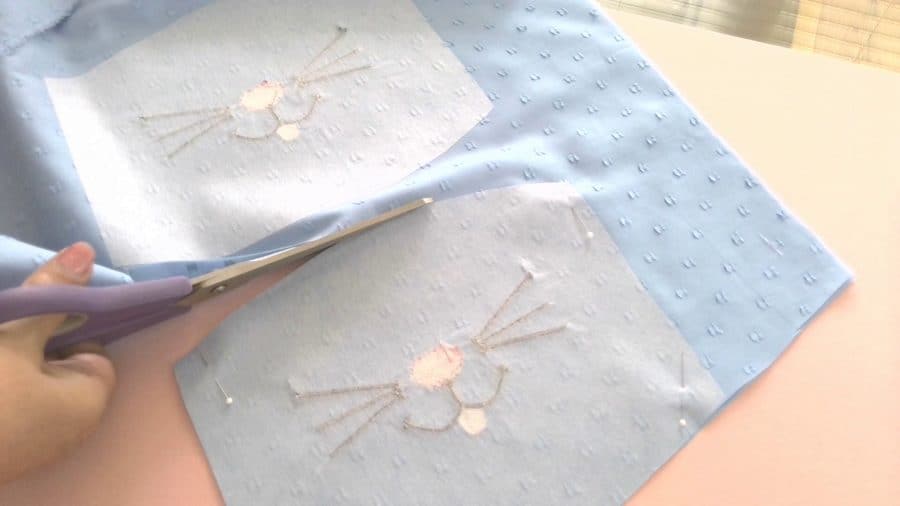
Fold the fabric and cut 2 pieces of fabric for the mask (cut around the interfacing) as you see in the images below. If you are going to use pins, place them in seam allowances only so you don’t make holes in the fabric.
Step 4
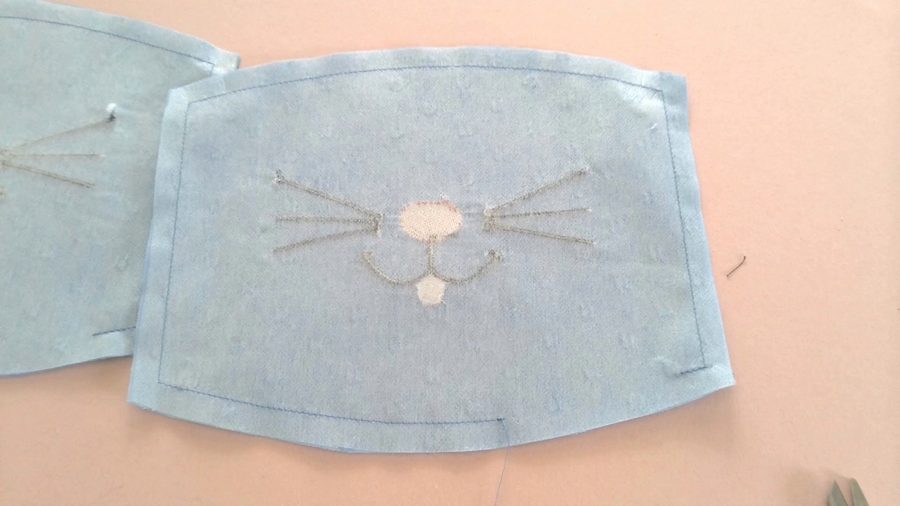
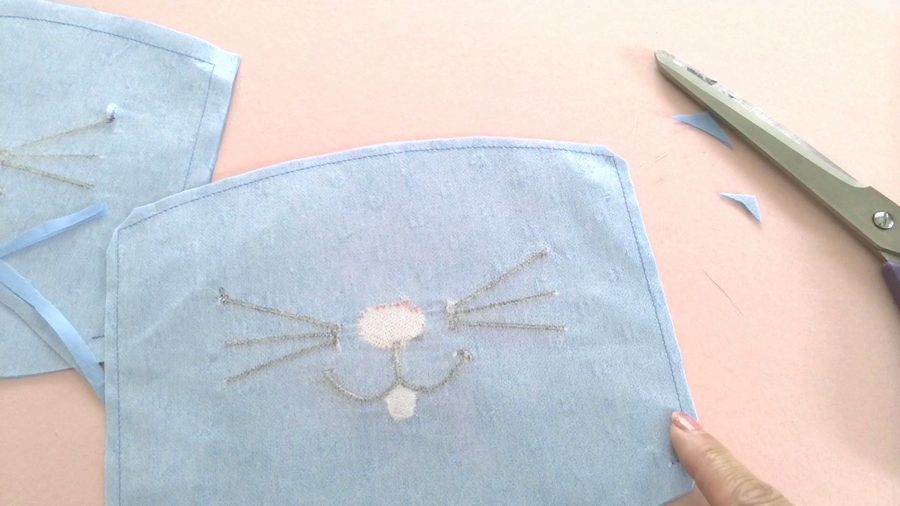
Sew 2 pieces of fabric together leaving a small opening for turning it right side out. Press the seam. Cut seam allowances close to stitches and cut corners to reduce bulk. Close the opening using a few pins. Press. Make a stitch close to the edge closing the opening.
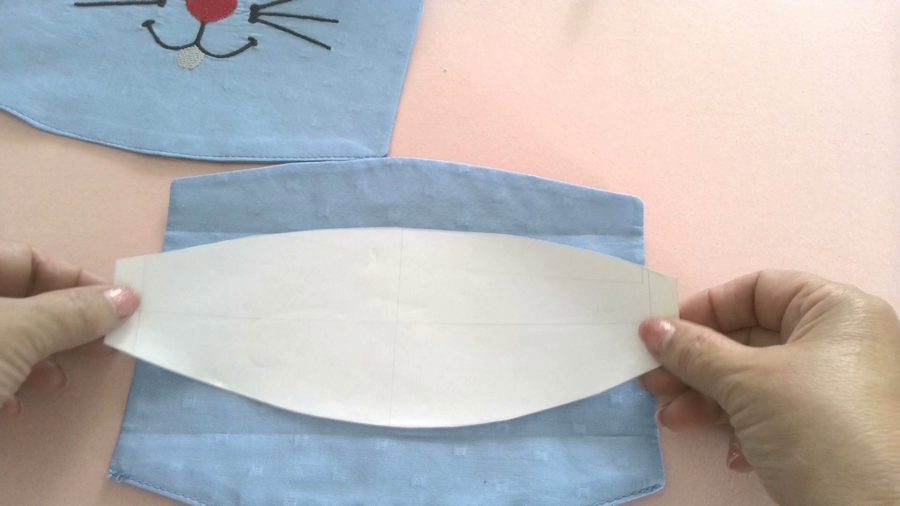
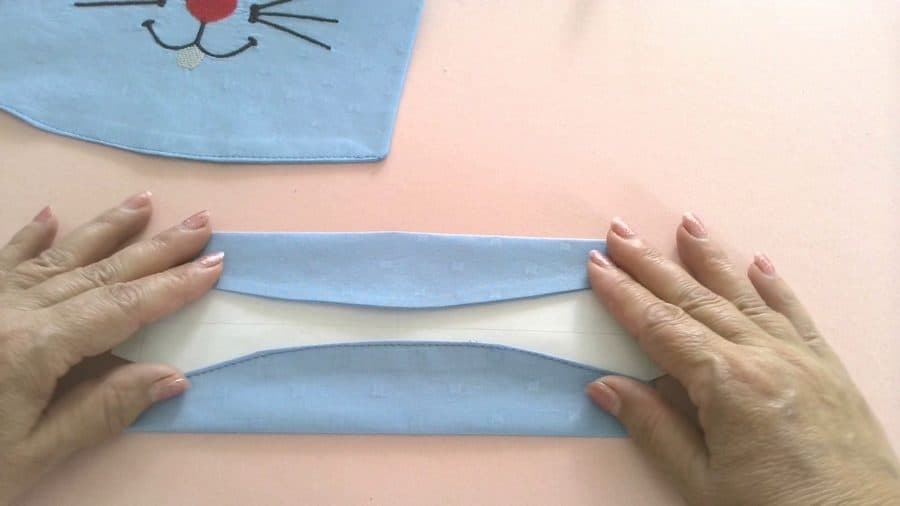
Step 5
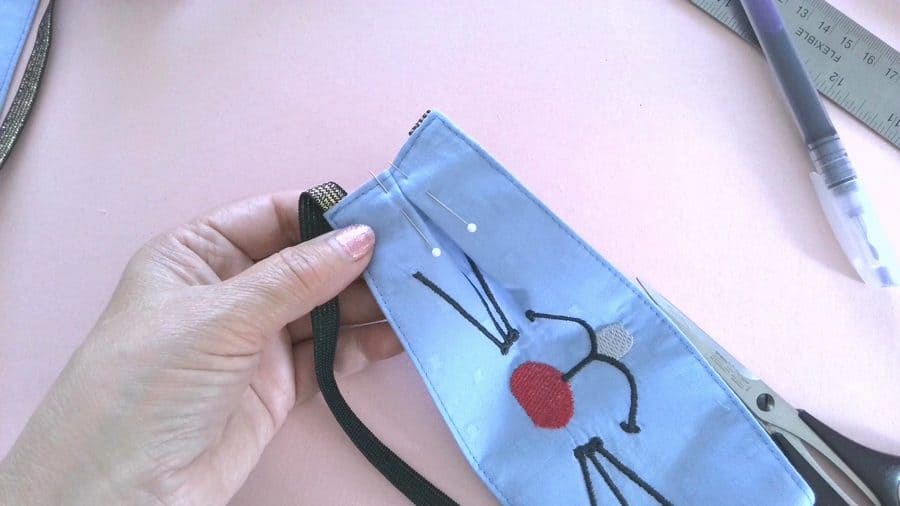
Now use pattern piece #2. Place it on the prepared fabric like you see in the images below and fold both edges inside. Make sure the folded parts are equal. Press with a hot iron.
Step 6
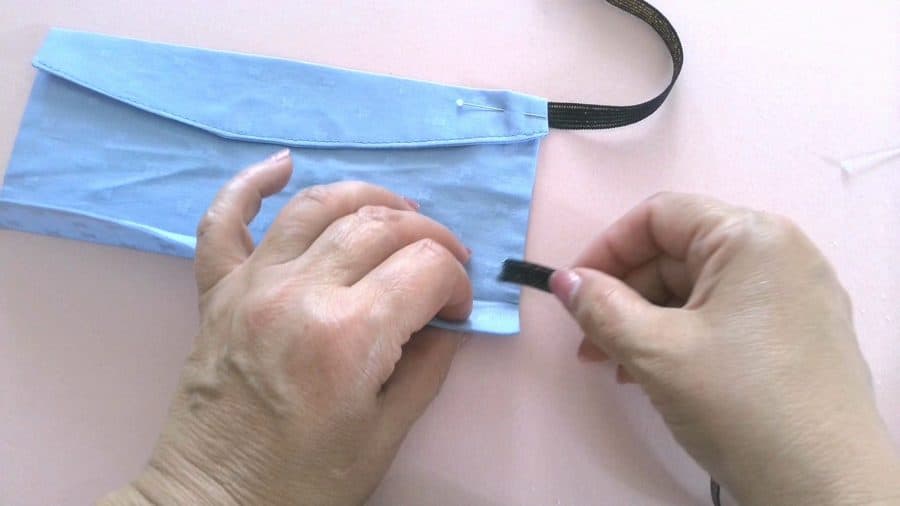
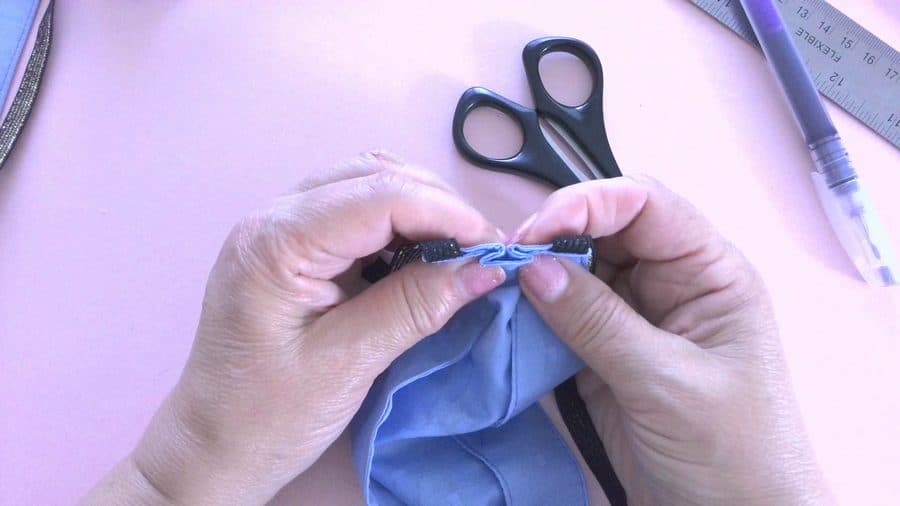
Now we need to attach elastic.
As I said before, I don’t really like elastic over ears. I prefer masks with elastic over the head.
If you make the mask like this (with elastic over the head) for the first time you may not have the right measurements for this elastic. It’s not a big deal. You can always adjust it later. Just cut it a little bigger and later you will shorten it.
As for my elastic for the face mask for the 10 years old, the bigger piece that goes over the head was 12 inches long, and the shorter piece that goes around the neck was 8 inches. But have in mind elastic pieces need to have seam allowances also and they were ½ inch on both sides.
But different pieces of elastic may have different elasticity. So the measurements might be different for different elastic and will depend on the particular elastic you use. My measurements will serve only as a general guide.
Place elastic edges under the folded fabric as you see in the images below and stitch all around the edges of the mask.
Step 7
Make 2 pleats at the sides. Make sure the pleats are exactly the same. My pleats were 5/16 inches each and in the back, the distance for the pleats was 11/16 inches on each side.
Stitch again over the pleats.
Step 8
Now we need to make 2 more seams.
Draw curved lines (with a fabric marker) as you see in the images below. Stitch. Cut all thread tails.
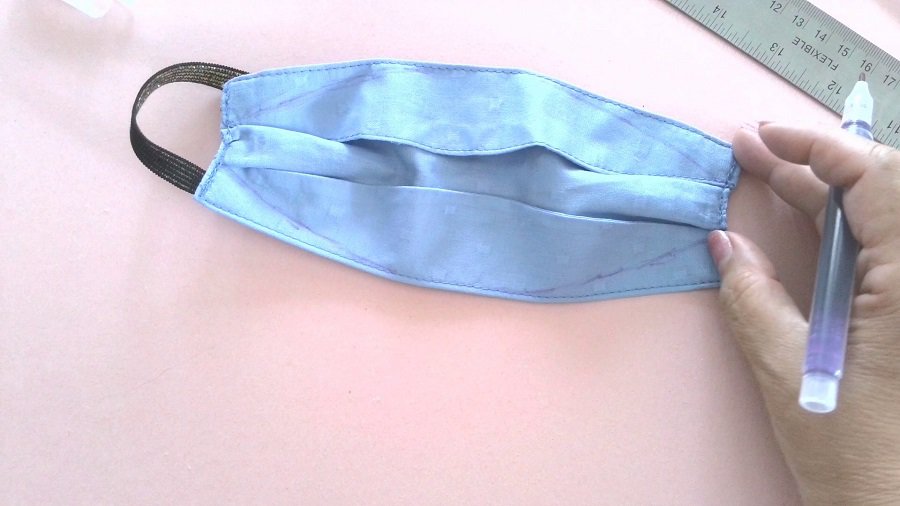
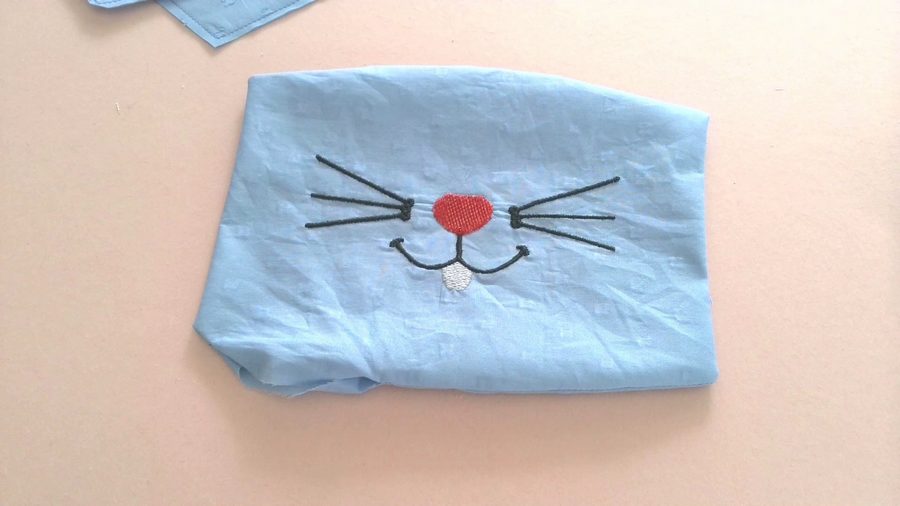
And this is the result – the mask is well-fitted, more or less comfortable, fun, and protects well.
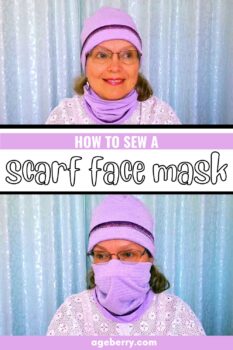
I hope you have found some helpful information in this sewing tutorial on how to make a face mask for kids. Want to remember this tutorial? Post this pin to your favorite Pinterest board so that you can find the instructions later.

Like sewing tips? I have other popular tutorials on my blog that might be interesting for you. Check them out below.

latest posts
- Corset Pressing Board for Sewing: What It Does and How I Use It
- 7 Essential Tools and Settings for Sewing Denim on a Regular Sewing Machine
- That Purple Thang: 10 Smart Ways to Use This Weird Little Tool
- 20+ Reasons Your Sewing Machine Thread Keeps Breaking (+ Solutions)
- Dresden Plate Quilt Block: 4th of July Fireworks
- How To Sew Curves the Easy Way Using a Curve Master Presser Foot
- 30 Sewing Hacks That Turn Ordinary Items into Useful Sewing Tools
- Seam Allowances in Sewing Patterns: What They Are and How to Use Them
- What Do You Call a Person Who Sews? I Asked My Readers and Got 1,408 Opinions
The link to Bunny Face Embroidery Design is dead. Can you re-upload the files please? Thank you
Please email me directly, seems this type of file can not be downloaded correctly by the browser therefore I removed the link but I will send the file directly to any subscriber who wishes to have it.
Thank you! The link has been fixed now; also please feel free to contact me by email if you have any difficulty downloading the file.
I can’t seem to find the pattern for the kids mask. I would like it also, it is very cute!
It seems there is some confusion regarding the pattern download; the pattern can be downloaded directly from my Resource Library page
https://www.ageberry.com/resource-library/
All subscribers to my newsletter have access, the password is in the newsletter itself. If for any reason someone does not want to subscribe but still needs the pattern, please contact me by email, the contact form is at the bottom of the page.
Thank you!
Please email me the kids mask pattern.
thank you
Thank you. Would you kindly forward the face mask pattern fot 10 year old, i will not upload.THX
Forwarded. Please contact me directly by email (contact link at the bottom) for any question.