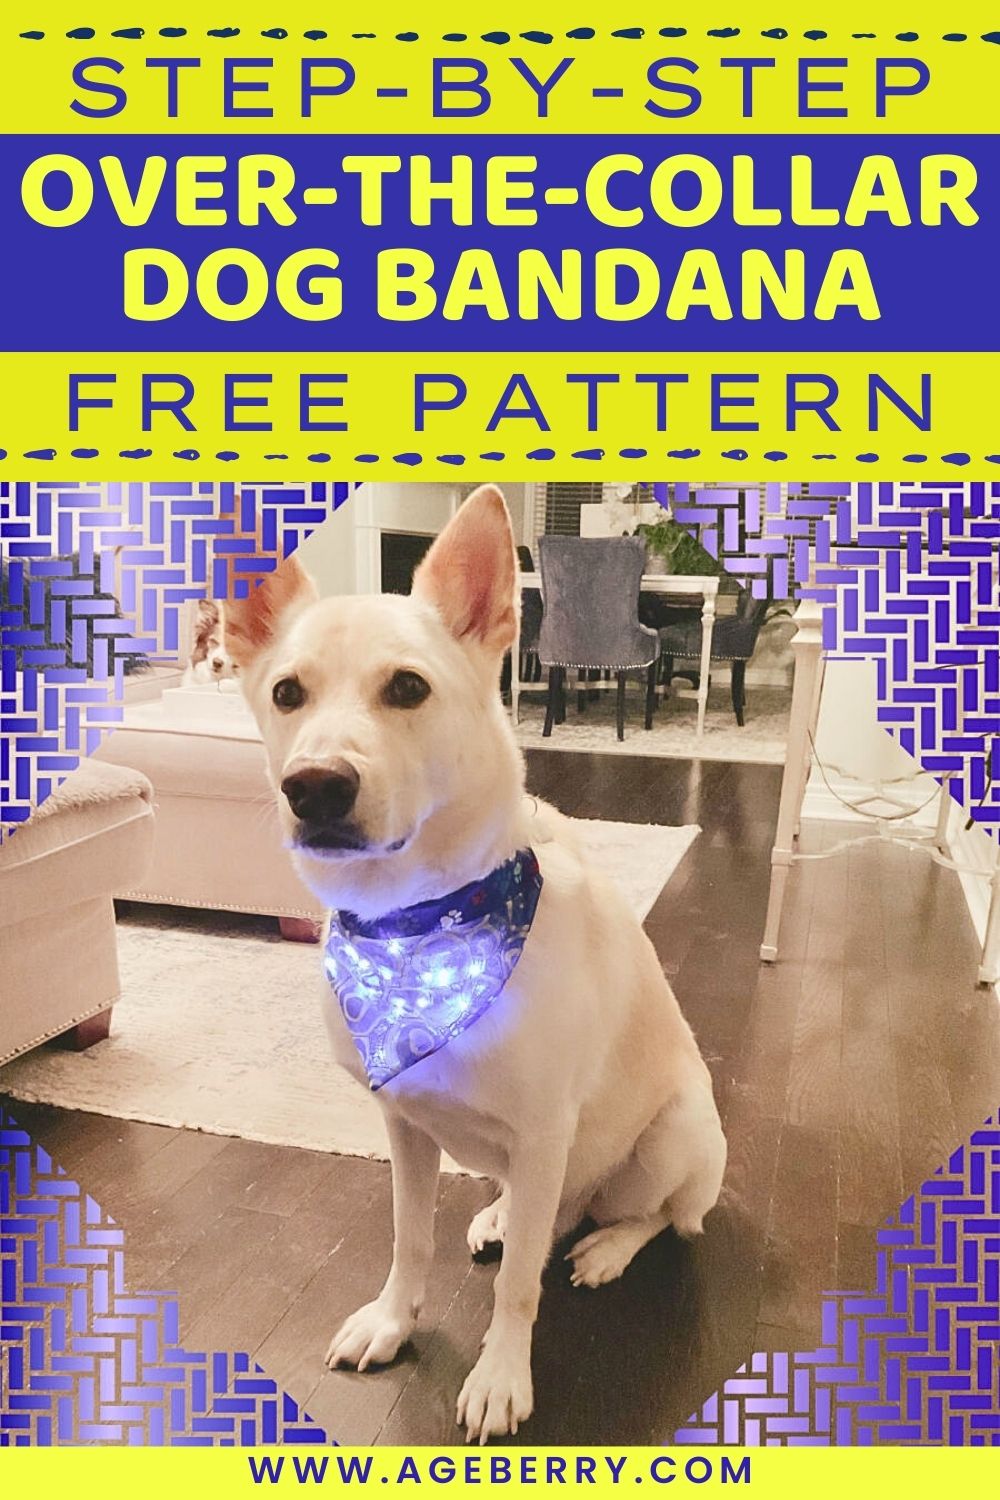
How To Make An Over The Collar Dog Bandana | Free Pattern And Tutorial
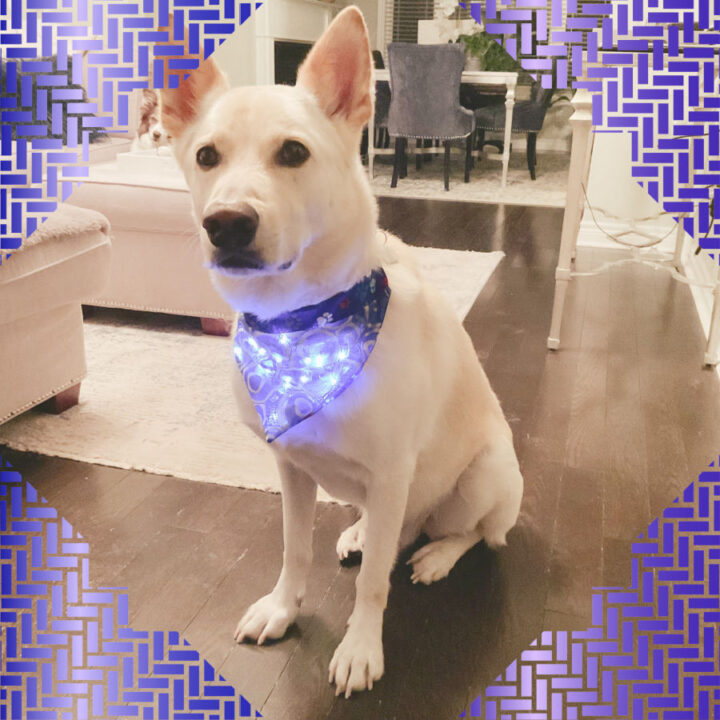
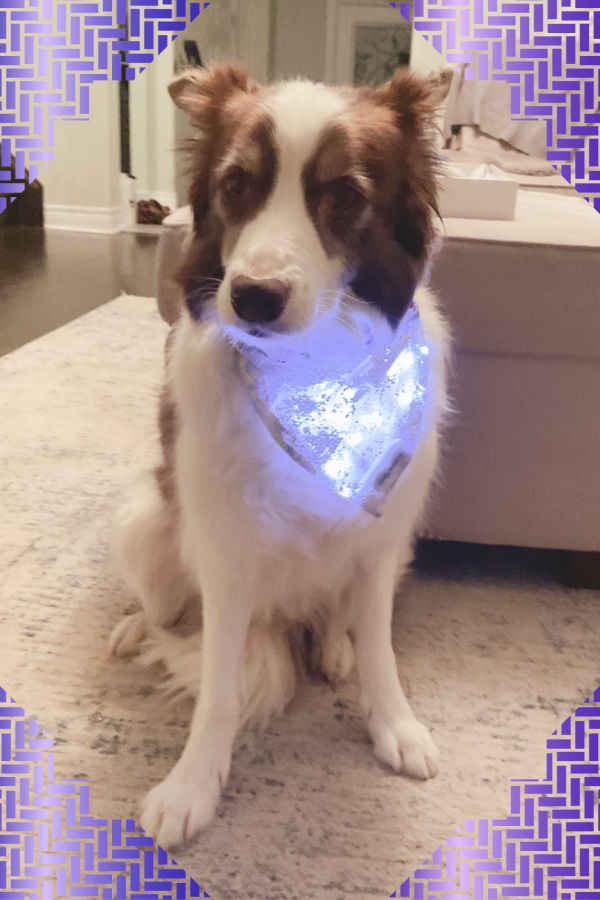
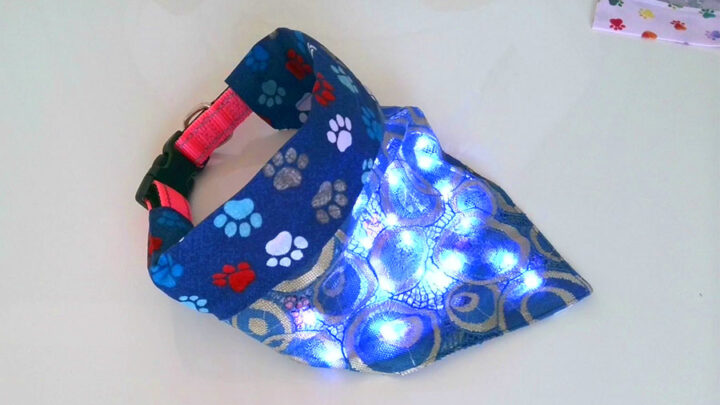
In this sewing tutorial, I will show you how to make an over the collar dog bandana. When you think of dog accessories, what comes to mind? Chances are it’s not a bright colorful bandana with lights inside. But this one is!
Your dog will look amazing wearing it and everyone around will be impressed by how cute he or she looks in this bandana. You can even sew one as a gift for someone else who has a dog – I am sure they will appreciate it very much because every dog owner knows how difficult it can be to find an interesting present sometimes…
What is an over the collar dog bandana? It’s a piece of fabric that is designed to be worn over a dog’s collar. They come in a variety of colors and designs, and it’s a great way to add some fun and personality to your pet. And, of course, they’re just plain cute!
An over the collar bandana does not tie around the dog’s neck. Instead, the bandana simply slips over the dog’s collar and becomes part of the collar. This type of bandana is very popular because it is very easy to put on and take off, and it also looks very stylish.
They’re also super easy to make. You can customize them with fun colors.
When making the bandana, make sure that it’s the right size for your dog’s neck.
My daughter has 2 dogs: a large dog, a husky mix, and a medium dog, a border collie. I will show you how I make bandanas for them.
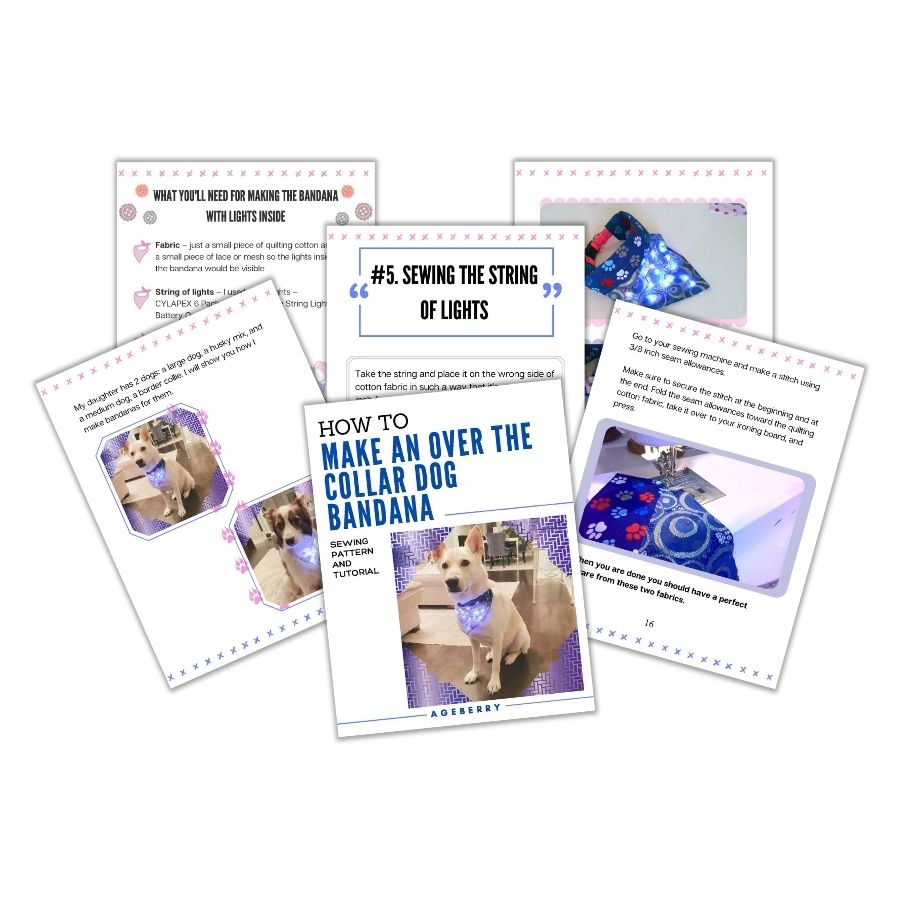
I created a very helpful Printable PDF eBook How To Make An Over The Collar Dog Bandana | Sewing Pattern And Tutorial. I have all the information that you need for making the bandana in this eBook and you can read it without ads. You can purchase the PDF file for only $5.99. This way you can print it out and it will be available for you to refer to anytime you want.
Note: Some of the links on this page are affiliate links. This means I will receive a commission if you order a product through one of my links. I only recommend products I believe in and use myself.
I have an easy pattern in 2 sizes (large and medium) and step-by-step instructions that will help you. However, you can easily modify the pattern if you would like to make the bandana in small or extra large sizes (check the instructions below).
My pattern is free for my subscribers, and if you subscribe to my weekly newsletter you can download it from my Resource Library page right now without paying anything at all. All the instructions are easy-to-follow.
The result of your work will definitely impress everyone around – just imagine how surprised they would be when they see such an unusual accessory on their beloved four-legged friend!
What you’ll need for making the over the collar dog bandana with lights inside
- Fabric – just a small piece of quilting cotton and a small piece of lace or mesh so the lights inside the bandana would be visible
- String of lights – I used these lights – CYLAPEX 6 Pack Cool White Fairy String Lights Battery Operated 3.3ft 20 LEDs
- Thread (matching colors)
- Sewing machine
- Hand sewing needle
- Regular sewing notions
Attention! If you like the video format, at the bottom of this post, look for a YouTube video version where there is a detailed tutorial on how to make an over the collar dog bandana. For a more complete picture, I recommend exploring both versions.
#1. Prepare all necessary materials for making this over the collar dog bandana
Printing and assembling over the collar dog bandana pattern / template
Measure the length of your pet’s current collar. Over the collar dog bandana should be smaller than your dog collar. Leave about 2 inches on each side of the collar.
There are 2 sizes for the free over the collar dog bandana pattern: for a large dog and for a medium dog. The finished bandana for my large dog is 13 inches wide and for the medium dog is 11.5 inches.
Choose your size ( the one that’s closer to your dog’s size) and download the printable PDF file from my Resource Library. You’ll notice that this document prints out in 6 pages for large size and in 4 pages for medium size. For small or extra large sizes – see instructions down the page.
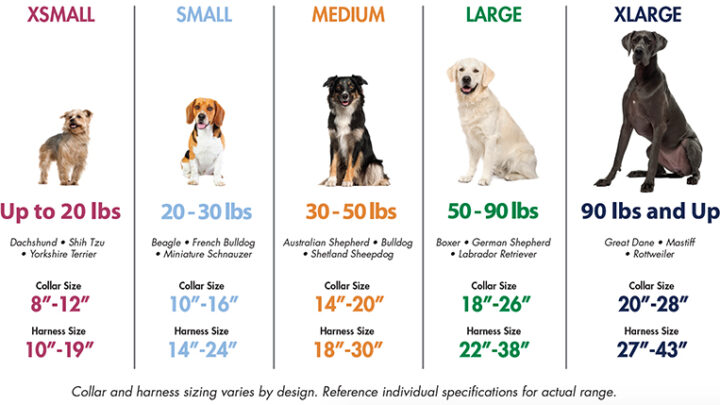
Here is a size chart I found online at this link https://www.coastalpet.com/sizing-guide/
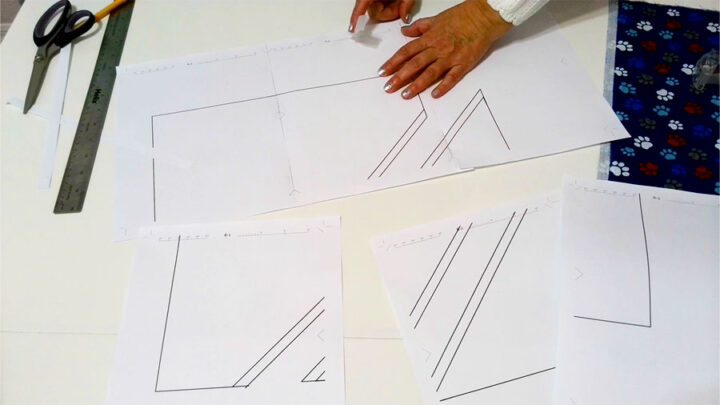
Assembling the pattern is pretty easy.
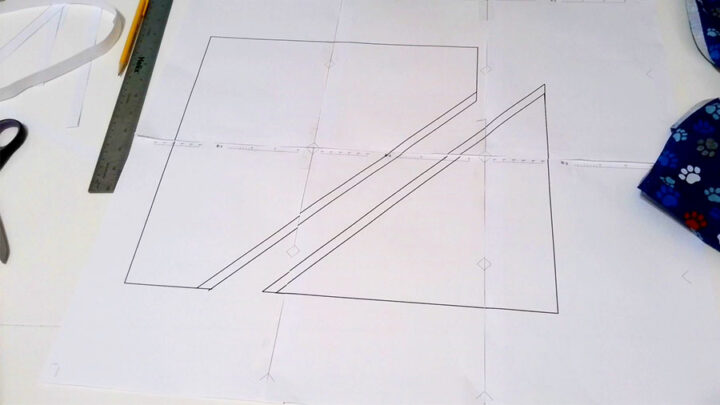
Start with your first row, pages 1, 2 and 3. Draw a line along little triangular marks on pages 2 and 3, trim off the pages 2 and 3 along these lines and overlap it on pages 1 and 2 accordingly.
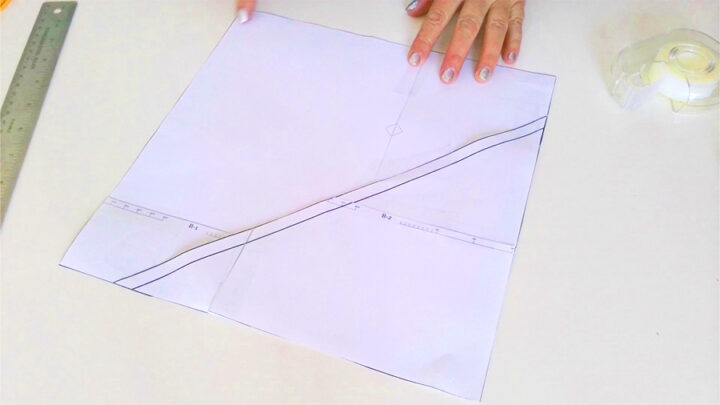
Line up the pattern lines. You will also see these small triangles that will help you line up your pattern even easier. Tape the pages together.
When taping, try to keep the pages so they don’t shift.
After your first row is assembled, continue on with the second row aligning the tops and the sides of your pages.
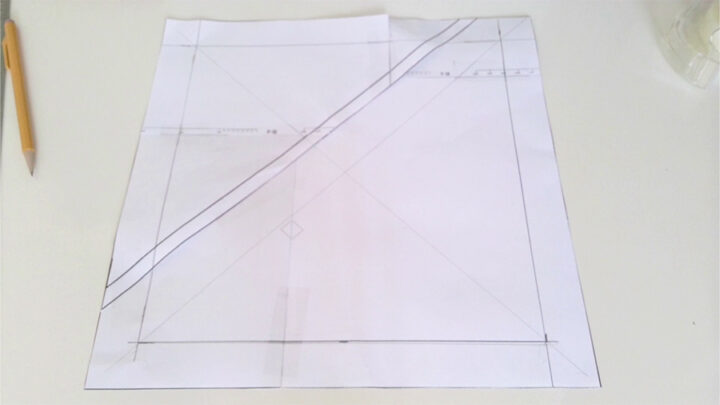
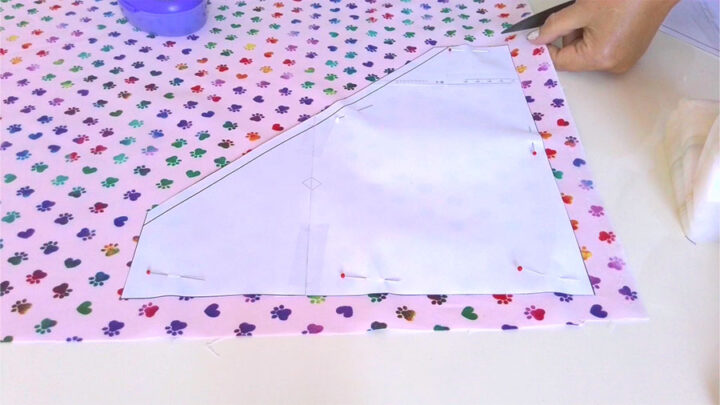
That’s how the pattern looks after you put everything together.
Cut out these 2 pieces carefully following the lines of the pattern.
If your dog is small or extra large you can easily modify the pattern. For this, tape the pattern overlapping seam allowances so you get a perfect square.
And now make the square smaller or bigger. Measure about 1 inch from all sides and draw a new square like you see in the image below.
Un-tape the paper pieces and use them separately to cut fabric for the bandana.
Choose your fabric
You are not going to need much fabric. I think quilting cotton is a good choice for the bigger pattern piece. If you want you can also use a heavier weight fabric like canvas.
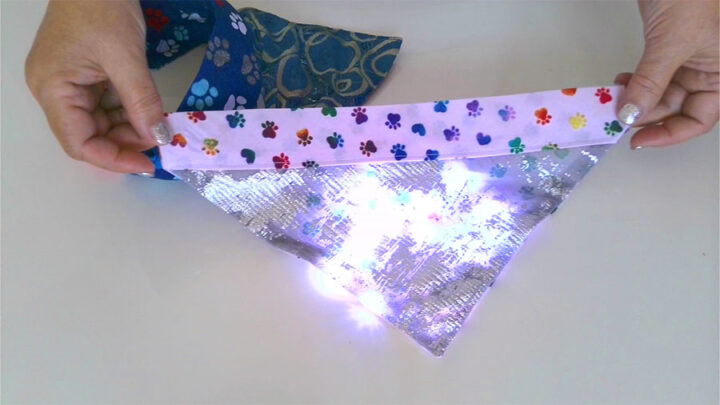
But you also need to use transparent fabric such as lace or mesh with some design/pattern so the lights are visible when they are on and not visible when they are off.
Set up your sewing machine
Thread it with matching color thread, try tension on scrap, etc.
Prepare the string of LED lights
I bought cool white lights on Amazon, they have lights of many different colors: blue, green, orange, pink, etc.
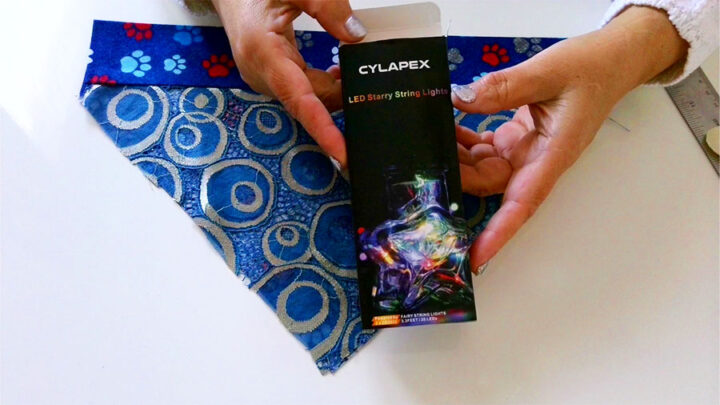
The string is extra thin and small – only 3.3 feet (about 1 meter), it’s silver coated flexible copper wire with 20 micro starry LED lights. It’s battery operated and can be easily bent.
The battery case is small and has an on/off switch, it’s easy to operate and hide behind the lace or mesh fabric. The seller says that battery life is great – 24 hours of continuous battery life and longer if used with breaks.
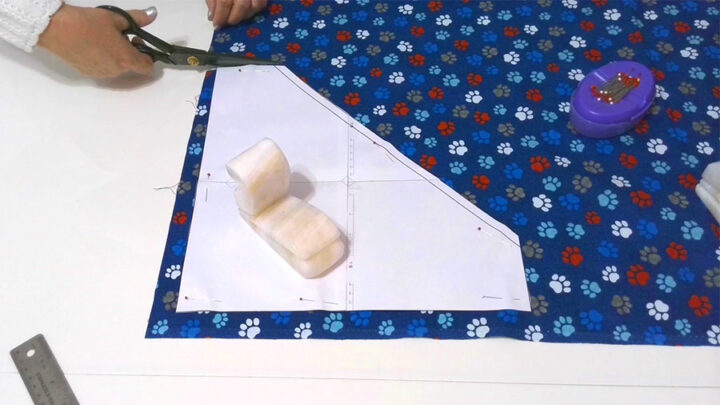
#2. Cut out the fabric for the over the collar dog bandana
First, cut out the quilting fabric using the pattern. Make sure to follow grainlines on the fabric.
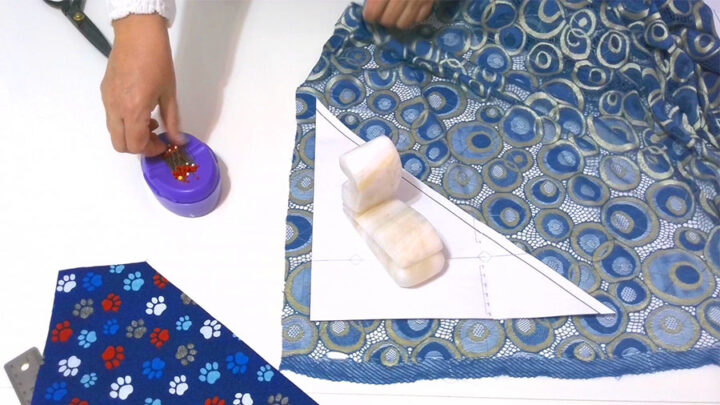
Next, cut out the lace or mesh.
You can either use scissors to cut it out or a rotary cutter.
✅ Related tutorial: Cutting Tool For Sewing: Ultimate Guide
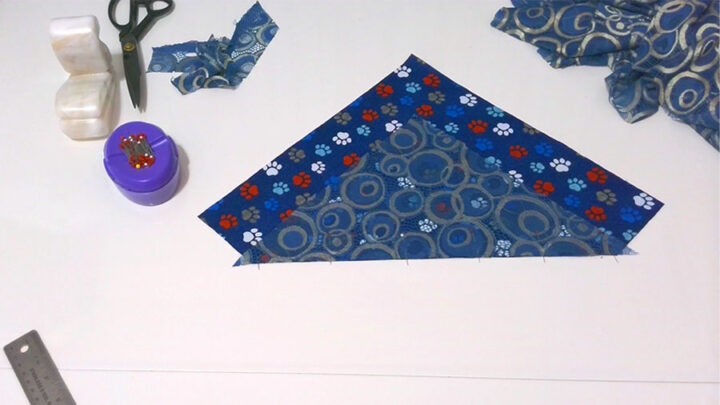
So now we have our two pieces of fabric, you see that they are not the same size.
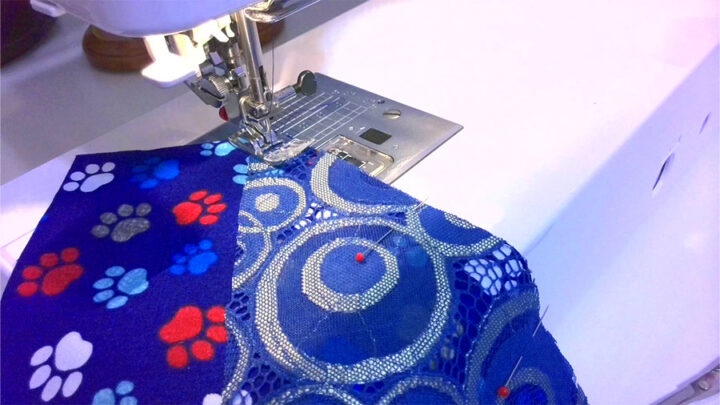
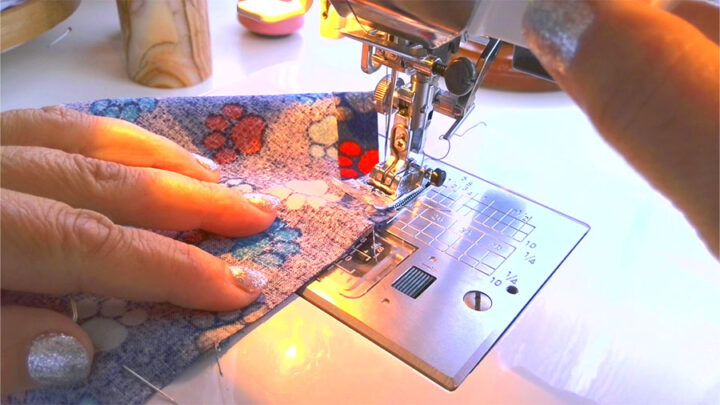
#3. Sew a diagonal seam connecting these 2 different fabrics
Put these two pieces right sides together and use pins or sewing clips to hold them together whatever you prefer.
Go to your sewing machine and make a stitch using 3/8 inch seam allowances.
Make sure to secure the stitch at the beginning and at the end. Fold the seam allowances toward the quilting cotton fabric, take it over to your ironing board, and press.
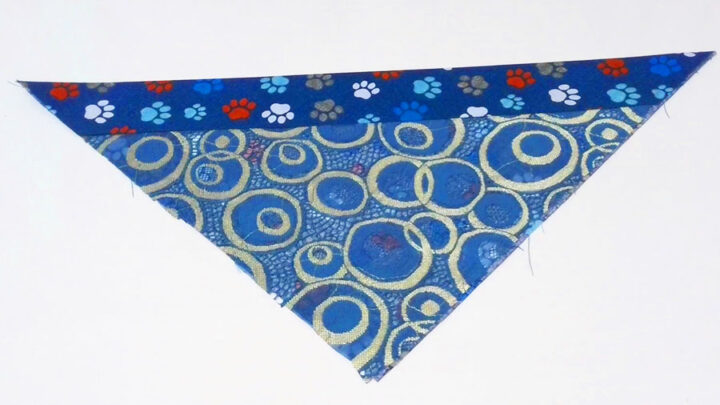
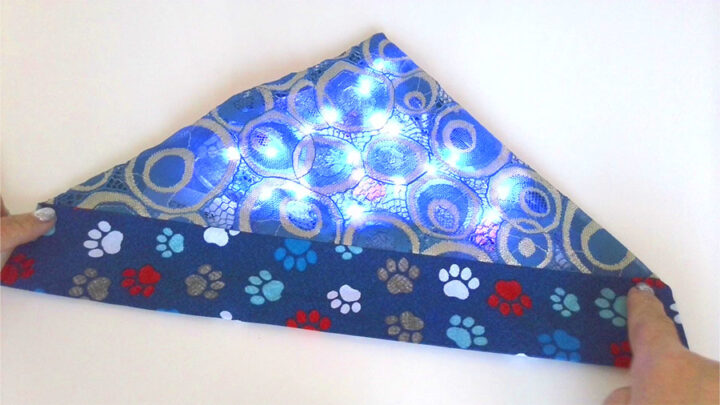
When you are done you should have a perfect square from these two fabrics.
And while you are at your ironing board, fold this square in half diagonally wrong sides together like you see in the image below and press with a hot iron to make a crease line. We are going to use this folded line as a guide in the next step.
✅ Related tutorial: Best iron for sewing – all you need to know for choosing an iron for sewing and quilting
#4. Sewing corners
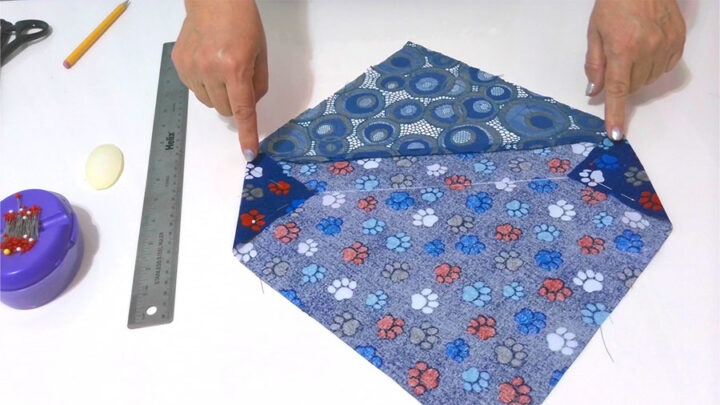
Open up the folded square and draw a diagonal line connecting two corners. Use a fabric marker.
Fold in the corner, about 2.5 inches for the large bandana and 1 ¾ inch for the medium bandana. It depends on the size of your dog. Put the corner point exactly on the folded line and pin. Do the same with the opposite corner.
Press these corners. Stitch ( about 1/4 inch sewn allowances) and press again. Cut the fabric “ears” close to stitching.
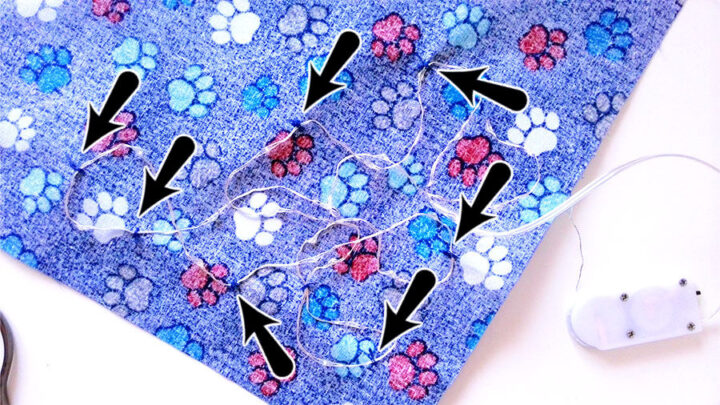
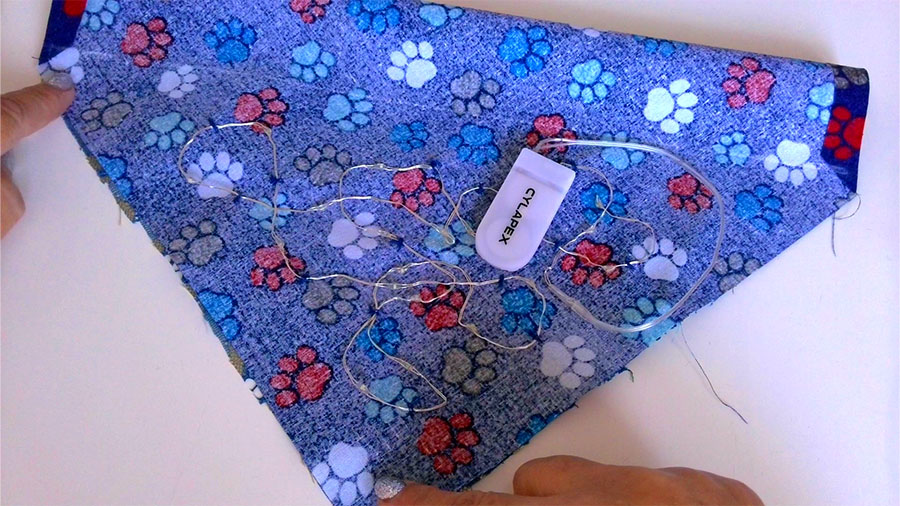
#5. Sewing the string of lights
Take the string and place it on the wrong side of cotton fabric in such a way that it’s about half an inch from 2 sides and about 2 inches from the folded line.
The string is flexible but it keeps the shape well. Make it flat.
Start sewing by hand attaching the string in different places.
✅ Related tutorial: Sewing basics: learn to sew by hand
For now, keep the battery out of the fabric. Make sure you don’t pierce the metal wire. Don’t put all the lights in one place. Distribute them equally.
#6. Finishing the over the collar dog bandana
Fold the square in half diagonally so the right sides are together now. Line up raw edges so that the sides are lined up and the corners are lined up. Pin or clip the edges.
It should look like this.
Stitch but only the raw edges. Start and stop right at the folded sides. Make sure to secure the stitches at the beginning and at the end. Place the fabric in such a way so that the string of lights is visible to you.
Don’t sew over the lights of course.
Press the seam making sure you don’t touch the lights. Snip the corner but be careful – don’t cut into the stitches.
Carefully turn the bandana right side out through one of the openings. Push out the corner using a pen, a knitting needle, a chapstick.
Flatten the lights. Put the battery inside. Make sure the bandana is not wrinkled and laying nicely. I wouldn’t press it with lights inside. But I used a bit of steam to get rid of wrinkles.
Topstitch the bandana making a casing to insert a collar.
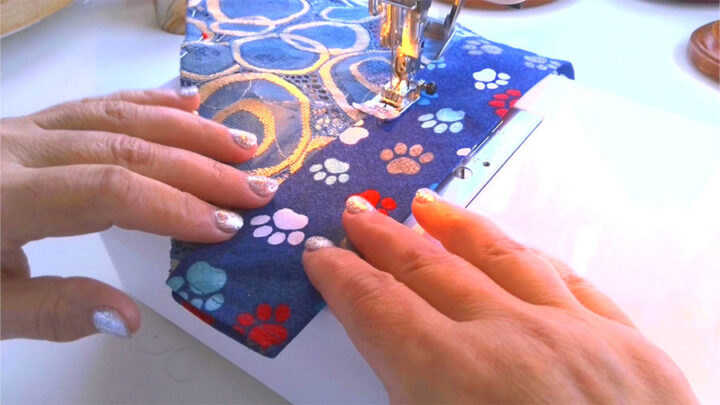
And that’s it, you are done.
You now know how to make an over the collar bandana for your dog. Be sure to subscribe to my newsletter and download the free pattern so you can start making them for all of your furry friends. And, as always, feel free to reach out if you have any questions. I hope you enjoy this project!
Did you find this tutorial helpful? If so, save this pin (see below) on your sewing board so you can come to this tutorial later when you need this information on making over the collar dog bandana, and follow me on Pinterest for more tips, tutorials, and inspiration!

So here is my YouTube video. Check this out if you like to see a helpful video on making an over the collar dog bandana (instead of reading).

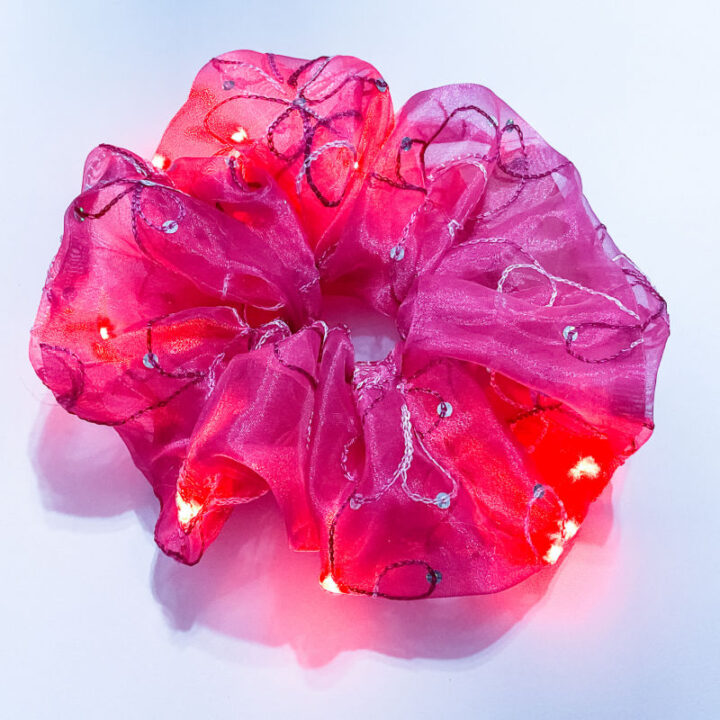
Want to see another interesting tutorial? Here it is – How to make a scrunchie that lights up.
This cute scrunchie is a novelty item and a lot of fun! I think you agree it’s very pretty and eye-catching.
And believe it or not, you can easily make one like this if you have some beginner sewing skills.
This scrunchie should be made oversized so it has enough space to insert a string of lights with a battery. It’s made from pretty organza fabric.
latest posts
- Corset Pressing Board for Sewing: What It Does and How I Use It
- 7 Essential Tools and Settings for Sewing Denim on a Regular Sewing Machine
- That Purple Thang: 10 Smart Ways to Use This Weird Little Tool
- 20+ Reasons Your Sewing Machine Thread Keeps Breaking (+ Solutions)
- Dresden Plate Quilt Block: 4th of July Fireworks
- How To Sew Curves the Easy Way Using a Curve Master Presser Foot
- 30 Sewing Hacks That Turn Ordinary Items into Useful Sewing Tools
- Seam Allowances in Sewing Patterns: What They Are and How to Use Them
- What Do You Call a Person Who Sews? I Asked My Readers and Got 1,408 Opinions