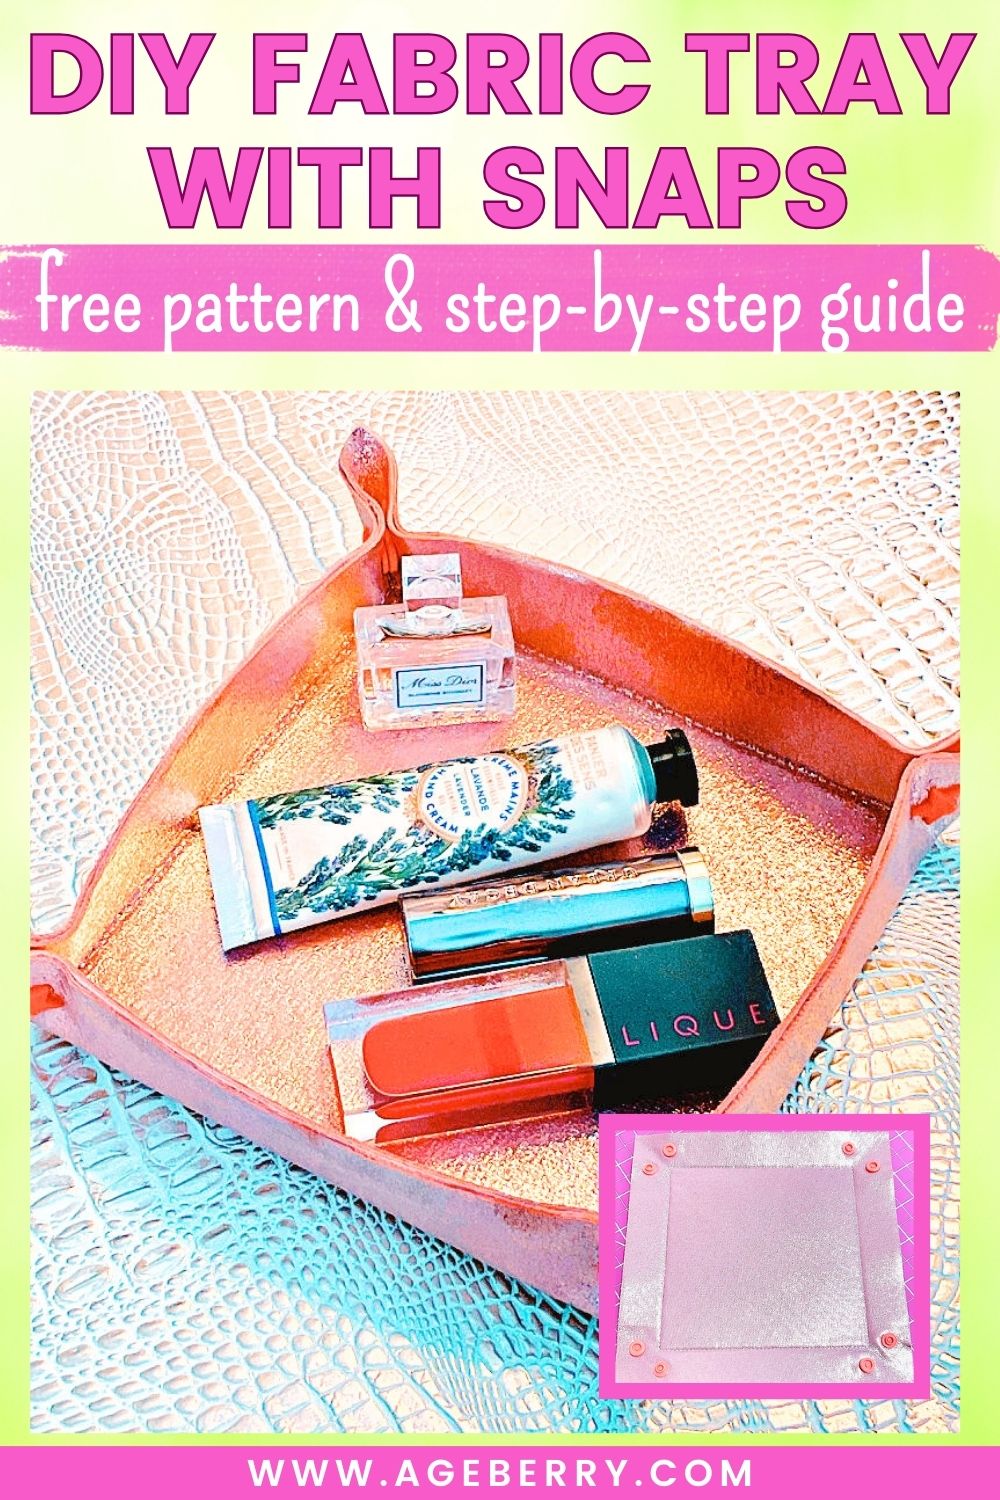
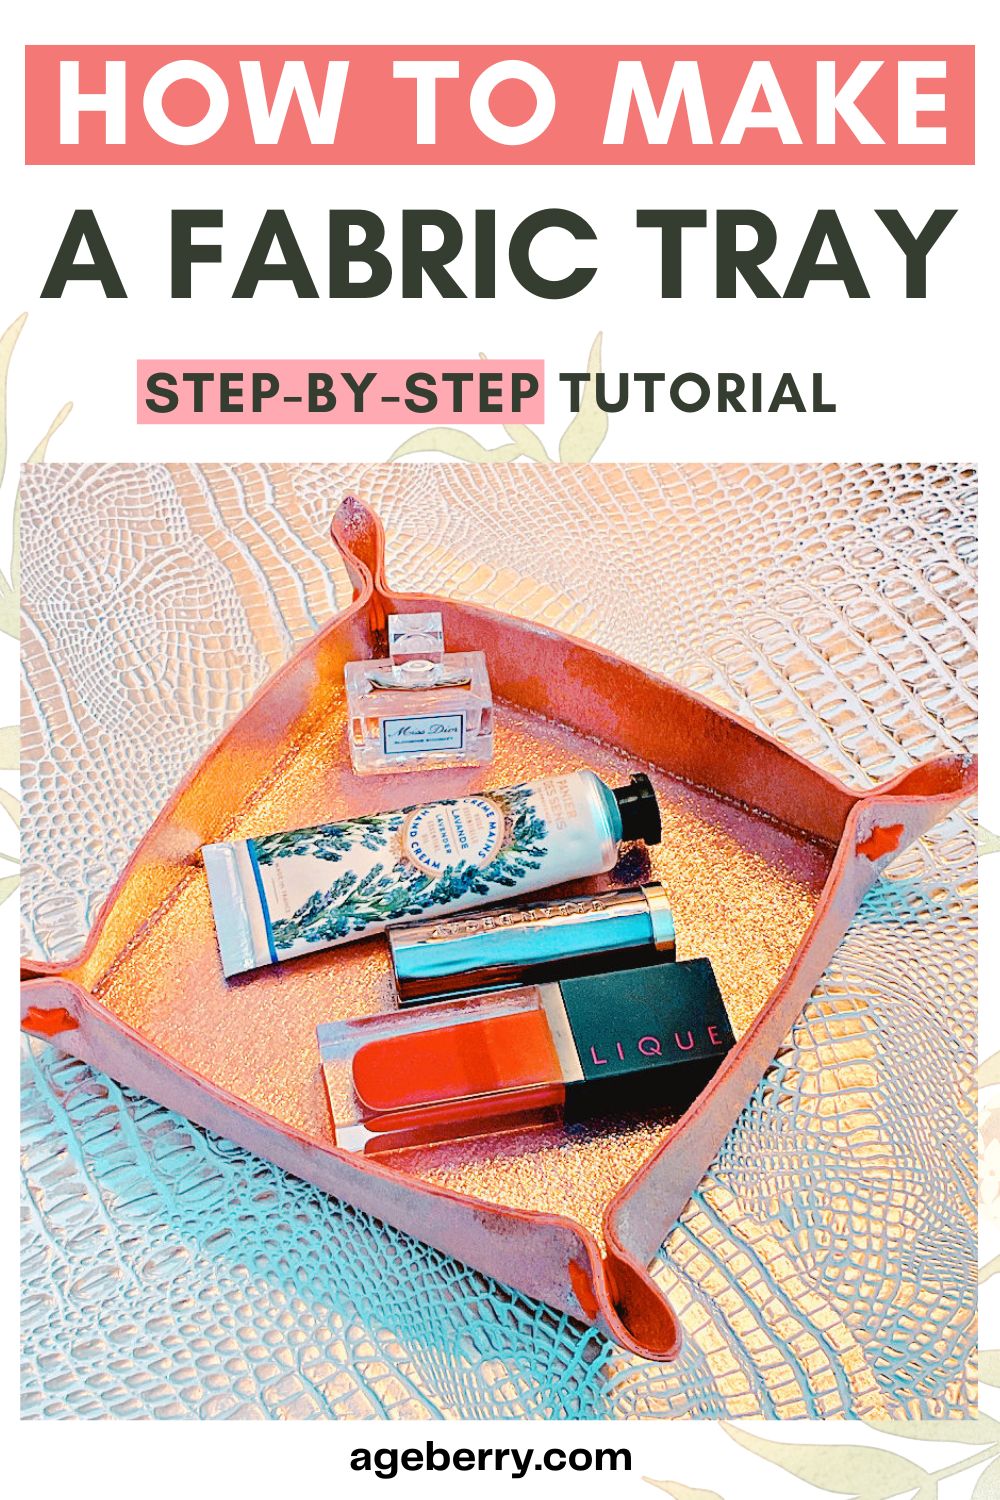
Easy Fabric Tray DIY with Snaps – Free Pattern and Step-by-Step Guide
In this tutorial, you’ll find the full step-by-step process to sew a fabric tray with snaps. I had too many KAM snaps… so I made the fabric tray.
It seems I have a serious KAM snap obsession. They’re like the sewing world’s version of candy. Or buttons. Either way, I can’t stop collecting them, clicking them, sorting them, and wondering what else I can snap them onto.
So naturally, this project started with a single thought: “What else can I stick a snap on?” And that’s how I ended up making these delightful little fabric trays.
But here’s the surprise twist – they’re not just an excuse to play with snaps. Fabric trays are really useful. You can use them for:
- Jewelry that always seems to migrate across your dresser
- Cosmetics that roll off the counter at the worst times
- Eyeglasses that deserve better than the kitchen table
- Keys that love to play hide-and-seek five minutes before you need to leave
They’re great in the sewing room (for bobbins, sewing clips, small tools, etc.), and they’re even better for travel. Unsnap the corners and you’ve got a flat square that slides right into your suitcase. Snap it back together at your destination – instant storage.
Plus, they’re:
- A small project that’s easy and fast to make
- A great way to use your favorite fabric
- Completely customizable to match your room (mine’s pink – obviously)
And let’s not forget – this is a sneaky way to practice your sewing skills without committing to a big project. This is an excellent project for beginners too, while being relatively simple, will ask you to perform many tasks that will be useful later in your sewing life.
In this tiny fabric tray, you’re working on:
- Measuring and cutting precisely
- Fusing interfacing and fusible web
- Stitching on vinyl
- Marking fabric
- Installing snaps
All of these are super helpful skills for larger projects like bags, pouches, pillows, or even garments. So think of this as a little warm-up… with a fun payoff at the end.
Now, are you ready to make something snappy?
What You’ll Need
- Piece of vinyl (to cut two 8 x 8 inch squares)
- Piece of stiff fusible interfacing
- Piece of double-sided fusible web (to cut one 8 x 8 inch square)
- Printed fabric tray pattern (free in my Resource Library for subscribers to my newsletter)
- Frixion pen (or other marking tool)
- Rotary cutter and quilting ruler (for precise cuts, but fabric shears are ok)
- Thread to match the vinyl
- Awl (or similar tool to punch holes)
- KAM snaps – 4 sets
- KAM snap tool
- Fabric glue (optional, for reinforcing edges)
What Is Stiff Fusible Interfacing and Why Use It?
If you want your fabric tray to stand instead of flopping around like an unpressed napkin, stiff fusible interfacing is your best friend.
This type of interfacing is heavyweight and structured, and it’s designed to add firmness and shape to fabric or vinyl. It’s commonly used in bag-making, wallets, fabric bins – basically, anywhere you want your project to hold its form.
Note: Some of the links on this page are affiliate links. This means I will receive a commission if you order a product through one of my links. I only recommend products I believe in and use myself.


The “fusible” part means it has glue on one side that activates with heat. Once you press it with an iron (with a pressing cloth, always!), it bonds securely to the back of your fabric or vinyl. This saves time because there’s no need to sew it in place, and it helps your project look smooth and polished.
In this fabric tray, we’re using stiff fusible interfacing to:
- Reinforce the tray base so it doesn’t sag
- Create sturdy sides that snap together cleanly
- Give the tray a crisp, structured finish that holds up to daily use
Without interfacing, your tray would still look cute – but it would feel more like a placemat than a container. The interfacing gives it that little “boxy” magic.
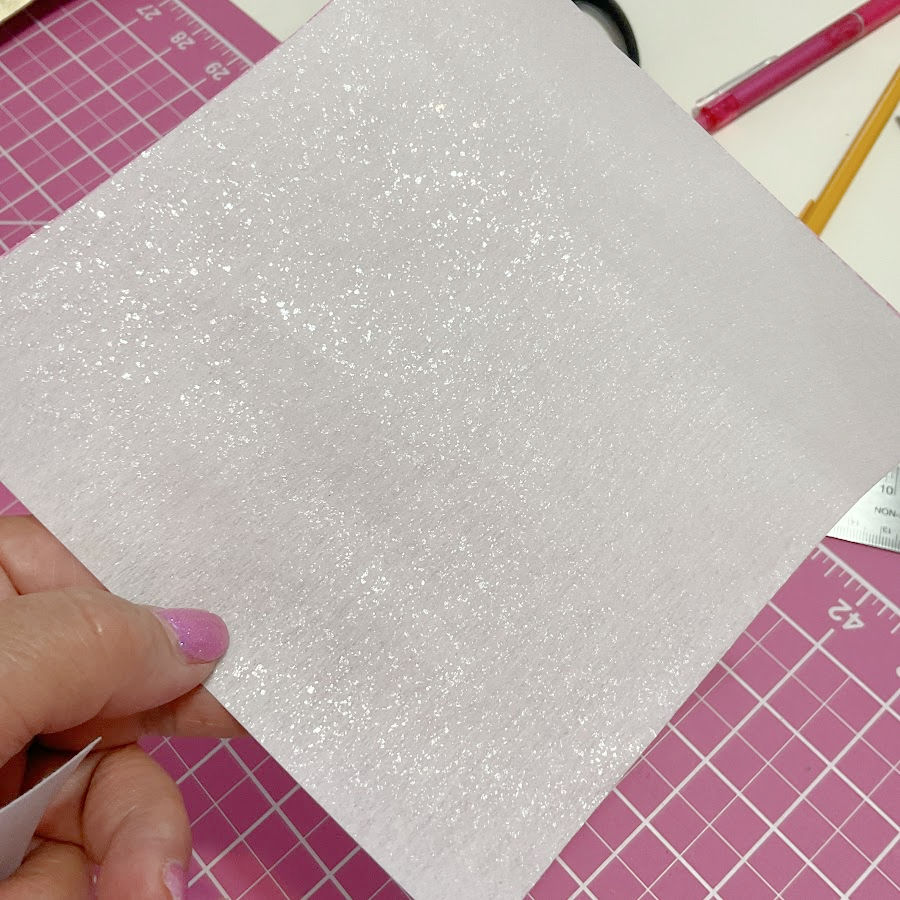
What Is Double-Sided Fusible Web and Why Use It?
Think of double-sided fusible web as the invisible glue of the sewing world – but in sheet form. It’s super thin, feels almost like paper, and it has adhesive on both sides. One side is backed with a paper layer, which makes it easy to cut and handle.
We’re using it here to bond the two vinyl layers together without sewing.
Here’s why it works so well in this project:
- It secures the two vinyl layers evenly and smoothly
- It creates a no-seam finish that’s ideal for vinyl
- It saves time – no need for pins or basting
- It gives the tray a smooth surface with no shifting during stitching

It’s the same product many sewists use for appliqué or patches, so if you already have some on hand, this is another great way to use it.
What Kind of Vinyl Works Best for Fabric Trays?
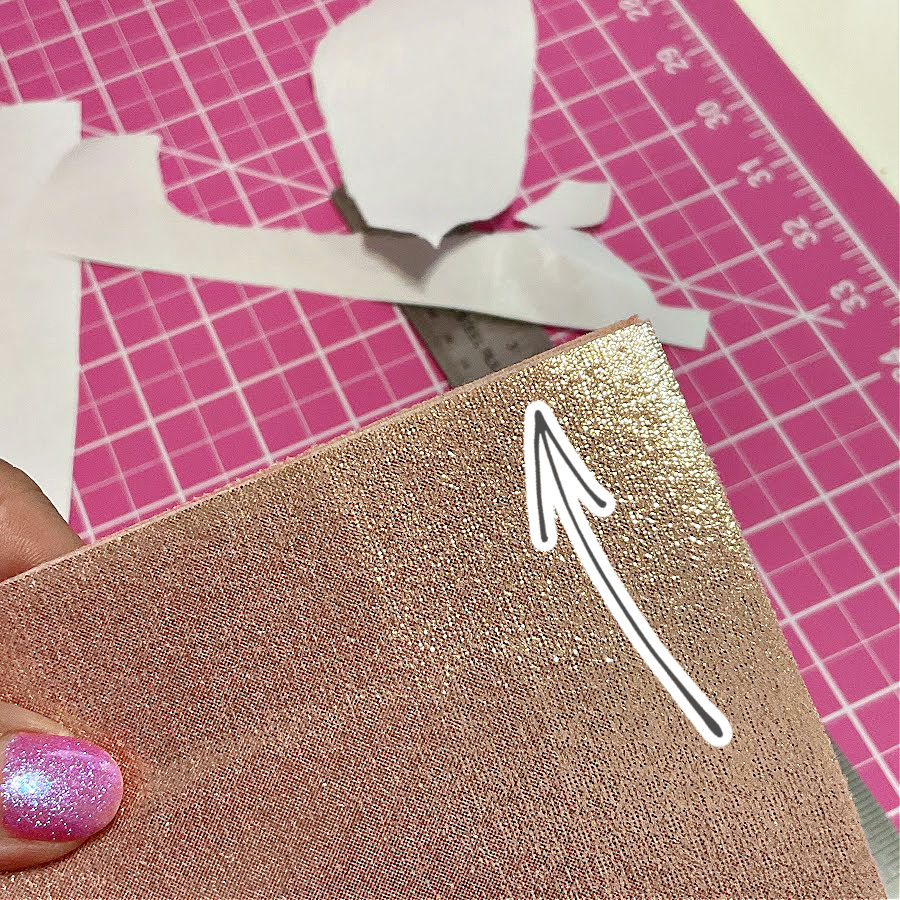
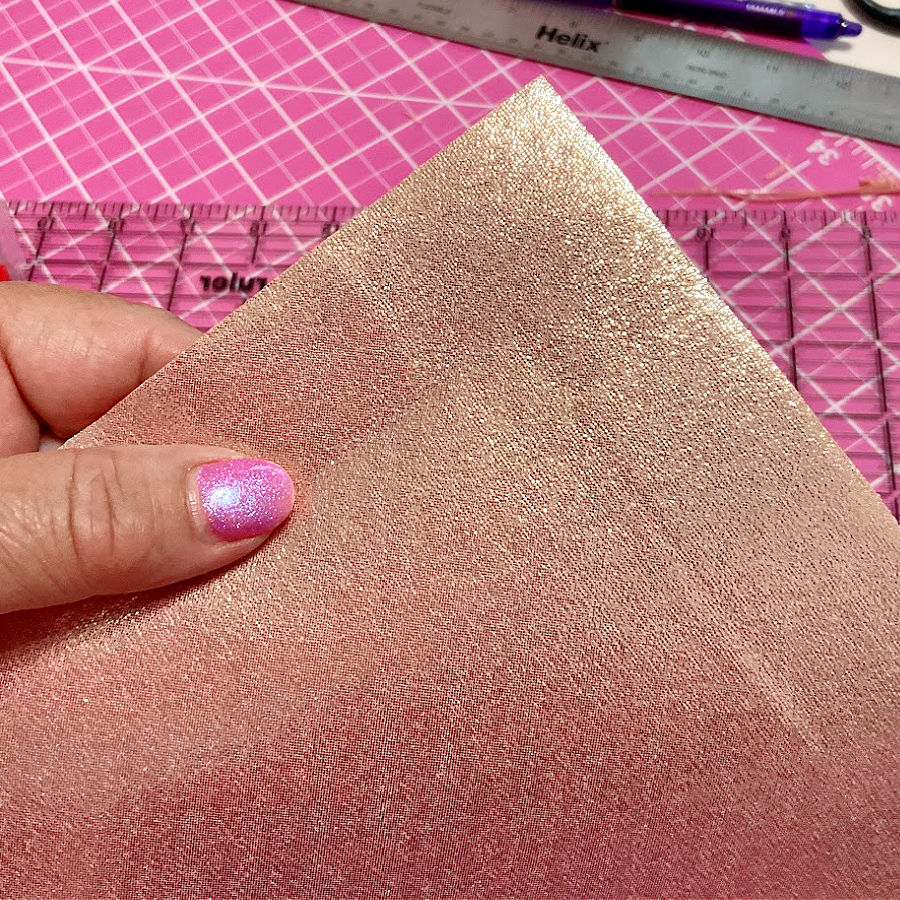
For this project, you want vinyl that’s soft and easy to work with – not the stiff, crackly kind that feels like a raincoat from the ’80s. The ideal vinyl has a leather-like feel, similar to natural garment leather. In fact, if you happen to have some lamb leather scraps, those work beautifully too.
Look for vinyl with a soft backing, like fleece or brushed fabric. This adds a little cushioning, helps the tray hold its shape, and makes it easier to fuse interfacing to the back.
I found my vinyl at Joann, but there are dozens of designs on Amazon too – everything from faux leather with subtle texture to bold prints and metallic finishes. Most pre-cut sheets come in sizes around 8 x 12 inches, which is perfect for one tray. But if you’re planning a batch or want to make different sizes, you can also find vinyl by the yard.
If the vinyl bends easily in your hands and feels smooth like leather, you’re on the right track. It should be sturdy, but not so thick that your sewing machine protests.
✅ Related tutorial: Sewing Vinyl: 17+ Expert Tips For Beginners


Step 1. Cutting the Materials
Let’s begin with the base pieces. Cut two 8 x 8 inch squares from vinyl.
To get those edges really smooth and exact, use a rotary cutter and a quilting ruler. If you’re a subscriber, you can download the printable 8 x 8 inch square template from my Resource Library.
Using a template makes it much easier to cut perfect squares, especially when working with materials like vinyl that tend to shift or resist measuring.
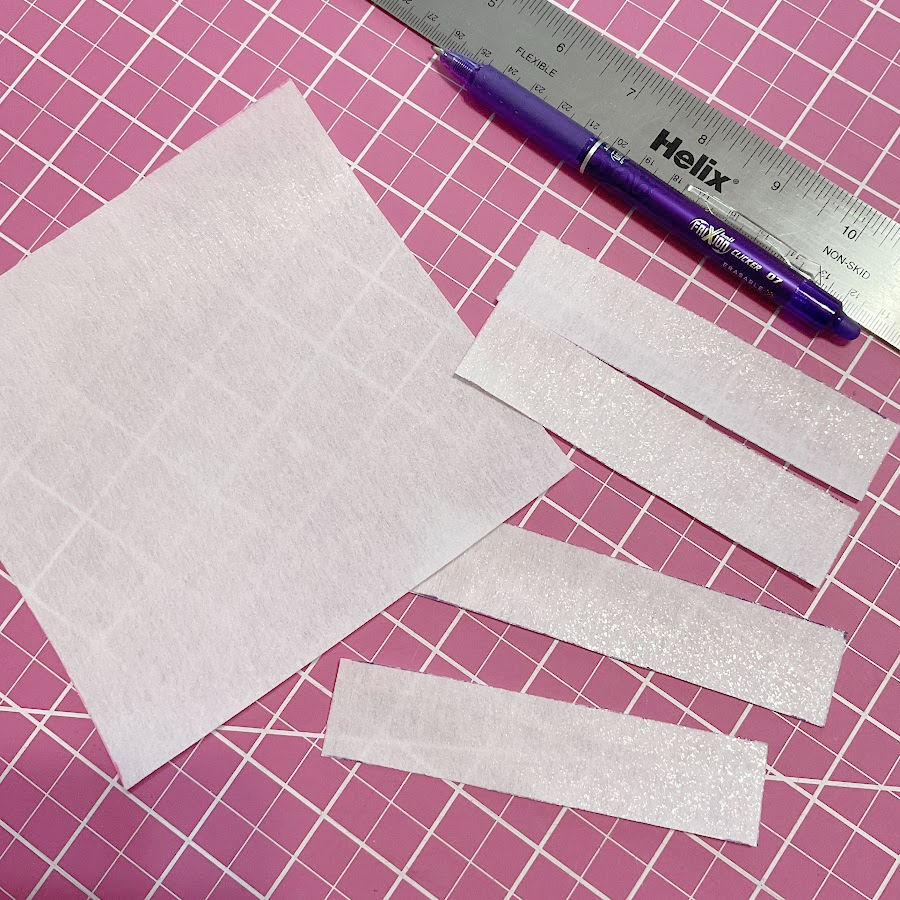
Next – prepare the pieces that will give the fabric tray its structure. Cut the following pieces from the interfacing:
- One square measuring 5 11/16 inches. This may look oddly specific, but there’s a reason. It’s just 1/16 inch smaller than 5 ¾ inches, and that small difference creates a tiny gap around the interfacing. That gap is important – it gives you space to add stitching lines later without sewing directly through the interfacing. It keeps the vinyl flexible where it needs to bend and helps the tray hold its shape cleanly.
- Four rectangles, each 4.5 inches x 1 inch. These will create the tray’s raised edges.
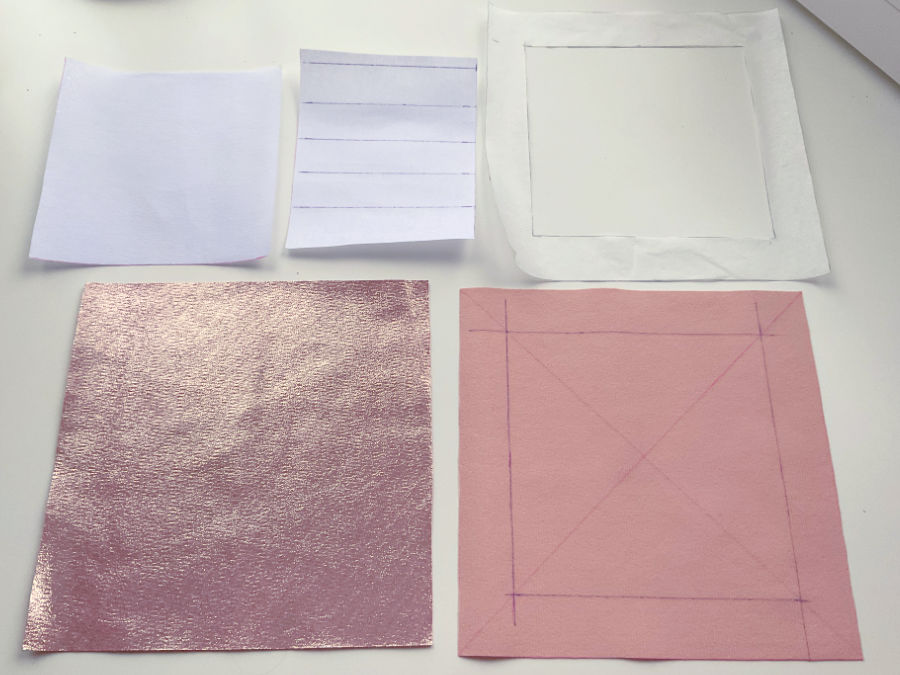
Next – cut one 8 x 8 inch square from double-sided fusible web. This will act as your adhesive when it’s time to bond the two vinyl layers later.

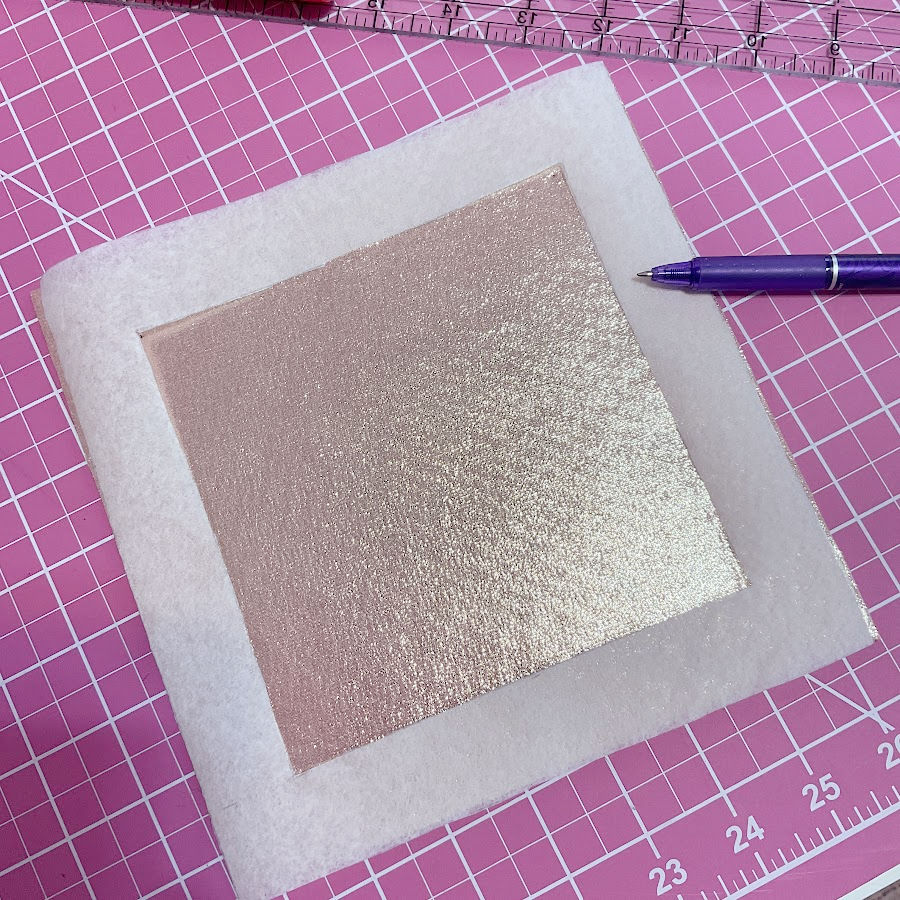
Step 2. Fusing the Interfacing
Now it’s time to position and attach interfacing to one of the vinyl squares.
Start by using the template again. Place it over the vinyl square and lightly mark the placement of the center square with a Frixion pen. These pens are a favorite among sewists because their marks disappear with a little heat. Just be sure to test on a scrap piece of vinyl first, since some surfaces react differently.
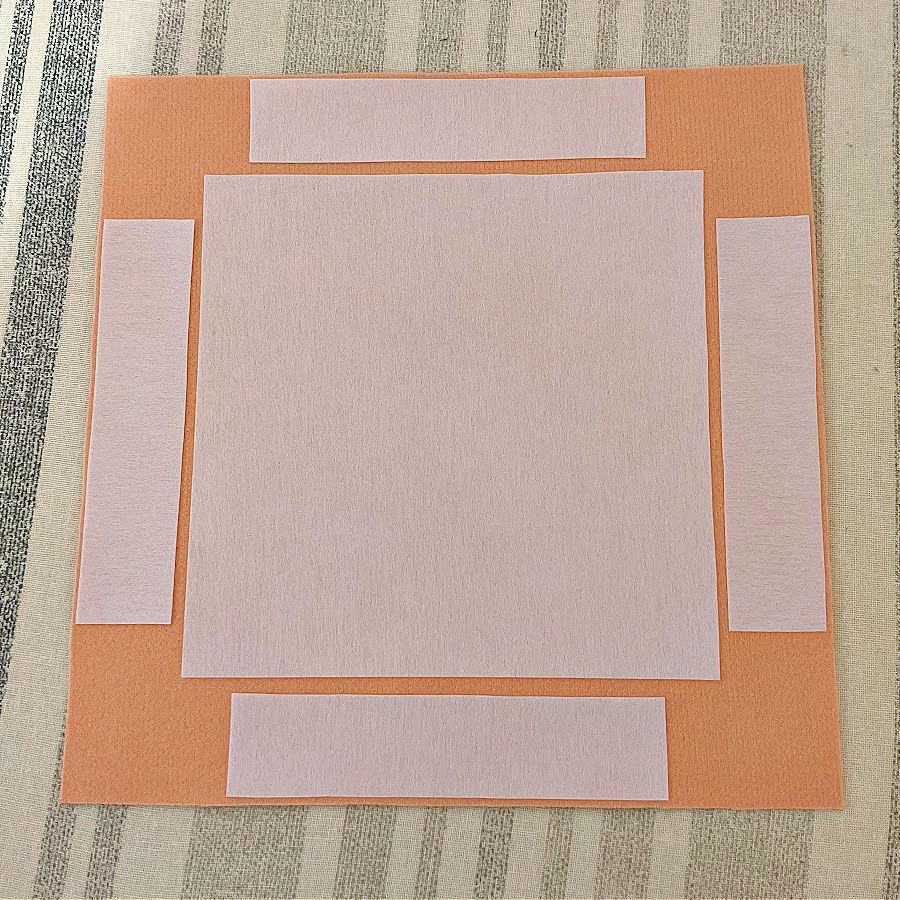
Next, lay the 5 11/16 inch interfacing square in the center of the marked vinyl. Place the four side rectangles around it, forming a frame. Leave small gaps between the center square and the rectangles. These gaps are important – we’ll stitch along them later to shape the tray and allow it to bend cleanly.
Tips for fusing interfacing to vinyl:
- Always use a pressing cloth to protect your vinyl from direct heat.
- Use medium heat and press gently.
- Let the vinyl cool completely before handling it. This helps the glue set fully.
- If any part of the interfacing doesn’t bond the first time, just re-press with the cloth for a few seconds.
Once everything is fused and cooled, you’ll have a firm, structured base ready for stitching.
✅ Related tutorial: How To Use Fusible Interfacing (Video + Tips And Tricks)
Step 3. Bonding the Vinyl Squares with Fusible Web
Now that the interfacing is fused in place, it’s time to attach the two vinyl squares together using the double-sided fusible web.
Start by placing the fusible web square (the one with the paper side still on) over the vinyl piece that has the interfacing attached. Make sure the fusible side is down, facing the vinyl. The paper side should be up, because that’s where the iron will press.
Cover it with a pressing cloth – vinyl and irons are not friends without one! Press gently with a medium heat iron. The fusible web will bond to the vinyl under the paper.
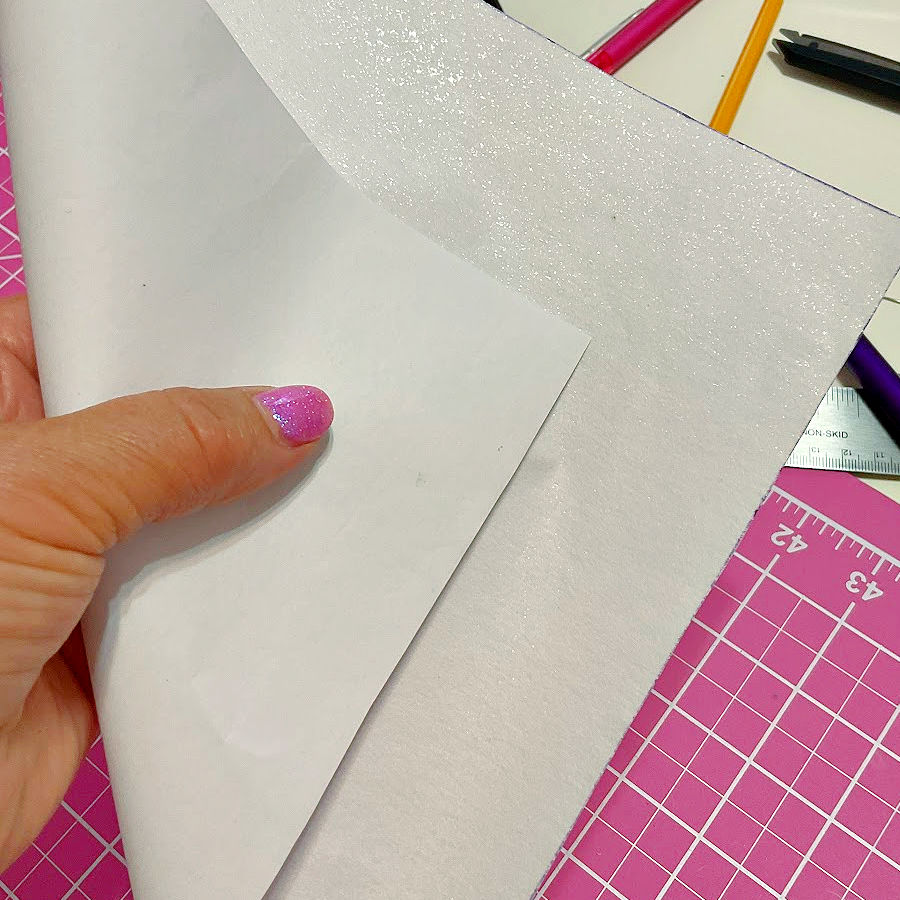
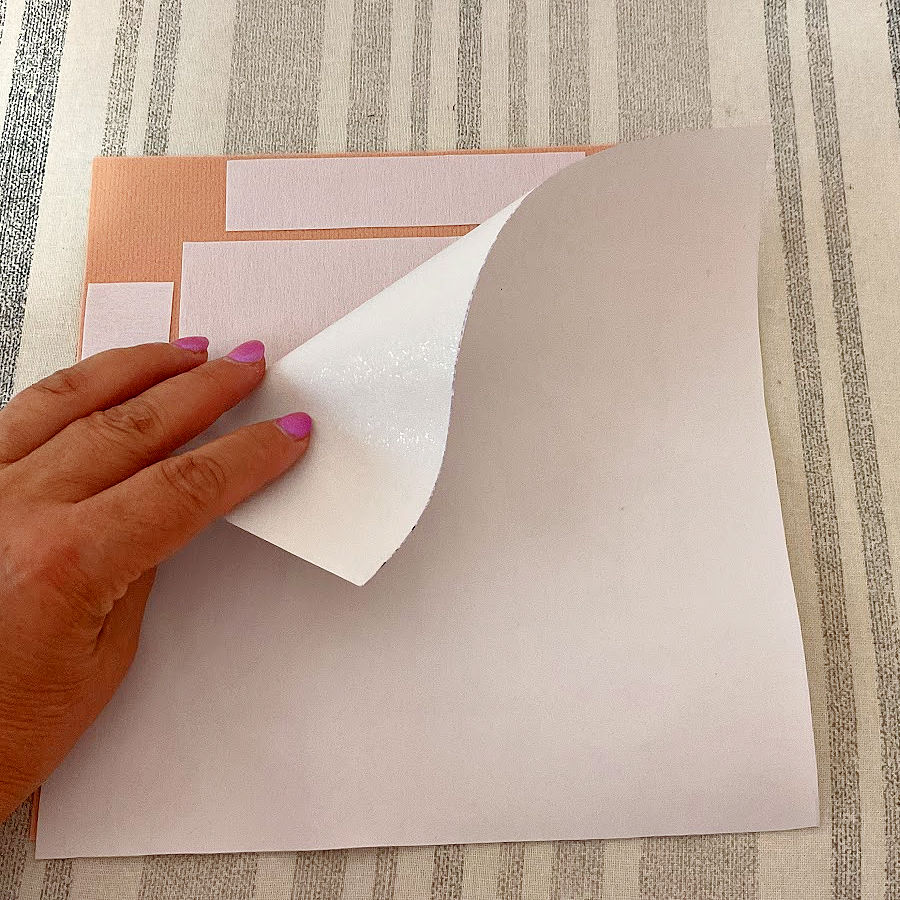
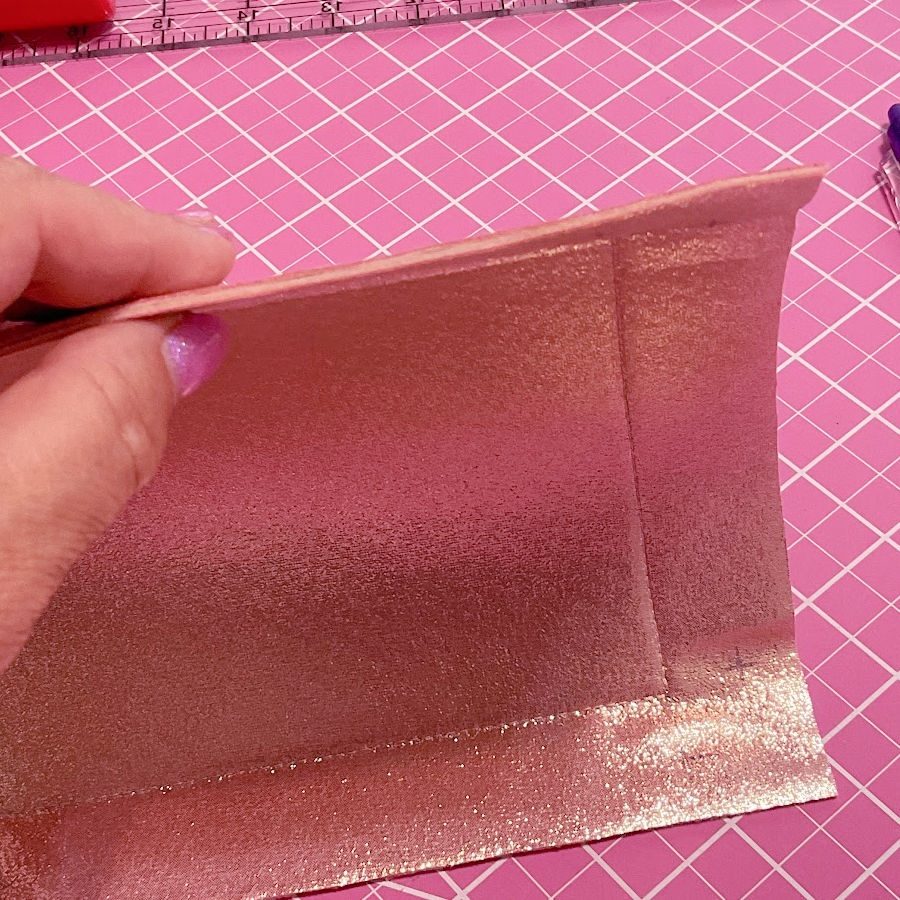
Once it’s cool, it’s time to remove the paper backing. If the edge doesn’t peel easily, try this simple trick: take an old sewing needle or a sharp point and make a small X-shaped cut anywhere on the paper. This creates a little flap that you can lift to peel the paper away cleanly. It’s much easier than trying to pry up a corner.

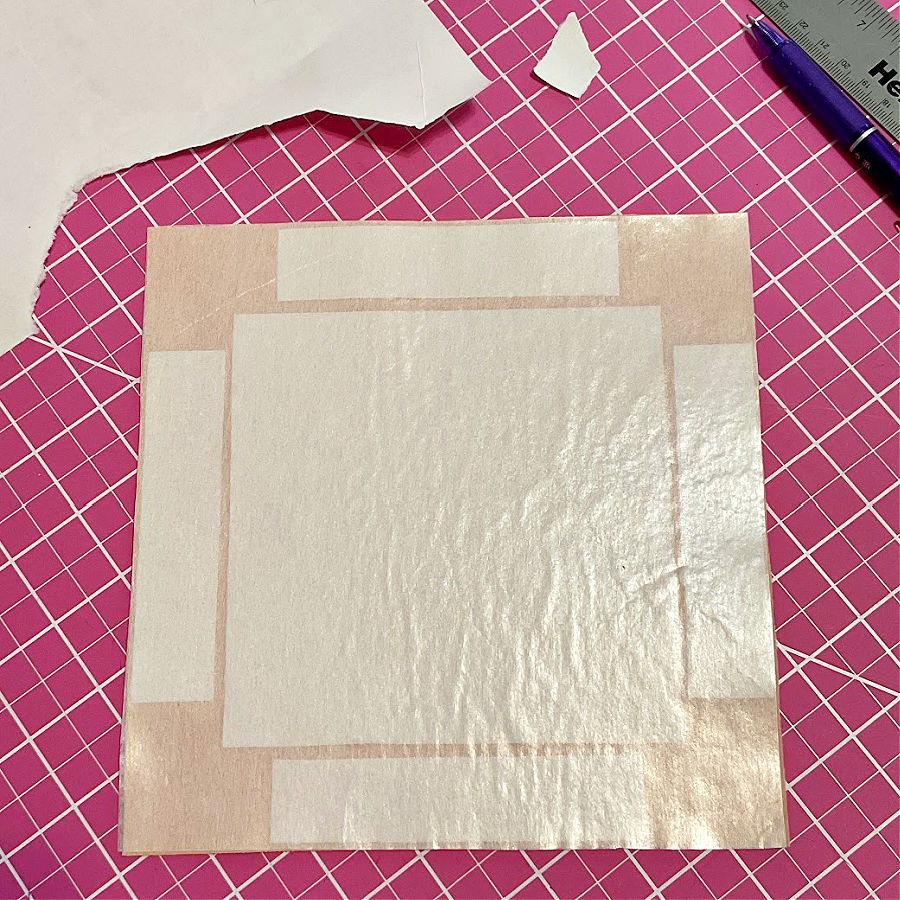
Now you’ll see a shiny, sticky surface. Carefully line up the second vinyl square and place it right on top. Press down gently by hand. The sticky side should hold the two pieces together.
Check your bond: Gently press around the edges and across the center. If any corner or side doesn’t seem fully fused, don’t panic. This happens sometimes. Just use a small amount of fabric glue along the edge to secure it.
I had to do this on one side of my tray, and it worked perfectly. If you need help with using fabric glue, I’ve shared tips in these posts:
- The Best Fabric Glue Options For All Your Sewing Projects
- How To Choose The Best Fabric Glue For Every Occasion
Let the glue dry completely before moving to the next step.
Once the two vinyl squares are fused together, check the edges carefully. Sometimes the alignment may be slightly off, and you’ll notice small bits of one layer peeking out along the sides. That’s totally normal – vinyl can shift a bit during pressing.
To fix this, use a rotary cutter and ruler to trim the edges neatly. You want the squares to be the same size on all sides.
The rotary cutter works especially well here because it gives you a clean, straight edge without tugging or stretching the vinyl.
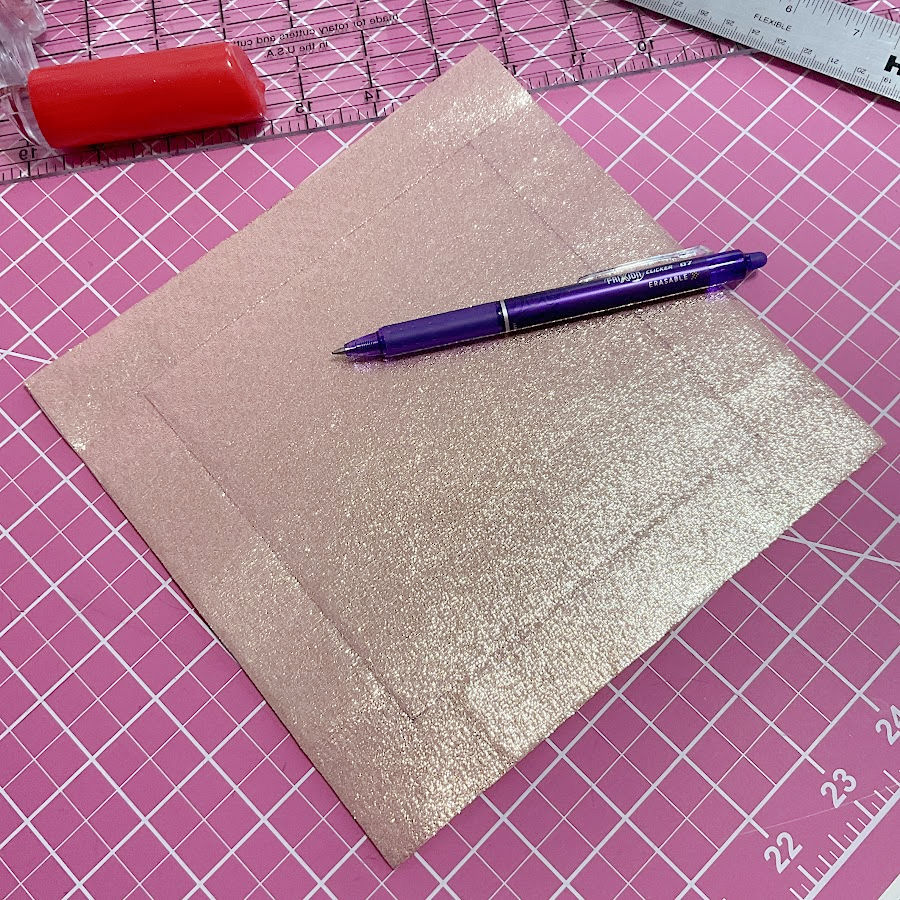
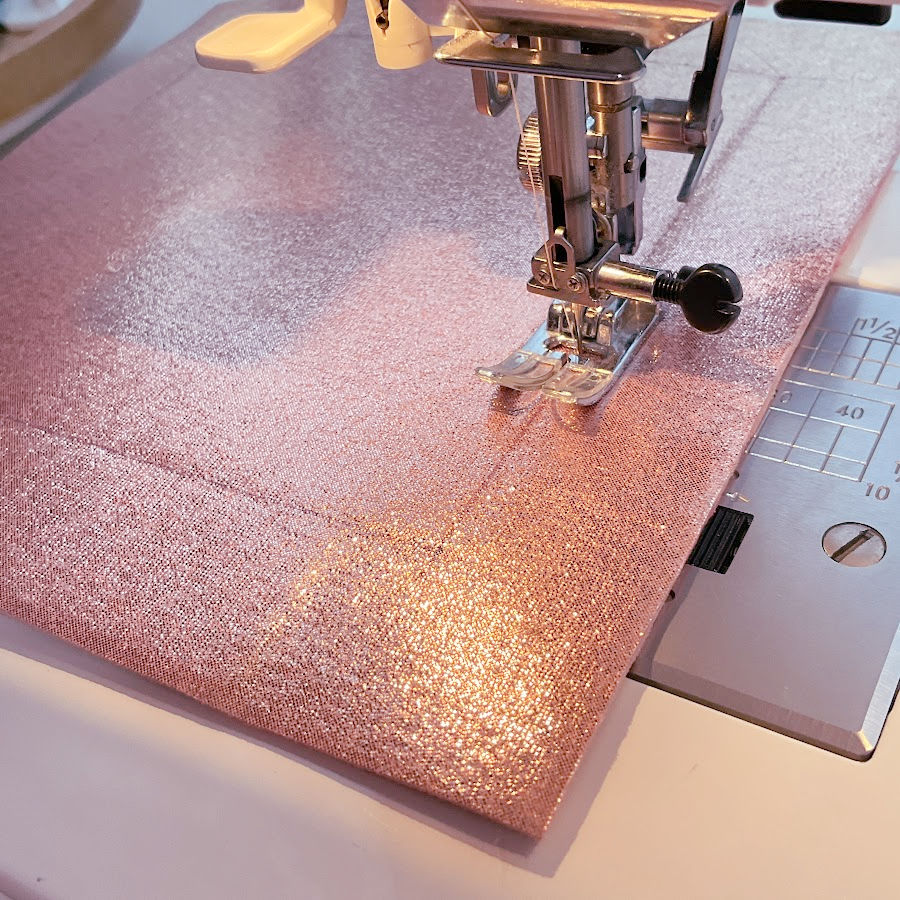
Step 4. Stitch the Center Square on the Vinyl
Take your tray template again and place it on the vinyl square that doesn’t have interfacing – the one you just fused on top in the last step. Using a Frixion pen, draw a centered square with a 5 ¾ inch outline. This marks the stitching line to define the tray’s base.
Now head over to your sewing machine and get it ready:
- Thread the machine with a matching thread.
- Use a thicker needle, like a size 90/14 or even a Schmetz vinyl needle, to handle the vinyl smoothly.
- If your regular presser foot sticks to vinyl, switch to a Teflon presser foot or try placing tissue paper under the presser foot to help it glide.
- Set your stitch length to about 3 mm or slightly longer.

Before stitching the real piece, always test on a scrap piece of vinyl. Once you’re confident, carefully stitch around the drawn square.
Vinyl is unforgiving – once you sew, those needle holes stay forever. So take it slow and steady to get clean, even lines.
(And if you’re curious about sewing with vinyl or choosing different types of vinyl for projects, I have guides you can check out here:
Once you’ve finished stitching the square in the center, take a moment to check the edges of the tray. Make sure the two vinyl layers are fully fused together along the outer edges. There shouldn’t be any gaps or loose corners between the layers.
If you do spot any sections that aren’t sticking well, you can use a little fabric glue. It can help seal the bond and keep everything neat and secure.
Step 5. Mark and Prepare for the KAM Snaps
Next, grab your template again and mark the snap positions on all four corners of your tray using a Frixion pen. The marks will guide where each snap will go to hold the sides together.
Use an awl (a sharp tool with a pointed tip) to carefully make holes where you marked for the KAM snaps. Press the awl straight through the vinyl at each marked spot to create accurate holes.

Before moving on, clean up those marks. You can remove the Frixion pen lines with heat – but don’t iron directly on the vinyl! Instead, hold your hot iron about half an inch above the vinyl and let the heat gently do the work. The marks will vanish, and your tray will look crisp and clean.
Step 6. Attach the KAM Snaps
Now the hardest part – deciding what shape and color of snaps to use! Hearts, stars, flowers… coral, lilac, blue, yellow – the options are endless and so fun to choose from.
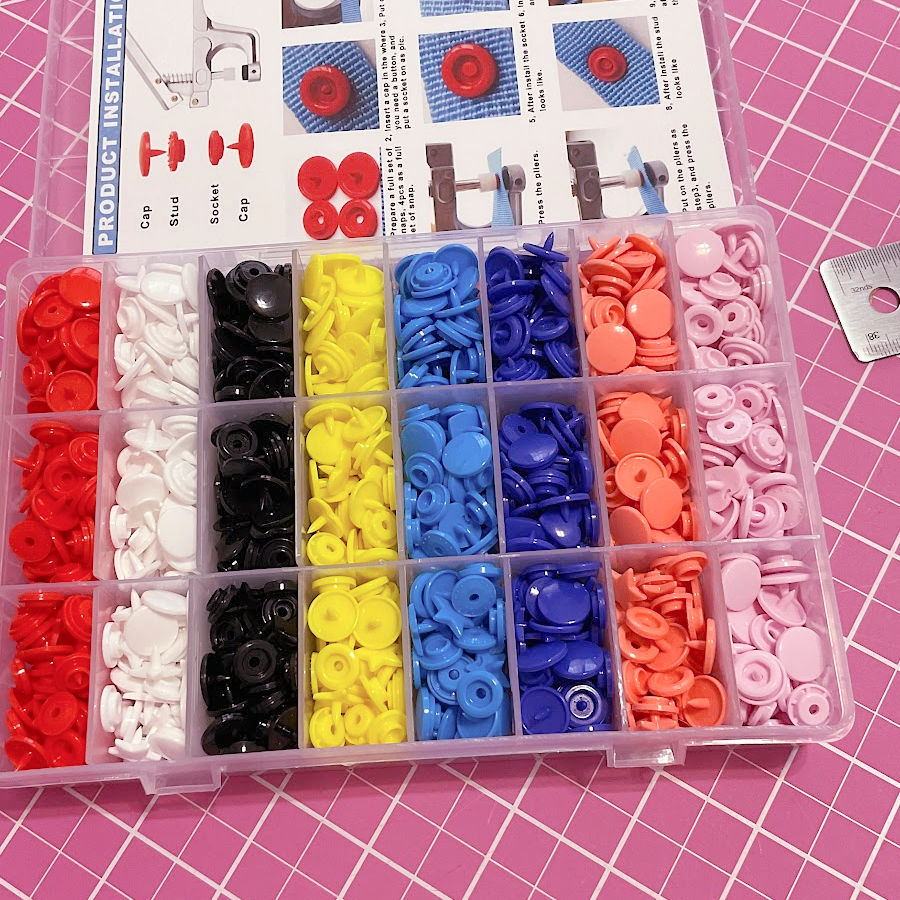
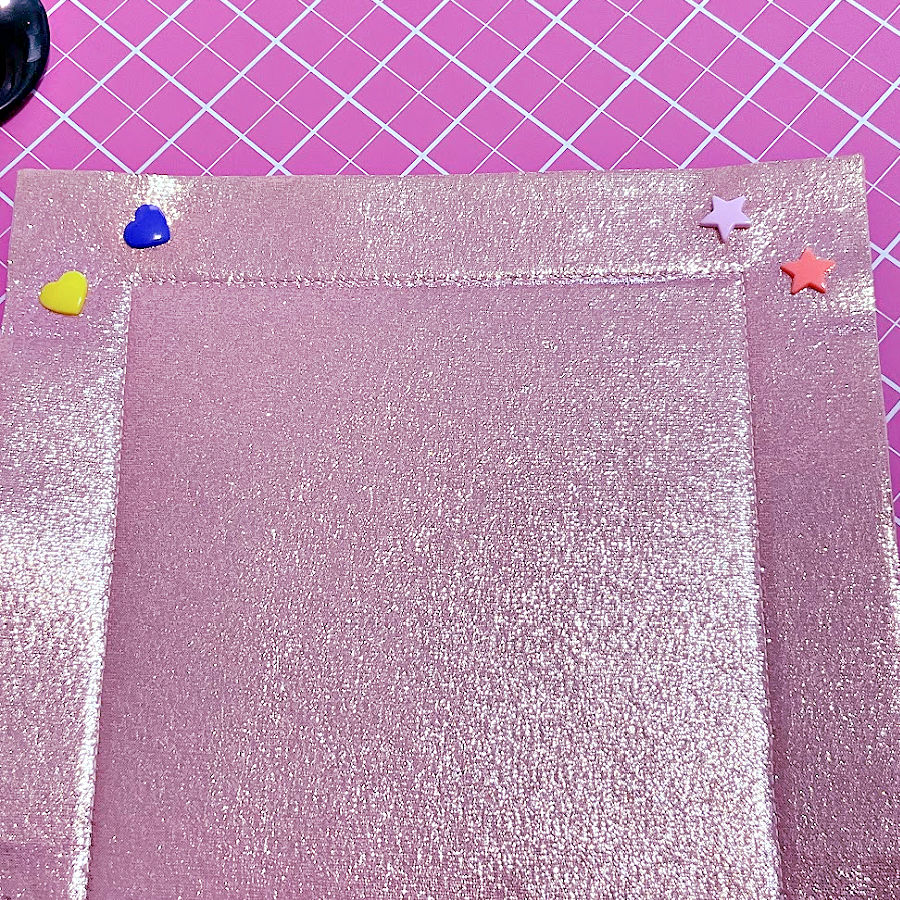
I went with coral stars to match my pink vinyl (well, of course I did).
If you’re new to KAM snaps, I have a full guide on how to use them, but here’s a quick overview.
✅ Related tutorial: How to Install and Use KAM Snaps: A Step-by-Step Tutorial
Each snap has two parts: a cap (the decorative part) and a socket or stud (depending on which side it’s going on).
To attach a snap:
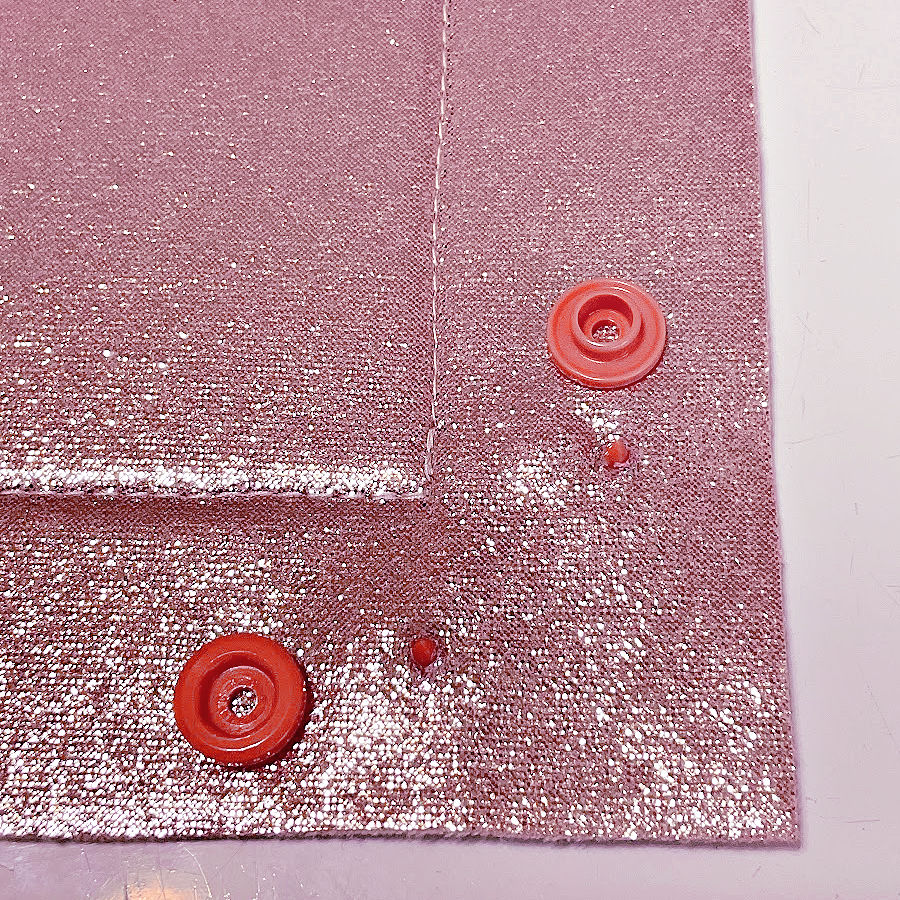
- Push the cap through the hole from the outside of the tray.
- Place the socket or stud on the inside, depending on the orientation.
- Use your snap pliers to squeeze firmly until the pieces click together.
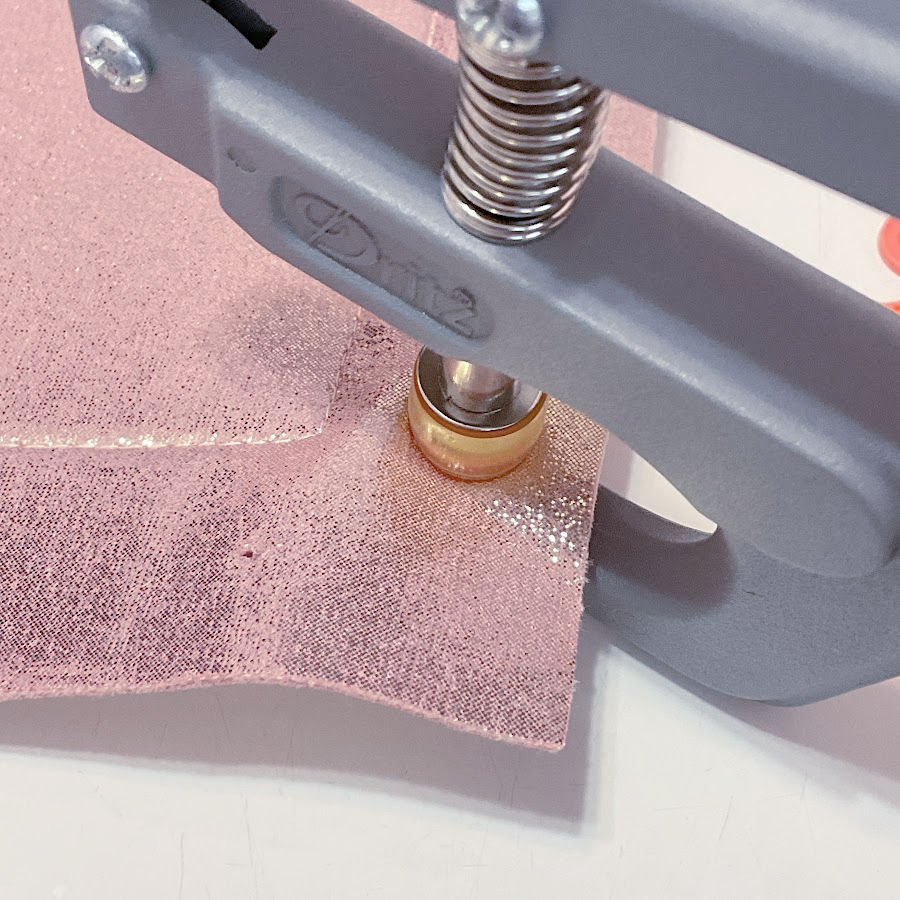
Repeat for all four corners.
Important tip: Make sure you’re pairing one socket and one stud for each corner. If you accidentally use two sockets or two studs on the same corner, they won’t snap together. Double-check before attaching, especially since it’s hard to fix once they’re set.
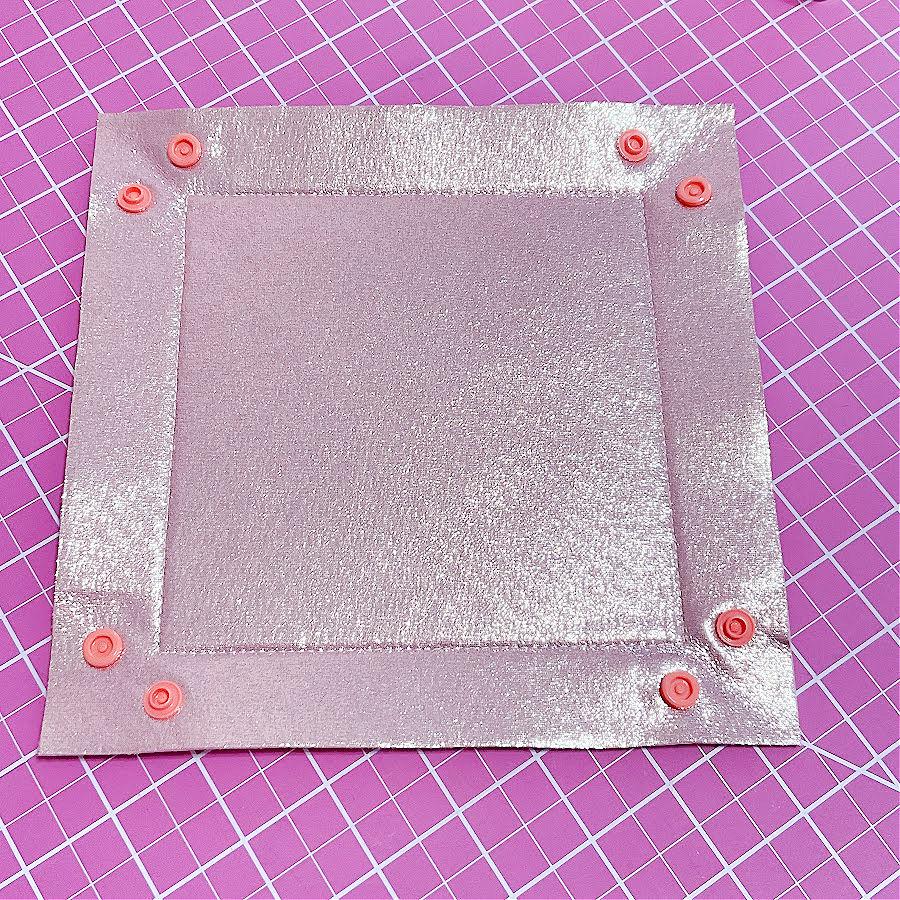
Once all the snaps are in, close them – and your tray is ready!Here’s the best part: you can unsnap the corners, and it flattens into a simple square. That makes it perfect for travel – just toss it in your bag and re-snap it when you arrive.
Still deciding which snaps to use? If you liked this fabric tray tutorial, go ahead and save this pin so it doesn’t disappear into the sewing void forever. And if sewing projects with personality are your thing, follow me on Pinterest for more clever makes, helpful guides, and just the right amount of sparkle.
latest posts
- Butterfly Quilt Block Tutorial – Foundation Paper Piecing
- How To Sew Quilt Squares So The Corners Match
- Sewing With Fork Pins: How They Help With Pattern Matching, Slippery Fabric, And Seams
- How Much Fabric Do I Need? 21 Helpful Tips For Calculating Fabric Yardage
- Easy Simple Sewing Project: Fabric Jar Opener
- DIY Oven Mitts: Step-by-Step Sewing Tutorial
- Easy DIY Potholder: New Design
- Tailor’s Clapper: What It Does, Why It Works, And How To Use It Right
- Heat Resistant Batting for Sewing: What It Is, How It Works, and What Makes a Difference