3 projects with step-by-step instructions
Pink top
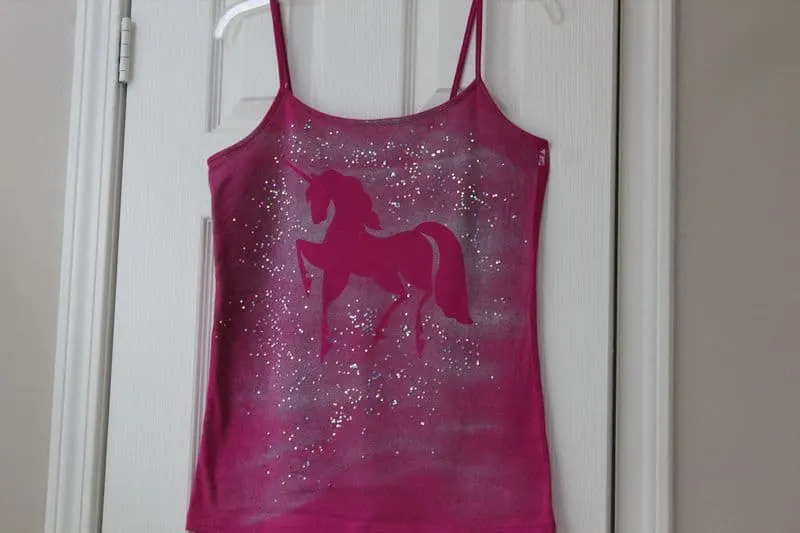

It takes only a few minutes to embellish this top! (But it will take about 30 minutes to clean the workplace after that).
Note: Some of the links on this page are affiliate links. This means I will receive a commission if you order a product through one of my links. I only recommend products I believe in and use myself.
You will need
Ready-made knit top or dress
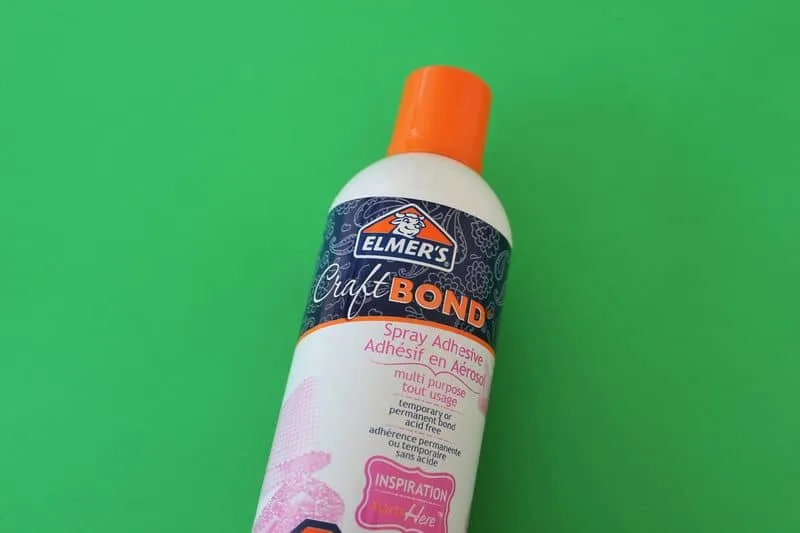
Spray paint ( or you can do it with bleach)
Unicorn template (you can download it – see the link below)
They advise me to start with clean, dry fabric (no fabric softener) – my tops are new, I just bought them for these projects. Tank tops are great for casual outfits in hot summer weather. They come in all sizes and shapes, I used some with spaghetti straps like these below
But you can actually refashion any pieces of clothes like these nice t-shirt dresses I found on Amazon.
Use a well-ventilated area – I worked in my garage which I kept open.
Cover the work surface and adjacent area – I used an old sheet to cover this.
Shake the can well for at least 1 minute and start painting. Go slowly and keep it 6-8 inches from the fabric spraying with smooth, even strokes. Paint does tend to fly everywhere, so put on an apron maybe before you get started.
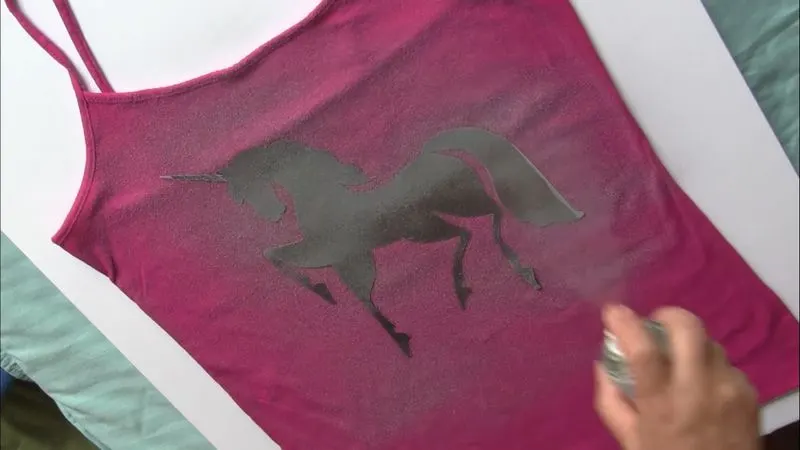
Everybody loves Unicorns, Unicorns seem to pop up everywhere. So why not put it on a t-shirt?
Do you want an SVG file of my Unicorn template for your cutting machine? The file is in my RESOURCE LIBRARY which is accessible to all subscribers to my newsletter!
Don’t have the cutting machine? You can easily convert the .svg file to a regular image file for free online.
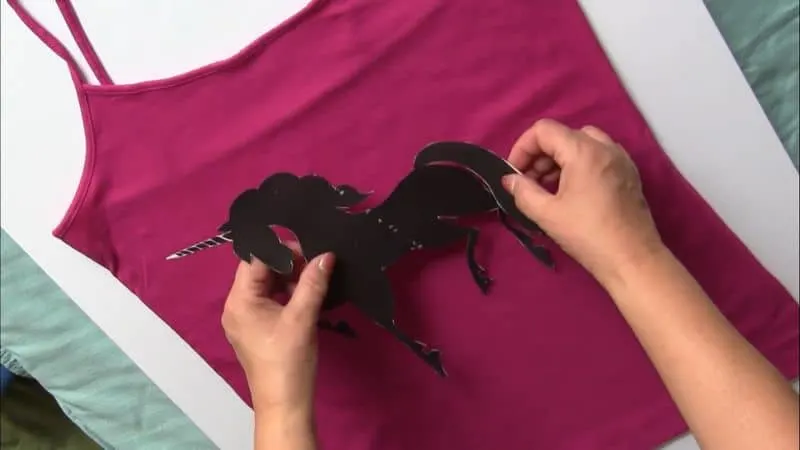
I thought that the Unicorn template has to be fixed somehow on the tank top because pressure from the paint can move the lightweight template (I made it from regular paper).
So for this, I used another spray (Temporarily hold spray) – I use it often in my sewing projects for temporary hold of something, usually paper patterns. I sprayed the template and left it for 5 minutes for the spray to get dry.
And as you can see from the video below, the template didn’t move during painting. Remove the template after you are done with painting. It can be removed easily.
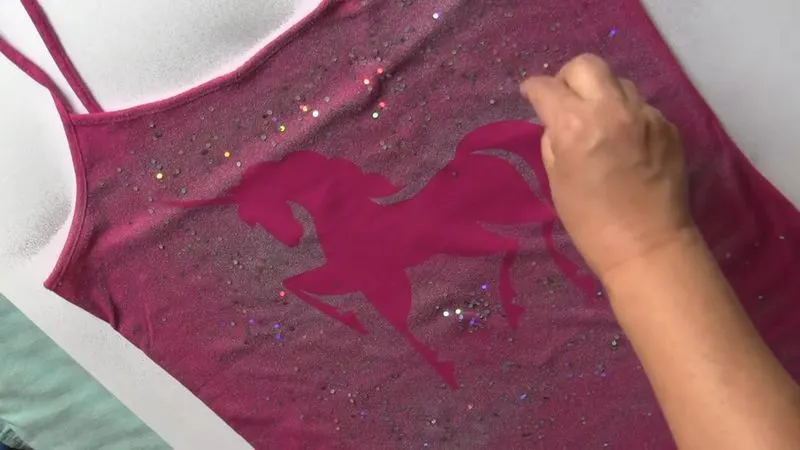
I wanted to add some glitter for extra shine ( I think it’s very trendy these days) and the fresh fabric paint was working as glue for the glitter. But you have to put the glitter right away so it stays glued to the fabric.
This is only a refashioning idea, you can use it not only on a tank top but also on a pillow, on a dress, and on any kind of t-shirt.
You can see how it’s done in real-time in the video below.
Yellow top
The instructions for the yellow top are the same except that I used a different template – I wanted some lacey image but it’s too many small holes for an SVG file and a cutting machine. So I used a placemat made of plastic but it looks like crocheted lace, right? I could actually cut it and use only a part of the design. Plastic is heavier than paper so I didn’t need to use a temporary spray for this lace.
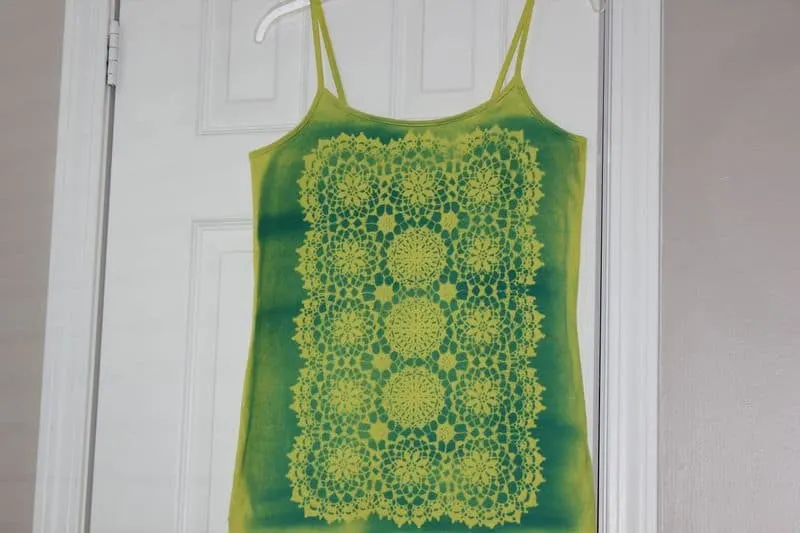

You can see how it’s done in real-time in the video below.
White top
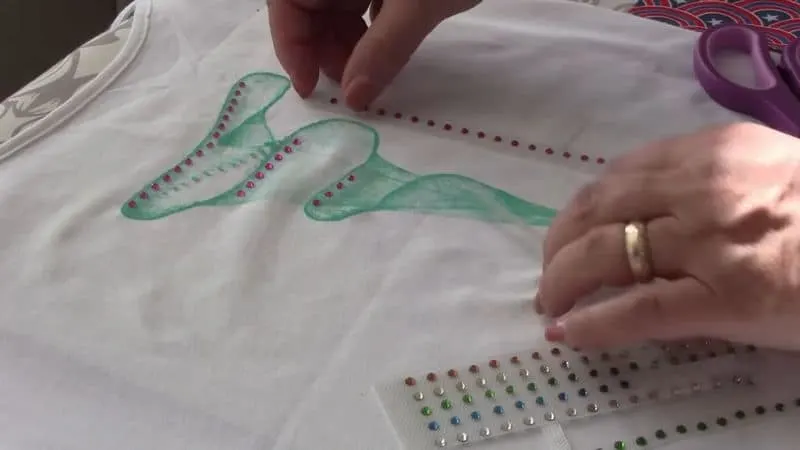
This technique is called “string painting” and is used mostly to draw on paper. But why not use it on fabric? I tried and it turned out pretty good. And the best part is that it only takes a few minutes to transform a plain top into this fun piece.
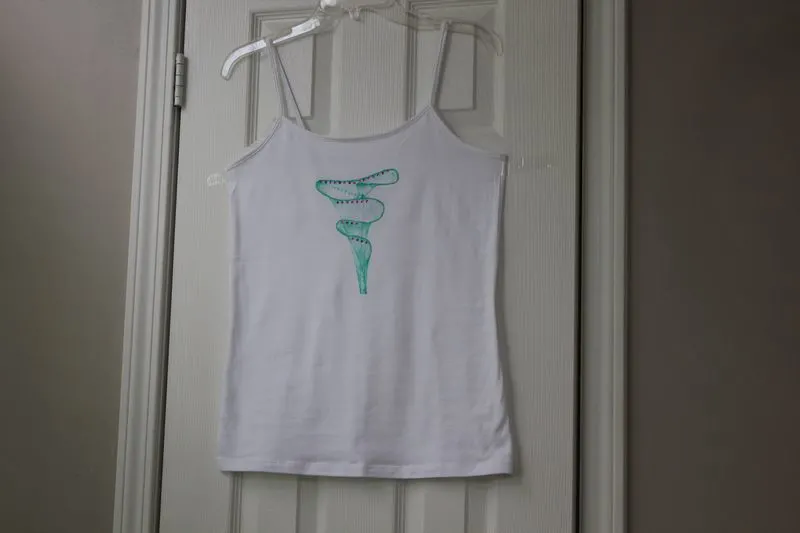
You will need
Piece of thread – I used cotton thread for crochet, cut to around 18-20 in
Piece of paper – not very thin
Heavy book
Some containers to put the paint in
Small brush
Iron-on rhinestones (optional)
So, how to do it? Note: you might want to try this first on scrap fabric, after all, practice makes perfect!
Prepare a top (a t-shirt, a pillowcase, etc.). Place a piece of carton, wax paper, or something else (I used a writing board) between fabric layers to prevent bleeding through.
Soak the thread in the paint. I used a brush for this. Also, scrape off the excess paint with the brush: drag the thread through the brush as you see in the video. Leave about two inches of the thread without paint to hold onto. Make sure that the paint doesn’t drip. Arrange it on the fabric in the shape of loops.
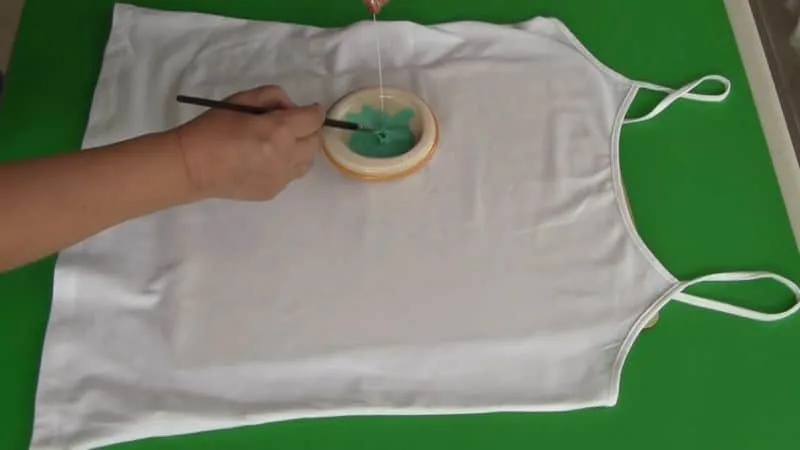
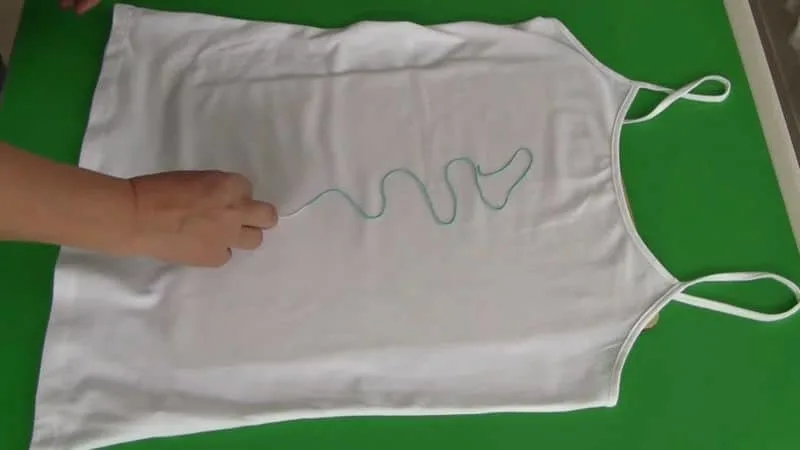
Now place the paper on top of the thread and add a heavy book on top. Pull the string out. Uncover the shirt – you will see a very interesting shape. Leave it for a while to get dry.
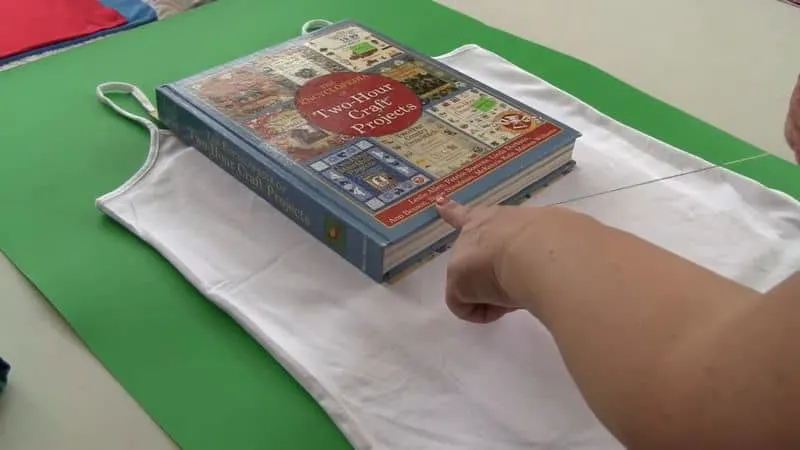
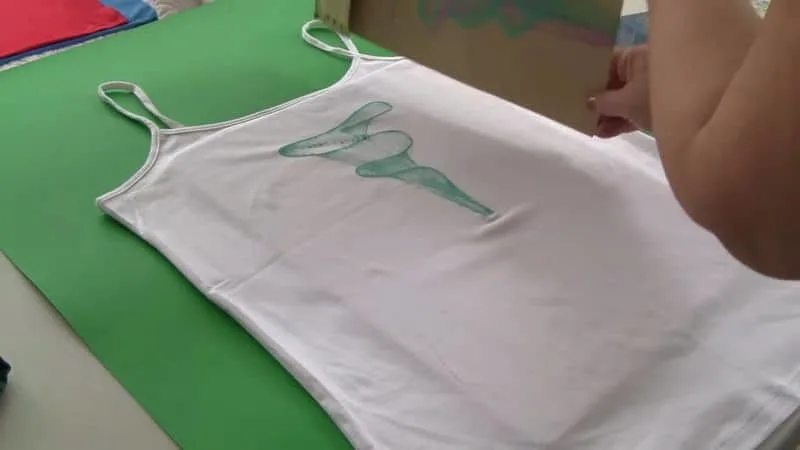
I decided to add some iron-on rhinestones – extra sparks are fun also.
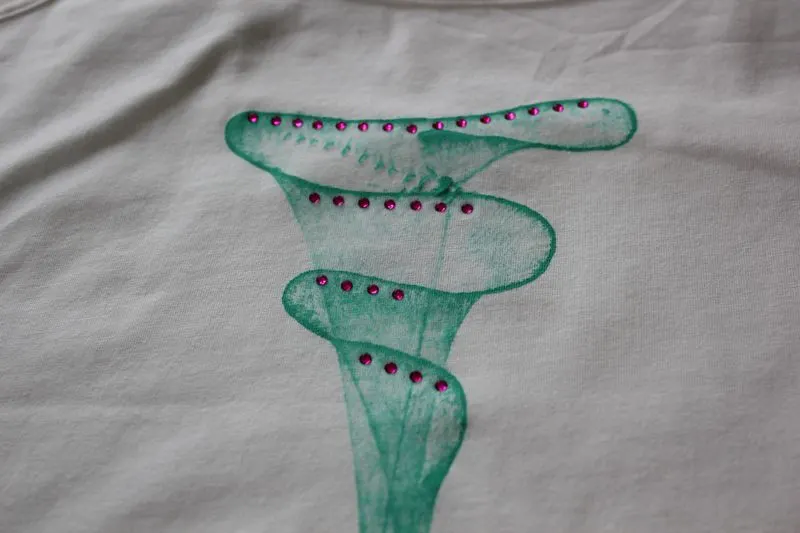
Below you can see the video about making the white top.
So, these are a few inspirational ideas for transforming tank tops/t-shirts. As you could see all projects were pretty simple with almost no sewing and a little work will allow you to stand out while wearing a unique top.
Ready to try refashioning and make something truly unique? Let me know what you think about these projects in the comments below. I would love to see what you can come up with!
Did you find this tutorial helpful? If so, save this pin (see below) on your sewing board so you can come to this tutorial later when you want to refashion something, and follow me on Pinterest for more tips, tutorials, and inspiration!

Ready to take the next step in your sewing journey? Check out more step-by-step tutorials from my blog and don’t forget to share!


latest posts
- Ever Tried This on Your Serger? This Differential Feed Feature Will Amaze You
- Ditch My Sewing Machine? Not in This Lifetime!
- Adorable DIY Needle Book | Easy Tutorial for Beginners
- Master the Seam Ripper: Your Ultimate Guide to Precision Stitch Removal
- Think You Know Zippers? This Installation Guide Might Surprise You
- Why Does Your Seam Ripper Have a Red Ball? Discover Its Purpose!
- Topstitching Troubles? This Simple Trick Will Turn It Around Instantly!
- How to Sew Shirring: A Step-by-Step Guide to Elastic Thread Gathering
- Are Self-Threading Needles Really Useful?

