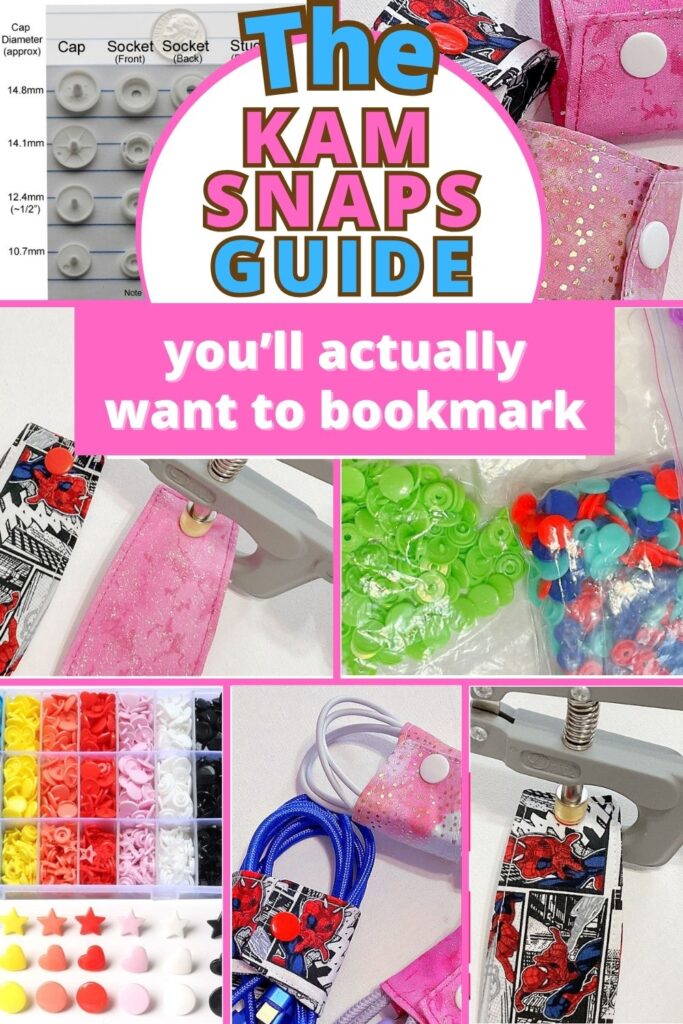
How to Install and Use KAM Snaps: A Step-by-Step Tutorial
I’ve been using KAM snaps for years and have genuinely come to love them. They’re colorful, reliable, and super easy to work with. In this guide, I’m sharing all the tips, tricks, and practical advice I’ve picked up along the way. If you’re looking to simplify your sewing projects and achieve neat, durable closures without the fuss, this is exactly what you need. No more fighting with buttonholes or metal snaps.
What Are KAM Snaps?
KAM snaps are lightweight, durable plastic fasteners. They’re popular for their strength, safety, and simplicity. They’re used for children’s clothing, bibs, bags, accessories, etc.
KAM snaps are available in a rainbow of colors and various sizes and can instantly upgrade your sewing projects with a neat and colorful finishing touch.
KAM is a well-known brand name, but there are many similar snaps—often called “KAM-style” or generic plastic snaps—sold by other brands on Amazon. Some of those products claim to meet safety standards, but here’s what I discovered:
- Safety & Regulations
According to the manufacturer, original KAM snaps are tested and certified for lead and phthalate content to meet U.S. CPSIA (Consumer Product Safety Improvement Act) standards for children’s products. While many generic kits also claim compliance, there’s less certainty behind those claims. KAM is transparent—they’ll provide certificates upon request. Copycat brands are often less upfront about testing. - Material Quality
Authentic KAM snaps are made of polyacetal resin (a type of plastic, also known as POM), which is tougher than typical plastics. This material flexes under pressure (great for repeated use), and resists washing—even boiling water.
In short, they remain solid after hundreds of washes and never become brittle or melt . - Bottom Line
If you want reliable snaps—especially for baby items, reusable clothing, or anything washable—sticking with authentic KAM snaps is a smart choice. Other brands may work, but you might sacrifice long-term performance or consistent safety testing. Also, the price difference is not significant between KAM and other brands.
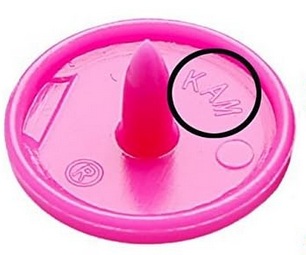
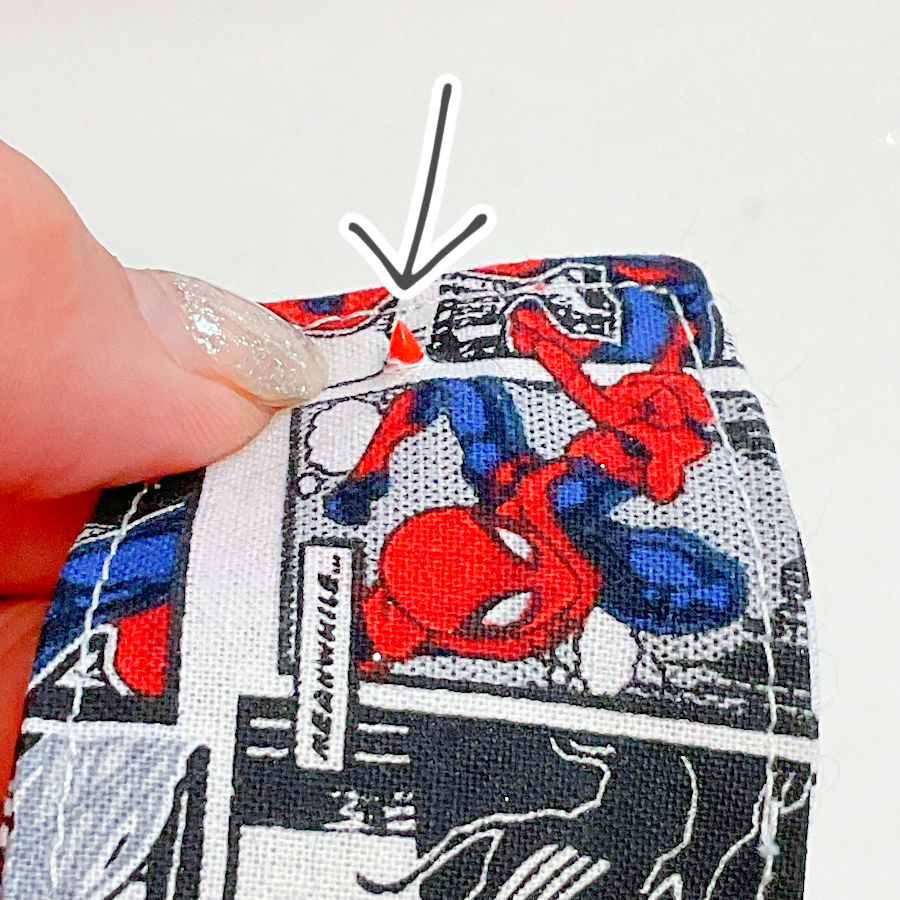
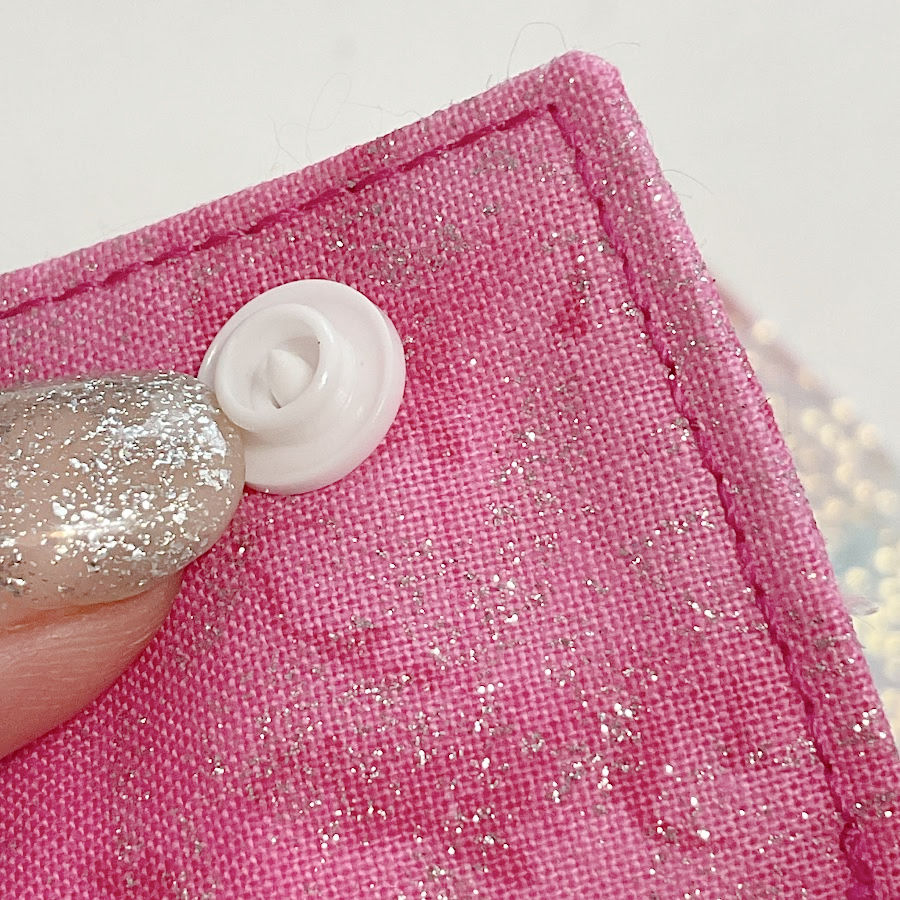
How do I recognize the authentic product?
This is actually very simple; the manufacturer places the name on each cap as in the image below:
What Is Polyacetal Resin?
Polyacetal resin (also called acetal plastic or POM) is a high-density, engineering-grade plastic known for its:
- Strength & durability – It resists wear and repeated stress, so your snaps stay tight through regular use
- Chemical and heat resistance – It handles washing machines, dryers, even boiling water, without warping
- Low friction and stable performance – It won’t rust, corrode, or lose shape, and has a rigid consistency that keeps snaps functional over time
Note: Some of the links on this page are affiliate links. This means I will receive a commission if you order a product through one of my links. I only recommend products I believe in and use myself.


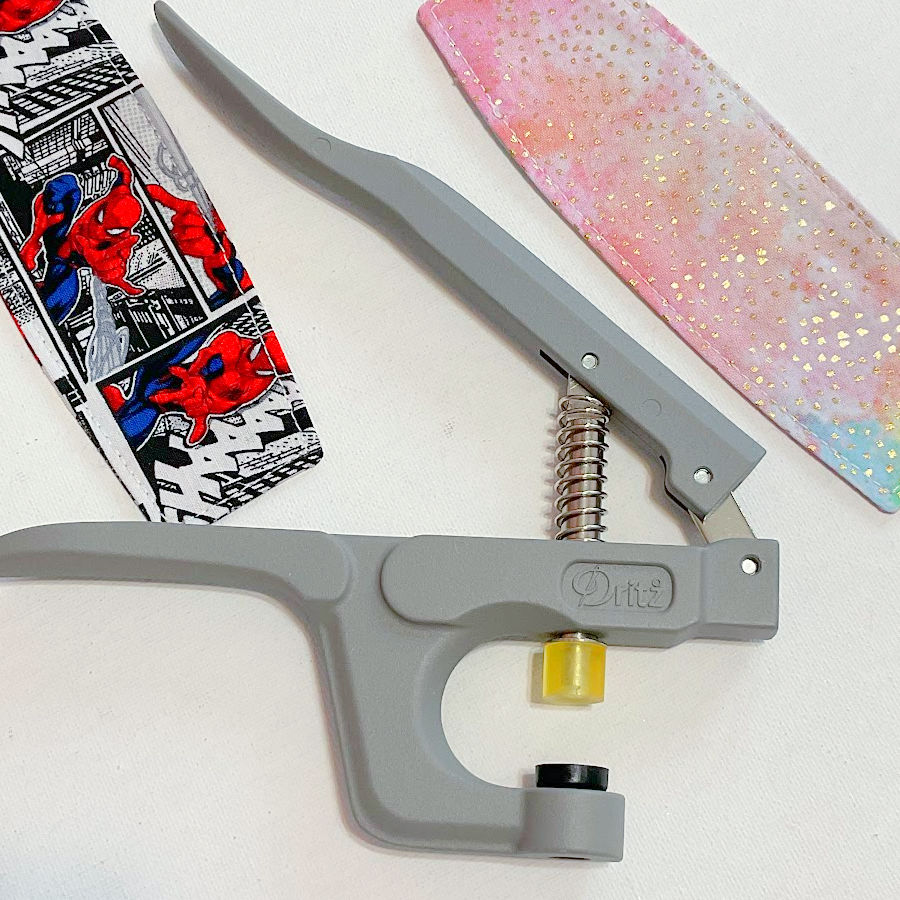
What You’ll Need for Installing KAM Snaps
To install KAM snaps, you don’t need anything fancy—just a few simple tools.
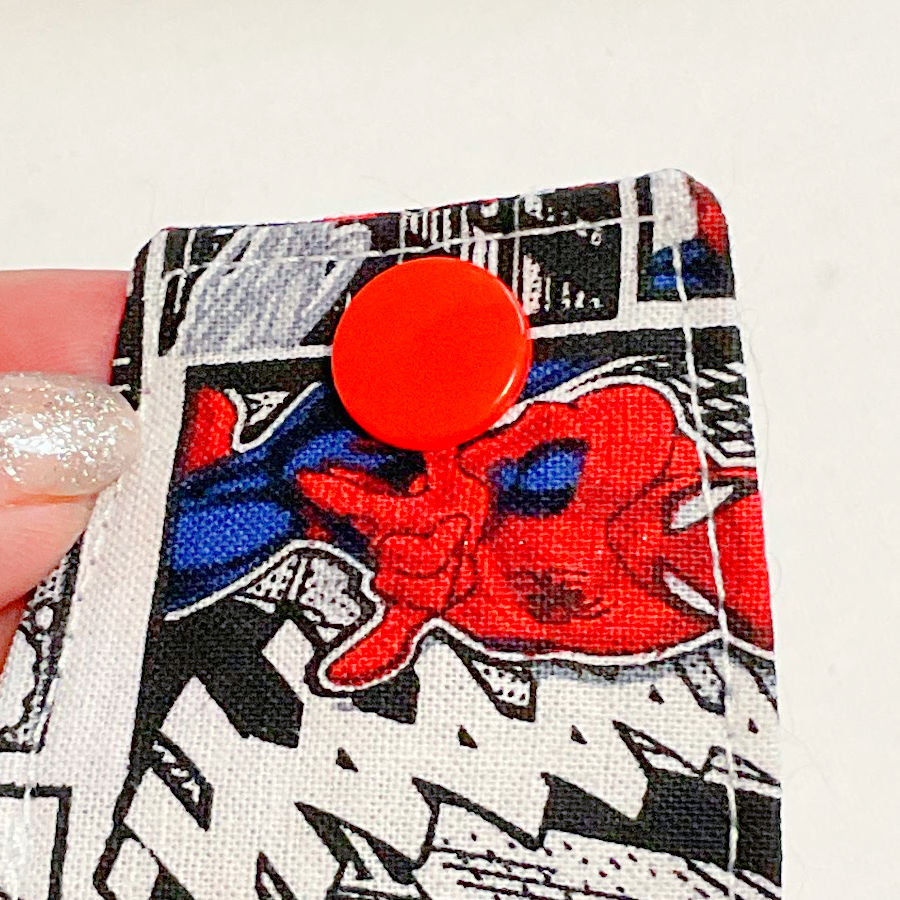
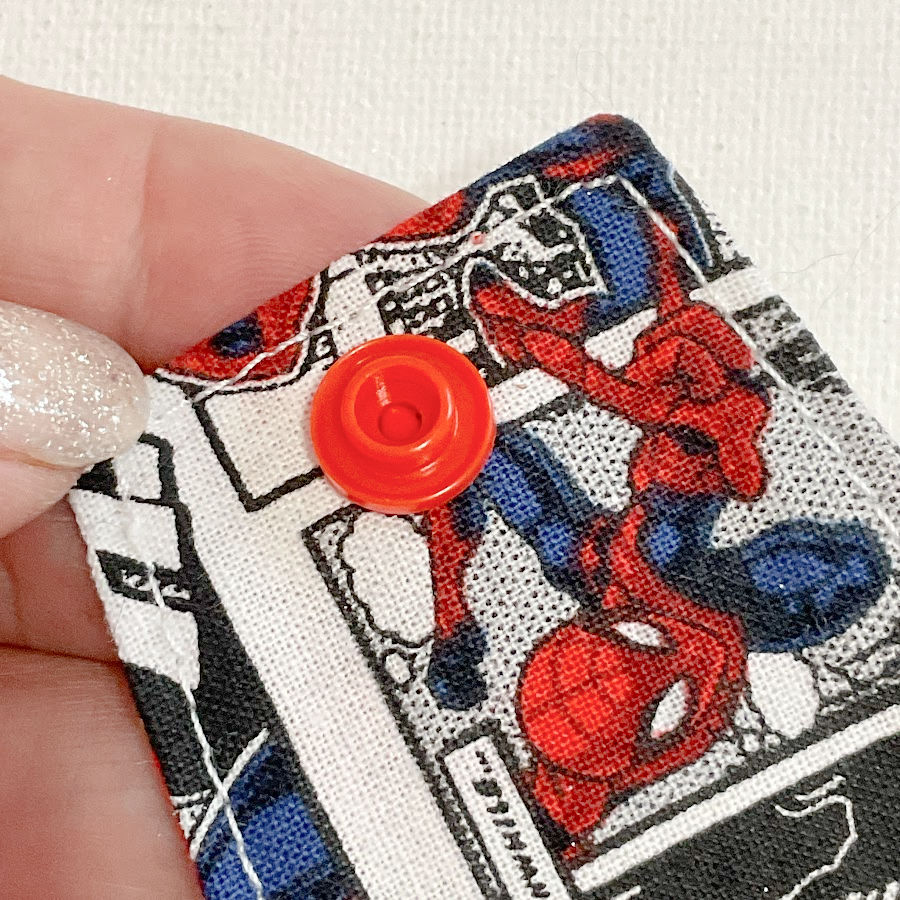
- KAM snap set – Each set includes 4 pieces: 2 caps, 1 stud (male), and 1 socket (female).
- Snap pliers – These are the main tool for attaching the snaps. They don’t have to be made by the KAM brand. I use a pair from Dritz, and they work perfectly well with standard size 20 plastic snaps. Most snap pliers come with interchangeable dies that fit different snap sizes.
- Awl – This sharp tool is used to make small holes in fabric for the snap prongs to pass through.
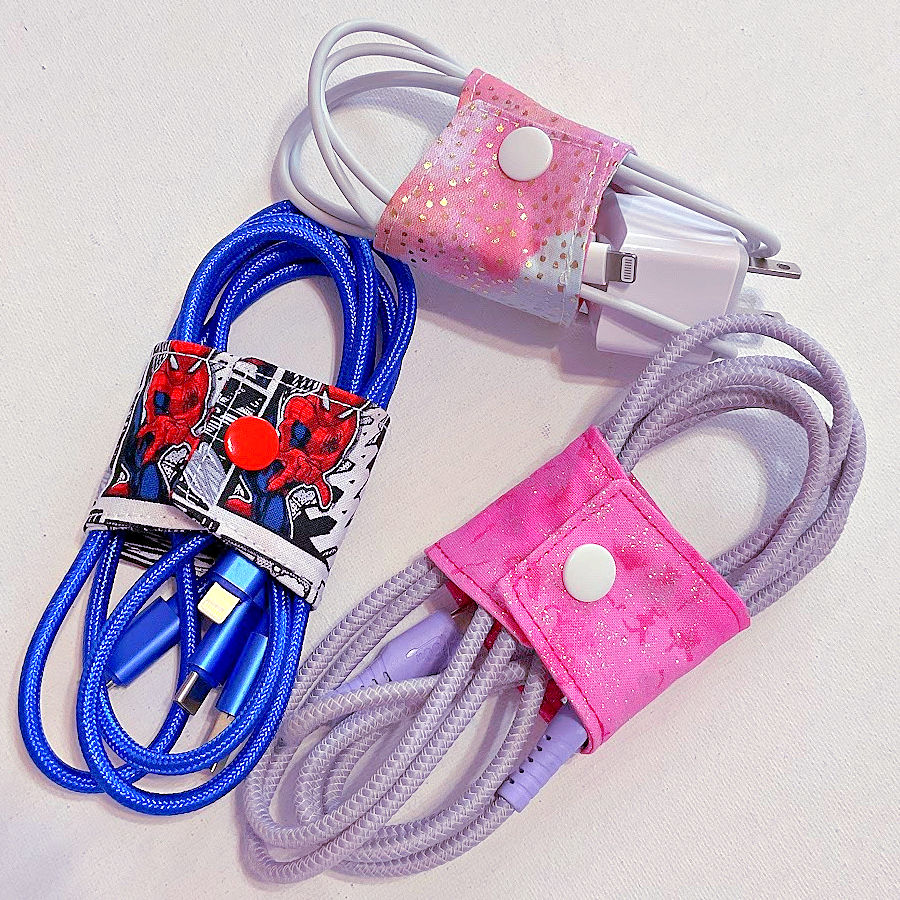
- A finished sewing project – For this tutorial, I’m using a cord keeper strap as an example.
- Fabric marking tool (optional but helpful)
However most snap sets (not all) already include a pair of pliers and other tools needed and I highly recommend buying one of these sets; the tool itself, if bought separately, is actually more expensive! It is useful to have a set of pliers that can be used for multiple sizes of snaps, like the one below:

Of course you can buy the tool separately also:


Components of KAM Snaps
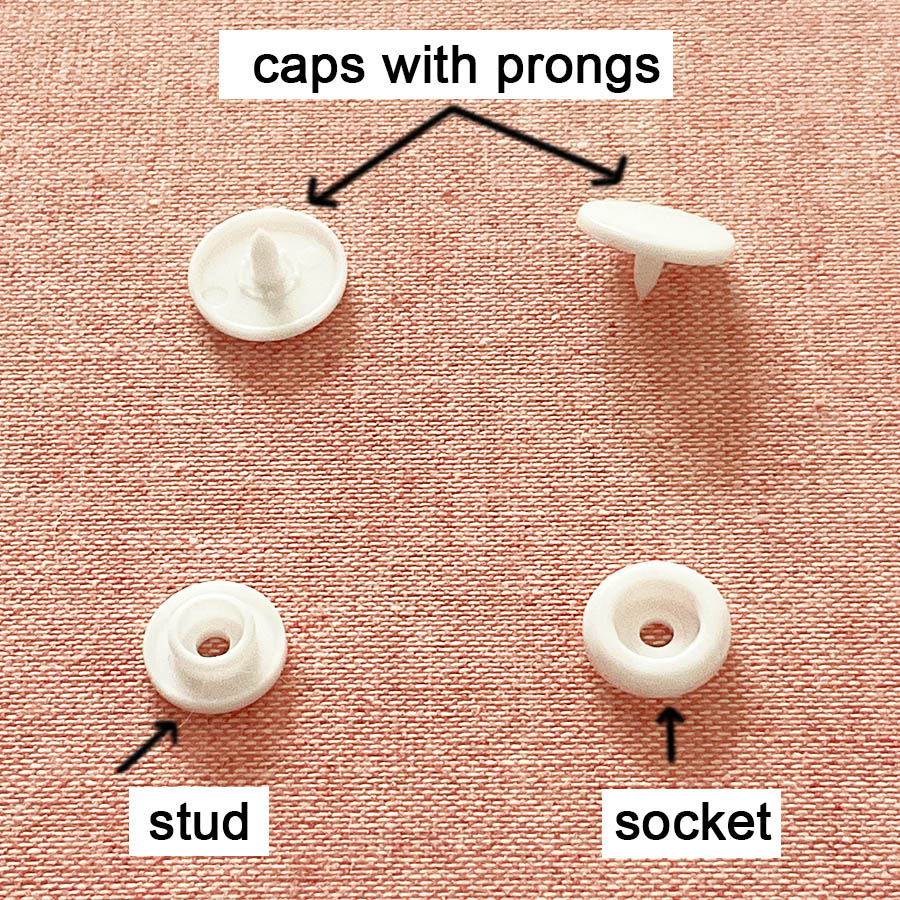
Each KAM snap consists of four pieces:
- Two caps: These form the visible outer part of the snap.
- One stud (male piece): Fits into the socket.
- One socket (female piece): Receives the stud.
Every complete set needs these four components.
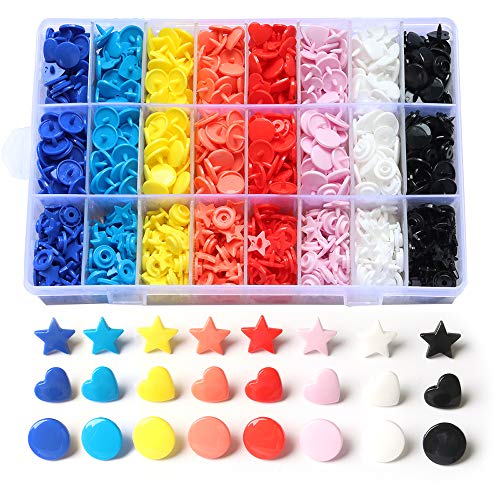
Fun Shapes and Styles
KAM snaps aren’t limited to just round shapes. They come in a variety of playful designs that can add a bit of personality to your projects. You’ll find them shaped like stars, hearts, flowers, butterflies, and even other novelty styles.
These fun shapes work the same way as standard snaps, but they give your item a more decorative look—especially great for children’s clothing, accessories, or anything where you want a little extra charm. Just make sure the pliers you’re using can handle the shape properly (most standard snap tools will).
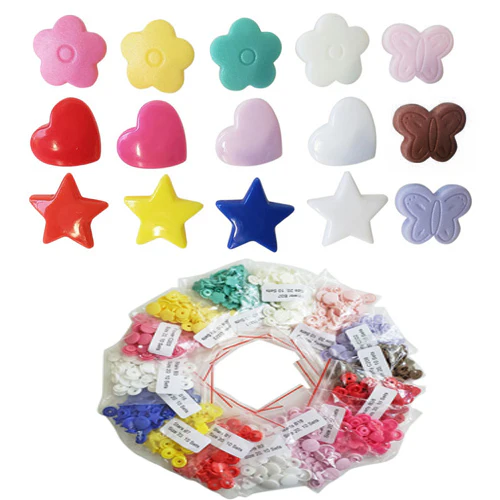
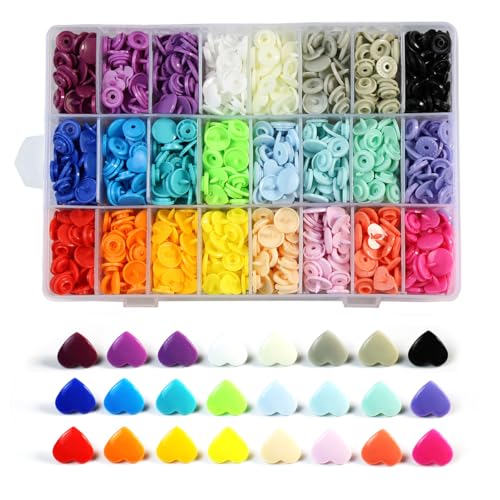
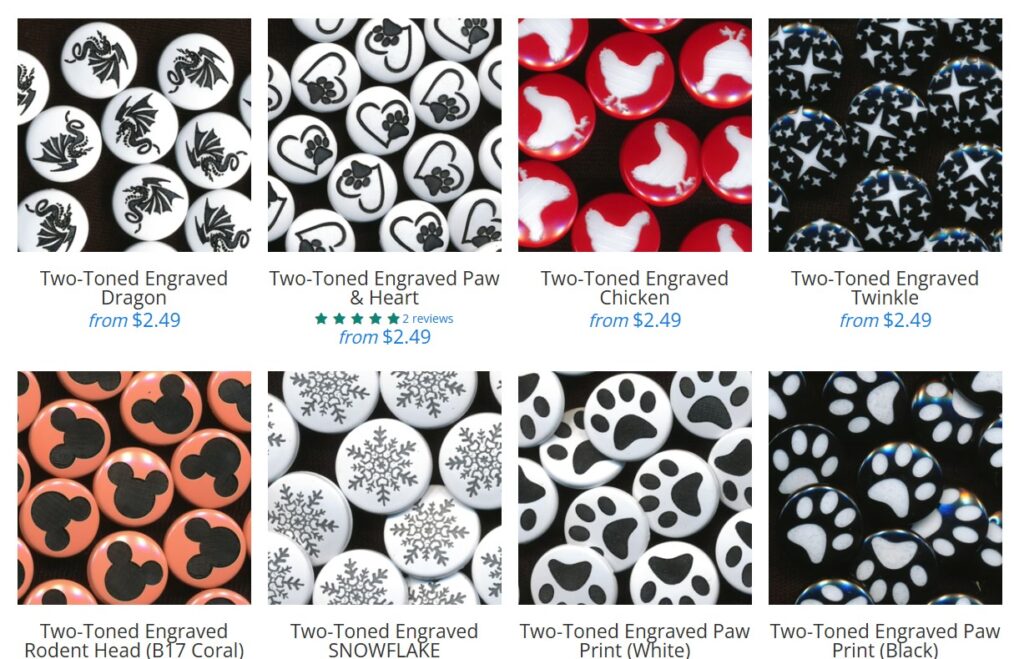
Along with colorful and shaped options, there are also engraved KAM snaps featuring fun designs like dragons, paw prints, snowflakes, hearts, and more. These add a unique, personalized touch to any project, especially for gifts or themed creations.
Here are just a few examples of what’s available.
Step-by-Step Guide to Installing KAM Snaps
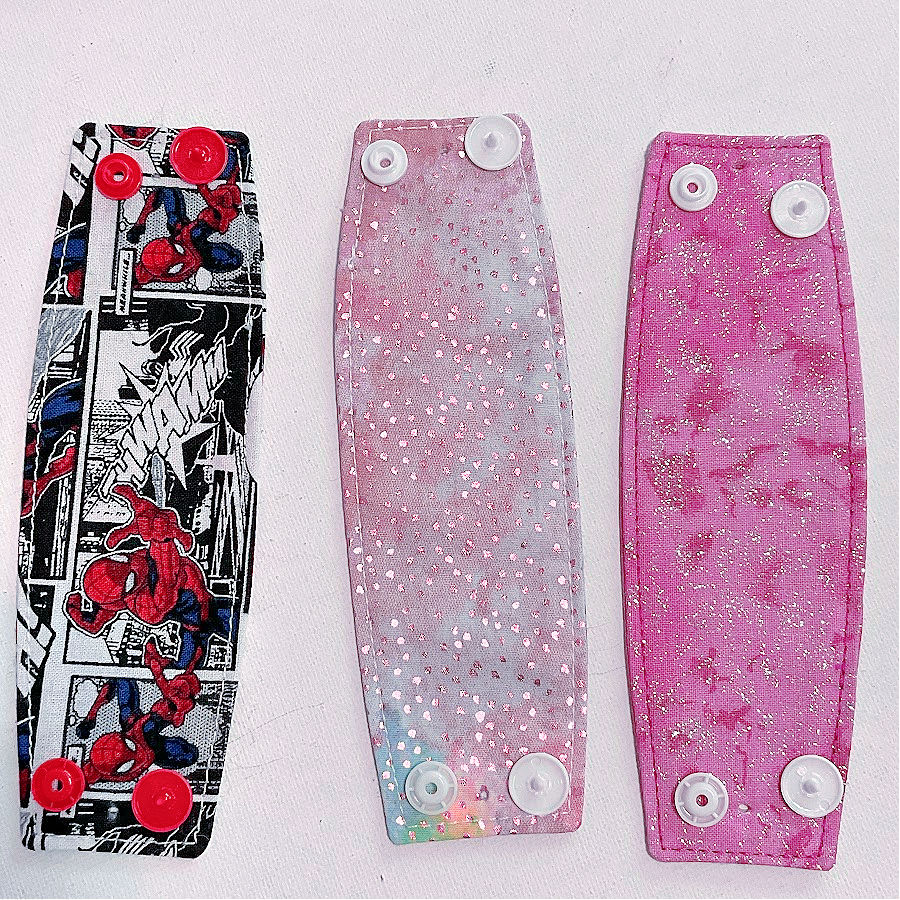
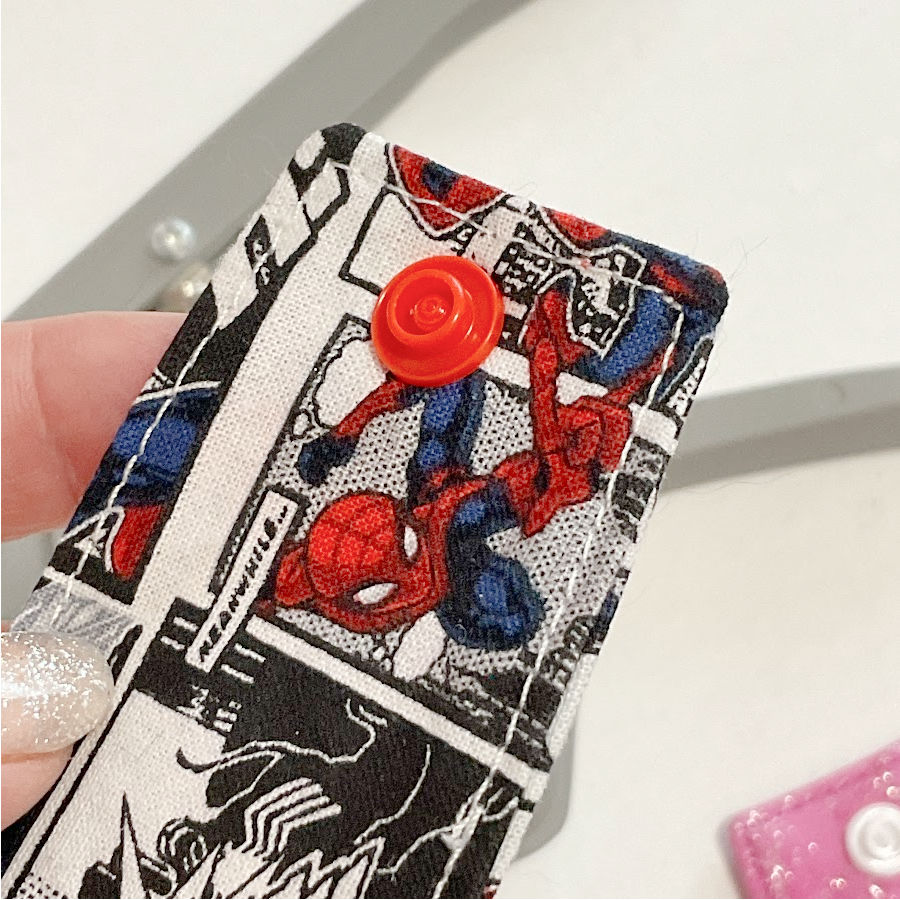
Installing KAM snaps takes only minutes. I’ll walk you through the exact steps to install KAM snaps, using the project I’m currently working on—cord keepers for charging cords. These cord keepers help neatly organize cables and prevent tangles. They’re perfect for travel or tidying up around the house.
Step 1. Marking and Piercing the Fabric
First, clearly mark where your snaps will be placed.
Using an awl, pierce two holes at once—one through each side of the closure (for example, through both the flap and the body of your project). This ensures your snaps align perfectly when closed.
In the case of these cord keepers, that means making one hole near each end of the fabric strip so the snap can hold the folded strap securely around the cord.
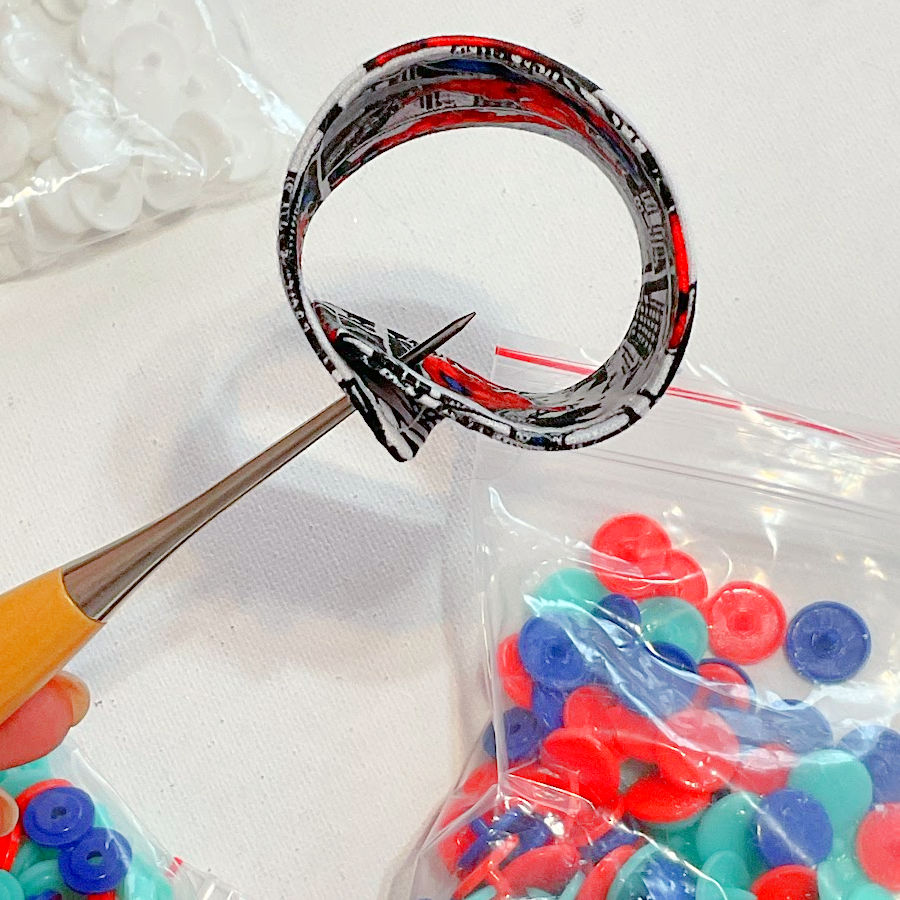
The holes should be just big enough for the snap’s prong to pass through comfortably.
Important: do not make hole larger than required; a larger hole will weaken the hold the snap has on the fabric!
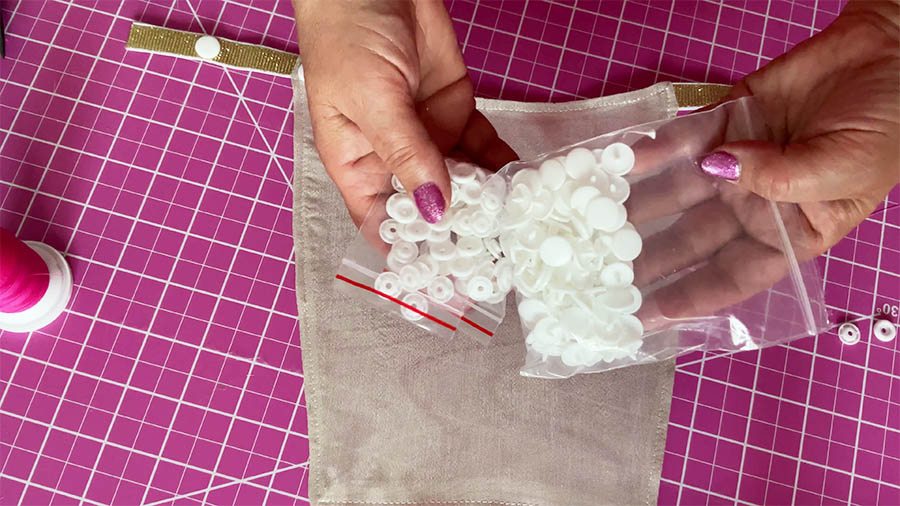
After making the holes for your snaps, it’s helpful to prepare all the pieces before attaching anything. For each snap, you’ll need one cap (the piece with the prong), and either a stud or a socket, depending on which side you’re working on.
In the photo below, you can see how this looks on real cord keeper straps.
Getting all your pieces sorted and placed before pressing makes the installation smoother and helps avoid mixing up the parts.
Step 2. Attaching the Stud
Push the prong of a cap piece through the pierced hole from the front side of your fabric.
Next, place the stud onto this prong.
Step 3. Using the Snap Pliers
Now it’s time to set the snap in place. I’m using Dritz snap pliers here, and they work just as well as the original KAM brand.
Position the snap so that the cap sits in the lower tray (the black base in this case), with the stud piece aligned under the clear pressing head at the top. Make sure the cap is centered and snug in its tray.
Rest your project on a flat surface. Press the pliers together firmly and evenly.
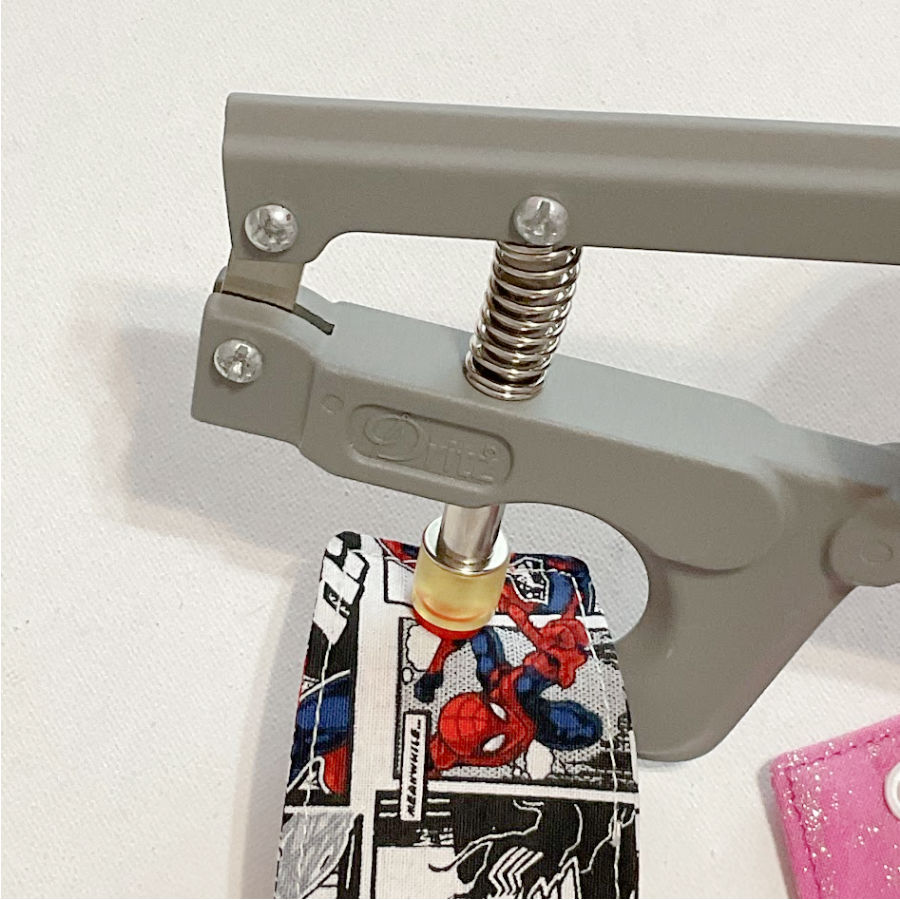
You’ll feel the plastic prong compress and flatten inside the stud, locking the snap securely into the fabric.
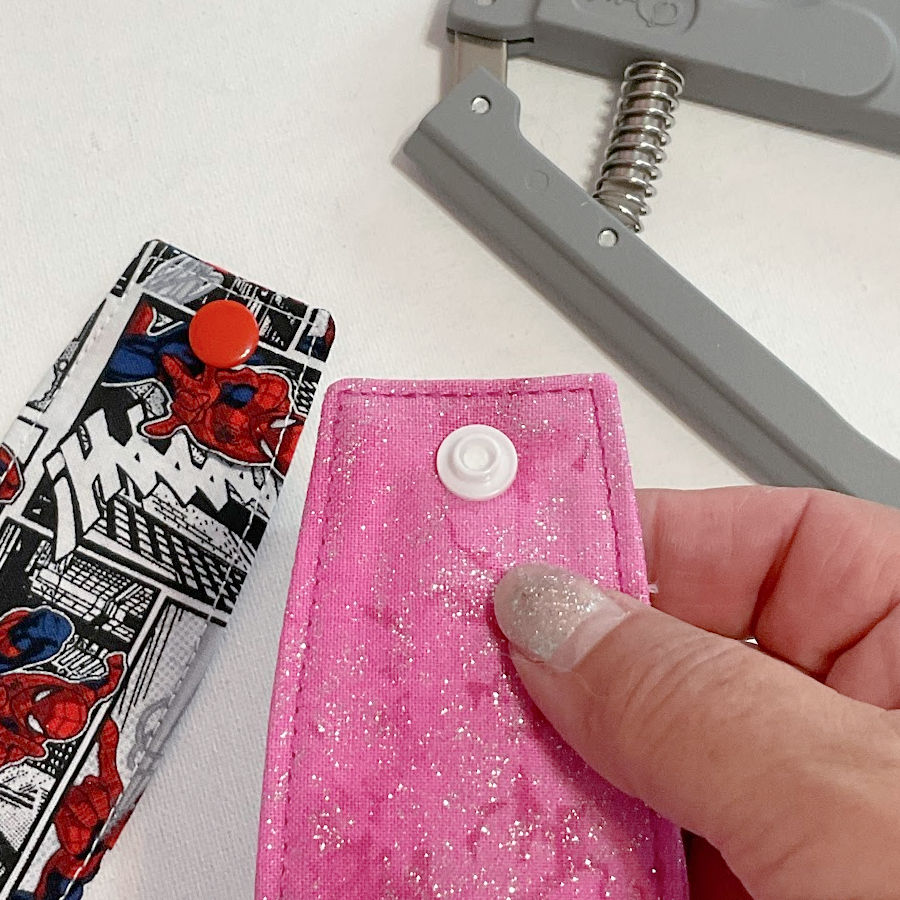
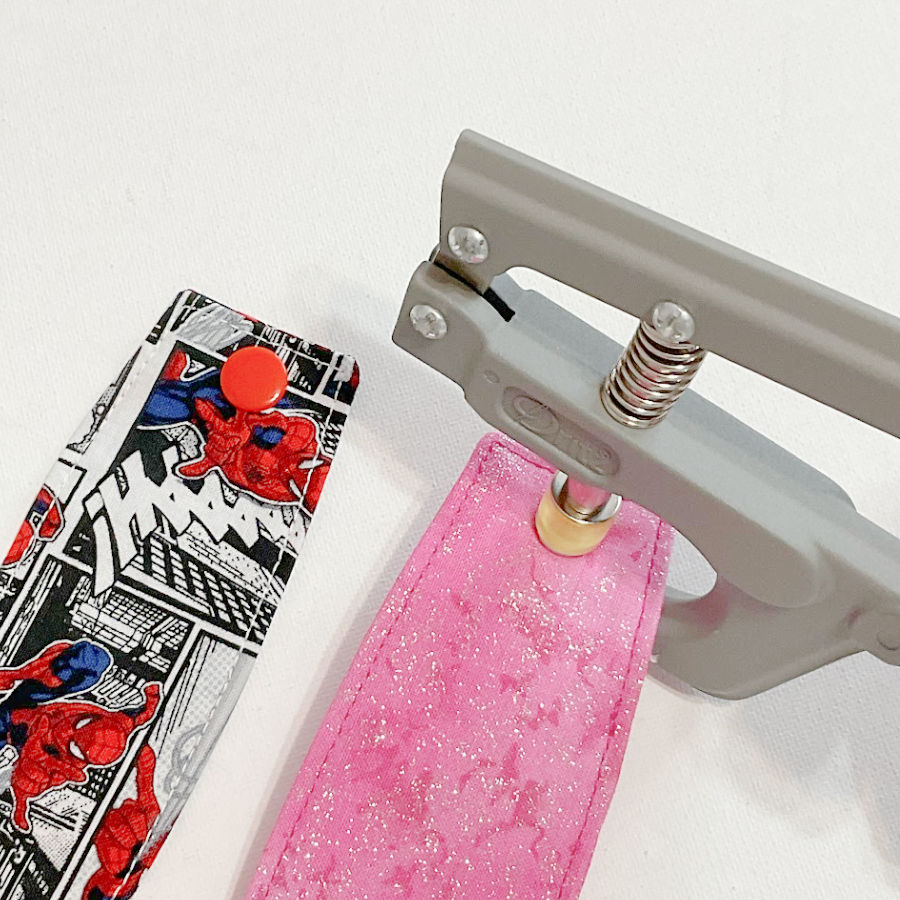
Step 4. Installing the Socket
Now repeat the same steps for the socket piece.
Just like before, push the prong of a new cap through the fabric (but this time from the wrong side). Place the socket on the prong.
Then, set everything into your snap pliers—cap in the lower tray, socket under the top pressing head. Make sure the pieces are centered, and that your fabric is lying flat and steady.
Squeeze the pliers gently but firmly. The prong will flatten into the socket, and you’ll have a complete, working snap.
In the cord keeper project, this second part should be installed near the opposite end of the strap so the snap closes cleanly when folded around the cord.
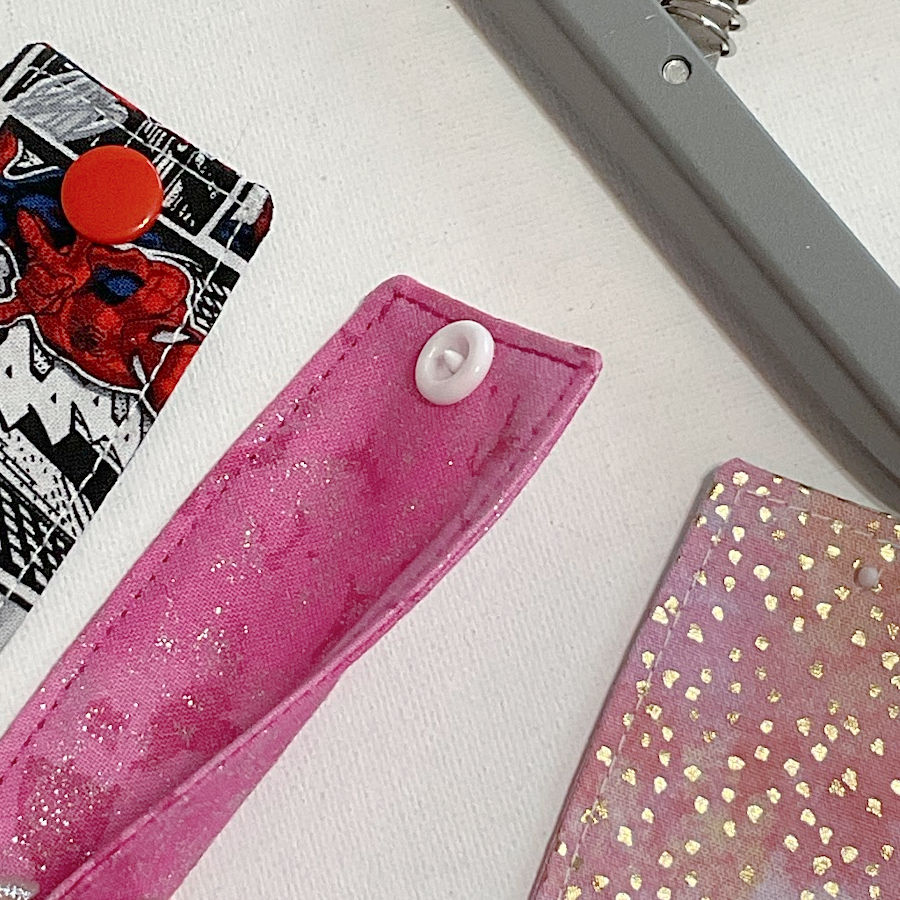
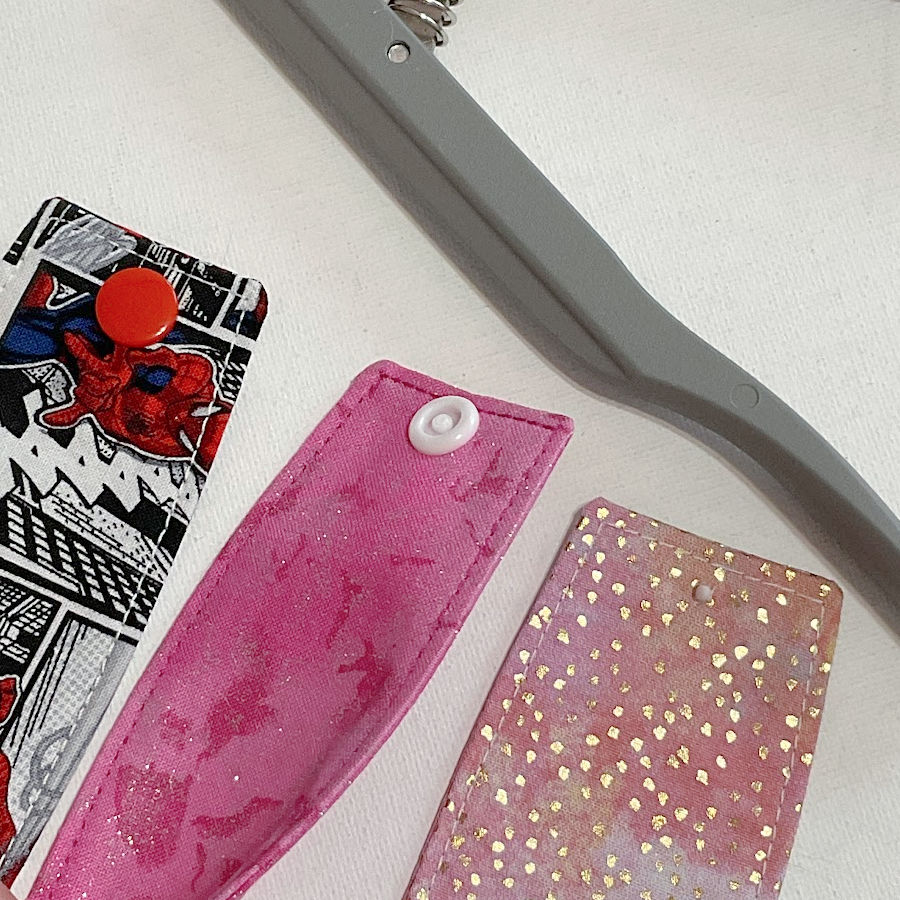
Step 5. Testing Installed KAM Snaps
Once both parts are attached, snap the pieces together and pull gently to ensure they hold securely. Your snap should click together easily and stay firmly attached.
If the snap feels too tight initially, simply snap and unsnap several times to loosen it slightly.
Choosing the Right Size KAM Snaps
Snaps are not one-size-fits-all. If the prong is too short for your fabric, the snap won’t grip securely and may fall off. If it’s too long, it might bend or shift, making it hard to close properly. That’s why choosing the correct size—and prong length—is essential for a reliable finish.
The most commonly used size is Size 20 (also labeled T5). It has a cap diameter of approximately 12.4 mm and works well on medium-weight fabrics like quilting cotton, linen, or lightweight denim.
But size isn’t just about diameter—prong length matters too.
KAM snaps come in several prong lengths:
- Regular (standard) prong – great for most projects
- Extra-long prong – better for thicker materials, interfacing, or multiple fabric layers
If you’re working with thick or structured projects, like bags or reinforced seams, using the extra-long prong version helps the snap hold everything together more securely.
What size and length work best will depend on:
- Your fabric’s thickness and density
- How much compression the fabric has
- The firmness of your pressing tool
To help visualize the differences, here’s a handy comparison chart from the KAM brand. It shows snap pieces in multiple sizes, so you can clearly see what you’re working with.

Sometimes you will see the sizes marked as the letter T plus a number (3, 5, 8). The correspondence between the T sizes and standard sizes is below:
T3 – size 14 or 16
T5 – size 20
T8 – size 22
I could not figure out what is the origin of the size standards because there does not seem to be a clear correspondence between the actual dimension of the cap and the naming standard.
Removing KAM Snaps (Just in Case!)
We all make mistakes. A snap gets installed on the wrong side, or you realize after pressing that the placement feels off. The tricky part? KAM snaps are built to stay put. That’s great when they’re in the right place—but not so helpful when you need to take one off.
Removing a plastic snap can be a challenge if you’ve never done it before. These snaps grip tightly and don’t just pop off. But there are methods—and once you know the tricks, it’s not so intimidating.
If you want to see the full step-by-step process (with visuals), the KAM website has a helpful guide:
👉 Instructions for Removing KAM Snaps
Troubleshooting Common Issues
- Snap Doesn’t Close Properly: Check if the snap parts are correctly aligned and flat. Misalignment often causes difficulty closing snaps.
- Snap is Too Tight: Snap and unsnap a few times or ensure you aren’t pressing overly hard when attaching.
- Prongs Bend Out of Shape: Confirm your pliers are correctly positioned. If the prong bends, replace and retry with a new cap.
- Fabric Tearing around snaps: If you’re working with delicate or stretchy fabrics like jersey, you might notice the fabric starting to tear around the snap. This usually happens because the material isn’t strong enough to hold the snap on its own.
To prevent this, it’s a good idea to reinforce the area with a small piece of fusible interfacing before you install the snap. The added stability helps the fabric handle the pressure from opening and closing.
Also, consider switching to a smaller snap size if you’re using size 20. Size 16 snaps have a slightly lighter grip and can be a better match for softer materials. But even with smaller snaps, reinforcement is still important to keep the fabric from stretching or ripping over time.
The Most Common Snap Mistake I Still Make
So, there are a few things that can go wrong with snap installation—crooked prongs, wrong size, pressing too hard. But the mistake that happens more often (at least in my sewing room) is this – installing both snap halves facing the same way.
Let’s set the scene: you’ve carefully marked your fabric, made perfect holes with your awl, and pressed those snaps into place with confidence. You’re feeling good. You fold your project, ready for that satisfying snap—and… nothing.
No click. No closure. Just two perfectly installed parts staring at each other like they’ve never met.
Here’s what happened: you installed either two studs or two sockets. Or worse—you put one stud and one socket, but they’re both facing outward in the same direction. They’re not interested in clicking. They’re not even on speaking terms.
And yes—it’s frustrating. Especially because you don’t realize the mistake until everything looks finished and you try to close it.
How Does This Happen?
It’s easier than you think, especially if:
- You’re sewing while distracted (looking at you, podcast multitaskers).
- You’re working on a project that folds or flips in a weird way.
- You lay out all your pieces, then forget which side was which after pressing.
- You’re installing a bunch of snaps at once and fall into a rhythm—just… the wrong rhythm.
Even seasoned sewists mess this up. It’s not about experience—it’s about orientation (and maybe double-checking before committing).
How to Avoid the Dreaded “Double Stud” Situation
Here’s how to make sure your snaps face each other like they’re meant to:
- Try fit before pressing
Fold your project as if it’s finished. See where the two parts will touch. That’s where you want the socket on one side and the stud on the other—facing each other, ready to connect. - Lay out your pieces before snapping anything in
Place the cap and stud/socket gently in the fabric holes without pressing. That way, you can visually check alignment. - Mark stud and socket positions
Use a fabric marker to label “S” for stud and “SO” for socket on the back sides. Sounds basic, but it saves a ton of heartache. - Pause before pressing
Just before you squeeze those pliers, stop and ask yourself, “If I fold this project closed right now, will these two parts actually snap together?” If the answer is “ehhh…”—recheck.
If You’ve Already Done It
You’re not alone. It happens. Grab your nail clippers or staples remover, head over to that removal section in this tutorial, and know that we’ve all been there.
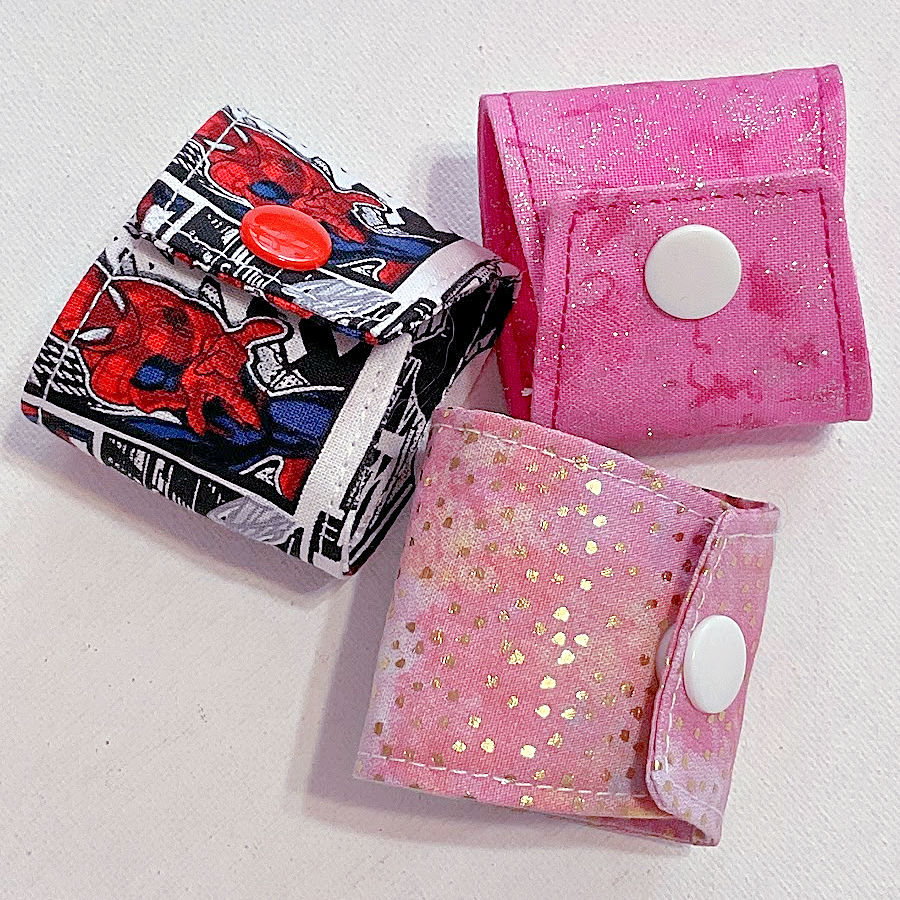
Project Ideas with KAM Snaps
The versatility of KAM snaps means endless possibilities:
- Children’s Clothing: Bibs, onesies, rompers
- Accessories: Wallets, coin purses, key fobs
- Household Items: Pillow covers, duvet closures, kitchen towels
- Craft Projects: DIY bags, diaper covers, stuffed toys
If you’re looking for ideas on how to use KAM snaps in your sewing projects, I’ve shared several tutorials where these little closures come in handy. They’re a great choice for projects that need a simple, sturdy fastening without any extra fuss. Here are a few examples from my site where KAM snaps work beautifully:
In The Hoop Embroidery Project: Fabric Christmas Tree Baby Bib
How to Sew a Modesty Panel Cleavage Cover: Step-by-Step Tutorial
How to make a unique apron with a towel attached
So… did this KAM snaps guide snap everything into place for you? If it did, go ahead and save this pin to your sewing board before you forget where you found it (because we both know “I’ll remember later” is a lie). And while you’re at it, follow me on Pinterest for more sewing tips, tutorials, and the occasional fabric-related obsession. Your future self—with a half-finished project in hand probably—will thank you.

latest posts
- Buttonholes and Buttons: Sewing Methods, Tips, and Troubleshooting
- 20 Sewing Tips You Didn’t Know 5 Minutes Ago
- Corset Pressing Board for Sewing: What It Does and How I Use It
- 7 Essential Tools and Settings for Sewing Denim on a Regular Sewing Machine
- That Purple Thang: 10 Smart Ways to Use This Weird Little Tool
- 20+ Reasons Your Sewing Machine Thread Keeps Breaking (+ Solutions)
- Dresden Plate Quilt Block: 4th of July Fireworks
- How To Sew Curves the Easy Way Using a Curve Master Presser Foot
- 30 Sewing Hacks That Turn Ordinary Items into Useful Sewing Tools