
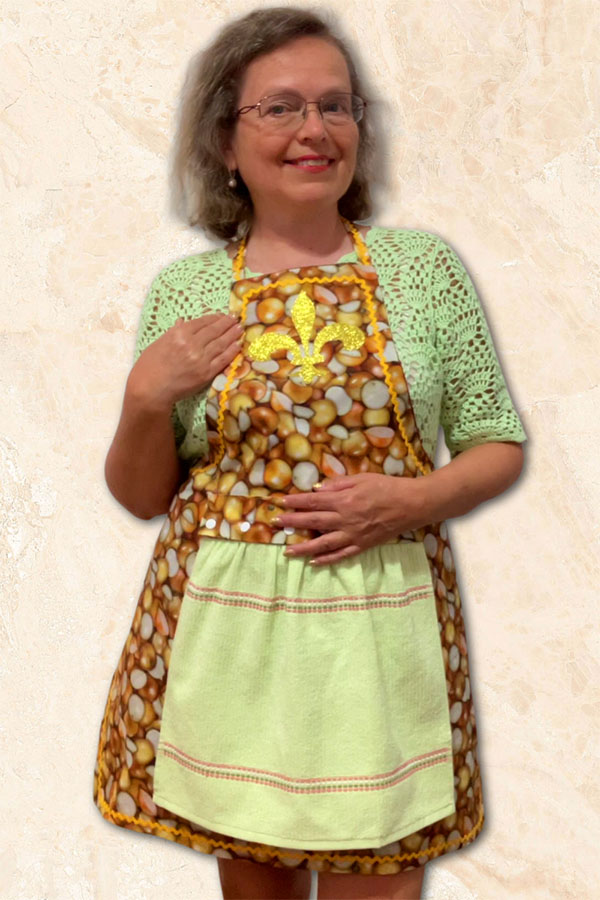
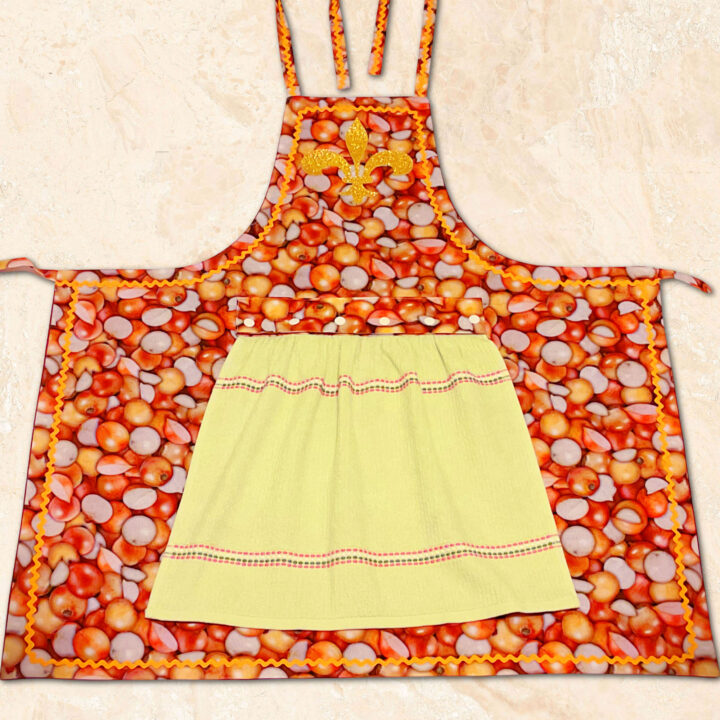
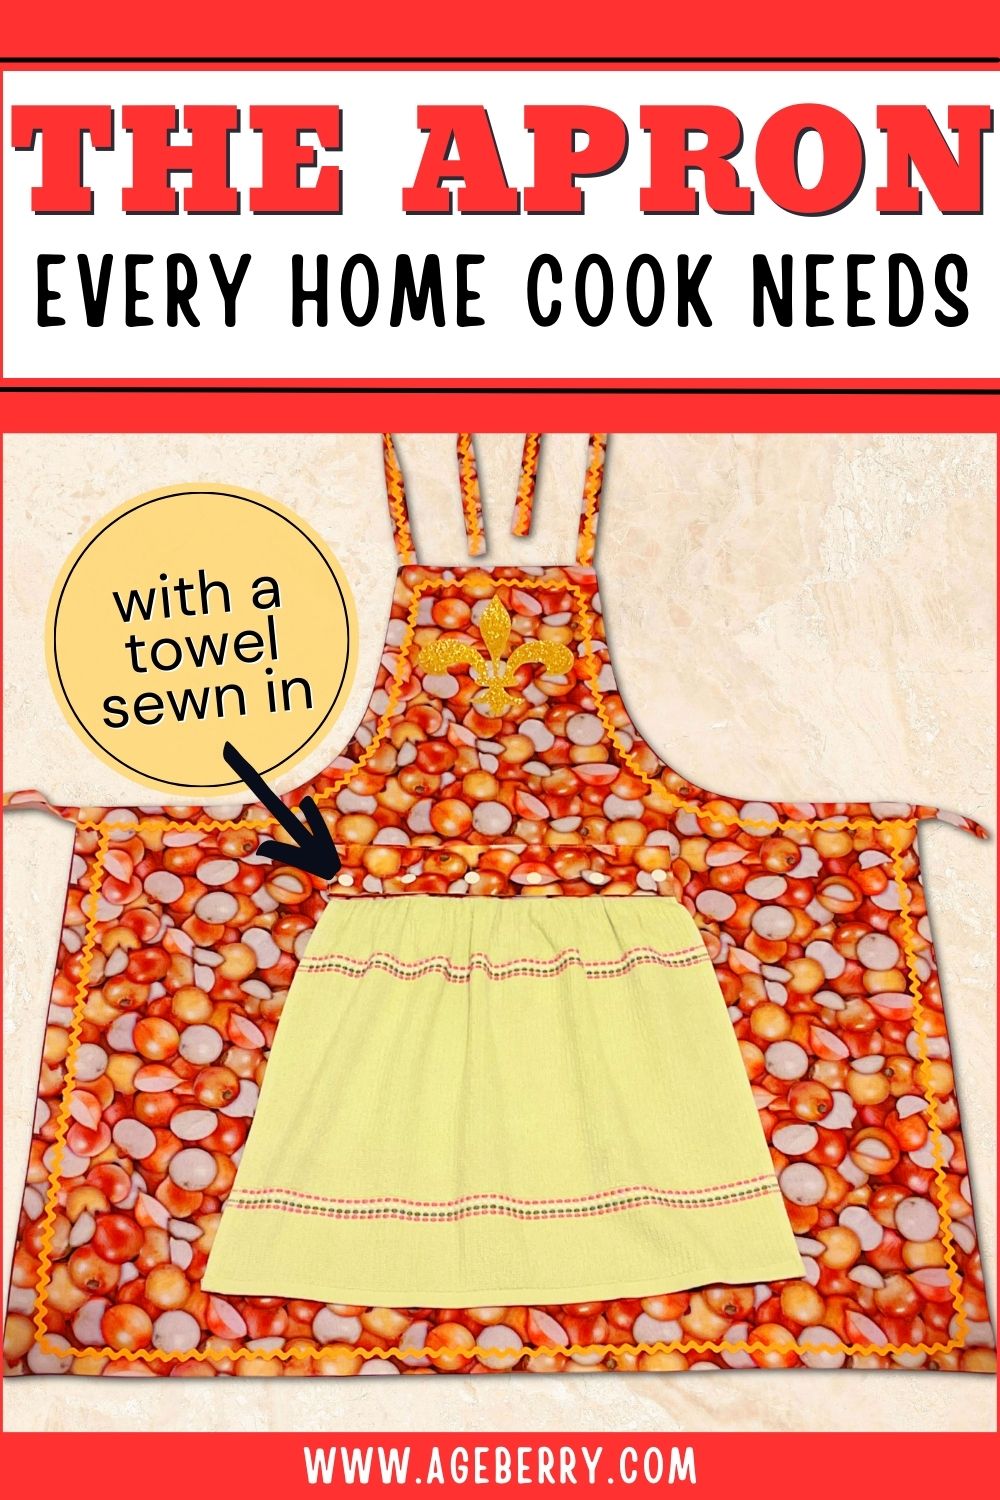
How To Make A Unique Apron With A Towel Attached
In this sewing tutorial, I will show you how to make an apron with an attached towel. This very unusual apron design idea is sure to save you time and hassle in the kitchen. The towel is attached with plastic snaps that are very fast to install, so you can easily take the towel off the apron when you need to wash it or even attach another towel instead of a used one.
This DIY project is a great way to add a unique and practical touch to your kitchen décor. With just a few simple materials and some basic sewing skills, you can create an apron that will make cooking and cleanup a breeze.

Plus, this DIY apron is really cute and can be personalized to fit any style. The most basic apron design is little more than a rectangle of fabric with straps that tie around the neck and waist. However, there are endless ways to customize an apron to suit your own taste.
DIY aprons also make wonderful gifts for friends or family members who enjoy cooking or crafting. If you’re looking for a unique and inexpensive gift, consider making this unusual apron.
Note: Some of the links on this page are affiliate links. This means I will receive a commission if you order a product through one of my links. I only recommend products I believe in and use myself.
I recently saw a kitchen boa with attached towels and thought it was a great idea.
But my unique apron design idea is similar to that, only the towel is attached to the apron. I think this would be incredibly useful when cooking, as it would provide a way to quickly and easily wipe your hands. It’s also easily detachable for laundering. Plus, it would add a bit of fun to your appearance while cooking! I’m confident that this design would be popular with home cooks. So if you’re ever in need of a quick and easy way to wipe your hands while cooking, be sure to try my unique apron design idea.
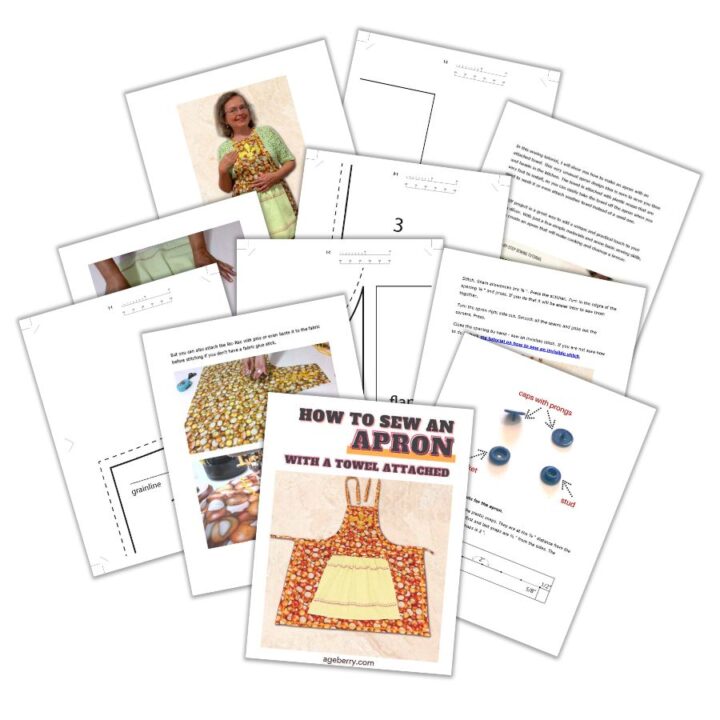
You can purchase the printable PDF pattern and step-by-step instructions in my shop for only $7. This way you can print it out and it will be available for you to refer to anytime you want.
What You’ll Need
Here is the list of what you will need for making the apron.
Some items on the list are optional, and you can read more about each item in the tutorial below. The list includes:
- Fabric for the front of the apron – around 1 yard
- Lining fabric for the back of the apron – around 1 yard
- Fusible interfacing – lightweight, just a small piece for the apron’s flaps
- Kitchen towel
- Ric-Rac Ribbon – 4.5 yards (optional)
- Plastic KAM snaps
- Pliers to install snaps
- Awl (to make small holes in the fabric)
- Pattern paper (to draw the apron pattern)
- Sewing machine
- Regular sewing notions (like matching thread, scissors, a ruler, marking pen, etc)
- Printable PDF apron pattern / template
- Vinyl for the fleur-de-lis applique (optional)
- Cricut (optional)
- SVG file for the fleur-de-lis applique
What Fabric Is Good For A Handmade Apron?
For a handmade apron, good-quality quilting cotton is the best option. There are so many wonderful prints available in stores! It’s a medium-weight fabric that is durable and can be easily washed and dried. But a thicker fabric can also be used (like denim for example). For the back of the apron, consider using a lightweight apparel cotton fabric. Stay away from synthetic fabrics, as they can be difficult to wash and iron.
Now a few words about other things you need.
What kitchen towel to use? I have chosen a cotton terrycloth towel that coordinates with the fabric of my apron. The size is 28” x 18”.
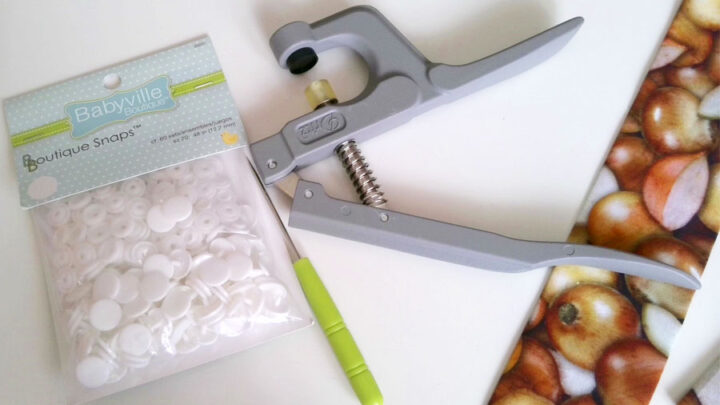
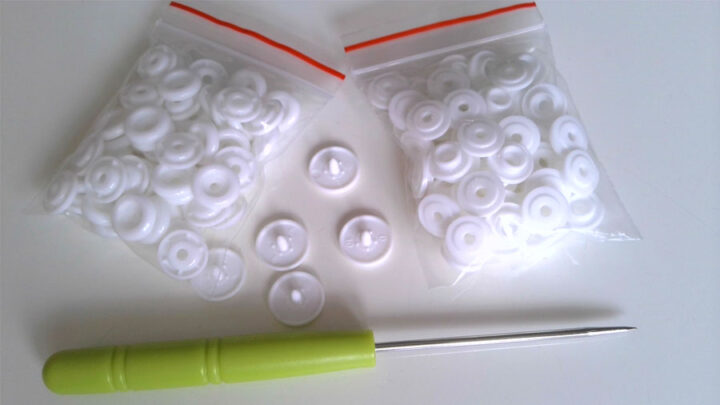
What are these plastic KAM snaps? They are fasteners that are often used in baby apparel and accessories as they are easy to install and can be laundered. I used Babyville Boutique Snaps. They come in various colors. They are the perfect closure for various items. I used them before for my baby bib project.
You will need special KAM snaps pliers to apply snaps to your project.
You can find the printable PDF apron pattern in my shop (for a small fee) at this link.
There are also detailed instructions in that PDF so you can use them without ads if you decide to make the apron.
But I only made the printable PDF pattern for the part of the apron that’s above the waist because the bottom part is just a rectangle and there is no need to print and arrange it on multiple pieces of paper if you can easily draw the rectangle (check the size in the tutorial below) on pattern paper.
However, the printable PDF apron pattern also includes the templates for attaching the towel to the apron – it’s just 2 rectangles marked by numbers 5 and 6. I also have an SVG file to cut the fleur–de–lis applique if you have a Cricut machine.
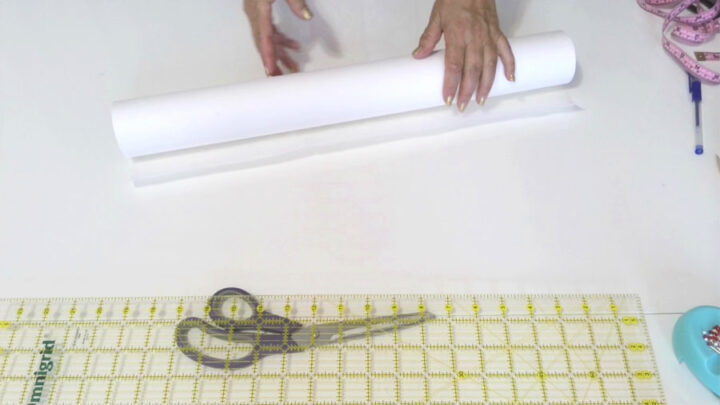
What is paper for the pattern? I use this medical paper for my patterns. It’s a lightweight paper that is easy to work with, relatively inexpensive and you can use it for other patterns as well, not only for this apron. For example, you can make a pattern for a simple summer dress (I have a detailed sewing tutorial on how to do it) or a pattern for high-waisted shorts.
Before beginning the project, it’s always important to read all the instructions carefully. This will ensure that you have all of the necessary materials and that you understand the steps involved. By taking a few minutes to read the instructions before starting, you can save yourself time and frustration later on. And if there are any unclear steps, be sure to ask for clarification.
You will find all necessary materials in my Amazon store at this link.
Step 1. Prepare The Apron Pattern
Download and print the PDF template/pattern and assemble it. It’s only 6 pages long. Assembling the pattern is pretty easy.
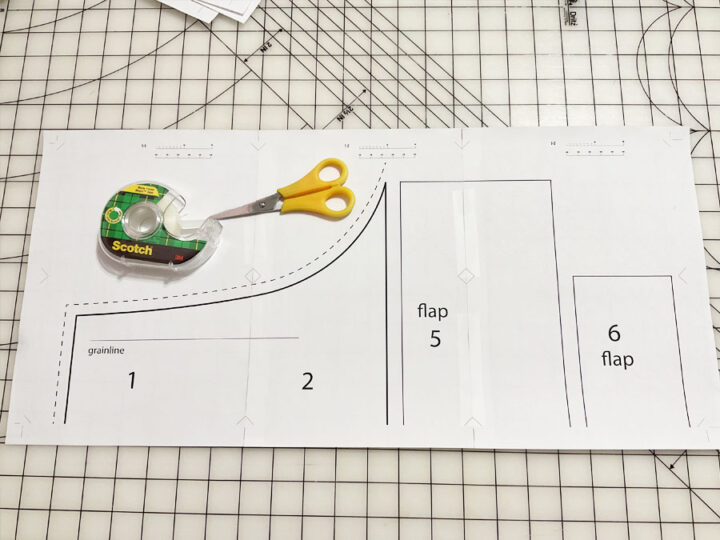
Start with your first row, pages 1, 2, and 3. Draw a few lines like these on pages 2 and 3, cut pages 2 and 3 along these lines, and overlap them on pages 1 and 2 accordingly.
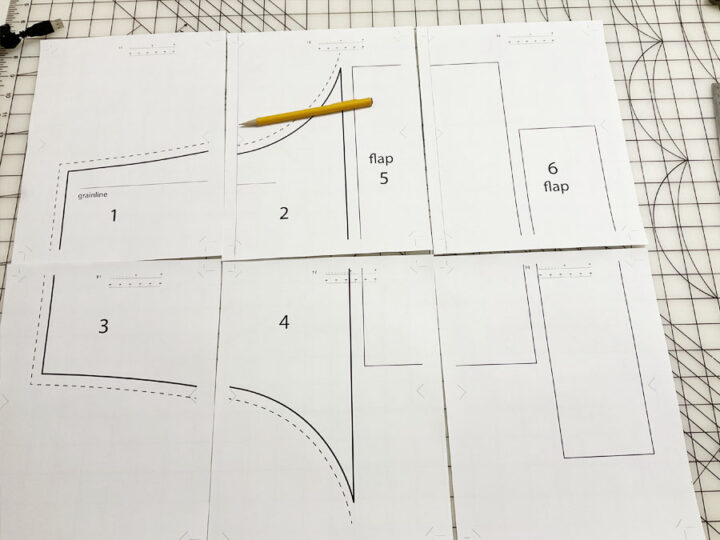
Line up the pattern lines. You will also see these small triangles that will help you line up your pattern even easier. Tape the pages together.
When taping, try to keep the pages so they don’t shift.
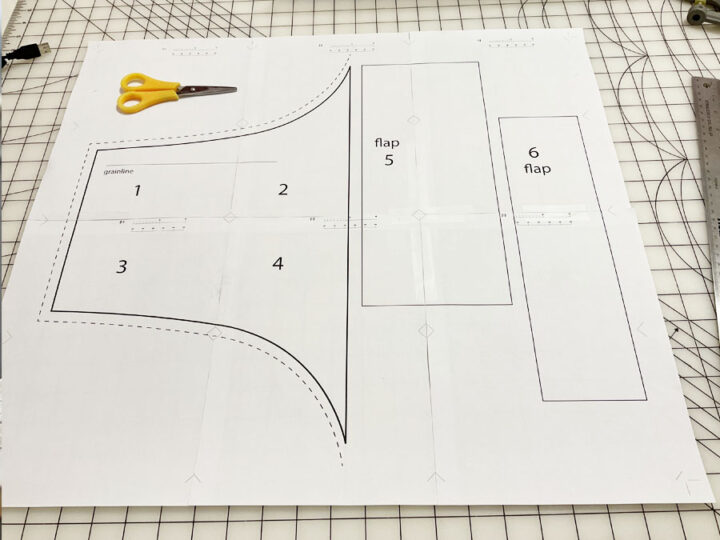
After your first row is assembled, continue on with the second row aligning the tops and the sides of your pages.
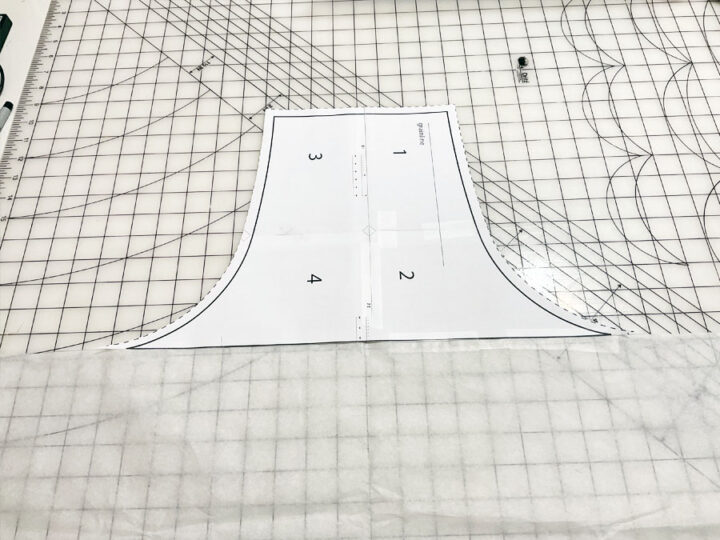
And this is the result, the template is ready. Cut out the template carefully following the lines of the pattern.
Next, draw a rectangle on pattern paper, the size of the rectangle is 28” x 19.5”. Cut it out.
Now tape these pieces together using scotch tape and you will have your full apron pattern. See the image below for reference.
Step 2. Cut Fabric For The Apron
Both fabrics for the apron have to be prewashed and ironed.
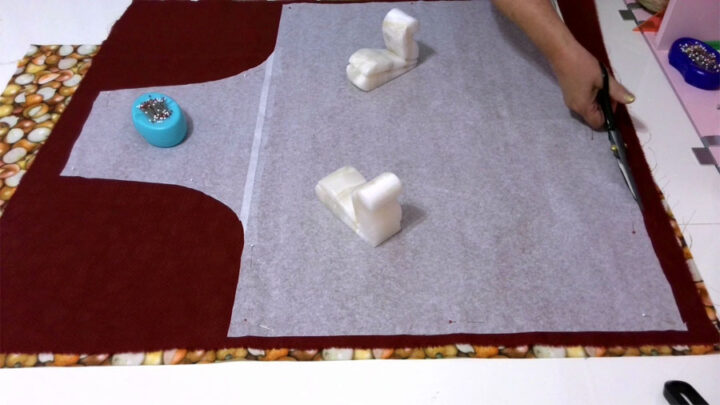
1. Place 2 different fabrics (one quilting cotton for the front and one lining fabric for the back of the apron) one on top of the other. Place the apron paper pattern (don’t forget to follow a grainline that’s perpendicular to the selvages) on the fabric, pin, and cut.
What cutting tool do you prefer to cut fabric – fabric shears or a rotary cutter? I cut with scissors this time.
✅ Related tutorial: Types of sewing pins and their uses: all you need to know about straight pins for sewing
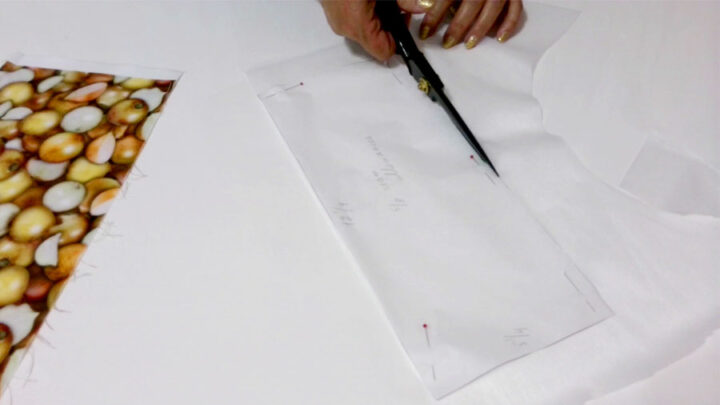
2. Cut 2 rectangles from the main fabric using printable PDF pieces (pieces 5 and 6).
3. Cut 2 rectangles from fusible interfacing (pieces 5 and 6).
4. Cut 2 straps for tying the apron around the neck – size 2” x 20”
and 2 straps to tie around the waist – size 2” x 24”.
I cut them in such a way that all of them have one of the edges as a selvage edge from the initial fabric piece. This way you will not need to finish these edges when they are sewn to the apron.
Don’t through away the scrap fabric pieces. I have 17 projects that you can make from scrap fabric, so check them out.
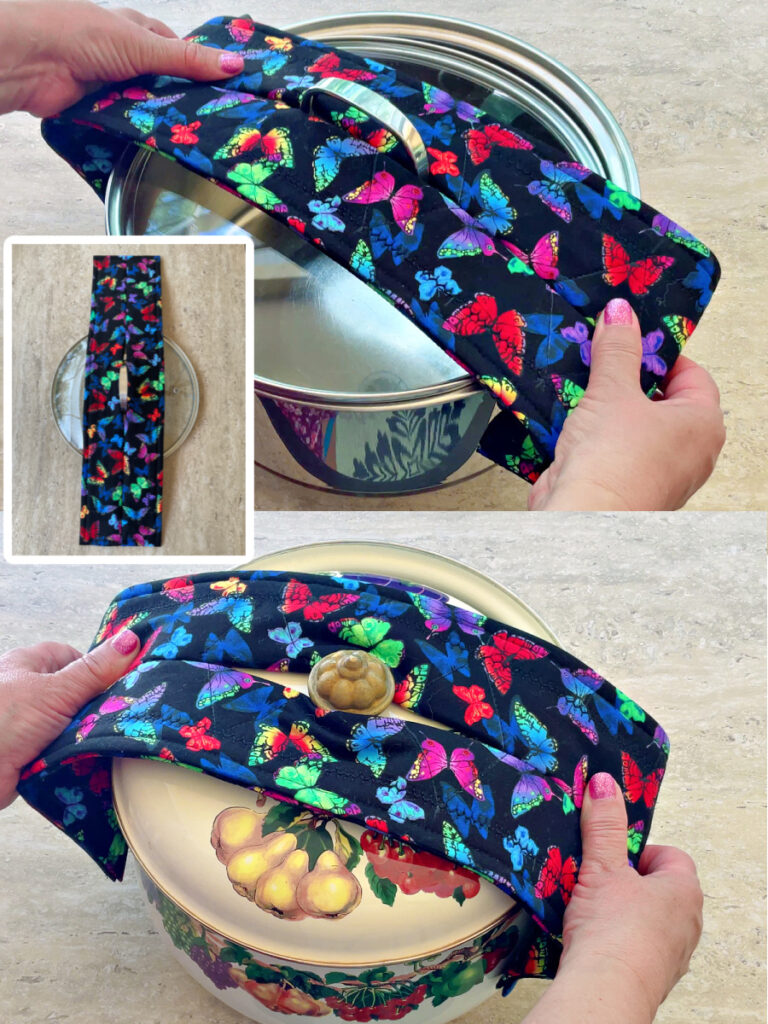
By the way, if you like quick, practical sewing projects, I recently made a potholder that works very differently from the usual ones. It wraps around the handle and stays in place, so you can lift pots or drain hot water safely. It’s quick to sew and makes a really nice handmade gift. I made a detailed PDF tutorial with all the steps – take a look here.
Step 3. Sew The Flaps For Attaching The Towel To The Apron
Set up your sewing machine – thread it with matching color thread, try tension on scrap, etc.
Cut the towel in half. You can use both halves for the apron.
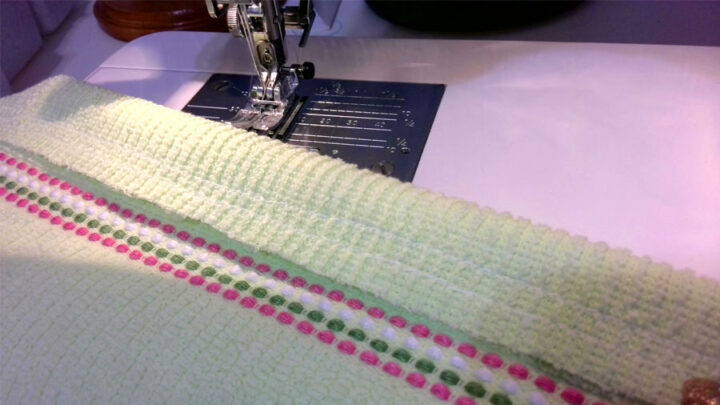
Next, gather the cut edge of the towel. For this, sew 2 rows of gathering stitches: set your sewing machine for this – tension at 0, and the stitch length – at 5. Sew the first stitch at 3/8 ” from the edge. Use a strong thread that doesn’t break when you pull it.
Fuse interfacing to the fabric rectangles.
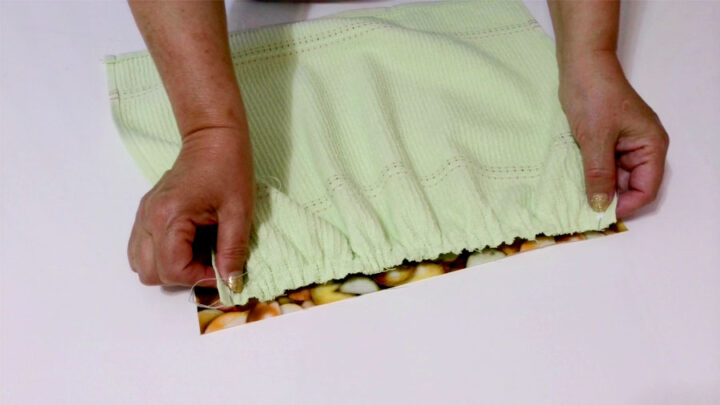
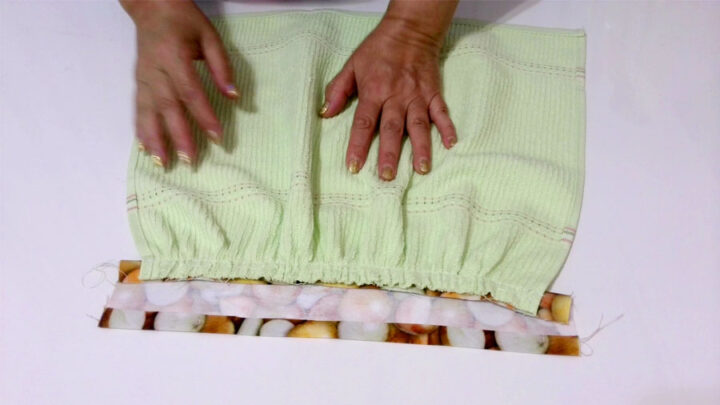
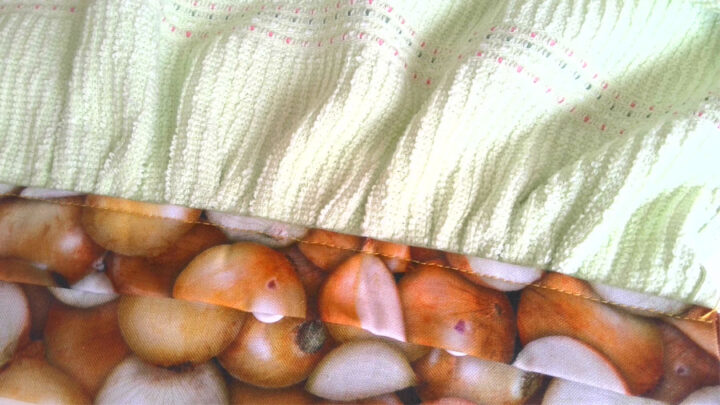
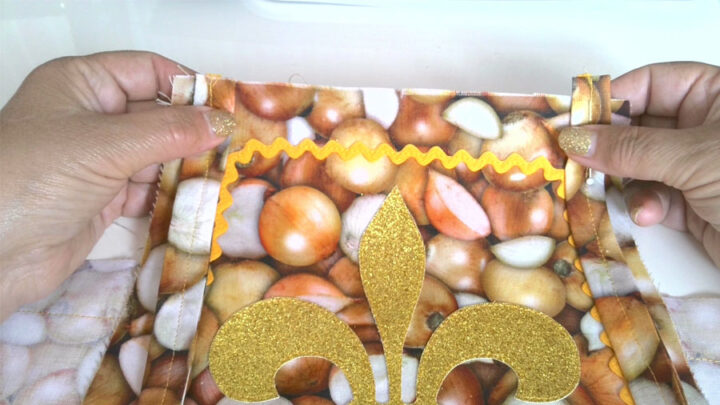
Gather the towel (by pulling the bobbin threads) and place the gathered edge on the fabric rectangle right sides together. Leave ⅝ “ on both short sides of the fabric rectangle for seam allowances. See the image below for reference. Pin and stitch. Don’t forget to return sewing machine settings to regular – tension 3 or 4 and stitch length 2.5. Seam allowances are ⅝ “.
Go to your iron and press in ⅝ “ seam allowances on the other side of the fabric rectangle.
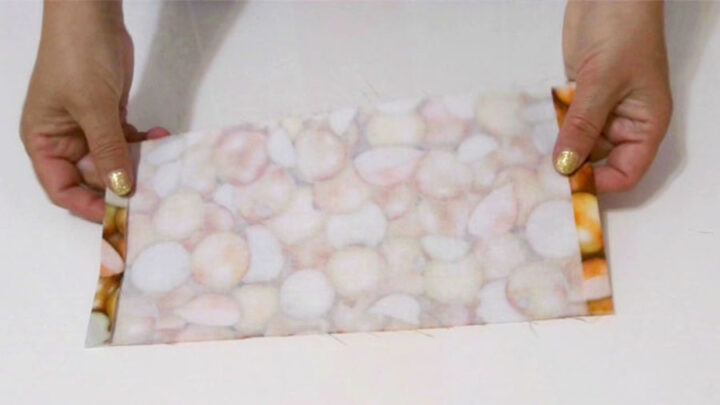
Fold the rectangle in half lengthwise right sides together.
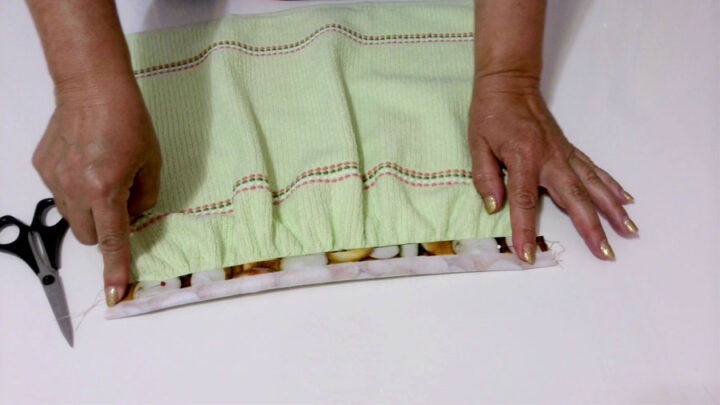
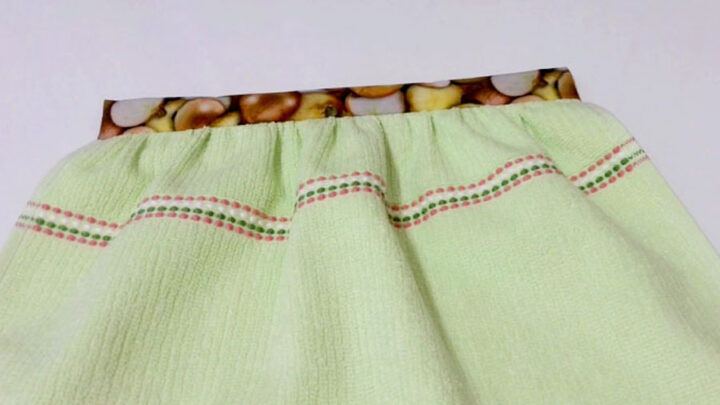
Sew the short sides of the rectangle on your sewing machine, seam allowances are ⅝ “. Cut seam allowances close to stitches and turn the fabric right side out. Press. Topstitch it.
✅ Related tutorial: How To Topstitch | 17 Topstitching Tips Every Beginner Should Know
Next, sew the other rectangle. Fold in ⅝ “ seam allowances on the short sides of the rectangle and press.
Fold the flap in half lengthwise and make a stitch.

Turn the flap right side out using a safety pin. Press.
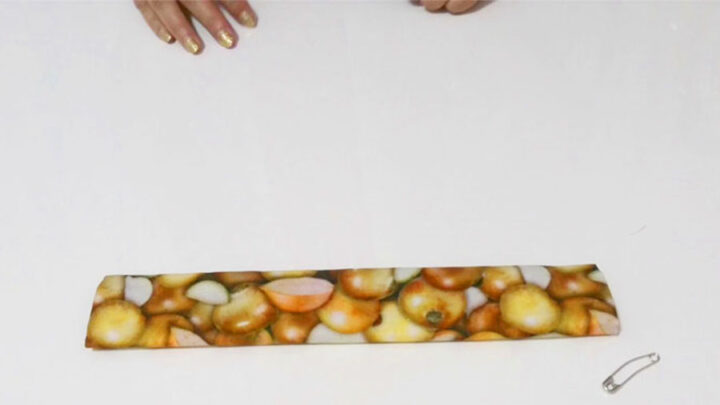
Topstitch the flap on the short sides.
Step 4. Attaching Ric-Rac Trims (optional)
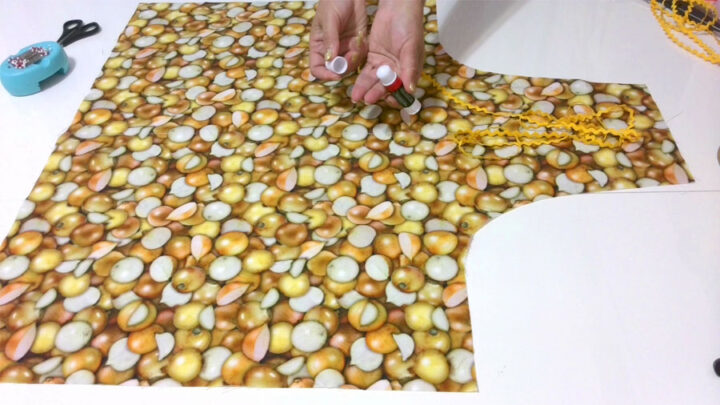
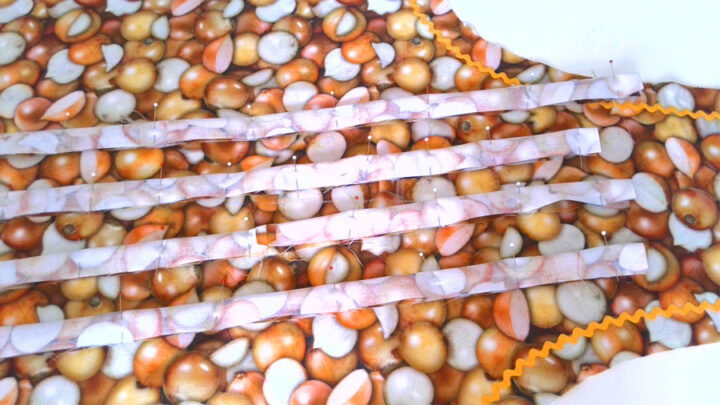
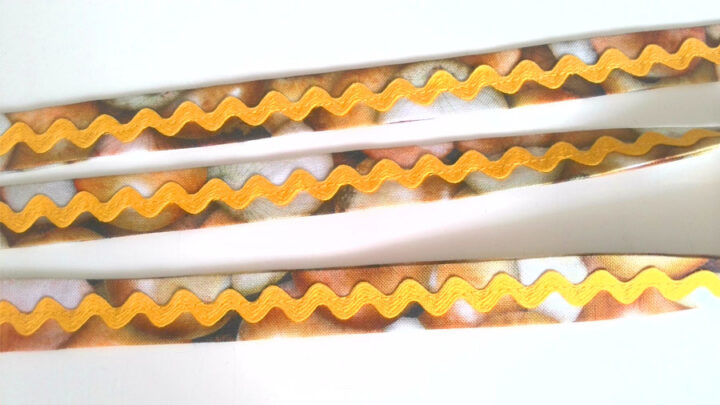
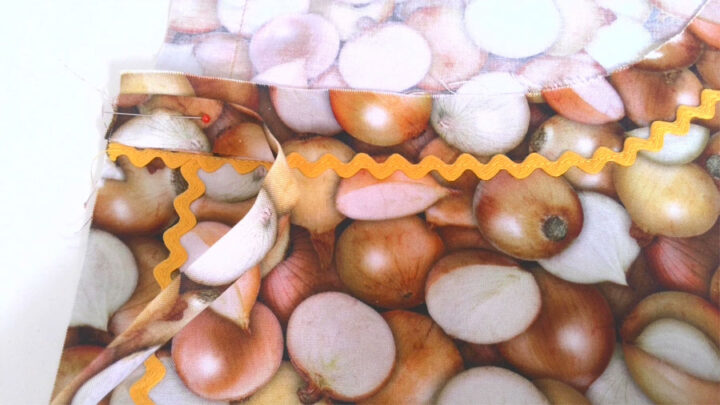
If you’re looking for ideas on how to decorate your own apron and add a bit of flair to your apron, the Ric-Rac ribbon is a great option.
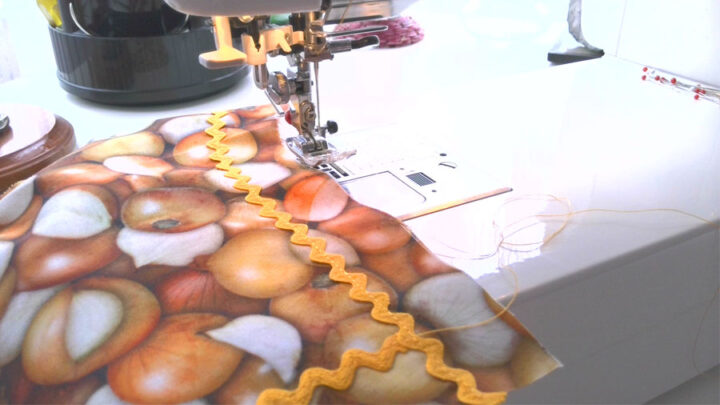
But it can be frustrating when you’re trying to sew a ribbon onto a piece of fabric, only to have it slip and move out of place. A quick and easy way to keep your trim in place is to use a fabric glue stick. Simply apply a line of glue along the edge of the trim, then press it into place on the fabric. Once the glue is dry, it will hold the trim securely in place, making it much easier to sew. Once the Ric-Rac is securely glued in place, sew it onto the apron using a straight stitch.
But you can also attach the Ric-Rac with pins or even baste it to the fabric before stitching if you don’t have a fabric glue stick.
Step 5. Sewing The Straps
Fold the straps in half lengthwise, pin, and stitch. Turn them to the right side using a safety pin. Press.
Attach the Ric-Rac ribbon to the straps that tie around the neck if you want.
Step 6. Inserting KAM Snaps
I like to use plastic snaps known as KAM snaps. They are really easy to apply and available in a variety of colors. The great thing about KAM snaps is that they make a very easy and secure closure and also look so cute!
They’re available at most fabric stores and often come with a starter kit that includes the tool to install KAM snaps. You can also easily find them online.
A plastic KAM snaps set contains four tiny pieces. See the image below for an idea of what they look like. The one set has four parts: two caps (with tiny prongs) that are visible on the outside of the item and two backings that are relatively flat: one socket and one stud.
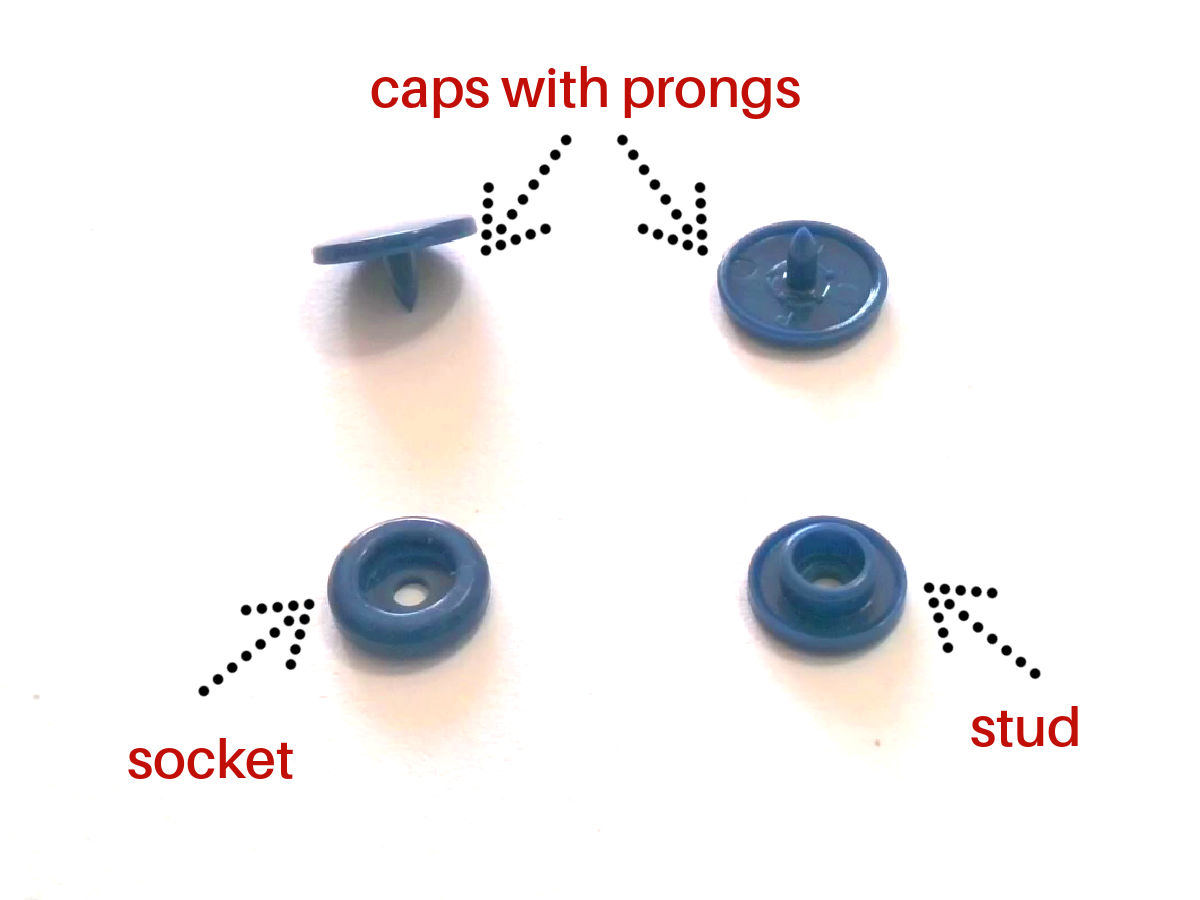
We’ll just need 6 sets for the apron.
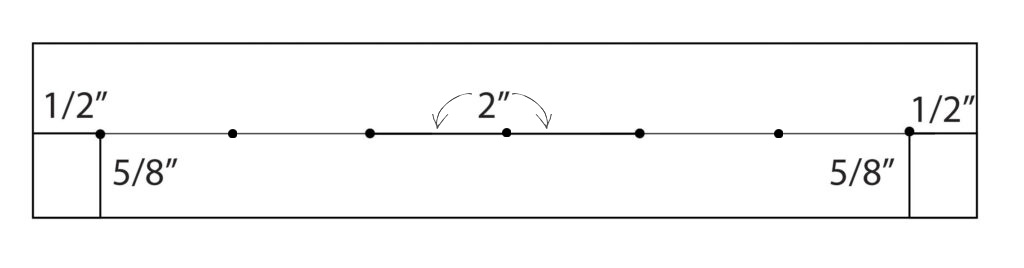
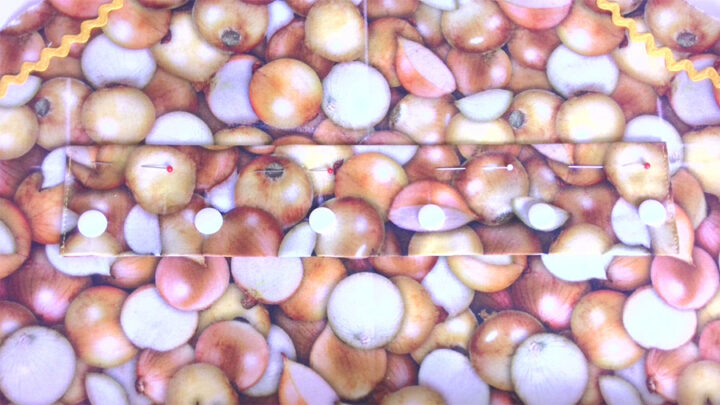
Mark placement for the plastic snaps. They are at the ⅝ “ distance from the bottom seam and the first and last snaps are ½ “ from the sides. The distance between the snaps is 2 “.
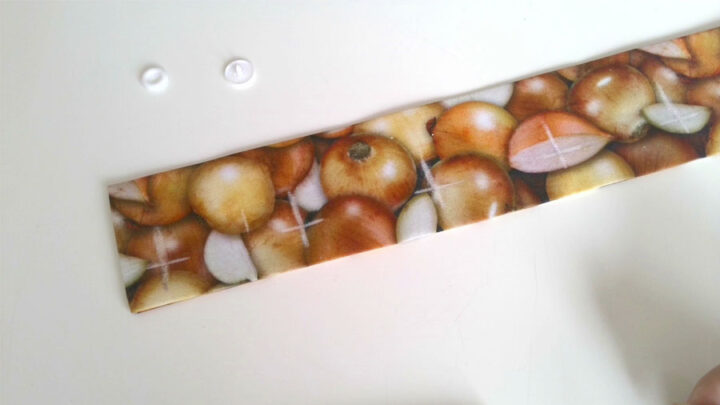
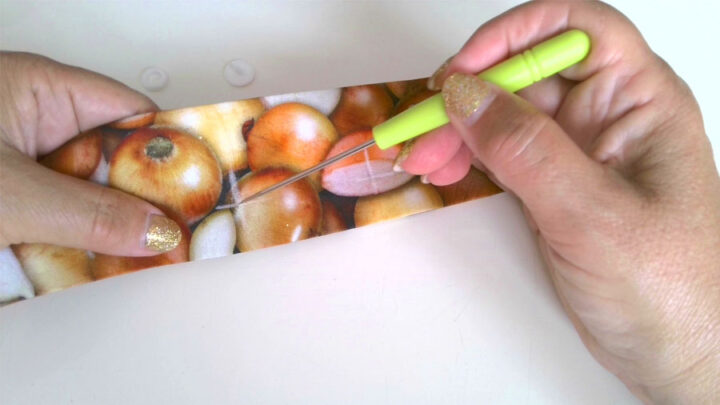
Make small holes in the fabric using an awl. It’s better to pierce both flaps of the apron at once ( one without the towel and another one with the towel attached) but I didn’t make that, so in the images below you can see me making holes only in one of the flaps. Don’t make the holes big, they should be only as big as the cap prongs.
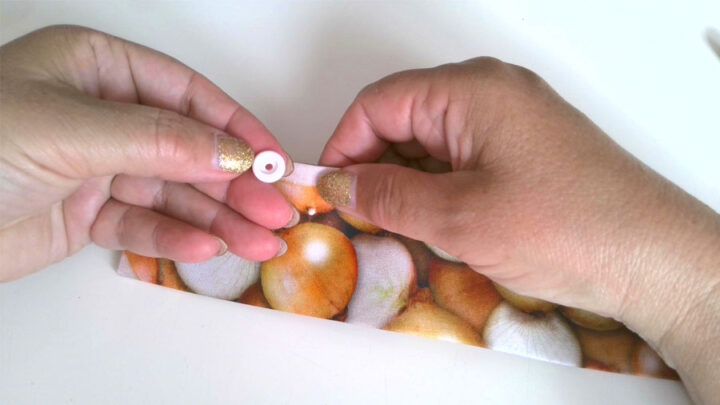
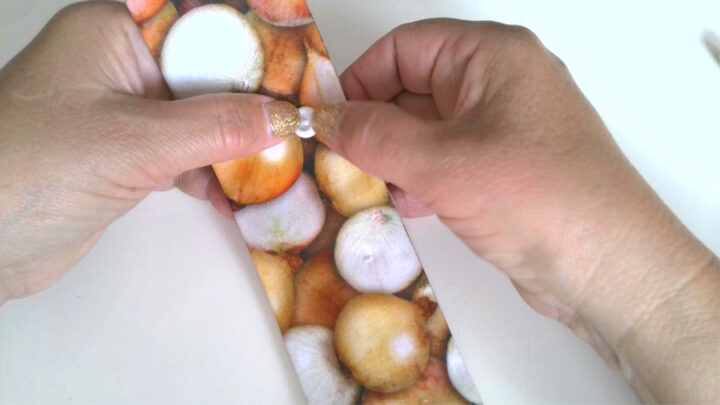
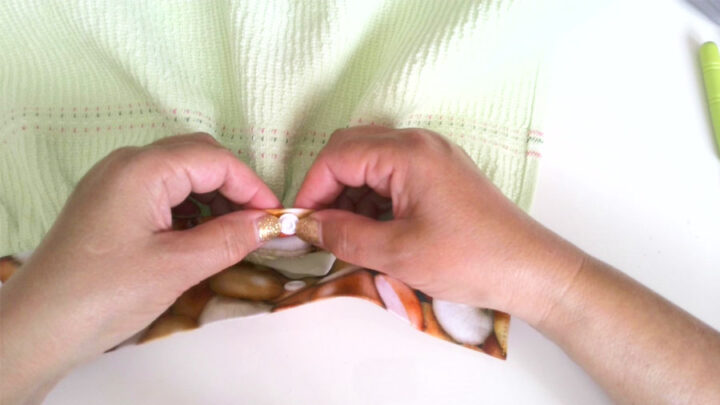
Push the prong of the snap cap from the front side of the flap to the back through the hole.
Place the socket piece onto the cap prong from the back side of the flap.
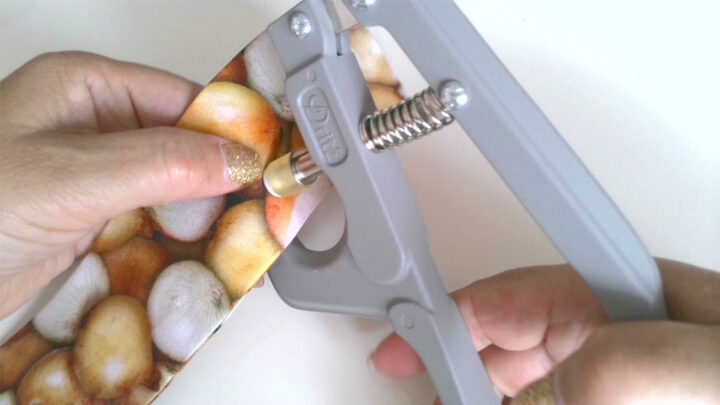
Take the pliers and position them as you see in the image below. The cap should go on the black die tray (the size of the cap) and the socket should be placed under the clear rubber head.
Make sure both parts of the snap (the cap and the socket) sit correctly in the pliers without any portion of the cap or socket sticking out beyond its edges.
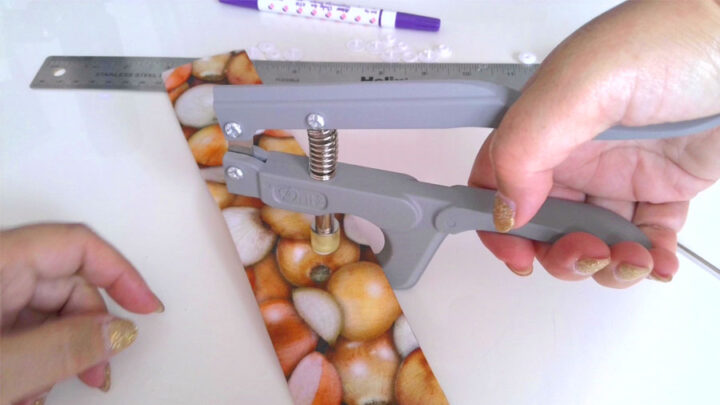
Hold the pliers so that they are sitting on the table (not in the air) and press the pliers firmly for a few seconds.
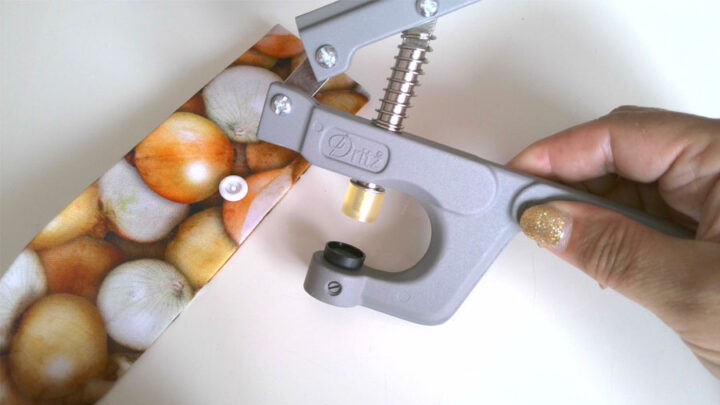
Remove the fabric between the pliers; the prong has been flattened, keeping the socket secured in the position.
Repeat the process for the other 5 snaps.
Next, you need to install the other parts of the snaps on the flap with the towel attached but this time you need to use a cap and a stud piece.
If you pierced both flaps at the same time, you just proceed with inserting snaps.
If you didn’t pierce them at once then you need to mark the snap placement again. Just position the flap with the towel over the flap with the snaps and mark the points.
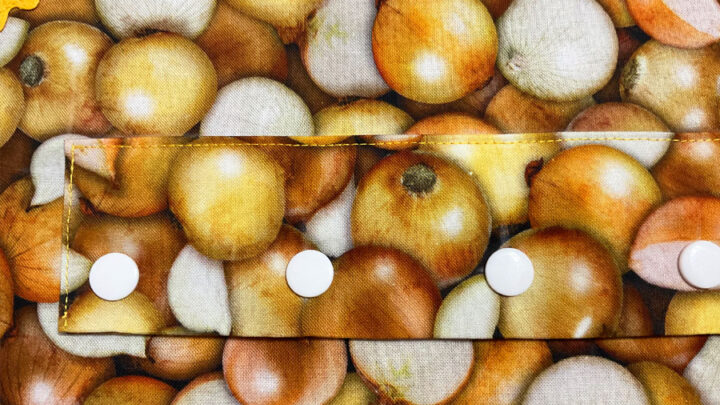
Insert the snaps at the sides first, then close them and readjust the points if necessary. Have in mind that the snap cap goes on the wrong side of the towel, and the stud piece goes on the right side of the towel.
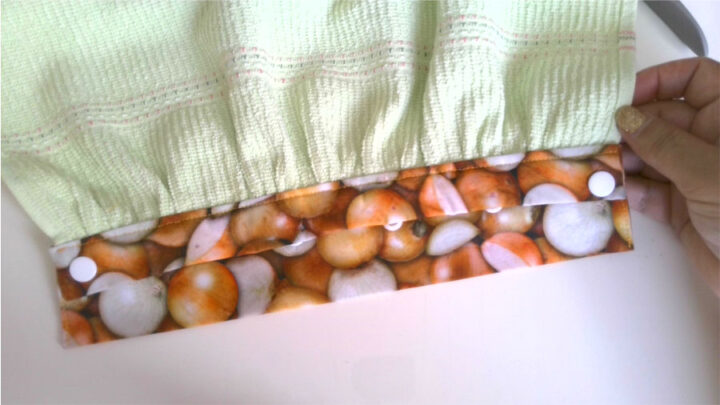
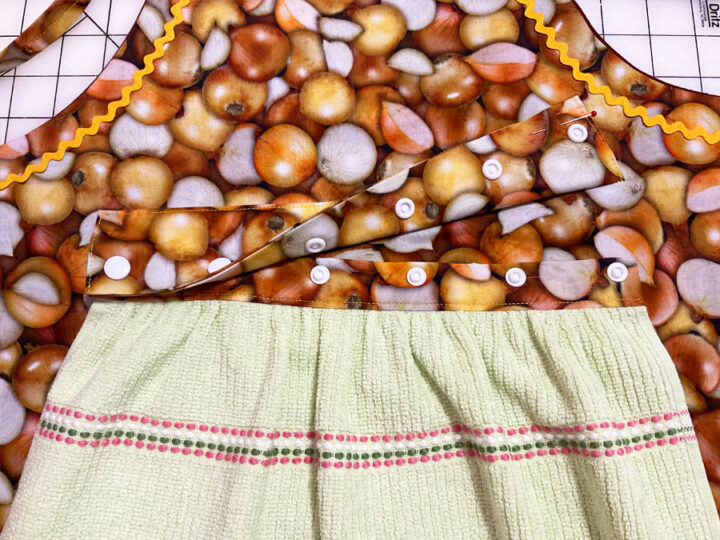
In the end, the whole thing should look like this.
Step 7. Attach the flap to the apron
Find the center line on the apron by folding the apron in half lengthwise. Mark it with a fabric marking tool.
Try on the apron in front of the mirror and decide where you want to put the flap with the towel. It should go a bit down your waist. Make a mark.
Place the apron on the table and draw a line perpendicular to the center line. Measure the equal distance from the center line (should be about 5.5 inches) to the left and to the right.
Pin the flap (the one without the towel, of course) and stitch it to the apron.
Step 8. Sew An Applique (Optional)
If you’re looking for a way to add a little extra something to your apron, consider using a Cricut applique.
You can find the Fleur-de-lis SVG file attached to the PDF tutorial.
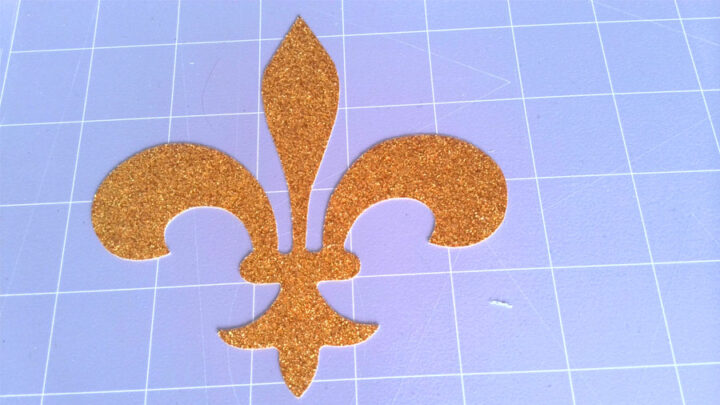
First, upload the Fleur-de-lis SVG file to the Cricut Design Space library. Then, load your material onto the cutting mat and follow the prompts to cut out the design. I use craft vinyl (called also faux leather) for the applique but it may be not a good choice if the apron will be washed a lot. So you can just use some heavyweight fabric.
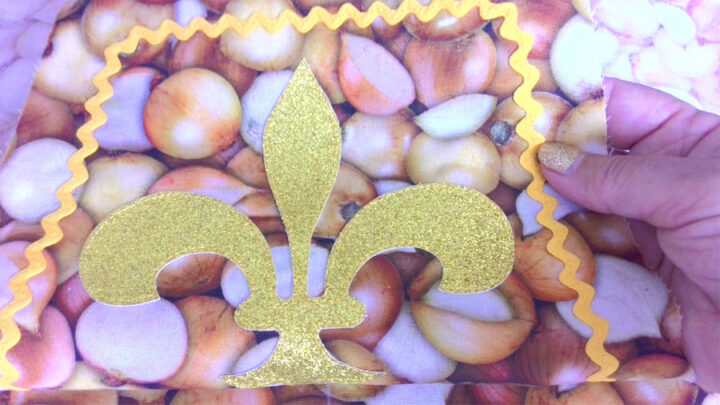
Once the applique is cut, remove it from the mat and weed away any excess material. Next, position the applique on the apron (the fabric glue stick will be useful here too) and sew around the edges using a zigzag stitch or a straight stitch. And that’s it!
Step 9. Finish Sewing The Apron
Pin the straps to the apron. 2 of them go around the neck and the other 2 are for tying around the waist.
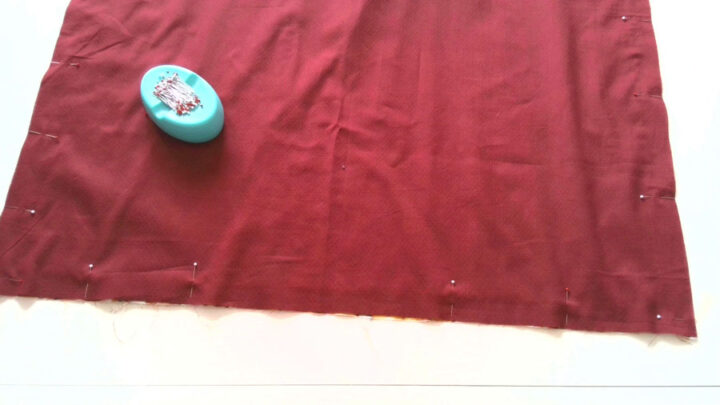
Place the second apron piece (for the back of the apron) on the front apron piece right sides together and pin.
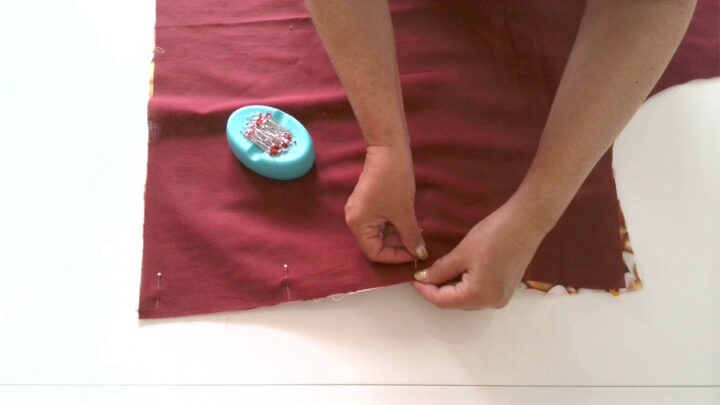
Leave an opening at the bottom for turning the apron right side out.
Stitch. Seam allowances are ⅜ “. Press the stitches. Turn in the edges of the opening ⅜ “ and press. If you do that it will be easier later to sew them together.
Turn the apron right side out. Smooth all the seams and poke out the corners. Press.
Close the opening by hand – sew an invisible stitch. If you are not sure how to do it check my tutorial on how to sew an invisible stitch.
So, there you have it! Your very own apron with a towel attached. We hope you’ve found this tutorial helpful and that you will give this project a try. Please share your photos of your finished product with me on my social media channels. If you want to save it for future reference and use it later when you are ready to make an apron, pin this image to your sewing board on Pinterest and follow me on Pinterest for more tips, tutorials, and inspiration.
latest posts
- What Do You Call a Person Who Sews? I Asked My Readers and Got 1,408 Opinions
- DIY Round Purse: PDF Sewing Pattern and Detailed Instructions
- Mini Wonder Clips By Clover: Useful Sewing Tool Or Just Another Notion?
- Non-Slip Grips For Quilting Rulers: A Small Notion With A Useful Job
- Fabric Eraser for Sewing: What It Removes and When to Use It
- What Is The Best Thread For Sewing Machine Projects? Let’s Find Out!
- Butterfly Quilt Block Tutorial – Foundation Paper Piecing
- How To Sew Quilt Squares So The Corners Match
- Sewing With Fork Pins: How They Help With Pattern Matching, Slippery Fabric, And Seams


Hi Olga, I have a suggestion for your apron. All my aprons have deep pockets for whatever. They are essential for my cooking/cleaning.
I personally do not use the pocket and because it has the tendency to gather dust I tend to avoid pockets myself. But I agree that some people find it useful (my mother in law added pockets to all her aprons) so I will add the feature to the apron in the future. Thank you for the suggestion!
Thanks a lot for the idea. I will try soon.
I love this idea! I can’t wait to make one!
If you make one, perhaps you can send me an image?