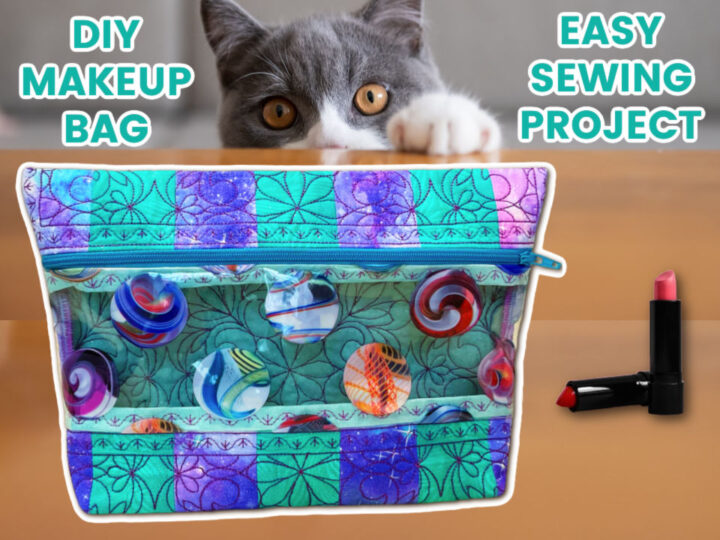
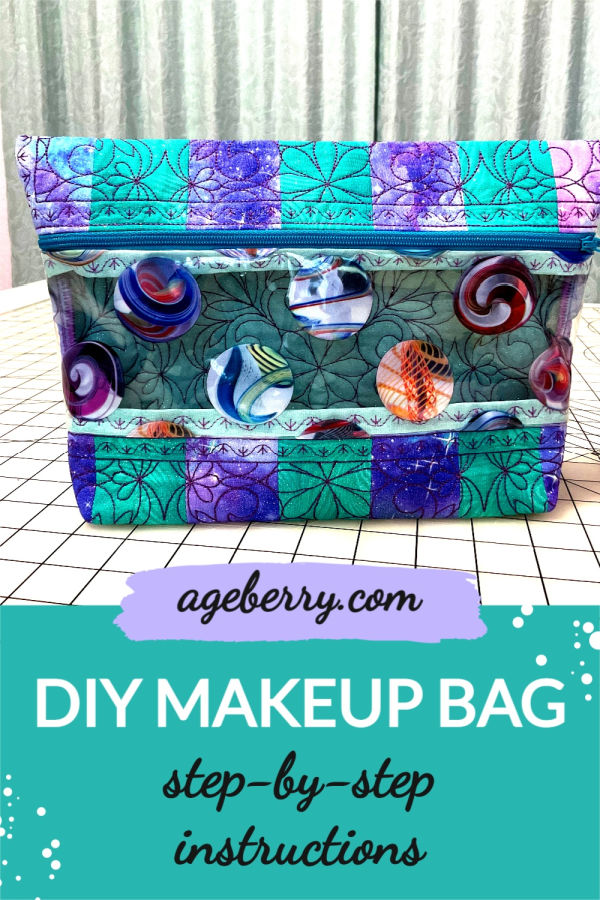
DIY Makeup Bag | Easy Project with Step-by-step Instructions
A DIY makeup bag is a quick and easy project that can be completed in an afternoon. This step-by-step tutorial with images and video will show you how to sew a quilted makeup bag with a zipper. You can customize the design to fit your own style.
Quilted makeup bags are the perfect accessory to keep your cosmetics organized and easy to find. They’re also great for travel, so you can easily take all of your essentials with you on the go.
Sewing a makeup bag is a great way to use your fabric scraps.
So if you’re looking to sew something simple but stylish, then this quilted makeup bag is the best option.
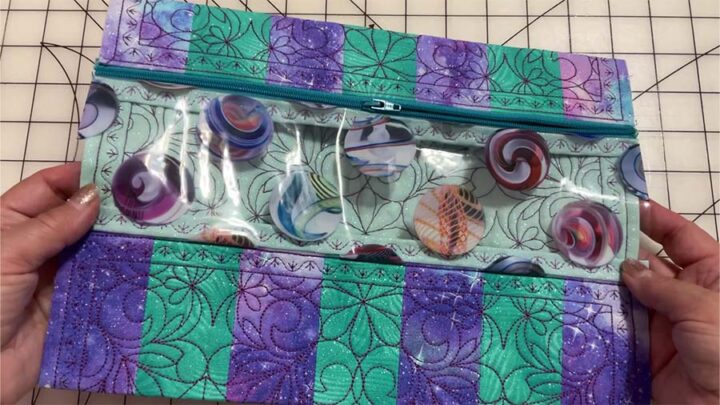
The bag has a vinyl window and a zipper. The interior of the bag is nice too.
Note: Some of the links on this page are affiliate links. This means I will receive a commission if you order a product through one of my links. I only recommend products I believe in and use myself.
I am also sure that sewing your own makeup bag is so much more satisfying and fun than buying one from the store. You can have exactly what you need and want, without having to settle for something that may not be perfect or work well with other items in your collection.
What you will need to sew a makeup bag
- Exterior Fabric (see details below)
- Lining/interior fabric
- Zipper 14+ inches ( you can cut)
- Sewing machine
- Piece of vinyl
- Piece of batting
- Matching thread
DIY makeup bags should be made from high-quality materials, which means they won’t break, tear or fray even after years of use. It’s important to make items that last, which is why I advise you to choose quilting cotton fabric for the project.
Fabric, thread and zipper selection is important when making this cute and functional bag, as you want something that is durable and won’t break easily.
I used fabric strips (from quilting cotton) that were left after I finished a bigger quilt. For the lining, I used a piece of quilting cotton too.
But you can choose a different design. The main thing is to prepare a rectangle of fabric for the bag, the finished size of the rectangle is 14 ¼ x 11 inches.
I used fusible batting for this project.
The piece of vinyl is coming from a vinyl tablecloth I had for years but never used. You can use clear vinyl if you don’t have something with a suitable design. The size of the vinyl piece (before sewing) is 13 x 4 inches.
And the quilting thread I love to use is 100% cotton thread from the Brothread brand.
I bought these threads New Brothread 24 Basic Colors Multi-Purpose 100% Mercerized Cotton Threads 30WT
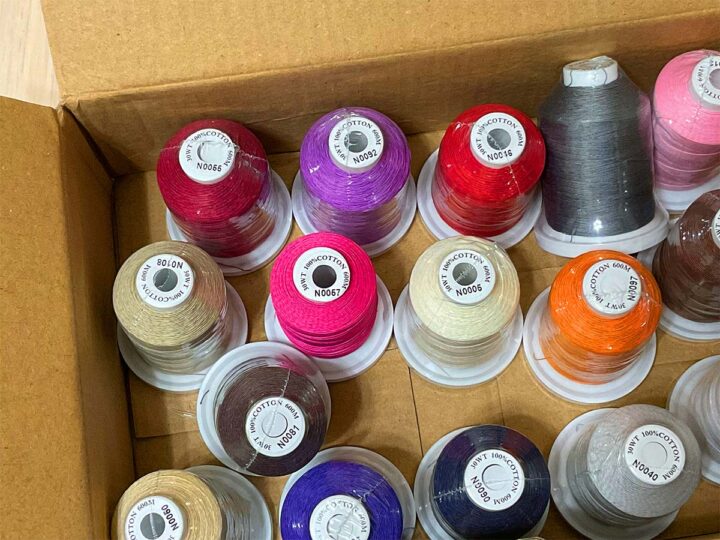
Now I’m a big fan of this sewing thread. I bought all the colors and they are vibrant and beautiful! The thread is very smooth and quite durable but at the same time very soft and even silky so it is a pleasure to work with. It never breaks. Their sets include all basic colors so you’ll be prepared for any project. This multi-purpose thread can be used on natural fabrics like cotton or linen.
The Brothread cotton thread sets are reasonably priced and are as good (if not better) as the higher-priced well-known brands.
#1 Cutting fabric strips for the DIY makeup bag
If you are wondering how to cut fabric strips evenly for quilting use a special cutting machine called AccuQuilt. It’s an amazing tool for cutting fabric for quilts.
There are different models, I am using the most popular model – AccuQuilt Go Fabric Cutter.
The machine is really simple and uses different dies to cut shapes.
There are a few special dies for cutting strips. I have one die that cuts 2.5 inch strips.
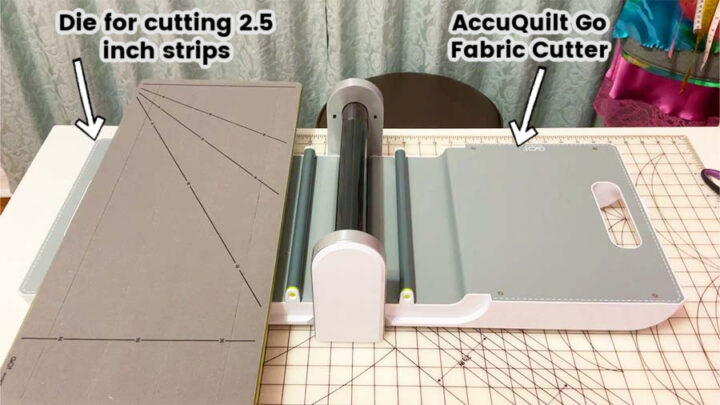
All you have to do is place the fabric on the die, 6 layers at once, and cut. The result is just perfectly straight precise fabric strips that can be used for quilt piecing and binding.
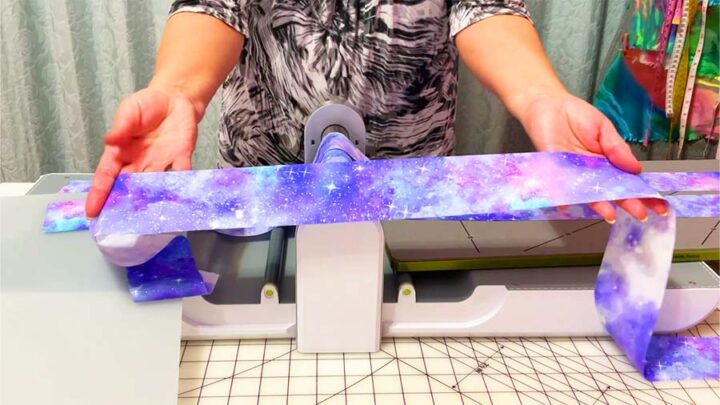
I didn’t cut the strips specially for the makeup bag, I cut them for another quilt which is bigger. And a few pieces were left so I have decided to use them too and make this quilted makeup bag.
The strips I used were about 15 -16 inches long and 2.5 inches wide. I use 7 of them for the makeup bag.
I sewed them together in alternating order. The seam allowances were ⅜ inch in this case (not 1/4 inch as usual) and I pressed the seams open.
The size of the prepared rectangle (before quilting) was about 15 x 12 ¾ inches.
#2 Preparing fabric rectangle for the makeup bag
Cut a piece of quilting cotton for the interior/lining, 16 x 13 inches.
Cut a piece of batting to put between the main fabric and lining, the same size 16 x 13 inches.
Quilt this as you like. Use free motion quilting for example.
I used my embroidery machine Brother Luminaire for quilting.
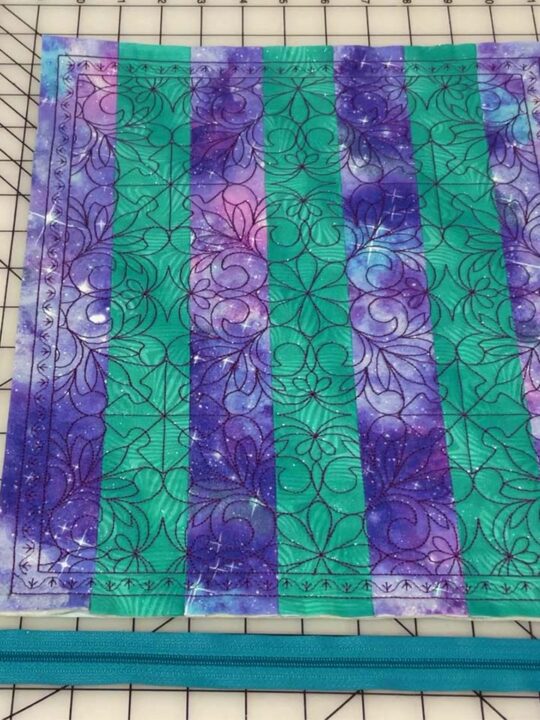
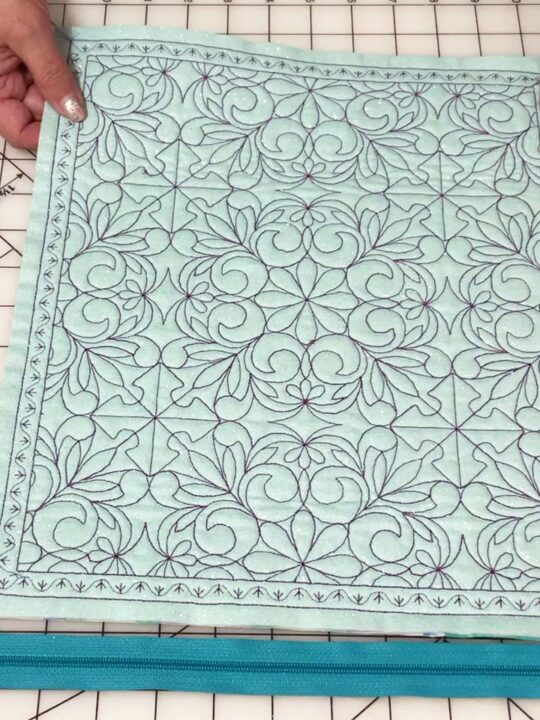
Trim the quilted piece to this size: 14 ¼ x 11 inches.
#3 Attaching a zipper and a piece of vinyl
Lay the quilted piece face up on your table.
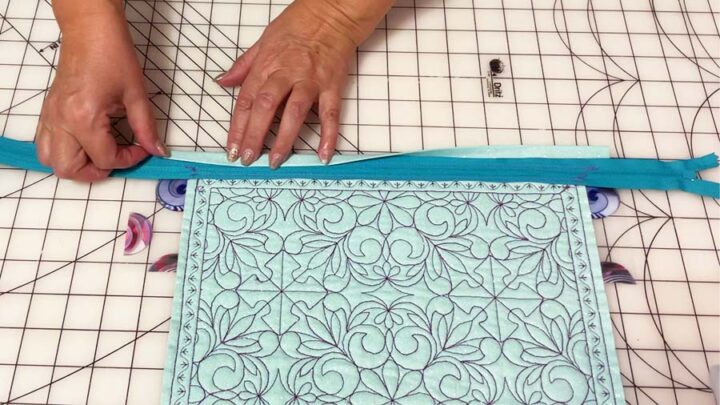
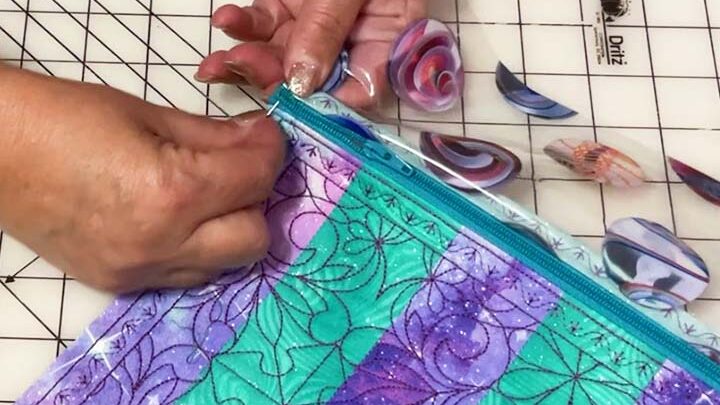
Place a zipper on the top edge of the prepared piece, right sides together. Place the zipper in such a way that the zipper lace is covering the other seam allowance completely. Use pins or wonder clips to secure the pieces.
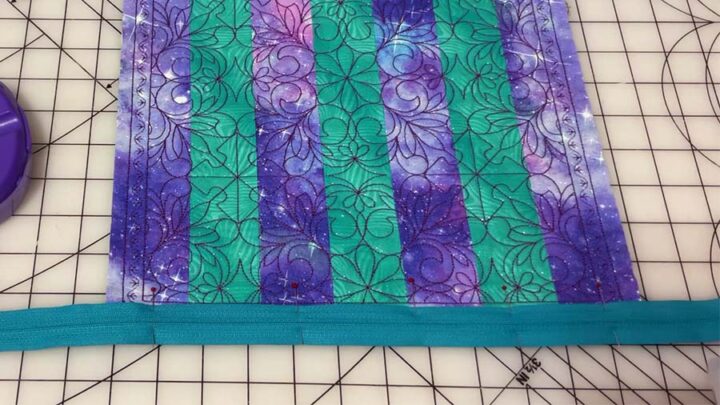
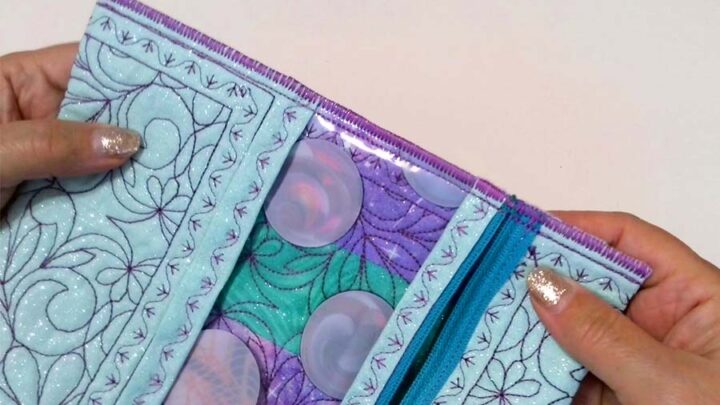
Stitch in place, turn the zipper on the interior fabric and press. The seam allowances should be covered by the zipper lace. Topstitch this part of the zipper.
This is what it looks like after you finish this step.

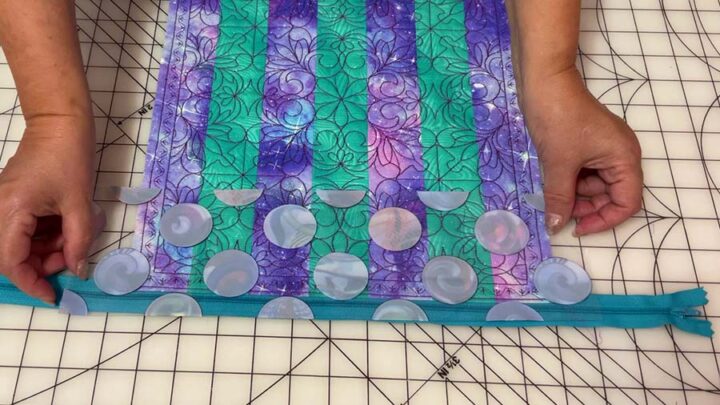
Next, sew the opposite side of the zipper to the piece of vinyl. But in this case, align the edges of the zipper and the vinyl.
I like to bind the seam allowances in this case. So cut a small strip of lining fabric 13 x 1 ⅝ inch. Press ⅜ inch in.
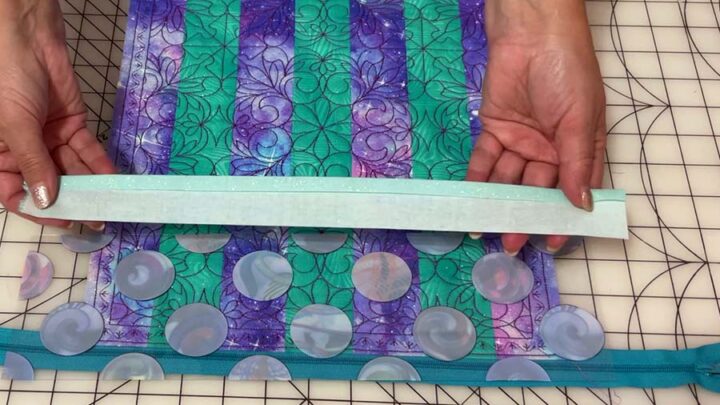
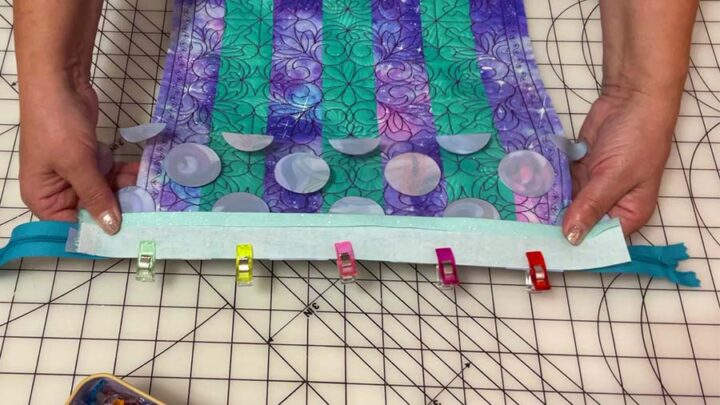
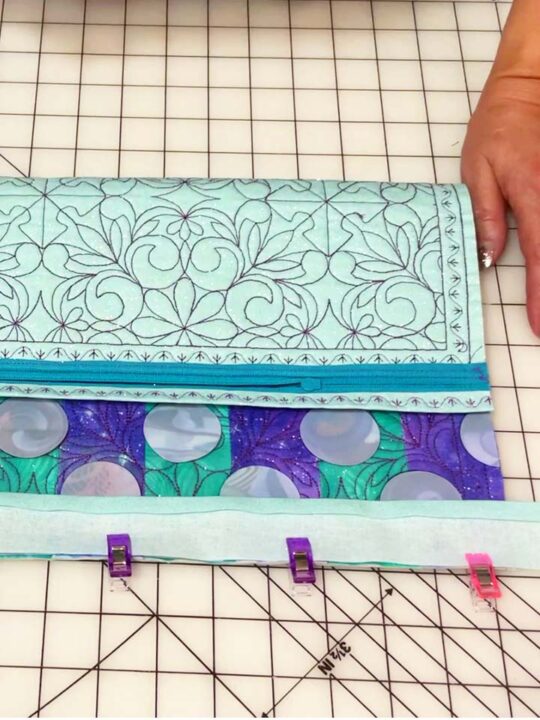
Lay the binding strip right side down on the vinyl and make sure all three edges (the zipper, vinyl and fabric strip) are aligned.
I am using sewing clips to hold all pieces together. What do you prefer to use – sewing clips or pins? You might be interested in my article Sewing Clips vs Pins | Which To Choose?
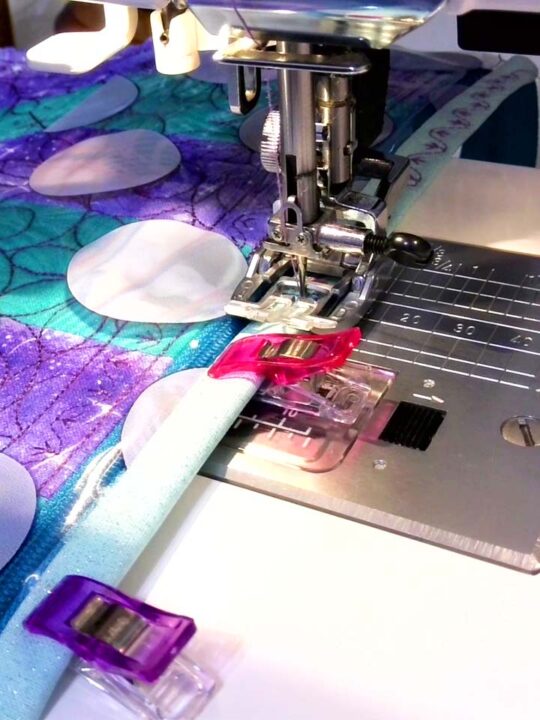
Make a stitch.
Fold the binding strip over seam allowances.
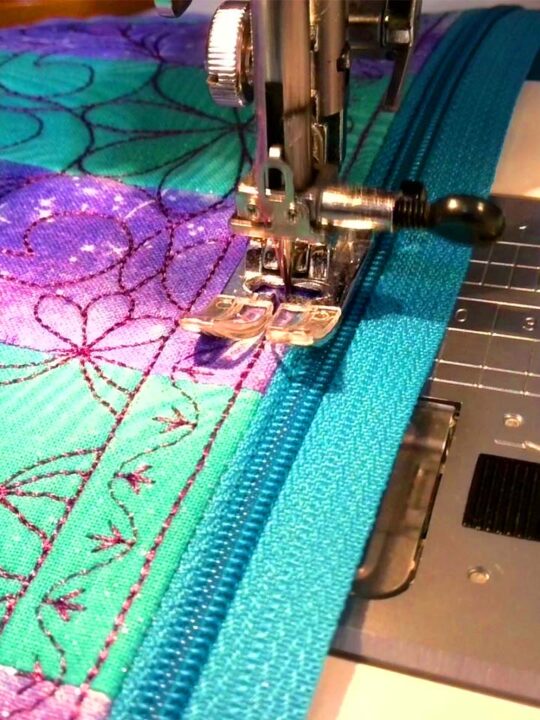
Topstitch using a decorative stitch. I used the same thread as I used for quilting.
Cut the zipper ends and the vinyl piece and be careful not to lose the zipper pull.
Take a hand sewing needle and make a few stitches at the edge so the zipper sides stay together.
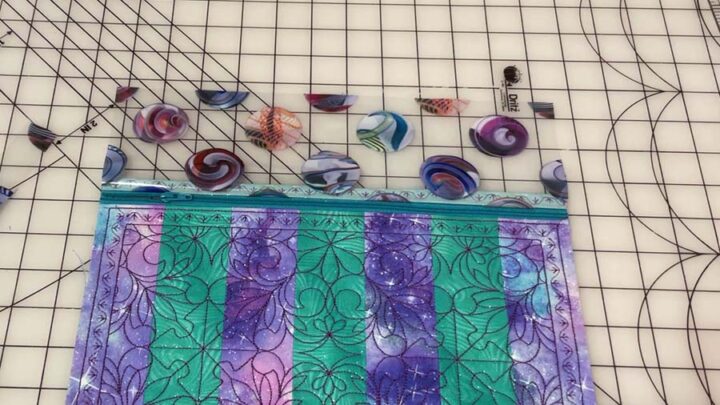
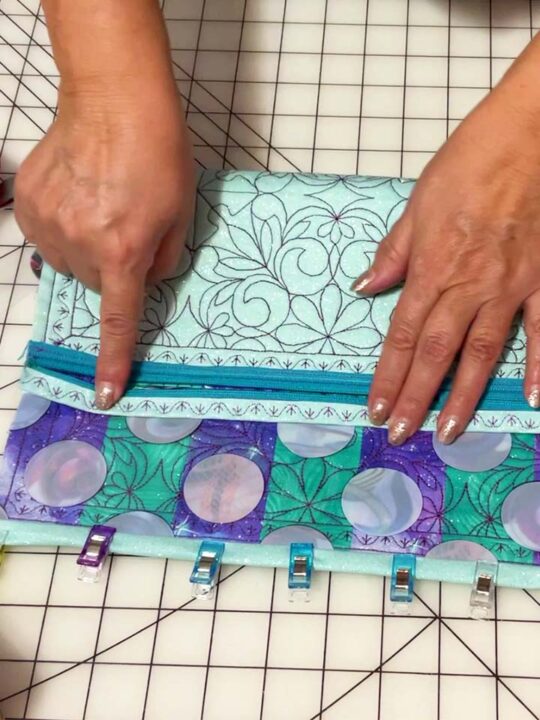
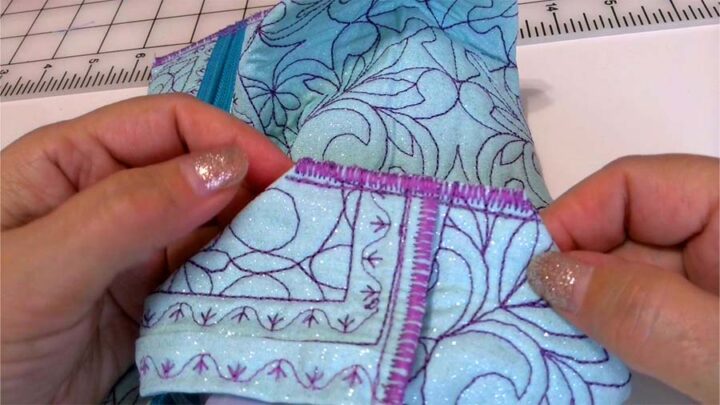
Now it’s time to sew the vinyl to the other side of the prepared piece. We will bind the seam allowances on this side too. So prepare the second binding strip and attach it to the vinyl.
Bind the seam allowances the same way with this piece of cotton binding. Make decorative topstitching over the binding.
#4 Finishing the DIY makeup bag
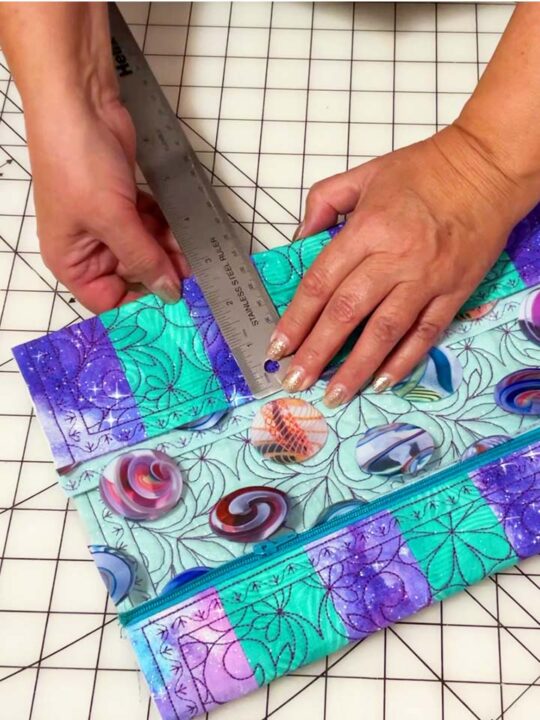
Turn the bag right side out so you can decide where you are going to fold the fabric. Line up all the edges. I made the fold 2 ¾ inches from down.
Press the folds (up and down). Use pressing cloth so you don’t burn the fabric.
Unzip the zipper halfway or even more so you would be able to turn the bag through the zipper opening after you sew the sides.
Turn the bag on the wrong side. Stitch the sides of the bad. You will be sewing through the zipper ends. Seam allowances are about ⅜ inch.
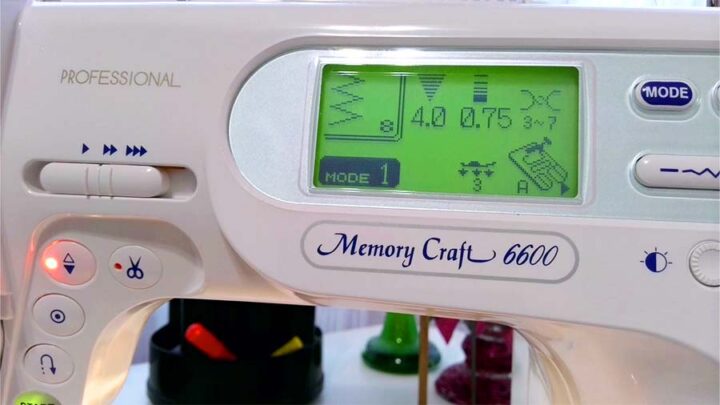
Next, overcast the side seams using a zigzag stitch. These are the settings for the zigzag stitch. My sewing machine is Janome Memory Craft 6600, by the way, and I have a detailed review of this machine on my site The best sewing machine for advanced sewers: Janome Memory Craft 6600P
I sewed the zigzag stitch twice on each side.
Now let’s make the flat bottom. For this, fold the corner as you see in the image below and measure 1 ¼ inch from the corner.

Mark the stitching line with a fabric marker and then stitch on the line you drew. The stitch should be exactly perpendicular to the side stitches. This is going to create a flat bottom. Cut off the triangle end. Do the same for the other side.
Use zigzag stitches to overcast these corners.
Turn the bag right side out. It’s ready to be used! I am sure you will feel proud of yourself every time you open the makeup bag and take out lipstick or mascara.
This quilted bag is a great way to store all your makeup in one place. It’s just the right size. I encourage you to make more than one makeup bag. I know you’ll find a use for them, and they make great gifts too. It’s an excellent way to show off your skills and maybe make someone feel special with their own personalized surprise inside, too.
Did you find this tutorial helpful? If so, save this pin (see below) on your sewing board so you can come to this tutorial later when you are ready to sew your own DIY makeup bag, and follow me on Pinterest for more tips, tutorials, and inspiration!
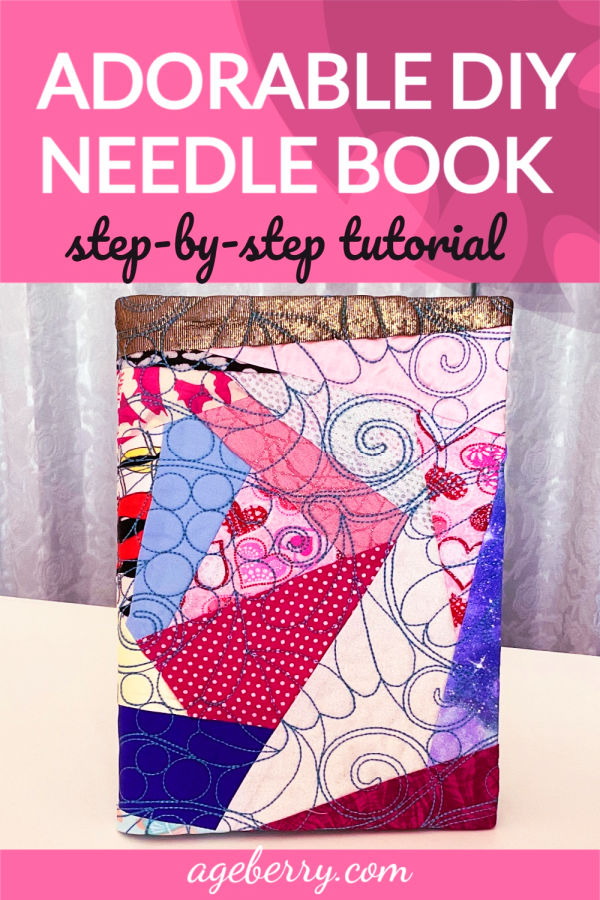
Did you like this tutorial? Here is another one you’ll enjoy that’s also beginner-friendly
Adorable DIY Needle Book | Easy Tutorial for Beginners.
latest posts
- What Do You Call a Person Who Sews? I Asked My Readers and Got 1,408 Opinions
- DIY Round Purse: PDF Sewing Pattern and Detailed Instructions
- Mini Wonder Clips By Clover: Useful Sewing Tool Or Just Another Notion?
- Non-Slip Grips For Quilting Rulers: A Small Notion With A Useful Job
- Fabric Eraser for Sewing: What It Removes and When to Use It
- What Is The Best Thread For Sewing Machine Projects? Let’s Find Out!
- Butterfly Quilt Block Tutorial – Foundation Paper Piecing
- How To Sew Quilt Squares So The Corners Match
- Sewing With Fork Pins: How They Help With Pattern Matching, Slippery Fabric, And Seams