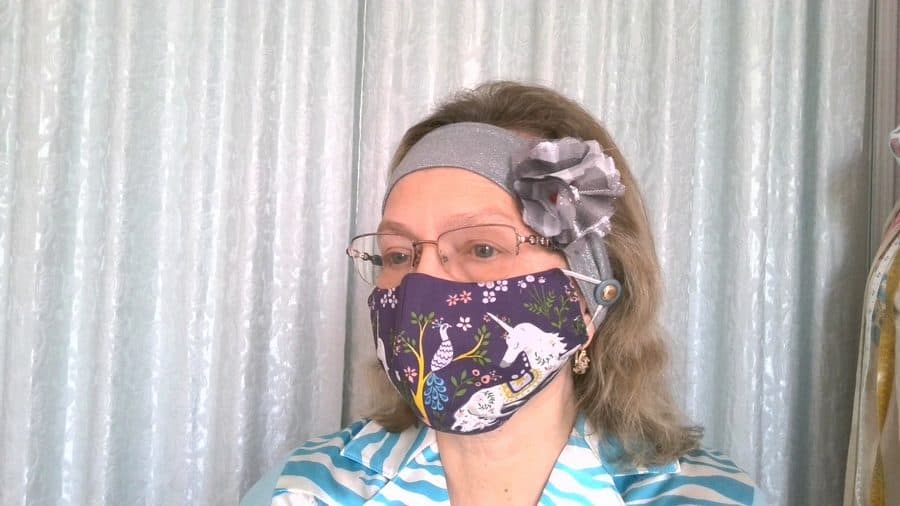
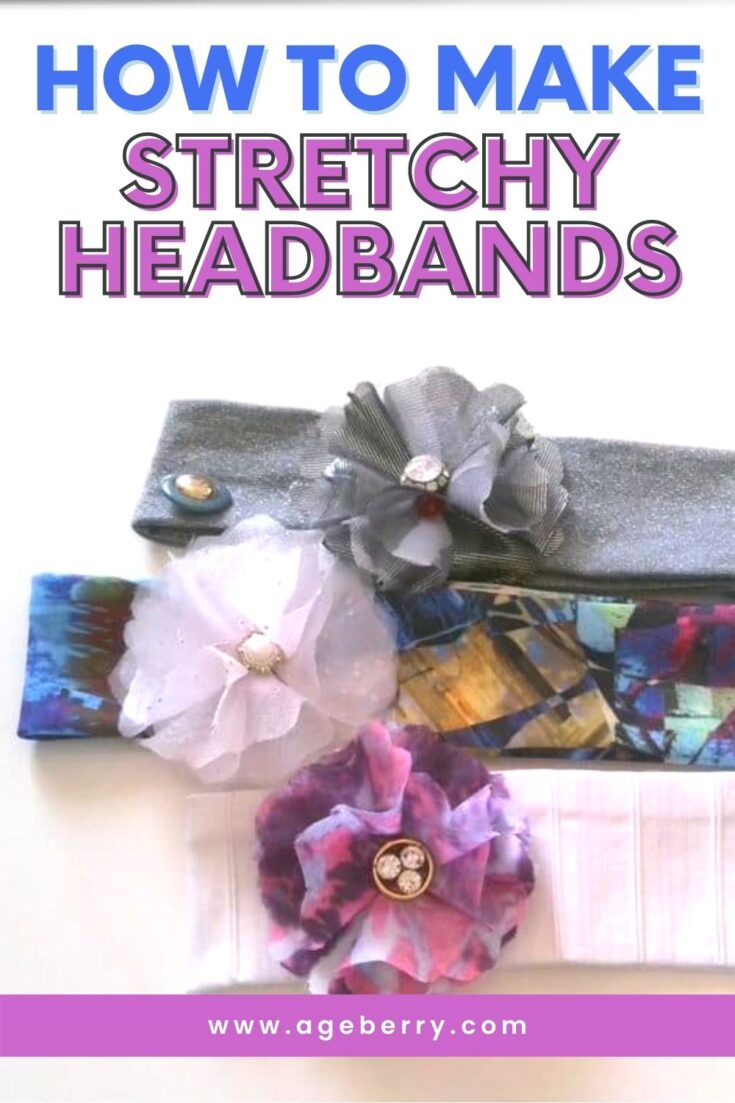
Sew headband DIY sewing pattern
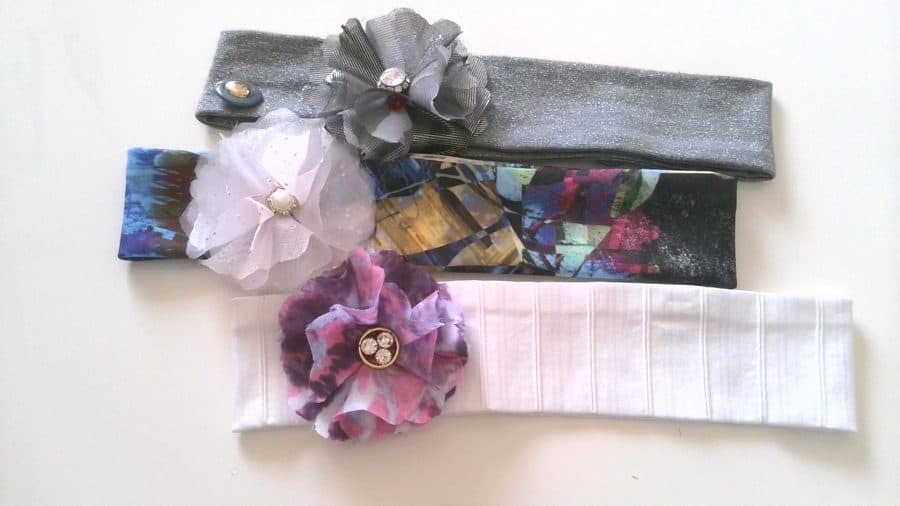
In this video sewing tutorial, I will show you how to sew a simple fabric headband with buttons. We are going to use the buttons to attach a face mask. Actually, I made 3 different headbands from different fabrics. This project is very easy even for beginners.


Note: Some of the links on this page are affiliate links. This means I will receive a commission if you order a product through one of my links. I only recommend products I believe in and use myself.
What you’ll need
- Stretchy fabric (more about it below) – just a rectangle about 25” x 7”
- Sewing machine
- Regular sewing notions
What is a stretchy fabric? It can stretch easily – in other words, “be capable of being made longer or wider without tearing or breaking”. Different fabrics stretch differently. Knit fabrics are always stretchy – t-shirts are made from knit fabric. But some woven fabrics can be stretchy also – usually they have some elastane in them.
So for making headbands use medium-weight knit or woven fabric with some amount of stretch.
You can even use a regular t-shirt for your headband as I did (see headband A).
Let’s make a headband sewing pattern.
For my average head, I made the pattern right on fabric – it’s a rectangle 20.5 inches long and 5 inches wide. Seam allowances are included and they are ⅜ inch. The sewn headband will be around 2 inches wide and 20 inches long.
But it’s just a guideline. You can easily adjust this pattern depending on the size of your head, the amount of stretch in your fabric, and your preferences for how wide you want your headband.
Headband A
How to make a headband out of a t-shirt
Here I have a piece of my t-shirt dress. I wanted to make a tunic out of the dress and cut a few inches from the hem. I completely refashioned the dress – and you can see the result in my tutorial How to refashion an old dress

So I kept the cut piece and now I will show you how to sew a simple elastic headband from it.
Step 1
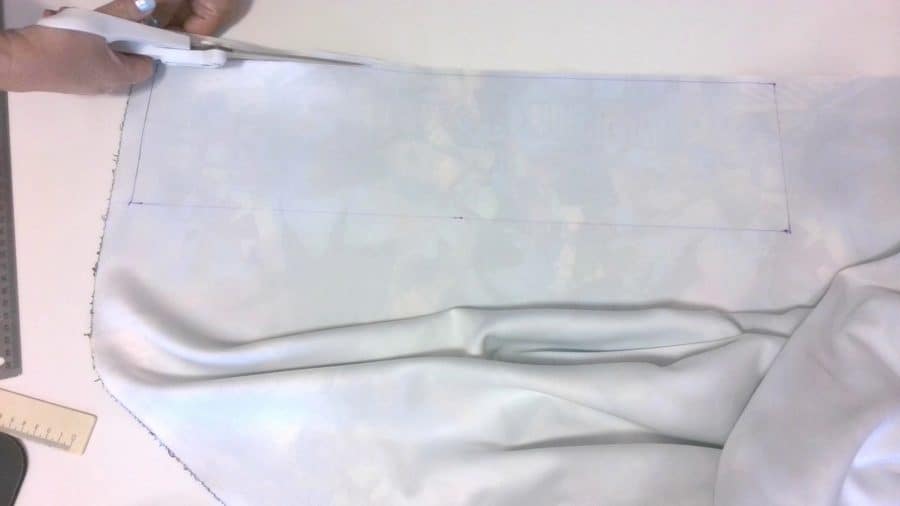
Cut a rectangle 20.5 x 5 inches. If you’re starting with a t-shirt and not with a regular piece of fabric then you will need to make a few more cuts to get rid of the seams.
You might have a problem with the edges as I have – they tend to curl on most types of knit fabric. So don’t cut the hem yet. Start with cutting the other edge.
There is a trick to keep the edges of knit fabric from curling up – use a Spray Starch and iron the fabric after spraying with starch. I guess you can do it. But I decided to proceed without it.

Step 2
Prepare your sewing machine.
It’s better to use a ball-point needle or a stretch needle specially made for sewing knits. But if you don’t have one you can use a universal needle – but choose the size suitable for medium-weight fabric (80/12).
✅ Related tutorial: The Ultimate Guide to Stretch Sewing Machine Needles
Prepare sewing thread – you can use all-purpose thread that matches the color of your fabric. Regular polyester thread works better than 100% cotton thread (cotton thread might break easier when pulled) because the polyester thread has a slight amount of stretch.
Choose a correct stitch – the seam has to be stretchable also, otherwise, the thread in the seam might break when the headband stretches. Most modern machines have special stitches for sewing stretchy fabrics.
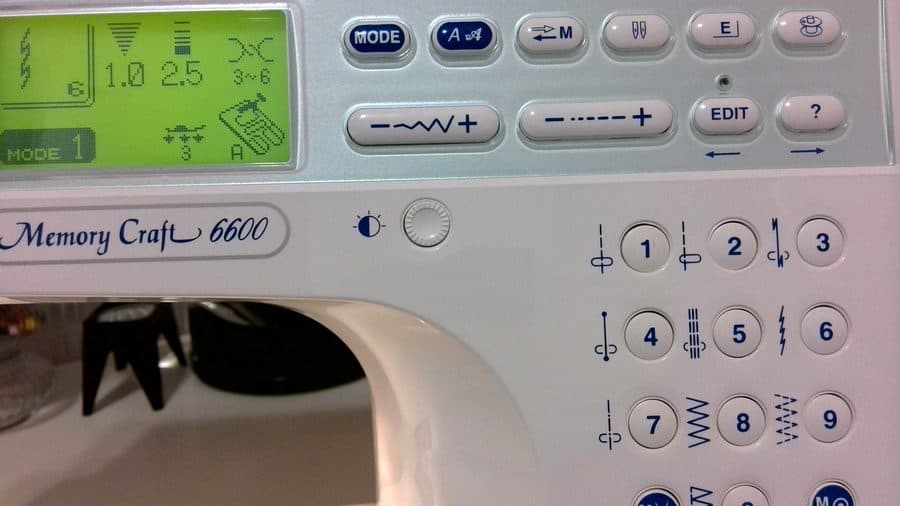
For example, my Janome machine (see the image below) has this very narrow zigzag stitch (stitch number 6) with a stitch width of 1.0 mm and a stitch length of 2.5 mm, and this stitch stretches with the fabric so the thread doesn’t break.
If you don’t have this special stretch stitch choose a regular zigzag and adjust the stitch setting like this – 1.0 for the width and 2.5 for the length.
Don’t use the straight stitch with a regular polyester thread.
✅ Related tutorial: Types Of Stretch Stitches On A Sewing Machine And When To Use Them
Step 3
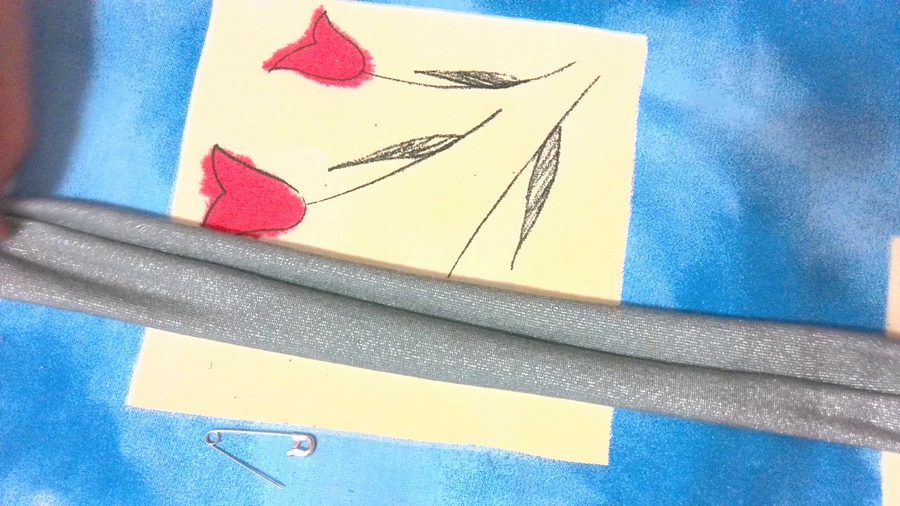
Fold the rectangle in half lengthwise right sides together and pin. Straighten up these curled edges with your fingers. You will have to make a stitch. Mark 1.5 – 2.5 inches on each side so you don’t stitch in these places.
Step 4
Make a stitch on your sewing machine. Don’t sew over pins. Take them out one by one when you reach them. Don’t stitch the ends of the tube which we marked in the previous step.
Step 5
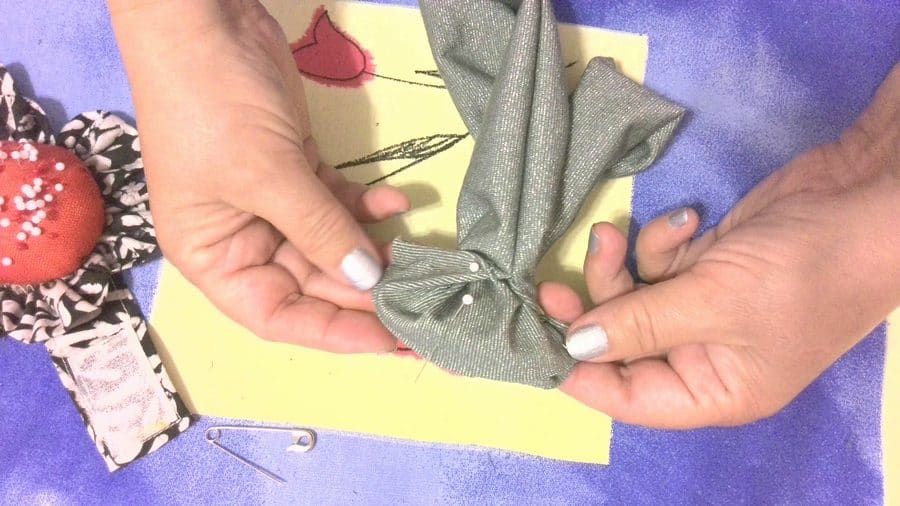
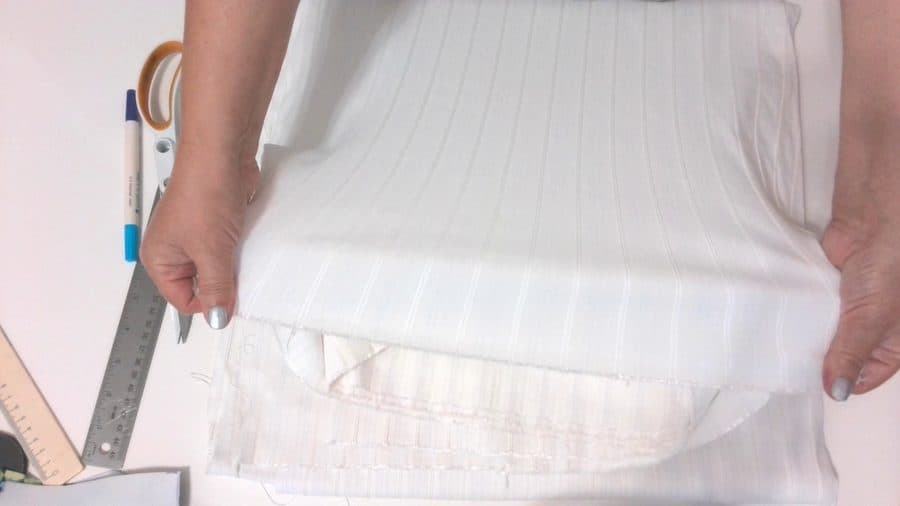
Now we need to turn the tube to the right side.
It’s very easy to do with a regular safety pin. Start by inserting your safety pin through the end of the tube catching only one layer of fabric.
Slide the safety pin to the inside of the tube and begin gathering the fabric over the pin. Push the pin holding it in one hand. The fabric tube will fold into itself and you will see gather off the opposite end of the safety pin.
When the safety pin comes out the other end carefully pull the tube right side out.
You should have the ends of the tube unstitched.
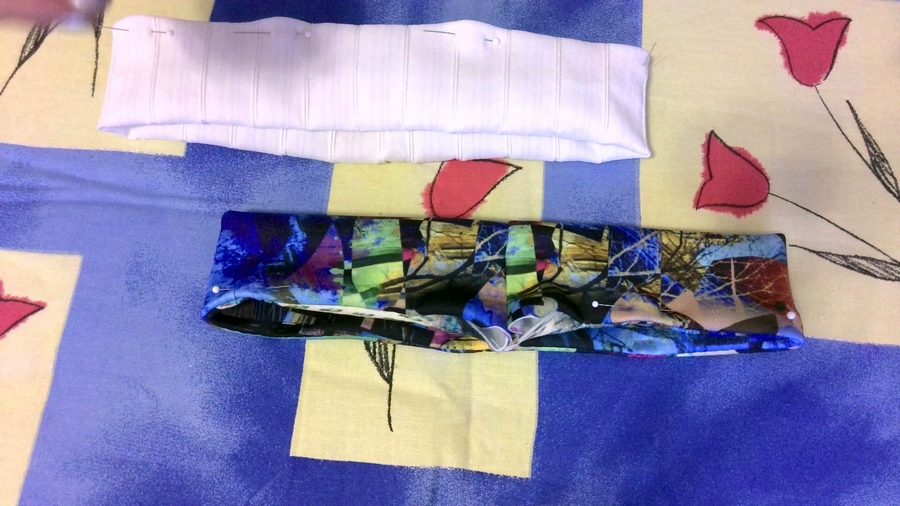
Step 6
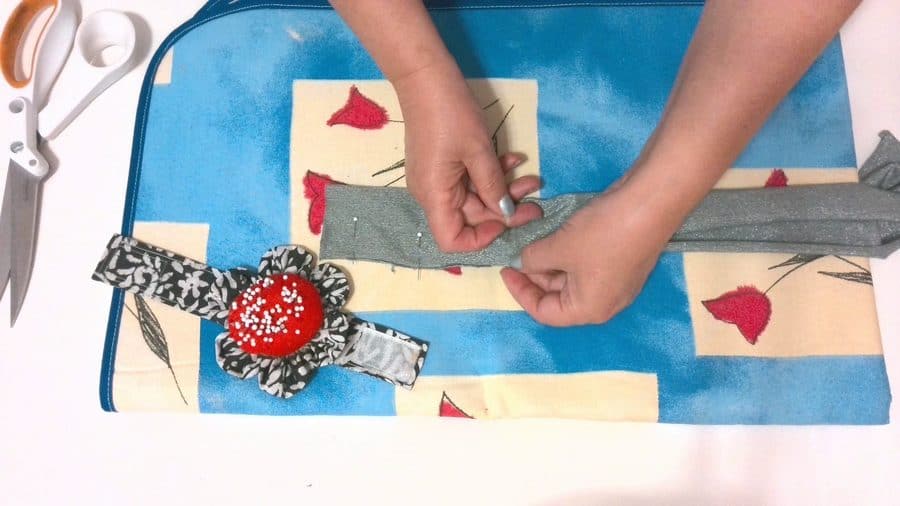
Pin the short edges of the fabric tube right sides together aligning raw edges. Stitch using ⅜ inch seam allowances. You will have to twist the tube a little while sewing this seam.
Step 7
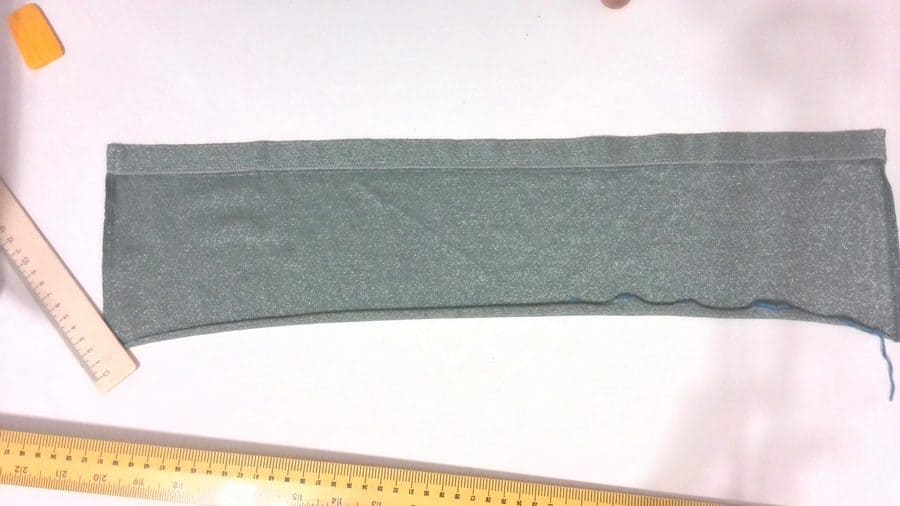
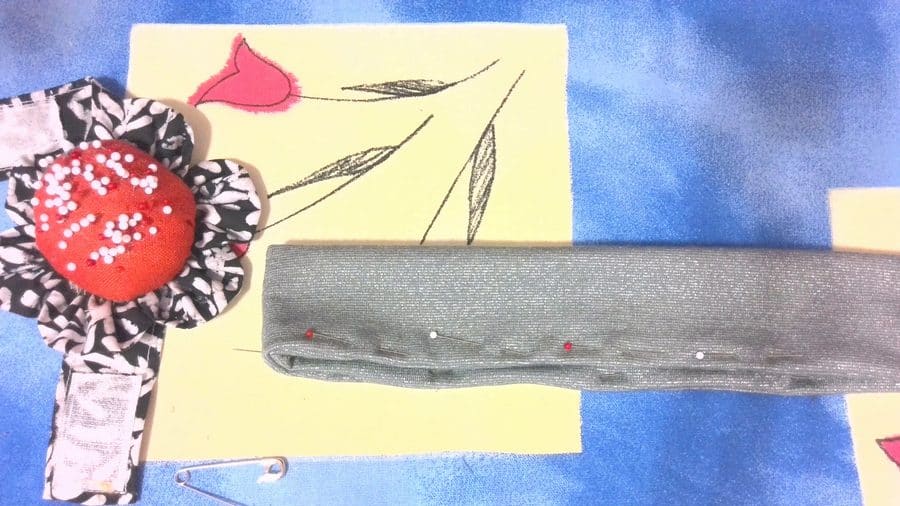
Turn the headband to the right side – you will see an opening in the middle of the tube. Straighten and flatten the tube pinning or basting the fabric around the seam. Press with an iron, don’t forget to set the correct temperature for your knit fabric. Sew this opening closed by hand or by sewing machine. I did it by hand for this headband.
If you need detailed instructions on sewing the opening closed by hand check out my video tutorial How to do an invisible stitch by hand step-by-step
Step 8
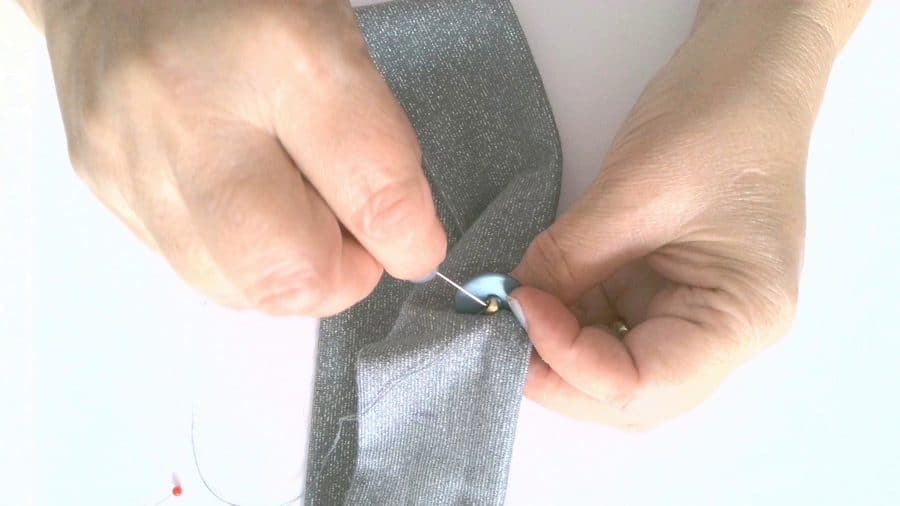
Now let’s sew buttons to hold a face mask so it will be easier for your ears to wear the face mask. It must be shank buttons. Shank buttons have no holes on top of the button, but they have a small protrusion on the back that has a hole at the end.
Put the headband on and wear the face mask. Find the points on the headband to attach the mask with buttons. I see that for me each button should be at a distance of about 10 inches from the back seam.
Sew the buttons.
If you need to see the exact steps for sewing buttons check out my video tutorial on how to sew a button.
This is how it looks. So if you need to wear the face mask for a long time you can certainly wear it like this.
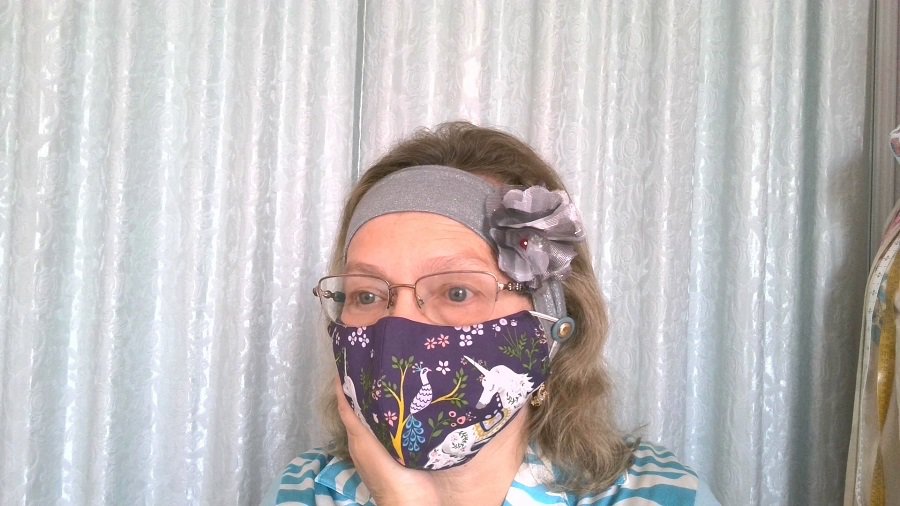
If you need to sew a well-fitted face mask like this (I used fusible interfacing as a filter) I have a full video tutorial on how to make it and a free printable PDF pattern.
Headband B
Making a stretchy headband from medium-weight knit fabric
Always prewash your knit fabric in warm water so it shrinks before you start making your headband. Headbands are supposed to be washed a lot so it’s good to preshrink your fabric before you make the headband.
The process is the same as with the previous headband from a t-shirt.
Step 1
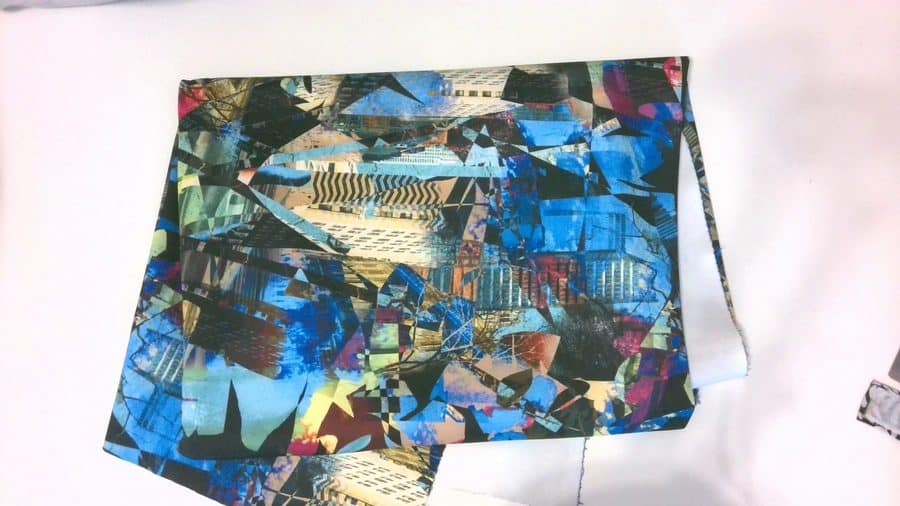
Cut the rectangle from the fabric of your choice. Mine was 20.5 inches long and 5 inches wide. You can adjust it to your liking.
Step 2
Prepare your sewing machine.
It’s better to use a ball-point needle or a stretch needle specially made for sewing knits. But if you don’t have one you can use a universal needle – but choose the size suitable for medium-weight fabric (80/12).
Prepare sewing thread – you can use all-purpose thread that matches the color of your fabric. Regular polyester thread works better than 100% cotton thread (cotton thread might break easier when pulled) because the polyester thread has a slight amount of stretch.
But you can also use an Eloflex thread – a stretchable thread that can be used in a regular home sewing machine for sewing stretchy fabrics. I have a review of this thread on my site, check it out. But have in mind, that not all sewing machines can handle this thread without problems.
Choose a correct stitch – the stitch has to be stretchable also, otherwise, the thread in the seam might break when the headband stretches. Most modern machines have special stitches for sewing stretchy fabrics. For example, my Janome machine has
this very narrow zigzag stitch with a stitch width of 1.0 mm and a stitch length of 2.5 mm and this stitch stretches with the fabric so the thread doesn’t break.
If you don’t have this special stretch stitch choose a regular zigzag and adjust the stitch setting like this – 1.0 for the width and 2.5 for the length.
Don’t use the straight stitch with a regular polyester thread.
If you decide to use the Eloflex thread then you can use just a regular straight stitch of your sewing machine. Just put the Eloflex thread in your bobbin also not only in your needle.
Step 3
Fold the fabric in half lengthwise right side together and pin. You will have to make a stitch. Mark 1.5 – 2.5 inches on each side so you don’t stitch in these places.

Step 4
Make a stitch on your sewing machine. Don’t sew over pins. Take them out one by one when you reach them. Don’t stitch the ends of the tube which we marked in the previous step.
Step 5
Now we need to turn the tube to the right side.
It’s very easy to do with a regular safety pin. Start by inserting your safety pin through the end of the tube catching only one layer of fabric.
Slide the safety pin to the inside of the tube and begin gathering the fabric over the pin. Push the pin holding it in one hand. The fabric tube will fold into itself and you will see gather off the opposite end of the safety pin.
When the safety pin comes out the other end carefully pull the tube right side out.
You should have the ends of the tube unstitched.
Step 6
Pin the short edges of the fabric tube right sides together aligning raw edges. Stitch using ⅜ inch seam allowances. You will have to twist the tube a little while sewing this seam.
Step 7
Turn the headband to the right side – you will see an opening in the middle of the tube. Straighten and flatten the tube by pinning or basting the fabric around the seam. Press with an iron, don’t forget to set the correct temperature for your knit fabric. Sew this opening closed by hand or by sewing machine. I did it by hand for this headband.
Headband C
Making a stretchy headband from medium-weight woven fabric
Woven fabrics can be stretchy too if they have elastane in them.
For example, I have this stretchy woven fabric and I see that it stretches a lot. So it’s a good fabric to use for making a headband.
Prewash your fabric to avoid surprises later.
The steps are exactly the same as in the previous descriptions.
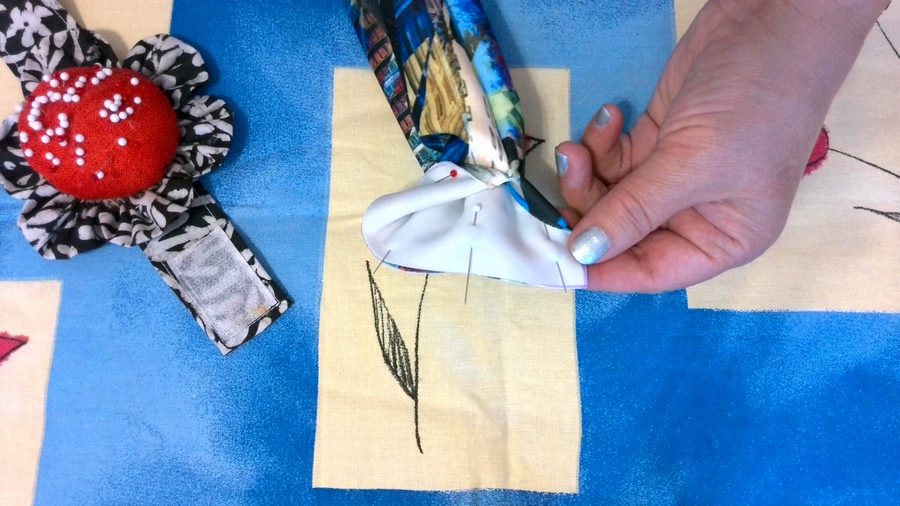
These simple stretchy headbands are very useful indeed but we can also embellish them especially if we make them for our kids. If you would like to learn how to make fabric flowers for a headband I have another sewing tutorial you can watch or read.
Prefer to watch all the steps in making simple stretchy headbands? Here is a YouTube video tutorial.
Did you find this tutorial helpful? If so, save this pin (see below) on your sewing board so you can come to this tutorial later when you need to sew a headband, and follow me on Pinterest for more tips, tutorials, and inspiration!
latest posts
- What Do You Call a Person Who Sews? I Asked My Readers and Got 1,408 Opinions
- DIY Round Purse: PDF Sewing Pattern and Detailed Instructions
- Mini Wonder Clips By Clover: Useful Sewing Tool Or Just Another Notion?
- Non-Slip Grips For Quilting Rulers: A Small Notion With A Useful Job
- Fabric Eraser for Sewing: What It Removes and When to Use It
- What Is The Best Thread For Sewing Machine Projects? Let’s Find Out!
- Butterfly Quilt Block Tutorial – Foundation Paper Piecing
- How To Sew Quilt Squares So The Corners Match
- Sewing With Fork Pins: How They Help With Pattern Matching, Slippery Fabric, And Seams